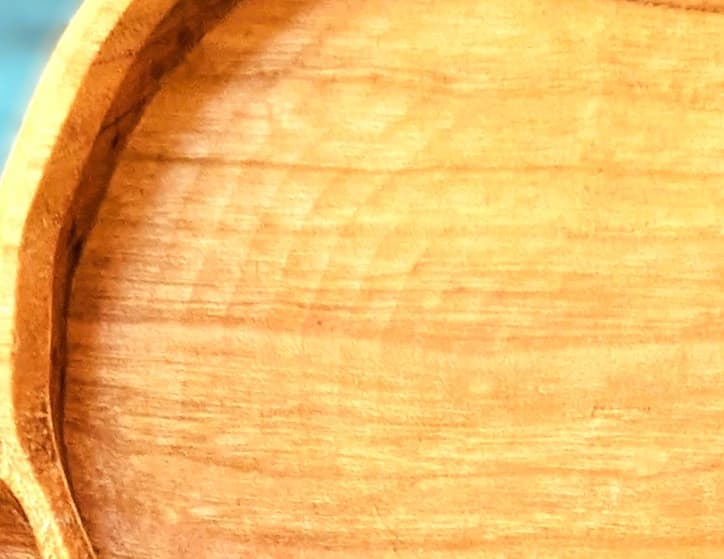
Hello everyone, I got my Shapeoko 5 Pro in Feb this year and have not been able to resolve this issue, hoping someone more experienced with CNC can point me in the right direction. I am seeing machining marks on the bottom of pockets.
This is what I typically see just using carbide create standard feeds and speeds for pocketing:
For this image, I cut the pocket with #201 endmill using the standard feeds and speeds, then did a final pass decreasing the stepover to 0.05 hoping to remove the marks, but I just ended up creating more marks to sand off.
Should I be using a different endmill, or different settings? Are these marks potentially indicative of a machine setup or performance issue? Appreciate any help I can get! Machine marks issue troubleshooting.c2d (760 KB)
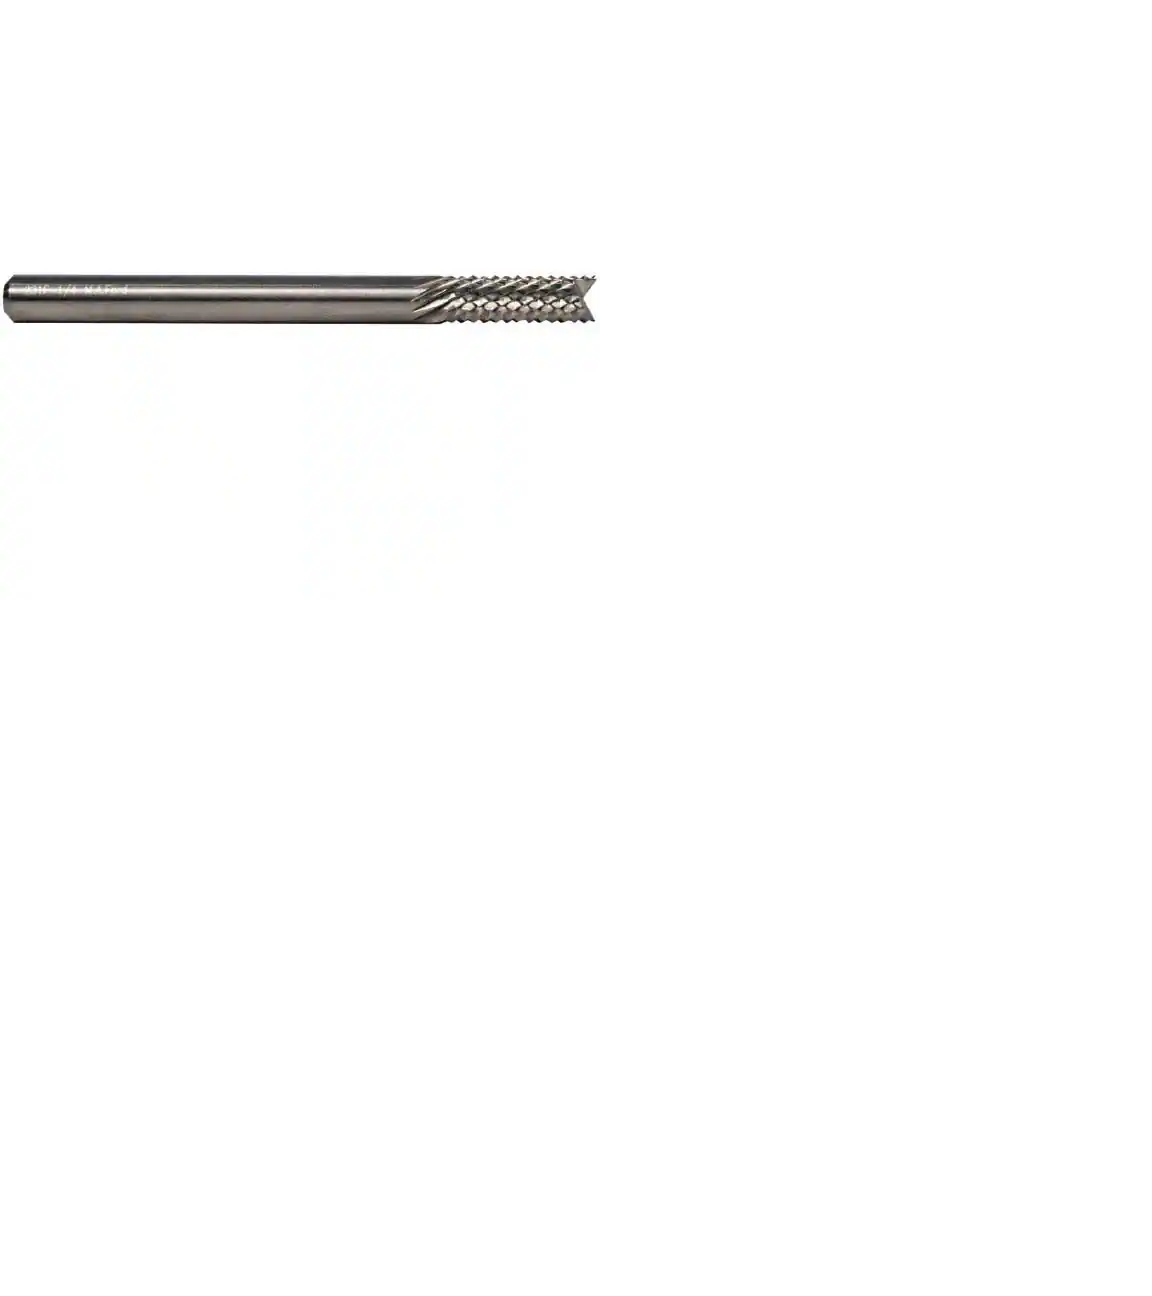
It could be the tram as @WillAdams suggested but you could also decrease step over to help minimize the effect. Reducing step over increases machining time but makes for a smoother surface. It depends on what bit you are using also. A lot of up/down cut bits have a shape of a fish tail at the cutting end. The #201 has a flat bottom but the fish tail bits are rotating and moving and you get more of the effect I see in your photo. So also slowing the IPM might help.
Here is an example of the fishtail bit. This is exaggerated for most of the bits we use but it is a factor.
I had the same issue on some advance v-carve work where the v bit was getting into the tighter spots. I had to drop the step over a BUNCH to get them to go away. However, I was able to see the marks in the simulation in carbide create when I zoomed in. I kept reducing step over until they went away and then cut my sample. It worked. Thankfully, mine was in a small area so the time increase wasn’t a huge issue. You may not have the same success in that respect since it’s a bigger pocket. Let us know what ended up working for you. I’d like to know. Thanks.
That is very interesting, I have had the same issue with advance v-carve but just chalked it up to user error and tried to sand down the marks. I did not zoom in enough to see if the marks were apparent in the simulation, but will definitely do that next time!
In terms of solution for this issue, I do not currently have the proper tools to tram my router so I just did a quick check with a level and made an adjustment. Obviously this is not a super precise method so the marks are still present but are less apparent so it looks like I am on the right track Once I properly tram the router I am hopeful the marks will disappear!