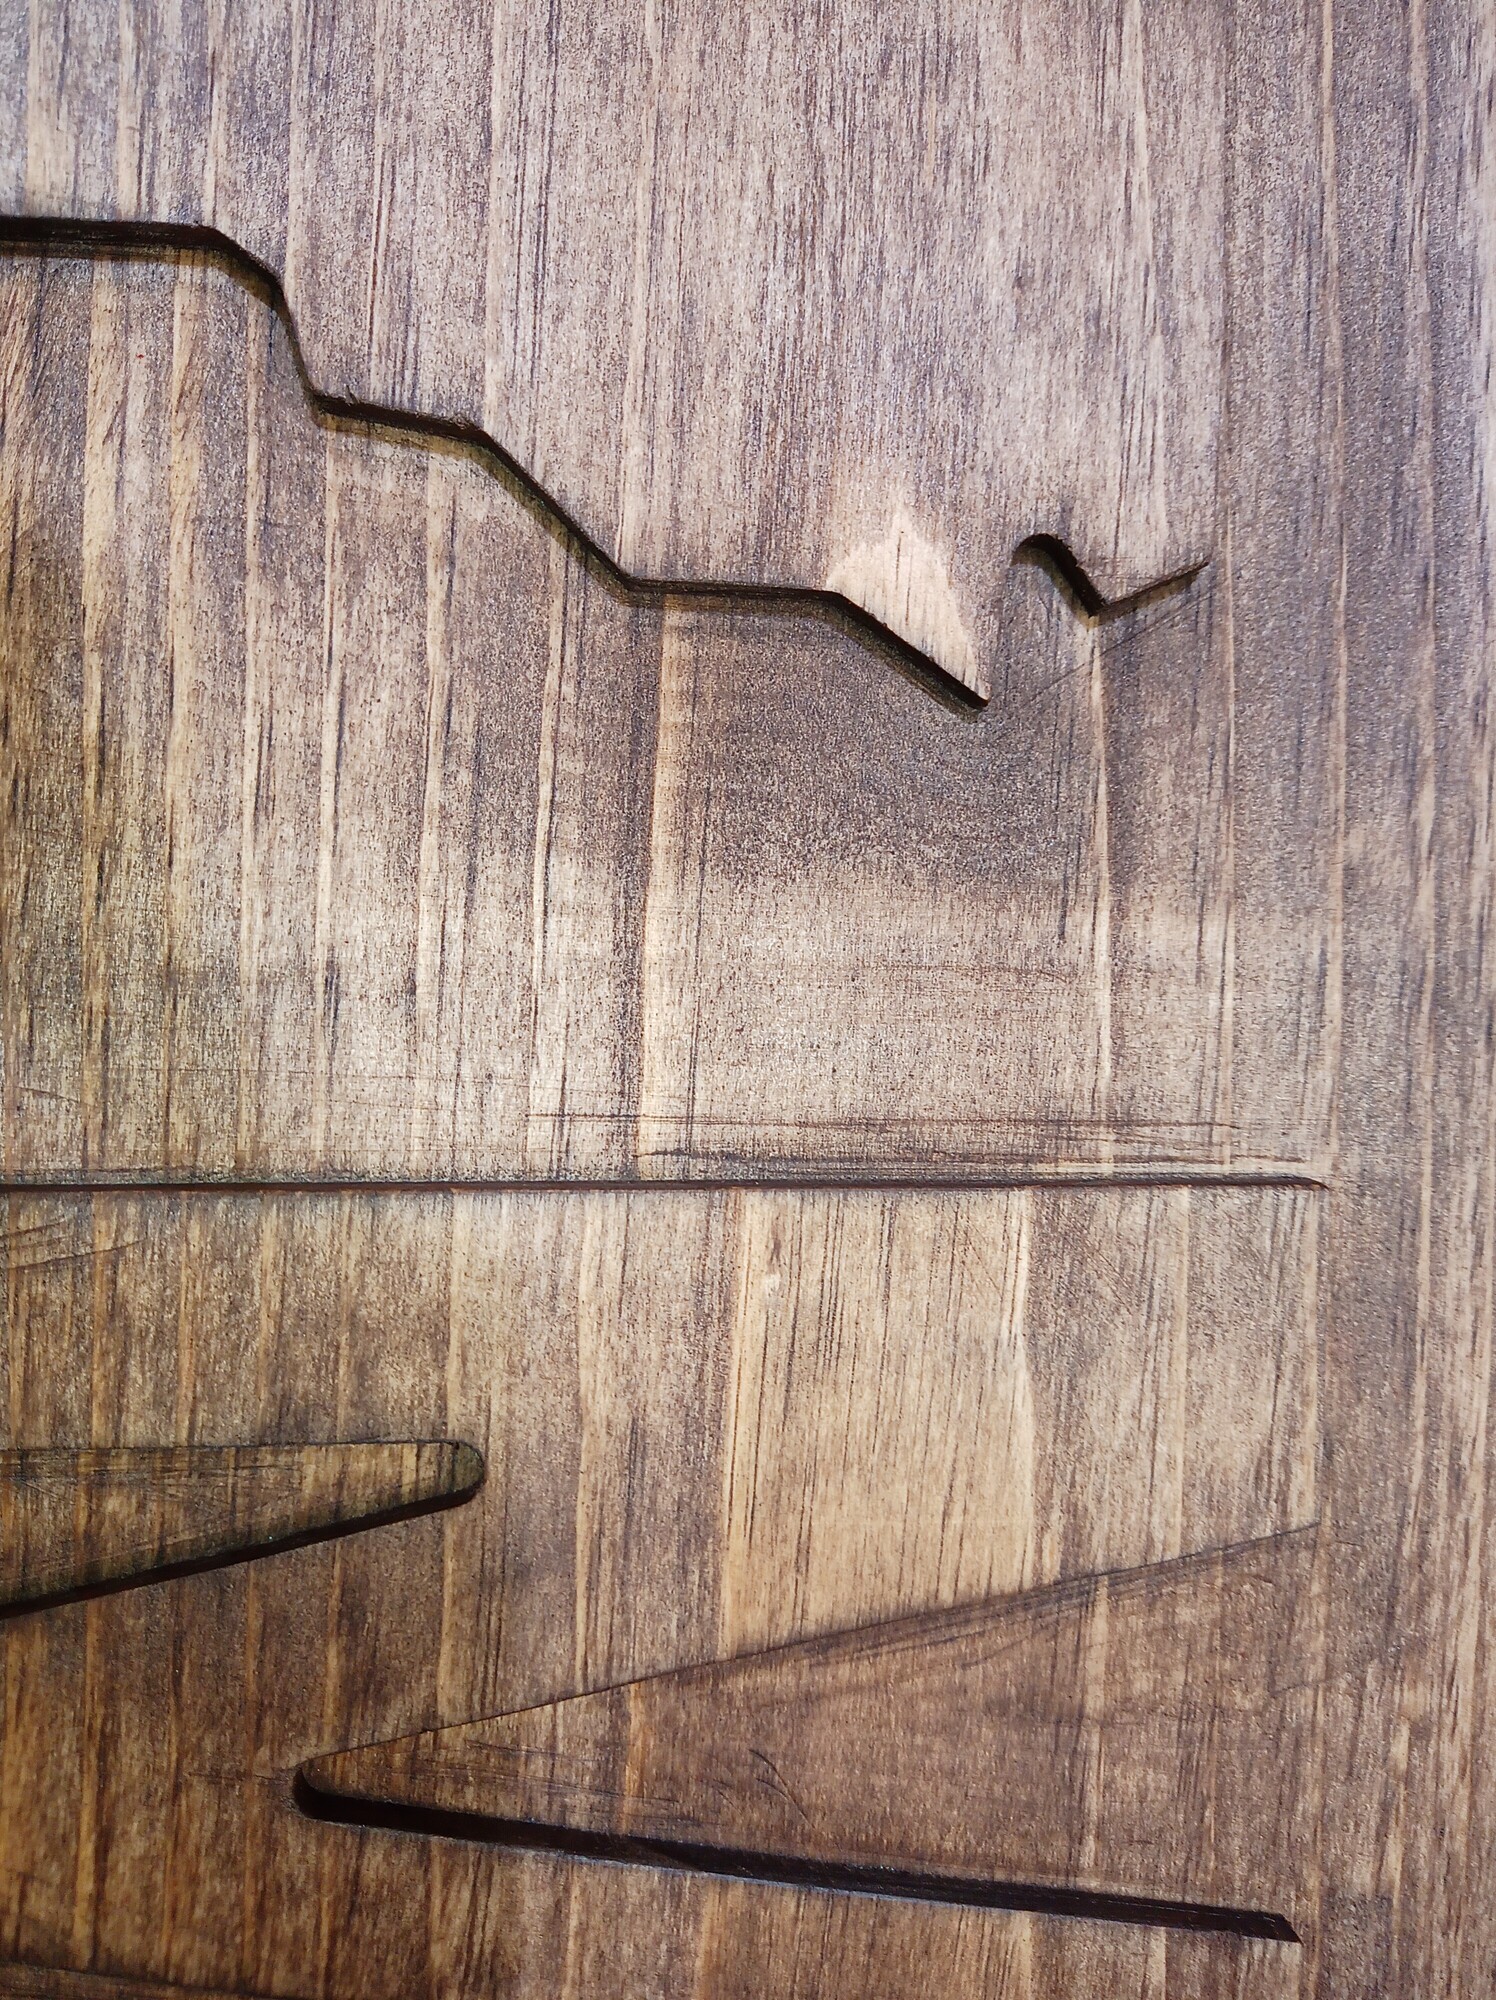
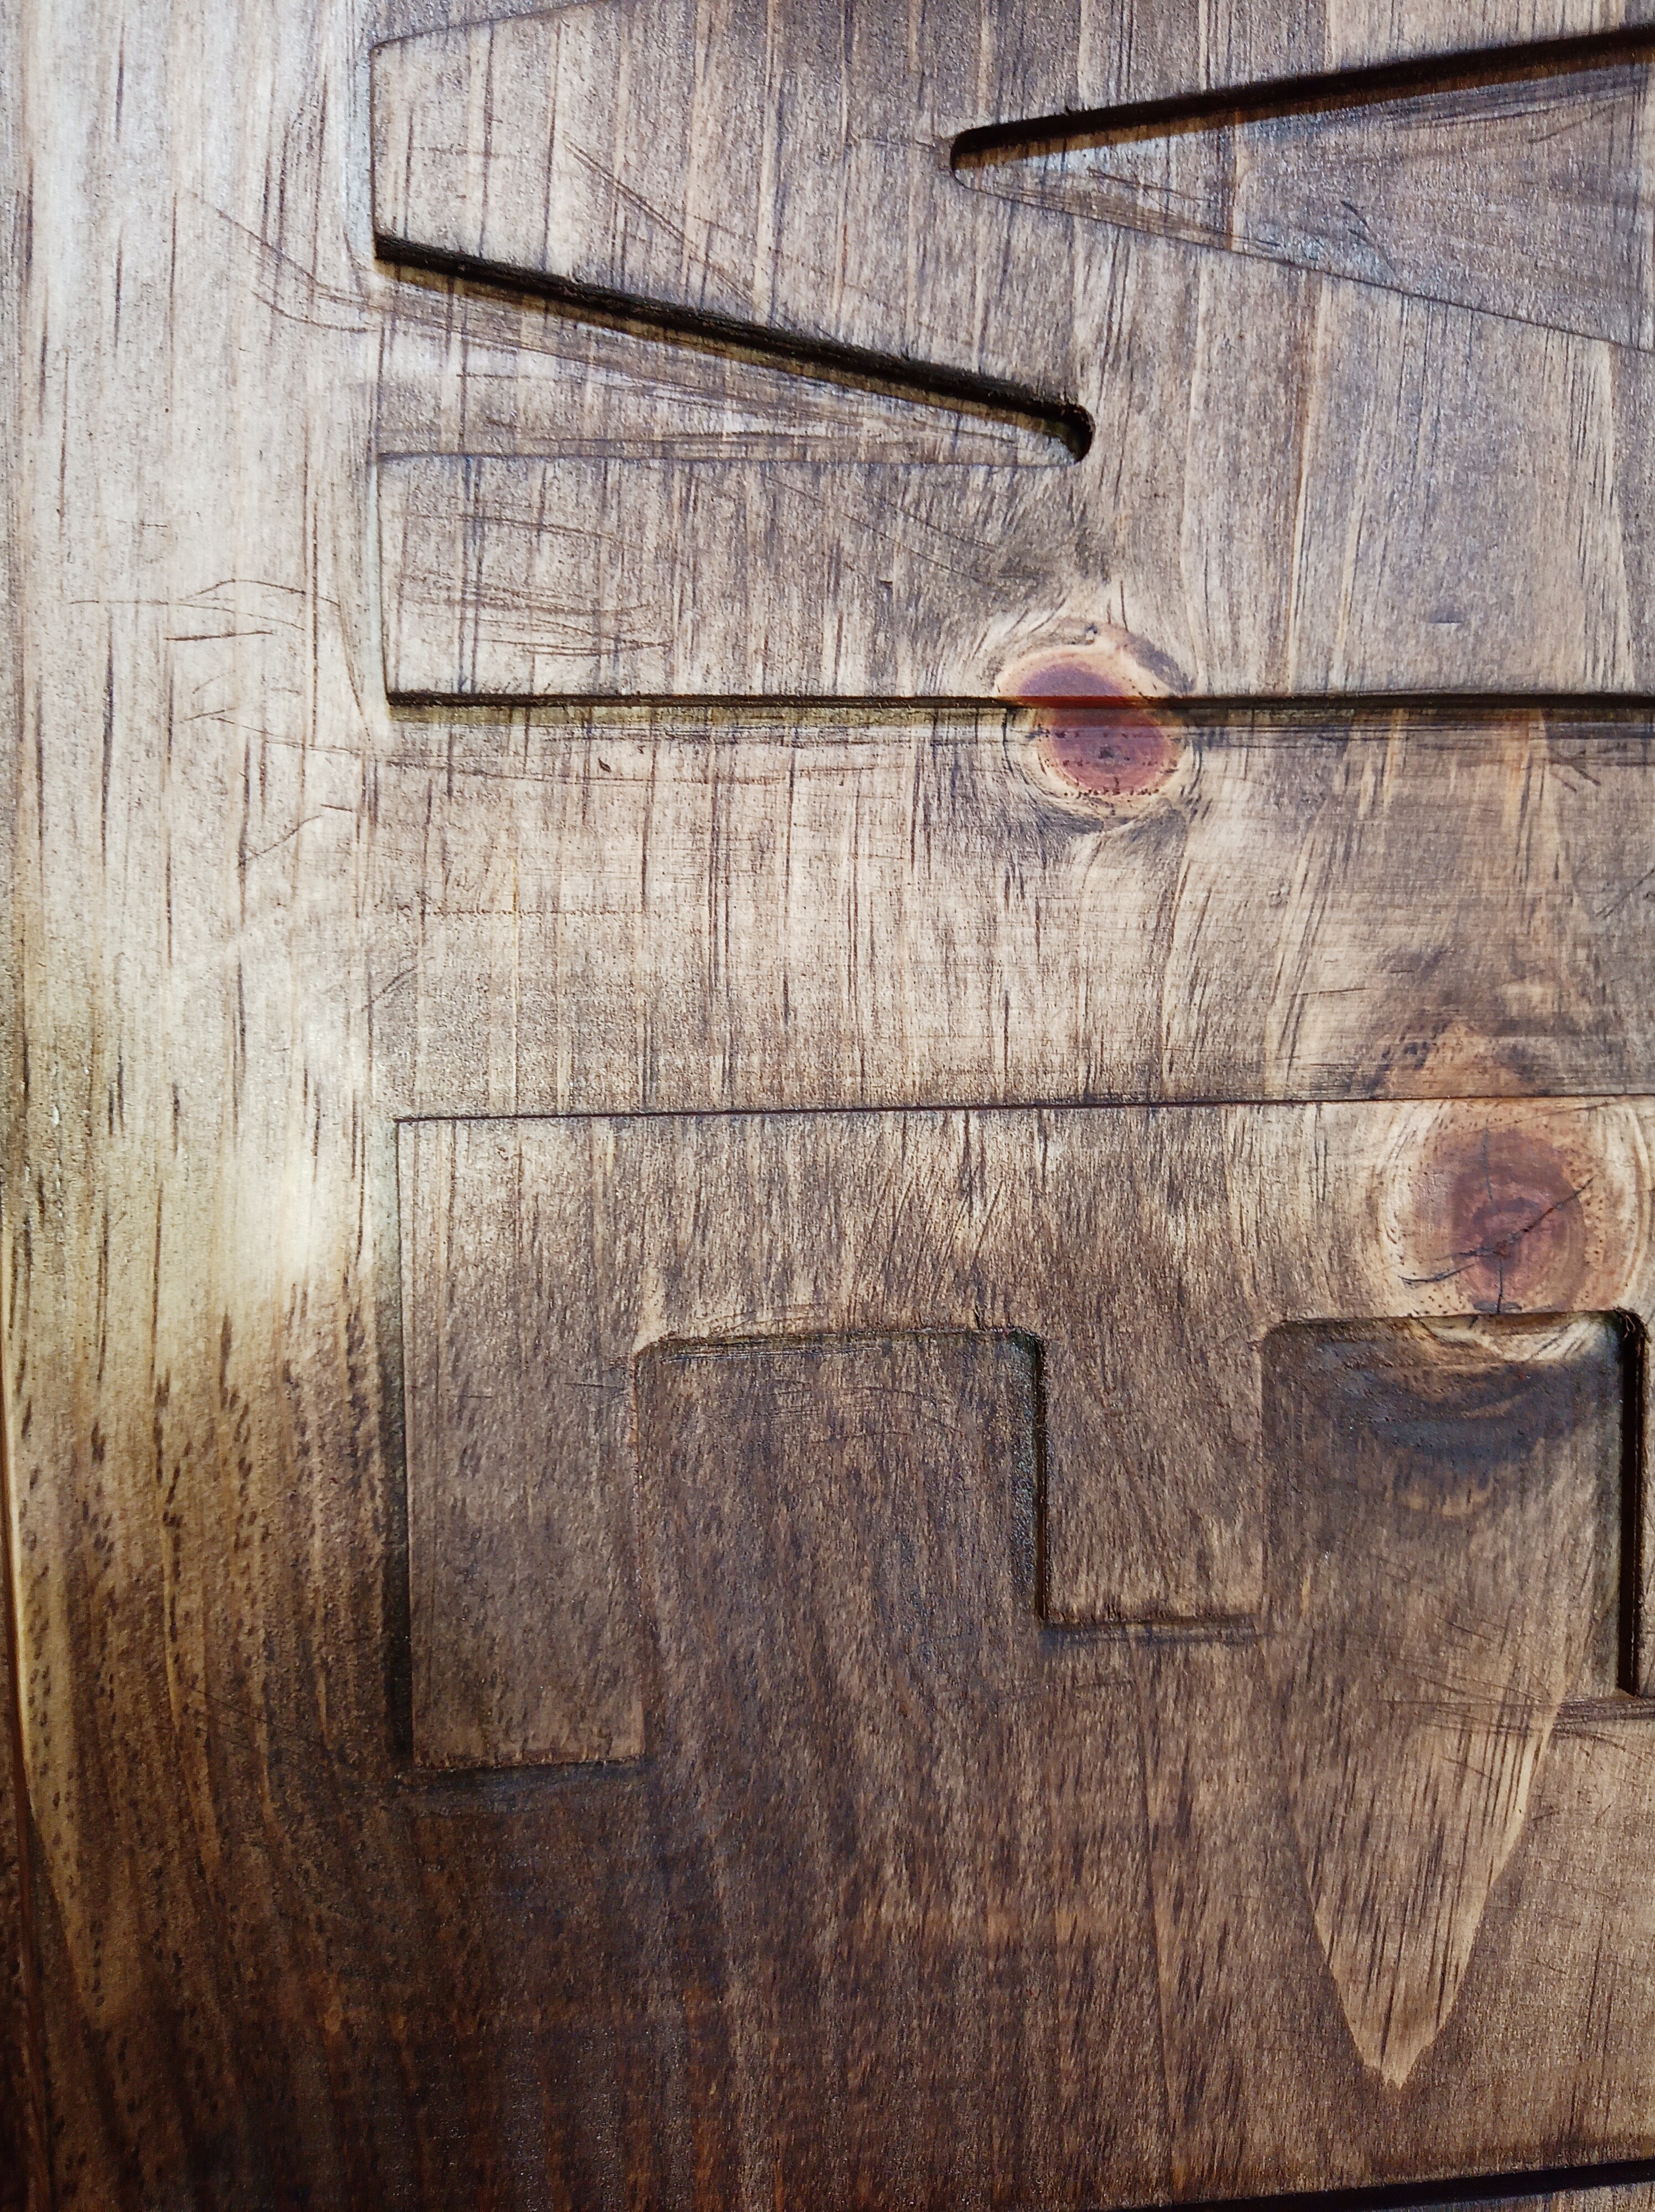
I’m sure this has been discussed, but I couldn’t find anything as to why this is happening in my search for Path Marks. Are these lines caused by something “I’m” doing wrong or what? I have them in pretty much everything I make pockets in. It sucks, I sanded my BUTT off on this piece and those lines remained. I obviously couldn’t get my orbital off in there because of the design, but I got my sanding block, my fingers with folded sanding discs, I tried all I could try. So since i cant seem to clean up the lines, I figured I better ask how to make it so they are never created…if possible  Heeeeeelp! Please.
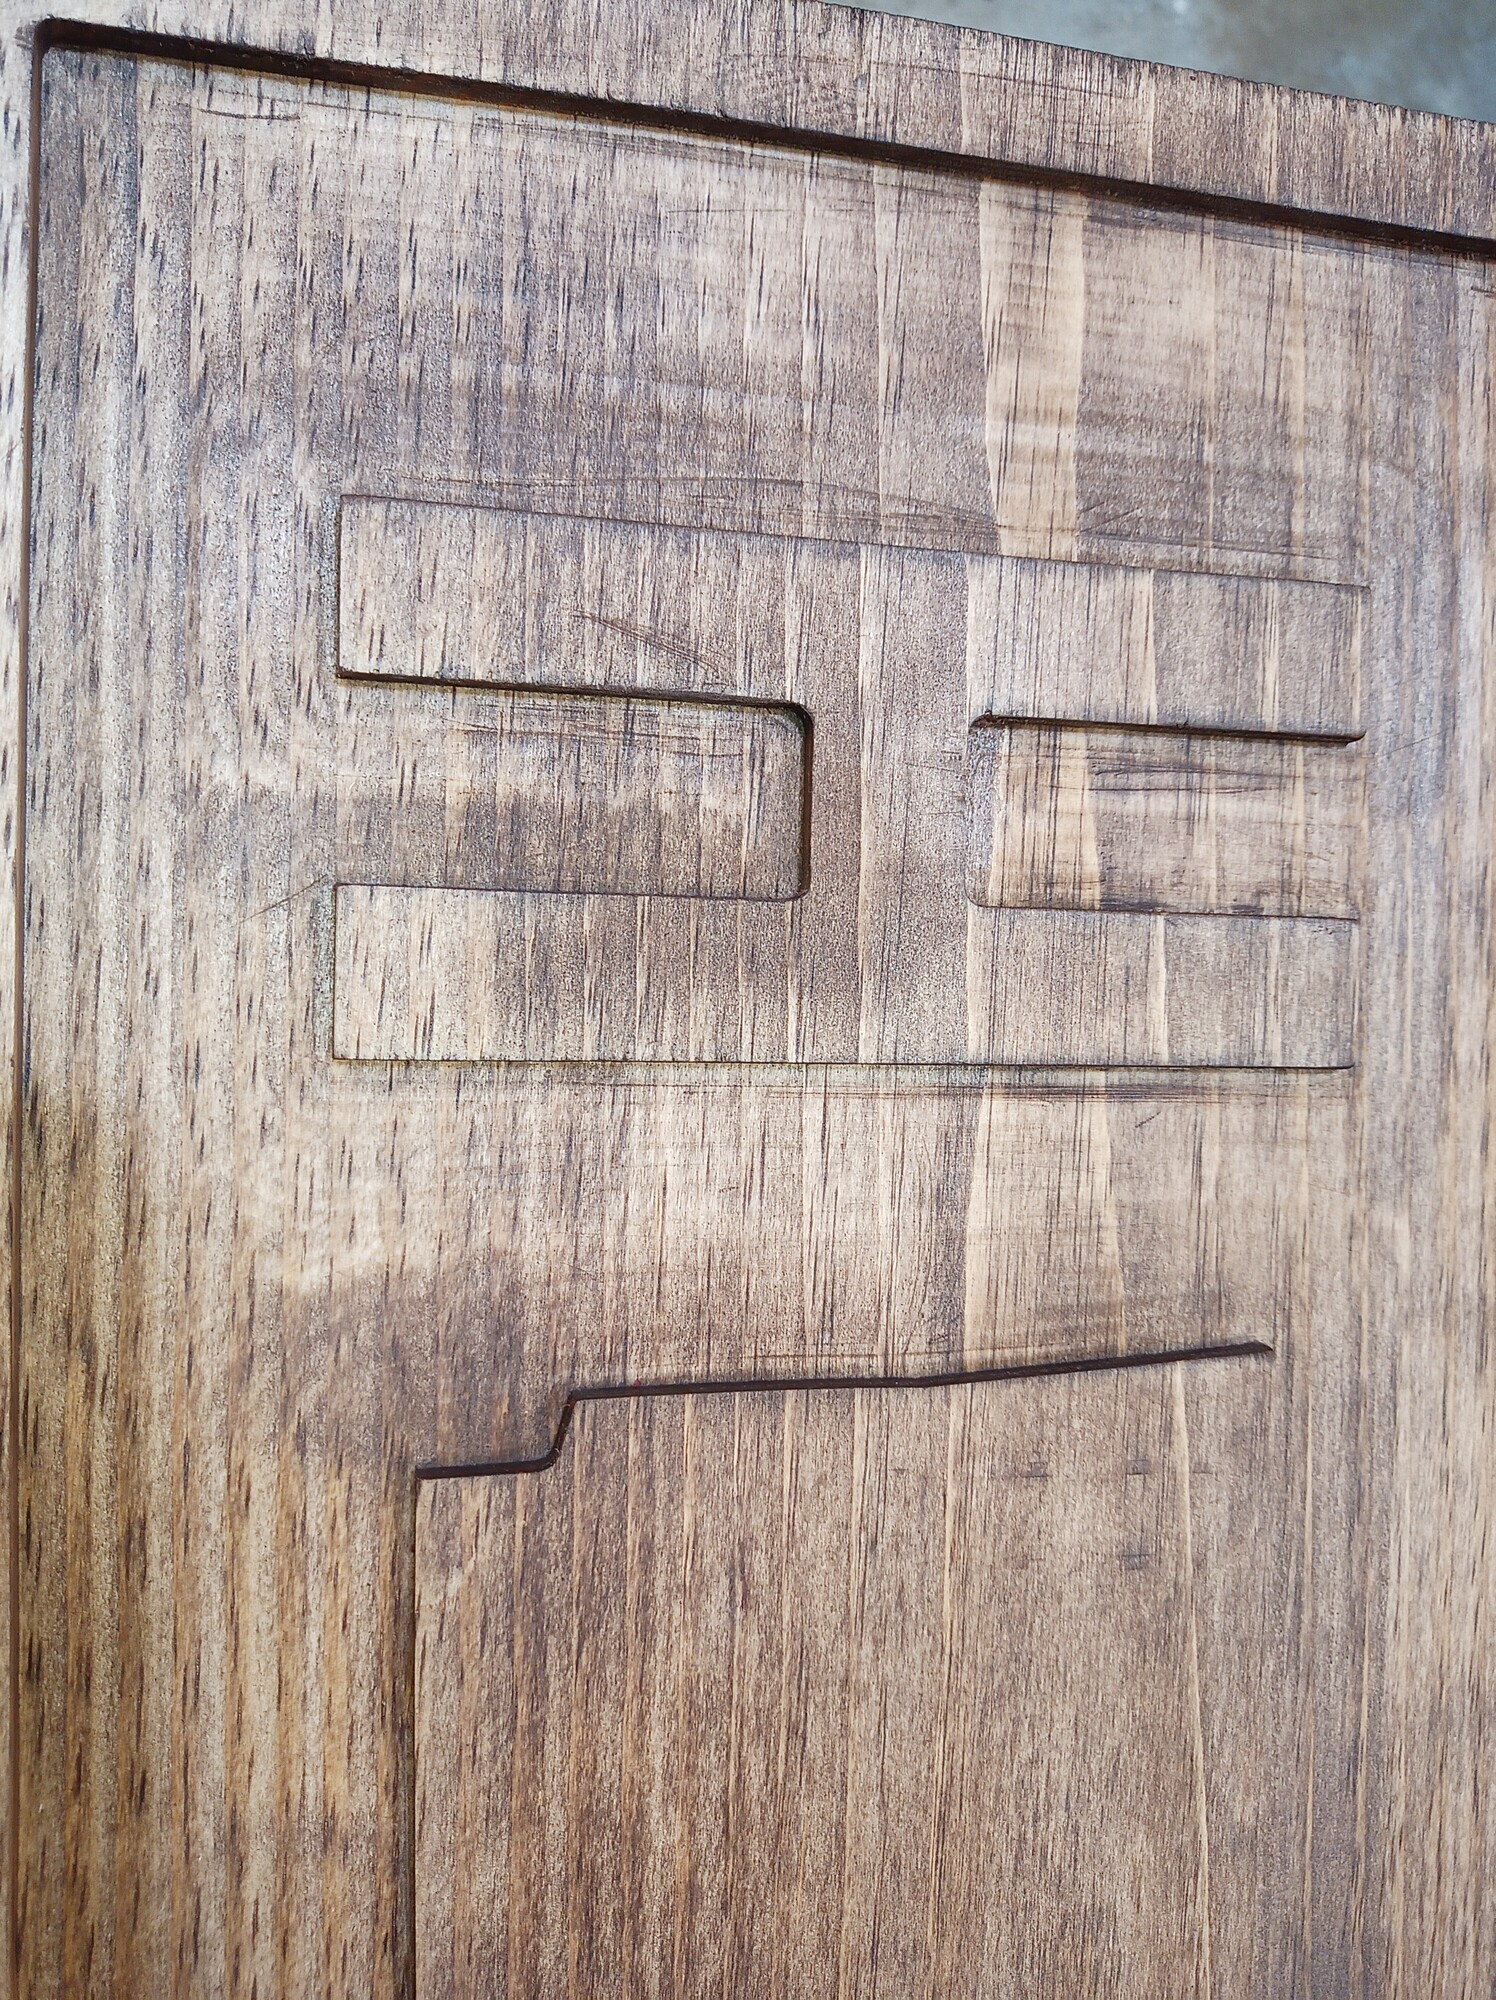
Your router may need to be leveled and your spoil board flattened. Even if those two are good you may need to decrease stepover. You need to have sharp tools. From the picture it looks like pine or poplar wood. Both are famous for blotchy staining. You can sand first and then use a sealer to prevent the blotchy look that pine and poplar get. 90 percent of any project is the prep and finishing. The work to get to finishing may not be 10 percent of the work but the final prep and staining and finishing are 90 percent of the way your project looks. The actual percentages of work do not add up to the finished product but hopeful you get my point. Total time for each step of a project are not proportional to the output or finished look.
1 Like
few basic physical things to check: Make sure the v-wheels and belts are tight.
Also the squaring of the machine might be out too much (but based on the visuals, I put money on the vwheels, I used to have something similar)
But even with the perfectly tuned machine, they’ll never go away 100%.
On the digital side, you can do things to make them a lot less
- Add a finishing pass (so do the pocket first to the depth minus 0.02", so leave 0.02" behind, and then do the pocket again to full depth (in CC, make sure to set the starting depth)
- Use a smaller-than-50% stepover for the final pass (easier to do if you have a finishing pass). 25% to 33% is where I often end up.
3 Likes
Thanks. I’m not all the way sure how to level out the machine, but I used a precision square my buddy gave me and and the thing seems pretty darn level. I have never tried any of that stuff Winston Moy did, I think he called it Tramming or something, I don’t have the resources for that kind of test. My spoilboard is probably only a few months old, but I will check that too.
you don’ tneed any special equipment for the basic tramming.
but first, check if your vwheels are tight (with the machine off, you should be able to rotate with your finger, but feel real friction there)
maybe an easier test, with the machine on, but the router off, try to see if you can wiggle the bit in the router. If you can (within reasonable force bounds), that is your problem to chase and fix.
The first thing is to make sure your spindle is trammed like others have said. See Winston’s video here:

The video is slightly out of date hardware wise but the principles still apply.
Second, you will never fully prevent tool marks. Sanding will always be required. I own a high end custom carpentry shop and these marks appear on everything we cut on our professional grade machine. No mater how much the CNC machine costs, these marks will always be there. It is an unavoidable consequence of how a spinning cutter works. You can minimize them with a correctly trammed machine and tuning of RPM, feed rate and acceleration settings.
2 Likes
One thing I do as much as possible is to run my toolpaths with the grain. I use Vcarve Pro and it has an option for raster tool path which goes in straight lines. I’m not sure if Carbide Create has that option or if it only does an offset toolpath which has the bit going in all directions. At least going with the grain you can somewhat hide the tool marks. Other than that, like others said, make sure machine is trammed, use a finishing path at the bottom and use a small stepover.
1 Like
Ok, just got a chance to test it out. Of all the wheels, only the bottom two on the left side (Shapeoko 3XL) were a little loose, I tighten with 11mm wrench. Checked router again with my precision square, still str8.
I doubt it’s my table very much, but I could try a new piece of MDF, see what happens. Speaking of which, when I mill the same designs in MDF, I don’t really see the lines I see with the pine. Maybe it “is” my wood. Gonna see if I can find some walnut somewhere online, because my HD or Lowes doesnt have anything but poplar, oak, cedar and pine. Anyways. I guess I will just deal with it in the mean time, maybe try that second pass with the tighter step over idea, but in my head, I’m thinking, “well won’t it just leave path marks on the second pass too?”
the smaller stepover will leave marks. they are just both half the width and half the depth… on a perfect machine. On a machine with a bit of flex/deflection/whatever even less so because forces are just so much lower on this second pass.
1 Like
Different types of wood show cutting marks differently. Soft and fibrous types show it the most.
2 Likes
One last (general) tip once you have the tramming sorted, is to set depth per pass to a number such that the last pass will only cut very little material, which in some cases helps minimize the toolmarks / floor finish.
For example if you need to cut a 0.5" deep pockets and wanted to use 5 passes of 0.1", you can enter a depth per pass of 0.095" instead, CC will then generate 6 passes: 5 passes of 0.095", and one final pass of 0.025". That final pass will hardly exert any force on the cutter and the wood, which hopefully will translate to less visible marks.
But then again, as others said, some woods just won’t cooperate and are much more susceptible to toolmarks than others (at the other end of that scale if my all-time favorite, bamboo, which is pretty much immune to tool marks  )
)
4 Likes
Lots of good advice here! I try to avoid pine like the plague, but if I have to use it I will always give it a liberal bath in some “pre-stain conditioner” that helps fight off a lot of the blotchiness that occurs when staining. But 9 times out of 10 I will try to use poplar over pine because it has a tendency to show less tool marks.
4 Likes
I really like that idea @Julien thanks. Most Definitely going to try this one.
Yes, I understand about the pre stain, the image I provided with this thread was of a piece I purposely just “did” because I had no intentions on doing anything with it, other than seeing if my tool marks would show up also in the stain, and oh boy did they. it’s like the stain made them more pronounced if anything. I’ve not really gotten into “selling” anything and have just been in the “See If I Can Do This” phase, therefore, I’ve just been using pine. If I could bang something out, that I really like and other people like the look of it on pine, I definitely have plans to then take that carve to a more “sell type quality” wood. Hey thanks EVERYONE who jumped in on this. I feel tons better that every single one of you see the marks most times in your wood too (lol)
I always though the path marks were part of the gamke until I got my HDZ… No more mark, even my parallel toolpath now make a almost mirror like finish! I’m impressed!
So it seems the stability of the Z axis is a major point to look at.
3 Likes
I use a .01 stock to leave on my floor and then finish with a flat end mill, (usually #201) using a parallel toolpath with perpendicular passes with a very small stepover.
2 Likes
This topic was automatically closed 30 days after the last reply. New replies are no longer allowed.