Really starting to get into the groove with this little machine.
And renshape is way more durable than I anticipated.
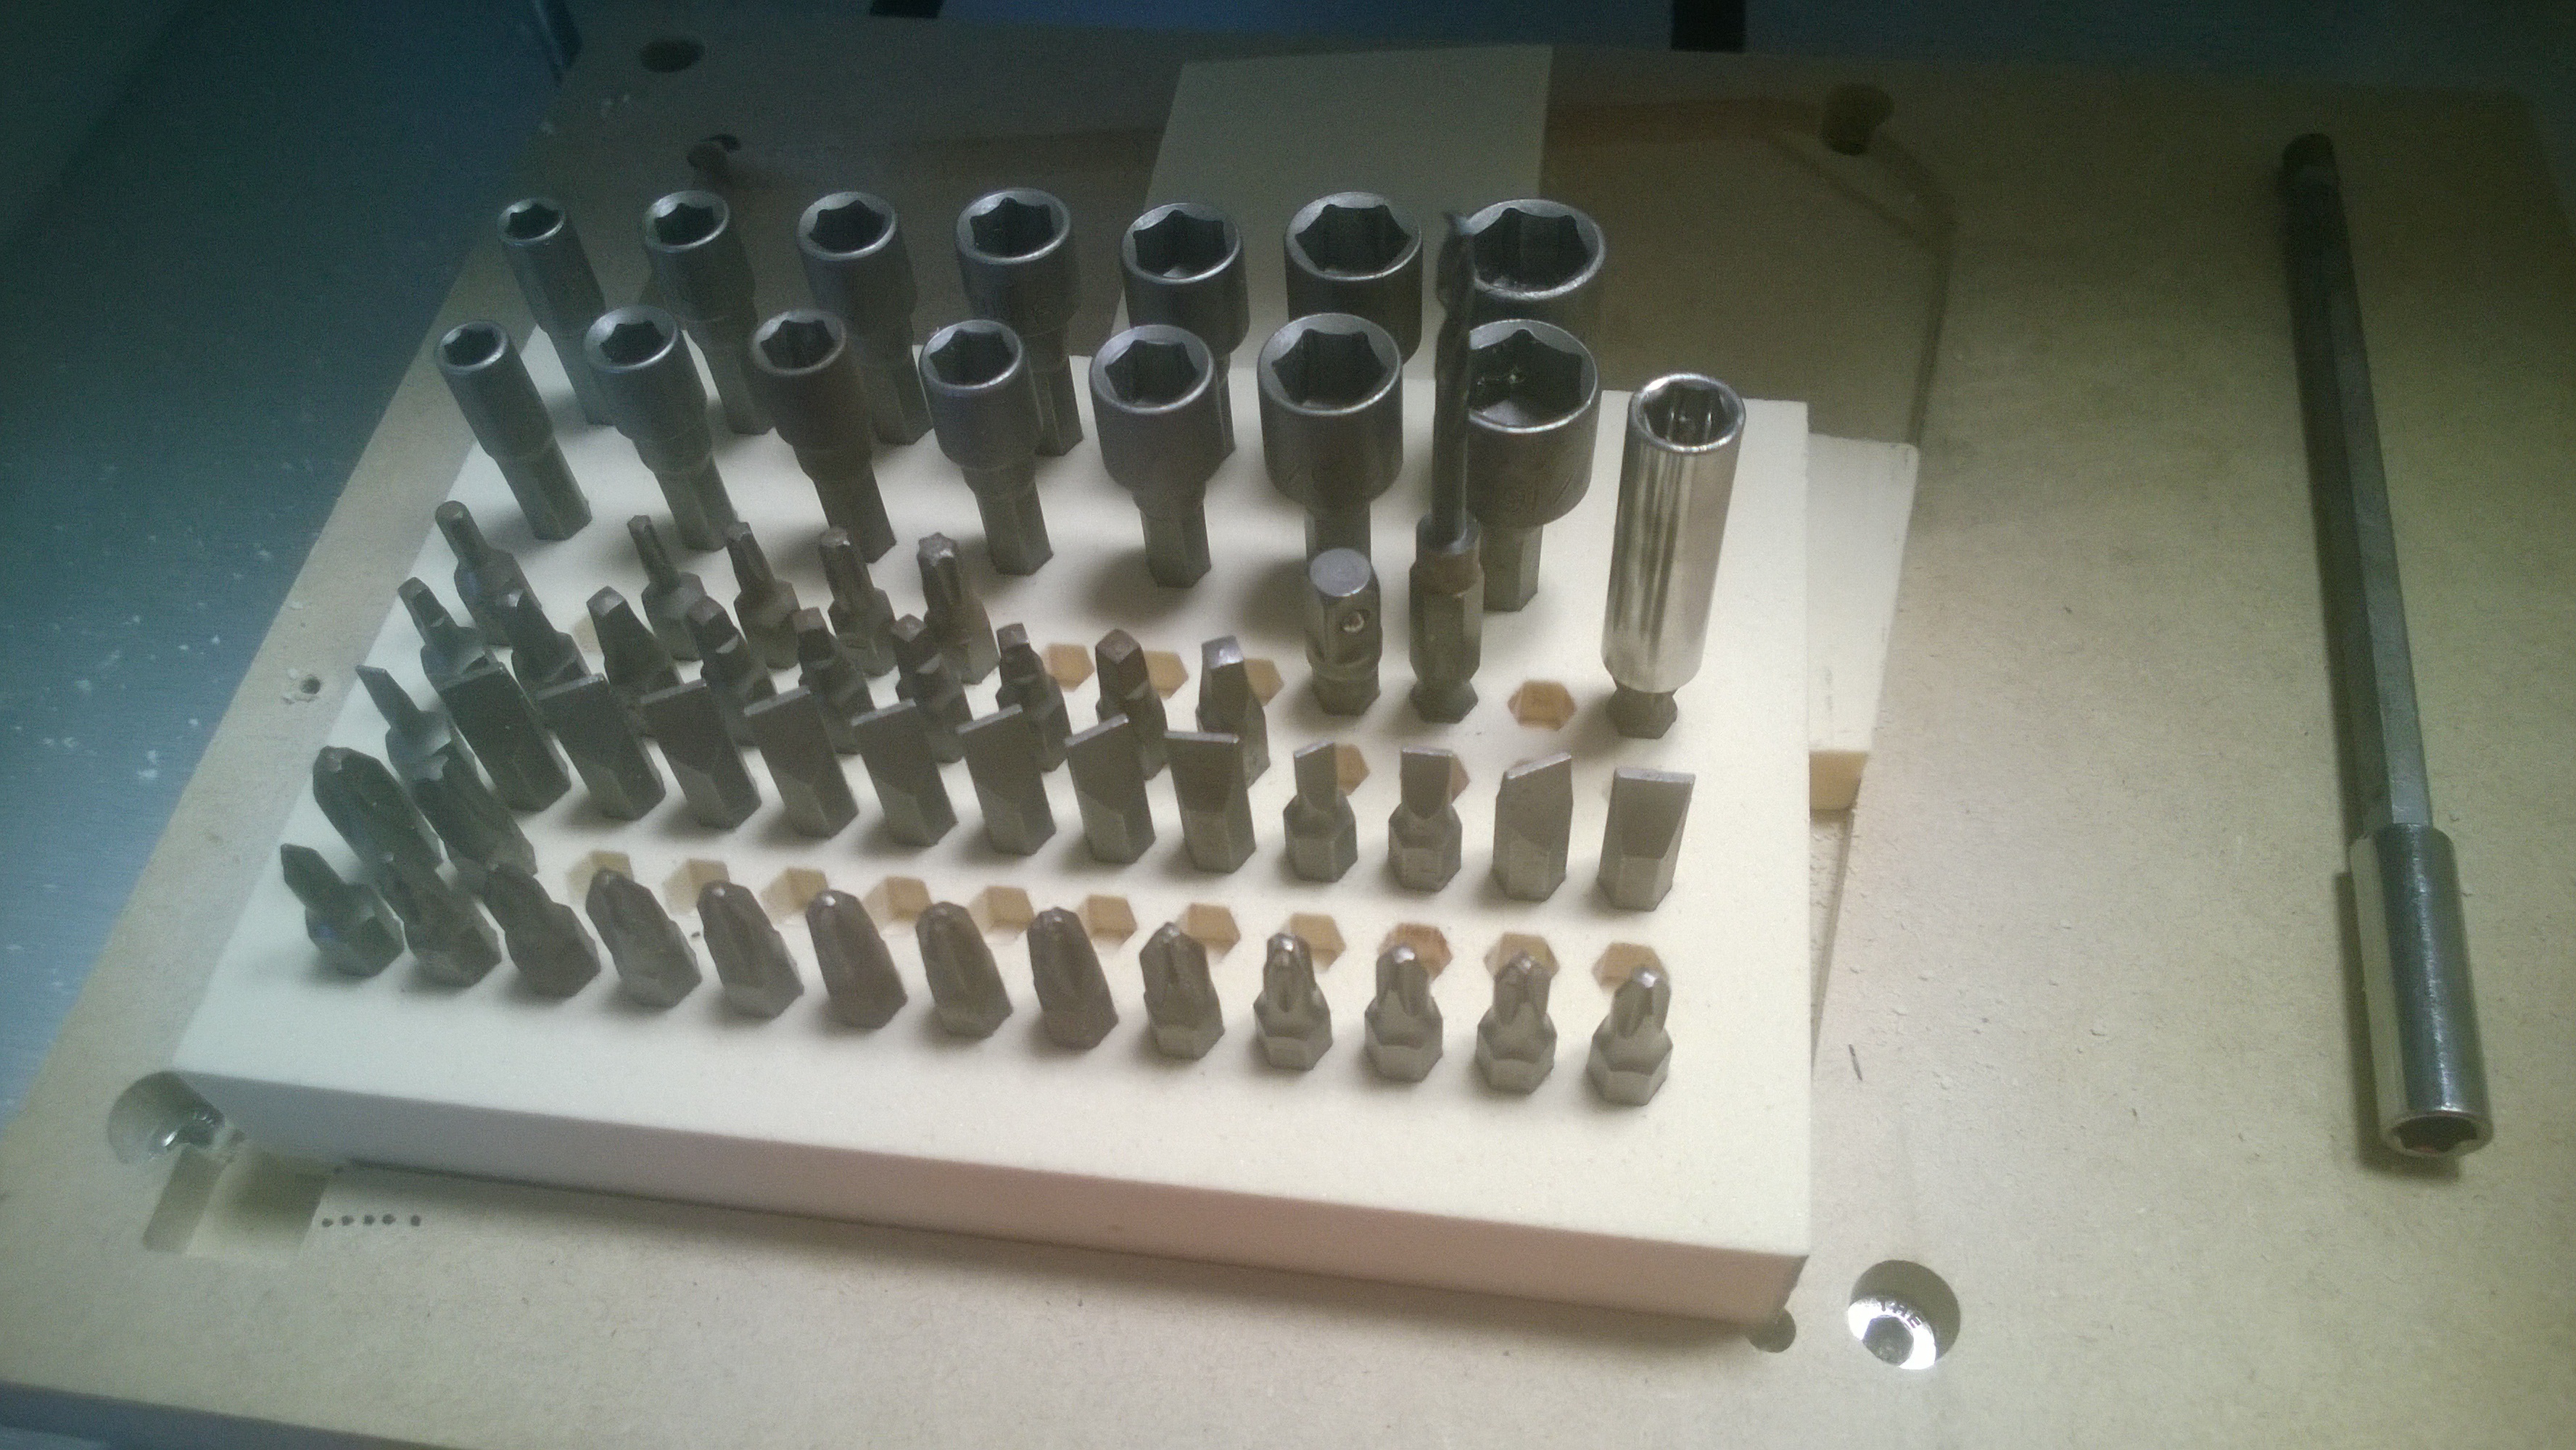
Re-organizing my hand tools roller cabinet has been fun.
I am liking making custom tool storage mounts.
Really starting to get into the groove with this little machine.
And renshape is way more durable than I anticipated.
Re-organizing my hand tools roller cabinet has been fun.
I am liking making custom tool storage mounts.
Neat spoil board, how do you zero to its edge without a edge finder? with that corner in the bottom left?
How tight are the hex holes? what dimension did you tell whatever CAD tool to make them?
Did you use OpenSCAD? Or done traditionally?
With respect to Alfonso Bedoya - Edge Finder? We ain’t got no edge finder. We don’t need no edge finder! I don’t have to show you any stinkin’ edge finder! 
In manual mill days one put the tool they were going to use in the collet/chuck and gently, ever so gently walked the end mill until it touched the edge of the stock. Zero. Do it on the perpendicular edge. Zero. Pull the tool up in Z. Move to 1/2D, 1/2D. Rezero. Done!
The technique works just fine with CNC. I’ve done it this way - manual mill and CNC - many times and will continue to do it this way - when it makes sense.
One has to be careful that the flutes touch the edge - not the void - and that they are not damaged. Commonly, one used a piece of material - the cellophane of a cigarette pack was 0.001" and widely used - and one walked until the material didn’t fall via gravity.
If one uses a piece of material, add its thickness to the 1/2D.
I never smoked so I didn’t use that material but any source with a known thickness works fine.
I’ve got a high end edge finder in my machine tools box… but I cannot remember ever using it… 
Variants:
A) Use a precision ground rod/pin/dowel of known diameter.
This avoids endangering your end mills. MMC is a good source of these. @Randy often
does it this way. I do it this way sometimes too.
Don’t sweat it!
Often the edges of stock are dented and aren’t used (e.g. sheet based wood work) - the pieces
are within the stock. CAD a boundary and stay inside it. Your eyeballs are good enough for a zero!
My CAMaster came with a laser spot. it was positioned at a known location relative the spindle.
Put the spot on the edge/corner and “ZeroLaser”.
Doesn’t matter too much sometimes…
Say you’re machining something flat. One doesn’t want to enter directly on the material. CAD
the area to be machined a bit bigger than the stock. Eye position the X0Y0 and start.
Touch plate for Z0.
A plate of known thickness that is electrically conductive is plated on the stock. The spindle
conducts or a wire is clipped to the end mill. The end mill lowers until the connection is made.
Repeat a few times and average. Do the subtraction. Z0.
Touch for X and Y.
A Datron has a need touch system to X and Y, much like 4.
mark
Frank,
Zeroing is pure simplicity based on how Carbide Motion works. First I rapid move to the front left corner. Then the corner of the pocket is a known distance in mm as that is Carbide Motions native units. so I arrow key over the known amount and set zero on X and Y. To zero Z, I rapid to the center of the pocket and use the paper trick to zero the pocket floor. If I need to zero the top of a stock, then I will mount it then use the paper trick off the top. As I have used the machine I prefer to set off the bottom of the pocket. This means I usually only have to re-zero after I surface the pocket deeper. CM does a good job of remembering zero between uses.
The hex holes have no tolerance except in the corners where I added a .07 circle. Renshape is soft enough to move and still provide good grip (makes the set very portable). I would have to add some tolerance if this was a denser material. It was done in A360.
So basically you are saying that the micro limit switches on the Nomad is repeatable enough? I never really placed much faith in any limit switches before. On the Nomad Pro I see that the Z probe is actually a stick on a limit switch, where as the internet tells me they are usually conductive sensing or piezoelectric. The Nomad always seems to depress the Z probe about a millimeter before stopping. I know this still works if the limit switch has a constant activation distance, but still… I never had much faith in them.
As I pointed out in an earlier posting many CNC tasks are not precision machining jobs, at least for the X0Y0, and for those this would be fine. If there insufficient stock margin surrounding the piece to be machined, one is OK with things being “off” a tiny bit from the “perfect”, and the home position is sufficiently repeatable it’s fine to use it.
I never trust limit/home switches/devices for precision machining work. In mind, at least, they are for a formal home position and for preventing crashes, not for precision machining positioning. YMMV.
mark