My wife is into the Harry Potter / Hogwarts series, I kind of like the series too. My Granddaughter and I are both into trains, especially live steam. So it all merged. Inspired by the movie and something similar that a neighbor got as a present awhile ago.
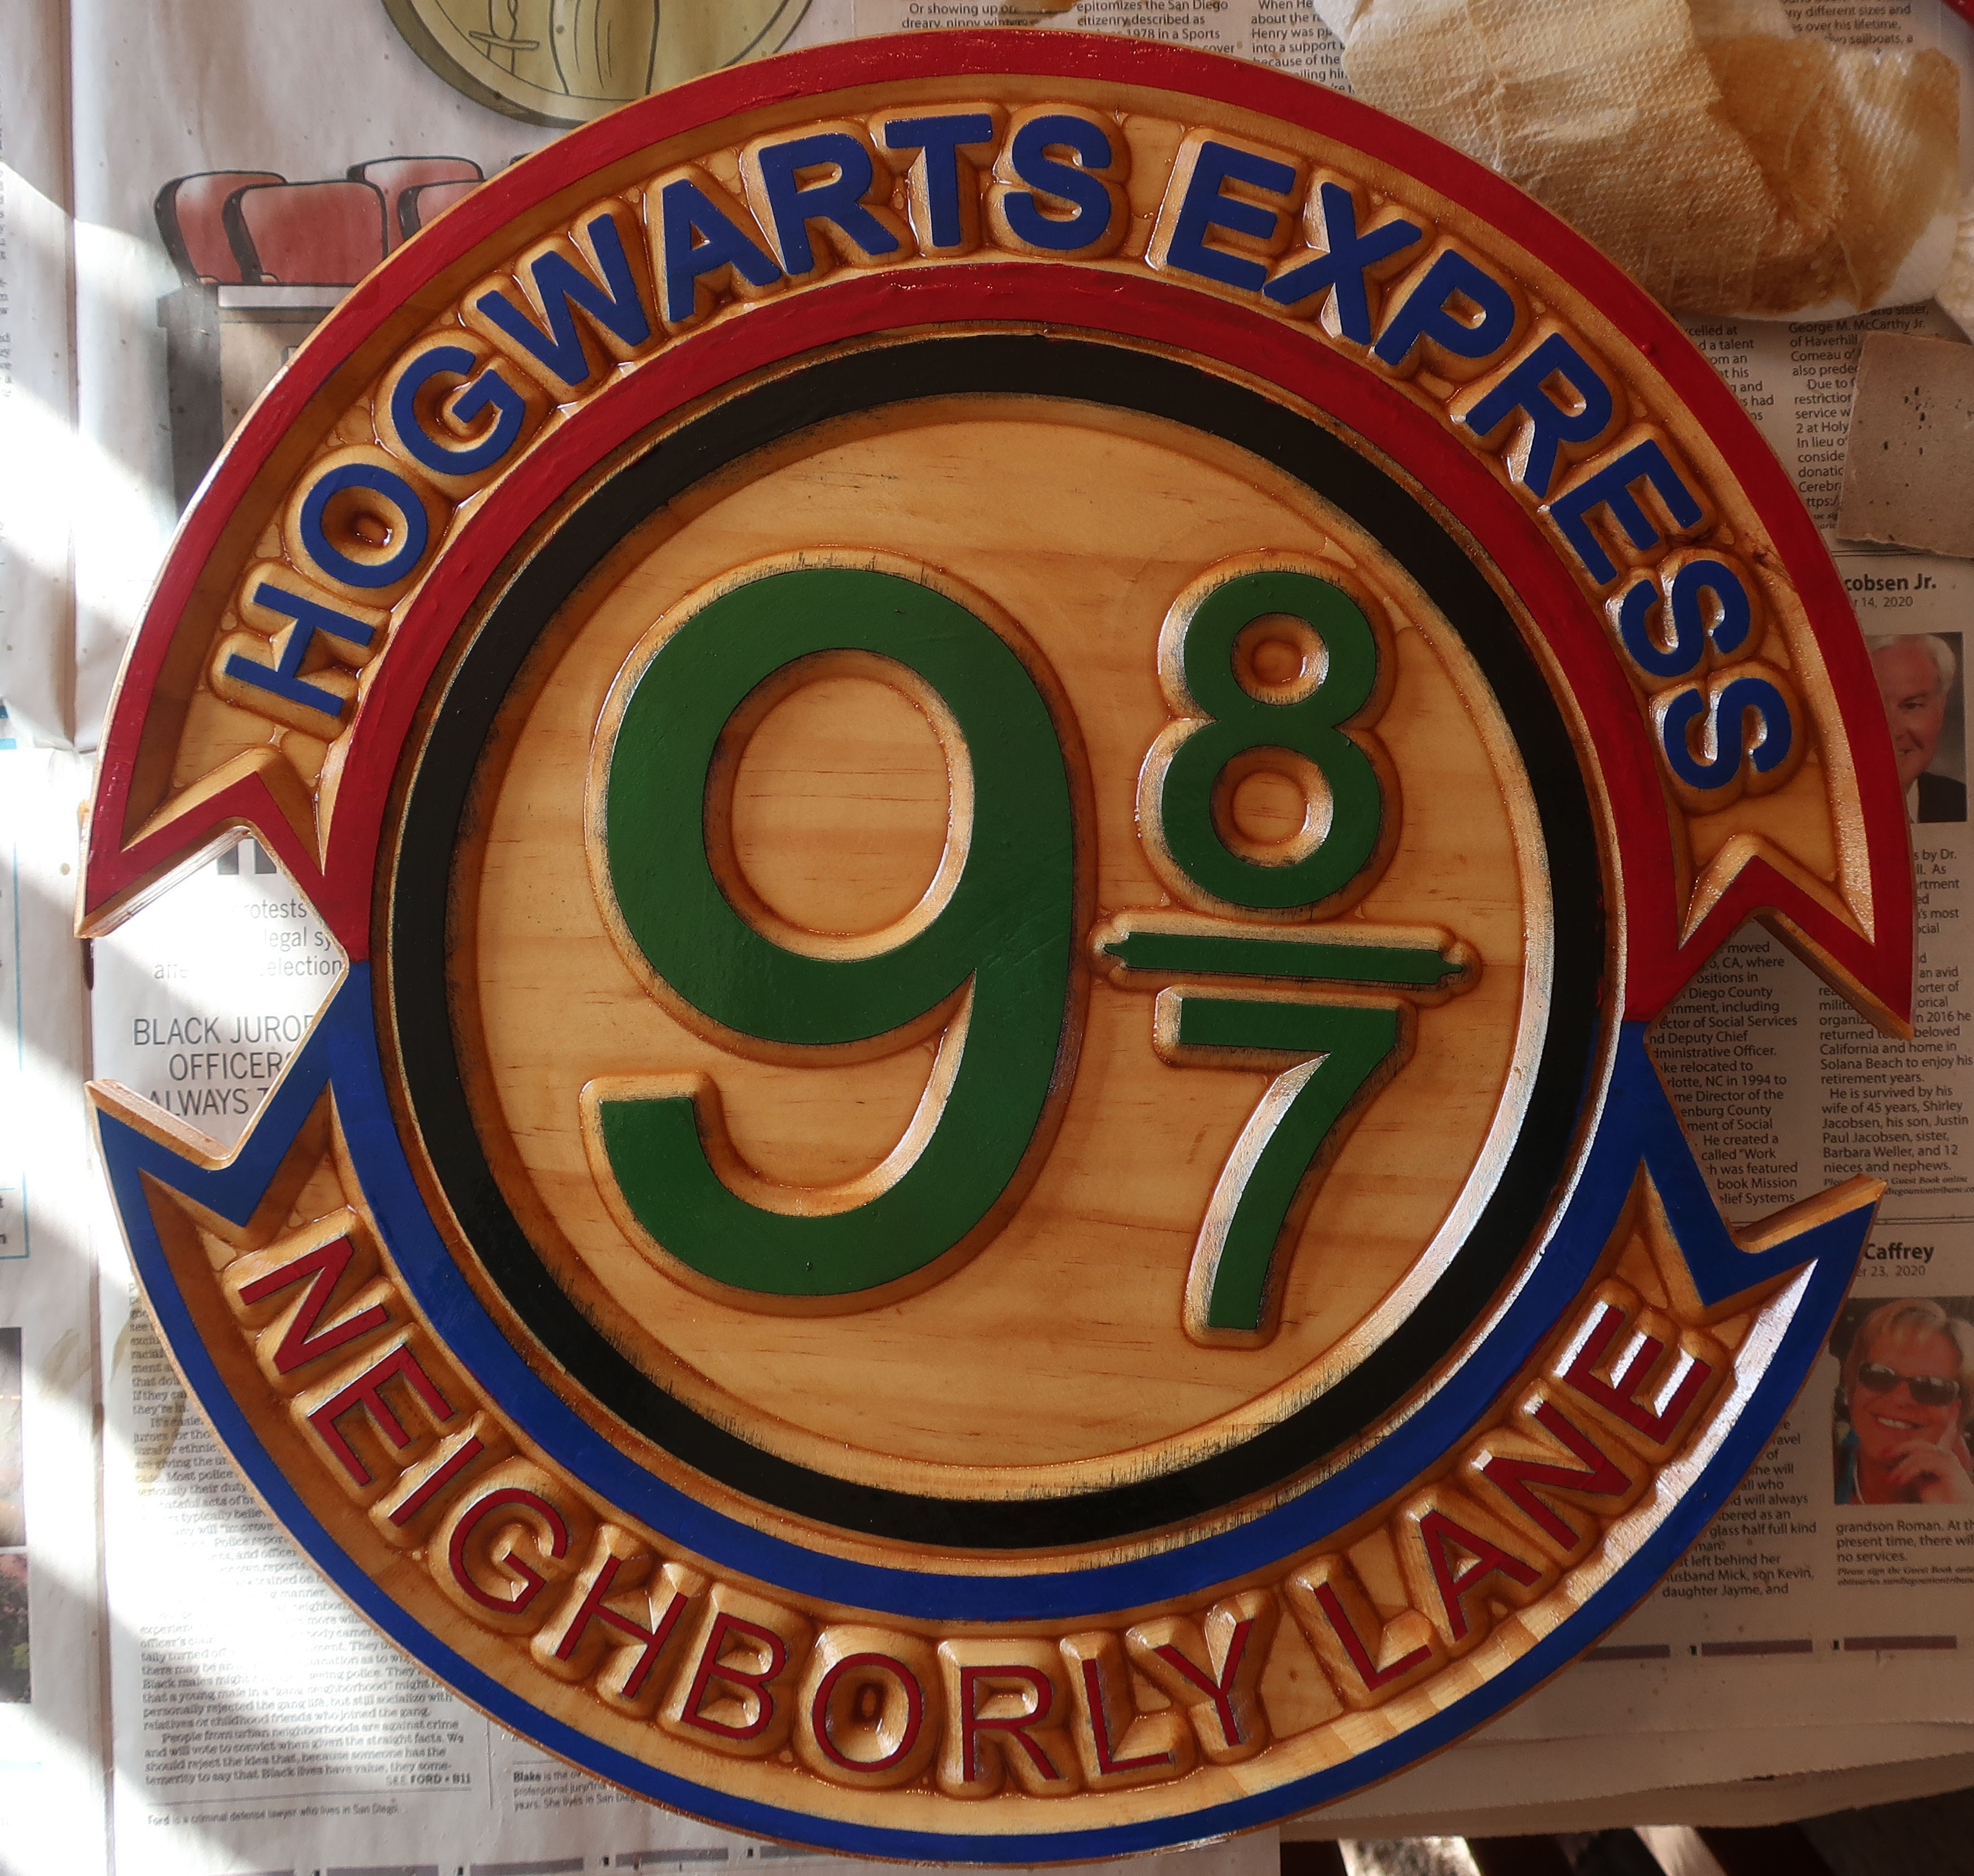
The plaque is made from several 1x4 clear pine boards glued together to approximately 17" x 17". Sanded smooth and pre-painted pretty accurately. The pre-painting was done with acrylic craft paint and was scratch buffed between layers to improve adhesion. It still pealed in spots and required after milling touch up.
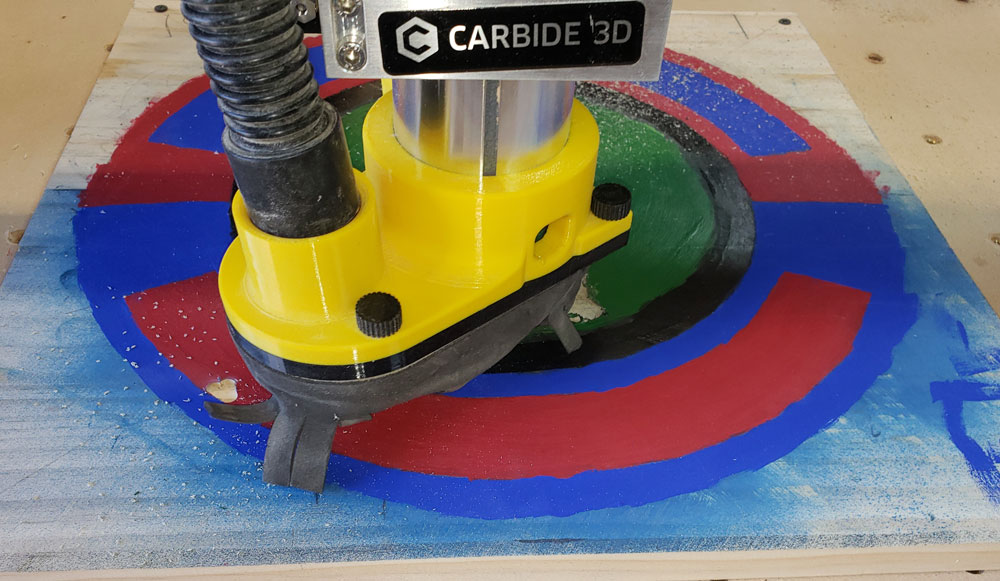
Then four tool paths - 0.25 end mill clearing, 0.125 end mill clearing, 90 degree V-Bit carving, completed with 0.25 end mill profile cuts. The milling, not desiring to push the trim router, took just over five hours.
The final coats were gloss exterior Varathane Spar Urethane which gave it a bit of a golden sheen.
End result is approximately 15" in diameter.
My wife’s comment was “That is colorful.” If it was in black / brown / white it would not be as “attractive” in my opinion. We lived in Japan for years. Trains, schedules, platforms, and entrances are color coded.
Mounting will be just under our security light by the entrance to the property.
Looks great did you hand paint each color or do you have some trick. Also is there some story behind the 9 8/7
First, it is an address - 987. In the Harry Potter series the train platform is a magical 9 3/4, which is through a pillar between Platforms 9 and 10.
I have tried several other projects with lettering on them. I pre-painted the plaque, pretty accurately, with FolkArt (brand name) acrylic craft paint. It goes on like half set white glue, pretty thick, but it evens out fairly will. (I have about 3 gallons of it in 2 oz bottles so I will be using it for a while.) One of the issues that came up is that it bled into the wood in some cases so I tried sealing it on another project and got very good results.
I have found that pre-painting, when possible or practical, comes out very will. Occasionally will tape the surface of a project, after setting the zeros, with masking tape, not “painters’ tape” which comes off too easily. Then spray painting the carved mill paths.
For the outline effect I do not think spray painting will have the same depth results. Spray paint layers are much thinner.
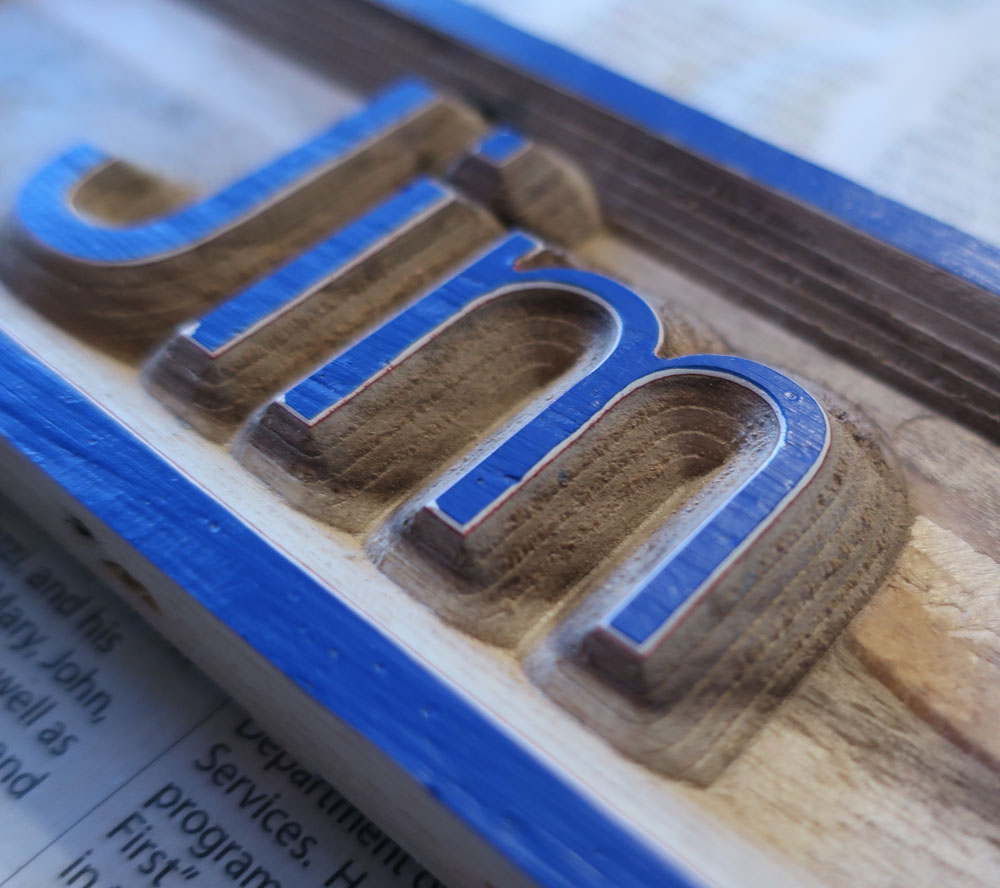
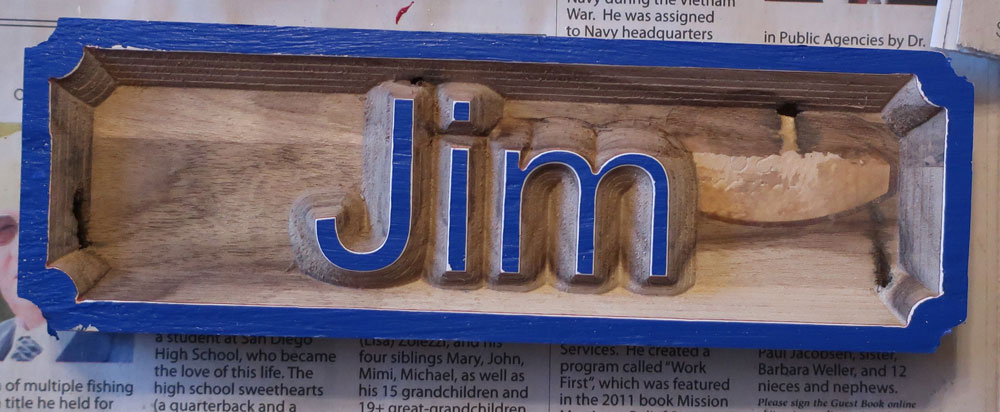
With the bleed through issue, I tried a quick project and sealed the top of the wood with MinWax PolyShade. Why? Because I was working on another project and it was open. Then put two coats of red, two coats of white, followed by two coats of (almost Navy) blue. Again, scratch buffed between coats for improved adhesion. Still had a bit of a pealing issue. Notice the outlines in the letters.
Pretty interesting.
I was using scrap for “Jim.” Giggle at the #20 biscuit to the right of the “m”.
Thanks,
Rex
I like the pre paint idea. I will has to use that one.
Brad,
Point I missed, sorry, I learned that using wide foam brushes for the pre-painting with the FolkArt acrylic paints works best. Hair brushes aggravate the texture of the acrylic paints.
I did my scratch buffing with 220 grit sandpaper. Without scratch buffing the FolkArt acrylic paint really peals badly, poor adhesion between layers. Not sure how other acrylic brands would work.
Thanks,
Rex
Bradley,
I plotted the paint scheme on the board before I milled it. The first step was to use a clear coat with several layers to preclude the color from penetrating and showing as feathers on the edge of the milling cut. Then, using X & Y measurements painting each of the colors as needed. Worked out pretty close. Once milled, more clear coat.
Thanks,
Rex