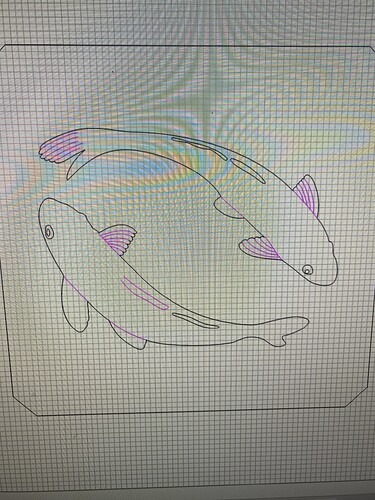
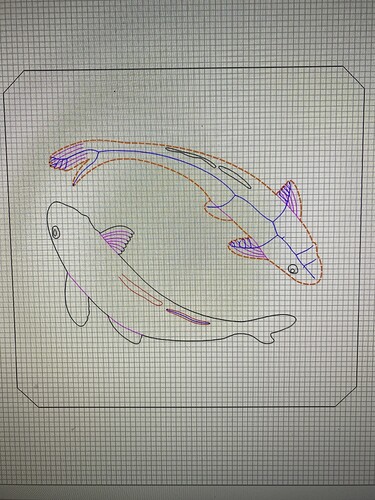
I was told when you upload a picture and you get a pink looking color line that I believe it means that line does not close off and needs to be treated differently or maybe changed to not a black color before you cut?
If i do, want to change it to a black line, can anyone point me in the right direction to learn how to do so?
You would need to draw in additional geometry and then use the various editing features (Node Editing, Trim Vectors, Boolean operations) to render them as closed.
Alternately, you can export to SVG, assign a suitable stroke weight, expand strokes, then Boolean union, then re-import.
If you’ll post the file you are having trouble with here we can walk through it with you.
I believe your reply has explain the problem to me because I did close the lines in ink scape by using the pen tool with curves. So the shapes are closed but I think the lines are too thin. Is that possible and that if I increase the stroke weight as you mentioned that may fix it ?
Just closing the geometry won’t have the desired result belike.
Post the file and we will work out at least one approach which should be workable.
I’m not sure I can post the picture here as it’s a picture of a sexy lady. I should probably work on some things that I can post.!!
Thank you for your forbearance — if you have this trouble with some file from our library, or whihc is legitimately publicly available we can work through it with you.
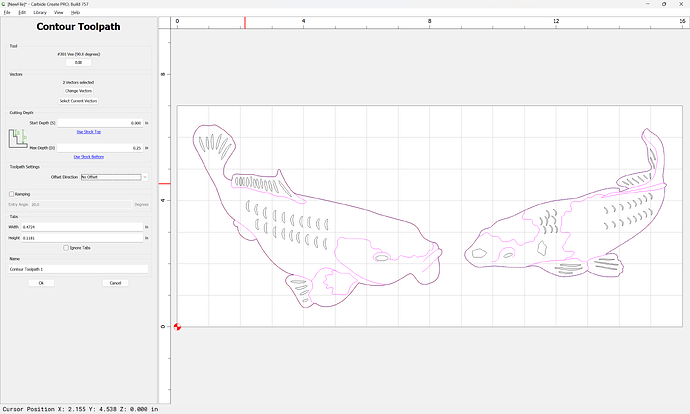
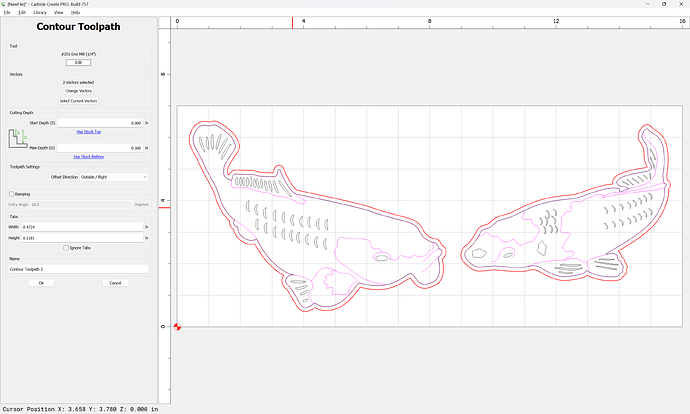
Hello, here are some fish from the carbide library.
I’m not sure how these fish are meant to be carved I was under the impression V carving, followed the black line or vector in the center of the bit?
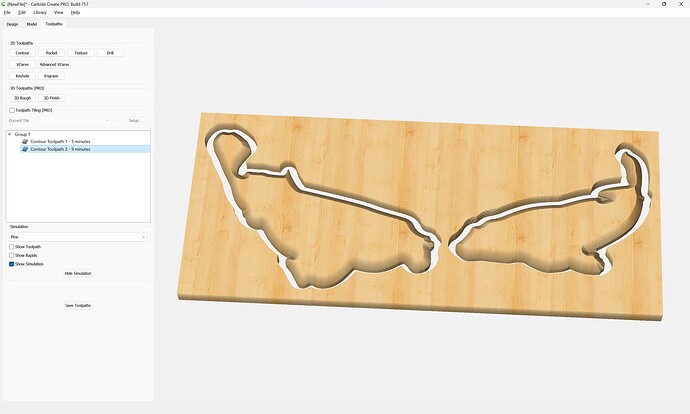
I forgot to add that there are two layers, and I chose the outside of the fish that has the tool path laid out in it, but it looks like it runs the bit down the center of the space as opposed to on top of the line?
Assuming you want to use this design to cut an inlay, then you would need closed geometry for each area described by the lines and the attendant overlaps.
See:
for an example of how to do this.
If you get stuck post the file and we’ll walk through it w/ you.
I’d suggest using Trim Vectors rather than Boolean operations.
It was suggested to me to start with simpler things then inlay so for now I’m trying to master carving things with a V groove. As well as an end mill . And all of the different ways that can be done and looks, you can get with it.
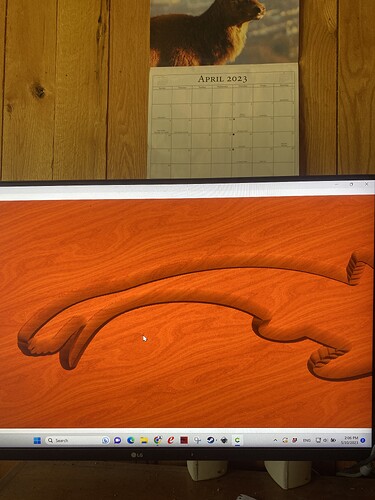
In this picture, I realized, choosing contour follows the line and if you put it on center and the groove, it does what I was aiming for.
From this point, I would like to remove the wood on the outside of a fish. Is there a way to do that while keeping the V shape it has carved in the side now?
I showed how to do that in the previous link.
Basically it would be No offset contour with V tool:
then a matching Outside contour w/ a tool to cut through:
which previews as:
(adjust the V depth as desired)
I apologize for Making you post this twice. I’m not very good with forums yet. Thank you very much for your patience and all of this help. I’m learning so much. I haven’t been excited about my work in a really long time.!!
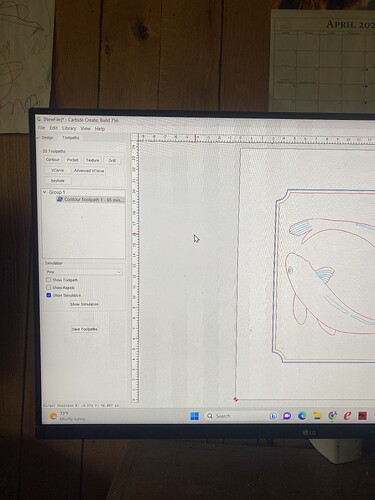
I am not sure if that should be a new thread but I’m working on the fish and I’m wondering if it seems right that it would take over an hour to cut out the outside of a sign that is about 18 x 18” in Pine?
I’m wondering if it’s possible that it’s cutting to the aluminum settings? Even though I use simulation with pine, it seem to have the same number afterwards.
What tool are you using?
What material setting did you choose?
I’m not sure how to find the settings that were used?
This topic was automatically closed after 30 days. New replies are no longer allowed.
