We’ve all been there - bought something shiny and then thought, how do I look after this tool?
In this instance, I’m talking about spindles. Spindles are precision tools and quite different from the compact routers we use on many machines. As spindles represent a significant investment to your machine and business, keeping them in tip-top condition is an excellent idea for a long, productive life.
The Body
Generally, there isn’t much to do - we usually recommend keeping them clean and dust-free; every six months, give them a light wipe down with a very lightly oiled rag (WD40 or something similar) to present any surface rust.
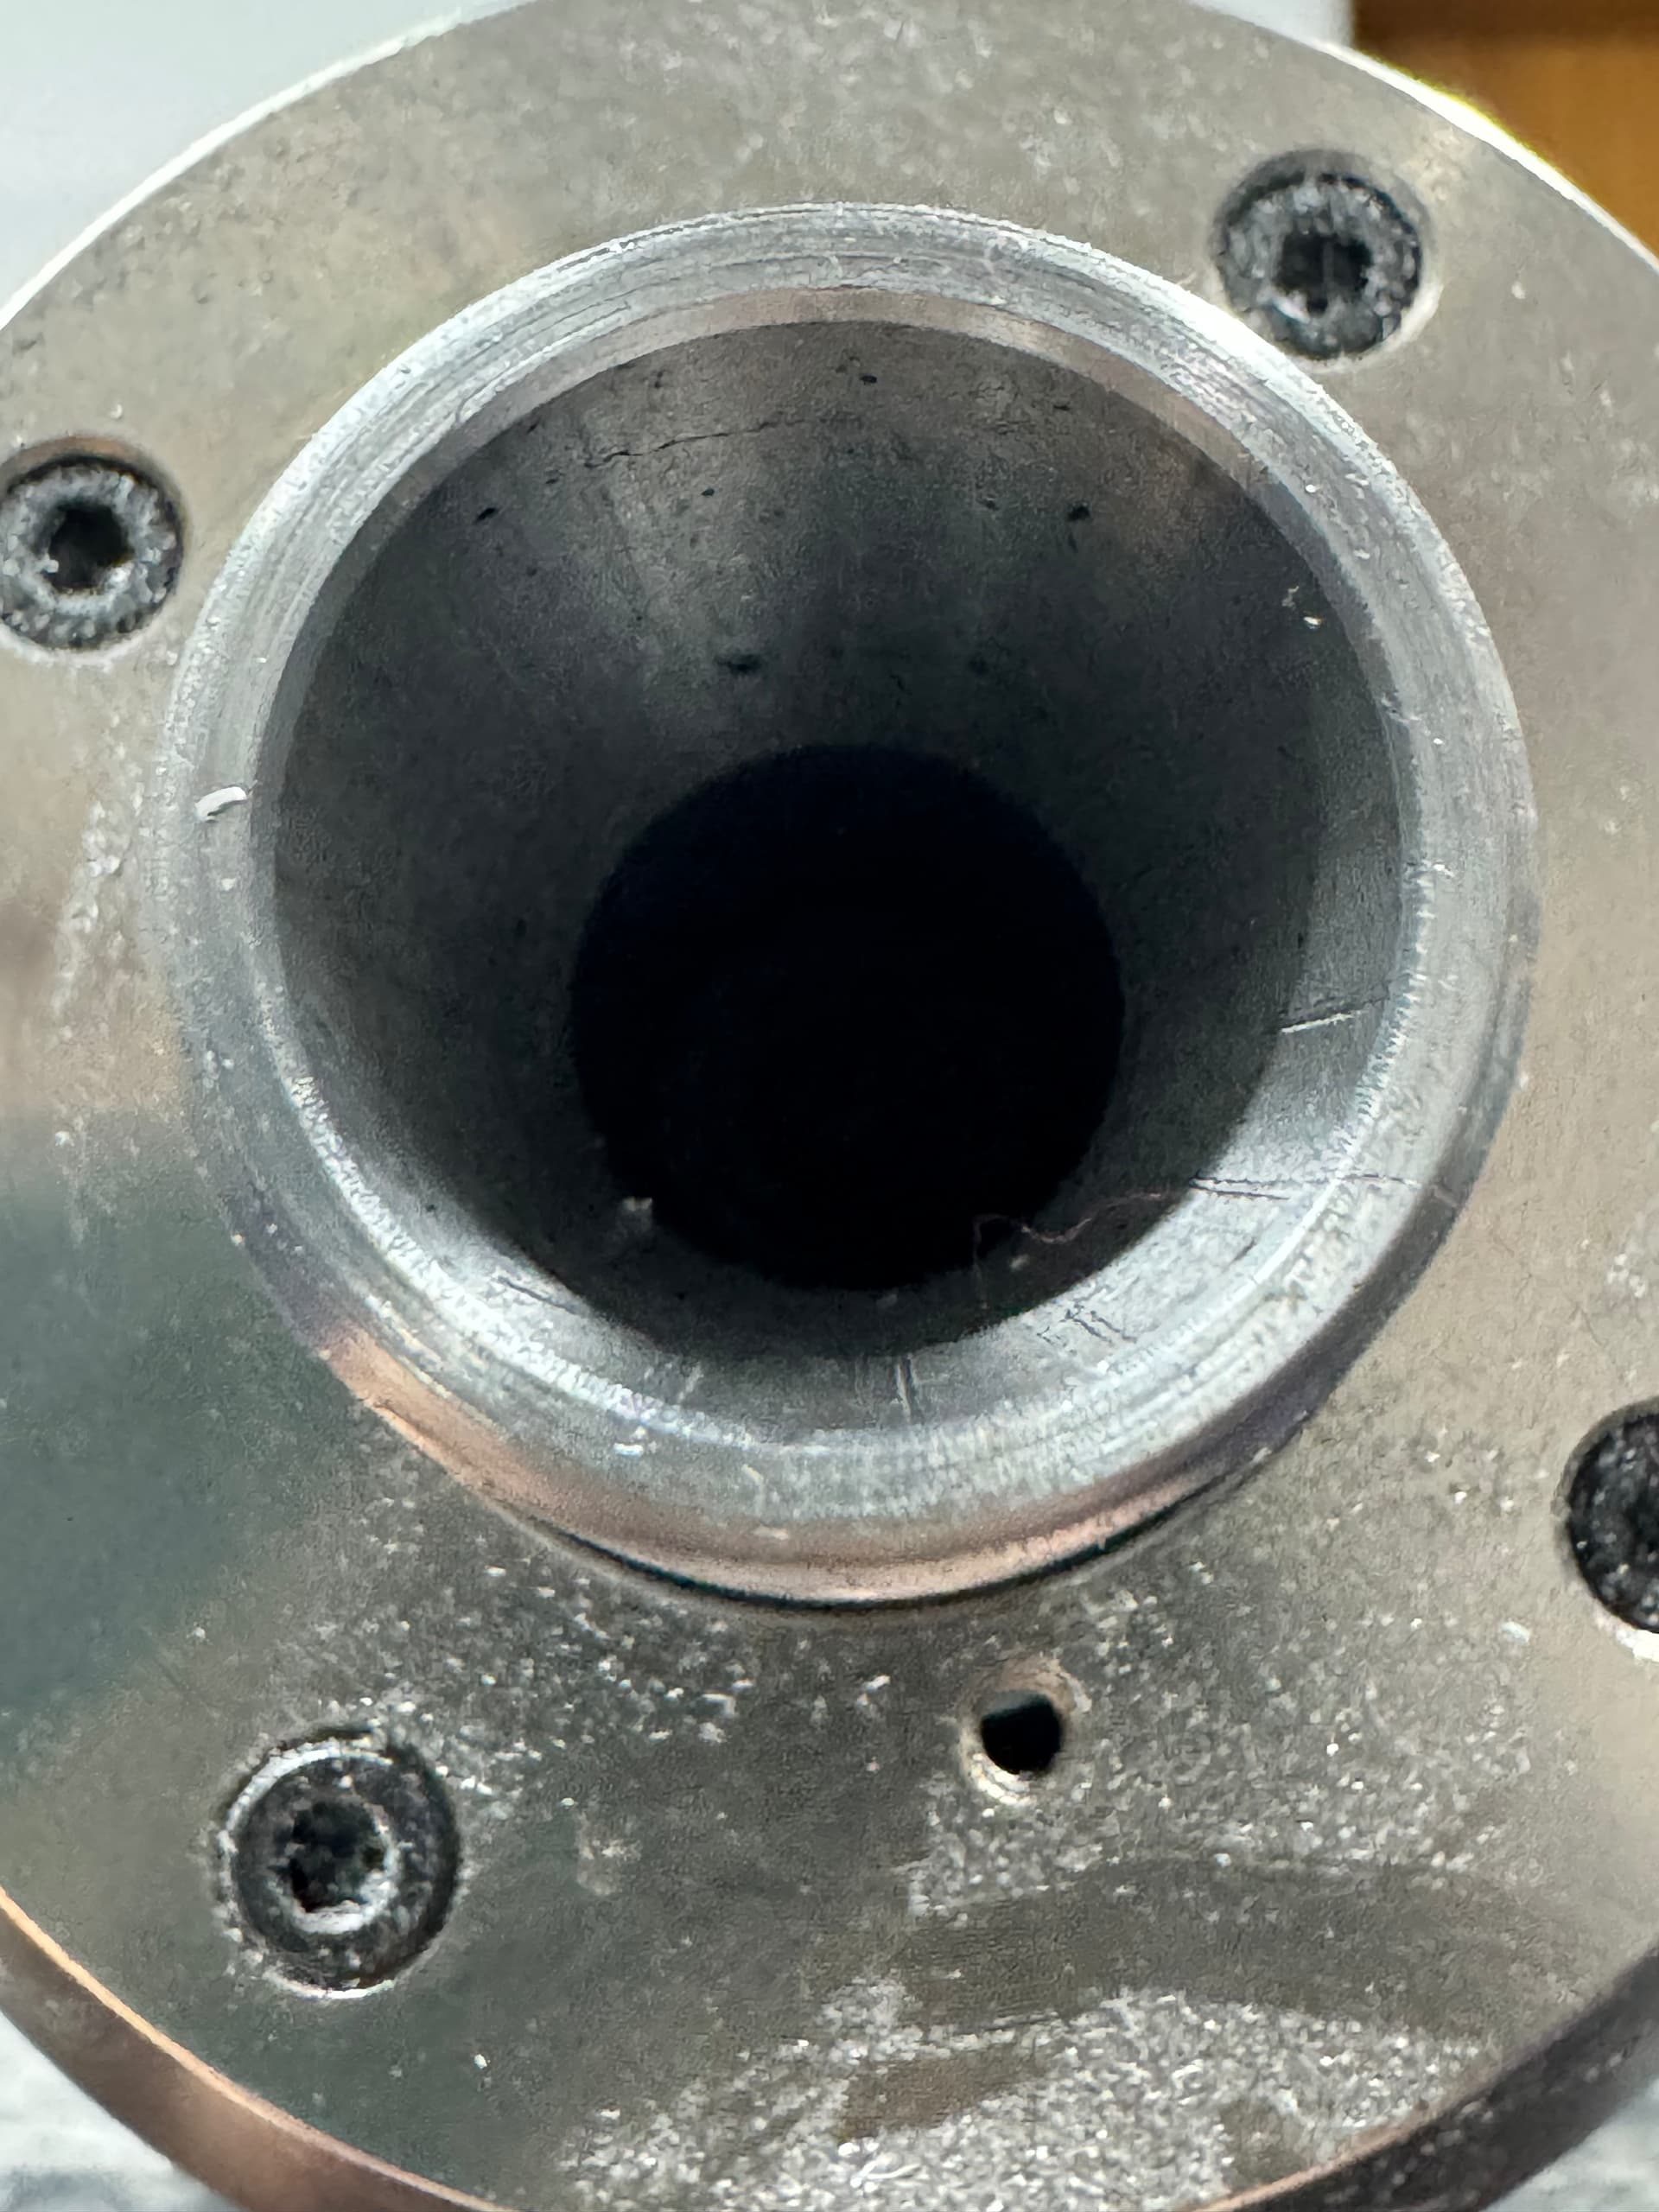
Taper
It’s good practice to keep this as dust-free and clean as possible - the taper directly impacts how the collet sits, and if this has a build-up of dust or chips in, it could throw out a collet slightly. We recommend that you wipe down the inside of the taper with a clean paper towel every time you change a bit. Every six months, clean it out with a good spray of WD40 or something similar such as a three in one oil - be sure to clean off any excess with a clean towel.
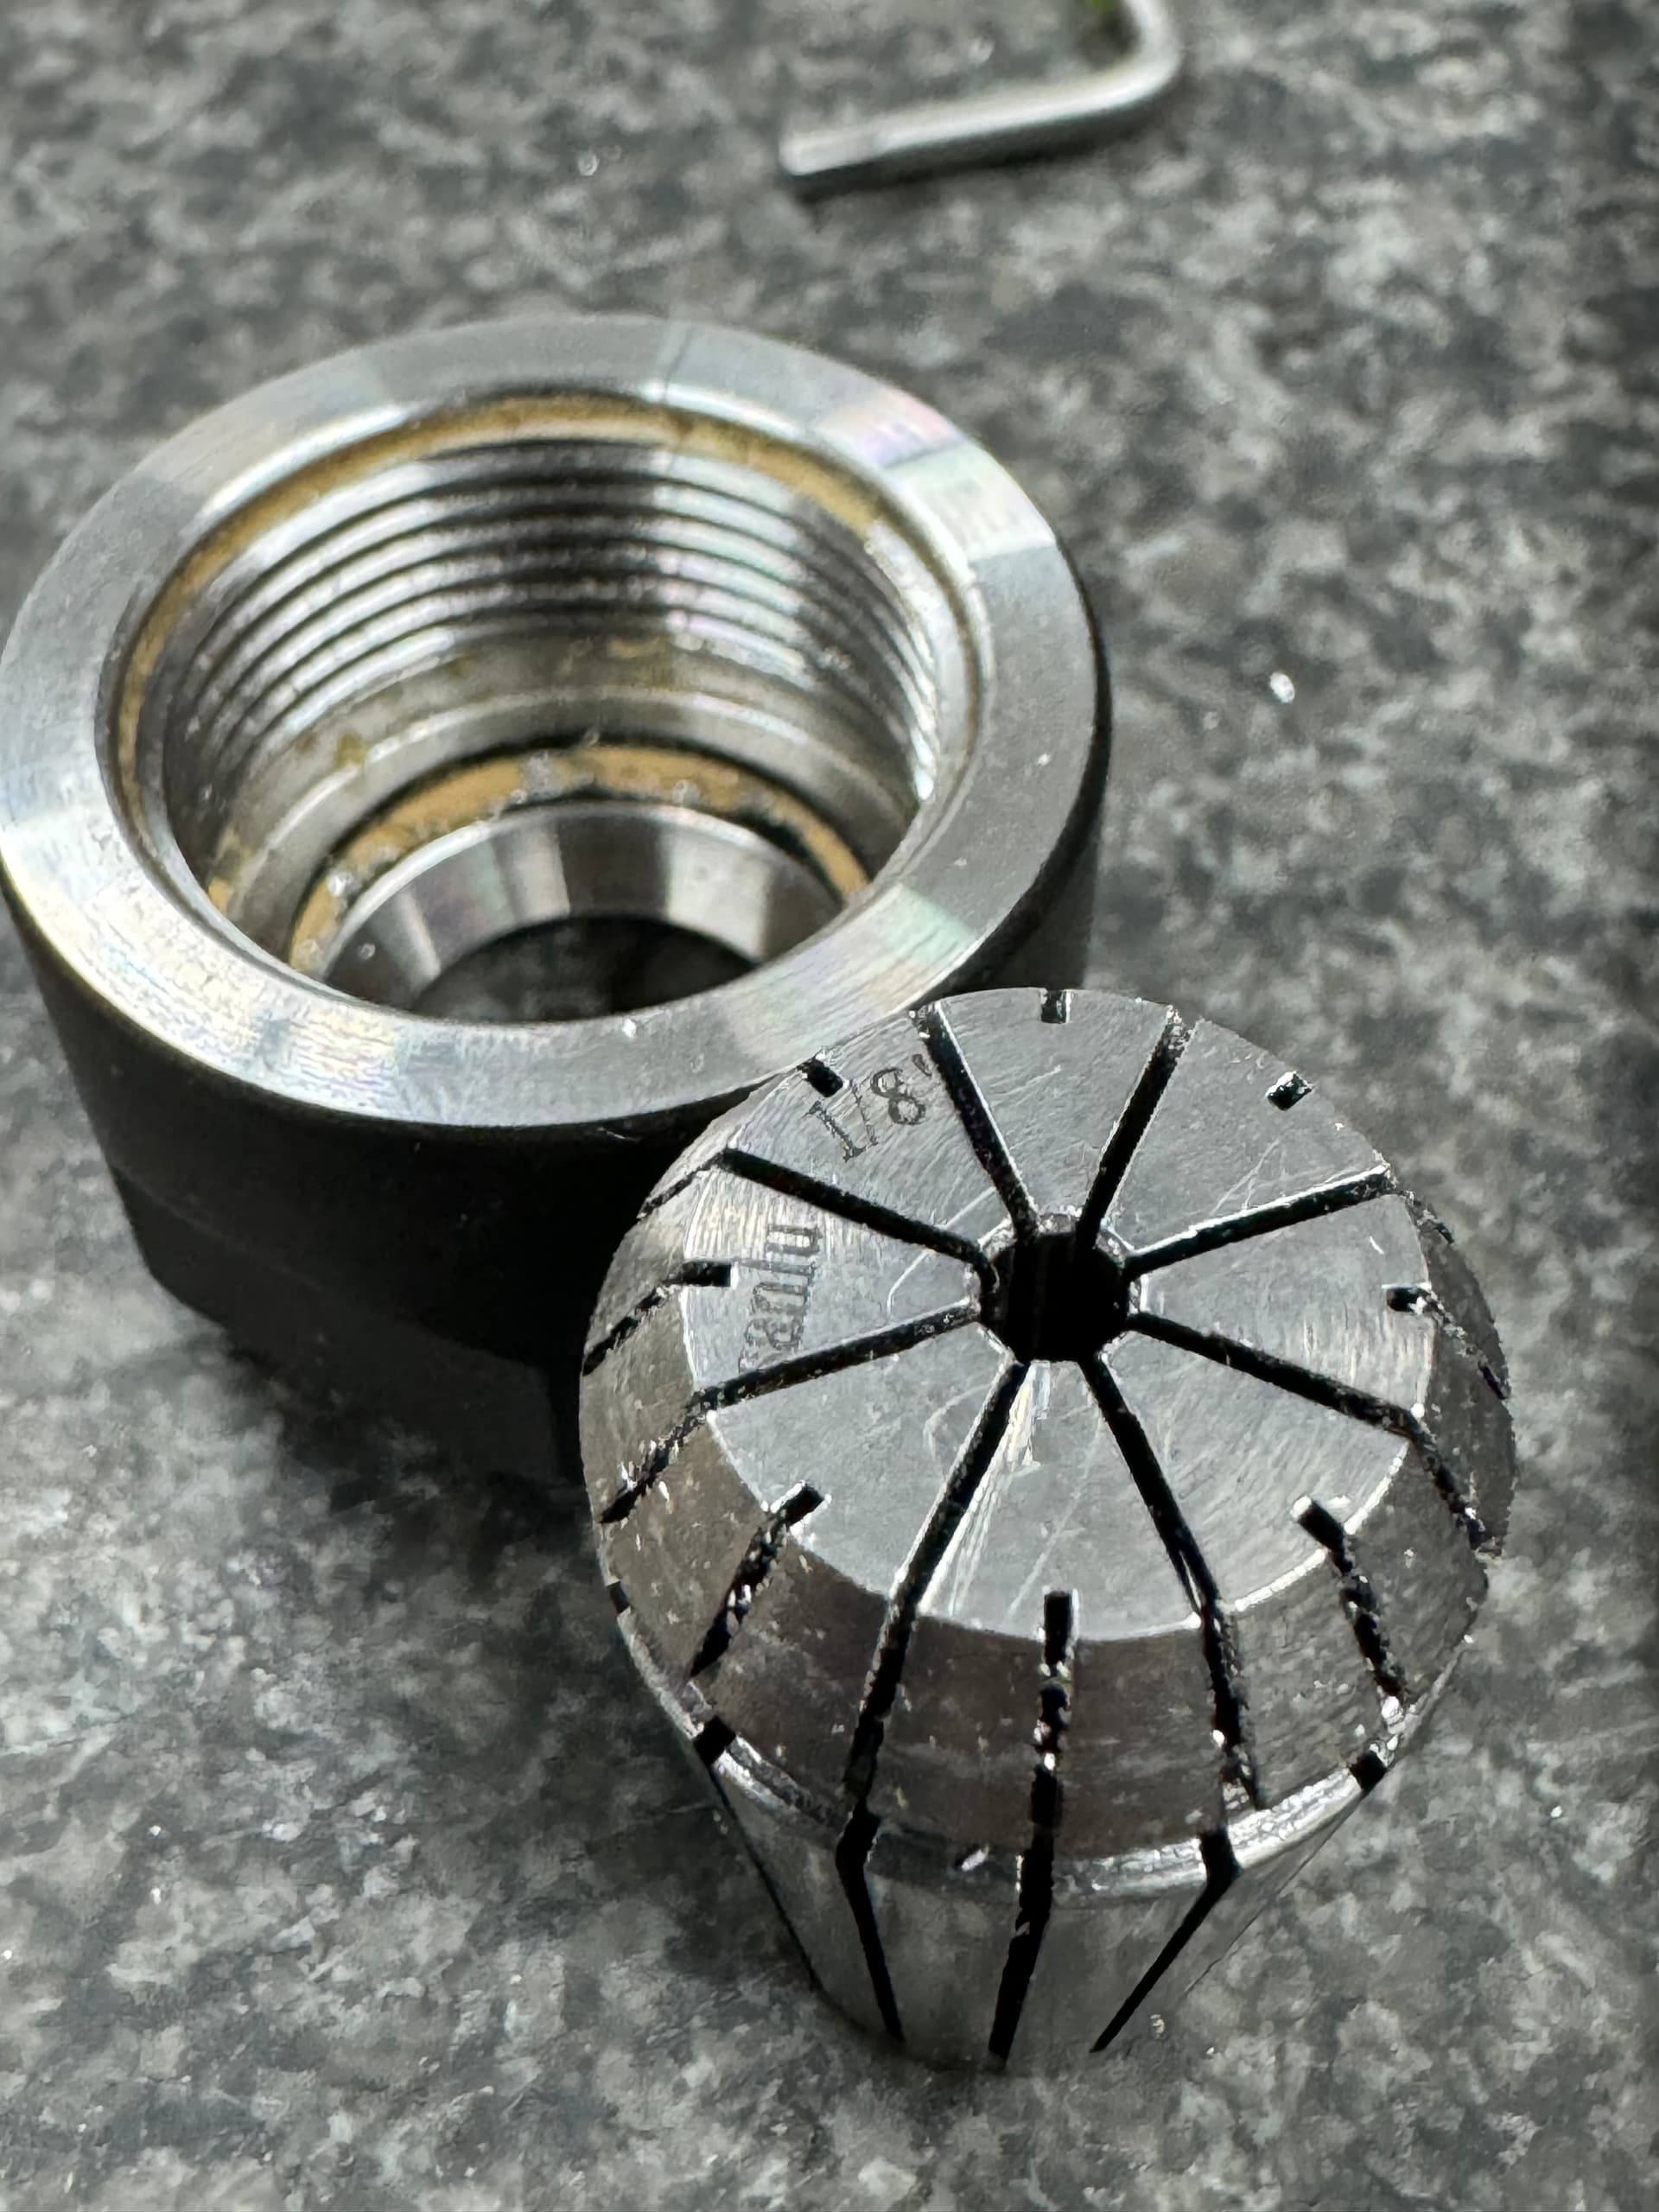
Collets and Nut
While these are low maintenance, an er11/er20 nut can get dust build-up along the snap ring or the threads. It’s essential to clean off dust and chips, especially if the nuts have been left in situ for a long time. If left, dust can build up and cause an issue when threading it onto the spindle nose. Always check the threads and snap rings before you fit, and keep them clean. If you use the machine a lot, we recommend giving these a quick dunk into WD40 or a three in one oil or similar once a month or every six months to assist in the cleaning process and prevent rust.
Bearings
These are the heart of any spindle and should be treated with care, especially in the winter months when a workshop is likely to fluctuate in temperature to a greater degree.
Spindle bearings have a thigh tolerance but like to operate at around 20c or 68f, now +/- 5c or +/- 10f. The spindles can operate in higher/lower temperature environments, but it’s good practice to run them in and allow them to regulate.
As standard, all our spindles go through a run-in procedure as part of the build process. However, if you are taking delivery of a spindle in the winter months, we’d recommend you run an install cycle. We put temperature sensors in some overnight boxes and found they can get very cold through the shipping process, and while this won’t damage a spindle, it’s good practice to do this once installed.
An install cycle is straightforward and can be done post-install with the machine homed. Ensure the BitSetter has not been enabled, and remove the collet and nut.
In midi within CM, enter the command:
- M3 s8000 and let it run for 5 minuites
- M3 s12000 and let it run for 5 minuites
- M3 s18000 and let it run for 5 minuites
- M3 s24000 and let it run for 5 minuites
- M5 - spindle will stop
For those wanting to add this to their quick actions, this code should work:
m3 s8000
g04 p60.
m3 s12000
g04 p60.
m3 s18000
g04 p60.
m04 s24000
g04 p60.
m5
An install cycle will allow you to check the spindle function and warm up the bearing grease to re-distribute.
For general users - this can be run as a much shorter cycle and can again be done once the machine is homed - ensure the bit is in situ and collet/nut tightened before turning the spindle on.
In midi within CM, enter the command:
- M3 s8000 and let it run for 1 minuites
- M3 s12000 and let it run for 1 minuites
- M3 s18000 and let it run for 1 minuites
- M3 s24000 and let it run for 1 minuites
- M5 - spindle will stop
Spindles are great bits of kit and should last many years; the above will help prolong their life.
Happy making,
The C3D team.