In creating a spoilboard with pockets and drill holes for T-nuts, I came to realize I should have chosen a pocket instead of the drilling option. I need my through hole to be 5/16 wide, but having used the drill option and a 1/4 inch upcut bit, it is just drilling out a clean 1/4 inch hole. Not big enough for the T-nut. I stopped the job about 15 holes in, hoping I can restart with the proper pocket option. But…
I’m new to Carbide Create and do not know how to go about changing it from drill to pocket. I would rather not start over since I have approximately 600 pockets already cleared out. Do you have any advice? Or a video to suggest that can give me some ideas?
Suggest you make the recess for the head of the t nuts larger than the measurement of the t nuts. Sometimes they vary in size. I have an SO3 XXL and have made several spoilboards over the years. Sometimes I reuse old ones and sometimes replace them all. Since I have bought the t nut at various times they can vary in size. The other thing I have done is bought 3/8" tall t nuts so I can surface quite a few times before replacing the spoilboard. The other caution is when you buy your bolts to go into the t-nuts you measure from the top of the spoilboard to the bottom and get bolts that will not bottom out when you tighten your bolts up in the clamps you use. I use cam clamps and have all of them no matter how thick with a recess for a washer that is .5" from the bottom. You dont want the bolts to bottom out because it raises the spoilboard making it uneven. You want the bolts to almost bottom out but not quite. I have scared up some clamps and just take whatever stock I have available and measure it and make sure there is .5" from the bottom of the clamp to the recess for the washer/bolt. I have had to grind off some standard size bolts to achieve not bottoming out because I have surfaced the spoilboard.
Rather than pocket, you could “Hole Mill” them. (If you have PRO with ramping)
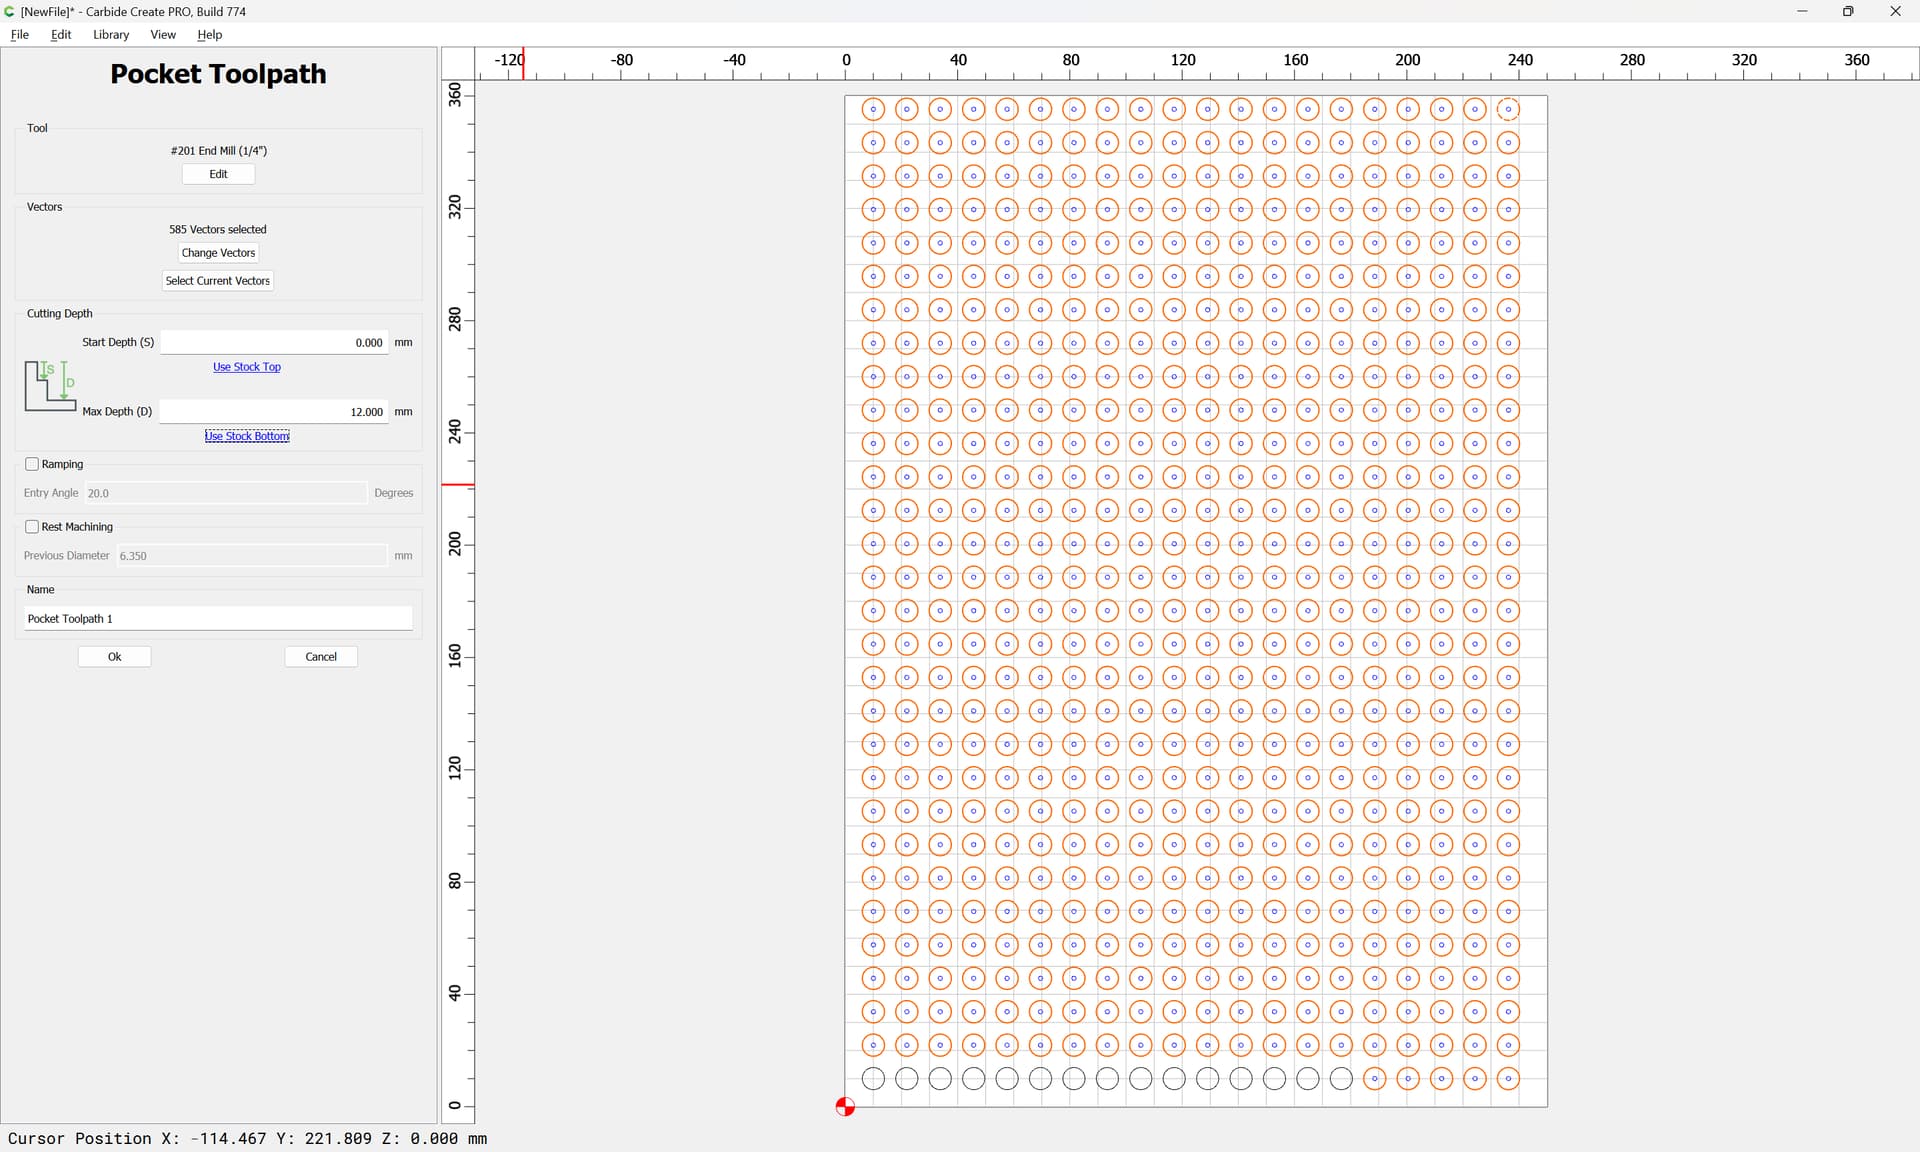
Create a contour path. Select your 1/4" tool & set the depth of cut greater than the depth of the hole.
Set the plunge feedrate equal to the cut feedrate.
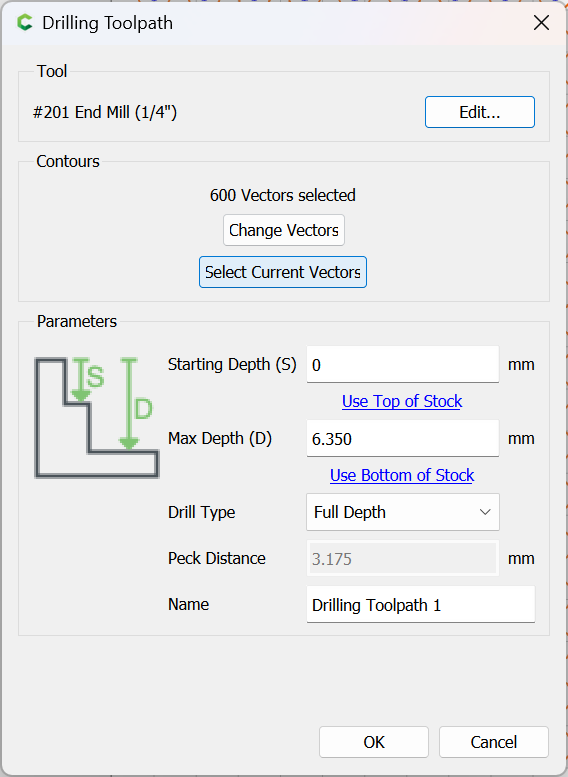
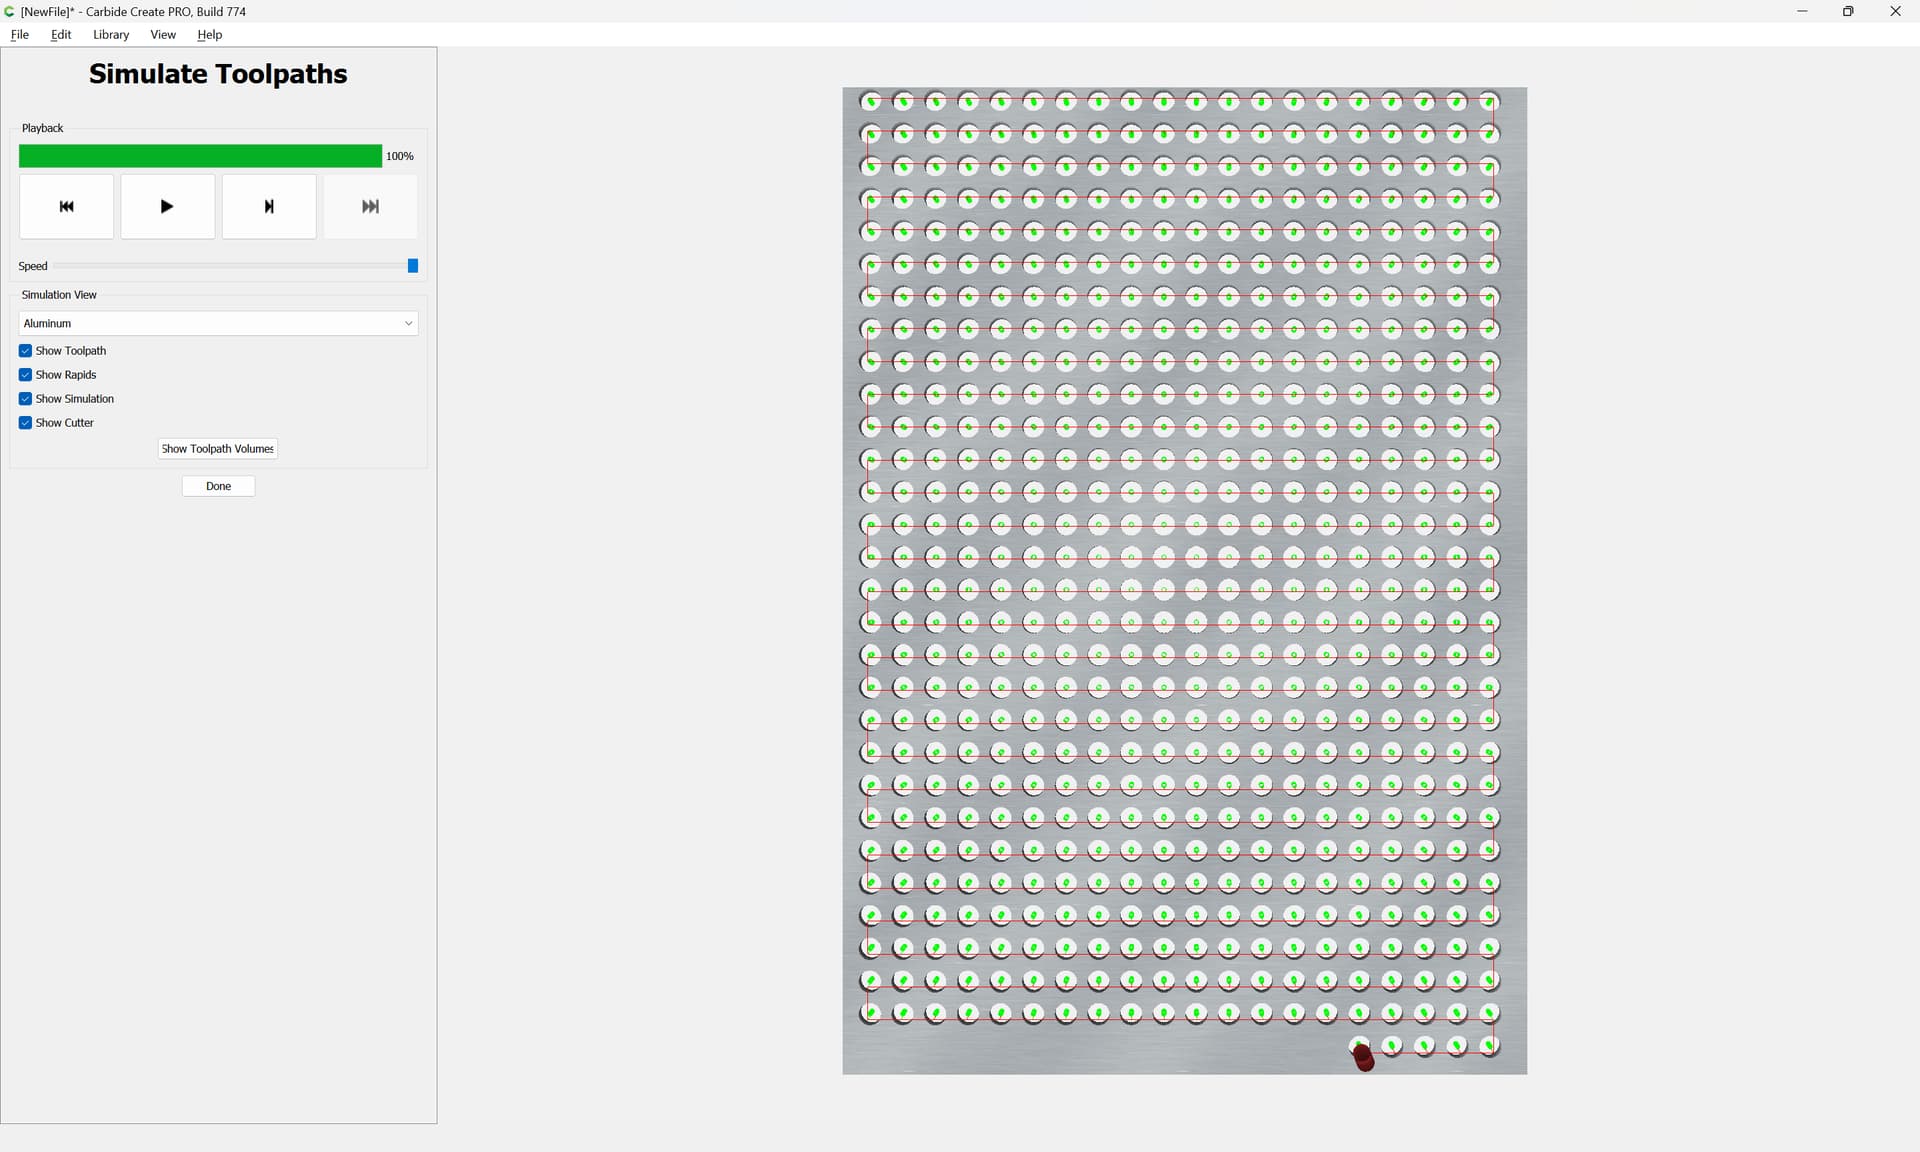
In the toolpath, set the depth & turn on ramping. Depth per revolution is controlled by the angle of the ramp. I usually start with 2-3°, simulate it and adjust if necessary.
Thank you very much, WillAdams, gdon_2003, and Tod1d!
I appreciate all your advice and the various solutions to my issue. Given all of your helpful tips, I came to a solution that seemed to work for me. What can I say, it all helped. It really is about trial and error, trying, trying, trying again and again. I must have unplugged my thumb drive 54 times. I really appreciate the time you spent in taking screenshots and helping a novice try to get to the next level.