Good morning,
I don’t know… is this a tiling question?
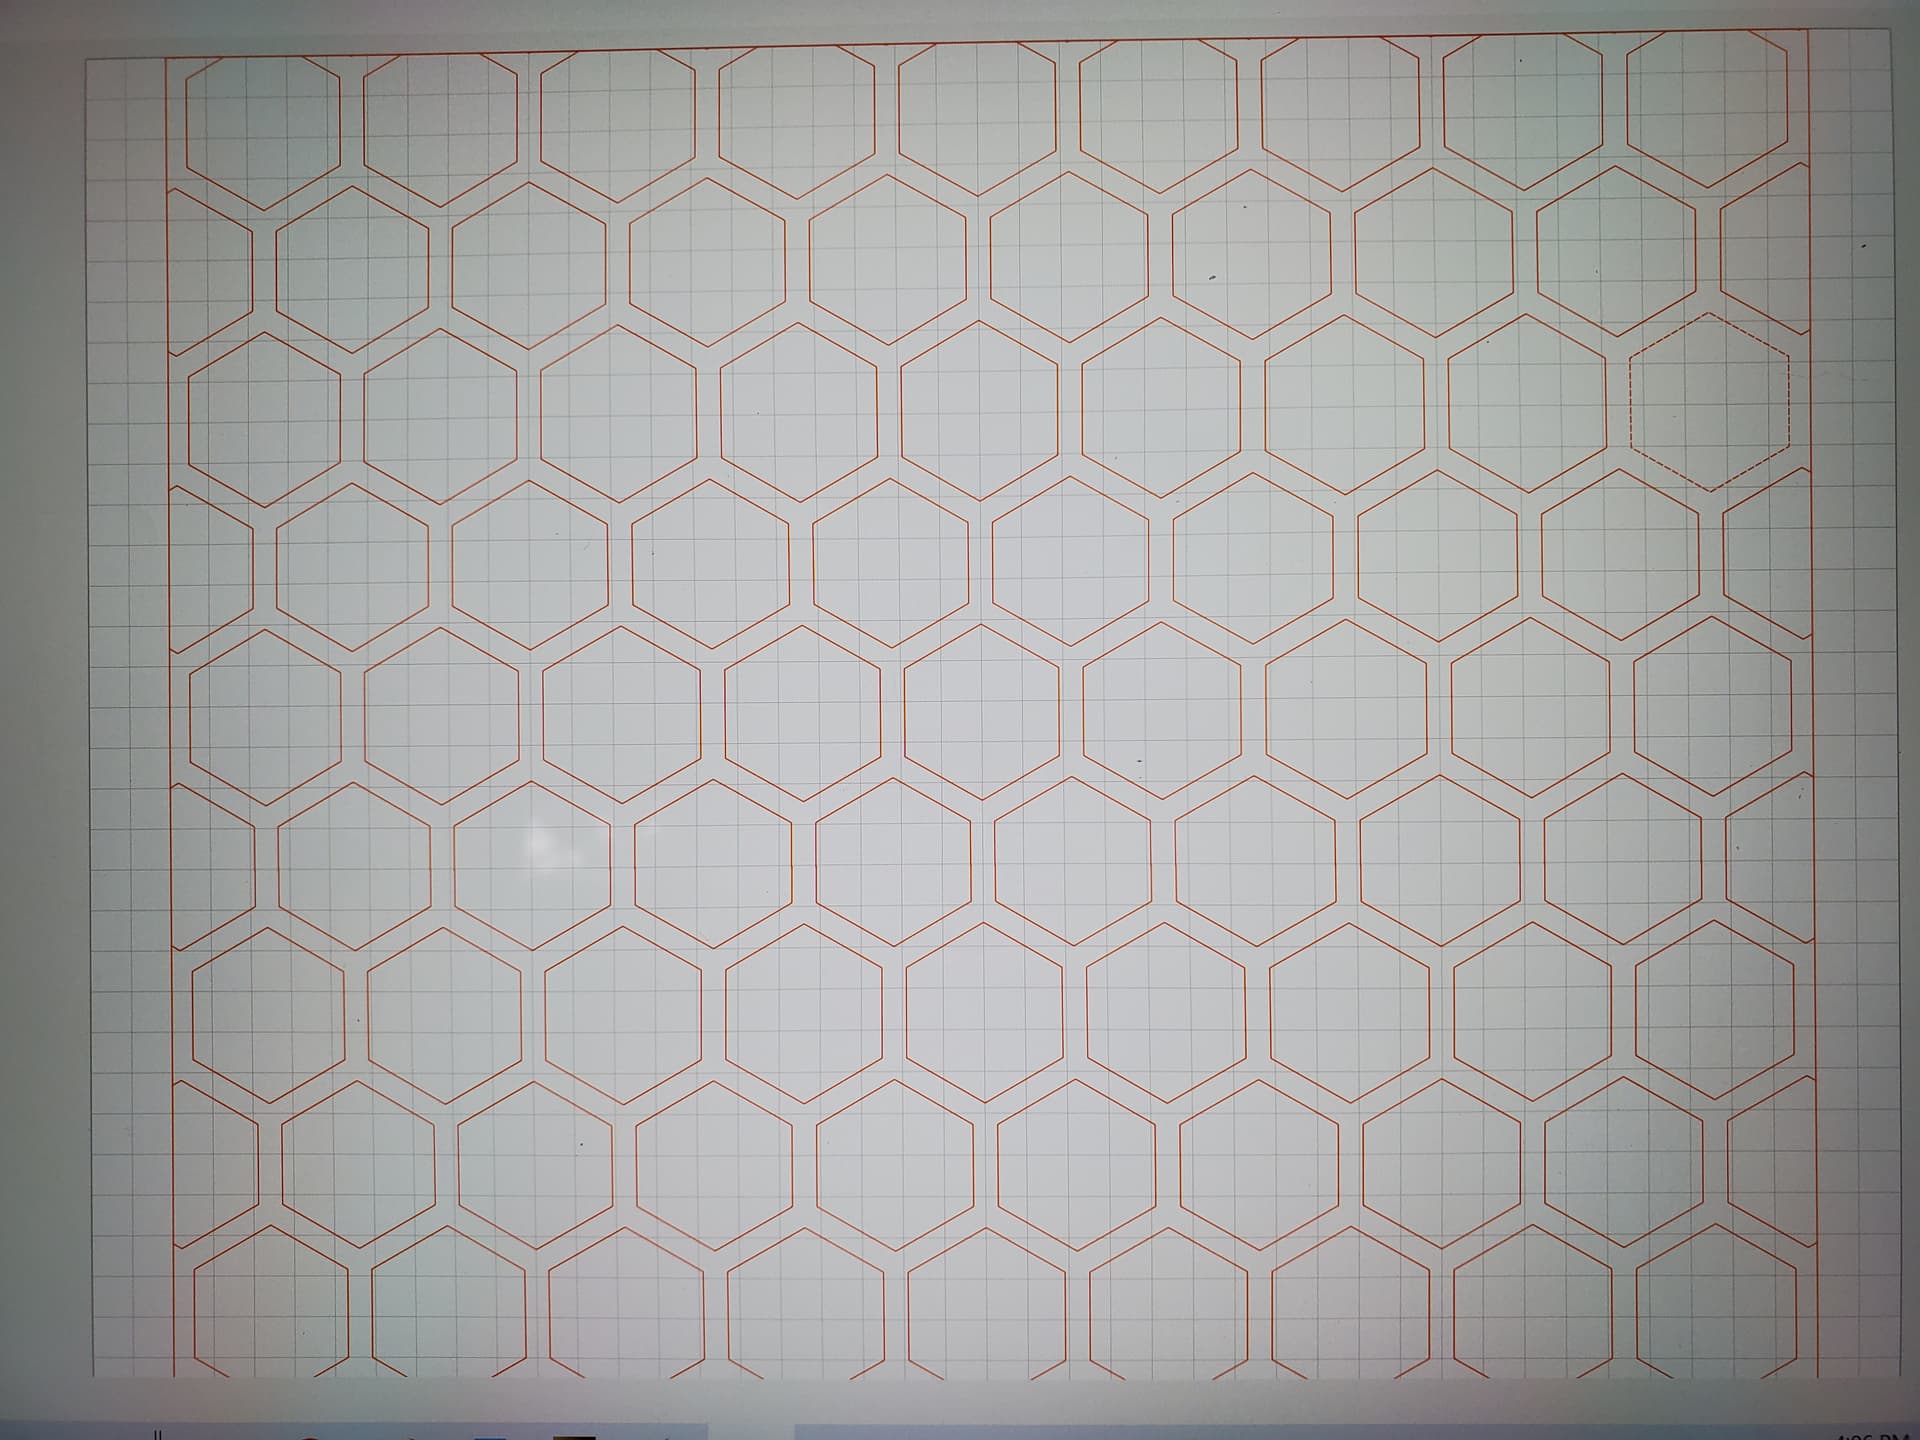
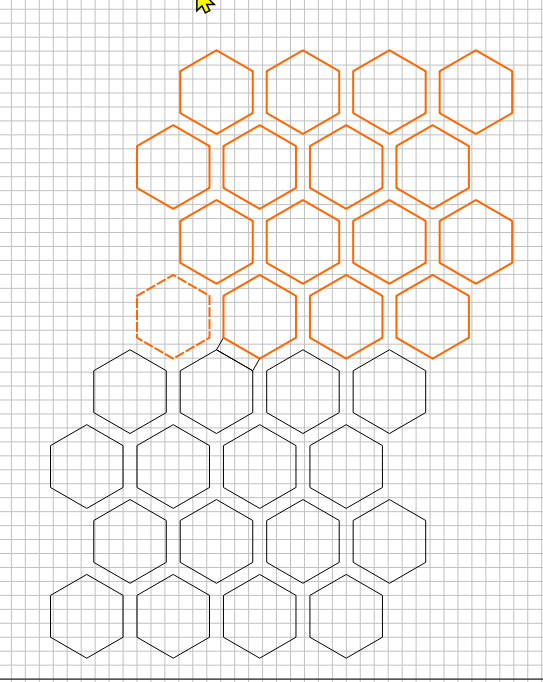
I have an svg that is 11"x11", a page of hexagons, and what I’m trying to do is cut a design 27" long. So I’ve copied this page about 2½ times. I’m having problems ‘joining’? the pages.
I tried several times. the first time I just tried to eyeball the two pages together. Of course that didn’t work, I said “come on dummy, you are working with computers, these need to be precise”.
So the second time I picked points so the X and Y would be exact, where one X stopped I made the page of the next X directly on that point, that still didn’t get it.
The third time, I tried to overlap the last row of hexagons, but that didn’t work either.
So I’ve been looking around through past posts in the forum, (finding a lot of interesting things, but not what I need).
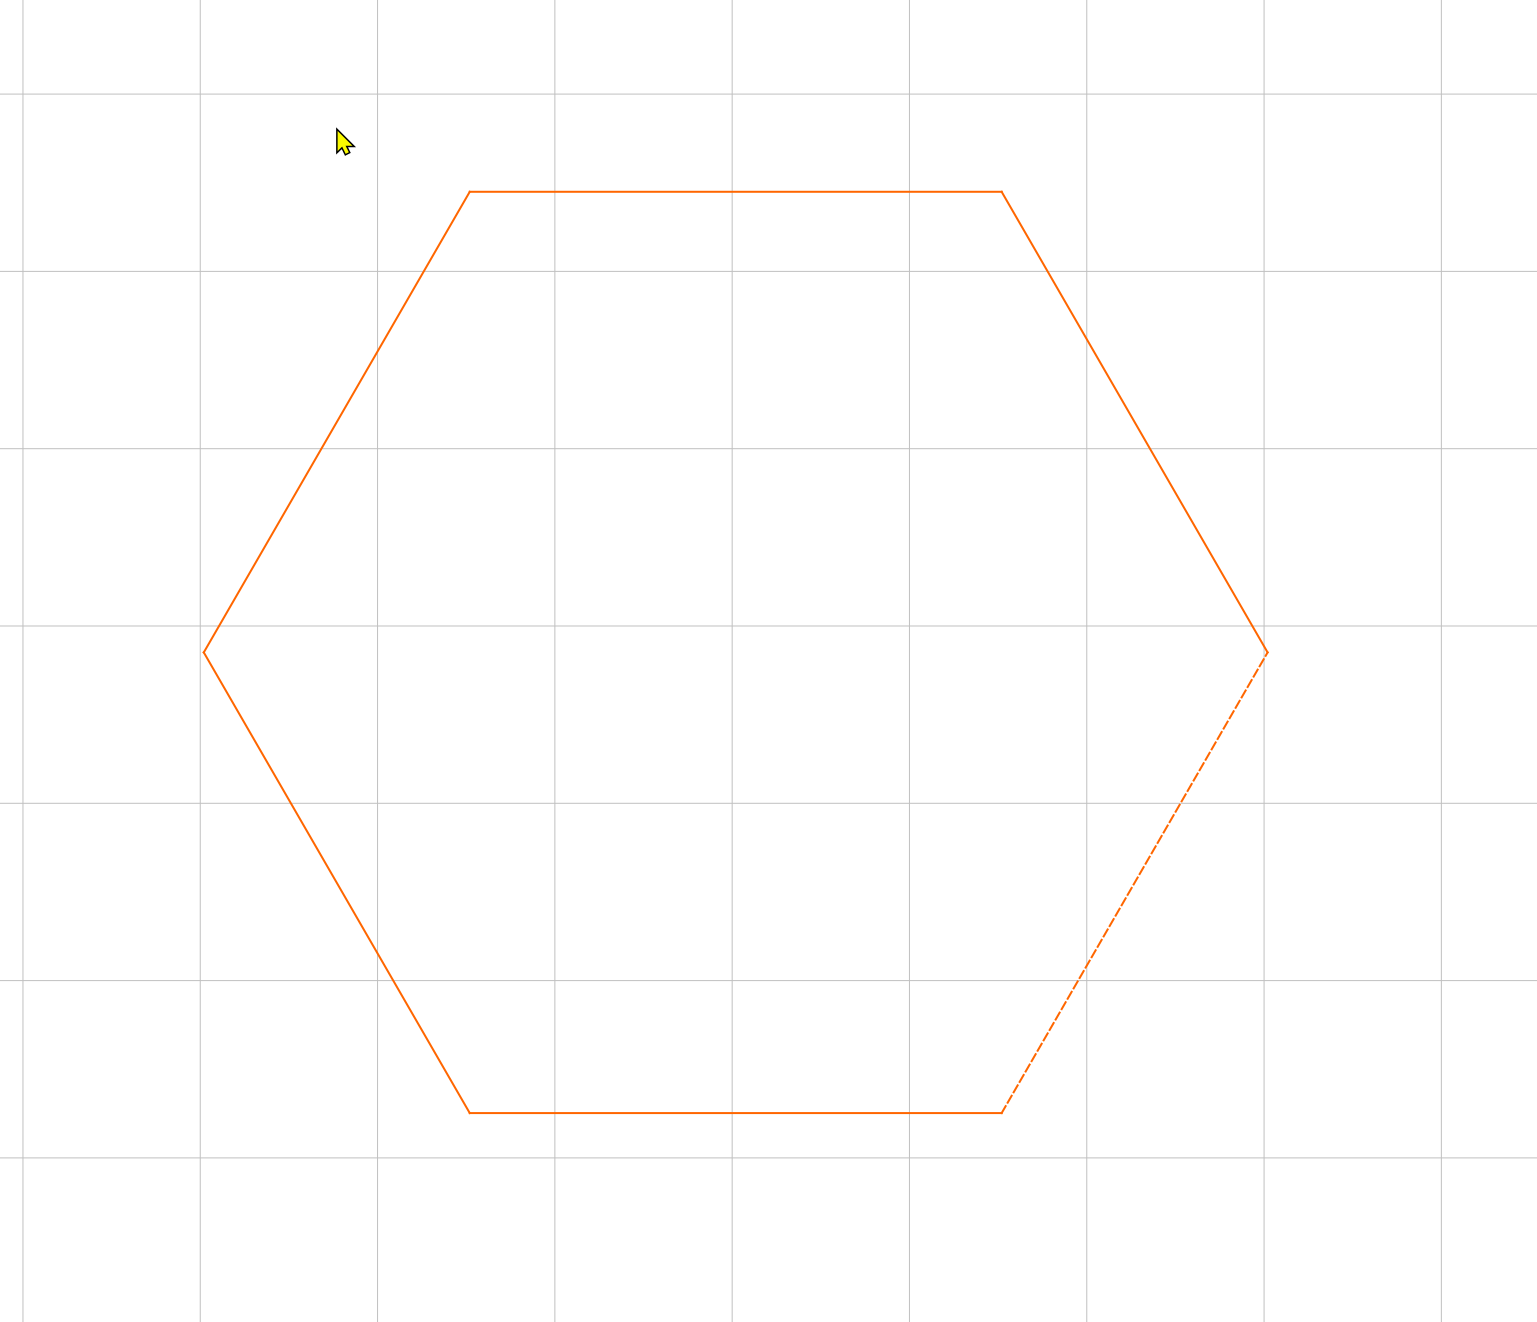
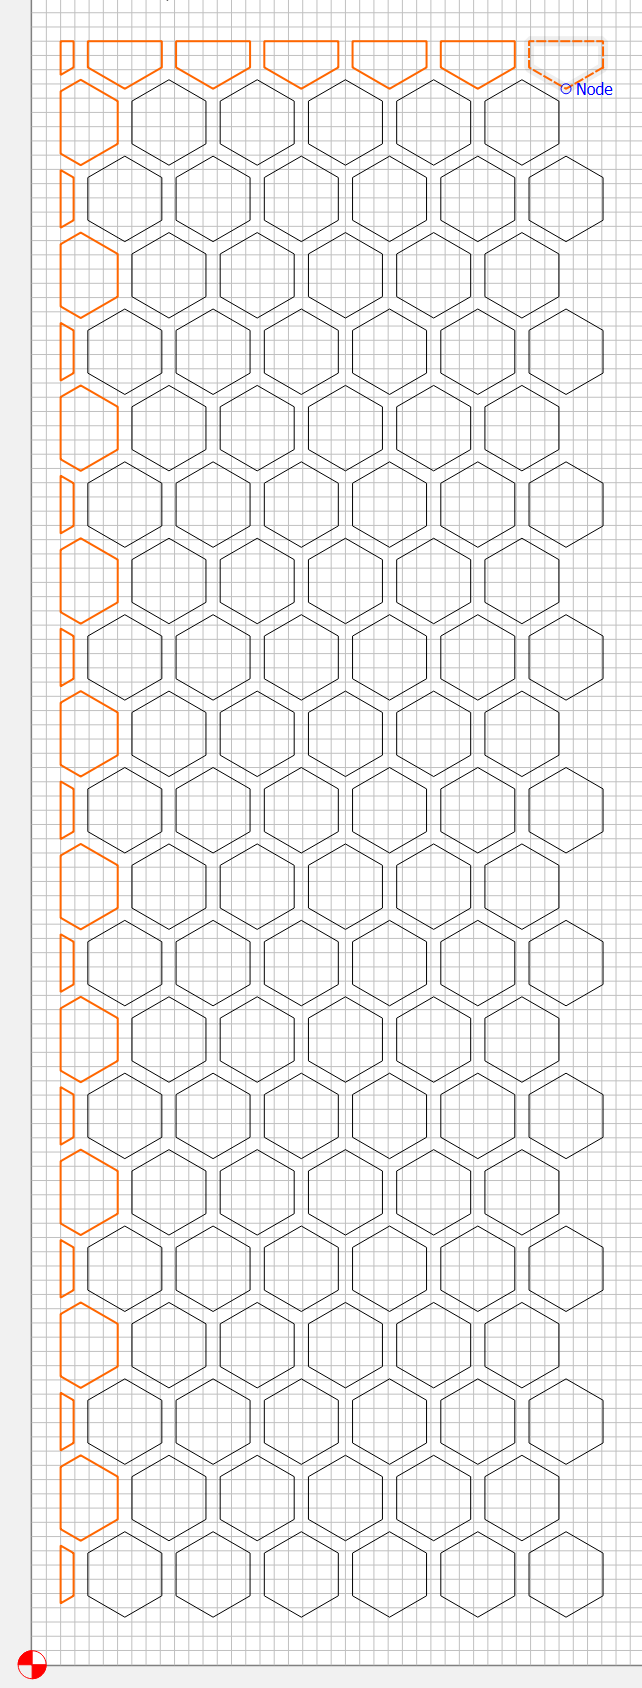
Your hexagon sizes aren’t uniform, nor are they symmetrical about all planes, which may or may not be unacceptable. So first thing I would do is draw a perfect hexagon.
We’ll need to generate 6 identical sides.
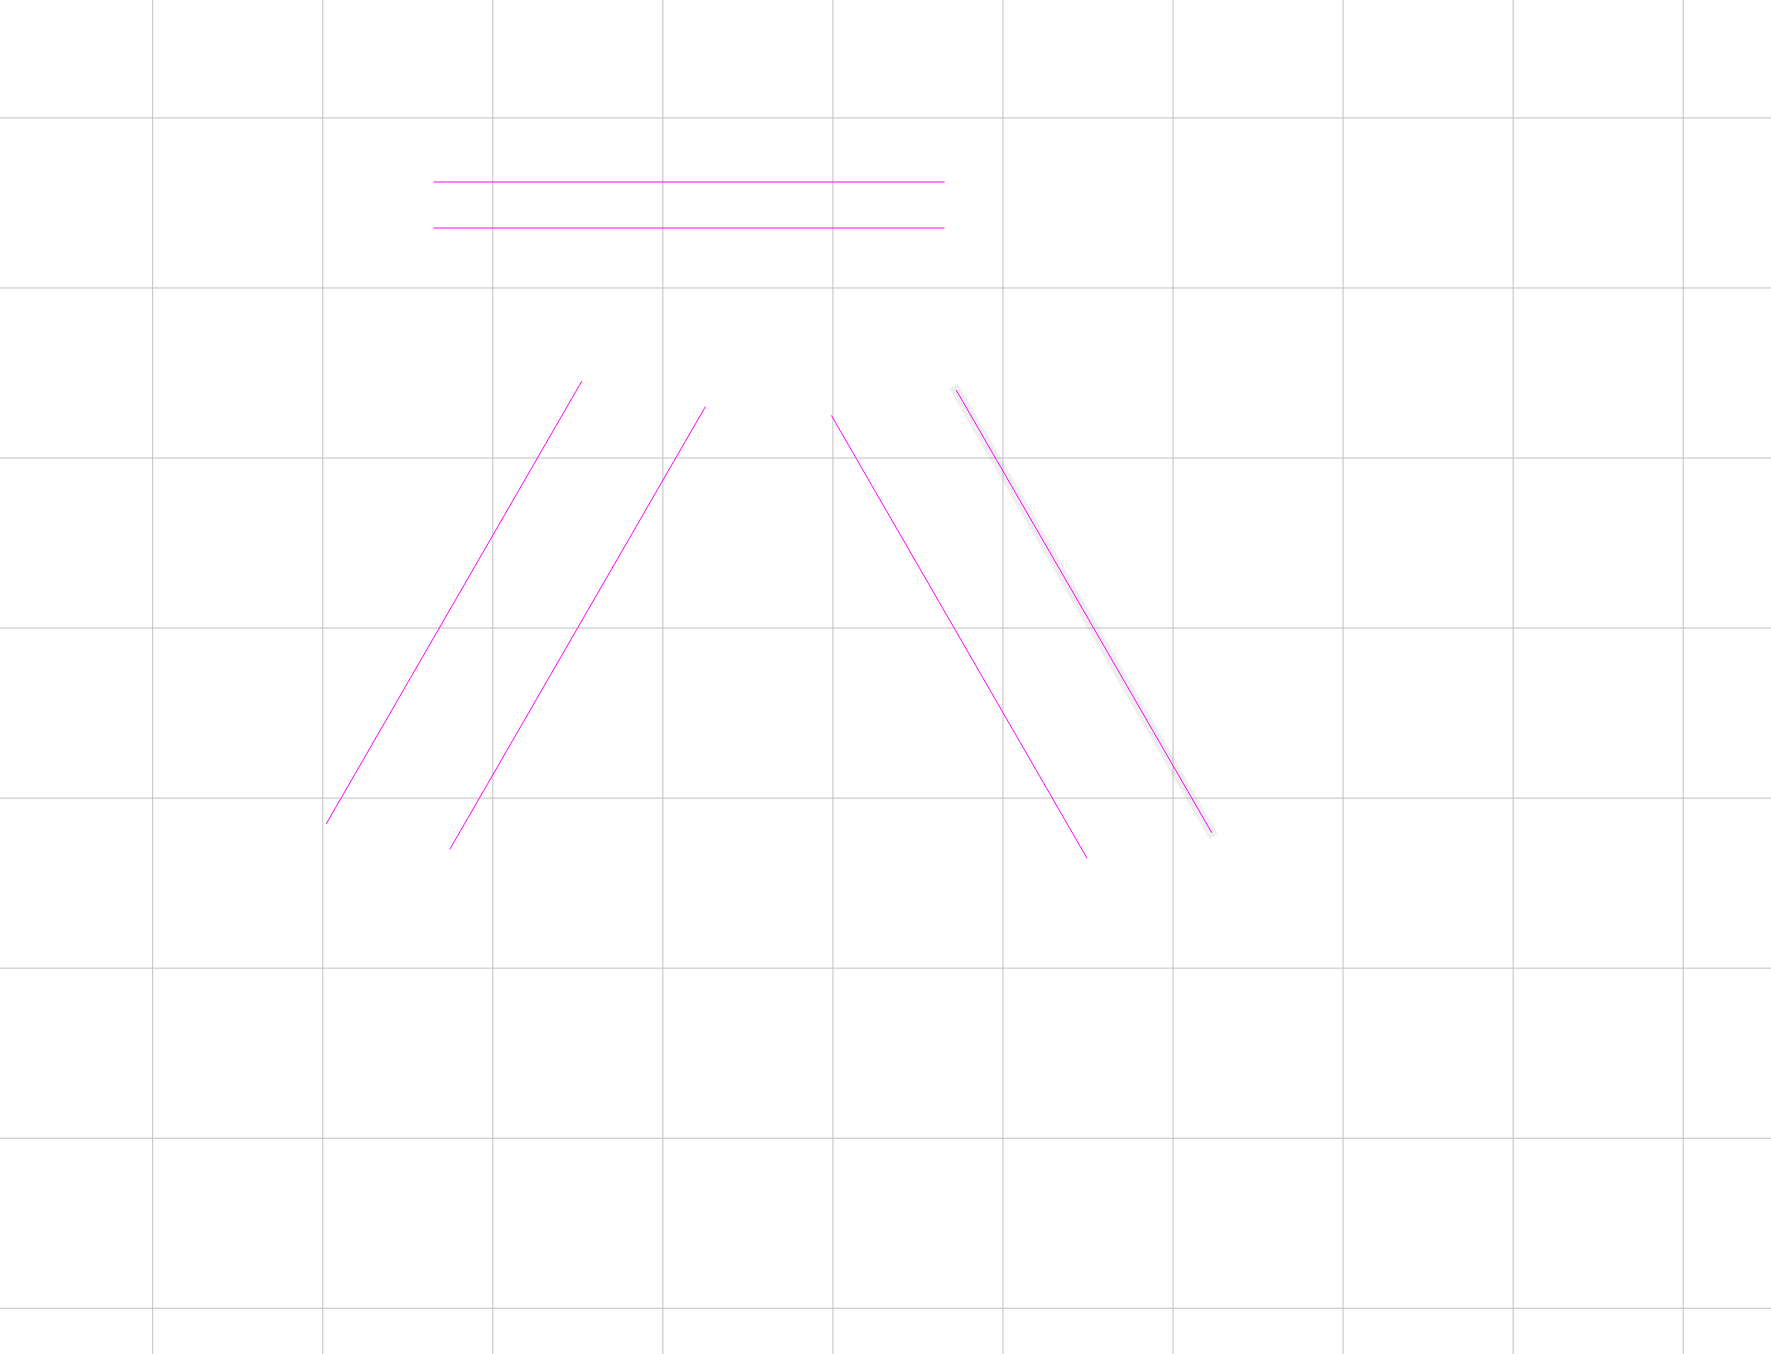
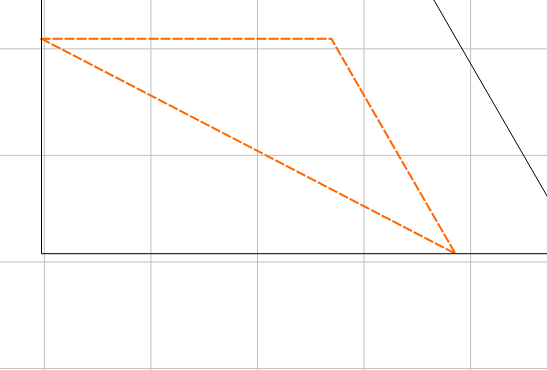
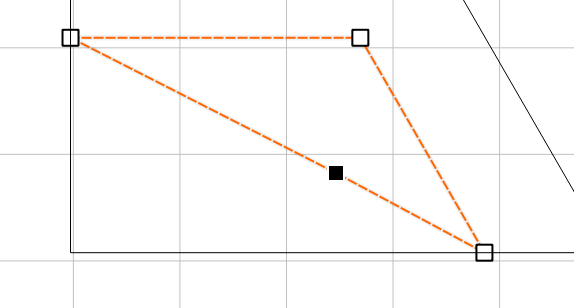
Draw one single straight line between two grid points, and end the drawing. Size doesn’t matter!
Copy, paste that line 2 more times. Take your 3rd line, rotate it 60degrees, then copy and paste that one 3 more times. Take 2 of those lines and then flip them vertical. Looks like this.
You can then rotate it to your desired orientation, and scale to preferred size. Copy paste that one, and position it beside the first, leaving whatever spacing you like.
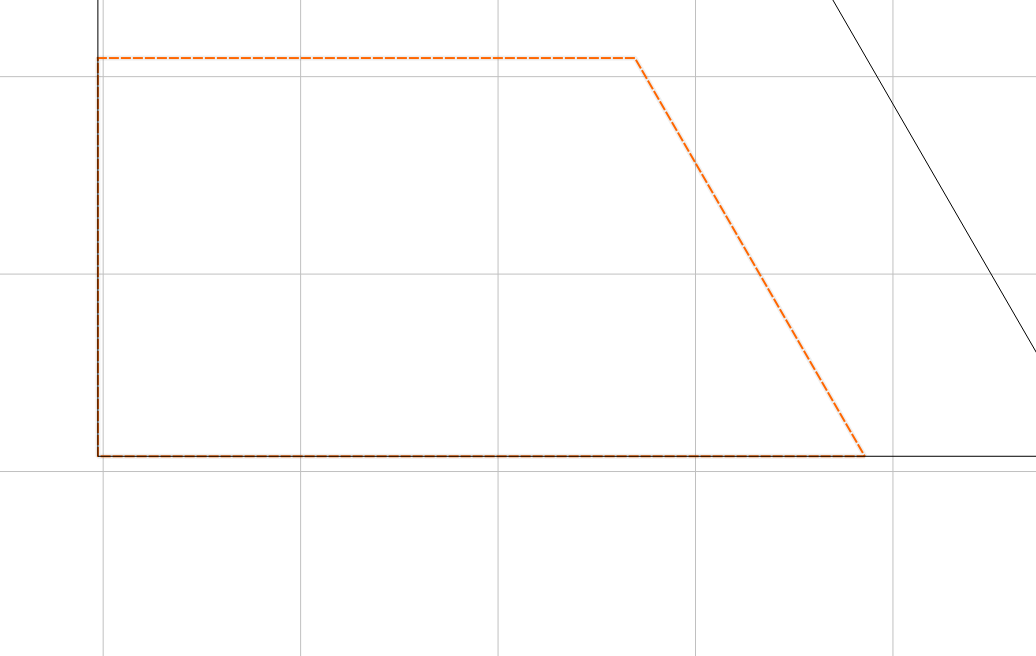
Then, take the line tool again, and build a “spacer block”. Snap line points to existing nodes on your hexagon, and build a perfect rectangle, you can then rotate this and snap it to any edge you want, and snap your next hexagons to this, maintaining your spacing.
And through a series of increasingly larger copy-paste functions, all the while moving the spacer block to a new spot for alignment, you’ll eventually have a large sheet of hexagons.
and once you’ve used one of the boolean operations to clean up two sides of it, you can select those, copy paste and start working towards the finish line.
Good afternoon,
After taking into account @David.Curtis and @WillAdams input. I’ve been still messing with this project. I’ve tried several times, but for various reasons I keep getting bogged down in the computer.
Question: do I need to have the paid version of Carbide Create, because it seems like I don’t have various controls.
I followed David.Curtis’s suggestions about creating vectors and then copying them, but it seems I create many copies of the vectors and they are stacked up on top of one another so I don’t realize there is 4 vectors stacked up. This creates issues when trying to run toolpaths.
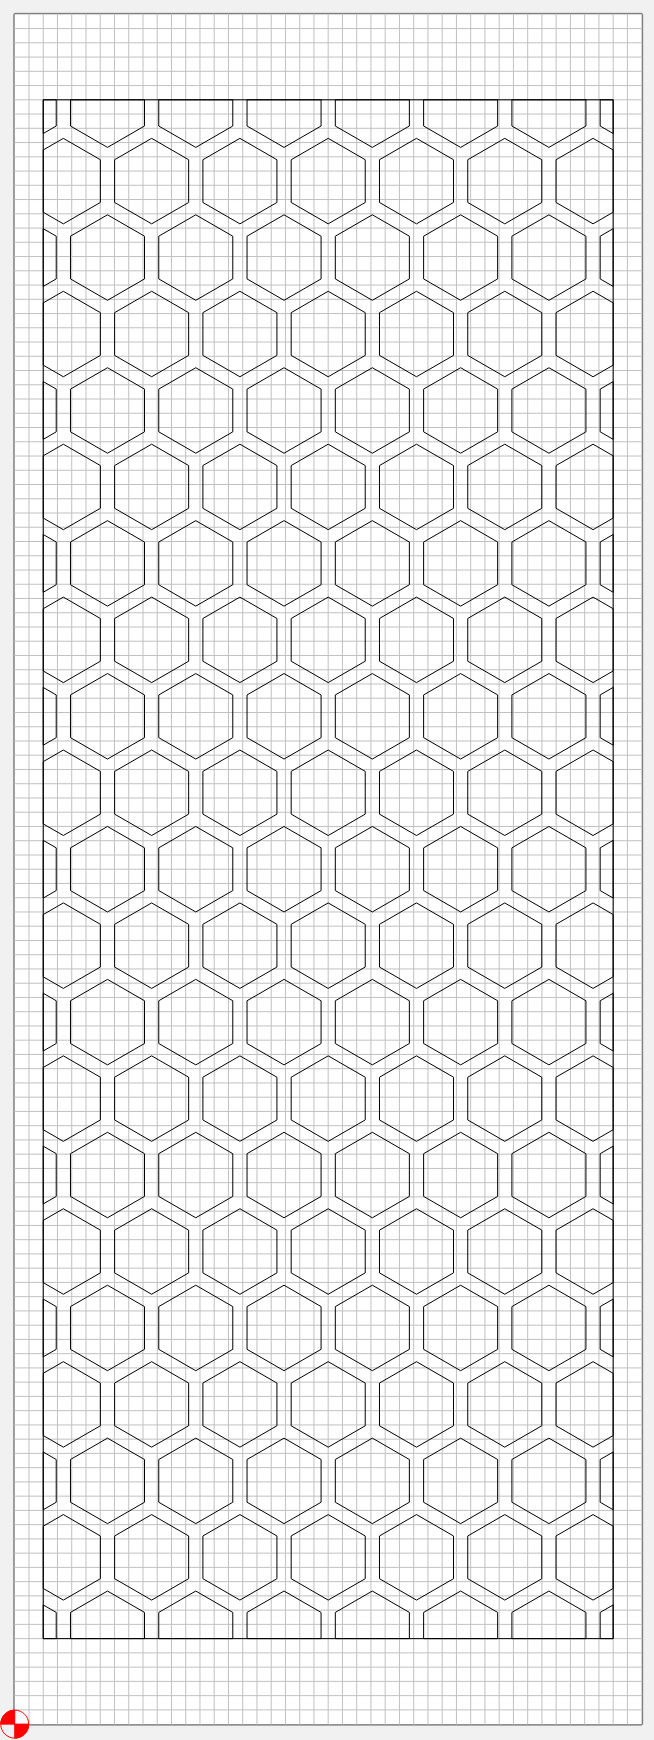
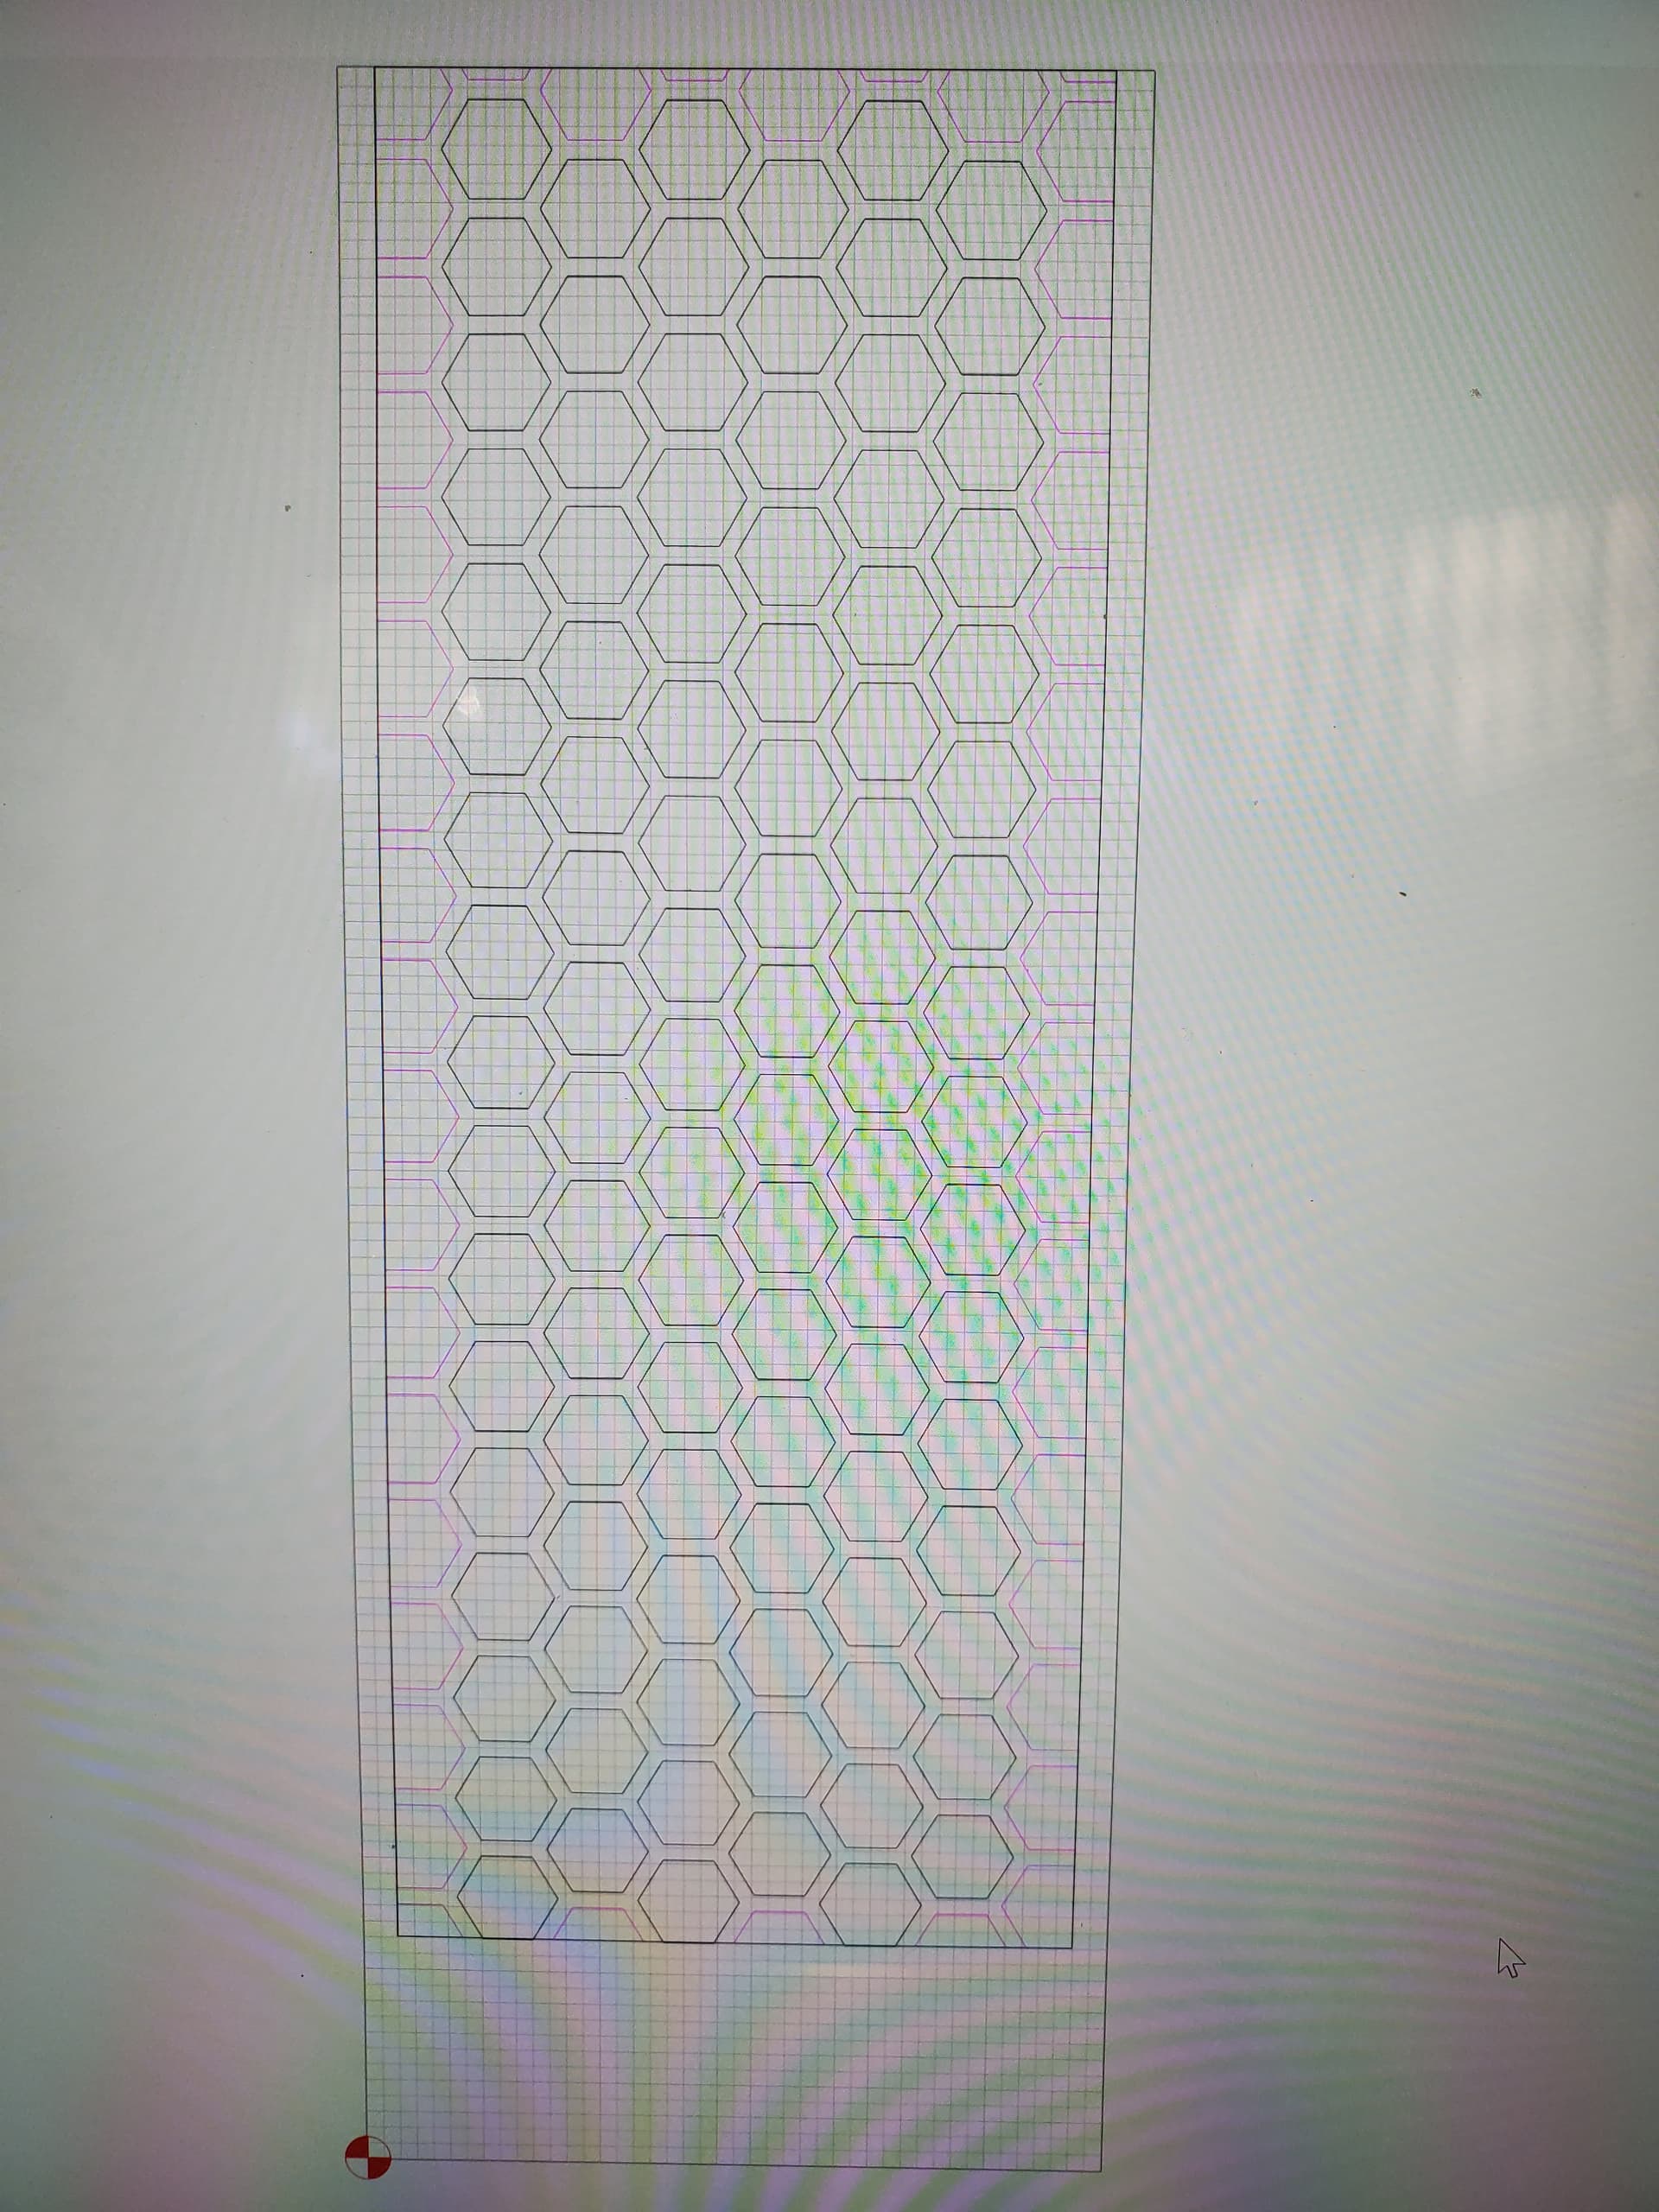
Anyway, I have been trying to use CarveCo. I created one hexagon, then ‘blocked’ it to make rows and columns. So now the hexagons are uniform.
Then I created the rectangle border and trimmed the hexagons that were sticking past the rectangle…but now those hexagons are open vectors and won’t be included in the toolpath. I’ve been trying to weld them as one so they would be closed, but I guess that isn’t correct either…
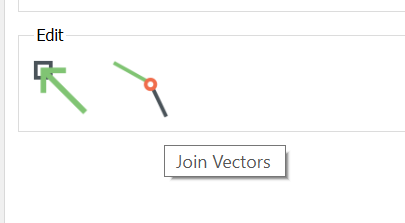
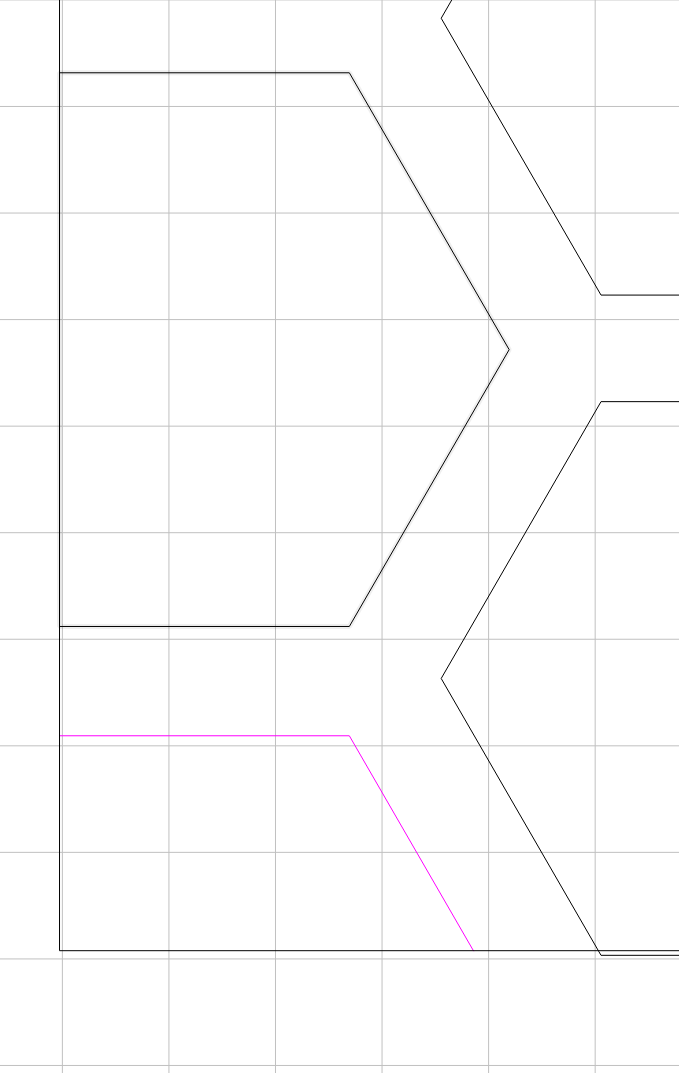
In the corners since there only four you can use the join vectors tool and then edit vectors. Right click on the new diagonal and add a point. Turn off smoothing and drag the newly created point to the corner node of your boundary box.
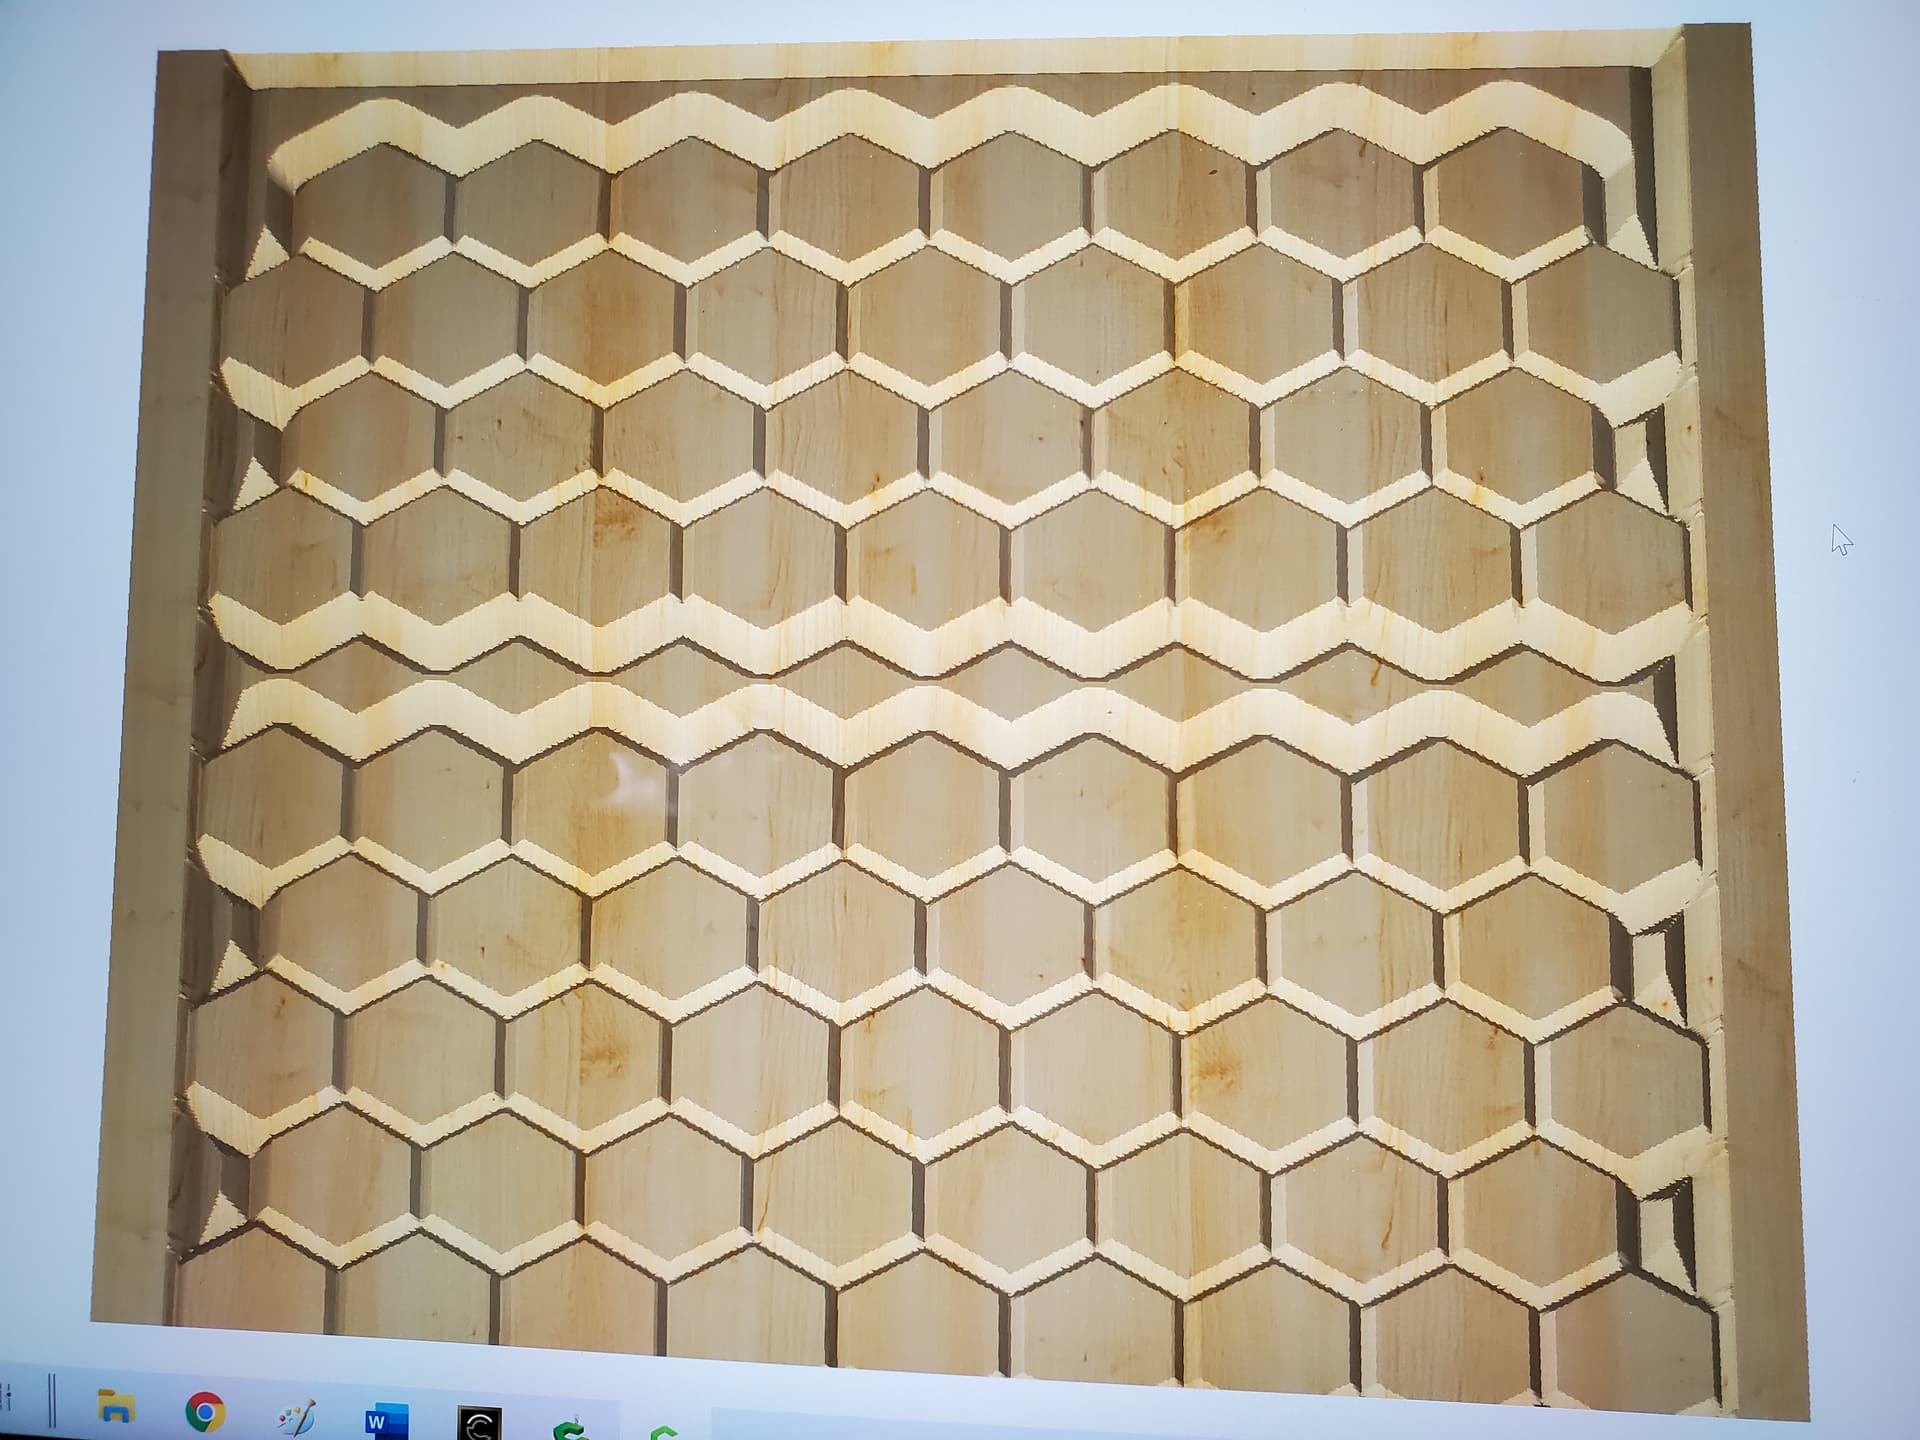
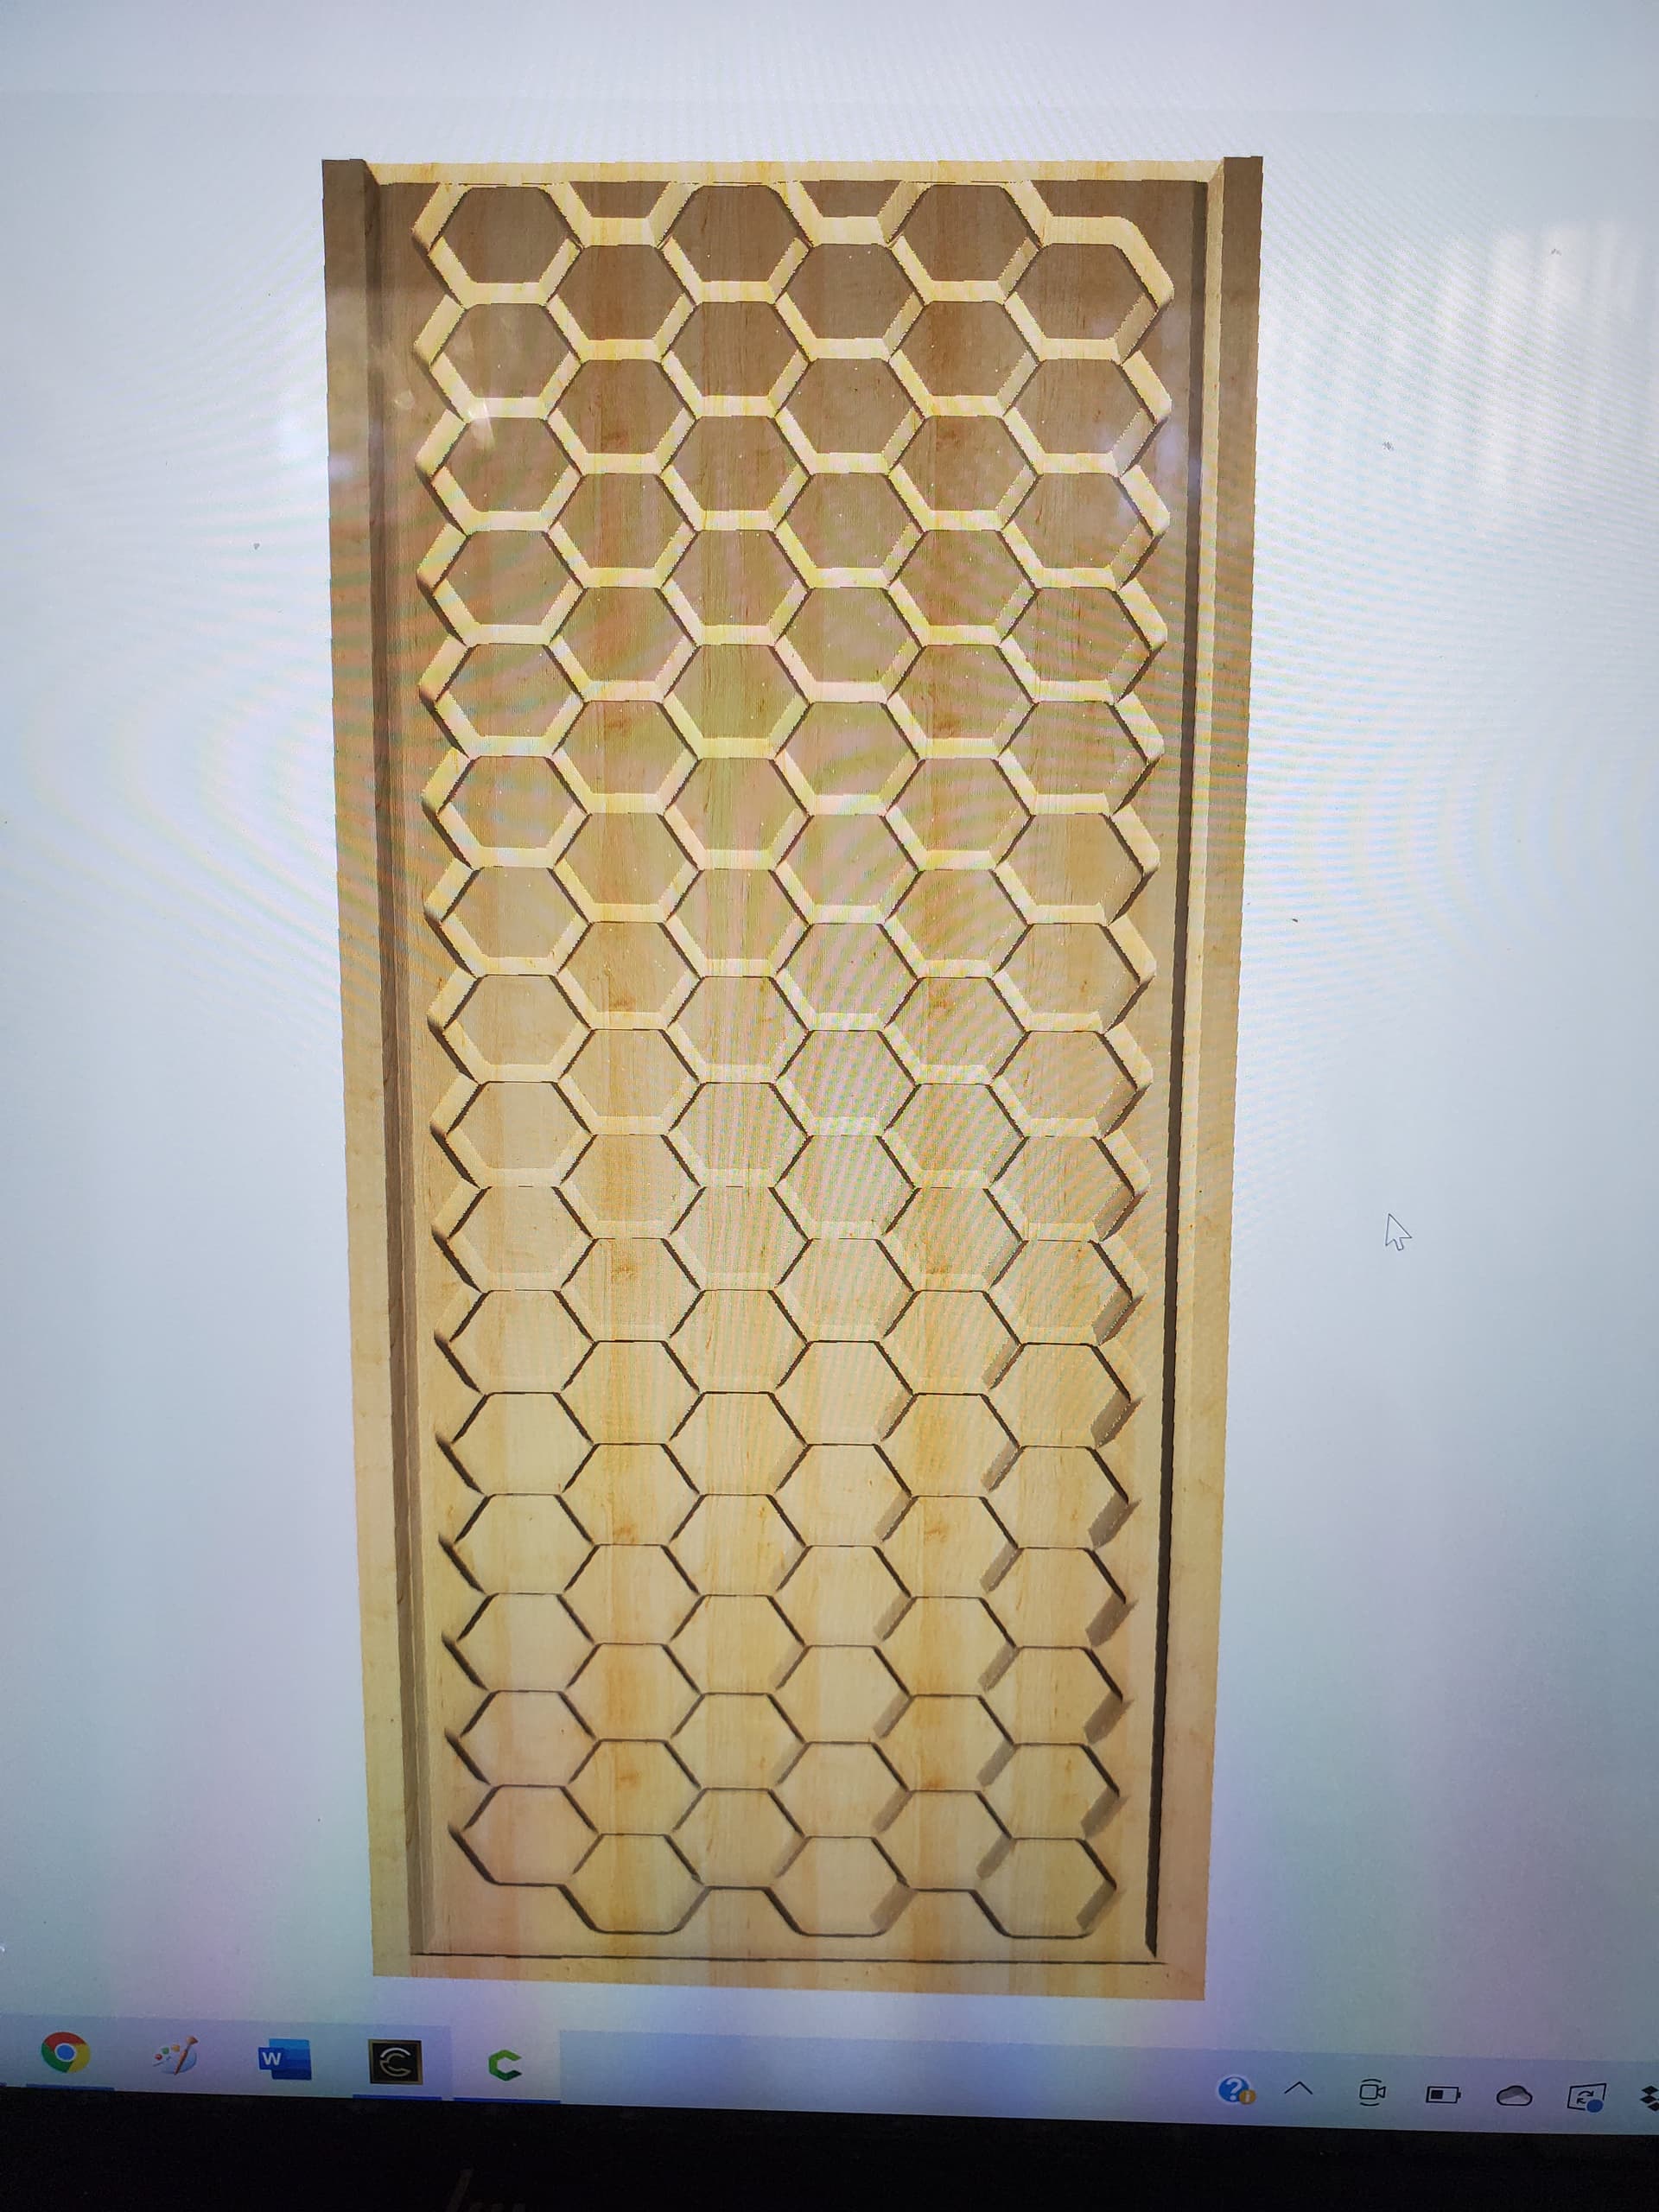
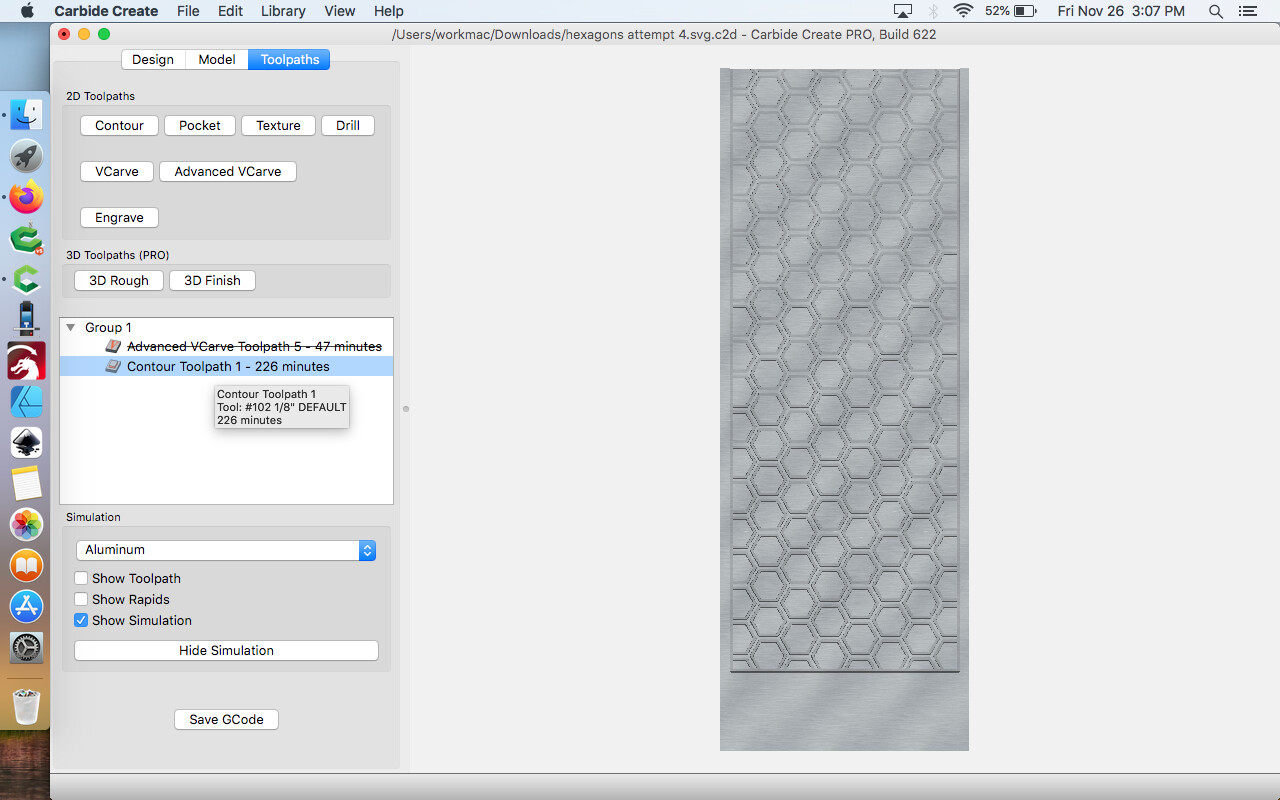
Now this is interesting, disable your Advanced V Carve toolpath and select everything. Create a new toolpath using an1/8" endmill with no offset, it all seems to cut.