Hi all, hoping someone can give me some advice. This is a new problem that I have been experiencing since the software revision that removed the v-carve toolpath option leaving only the advanced v-carve. I am using CC Pro build 813, Shapeoko 5.
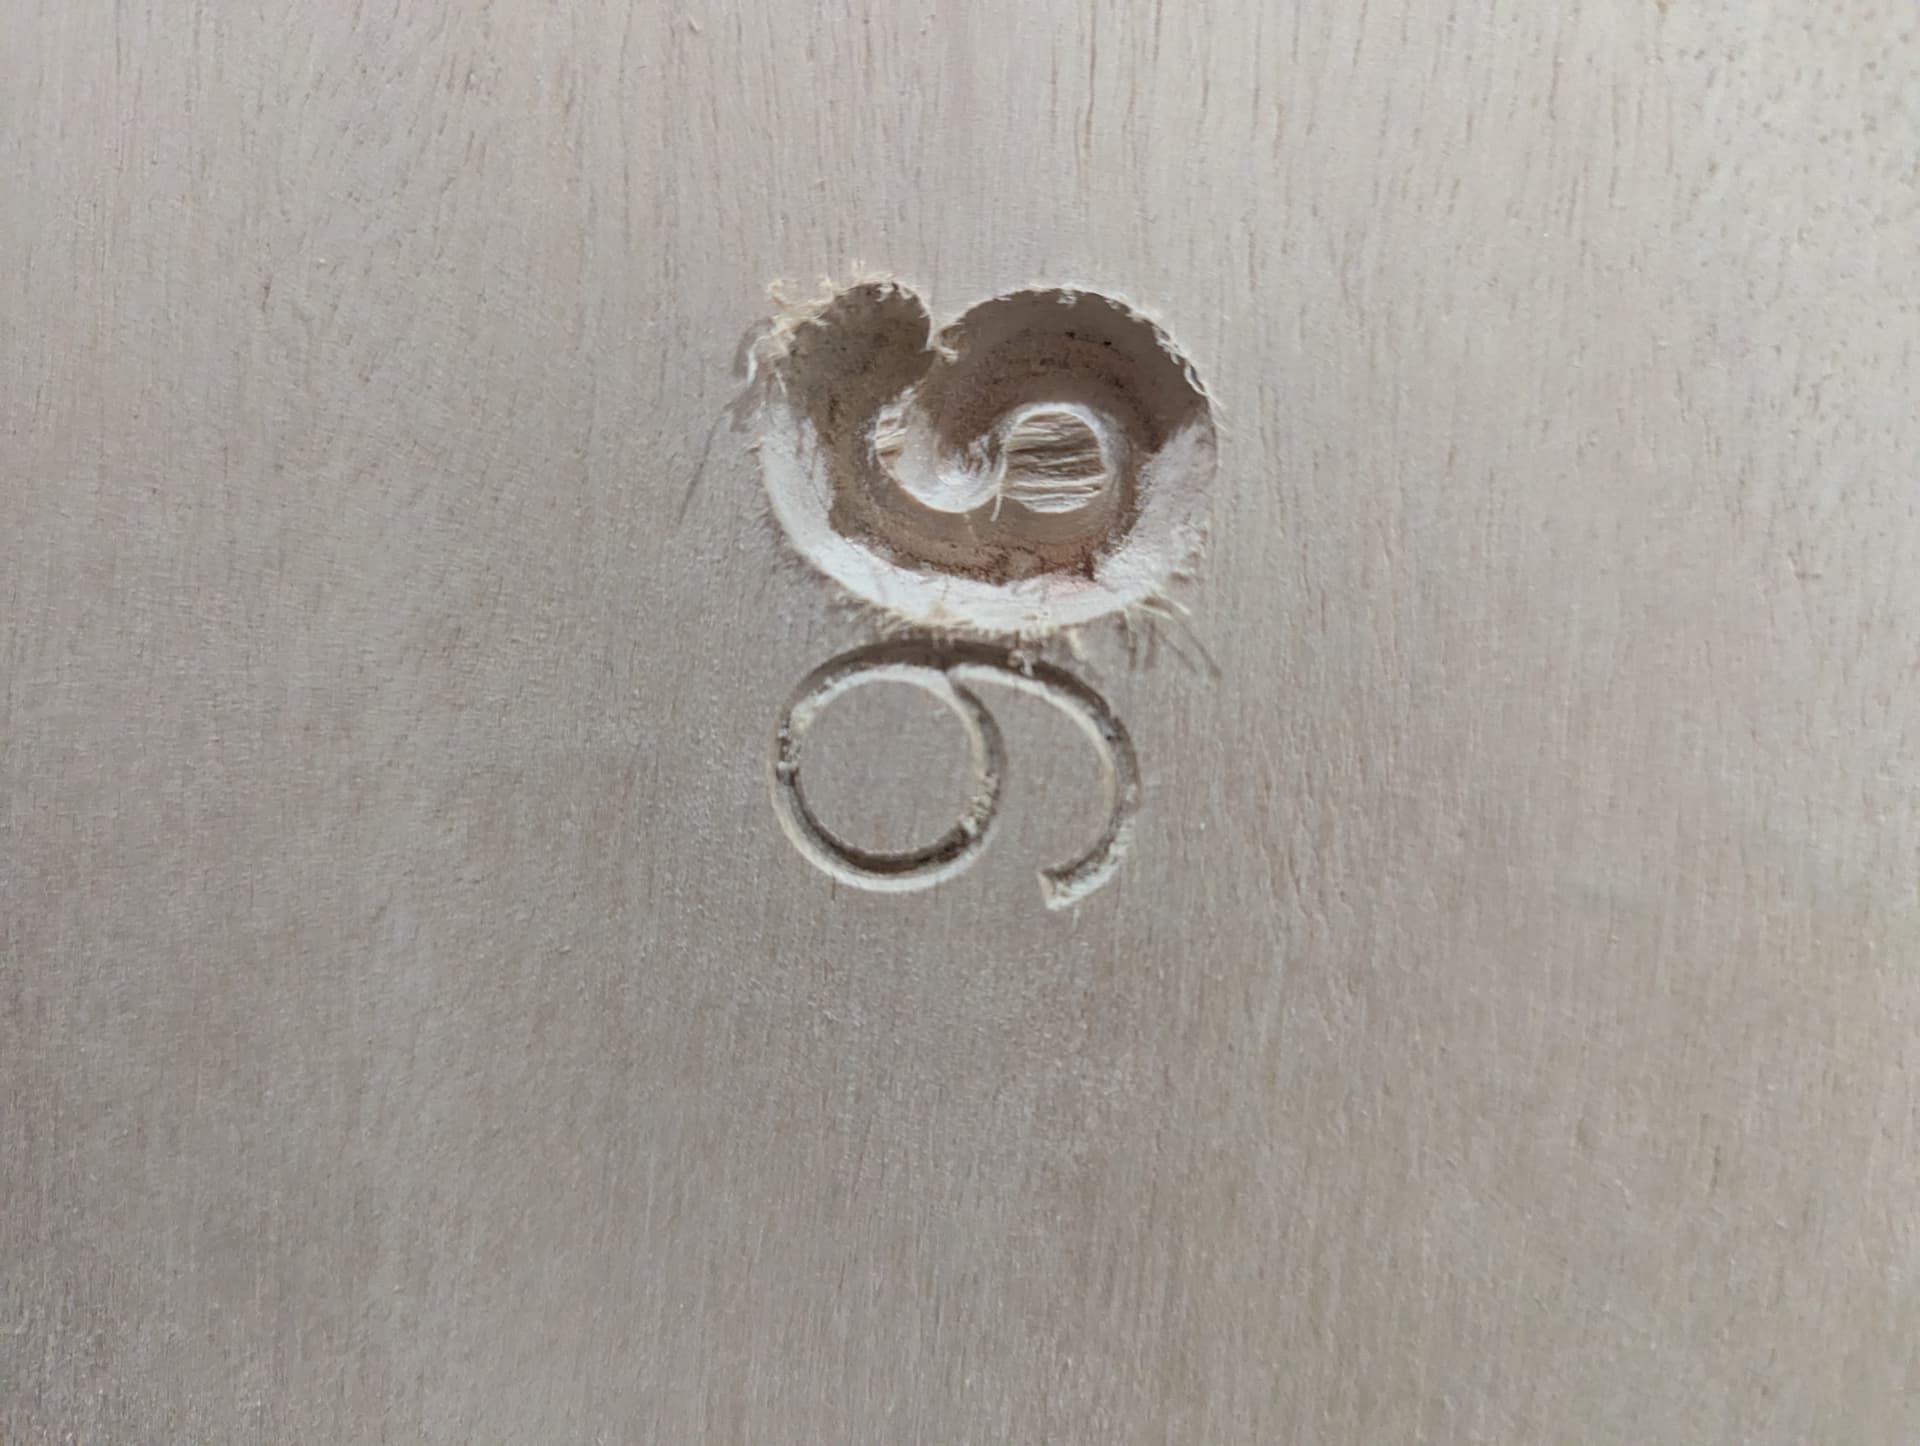
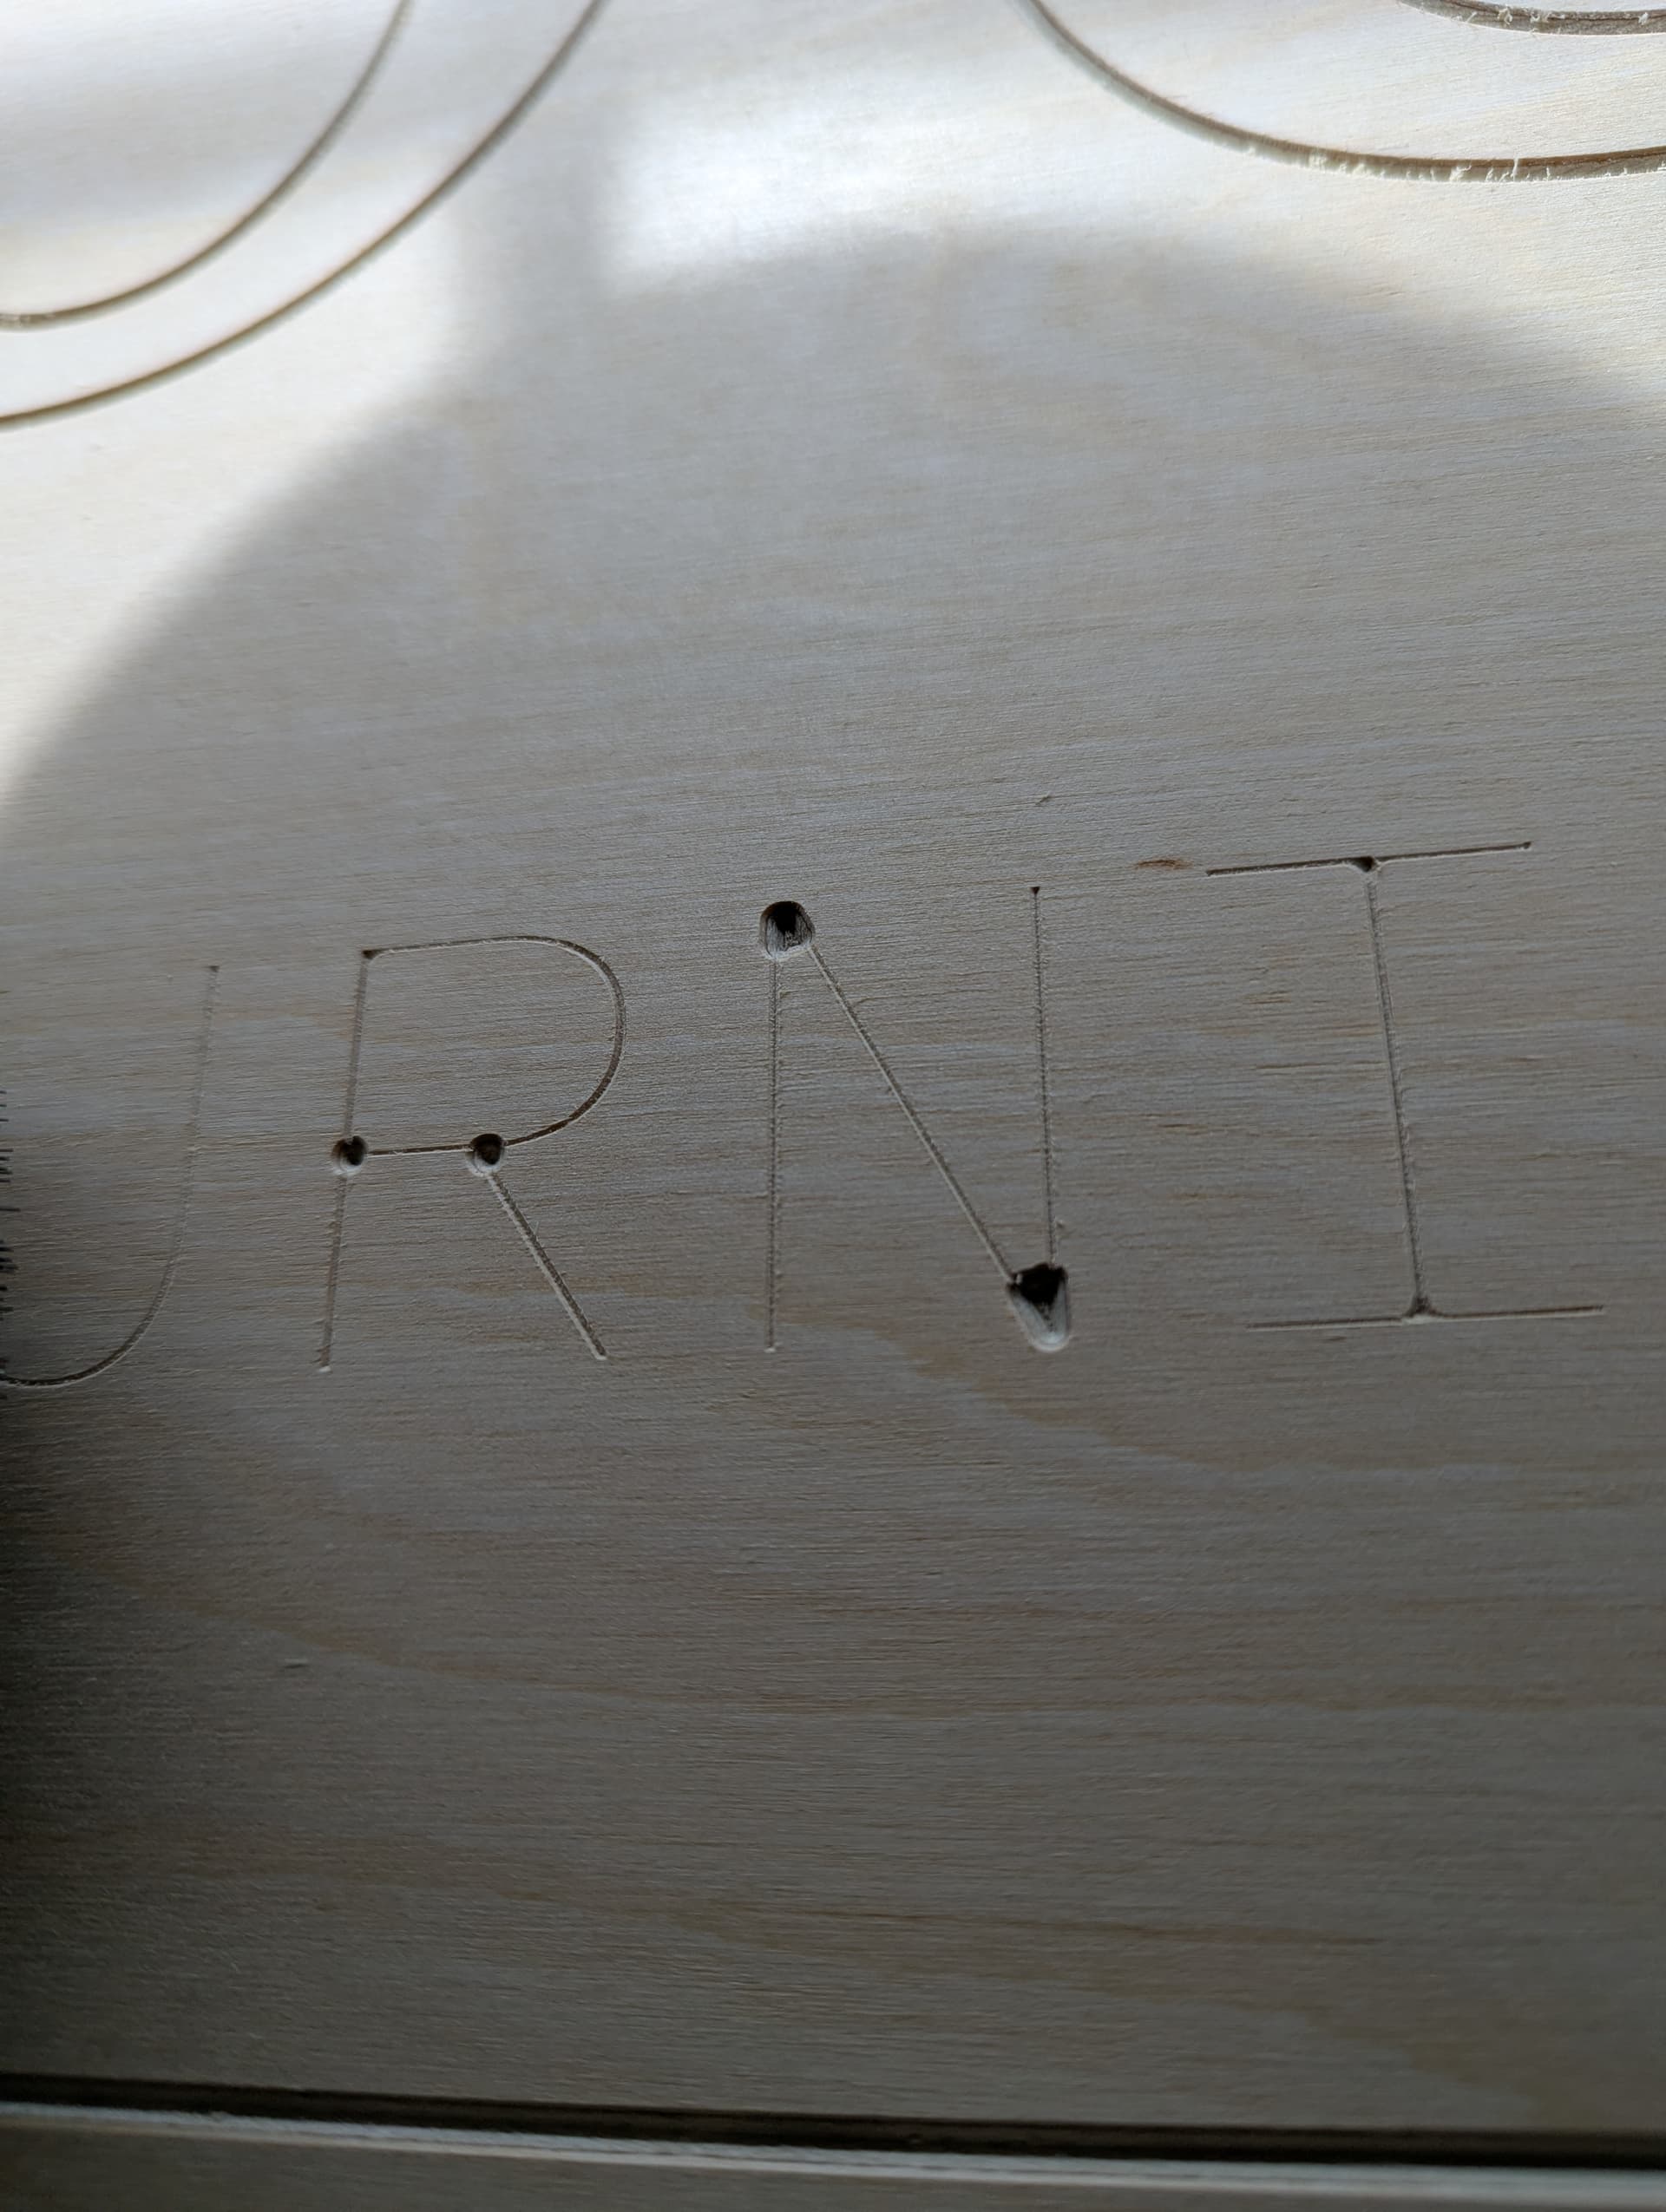
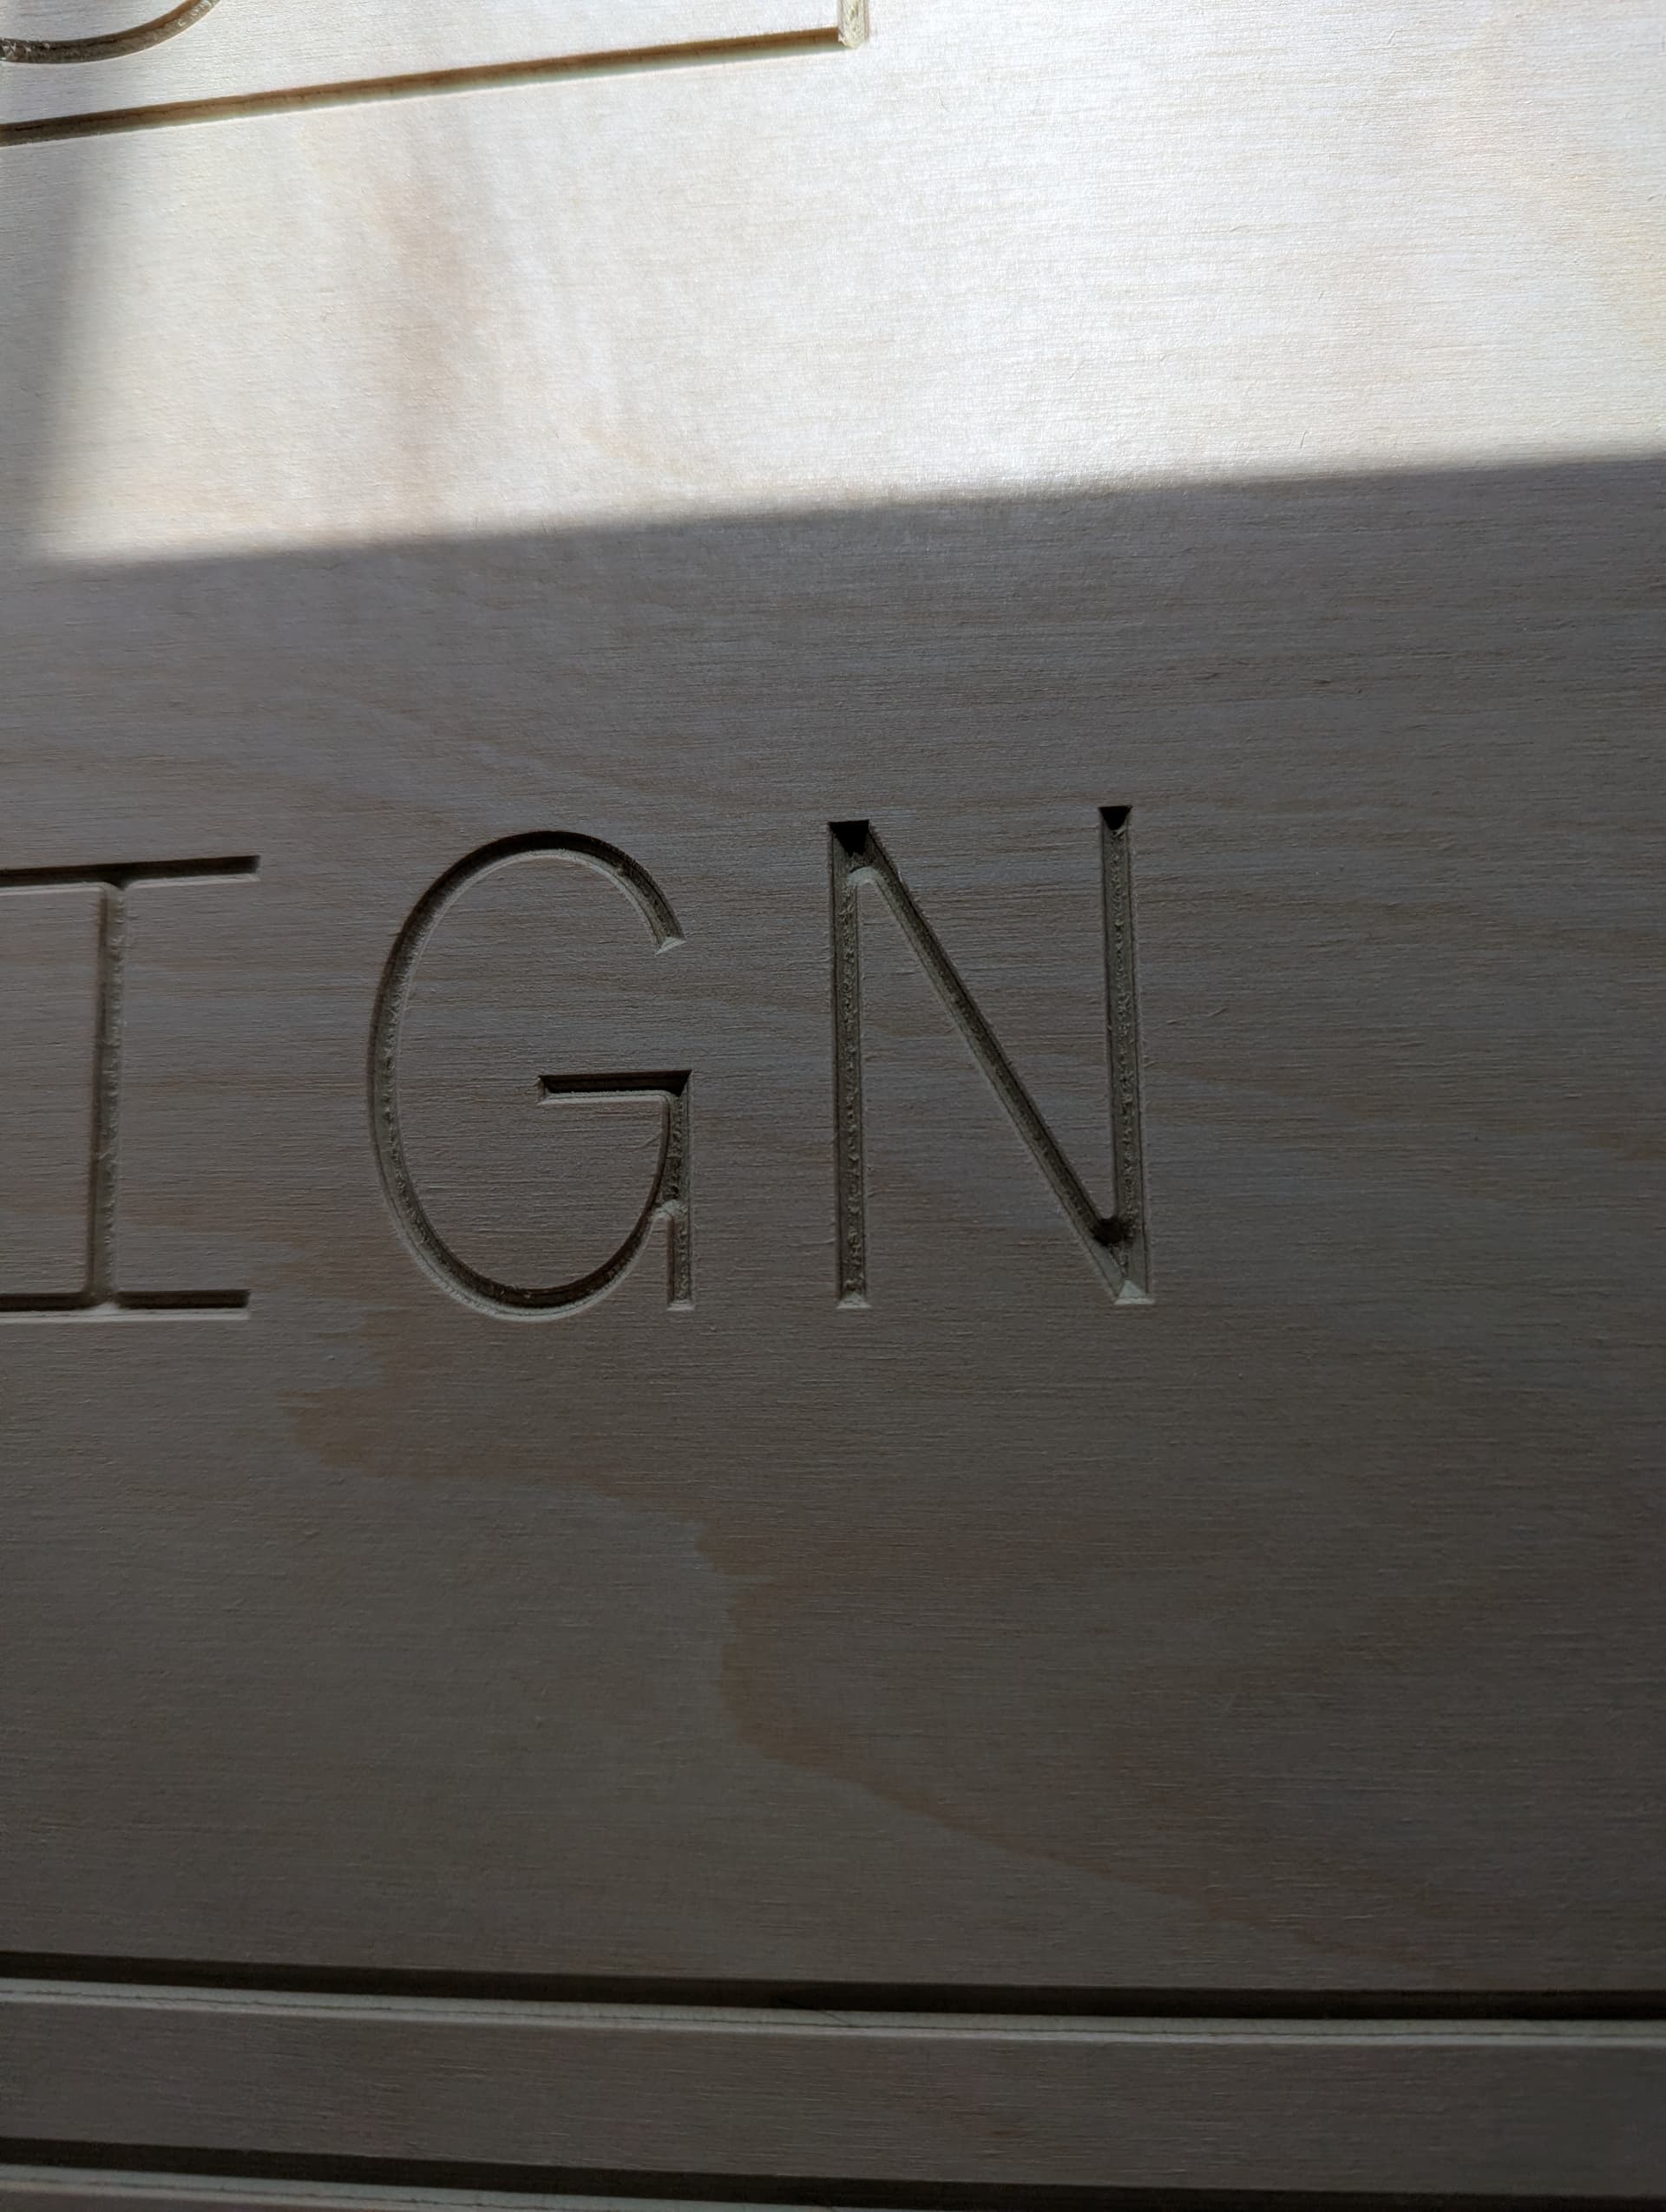
At the beginning of the toolpath, the machine will plunge the tool into corners of text, but it will plunge deeper than the rest of the v-carve. I always surface my material before using v-carve and I’ve seen it happen on both wood and HDU.
I don’t see the issue on the simulation, and I have run the same toolpath on 2 other pieces of material (both surfaces first also) and haven’t seen the issue.
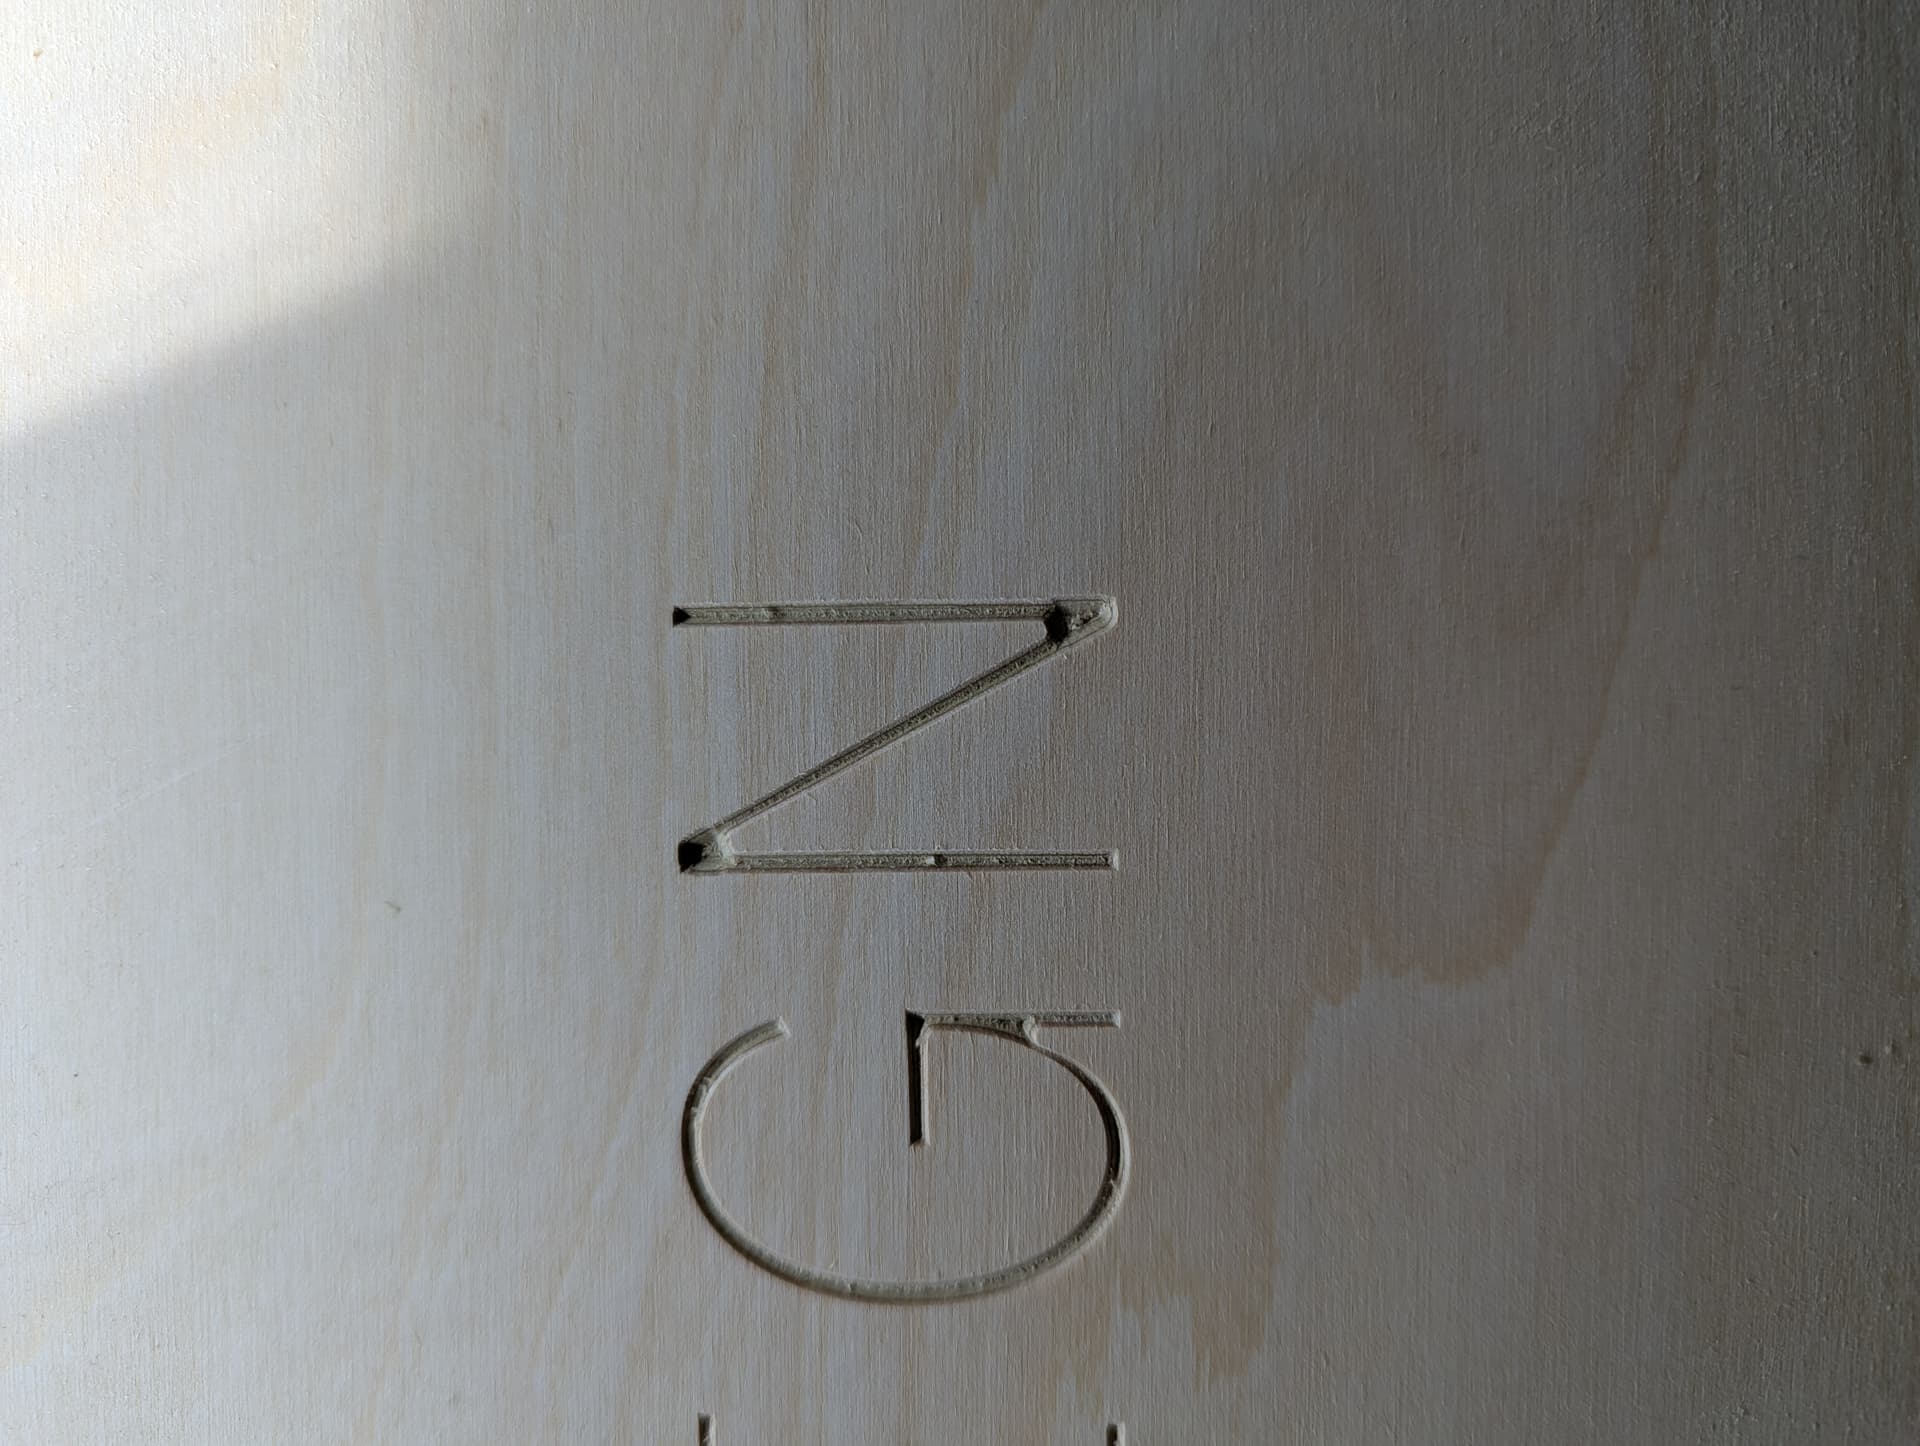
In this photo, I ran with max depth at 0.2 in. I increased it to 0.225 in to try to get slightly deeper and this is the result. No other changes at all between the 9 and the 6 in this photo - I didn’t move the material, change any zeroes, change bit, etc. Just reloaded the program and re-ran. I am wondering if there is a setting that I am overlooking that is causing these depth issues?
A guess: For the 9 and the 6, it looks like z might have been zeroed on the bottom of the material but the software might have been set for zero at the top for the “9” and at the bottom of the material (correctly) for the “6”.
For the depth issue on the letters, try unclicking the “Enable Area Pocket Tool” and increasing the Max Depth until the simulation shows an improvement on the corners of the problem letters. I assume you are not using a pocket clearing tool, only a v bit.
Correct, only a v bit. When I initially set up the toolpaths I was getting Empty Toolpath errors if I tried to unclick the pocketing but it looks like it’s going to let me set it up that way now. I’ll give that a try, thank you!!
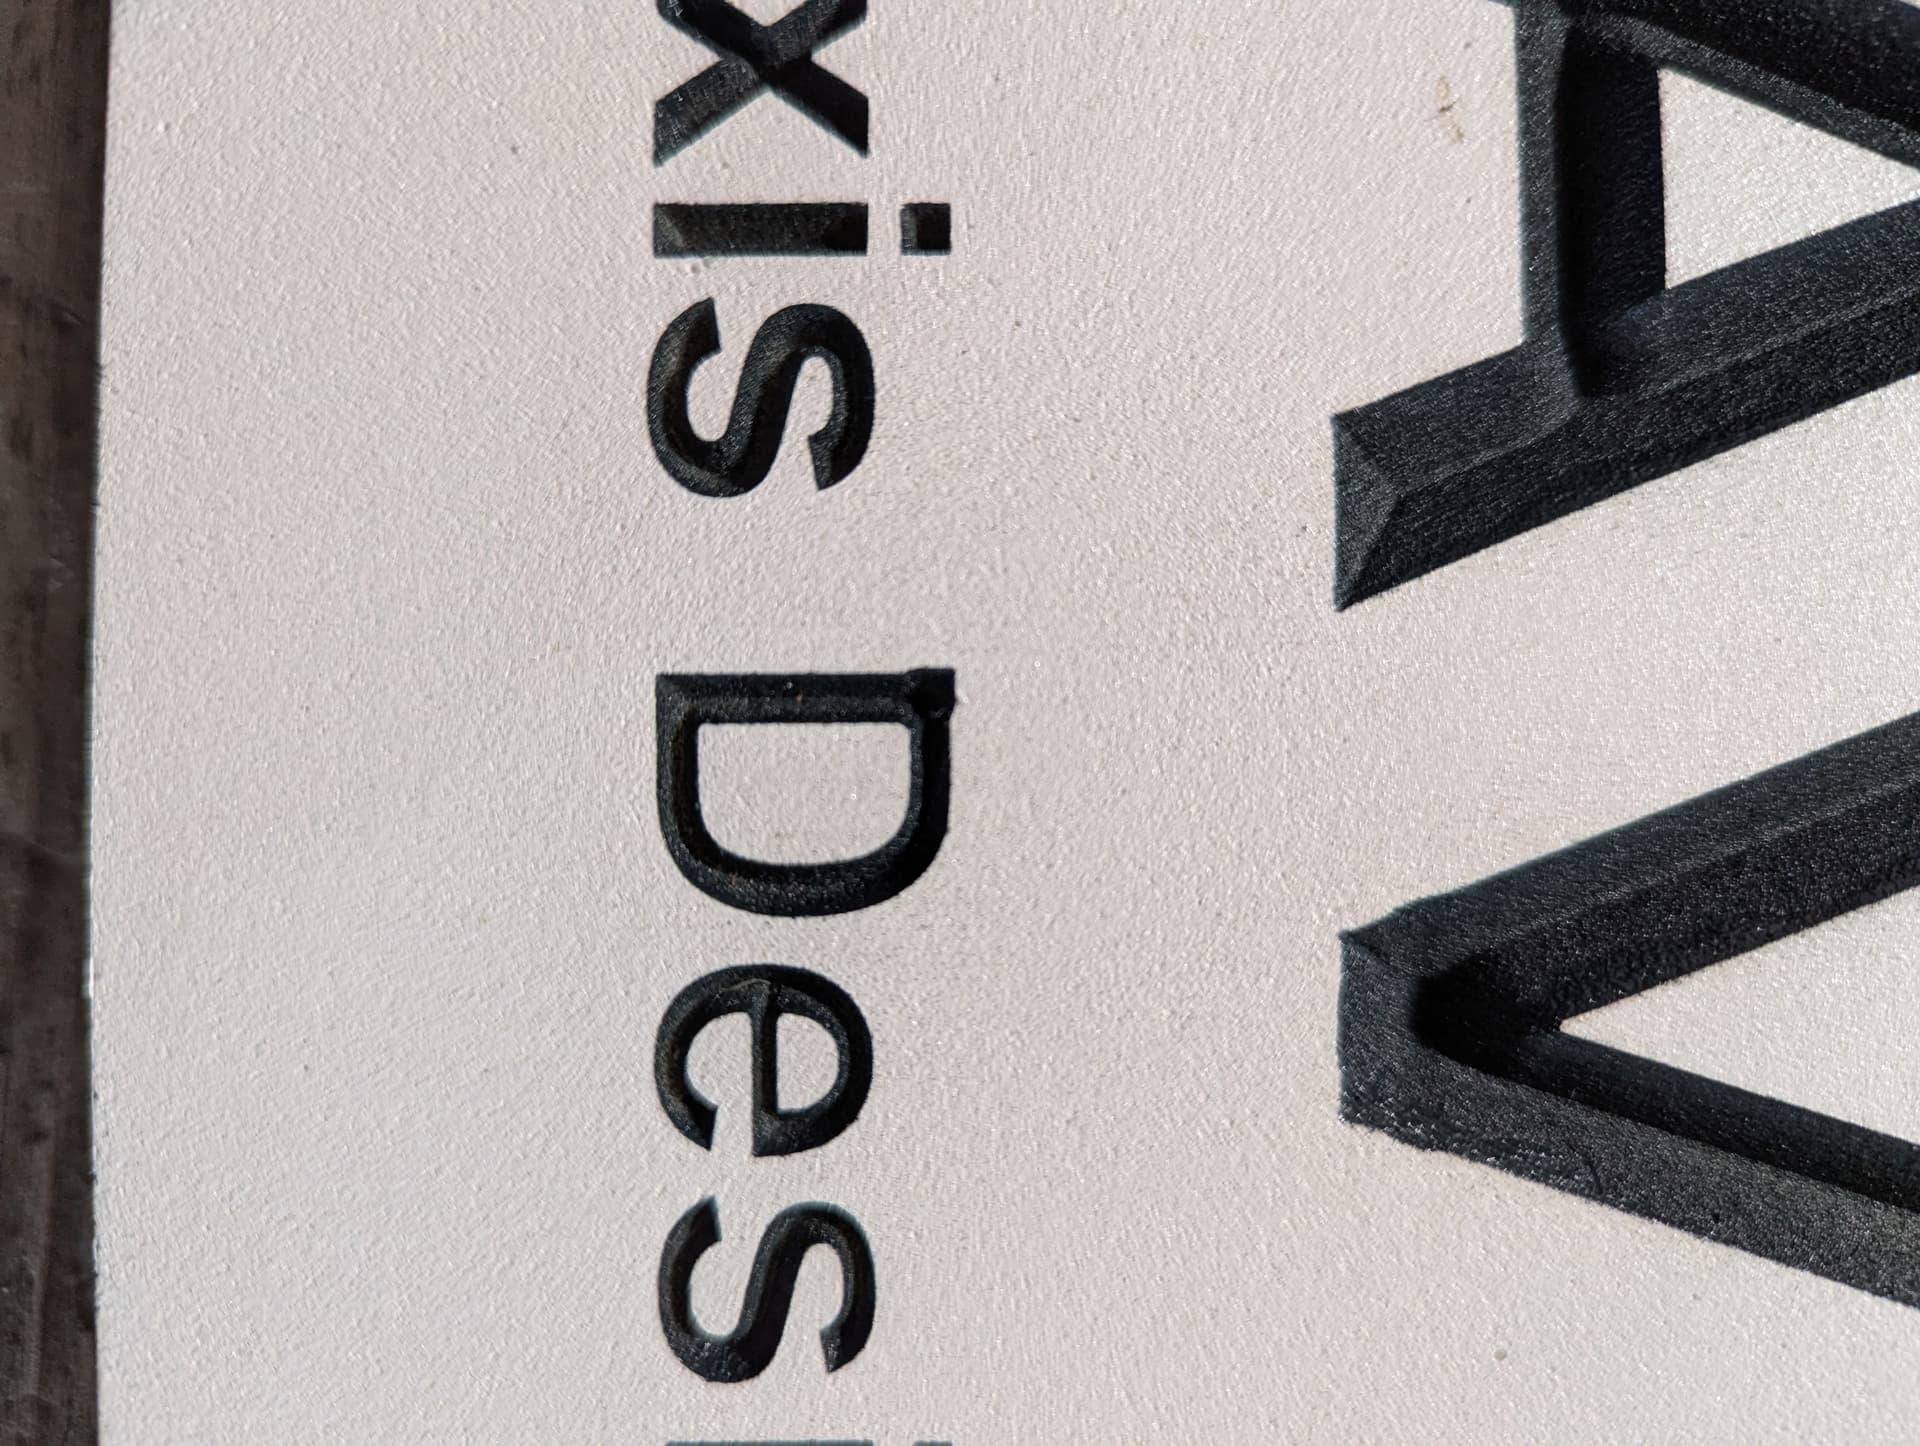
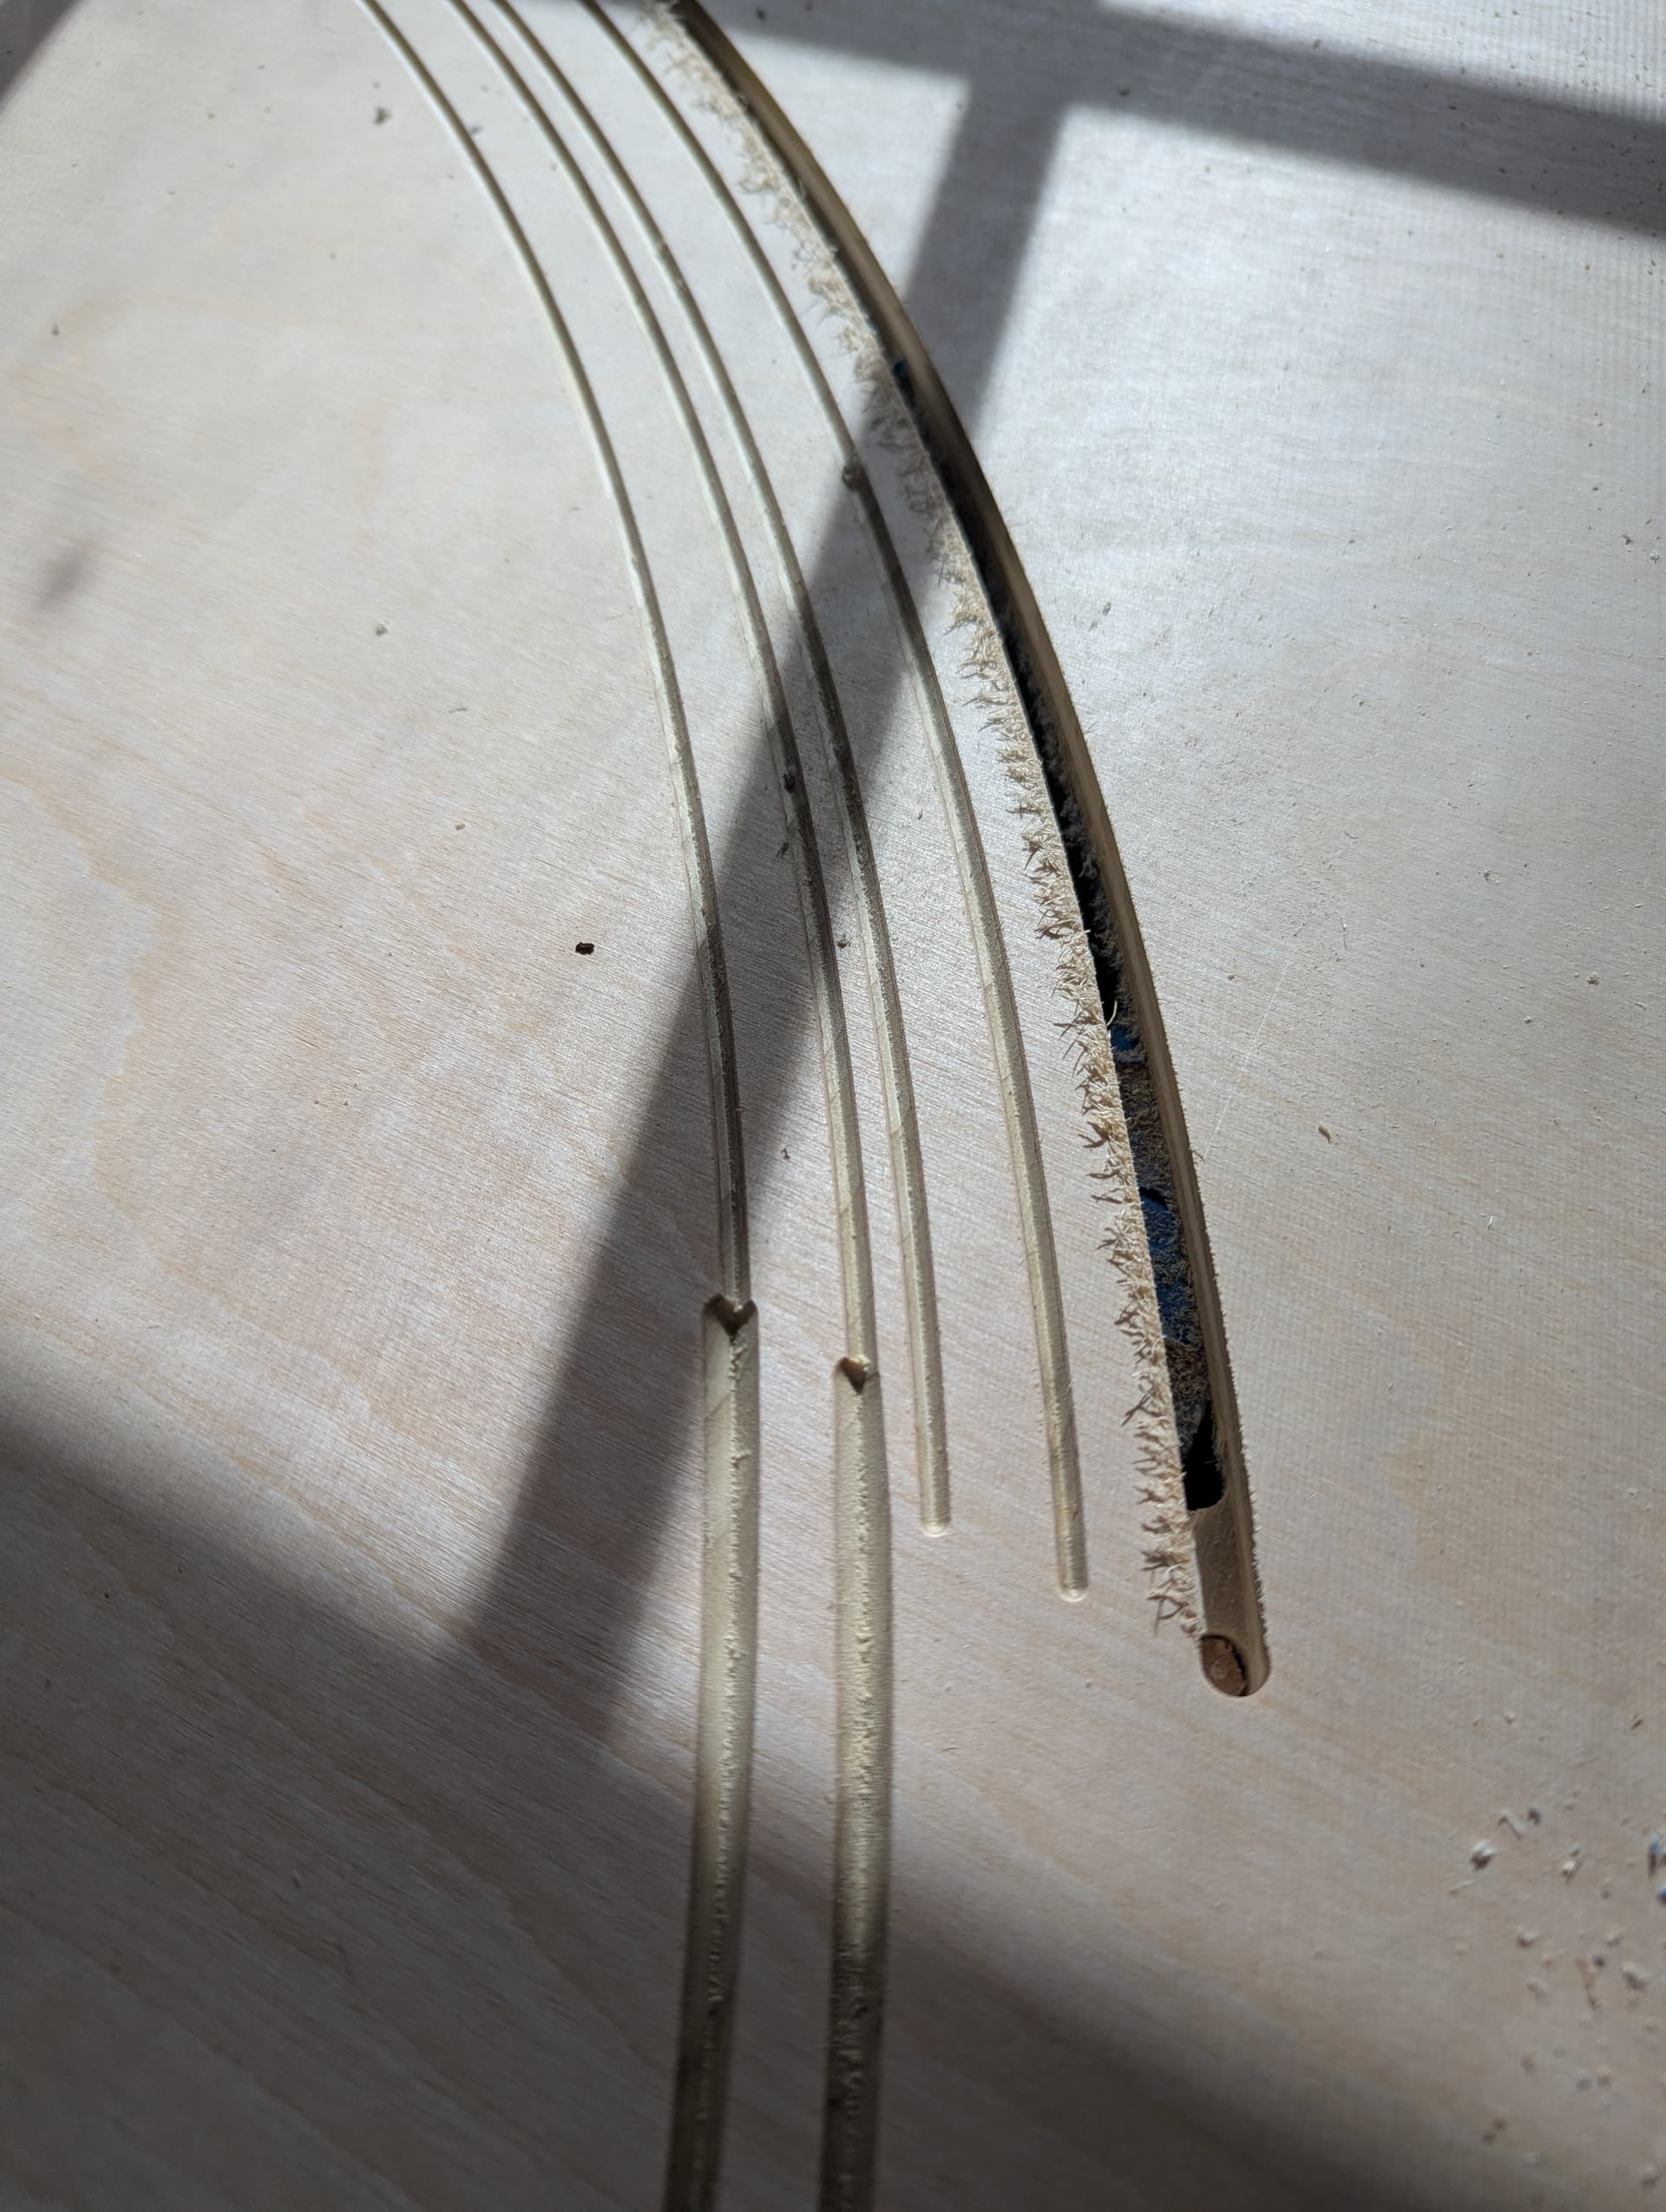
I also made a silly mistake on another part of a project - you seem very knowledgeable so maybe you’ll have some advice on how to fix it? My workholding failed in one corner and the board lifted slightly leading to this deeper cut where these lines connect in a tiling project. These 4 lines are borders around the entire project. Do you know of a way that I can cut kind of a ramping depth to smooth these lines out without recutting the entire border deeper to accommodate this one section?
If Zero Height was not inadvertently set to “Top”, could the Thickness (Z) have been reduced for the 9? If neither of these assumptions are valid, I can not explain the excessive depth when the 9 was carved. You have “Fooled the Guesser”. Cheers.
Haha well that makes me feel a bit better that I didn’t just make some very obvious mistake! I ran the program with both the 9 and 6, then adjusted the max depth from 0.2 to 0.225 and immediately restarted - no other changes. I stopped the run in the middle after I saw how deep the 9 was.
I tend to make a mess when I try to correct an errant cut with the machine. If your finish allowed, I would try wood filler and recut the passes which were too deep. Cheers.
I want one more guess: could Z have been retracted/jogged too high against the limit? This could result in lost steps at the stepper motor leading to the machine thinking Z zero was lower than intended. Now I am done.