any ideas on how to do this in carbide create? I assume I’d have to use pro, which I am on the free trial. I can not figure out how to do the carve with it leaving the surface flat and carving a portrait in the negative instead it only seems to want to do it like a topographical. I want it to be the inverse of that, if that makes sense.
You can use the “Invert” checkbox when you import the image. To get the stripes like in the video you’ll need to do some math to calculate the depth to cut based on the color (white → black) and your stepovers to get all white, 50% white, all black, and everything in between.
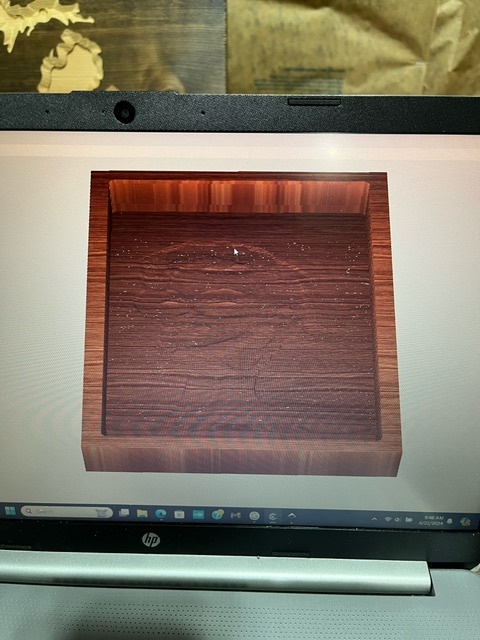
My issue is not with to halftone. I’m able to import the file as a jpeg and can get it to read the surface contour thanks to Tod1d’s input as inverting it. Now I’m not sure as to adjust the settings of setting up the model. I want to do approximately .070" doc, however when I do the simulation, it shows a significantly deeper cut of the material being removed. I’m thinking it is something that I’m doing wrong in the modeling area, but I’m not sure if it is that or if it will truly only cut .070" and it just looks deeper
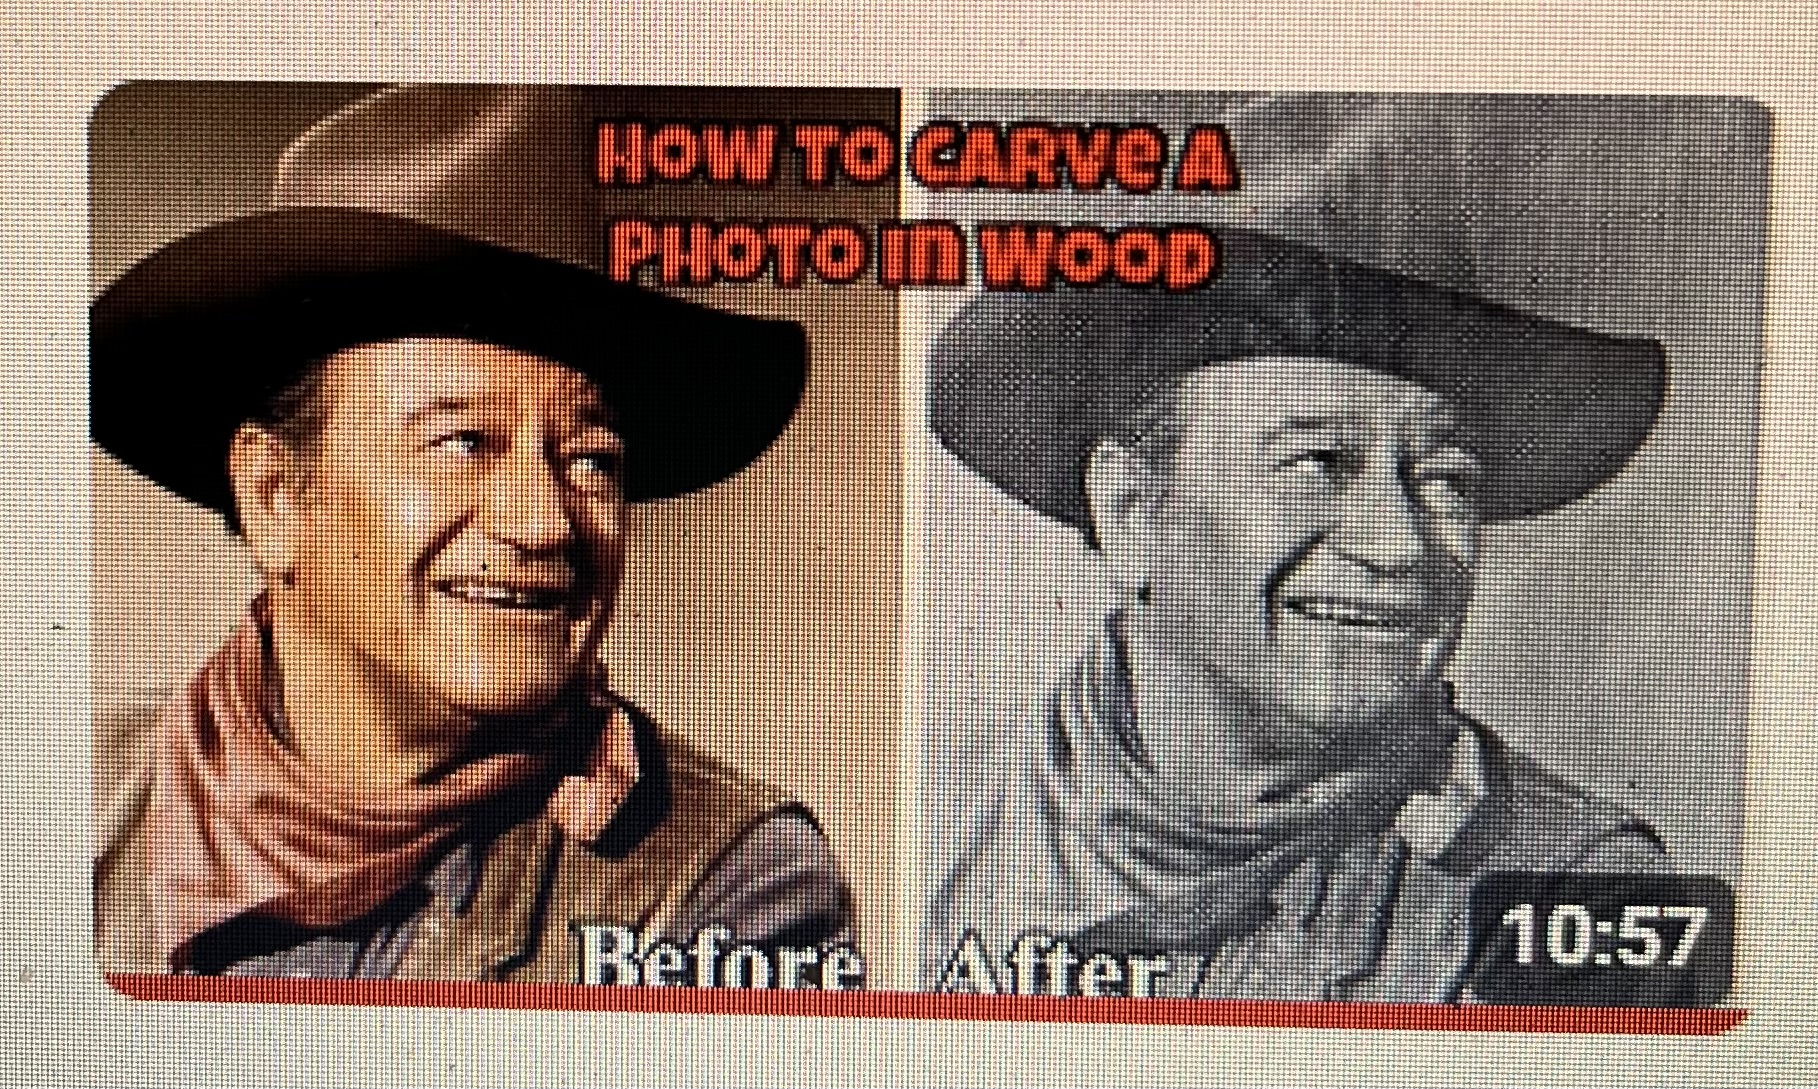
ok so changing the base height was the correct thing to do (best as I can tell). However, all it did was the inverse topographic impression. Which if you watch the video link that I had originally posted, he was doing a simple portrait v carve on a 45 degree angle with a doc of .070". I chose this video as he went through the program steps in it. I am wondering how to do this same process with carbide create? Attached is another video of the same process but with wood. Build. Manage. Grow. | Wix eCommerce (youtube.com)
I understand that. I want to be able to replicate what is done in the video. If you watch the video it appears that he uses Aspire to do the portrait v carve. It appears that it is a specific setting in Aspire. What I am wanting to know if there is a way to copy the process in Carbide Create? If so, what is that process?
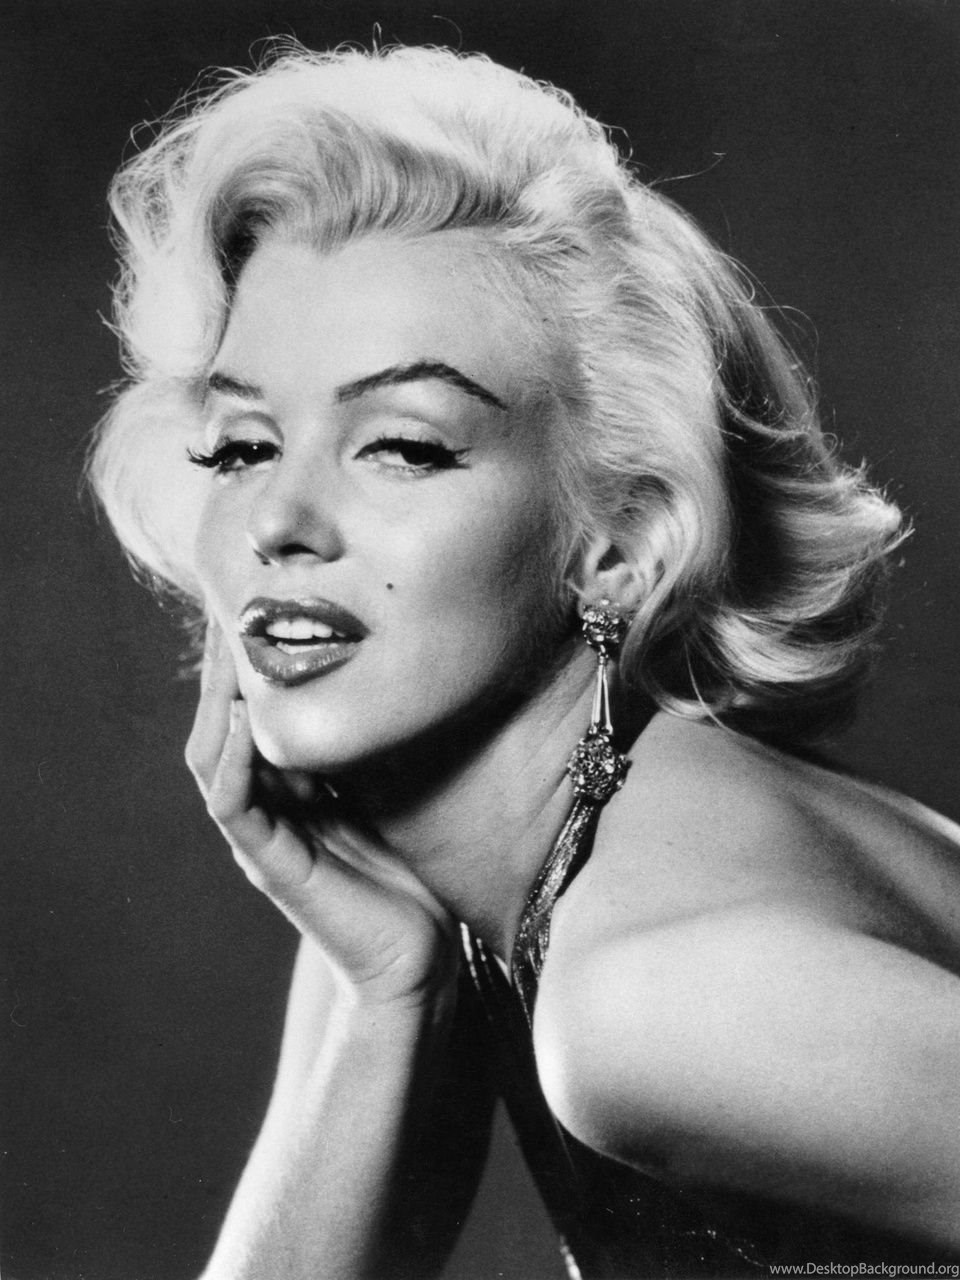
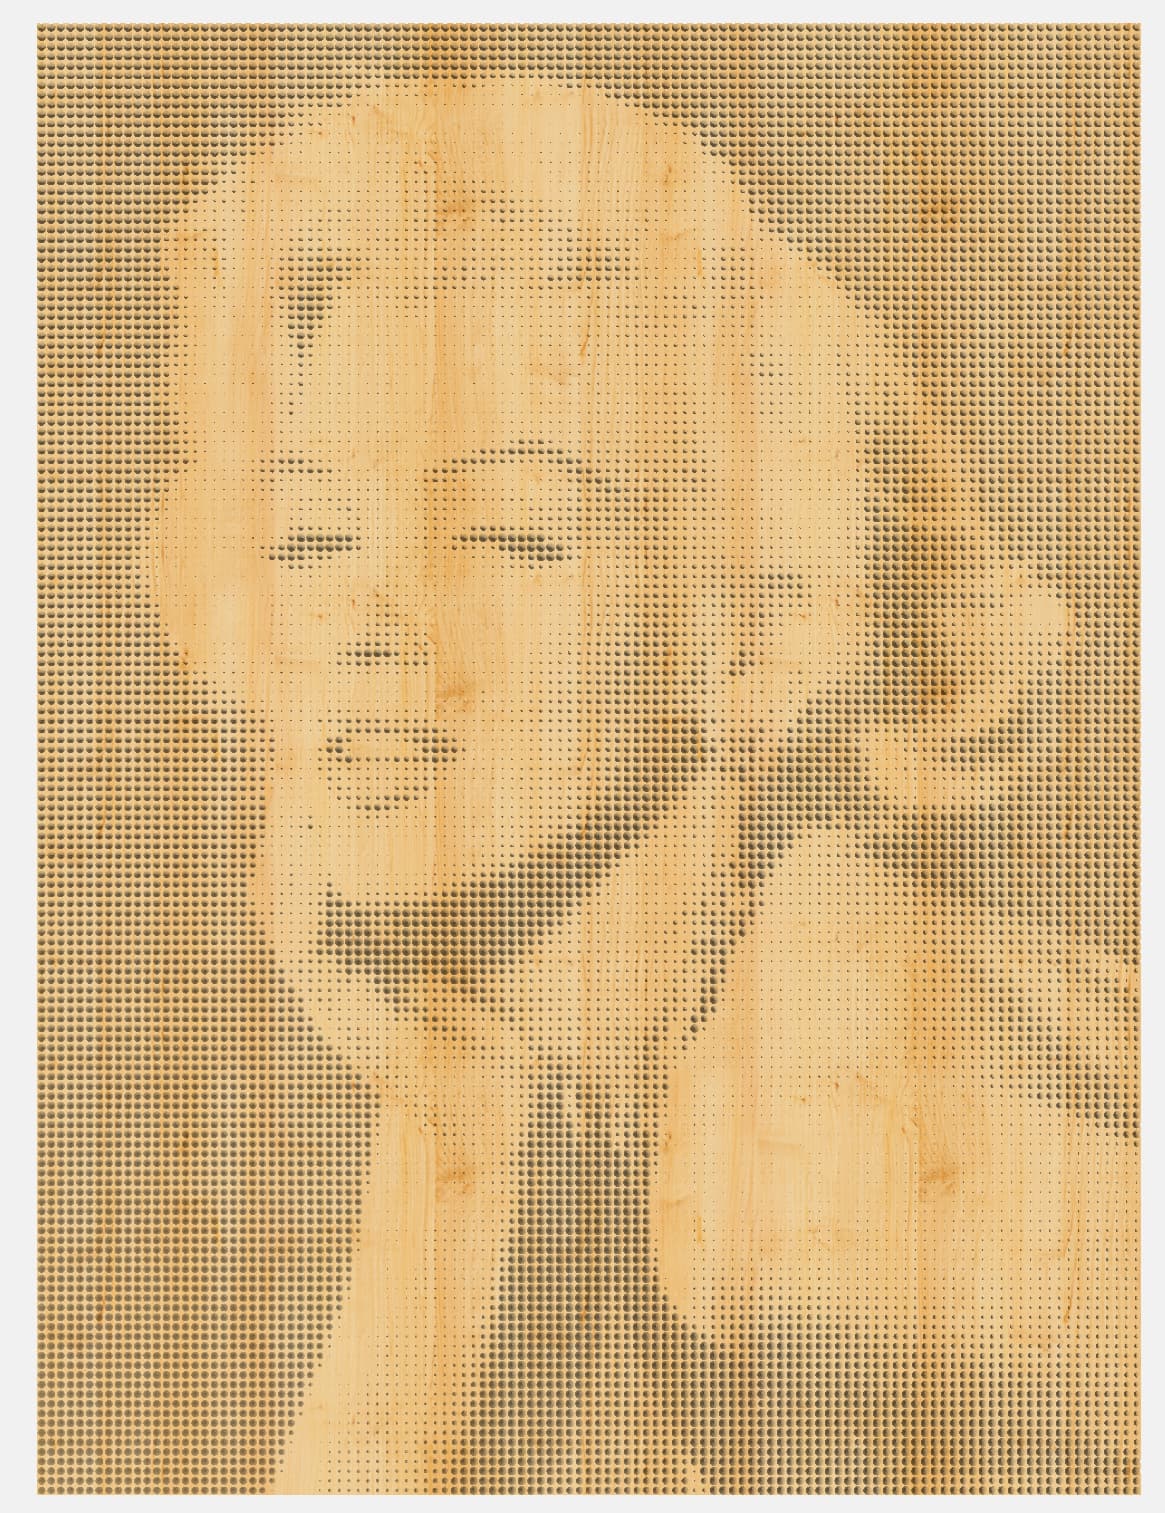
This is what I want to do and the look that I want. Without watching the videos that I posted, it’s impossible for me to describe. I appreciate your effort to help WillAdams, but I’m not sure how else to describe what I want to do without you watching the videos first to understand.
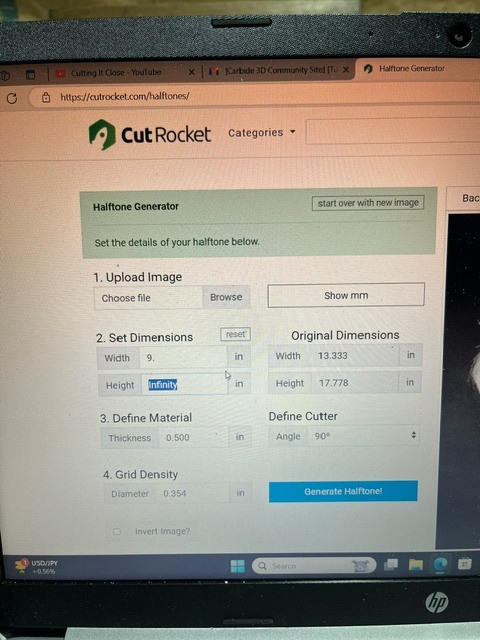
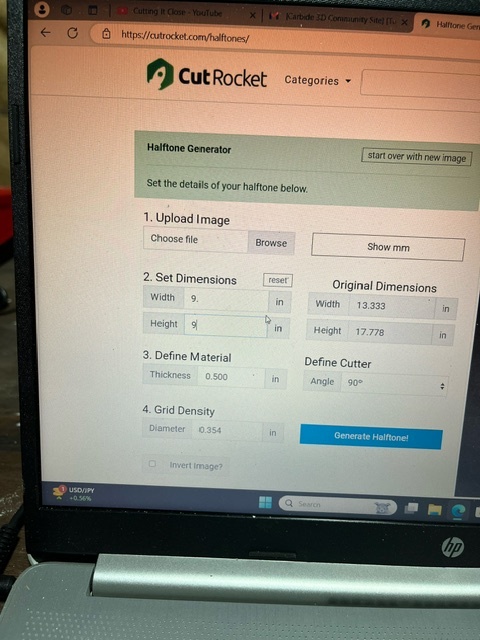
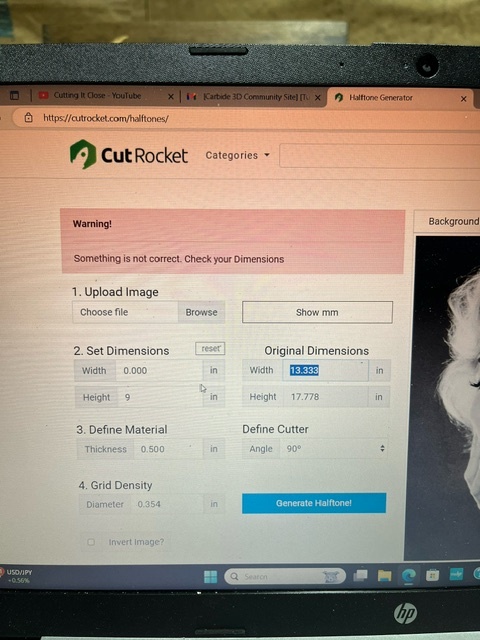
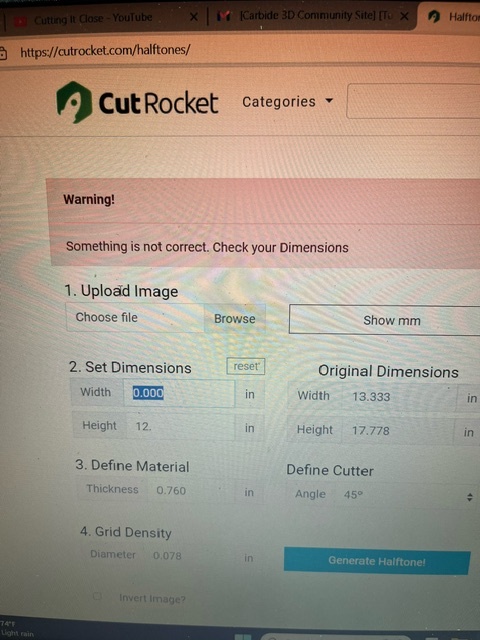
Are you saying that cutrocket halftoner is the only way I can do this? If so, cutrocket halftoner does not allow me to input the size under the set dimensions. I input 9. for the width and as soon as I enter a value in the height it automatically changes my width dimension to 0 and it does not matter what I do it gives me an error saying to check my dimensions. So I quit trying that garbage and was thinking that the software should be able to perform a portrait v carve without having to jump through a bunch of hoops. So let me just ask you this, you have the attached photo and want to cut it into the wood in a manner that after its done carving you can paint it a solid color, wait for it to dry, sand it off, and viola it looks like the picture. Is there a way to do this with carbide create? If so how did you do it?
There are a couple ways to do this if you want to use Carbide Create.
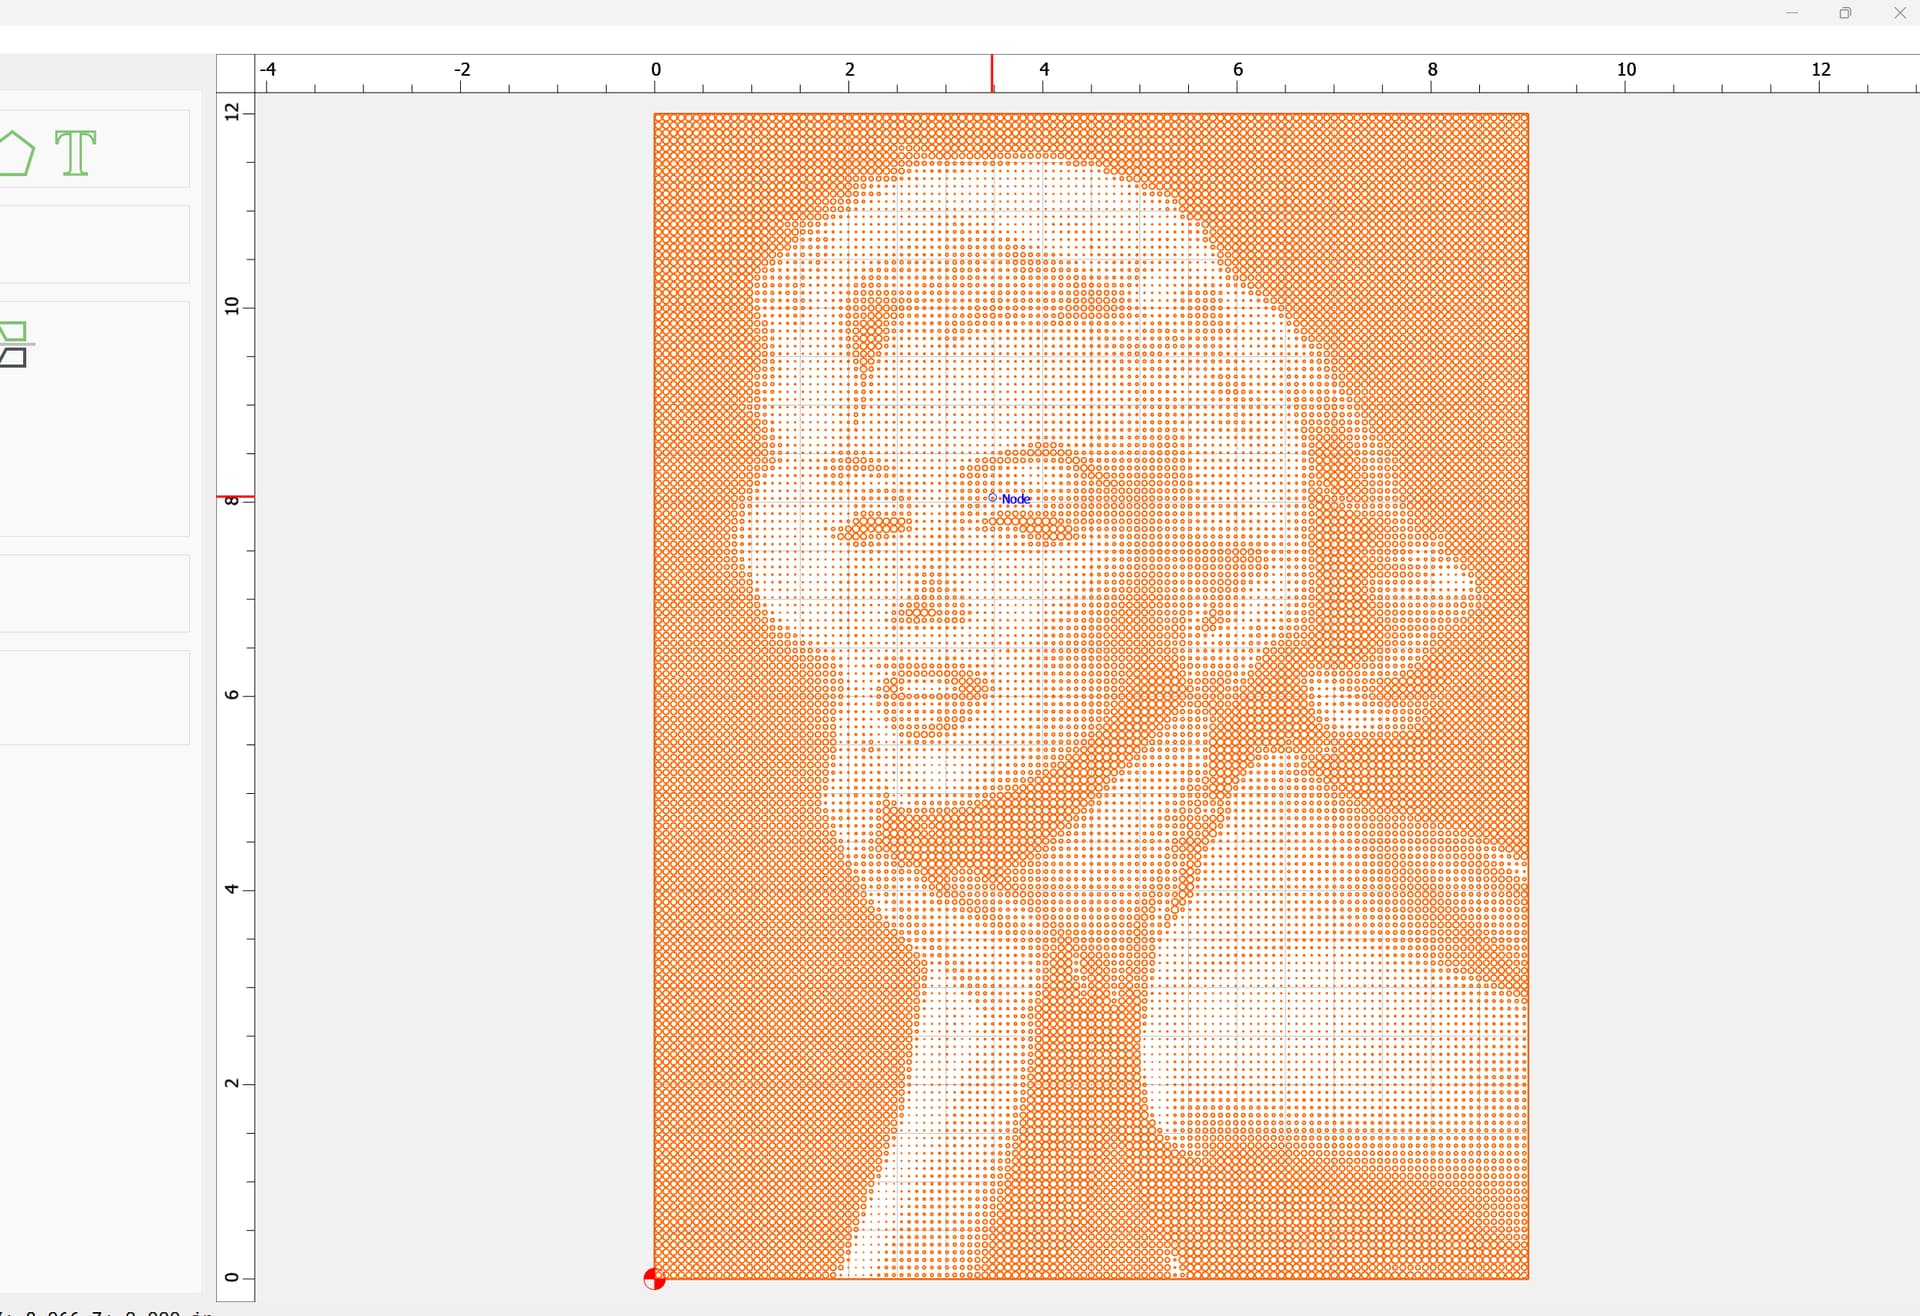
Use a 3rd party software to create the halftone pattern from the image, output an SVG & import it to CC, then use V-carve. This is 2D & does not require the model
Build a 3D model from the image to control the depth, then just use a 3D finish path to cut it.
For this method you need to calculate the total depth of the 3D model based on the max width of cut you want to use (same as stepover).
If you want to use a 0.020" stepover with a 60° V bit, the max depth to get a full 0.020" cut would be 0.0173". So you create a 3D component that is the thickness of your model, then subtract the component from the image at 0.0173" height.
Now any area on the image that is white will cut 0.0" deep, black will cut 0.0173" deep, and 50% grey will cut 0.0086" deep, etc… resulting in a line width that will show the percentage of white & black you need. (colors could be reversed, depending on your material & paint color)