How to draw a star --- Carbide Create

Edward: I want to do something similar, but want my star to be 3D (I think that’s what you’d call it). In other words I don’t want to carve down into the wood to create a star. I want to remove wood so that the star rises out of the wood. I do believe I need to use a .png file, which I have, and in 3D view, looking directly down at the star it looks great, but if you rotate it things don’t look so good. Any advice? Thanks.

Post the PNG file?

If you have a star you can extrude it up at an angle:

but if the points aren’t at the correct angle, will get a compound angle.

Andrew: I’ve attached the png file. I can get as far as the screen you show, but even so the image, when rotated, still look bad.

That’s a pictorial representation, not a greyscale depthmap.

Have you tried re-drawing it?

I believe I can redraw it. However, would an svg file work? I have one of those I can immediately use.

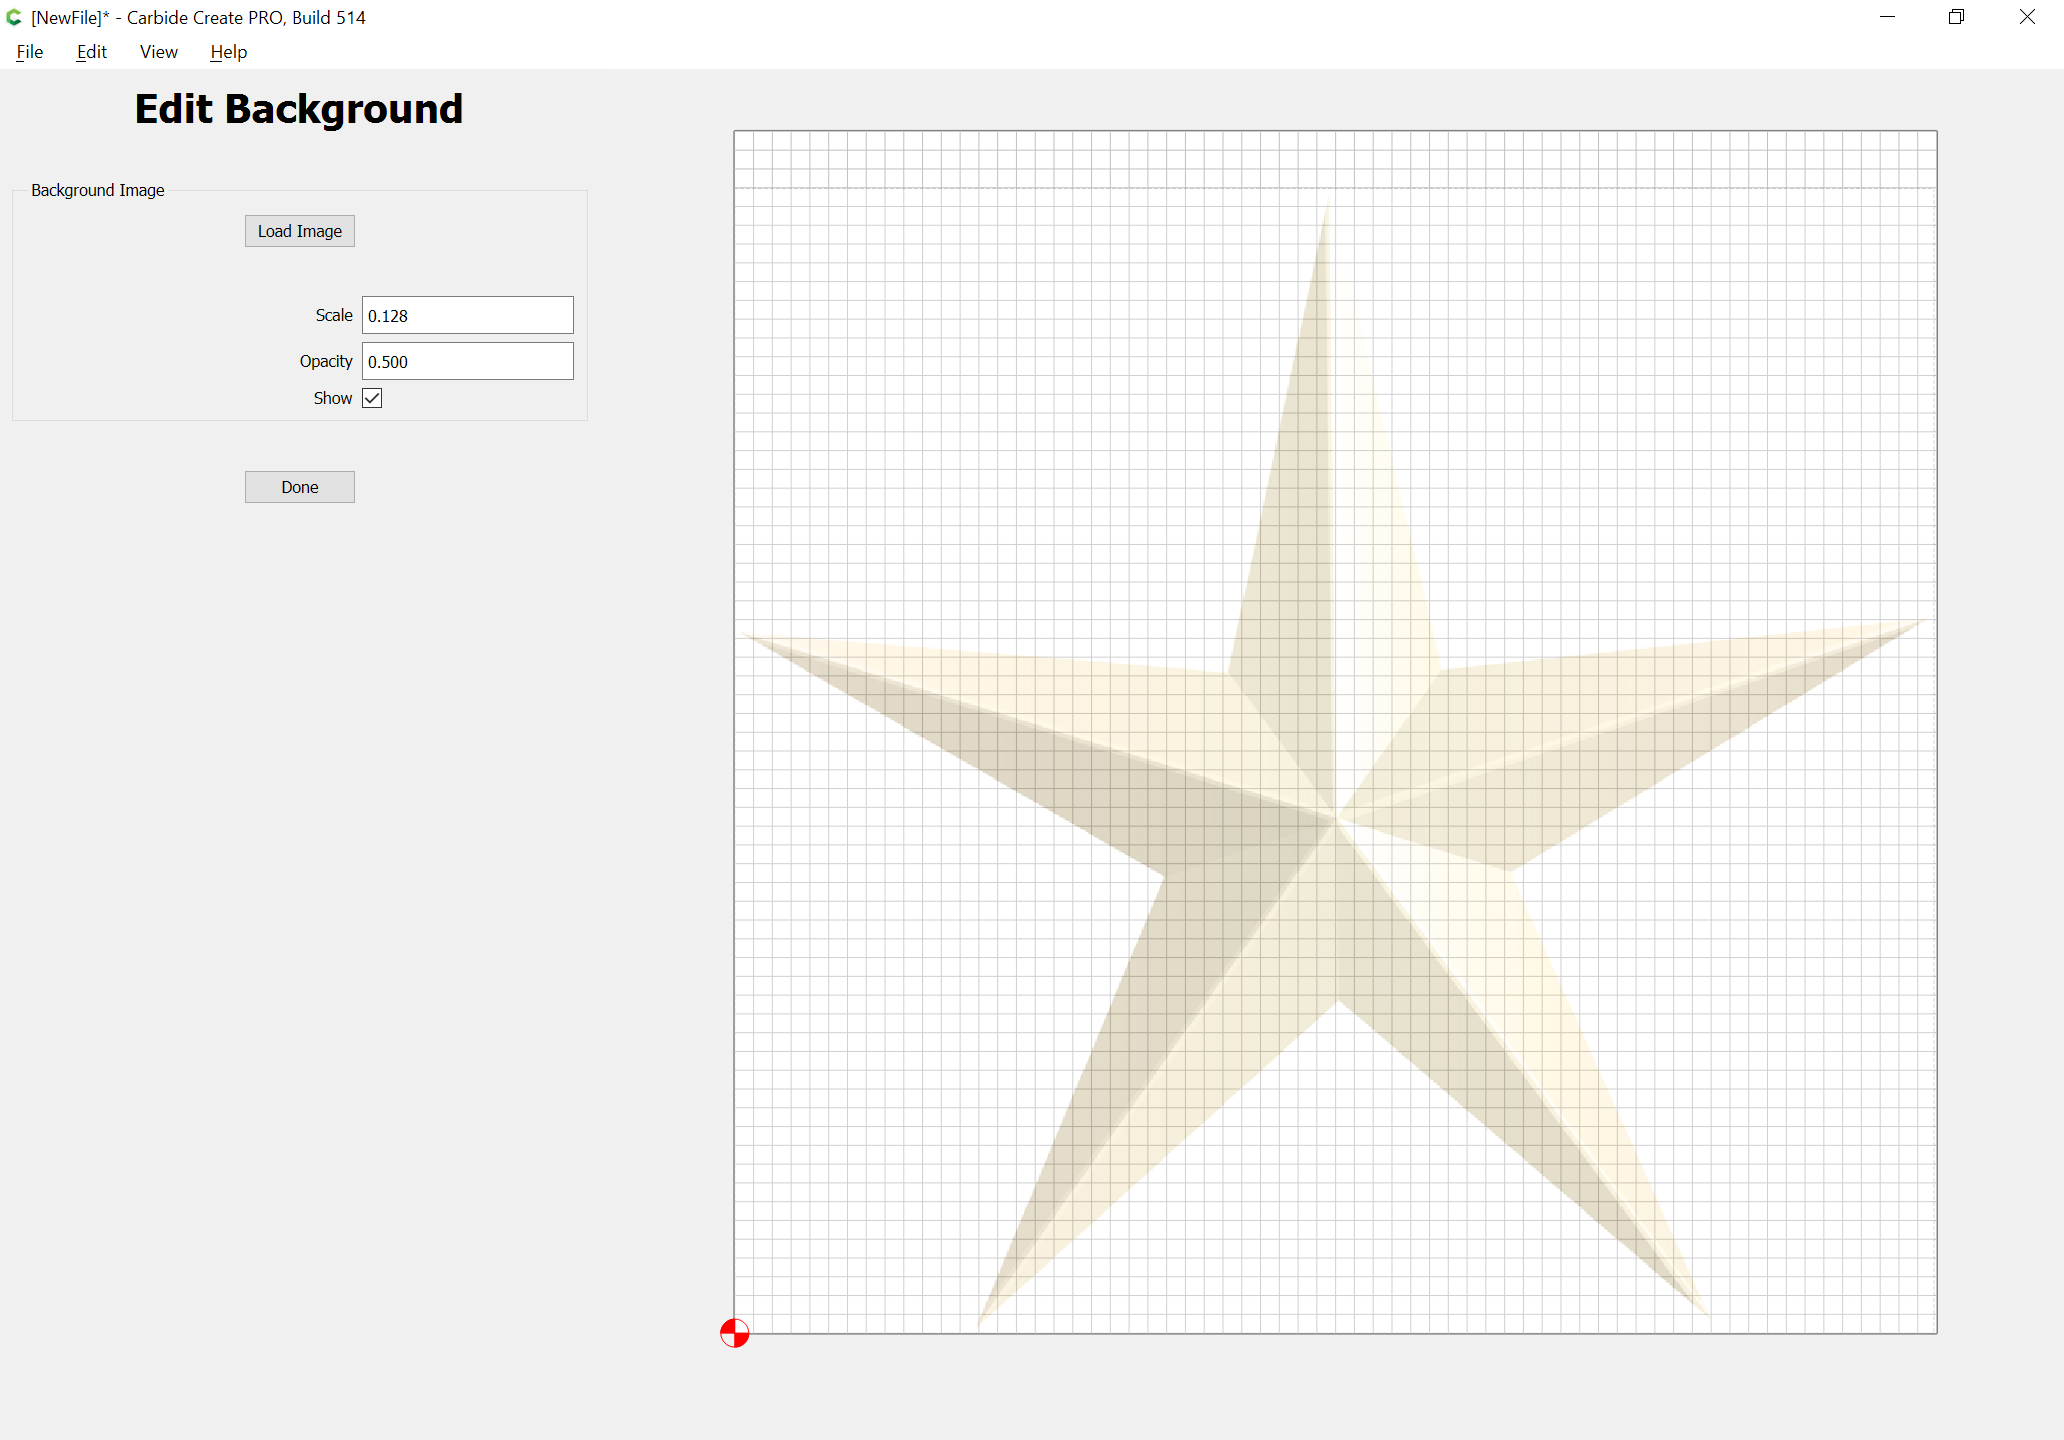
Place it on the background to redraw it:

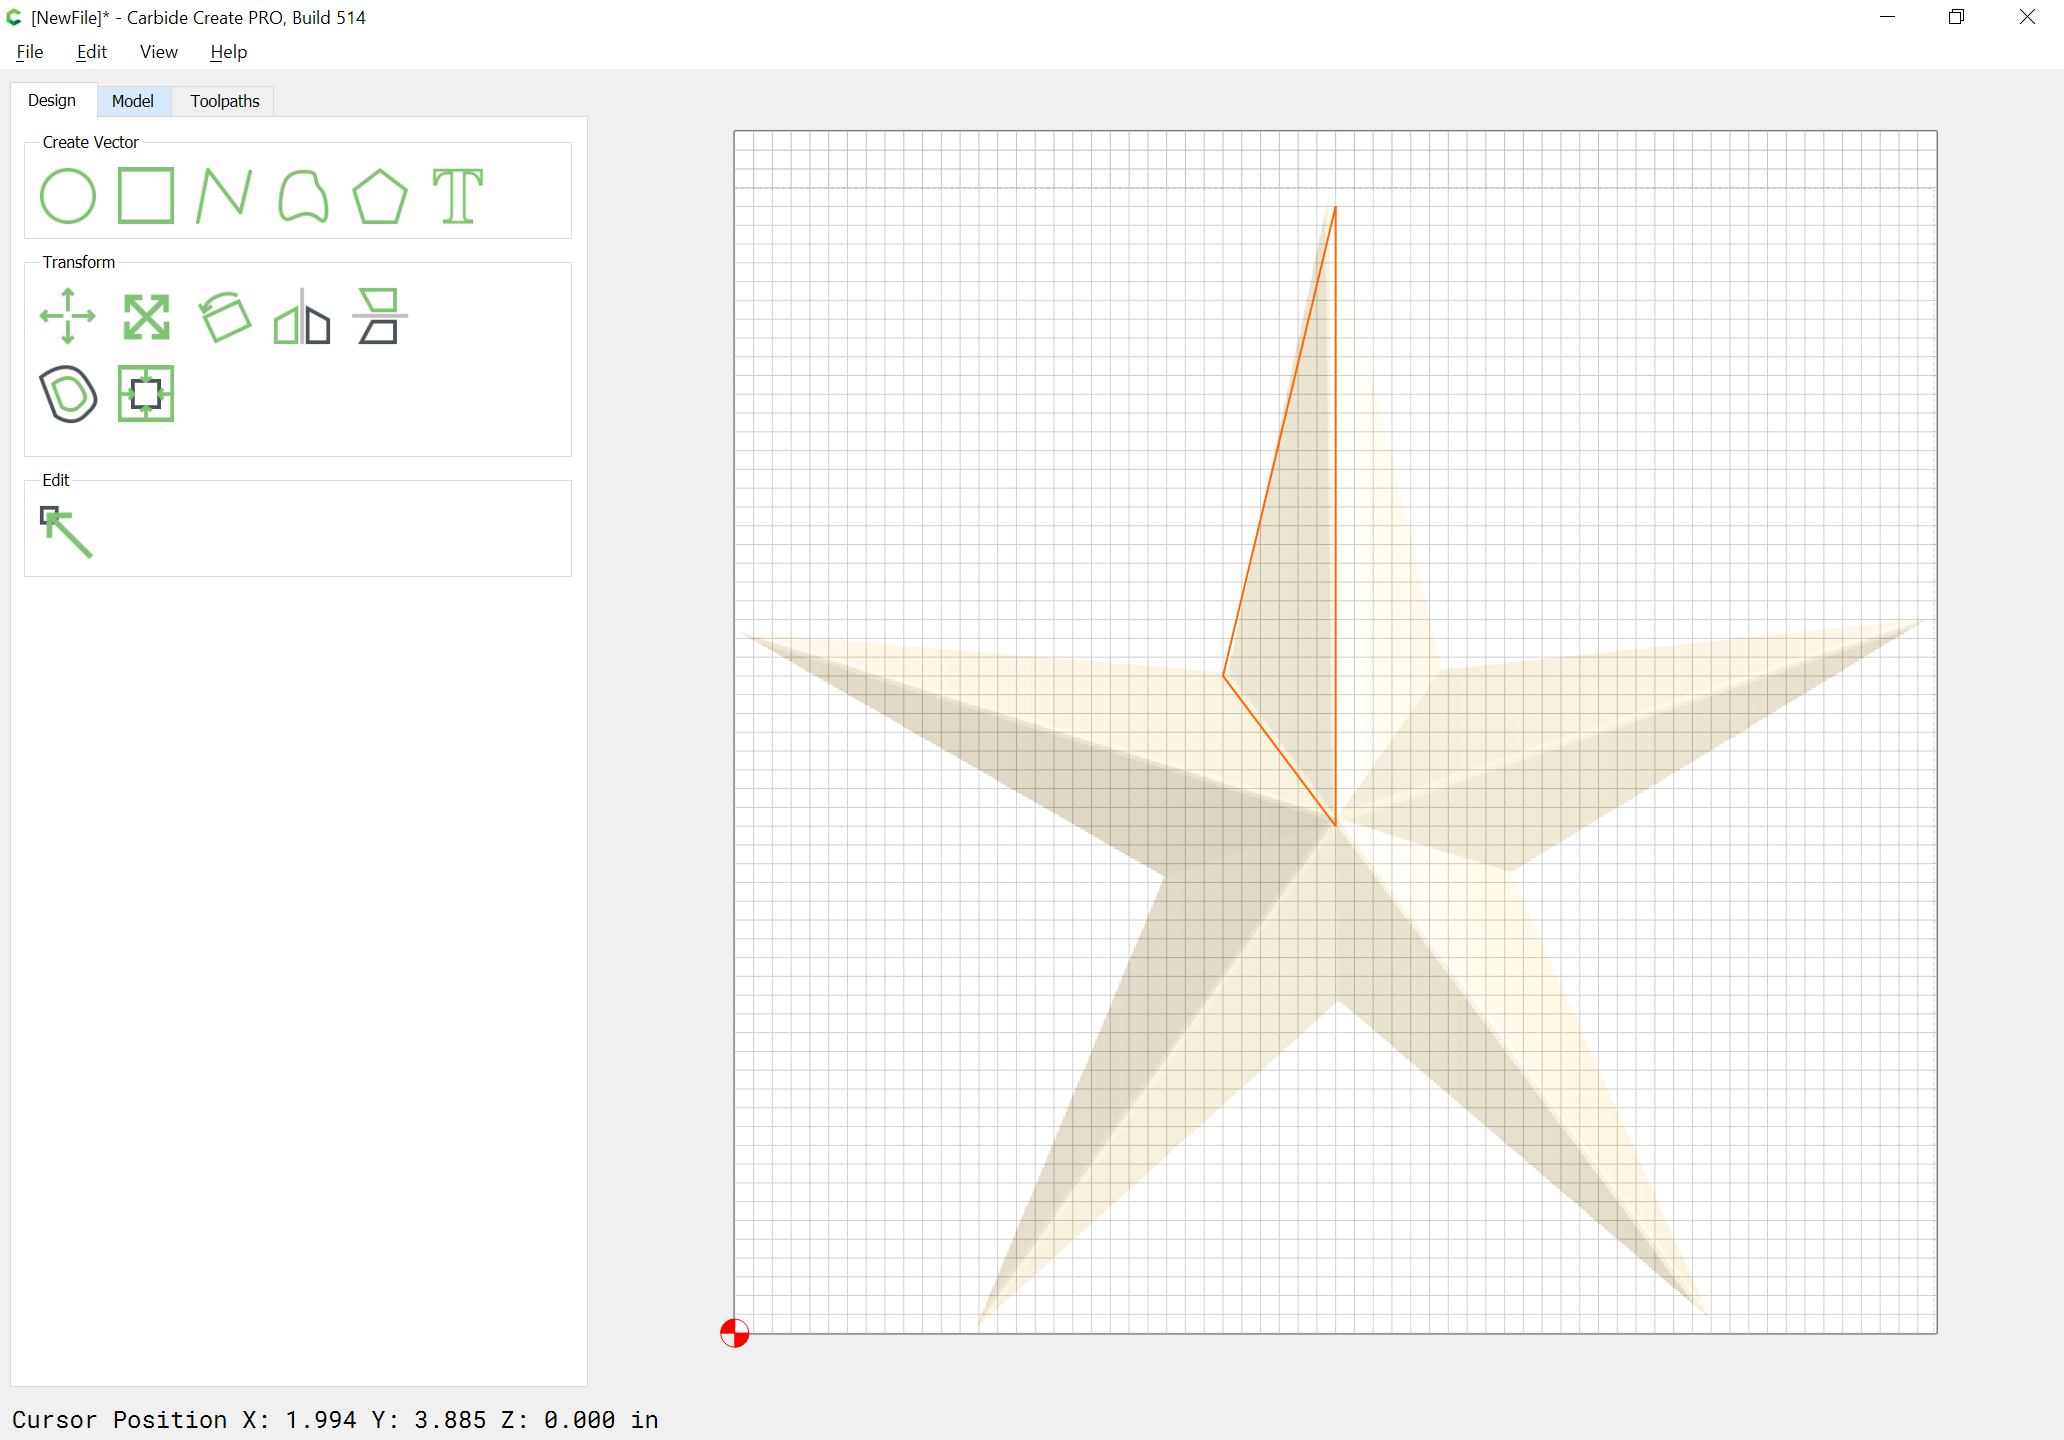
Use the Curve tool to roughly draw one section:

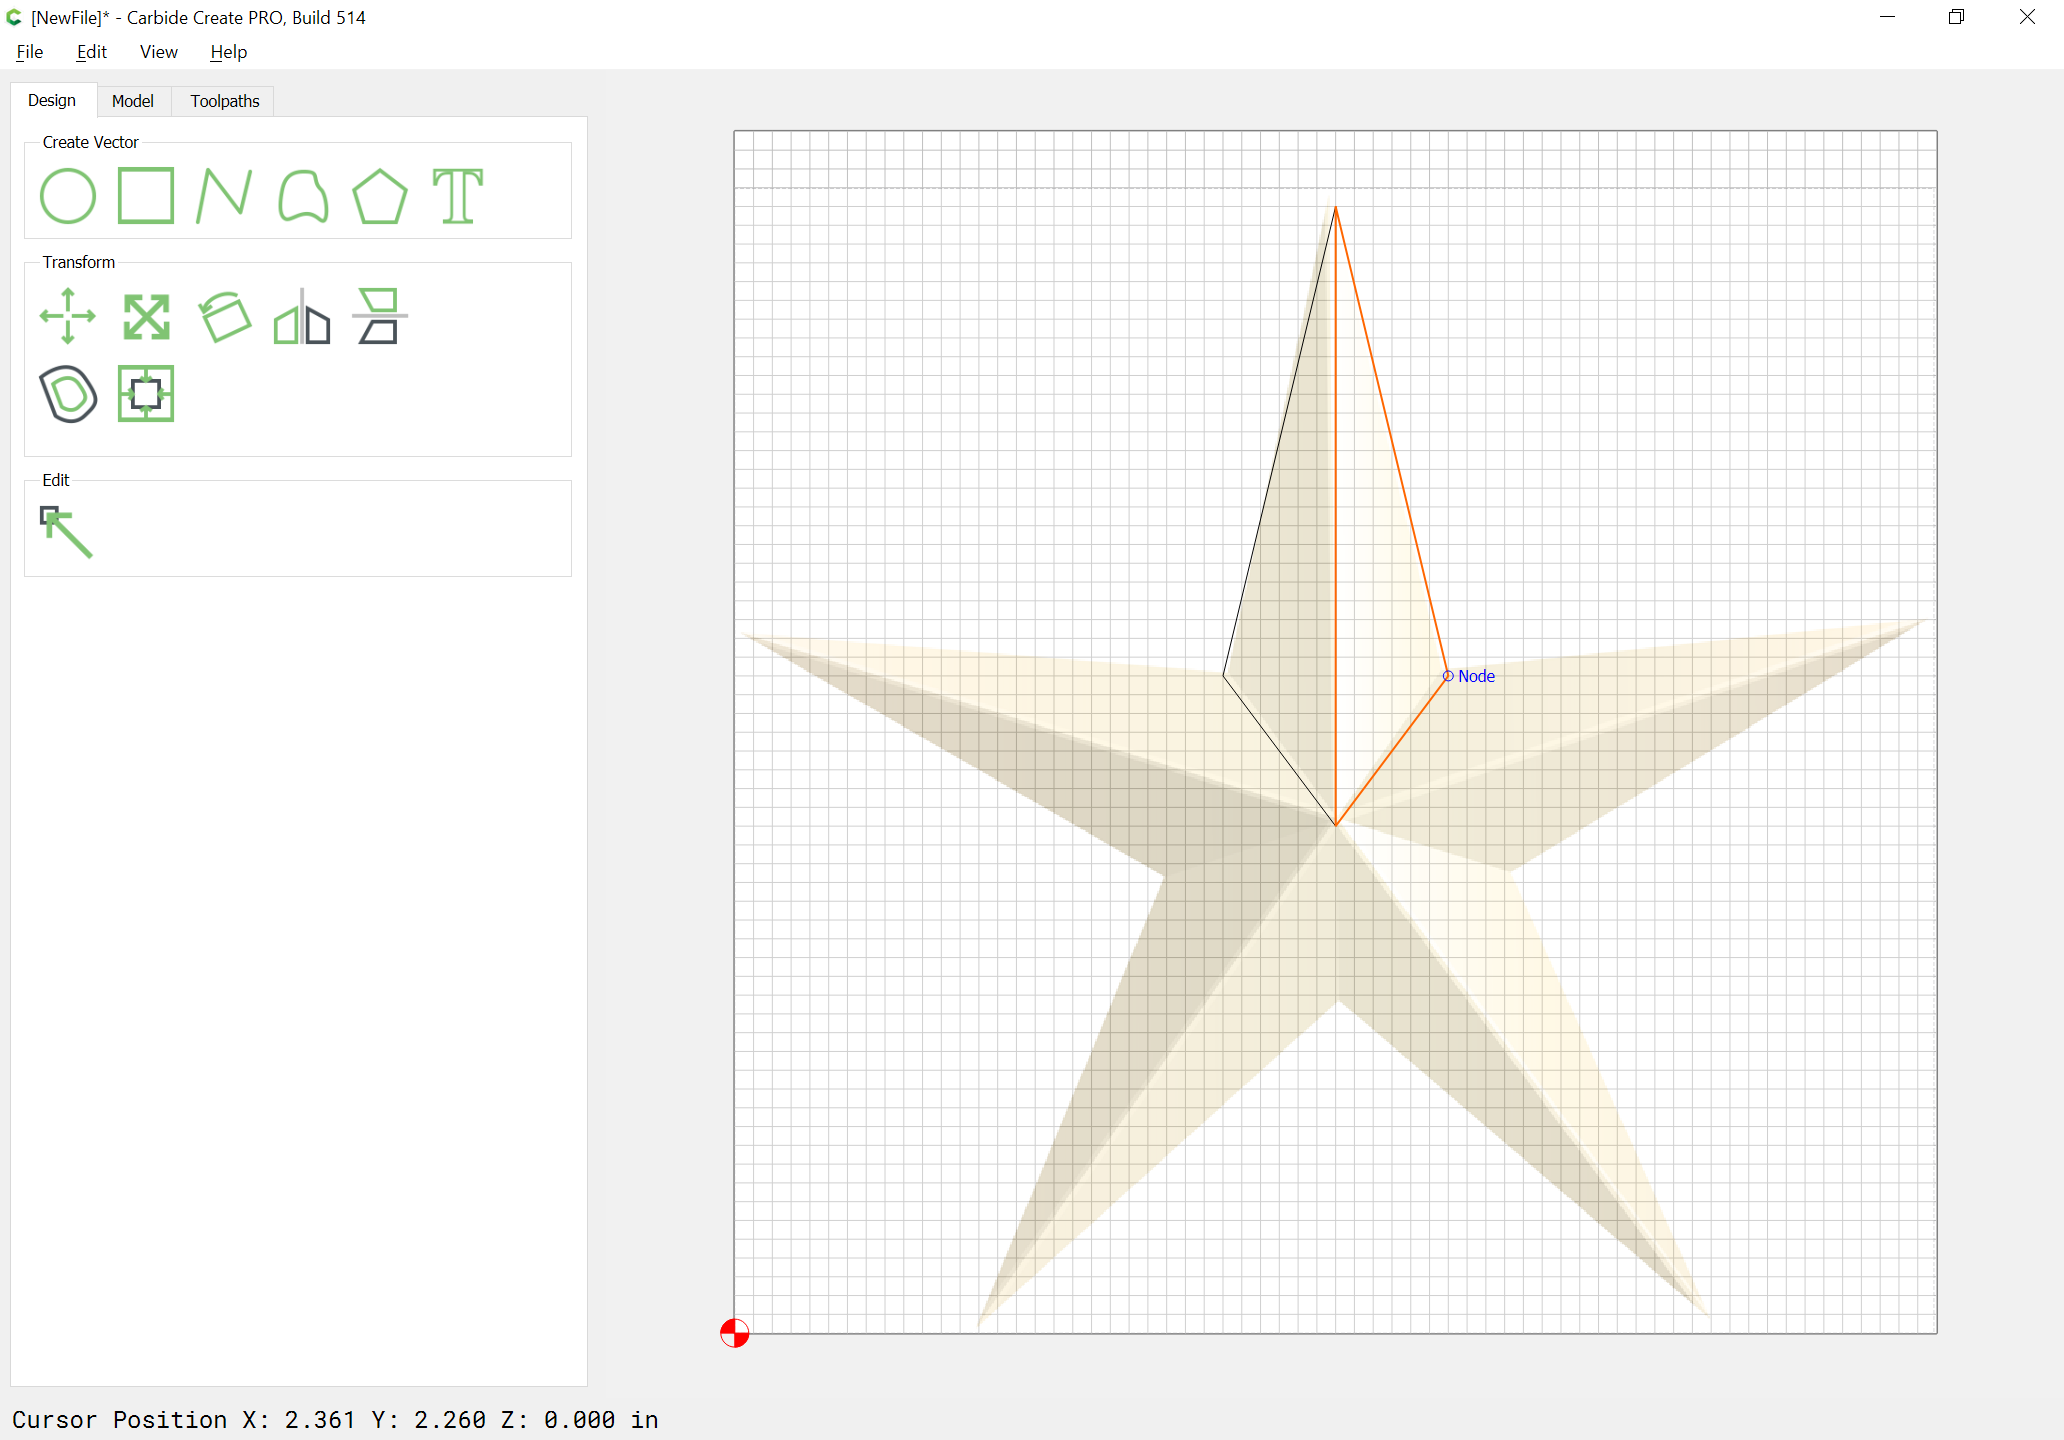
Duplicate and mirror it:

and drag into alignment:

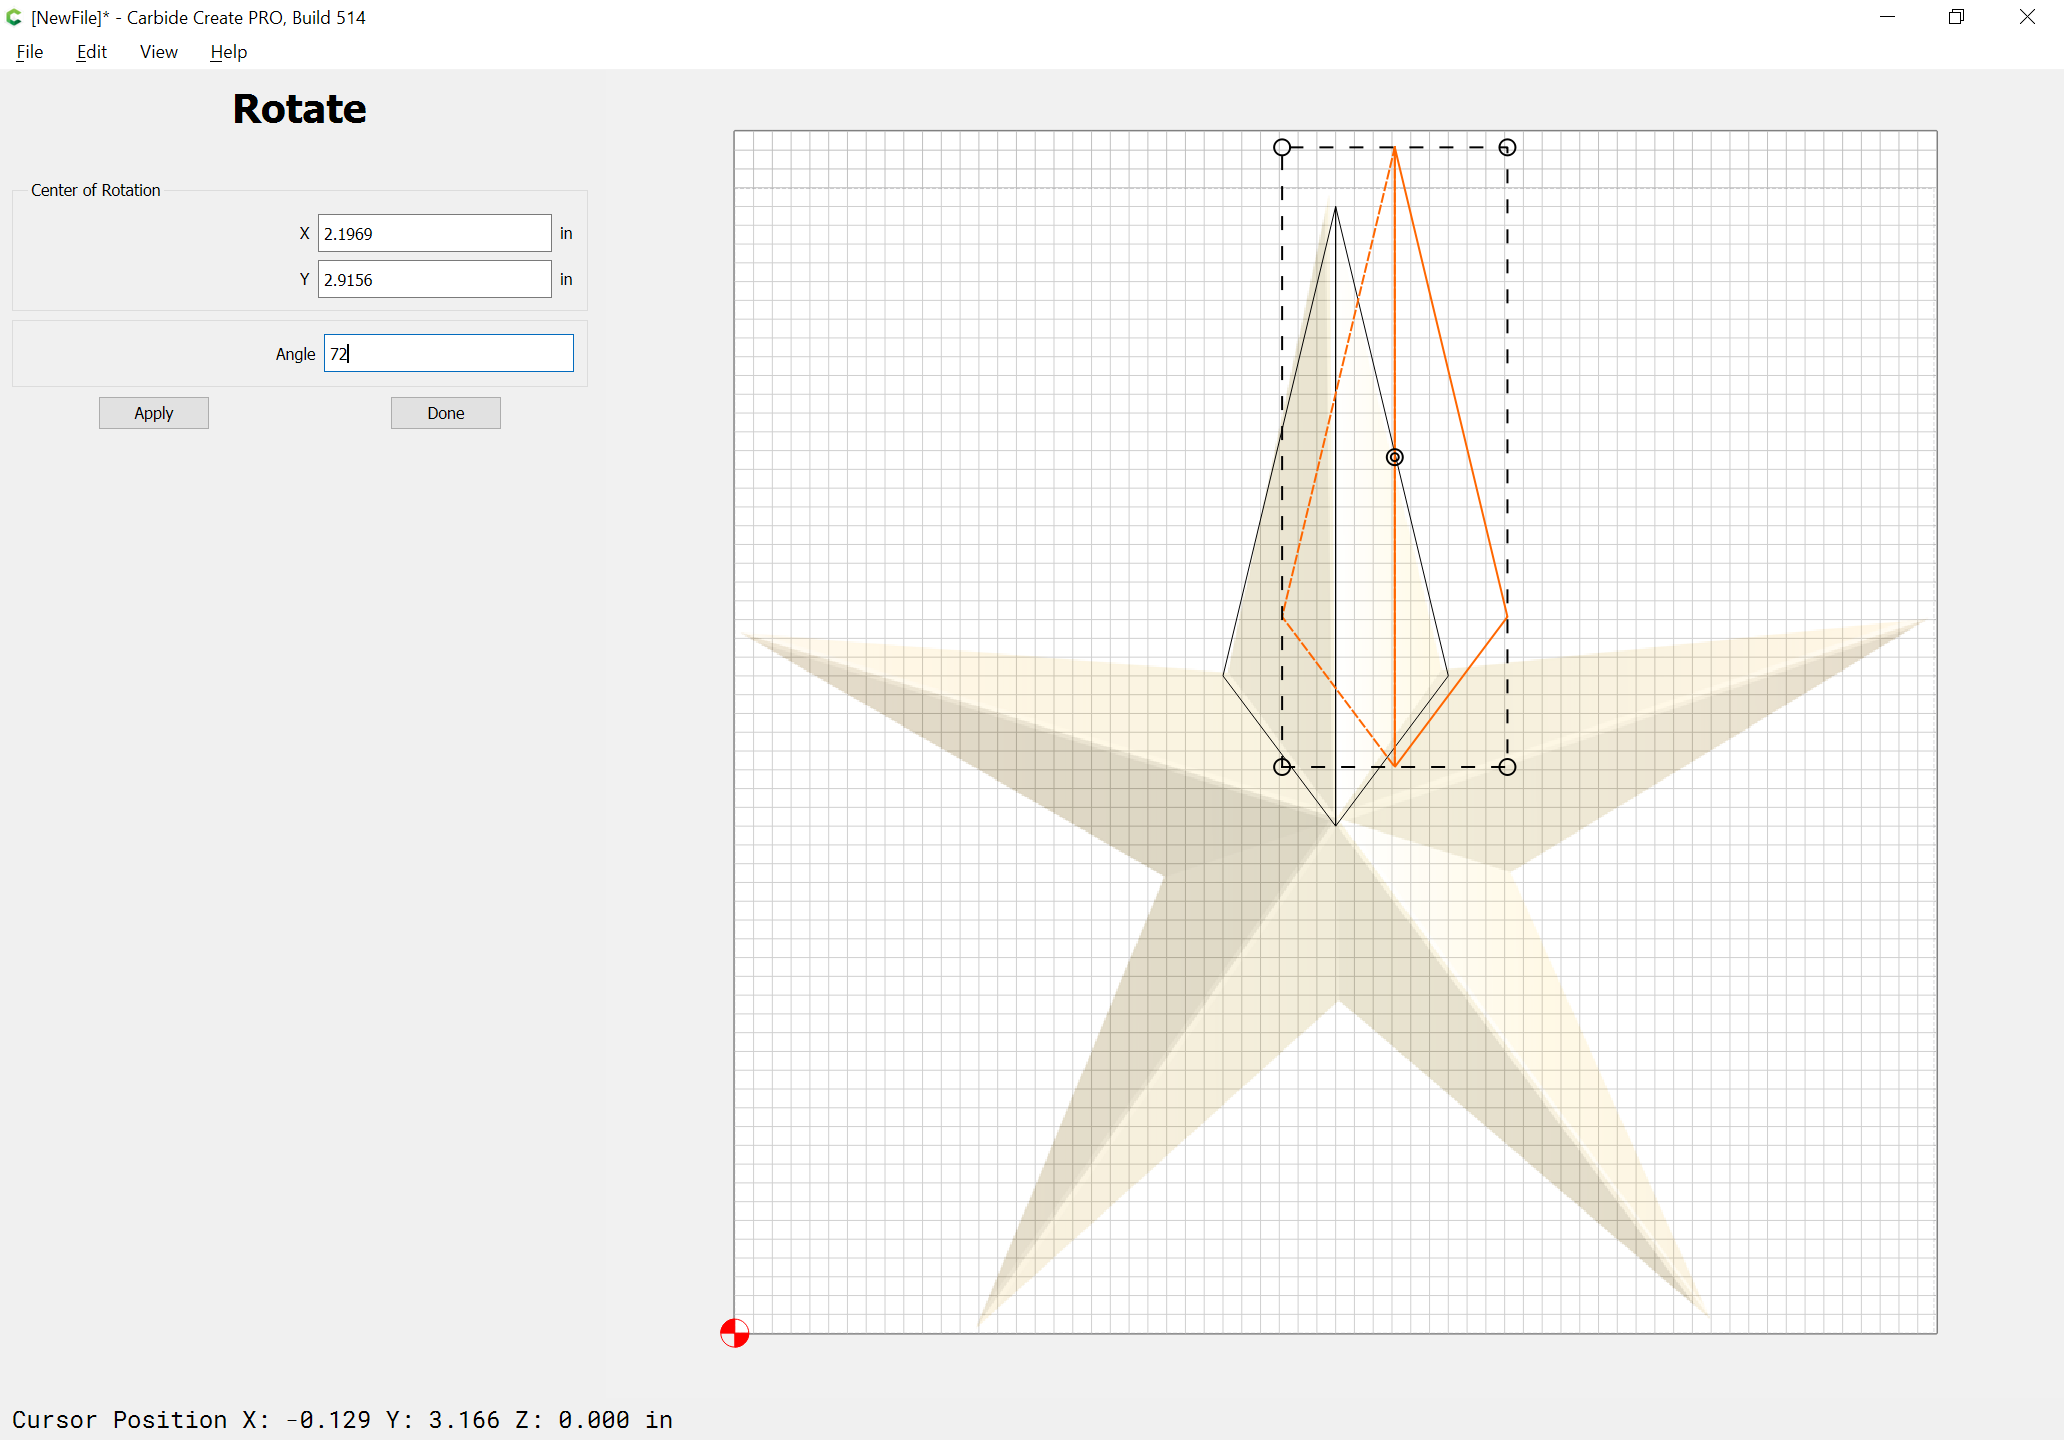
Duplicate and rotate the duplicates:

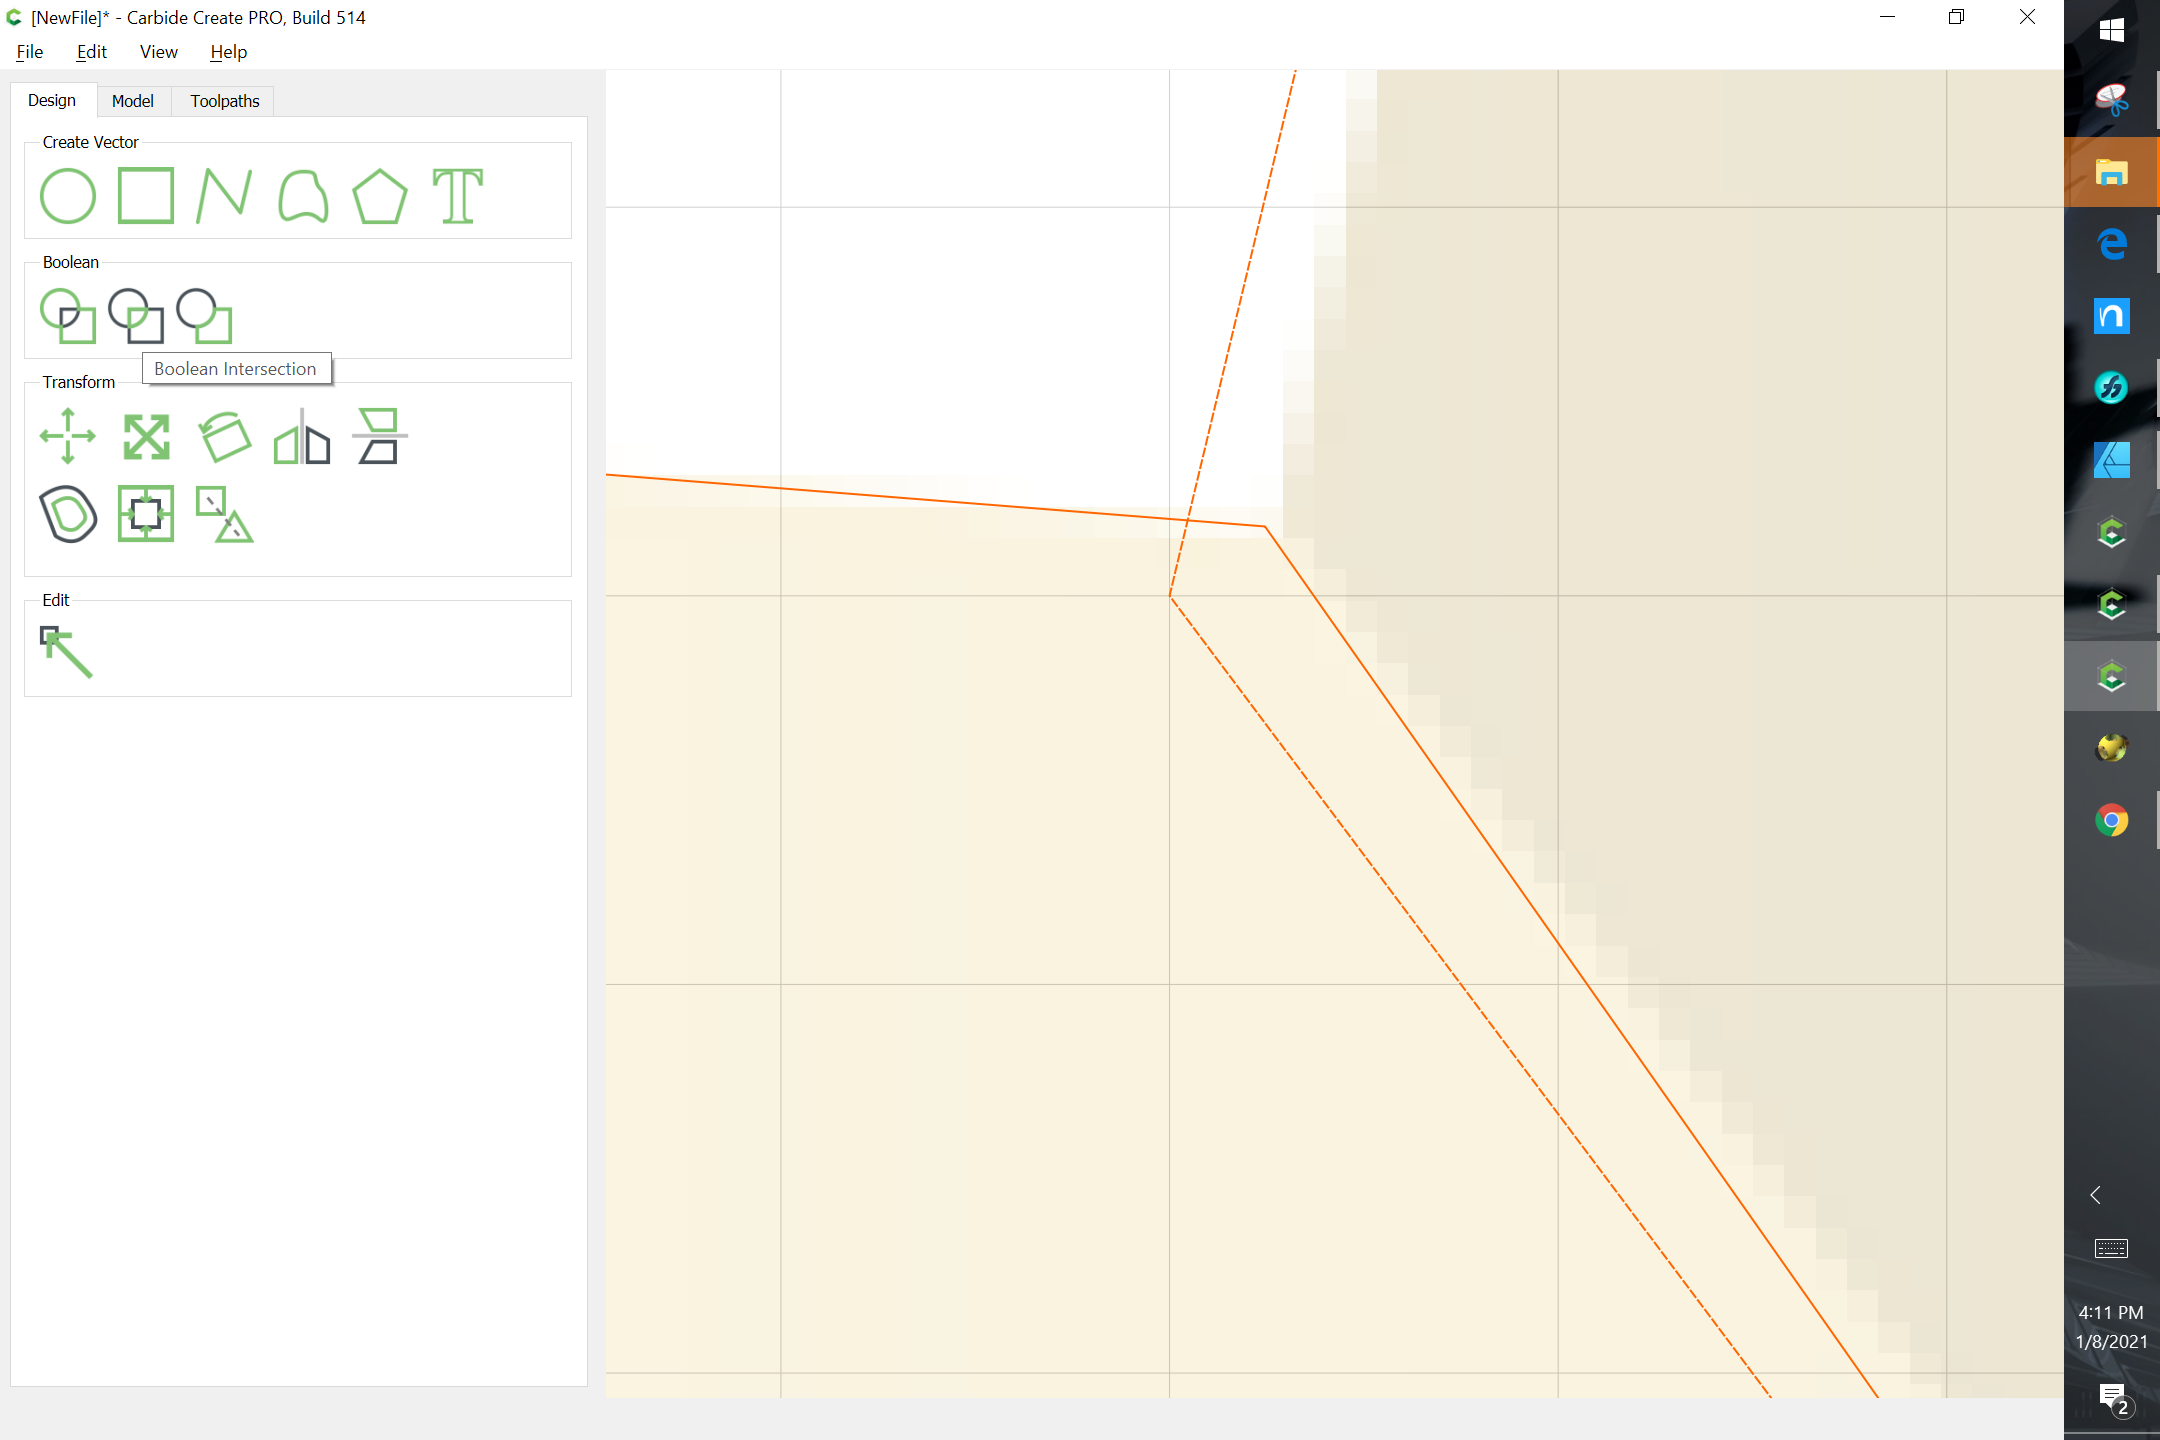
Since things don’t quite line up, do Boolean intersection:

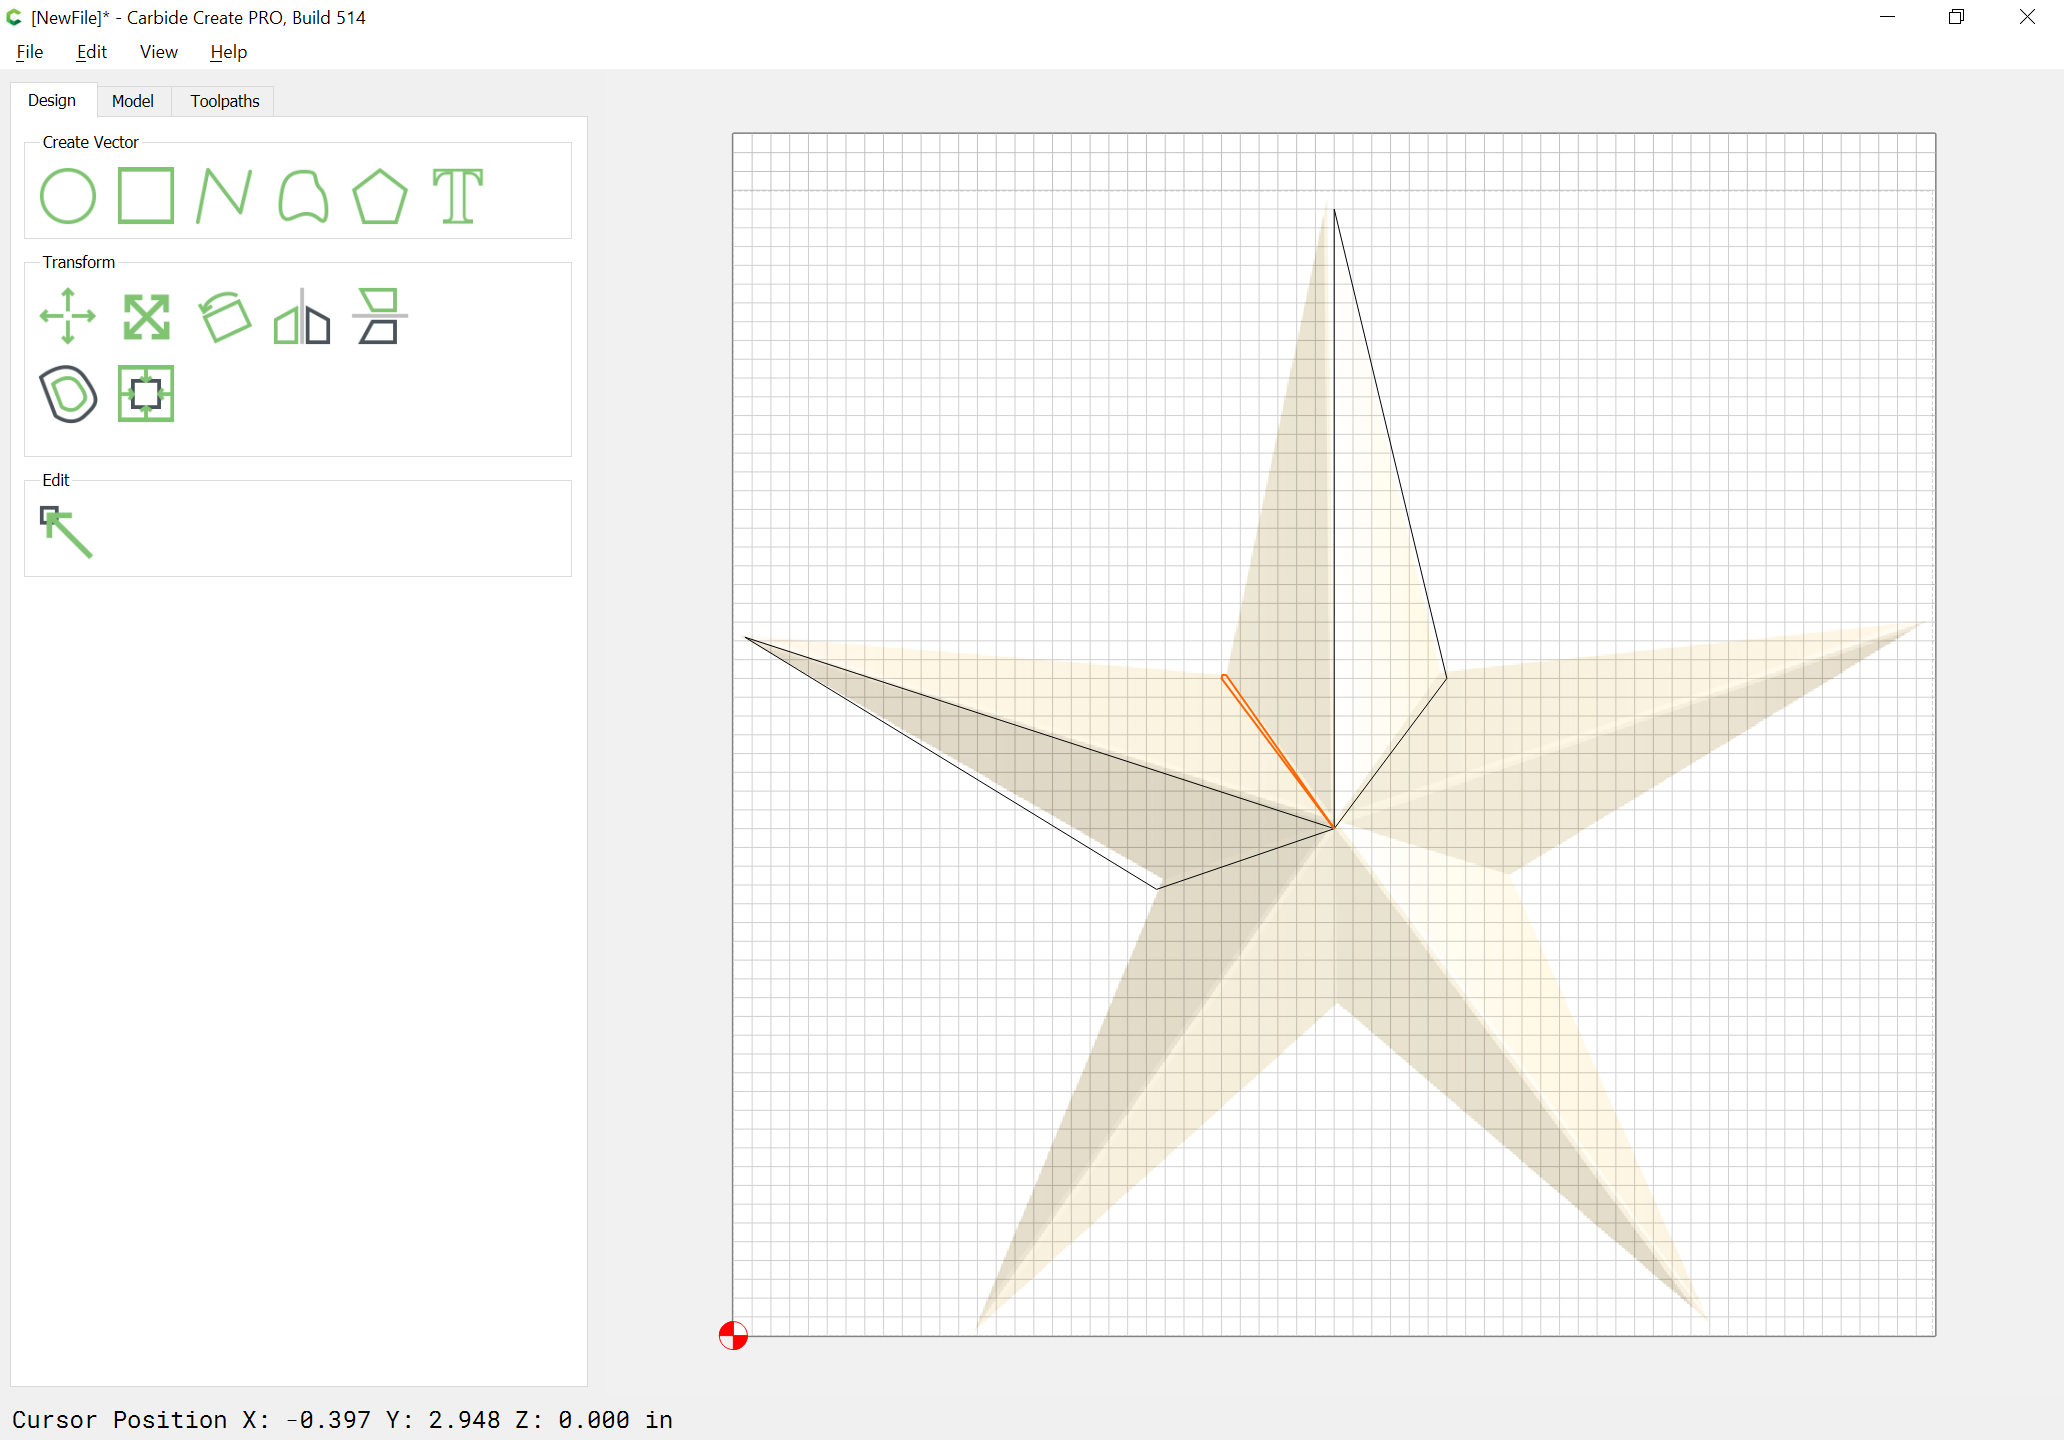
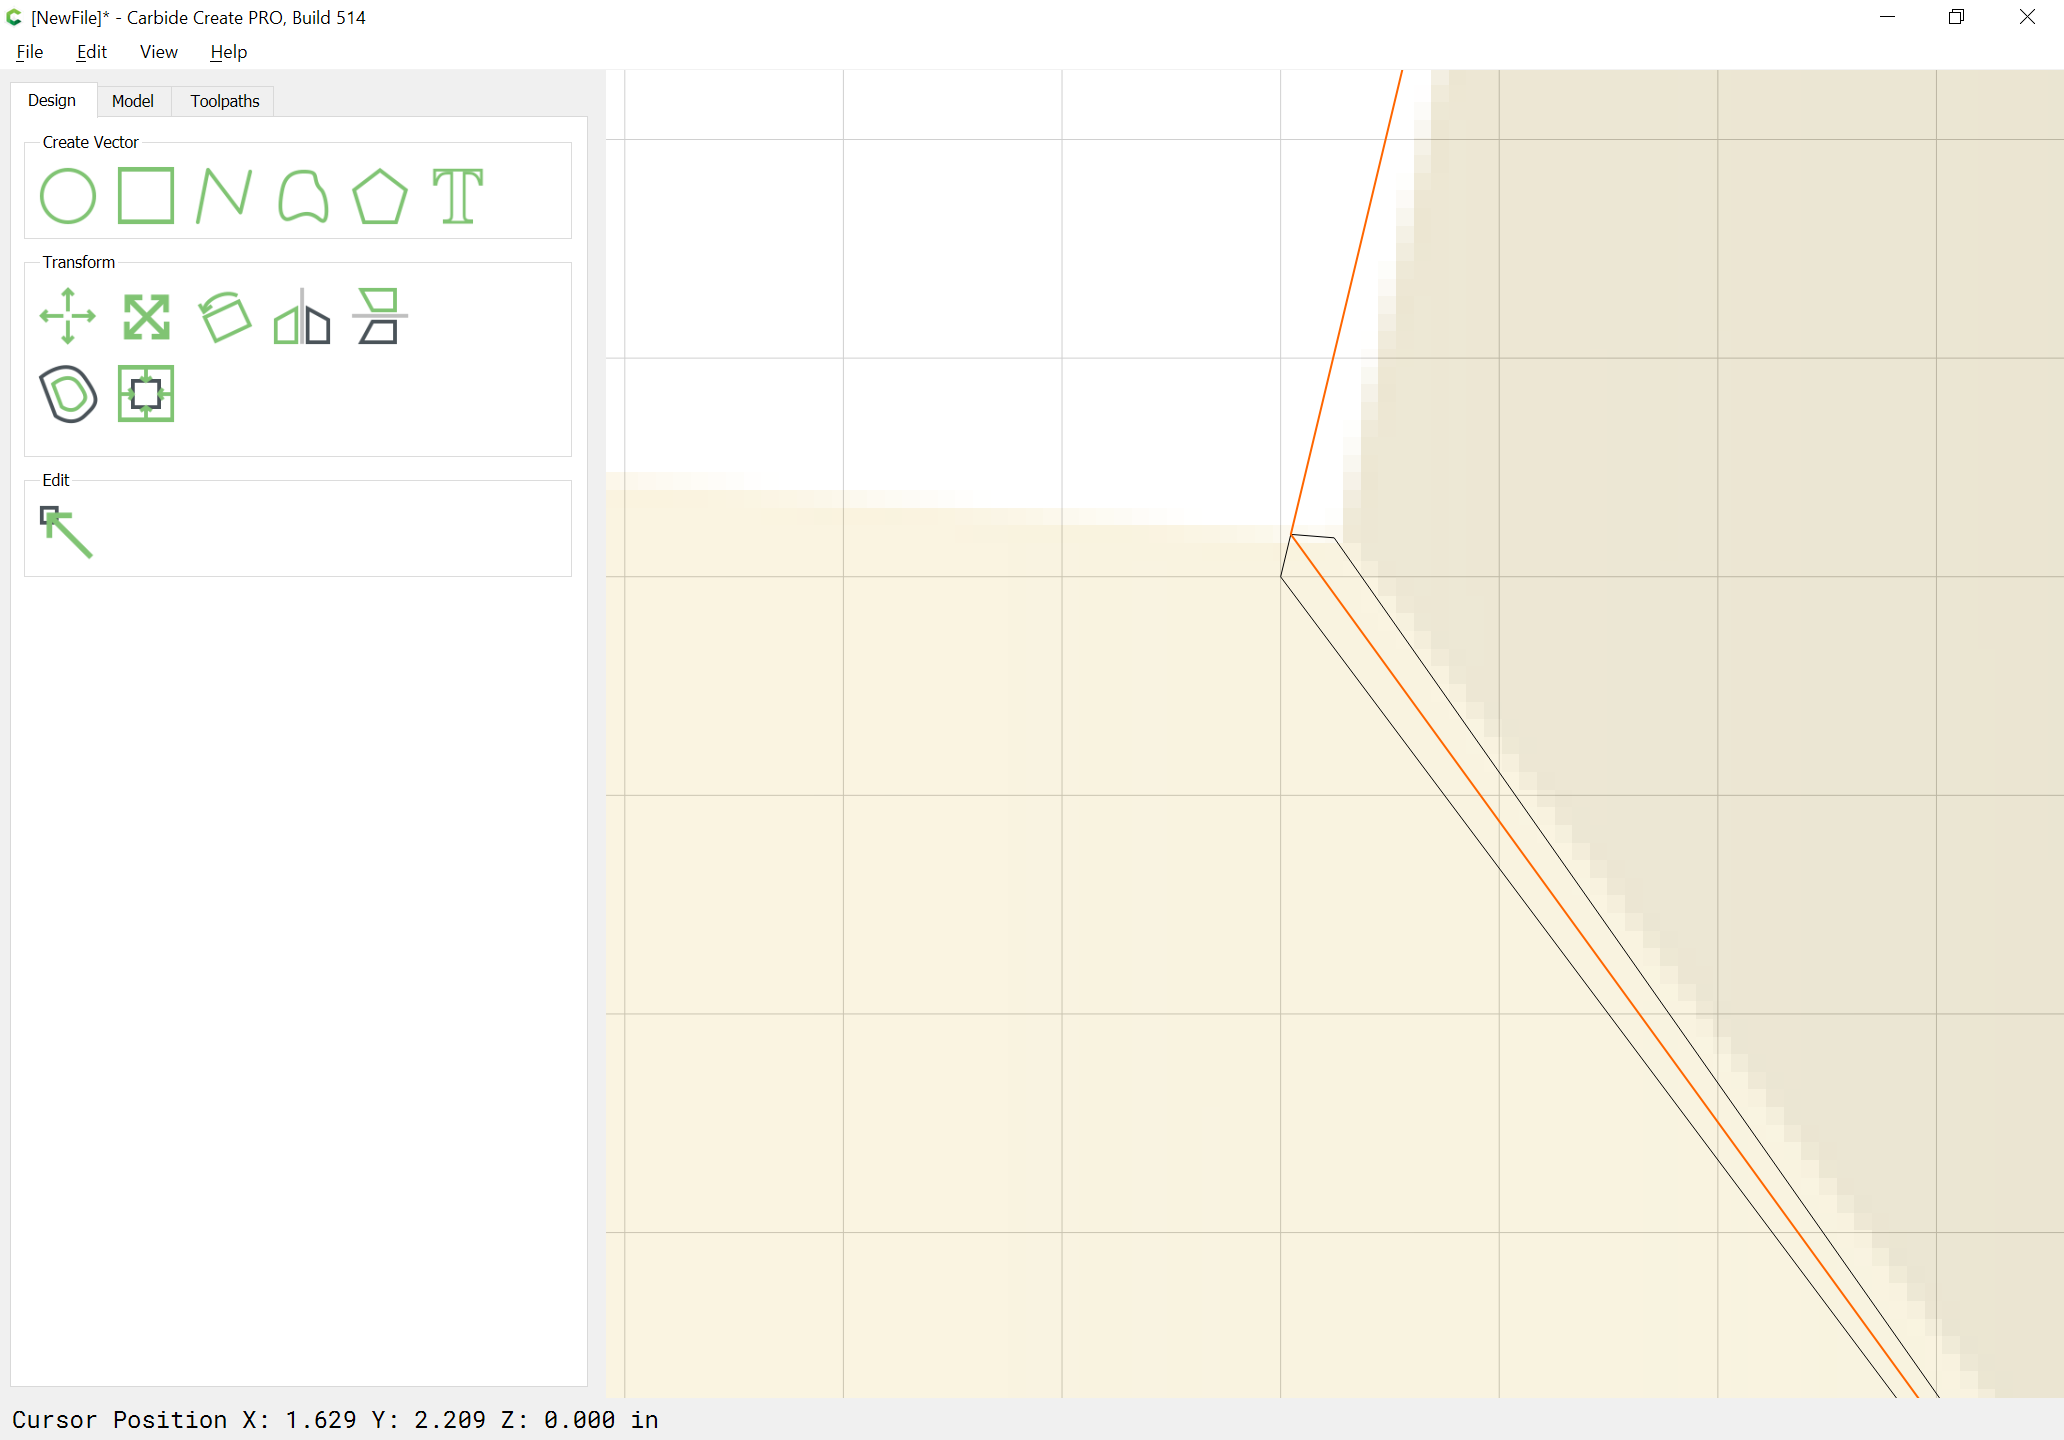
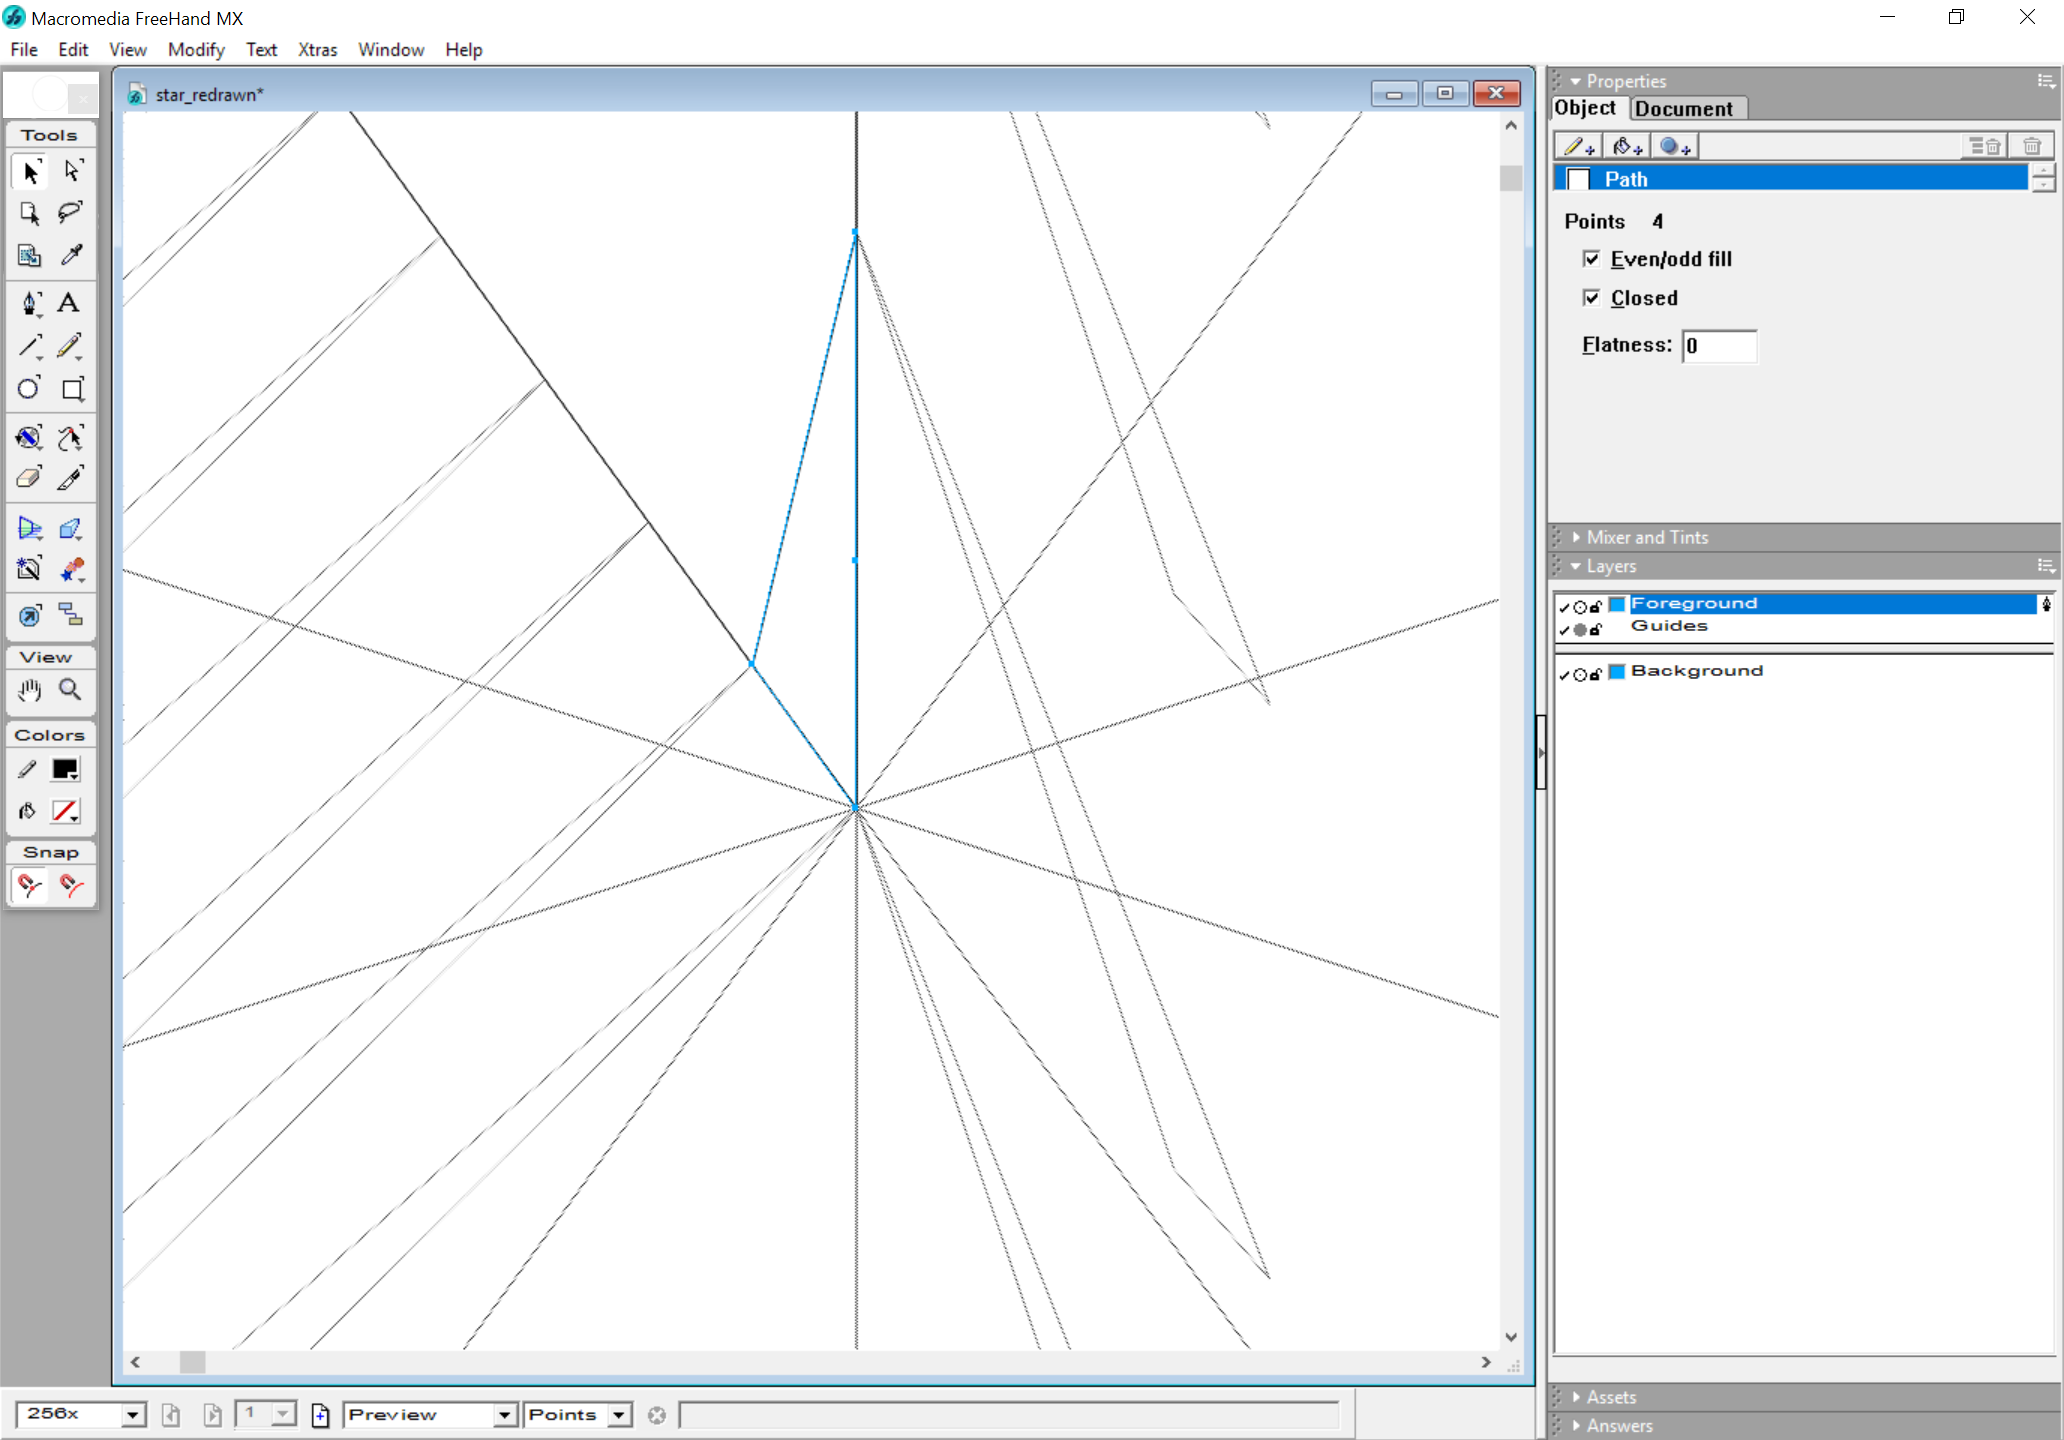
Redraw the original shape using the centered point of the intersection shape:

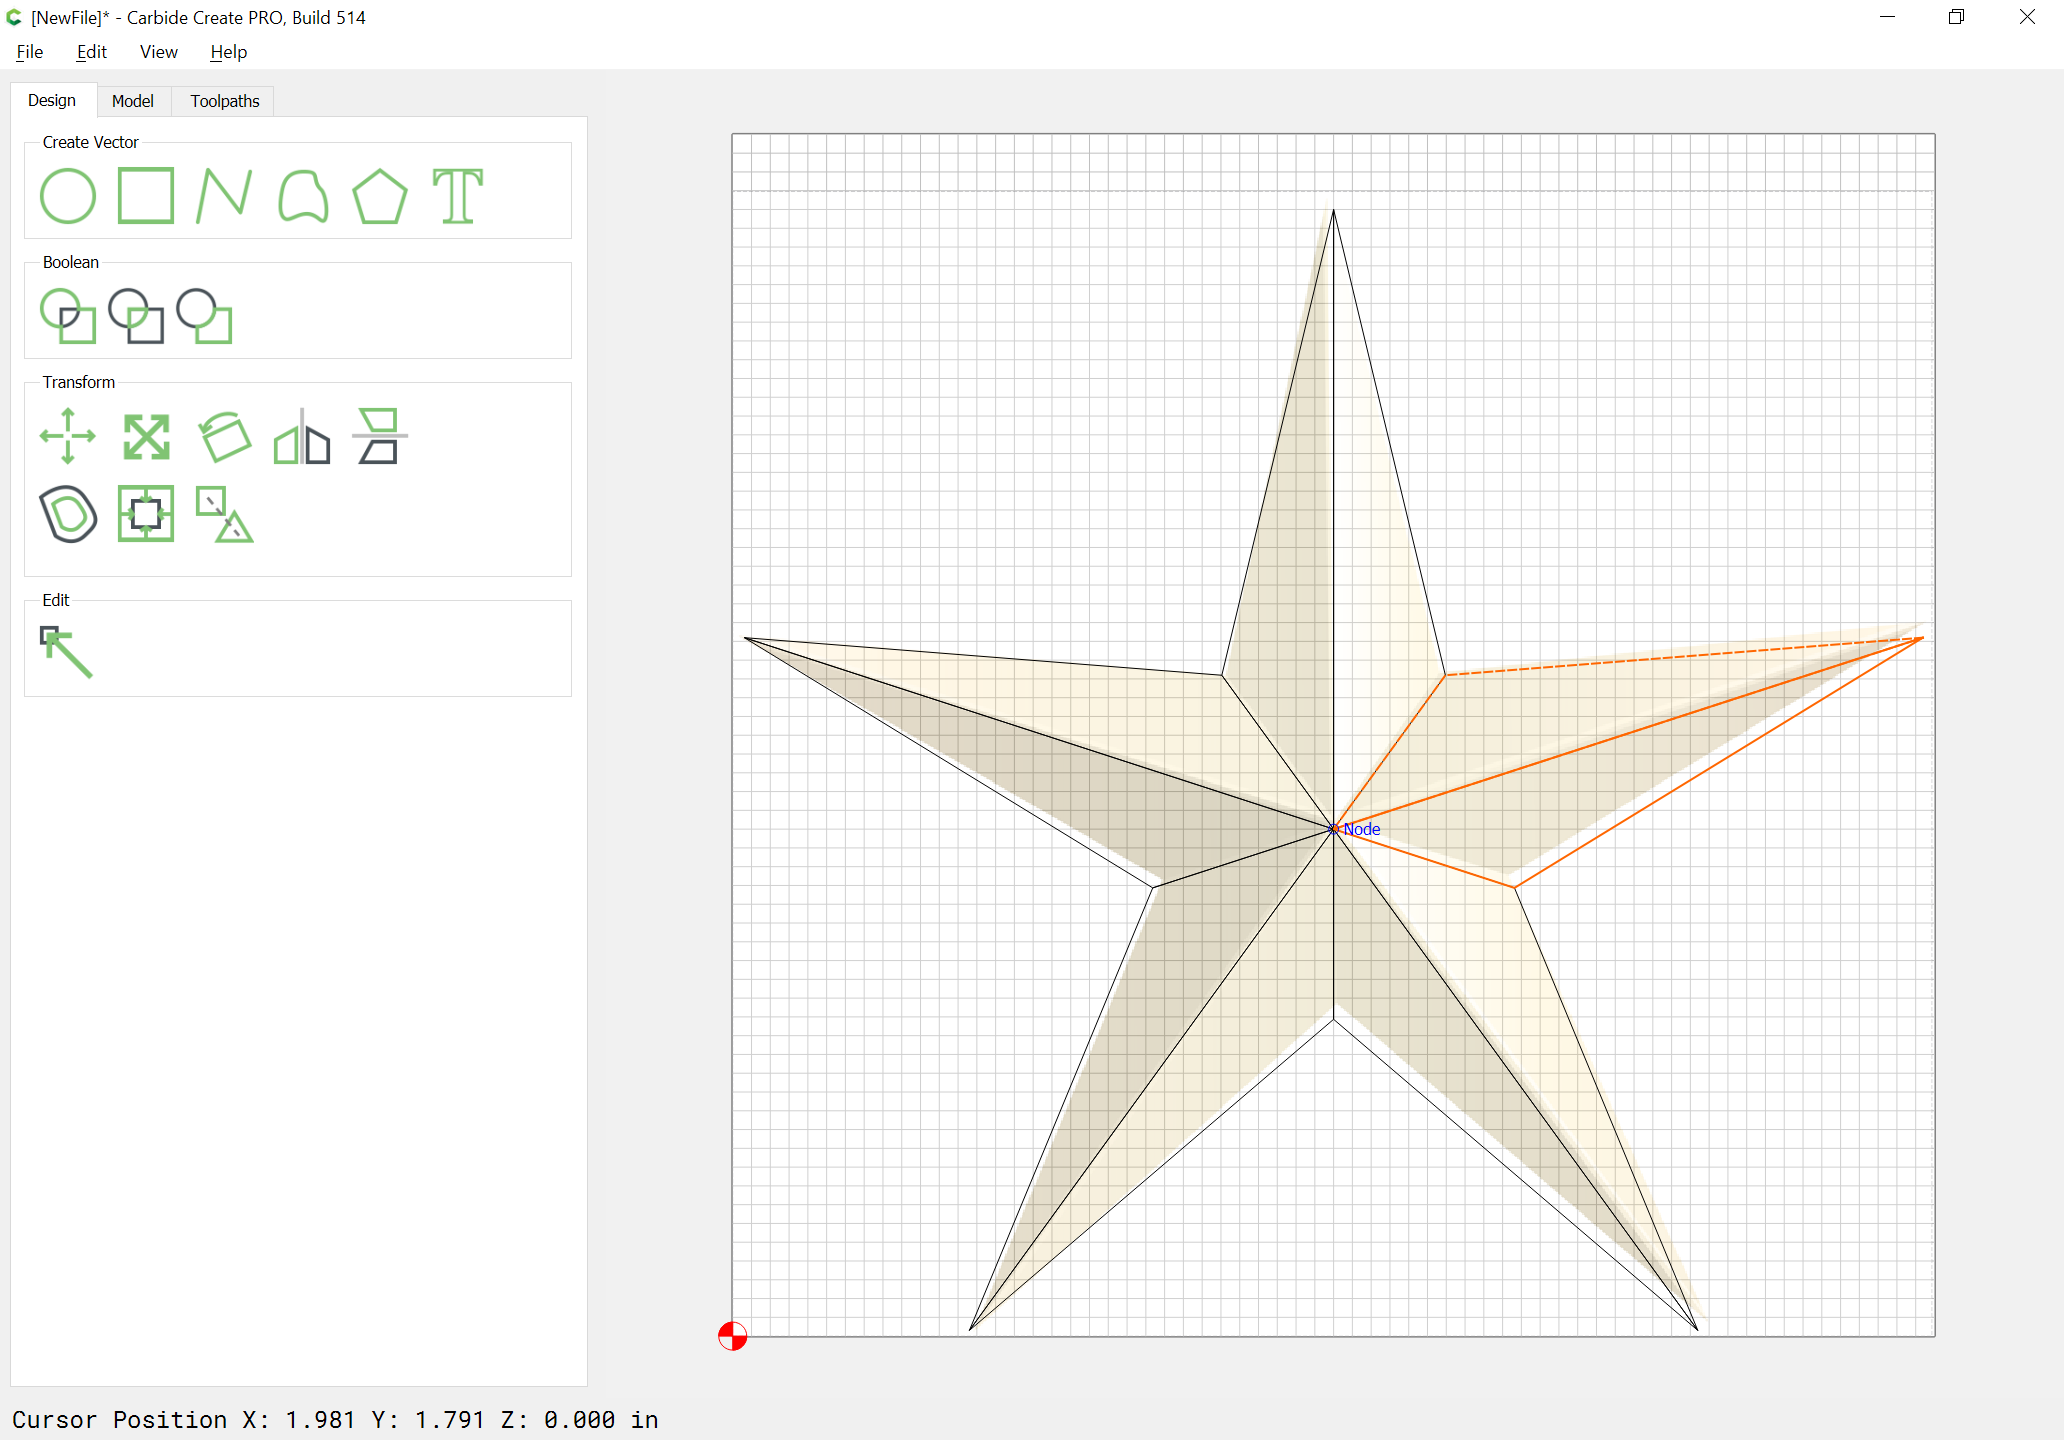
Delete the other shapes and repeat:

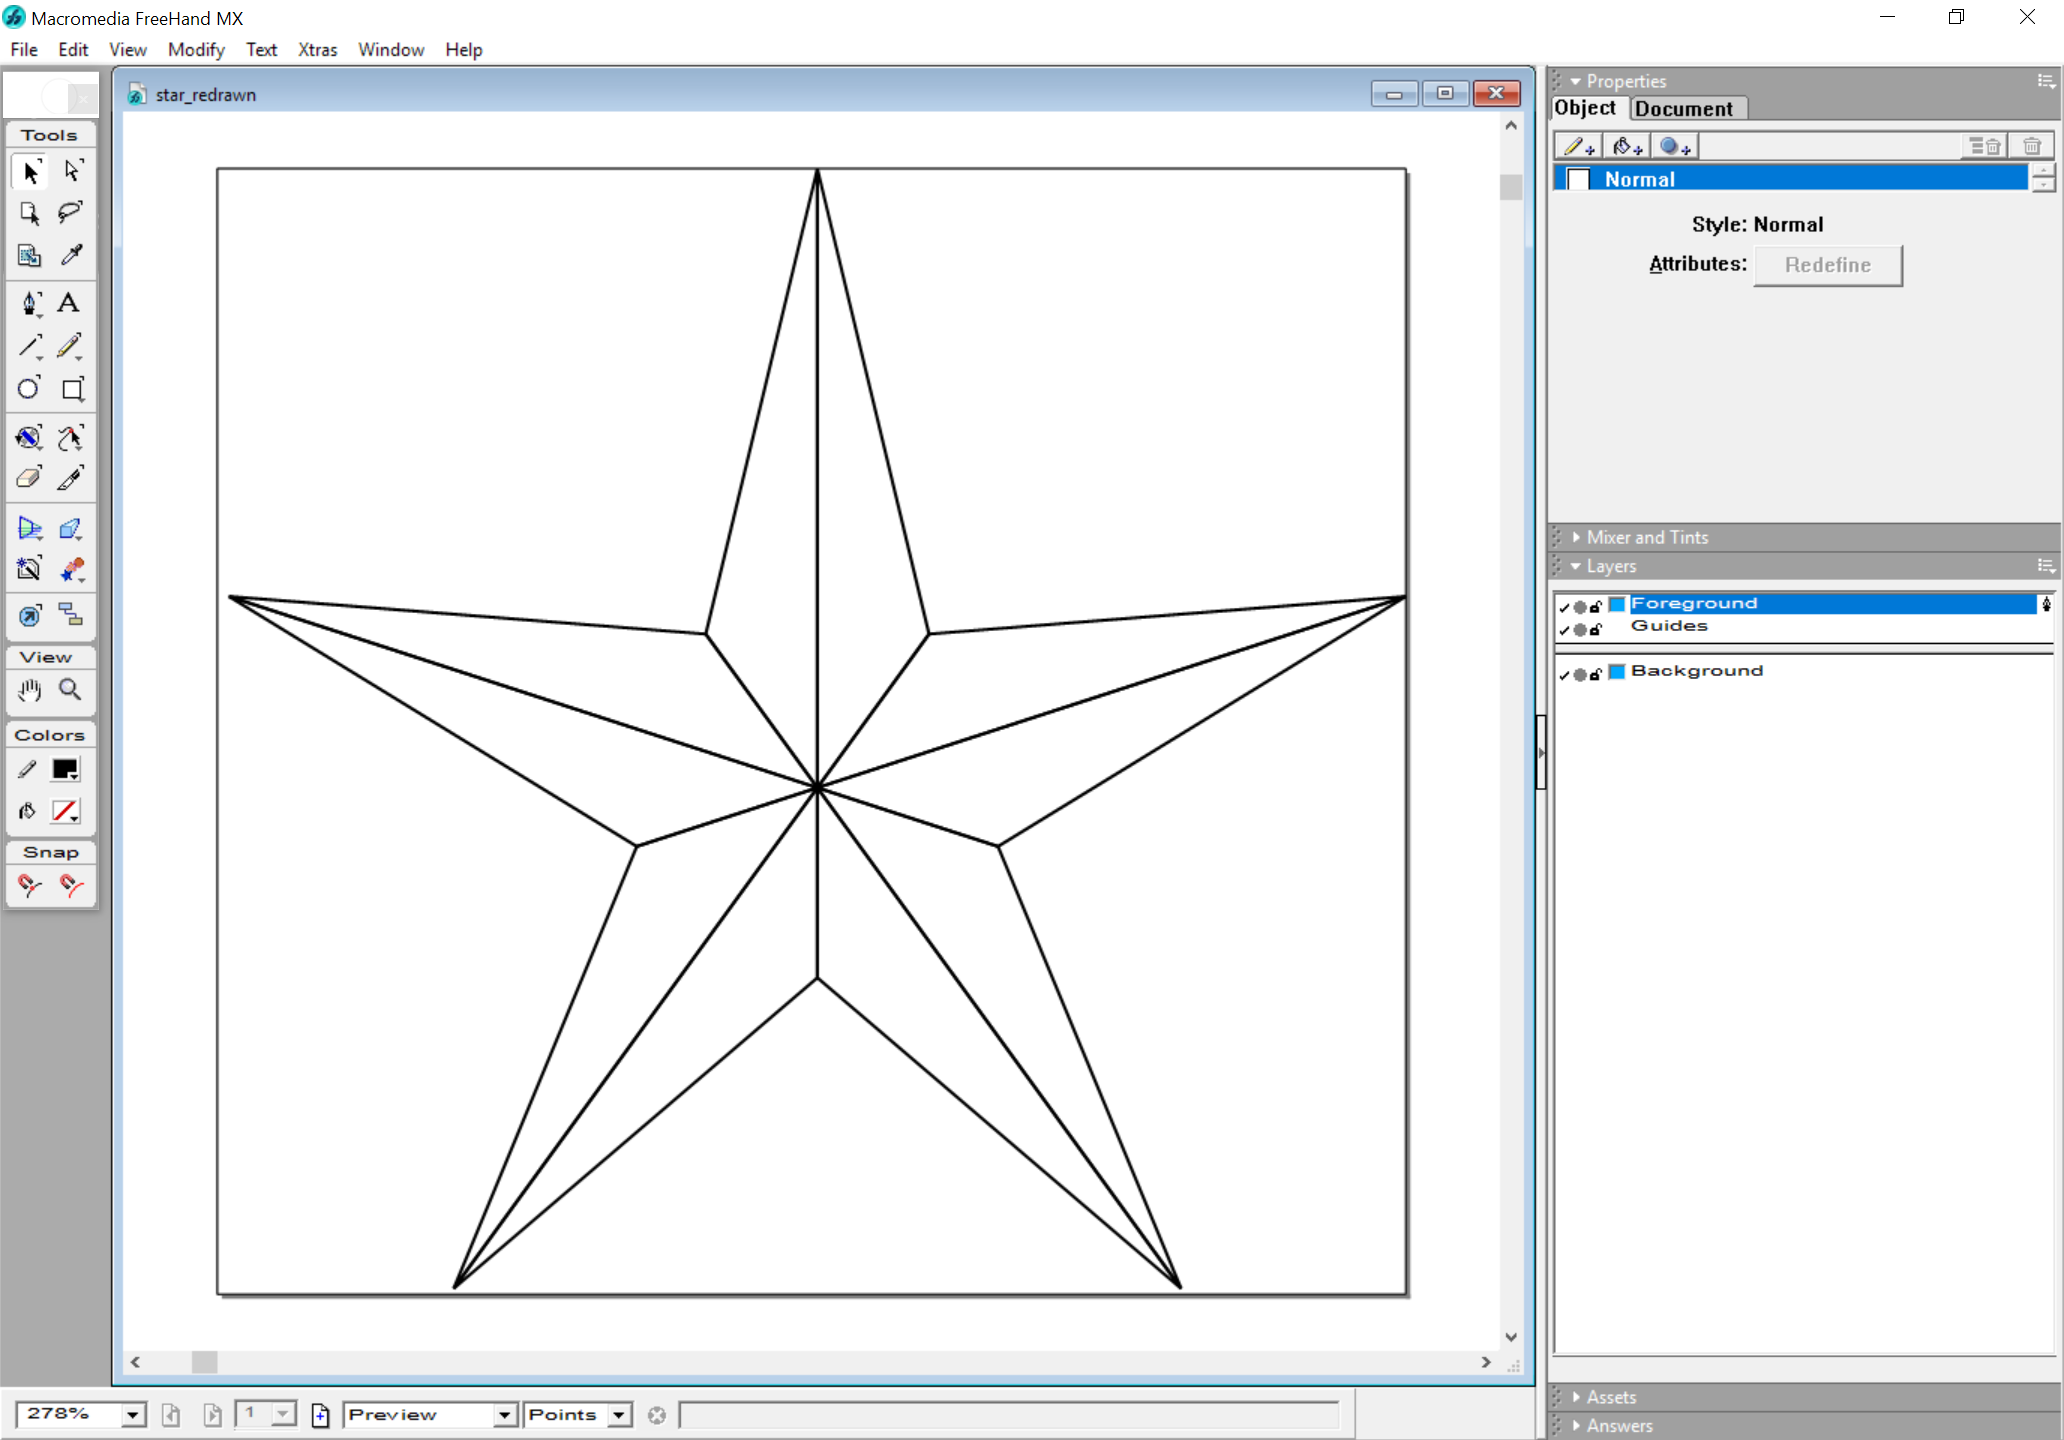
with things now aligning correctly, continue until one arrives at:

Select everything and model it as desired:

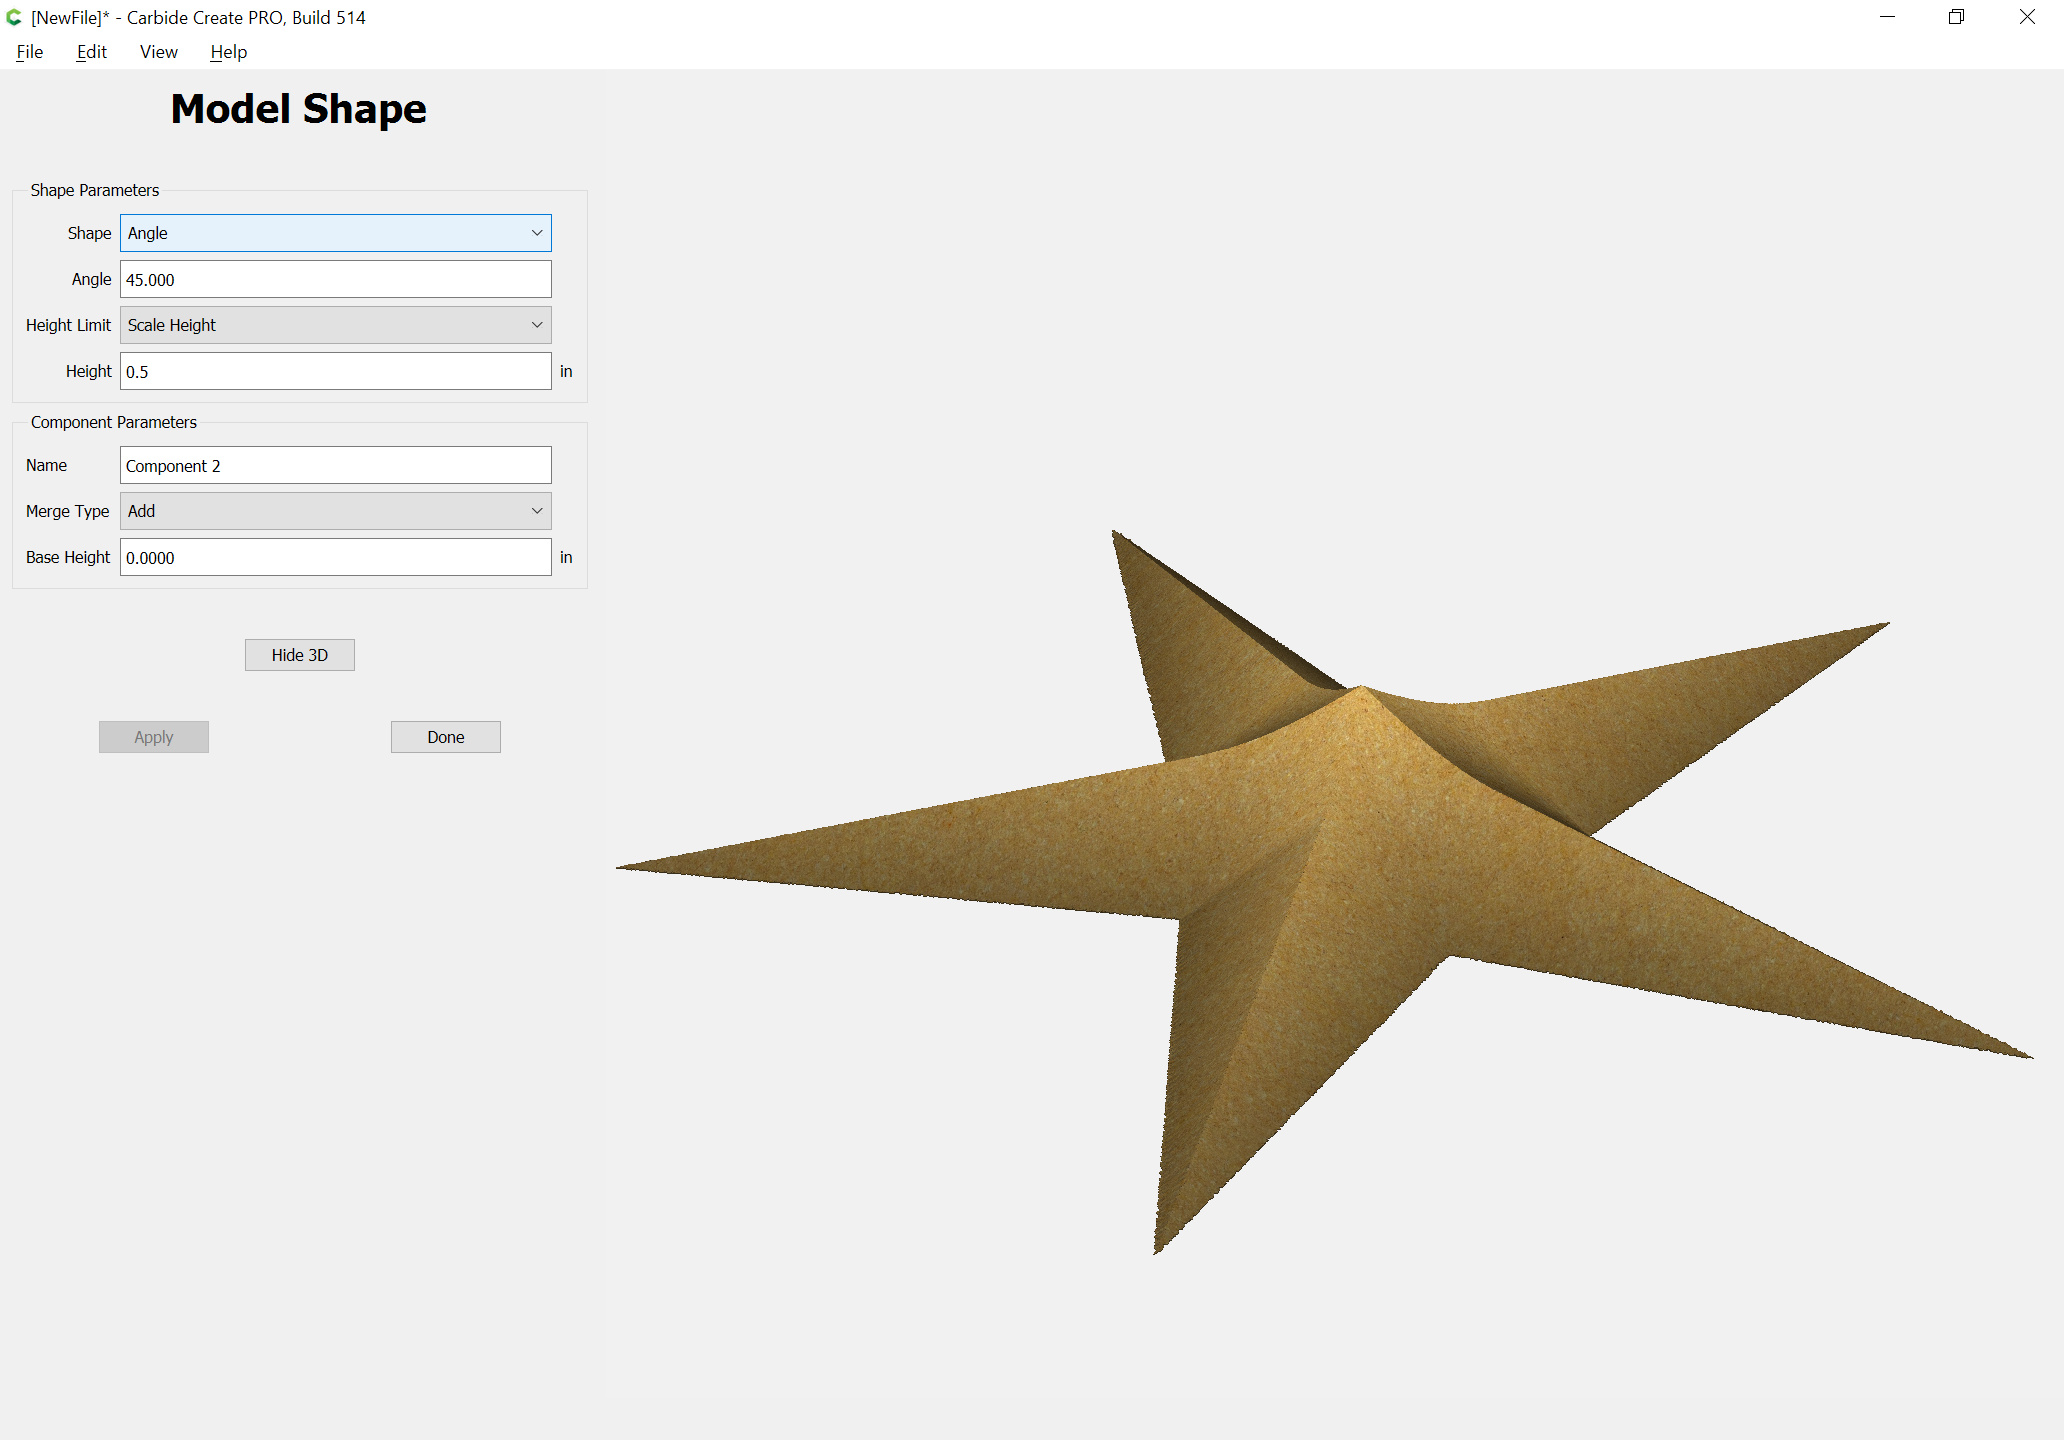
Unfortunately the central point is still distorted.

Export to an SVG and open it in a suitable drawing program:

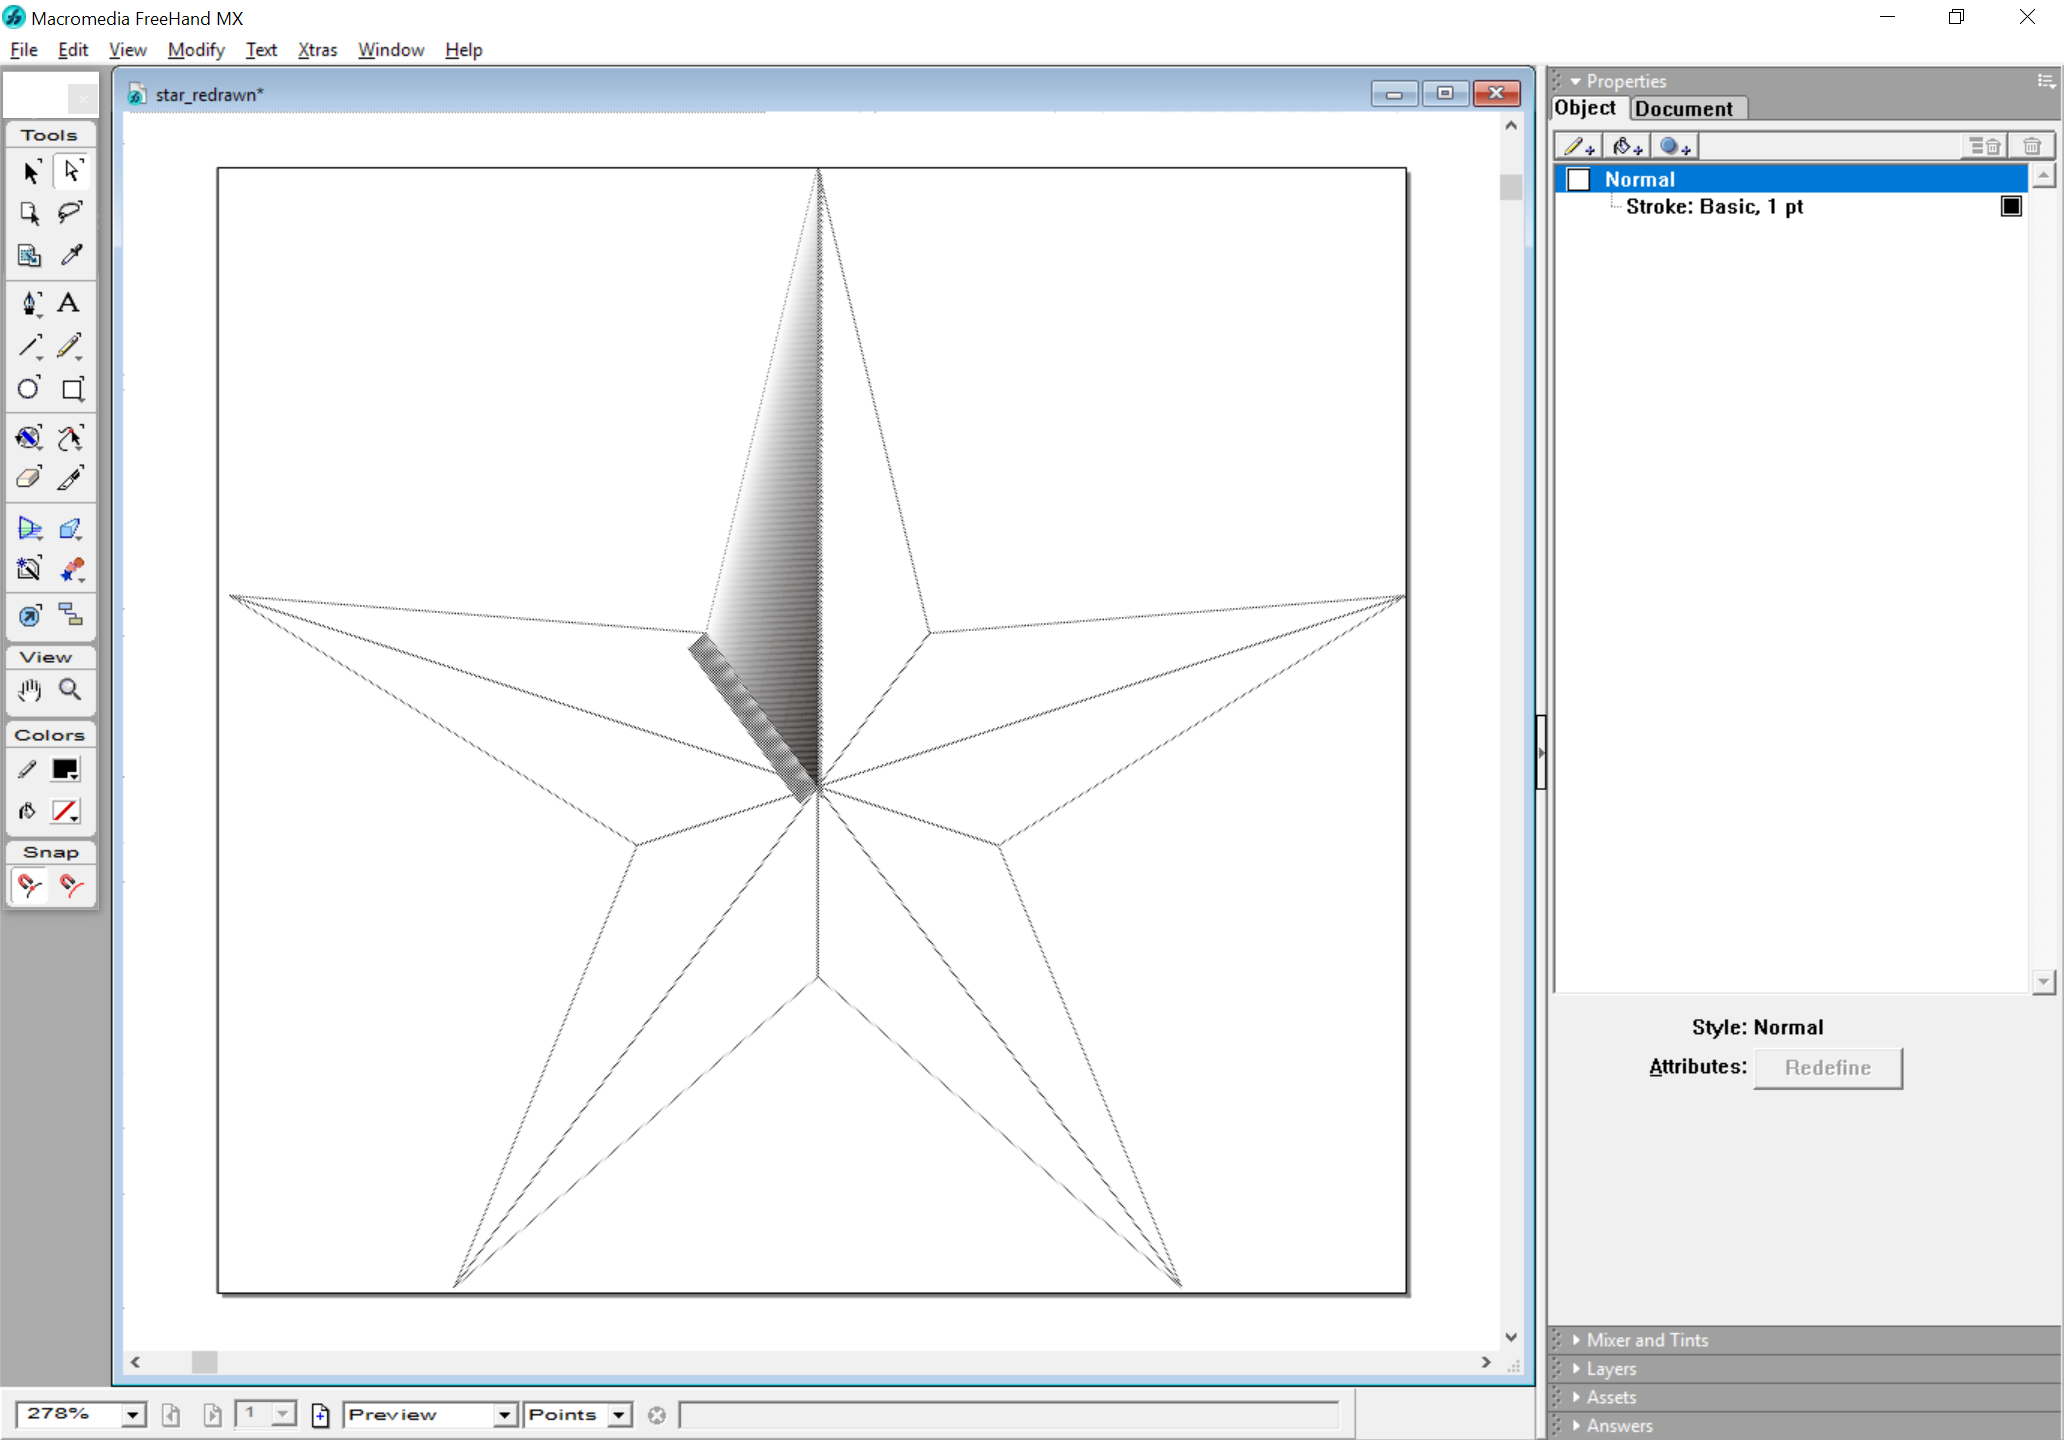
Draw two pairs of objects which when blended will have the desired grey shading:

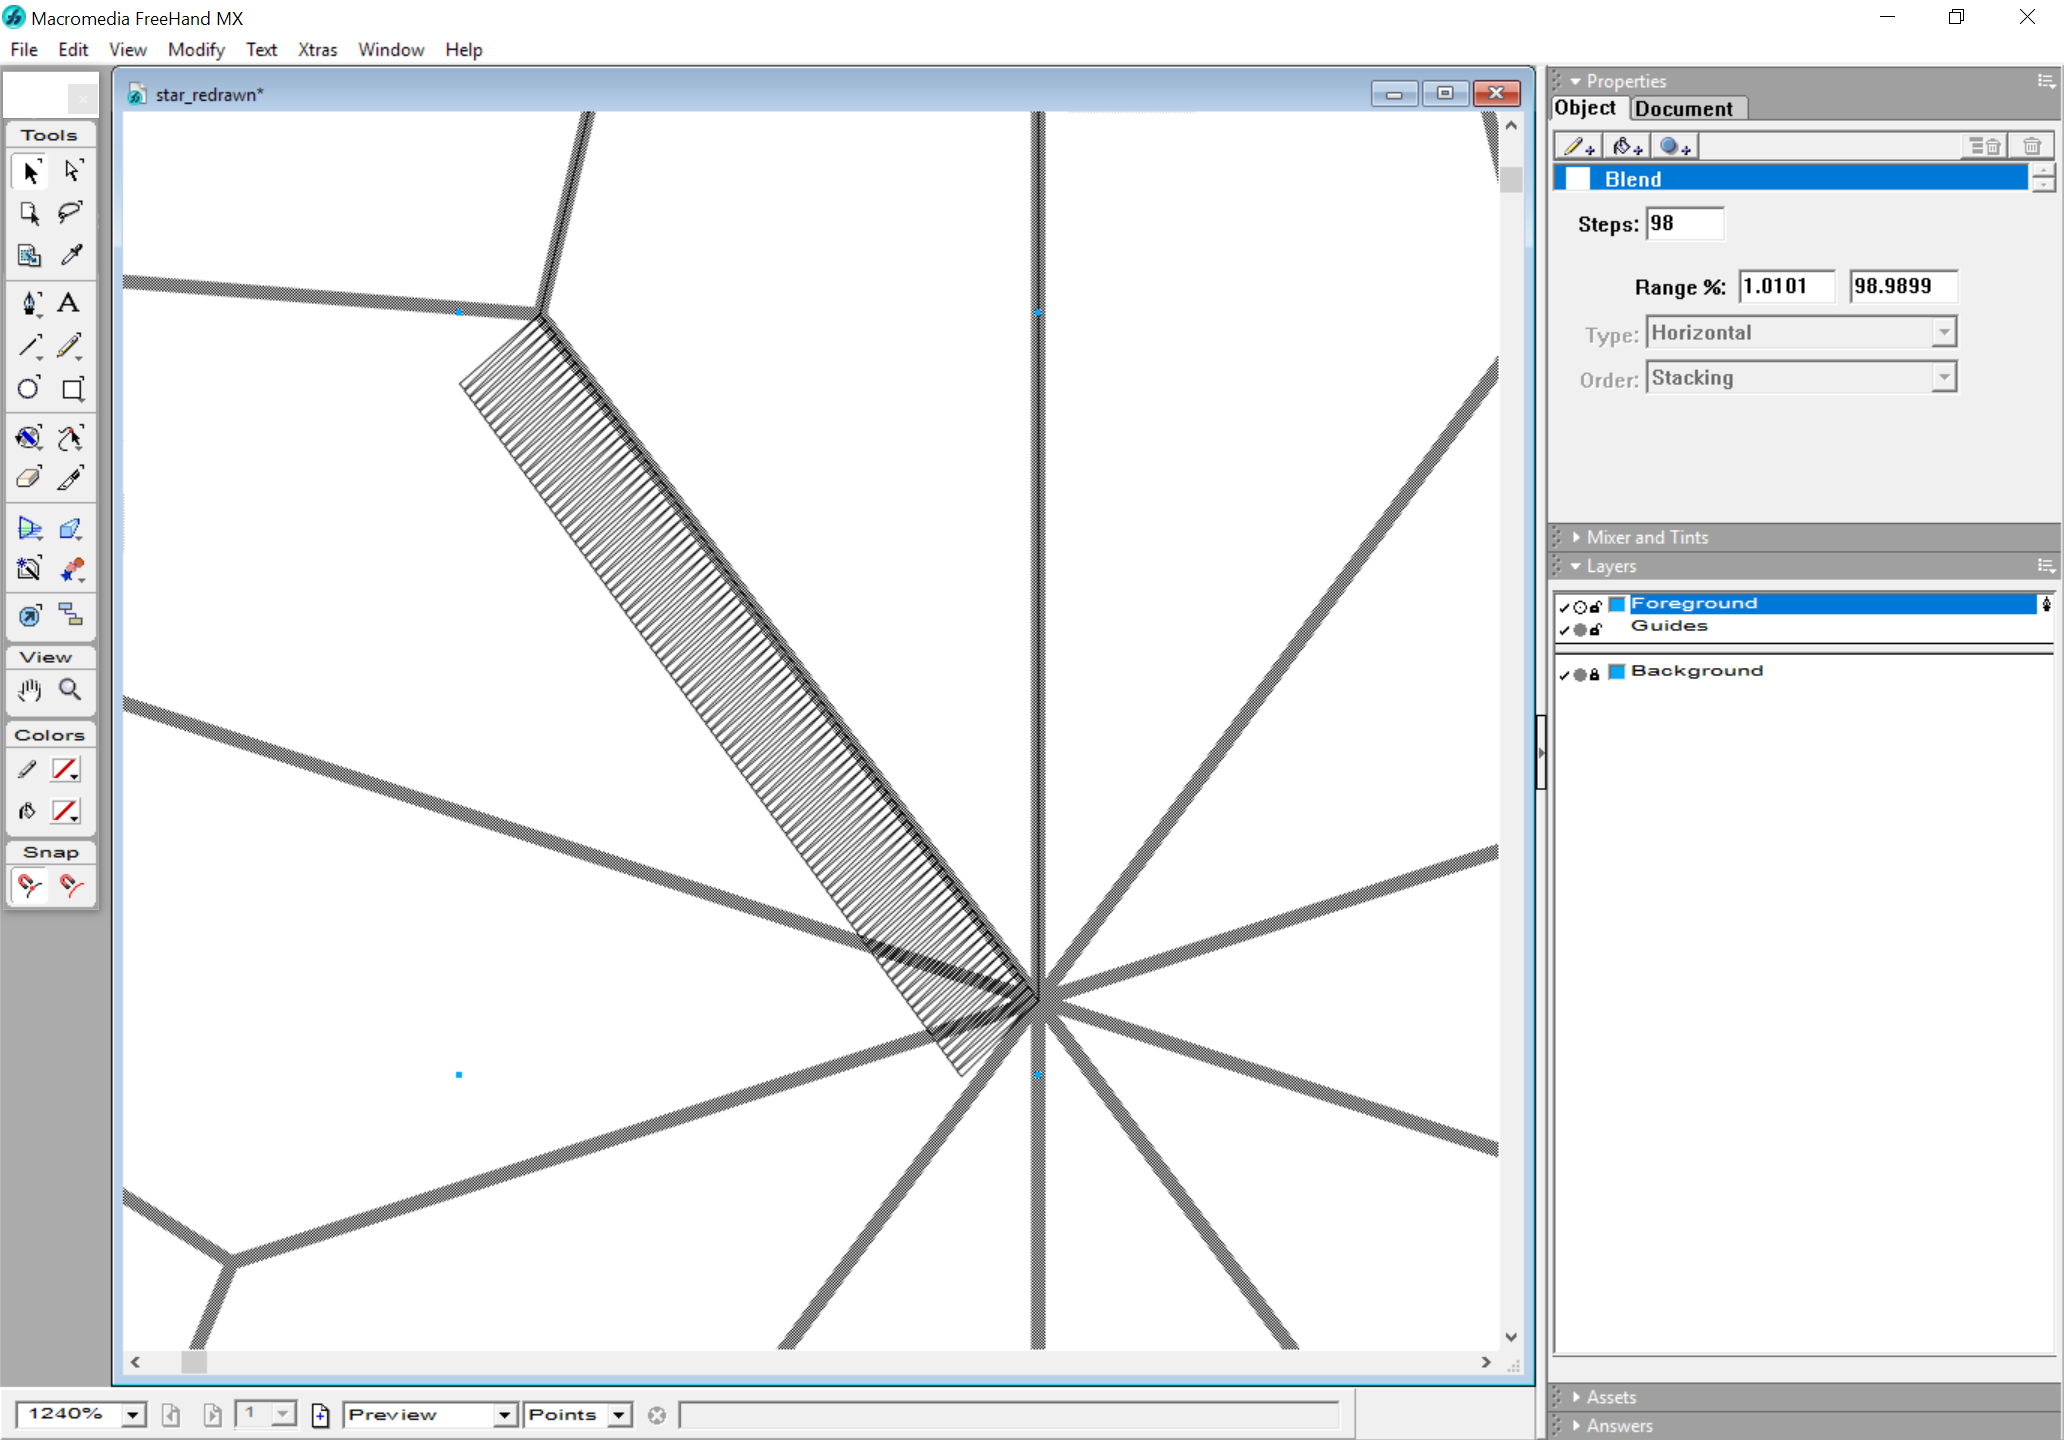
Draw a pair of parallelograms which line up with the first and last elements:

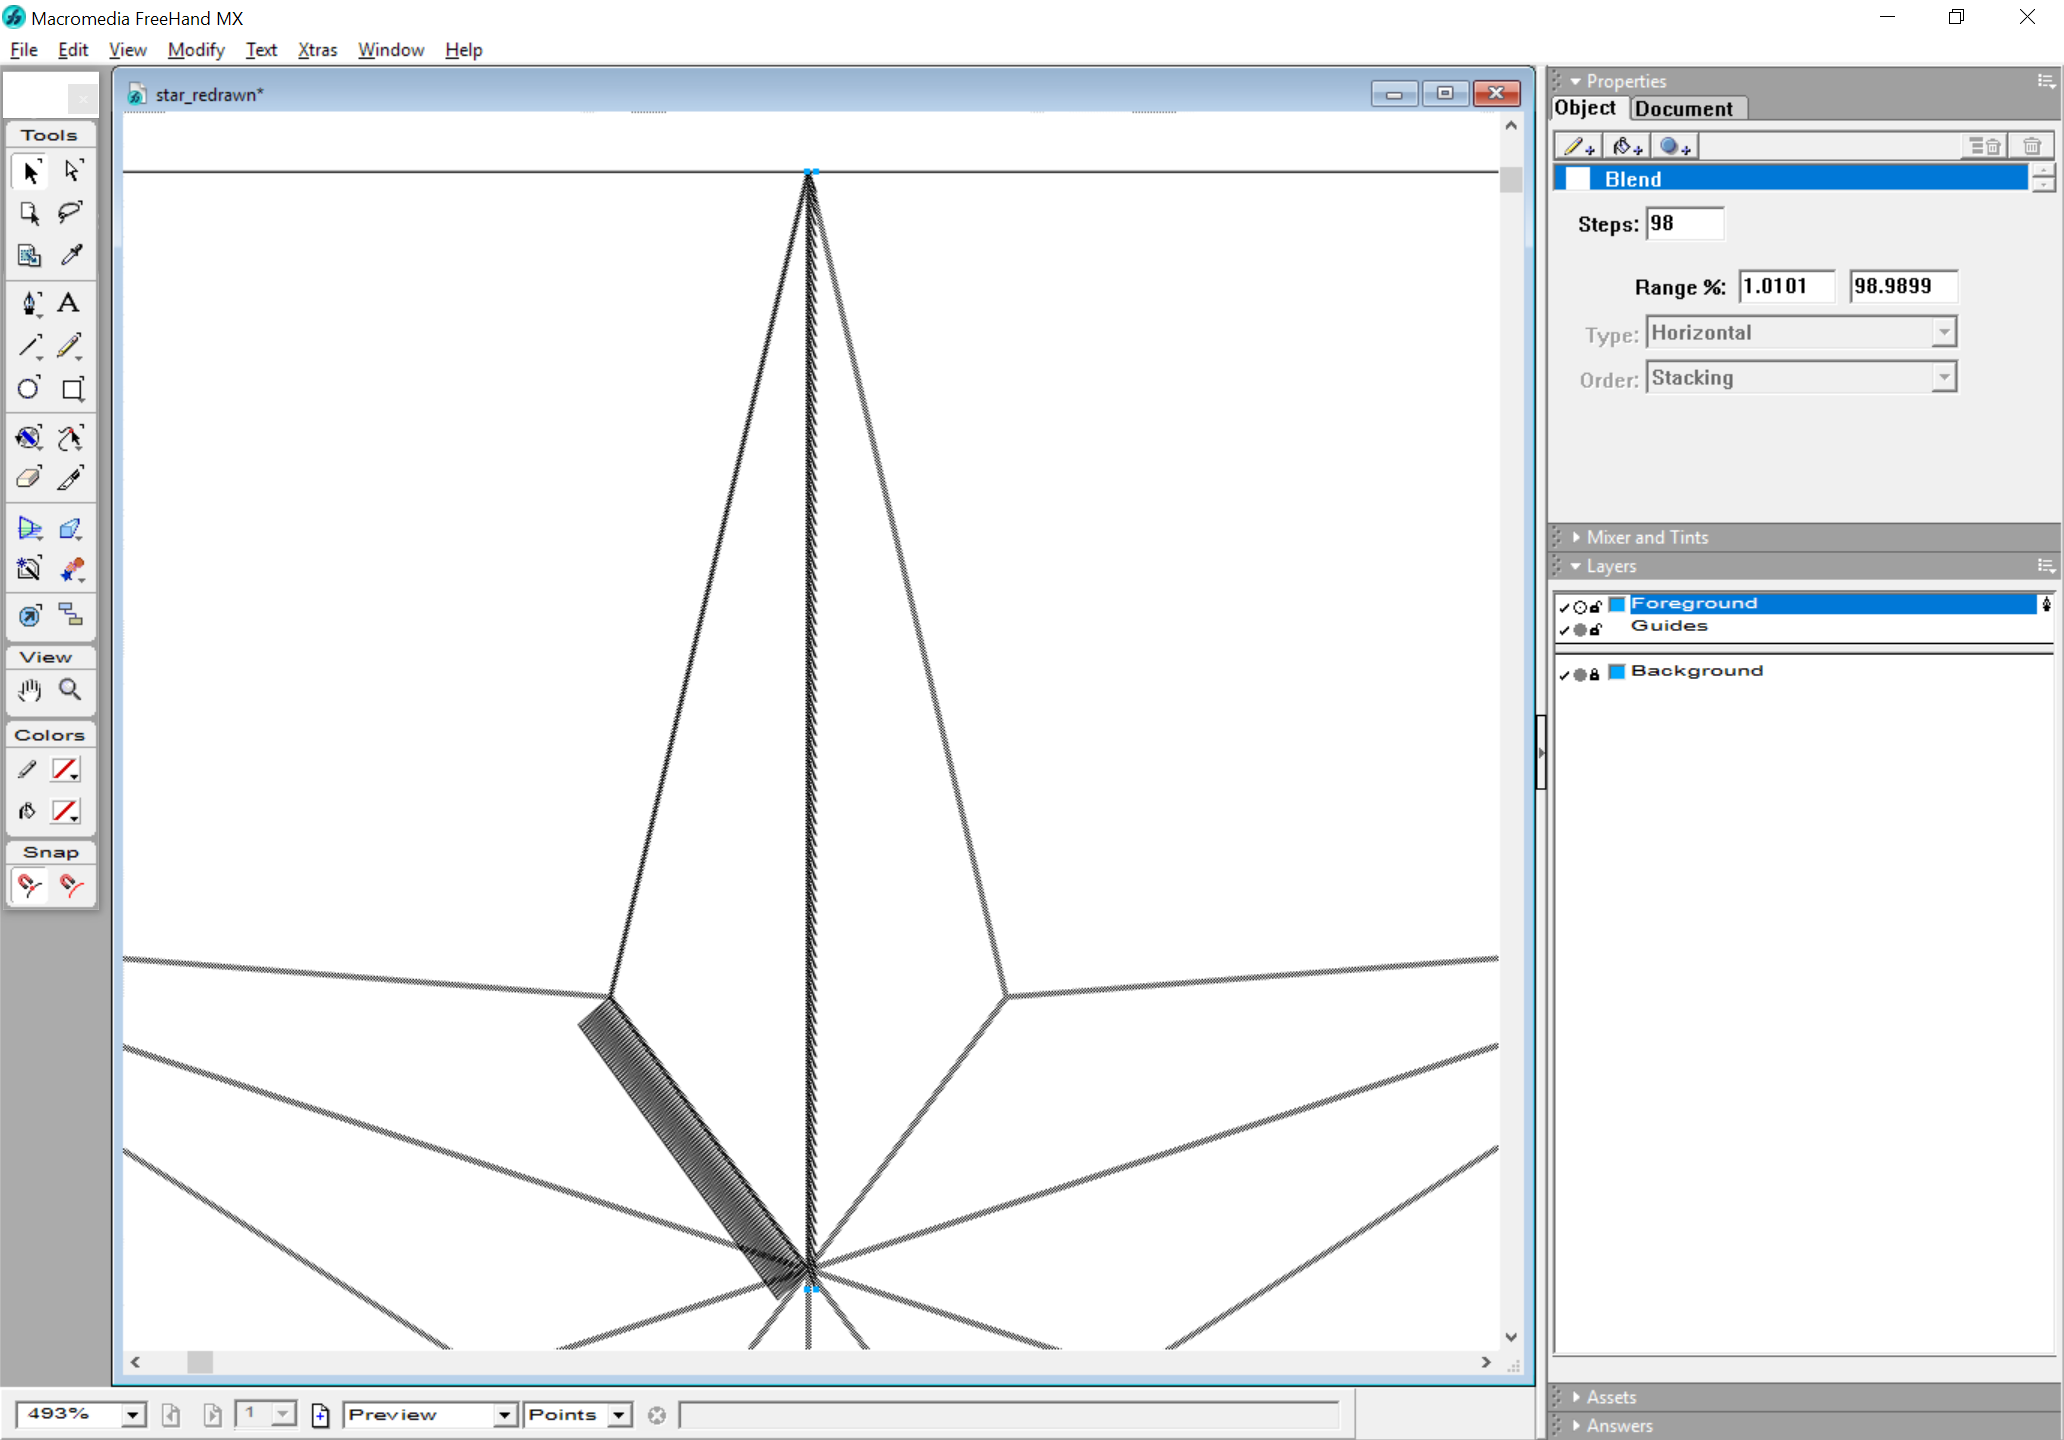
Blend the objects together:

and duplicate and mirror and rotate as before:

Export to a pixel image:

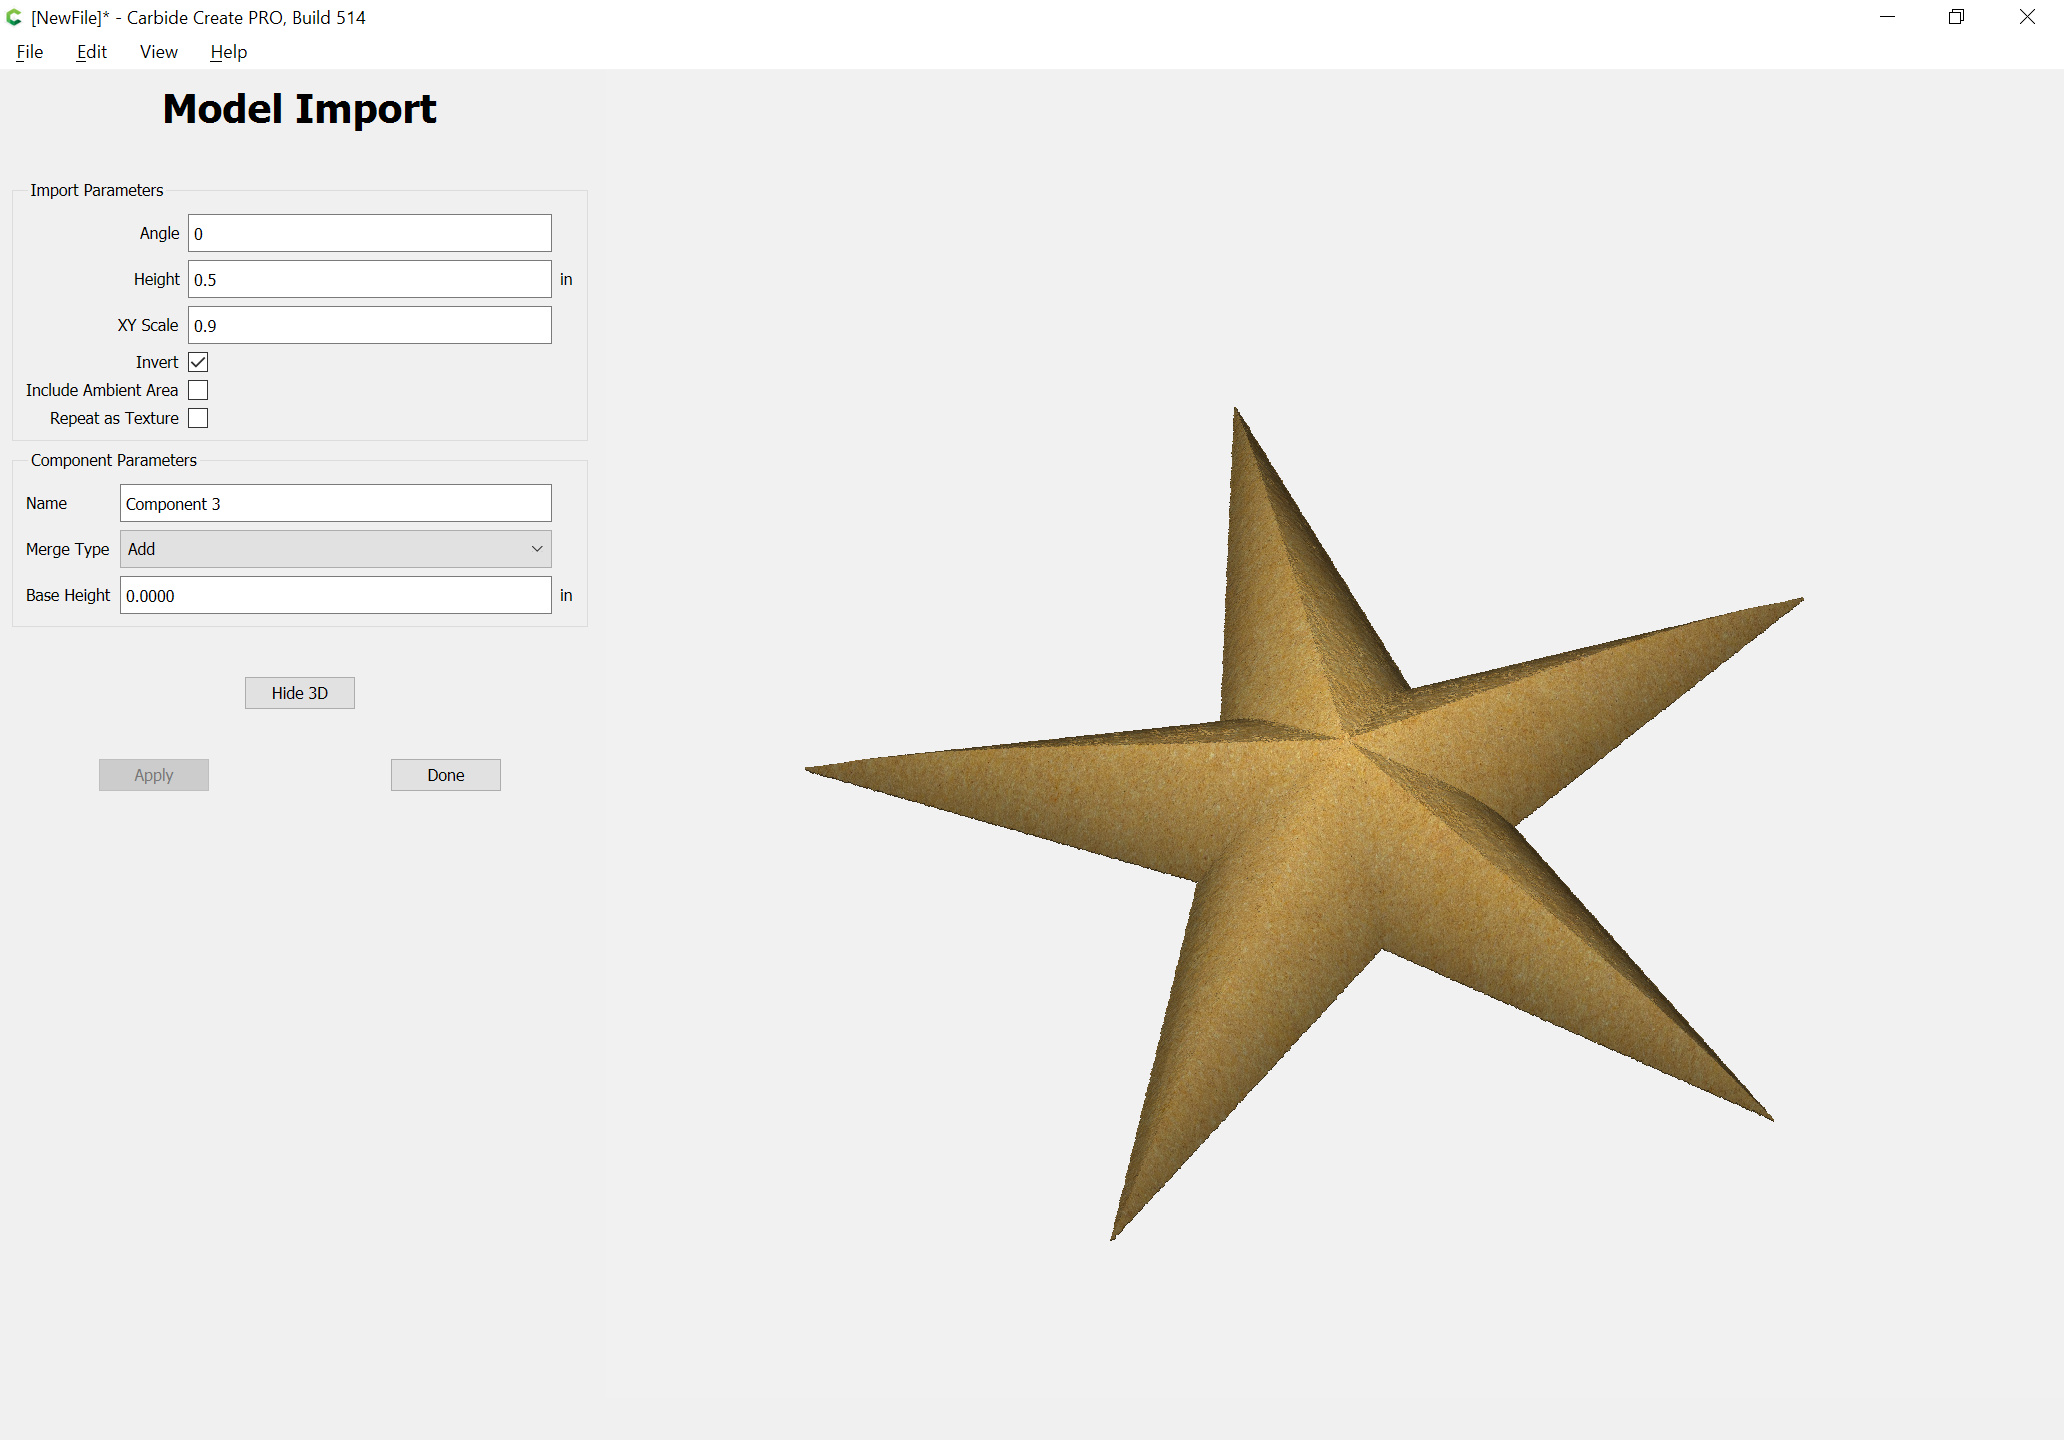
and import as a texture:

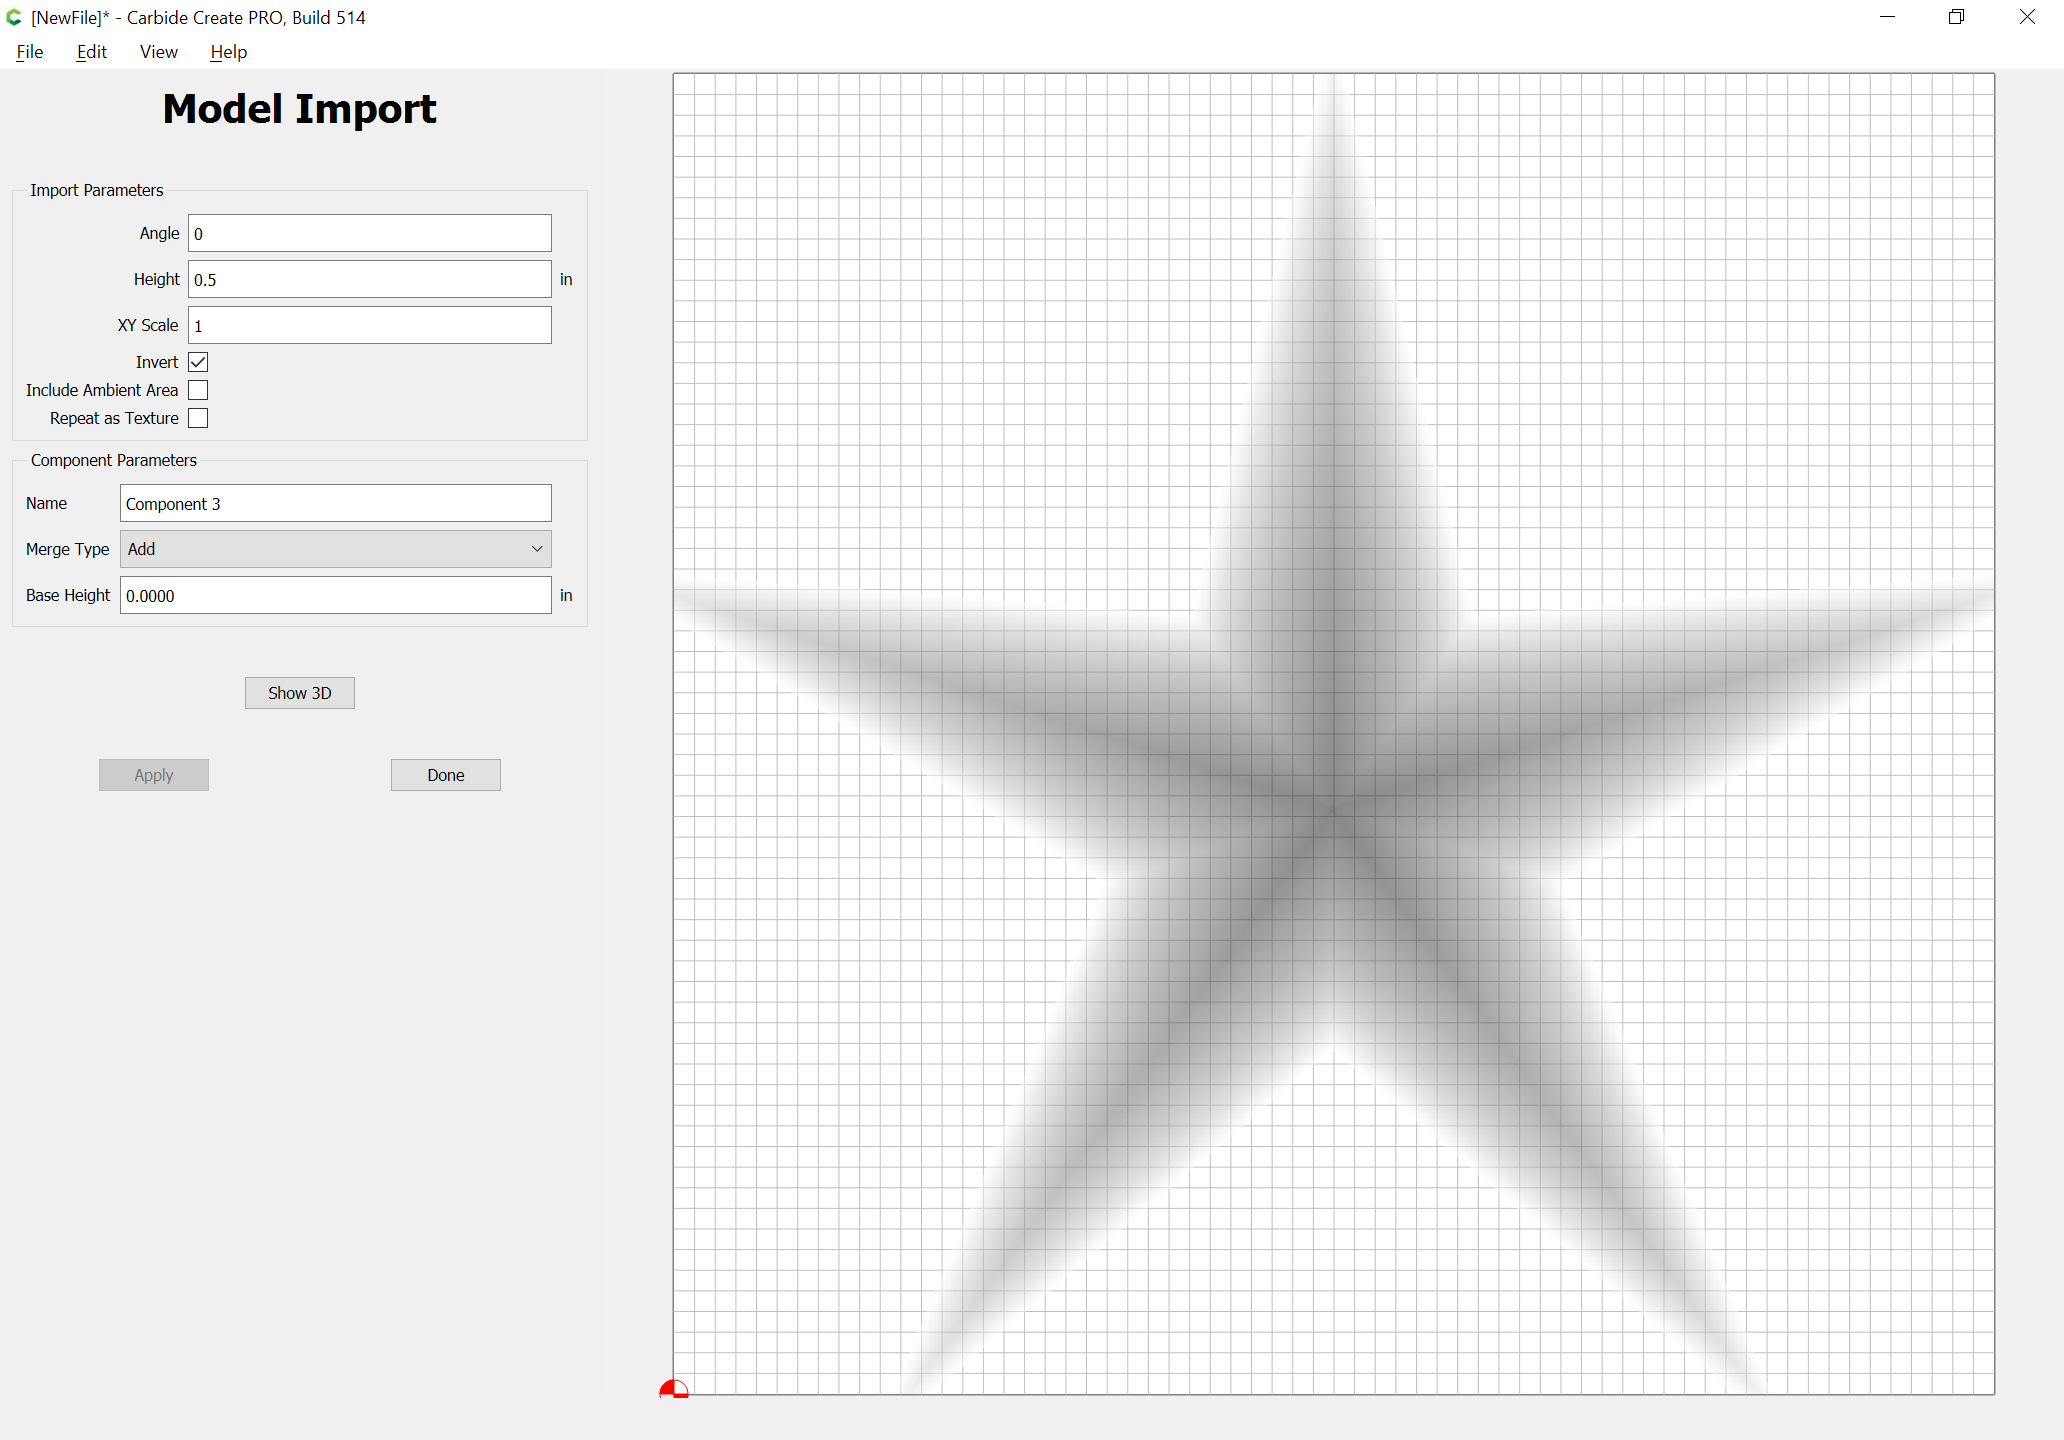
which seems to model as desired:
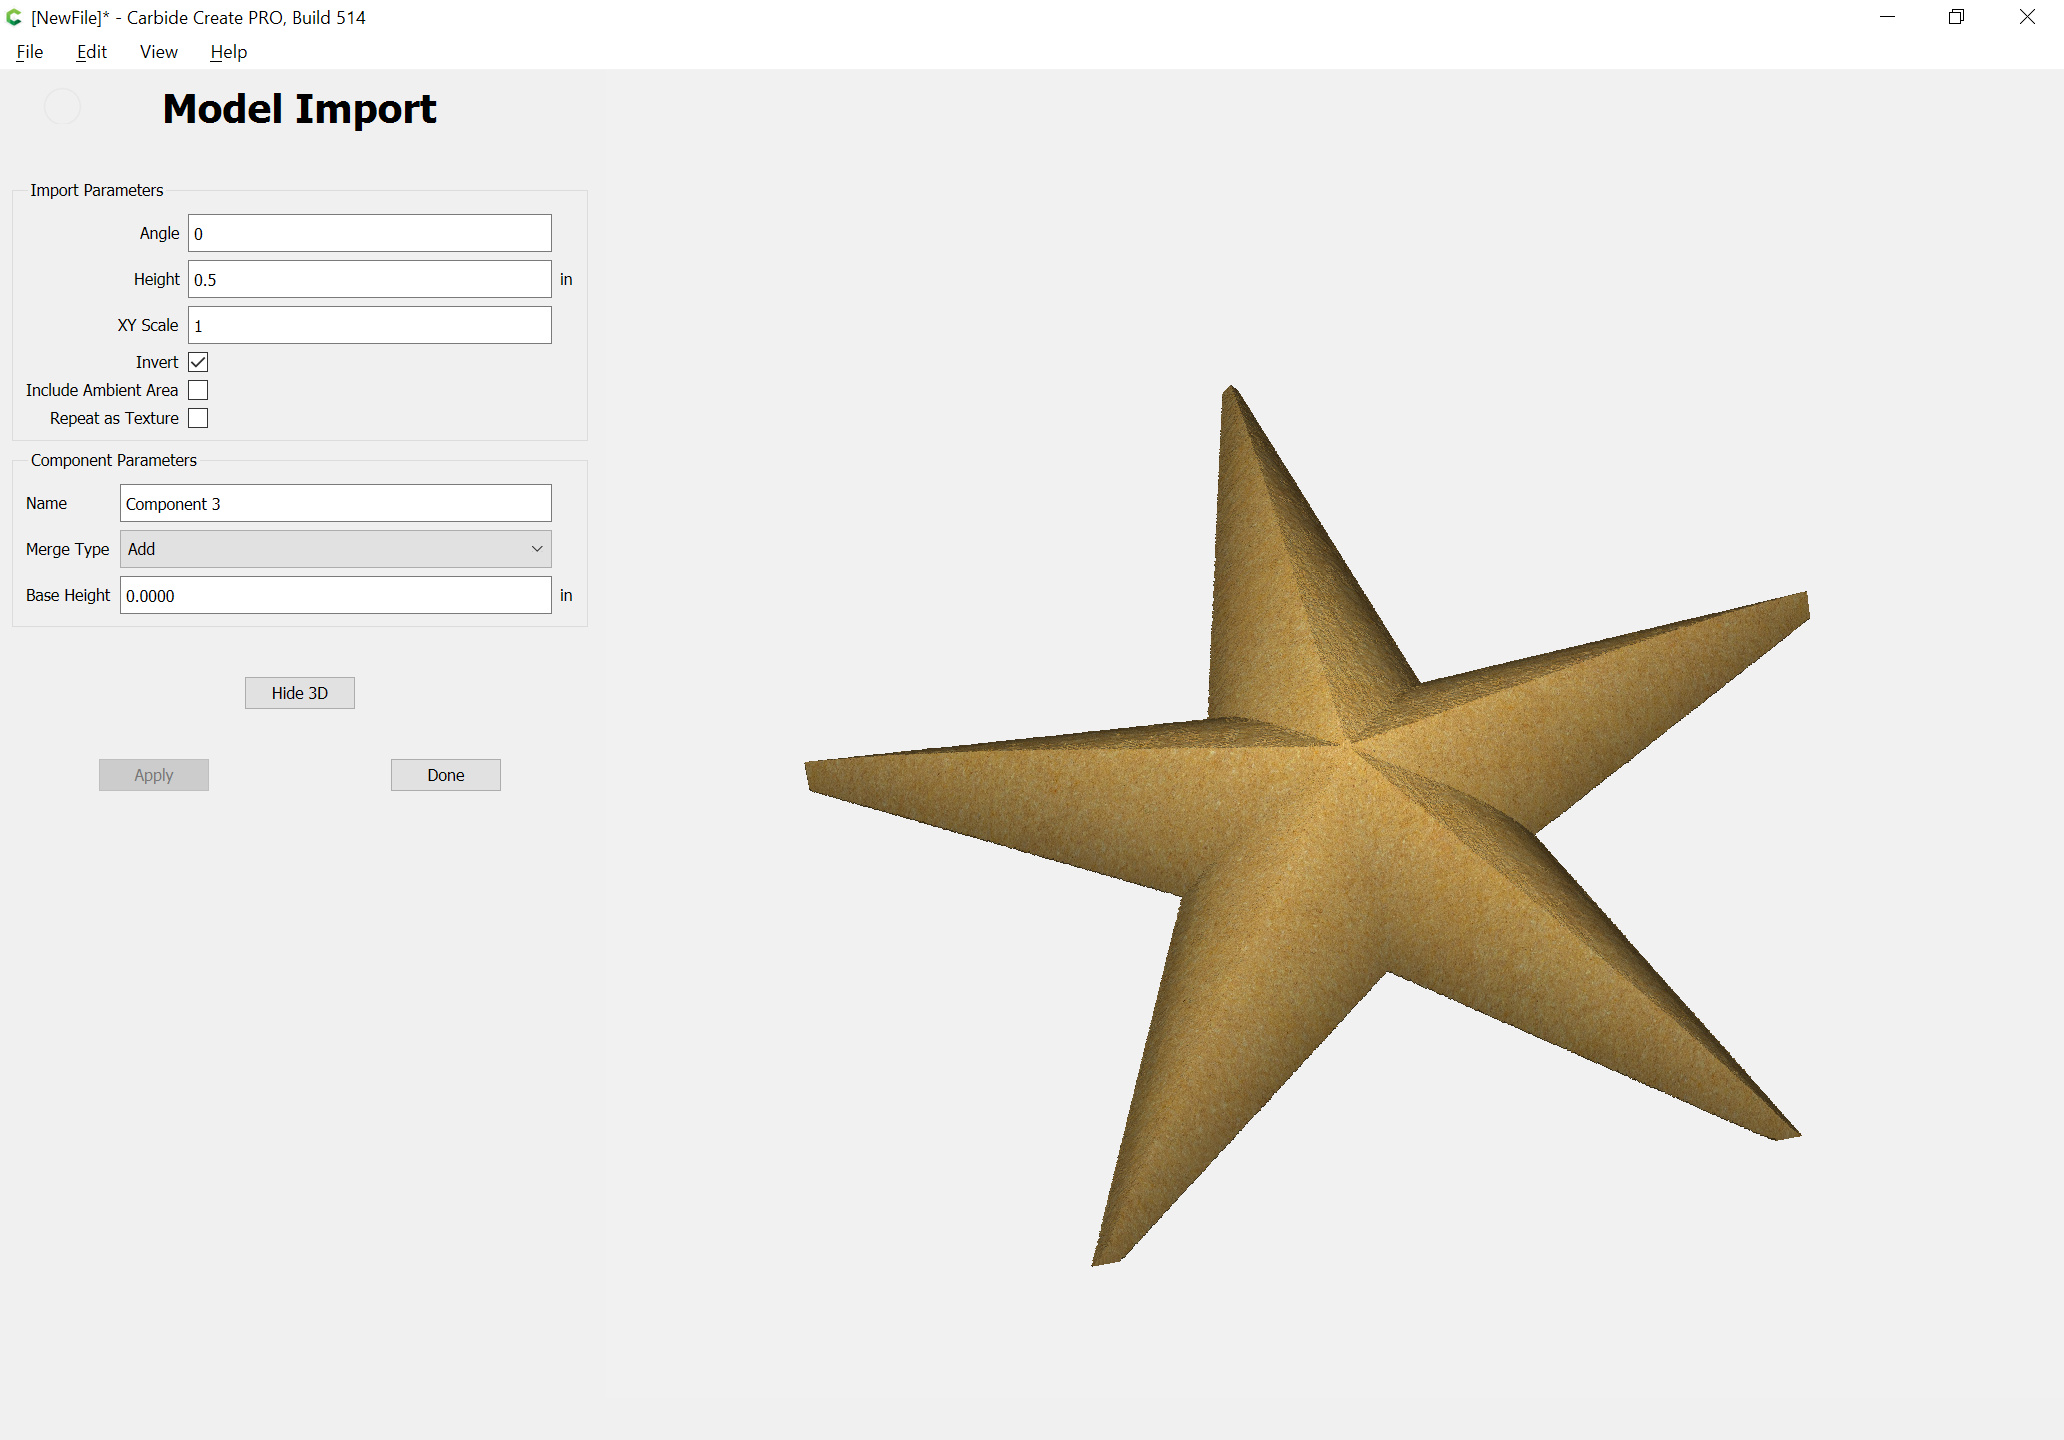
Adjusting a bit:

Attached.star_redrawn_3Dmodel.c2d (231.4 KB)

2 Likes

William: Haven’t a clue how you do this so fast. YOU ARE GOOD. It’s going to take me considerably more time than you to do this. I’ll get back with you after I am done. Thanks

2 Likes

First job out of college was drawing using Illustrator and/or Freehand for ~40 hrs. per week.

1 Like

Andrew: I’m 75 and my eyes are not so good. It wasn’t until I opened your reply again to try working on this star that I noticed you did a very, very kind thing and attached a ready made star for me. I am touched and thankful. I’d like to ask just one more question, if I may. When I opened your attachment I was told that it was made on a newer version of Carbide Create than the one I have. I downloaded my version about two weeks ago, it is a trial version. Is there a newer trial version? Mine is build 474, built of 2020-07-20. Many thanks and blessings.

Hi Mark,

The latest version of Carbide Create is 514 available here:

https://carbide3d.com/carbidecreate/

1 Like

Andrew: I appreciate the star file you sent, but I also wanted to learn how to make it as well. I’ve attached my file and am wondering if you can take a look and comment on it. In the model mode the simulation looks “so so.” The arm are not a nice straight slop and look more like a sagging slope. When I go into the tool path 3D mode the simulation looks a layered 2D.

HOME MADE STAR.c2d (167.6 KB)

As discussed/shown above, the angles of an even star like that don’t work for the modeling — you need the more acute version to make the angles come out as they ought, but unfortunately Carbide Create doesn’t agree on that, hence my needing to model each step w/ the blend.

The layered appearance is caused by the component being extruded up higher than the stock thickness:

William: I have modified my file to the point that it is acceptable as an experiment that I’d be willing to run, with one exception, the amount of time. I have attached that file and am wondering if you’d take a look at it and tell me if it might be possible to cut down that run time.

HOME MADE STAR.c2d (253.7 KB)

Interesting that you were able to get a 3D carving done w/ a V endmill — I suspect that’s part of the problem.

Note sure the preview is what you want:

Let’s consider something a bit different — hang on, gotta do some drawing.

Okay, what should work is a series of overlapping geometries each of which is assigned an advanced V carving:

(we will clean up the overlapping presently)

but unfortunately, the 3D preview is not correct:

Unfortunately, cleaning up the geometry didn’t resolve the overlapping issues:

And a 3rd party previewer seems to indicate that it is caused by the V endmill being represented as a truncated cone — I believe it would cut correctly.

However, if we reduce the size to be w/in what the selected endmill can cut we get the desired result:

Attached:

star_redrawn_redux.c2d (173.4 KB)

William: That’s why you are the expert and I am the novice. I changed that and it cut the time down quite a bit. One last question (I hope), I set the V-Cut to feed rate of 90, plunge rate at 30, and pass depth to .4 and I am wondering if I am pushing things or not or what you would recommend.

What material are you cutting with the V endmill?

Did you try the file:

?

(at this time no one has downloaded it — should cut a bit more crisply than the 3D modeled ball-nose version)

William: No I have not tried it. My workshop temperature is in the teens so I am doing more planning than making. Your file looks much better than mine. I will be working in wood. I note you use tool 251 a 1/4 inch end mill with 2 flutes. I don’t have that tool, but I do have the 250 a 1/4 inch end mill with 3 flutes. Make any difference?