I’ve started working on a 1/2" MDF DC Aztec calendar and I got to wondering, how are folks hanging these on the wall? Anyone care to share their approach?
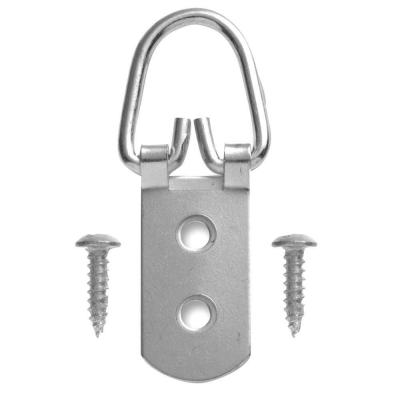
Most of my plaques and wall hangings tend to get the ‘picture hanger’ treatment. I like to use the hangers with a free-floating d-ring that secures onto the back with 2 or more short screws, especially with mdf. Sometimes I’ll also drop a spot of CA or wood glue in my pilot holes to reinforce the fibers right before I screw it on. If I need something with a “low-profile”, I might use a keyhole bit to cut a hanger pocket. I haven’t had issues with mdf for either method. But like most things, it will usually come down to what is right for the project. 0.5" MDF can get weighty, so depending on the diameter you’re cutting, plan for more than you think you’ll need.
I keep the “sawtooth” picture hangers around.
- I will find and mark the center of the part where it hangs horizontal. (This may not be the mechanical center.)
- Center the sawtooth on the back with the center at the previous mark.
- Mark the mounting holes on the part.
- Drill the mounting holes so the nails provided are a tight fit.
- Mount the sawtooth with the nails, but add CA glue to the nails/holes.
This is a strong mounting, won’t disturb the part with nail crushing and the nails are still easy to remove if necessary.
2 Likes
Do you have a keyhole bit you’d recommend for 1/2" material?
I made several of the Aztec type calendars and on the back I cut three 1" x 2" blocks of MDF and pre drilled two holes in them for mounting. I put one of the blocks at the top center of the hanging and put the other two blocks at the bottom. I put a hanger with a ring on the top block.
This puts a bit of space between the wall and hanging. I originally was going to add some led lightning to highlight but never got around to it. I wanted the edges to glow. The three blocks accomplished being able to visually hang the object square so it did not droop to one side. Things that are off center drive me crazy.
These MDF Wall hangings are quite heavy so you need a good hanging system both on the object and the wall.
2 Likes
Not really. It isn’t an ‘often enough’ thing for me to have a preference. A keyhole is like a 10 second or less cut. As long as it’s sharp, I haven’t had problems. I think the one I have actually came from a Ryobi router bit variety box some years ago. Keyholes can be sort of tricky to get right, so it helps use a jig to make a consistent and straight cut… which is why I prefer screw on hangers like in the photo that Guy posted.
1 Like
The keyhole router bit might work but remember MDF is soft and easily pulls out. With only 1/2 inch you would need to almost come out the front side to get enough meat in the keyhole to make that feasible.
If you want to use a keyhole here is the Amazon list, I would suggest you match your keyhole to the fastener you are going to put on the wall. The head of your fastener needs to completely fill the key hole, a smaller head would make the mdf pull out easily.
https://www.amazon.com/keyhole-router-bit/s?k=keyhole+router+bit
As I suggested above you could use hardwood blocks and put a keyhole in the hardwood. I just used mdf because I used 3/4 inch screws for the hanger and 1.25 inch screws to hold the blocks to the 3/4 inch mdf I carved.
2 Likes
@gdon_2003 Thanks for some good ideas. I’ll likely go with the block and hanger idea you mentioned. Luckily I have a couple of draft pieces to test on before trying it on the actual piece. A byproduct of learning is making mistakes which lead to having “scrap” around.
Thanks!
I’ve done similar, but I used the Shapeoko to build the keyhole from the back side. Then I glued that thin hardwood block onto the MDF with no holes into the MDF at all. (It was a bit time consuming, though, so I swiched to the sawtooth hangers.)
2 Likes
So I might be overcomplicating this, but MDF tends to not hold well for hanging, so I get a bit creative…
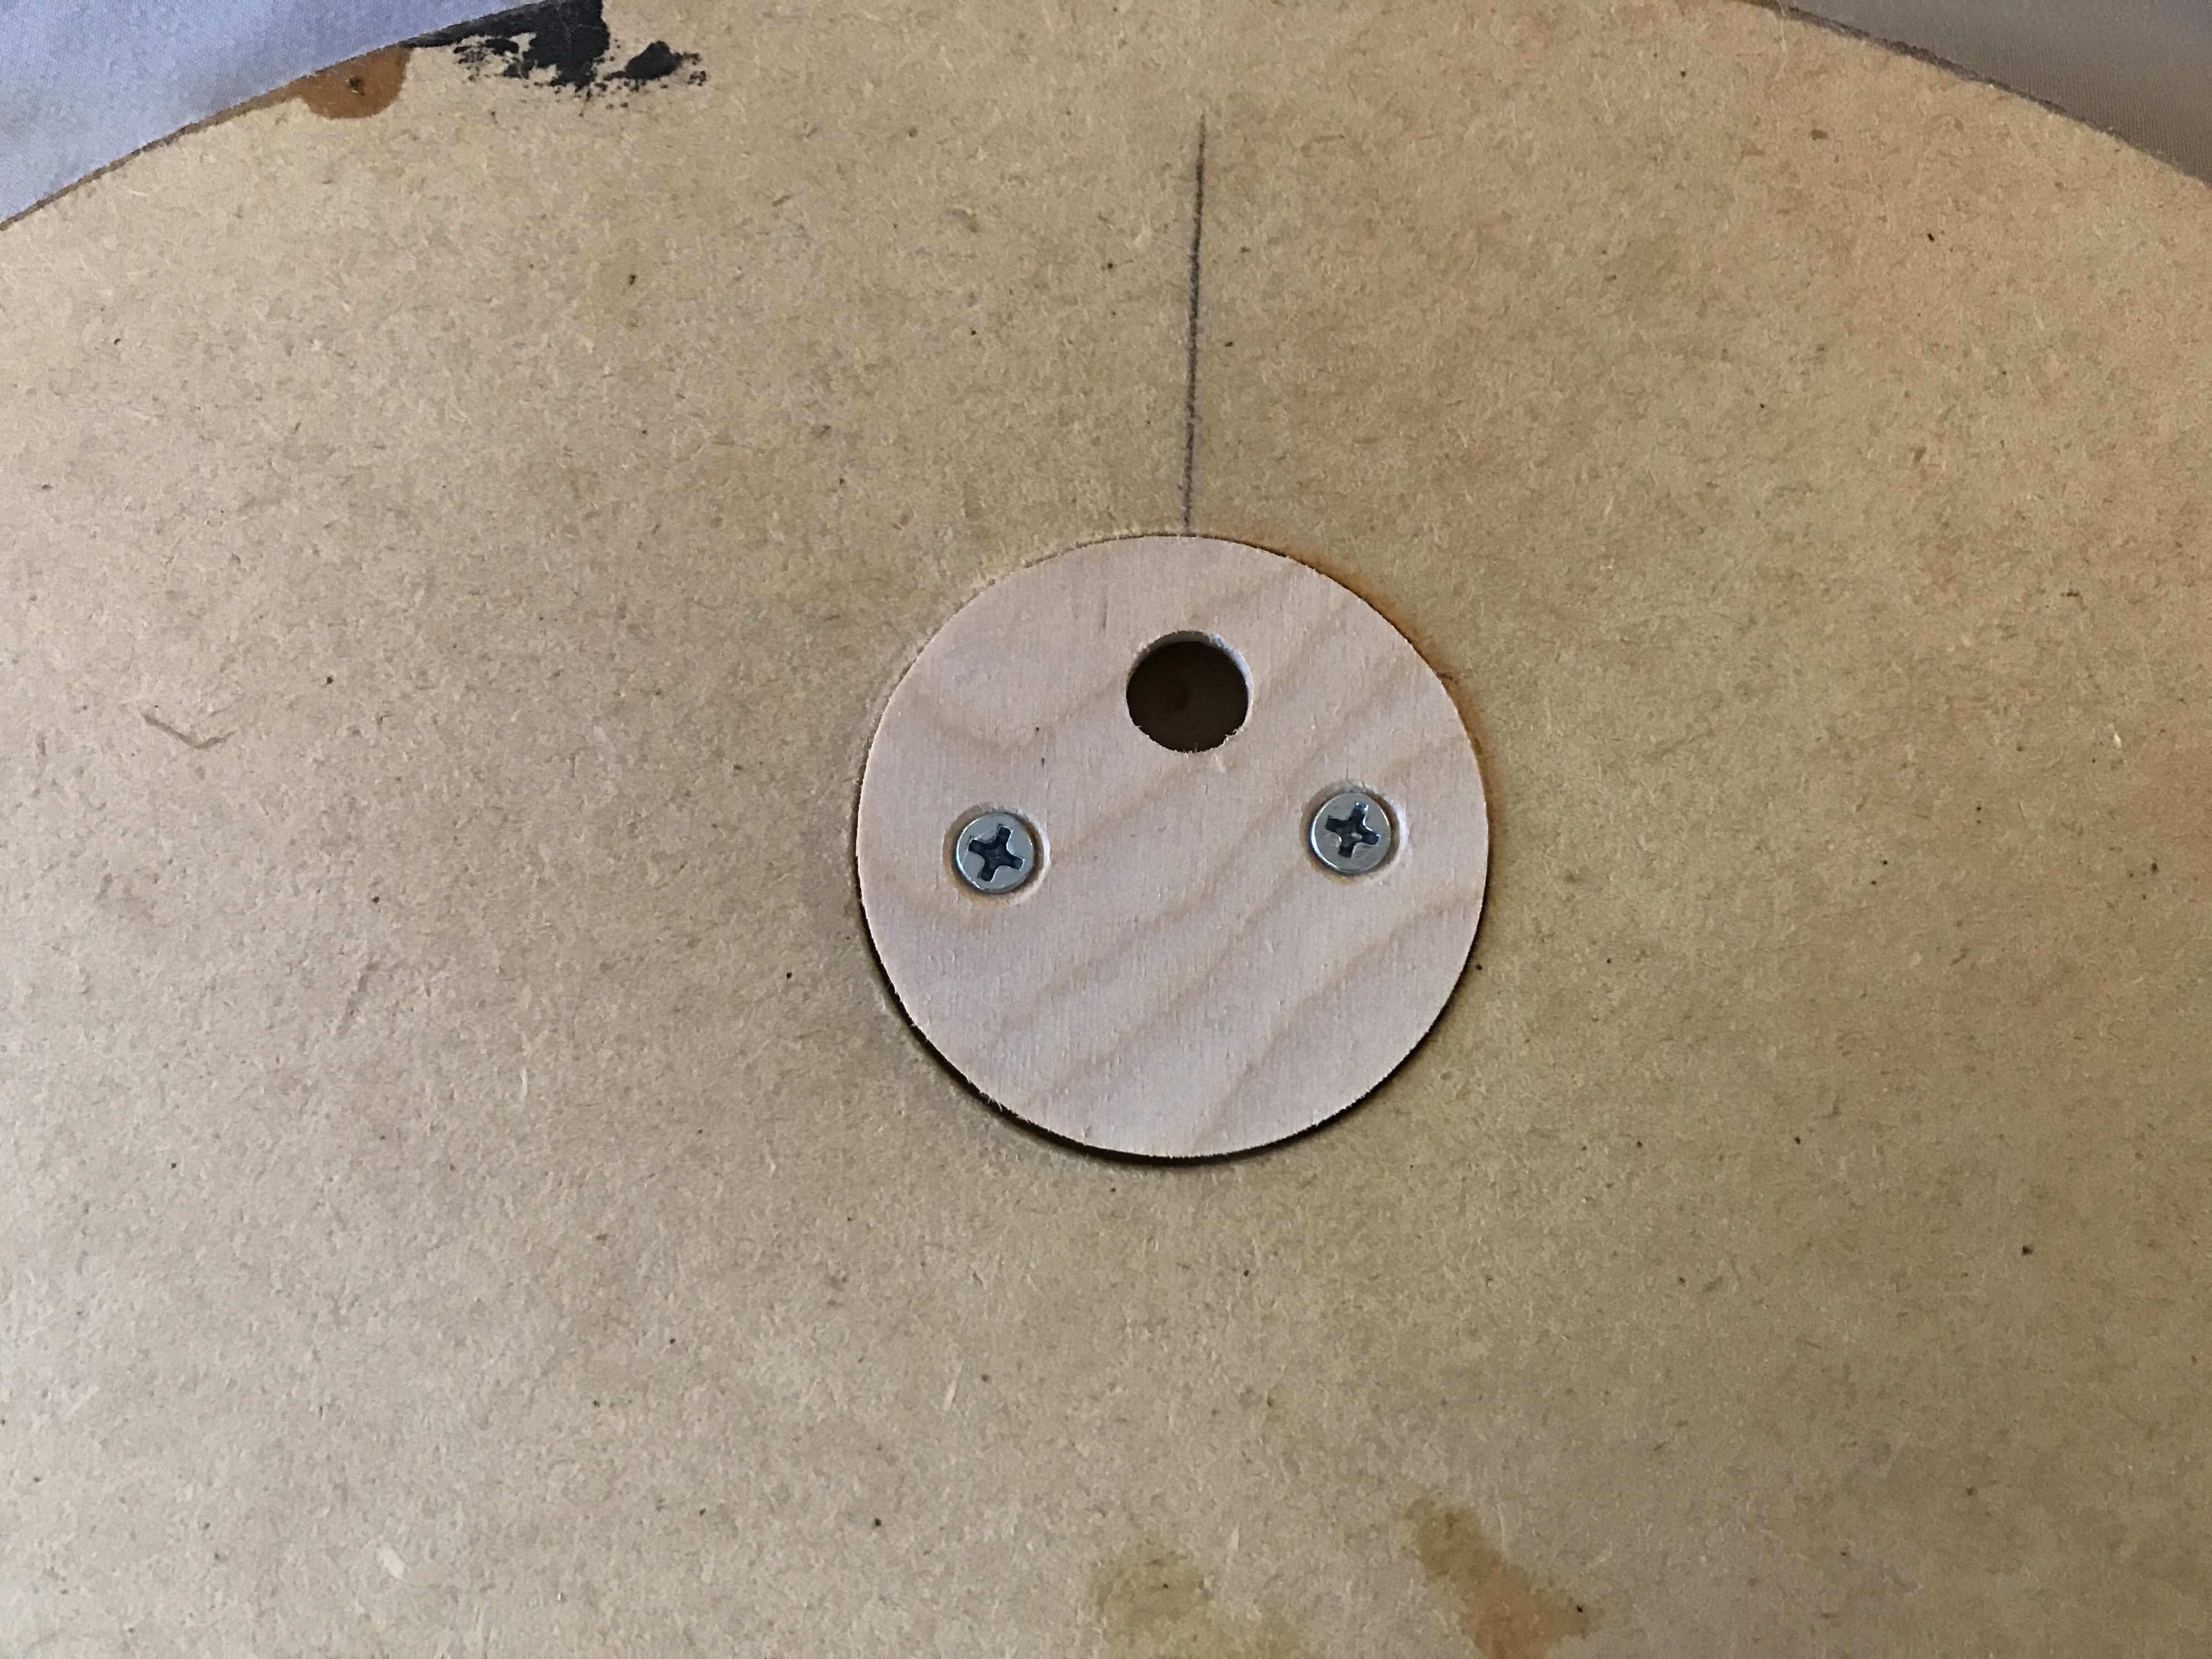
I flip the piece and mark the center line for hanging. I then mill two pockets near the top where I want my hanger to go. They look like this:

The larger is about 1/8 inch deep and the smaller red one is 1/4 inch deep.
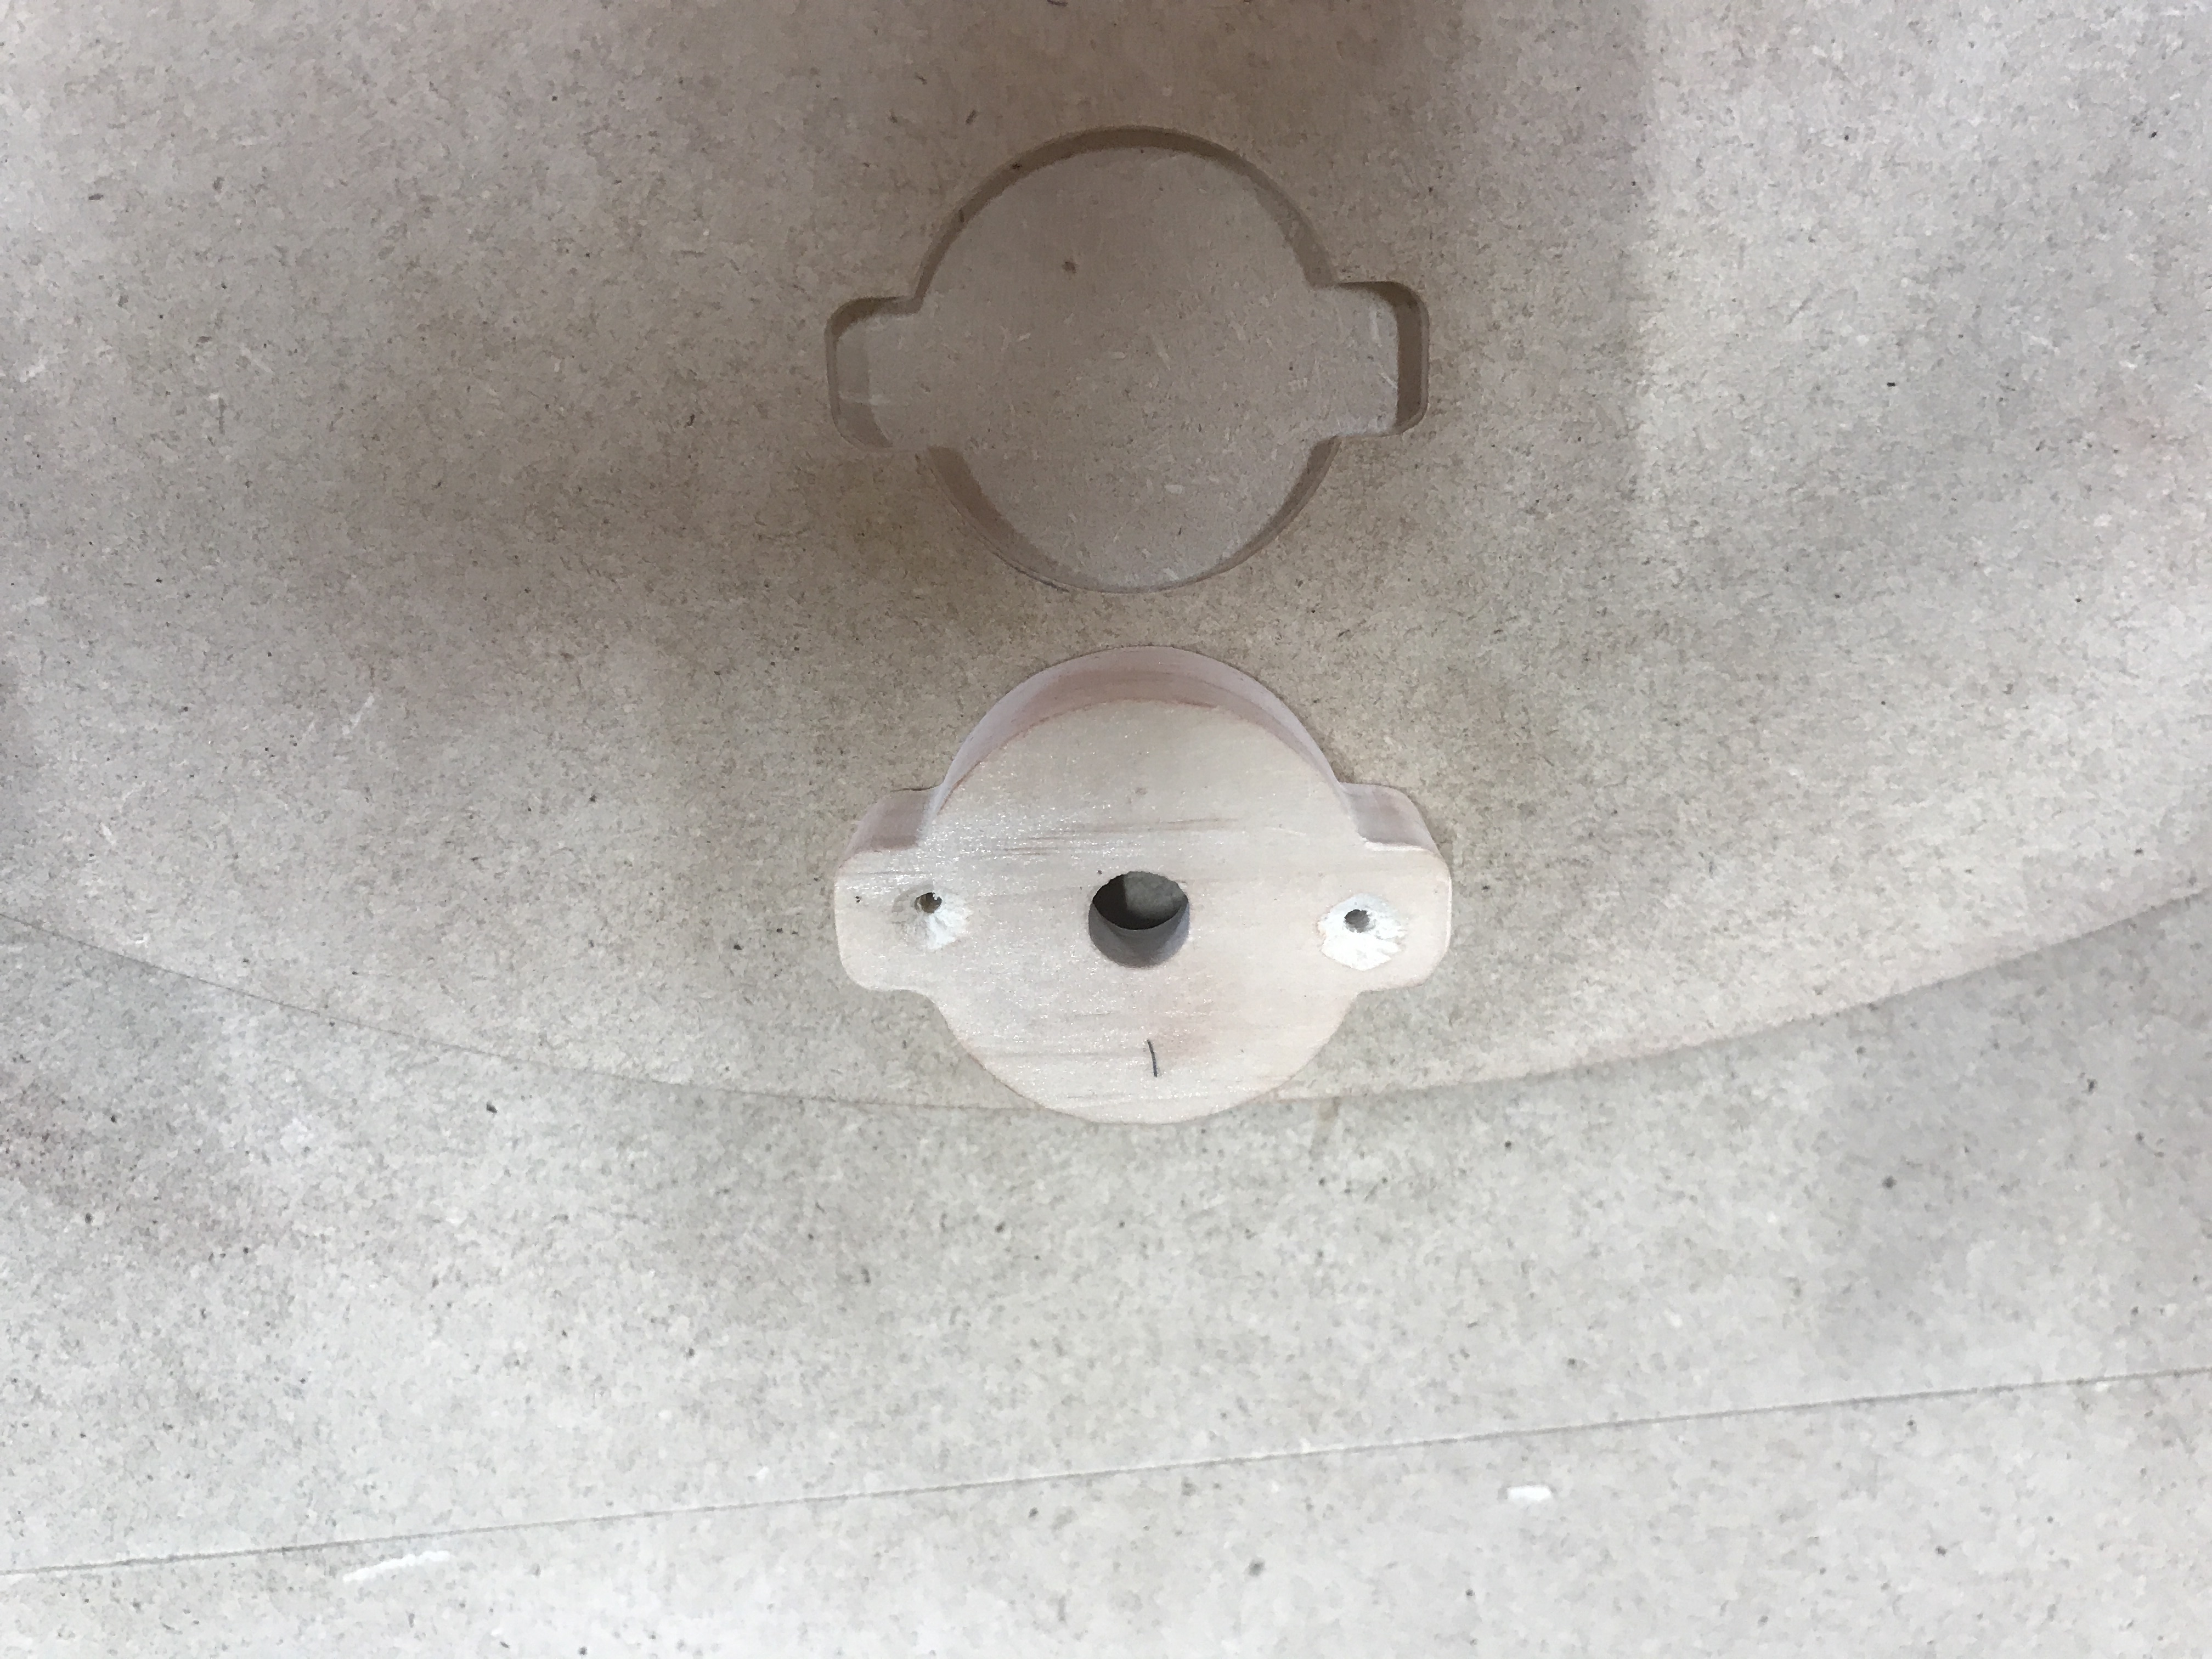
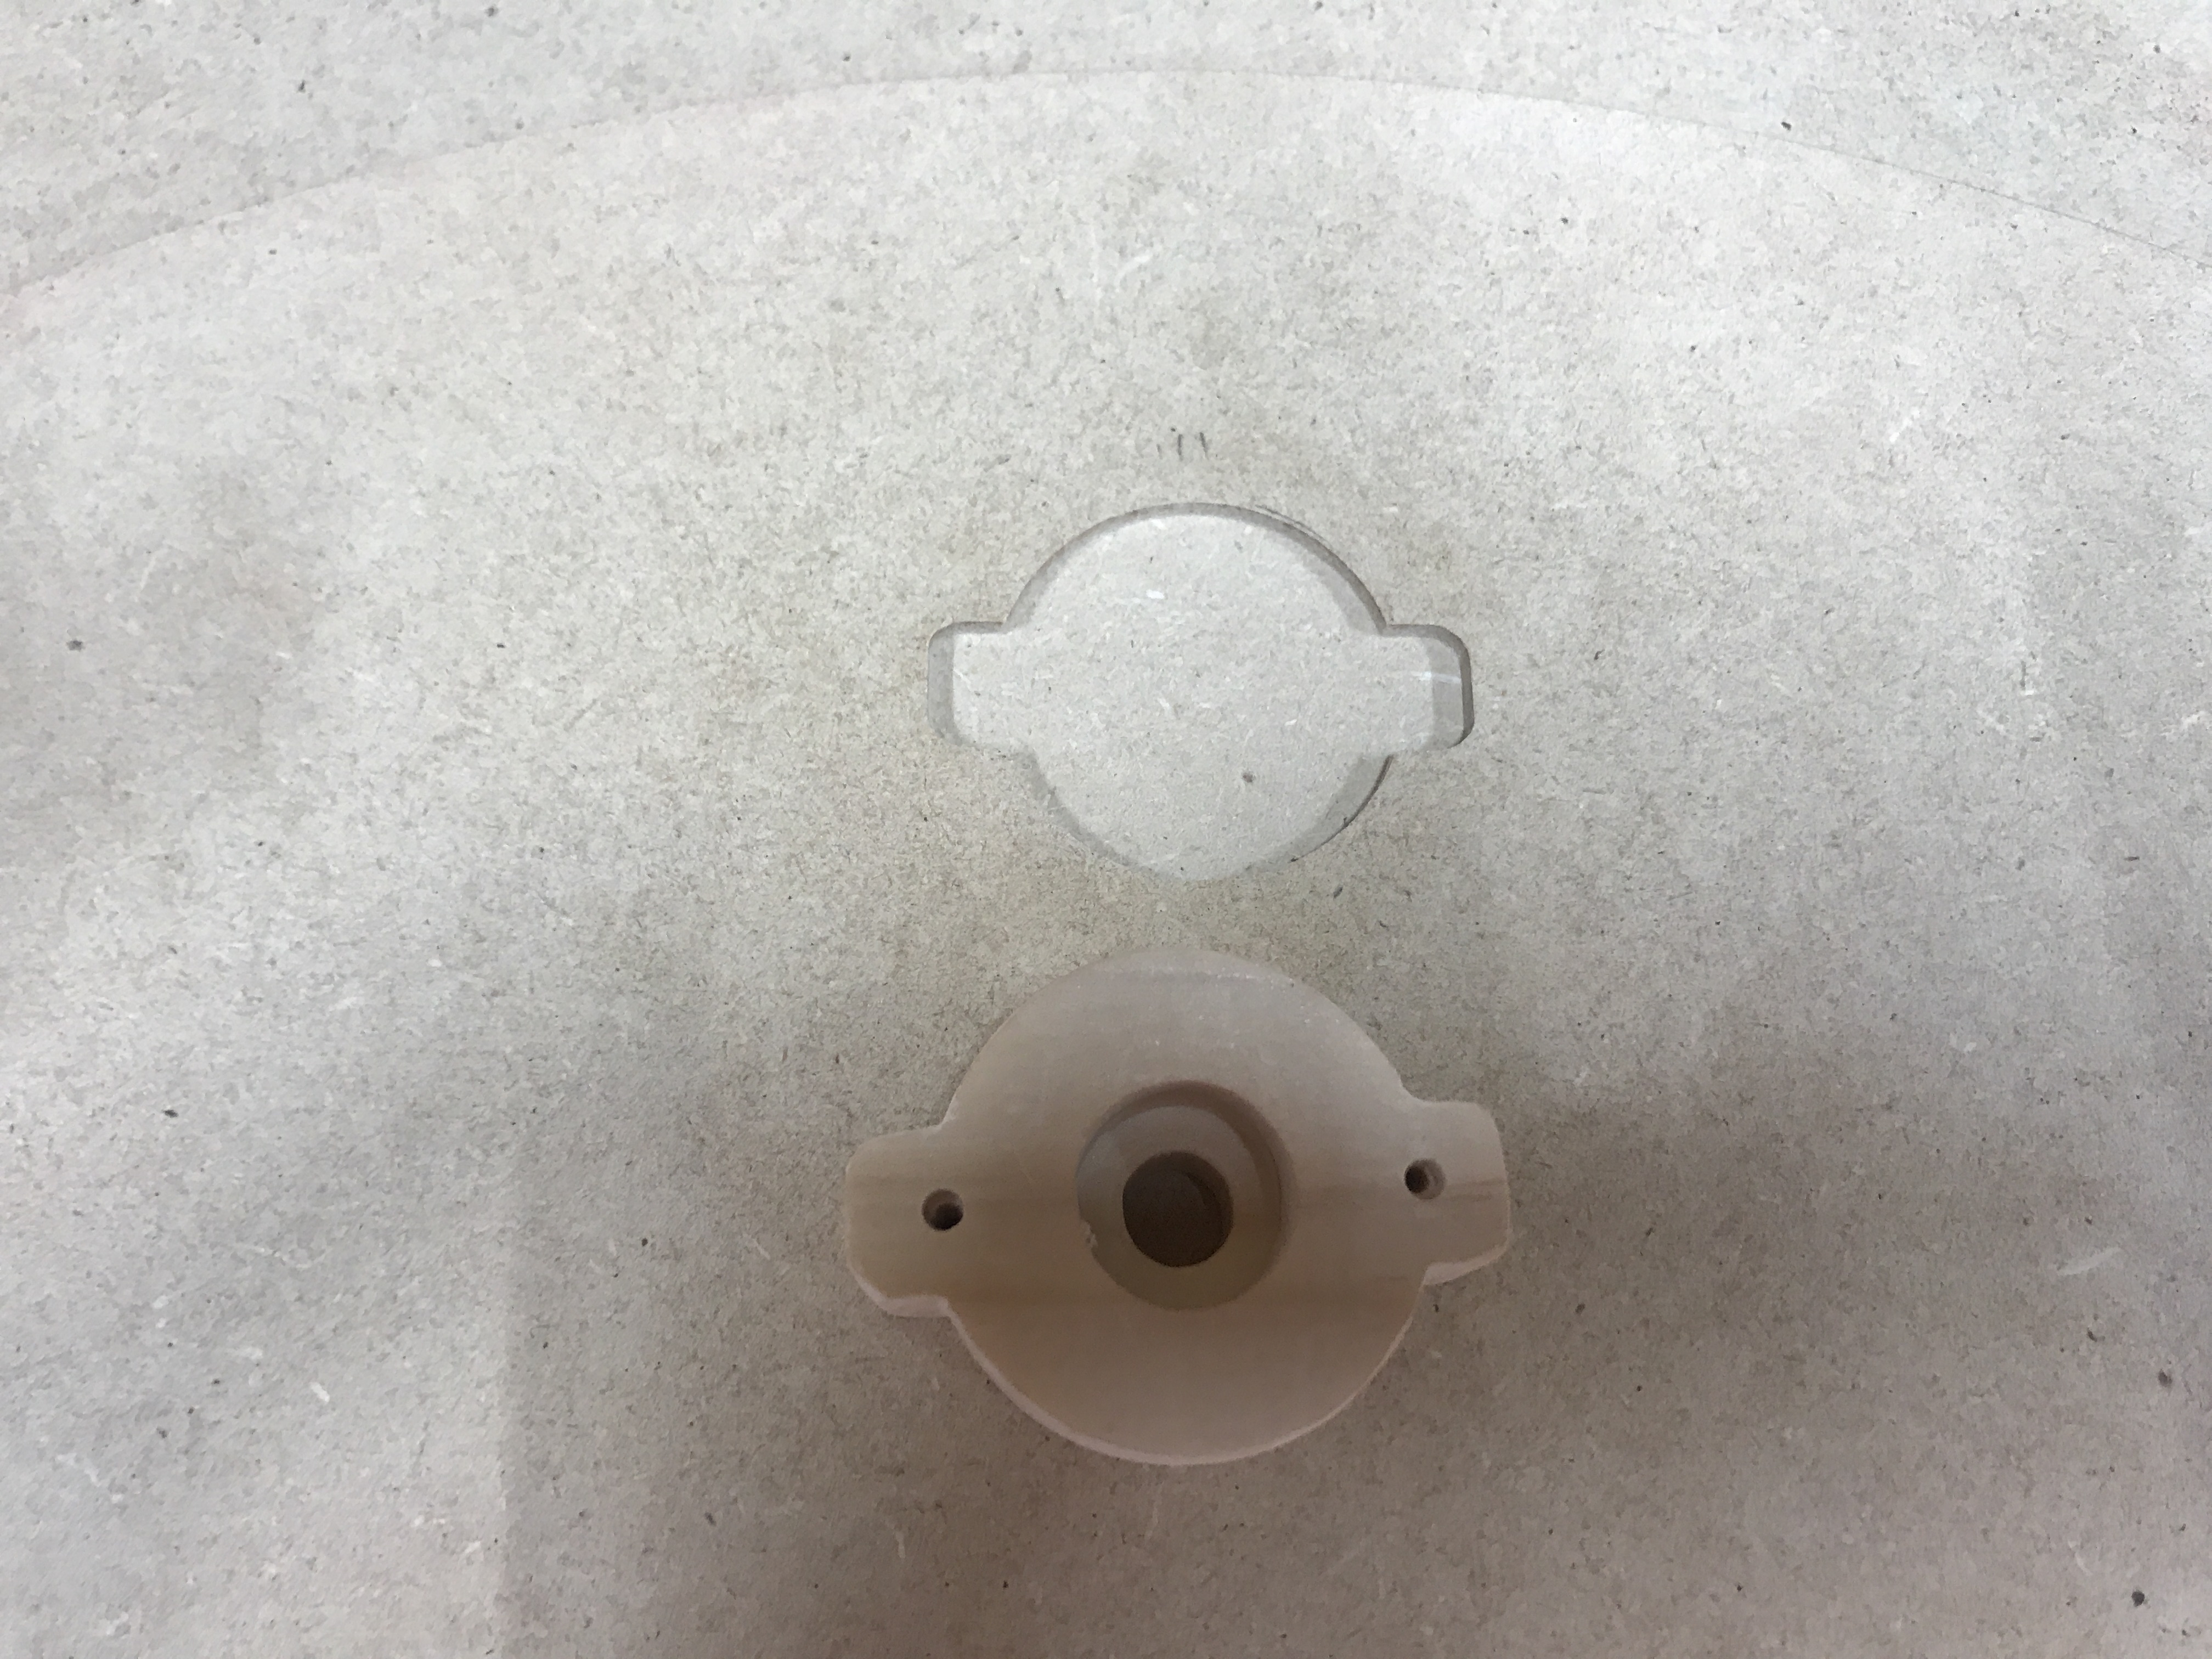
I then cut a matching circle with a 1/4 inch hole (or keyhole) out of 1/8 plywood. It’s the same basic configuration as my pockets and gets screwed (pre drill the holes) and glued into the back of the piece, like so:
Since the circle is recessed into the pocket, it lets the entire piece sit completely flat against the wall. The glue and the recess gives a lot of surface area to support the weight.
9 Likes
I’ve used the sawtooth ones a lot. I do make sure to go on a place that is full thickness so the nails don’t stick thru the front.
I really like this idea and will give it a shot this weekend. Appreciate you passing it along and the photo!
I use 1/16" aluminum strap cut it to the desired length. Using two sections put a 5 degree bend down the middle of both pieces and make your own version of a French cleat. this is light weight and very stable.
1 Like
Thanks again for all the great ideas. What I settled on was a ~3/4" piece of wood that sits in a ~.15" pocket. The top mount has a spot for two countersunk ~1" screws. Each piece was glued and for the top mount, I added some epoxy.
I have four of these mounts on the back of the piece so that it will sit evenly off the wall once it’s hung. I think this piece looks really good not sitting flush again the wall.
I’ll finish the mounts off with some sticky felt laser cut to size which will protect the wall.
4 Likes
This topic was automatically closed 30 days after the last reply. New replies are no longer allowed.