The most common solution for these sorts of problems is… well, kind of annoying. It’s multiple operations.
Basically you hold your work with your clamps in a specific place and machine around them.
Then figure out the best way to hold your partially machined piece so you can move your clamps and machine where they were previously.
There’s about a million ways to do fixturing and entire books dedicated to it. It’s something you’re always learning and improving on.
Good luck on your journey!
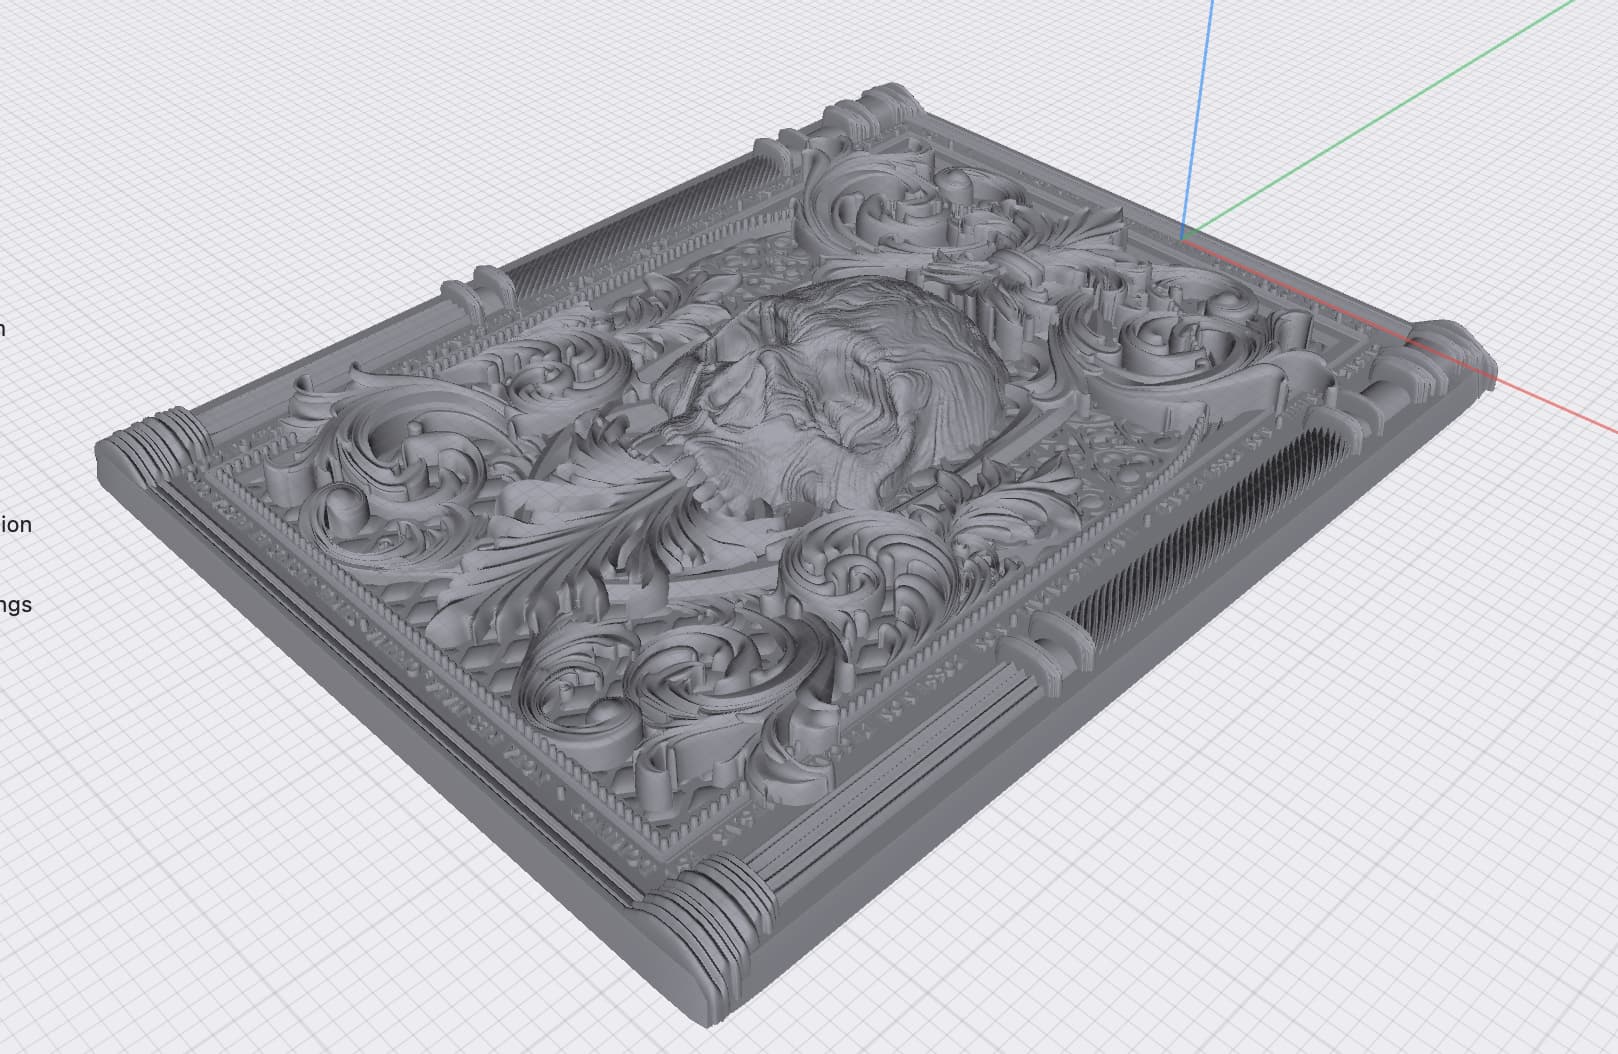
Edit: also sharing a picture of your stl will help others in coming up with the best approach.
What kind of tape are you using? I have found that woodworking double-sided tape is very tenacious, and the only time I had problems with it is because the spoilboard was ‘fuzzy’, so the tape wasn’t bonding properly to the board.
You could clamp a larger, fairly thin piece of material to the wasteboard, then use double-sided tape to fasten your stock to that.
Also, do you have access to other tools, like a table-saw? You could use a piece of stick that’s about an inch bigger both ways, clamp on the excess, machine away centered on the larger stock, then cut away the excess later. This assumes the excess will not be separated by your design.
Painter’s tape and super glue sandwich. Plenty of videos available. Basically tape spoil board, tape underside of wood. Place glue on non sticky side of tape and press them together. Carve. It works for me, although I will say that I prefer cutting through with clamps and tabs. Sometimes you need to tape, though.
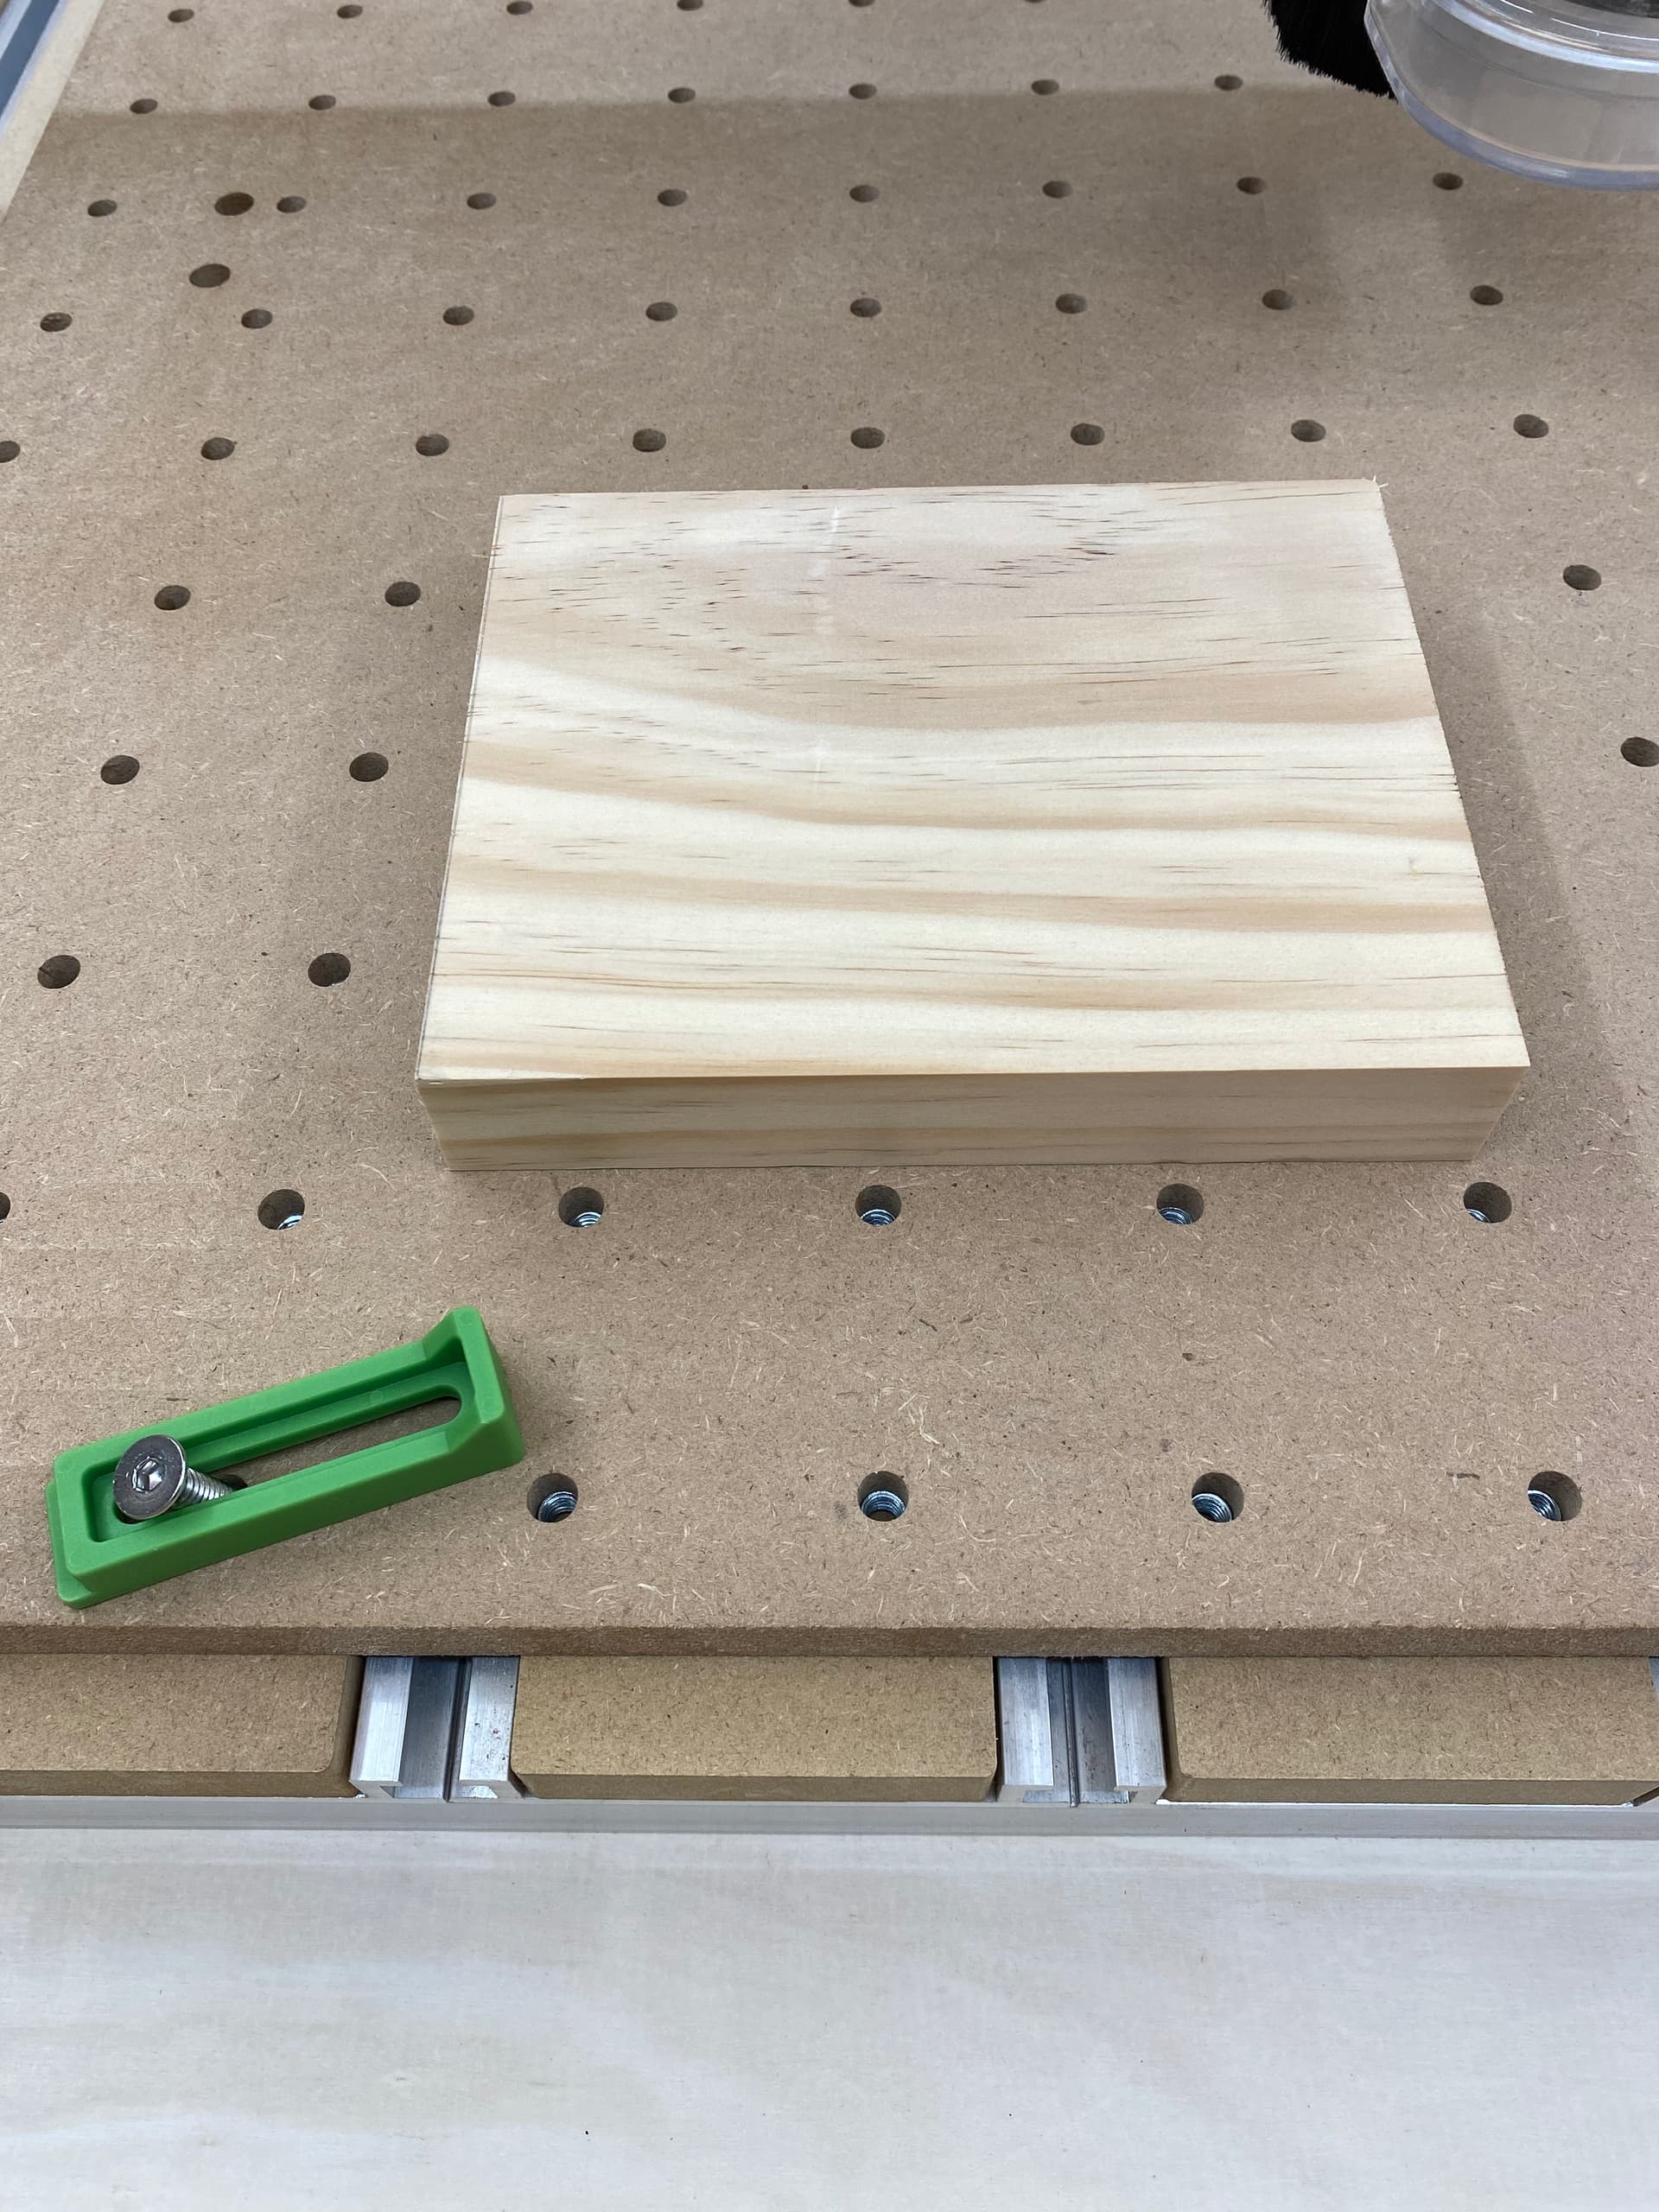
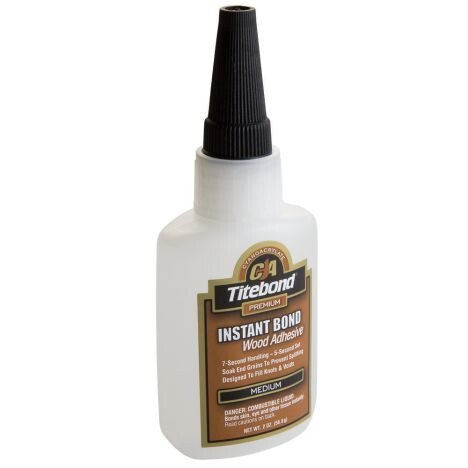
I use an L bracket that I square with the router before placing the material on the spoilboard. I then place regular 3M painters tape all over the spoilboard as big as the material and a little bit more. Then I put the painters tape on the back of the material and trim it with a pair of scissors to get it with no overlap. I use the TiteBond Medium CA glue. I match my rows of tape on the spoilboard and the material so the seams between the tape rows are the same. I then spread an S pattern down each row of painters tape. It is best to use a J roller to adhere the tape down before applying the glue. Then press the material down and hold it down for about 30 seconds. You can then remove the L bracket if you are going to hit it with the cutting part of the job.
I have never had the painters tape and super glue fail and I have cut a bunch of projects.
The reason I like the Titebond glue is the lid is a screw on and protects from air. The inside of the cap has a pin in it and keeps my spout from getting clogged. I have bought the Titebond at Woodcraft and from Amazon. I use the medium because the thin tends to migrate when pressed down. I have not used thick but I think it might be too bulky and cause my material to be uneven on the surface. Just like Goldilocks the medium is just right for me. As mentioned earlier use a J roller to press both sides of the tape down for good adhesion. Painters tape claim to fame is it releases easily and just putting it on and using your hand to press it down is not enough. I just use a scraper to remove the bottom layer of tape from the spoilboard and then peel off the two layers off the back of the material. Be sure you put the material on the spoilboard before setting up everything on the job to give the material time to set up before starting to carve the project.
There’s an old machinist saying that says you become a master machinist after 1 million mistakes. Don’t expect to be an expert on gluing parts down right away. It takes time and attention to detail. The details being make sure everything is clean. If you have an MDF waste board that could be problem number one. Tape does not stick very well to the fuzz. Start off with a piece of wood larger than your part clamp it down, Mill it flat. Make sure it is clean (I like to wipe it down with alcohol), likewise make sure the backside of your stock as shown in the picture is also clean. Doesn’t hurt to lightly sand it first, then wash it with alcohol prior to taping. Apply six or eight drops of medium thick superglue place your part on top and then clamp the assembly together for 15 or 20 minutes until the glue cures. Failure to clamp the two together is typically the biggest error that I have seen. I have never lost a part in the last five years of gluing my parts to the table. In fact it’s usually just the opposite, they become a pain in the ass to disassemble. Alcohol to the rescue here also helps the parts break free. Practice practice practice, the same way you get the Carnegie Hall. (Or a left on seventh Ave.)
If the tape holding you are doing doesn’t hold you may try shallower DOC (depth of Cuts).
Being too aggressive in cuts can cause even other hold methods to fail.
I was just asking because I liked it, I can’t really offer any help. I haven’t had the cajones to step into real 3d carves yet. where did you purchase this from? may need to start with some premade files before I start trying to design and cut my own.
Others have mentioned it already but I have had good luck with the painters’ tape and CA glue trick. I have also done the gluing extra end pieces on the main piece trick and it works too.