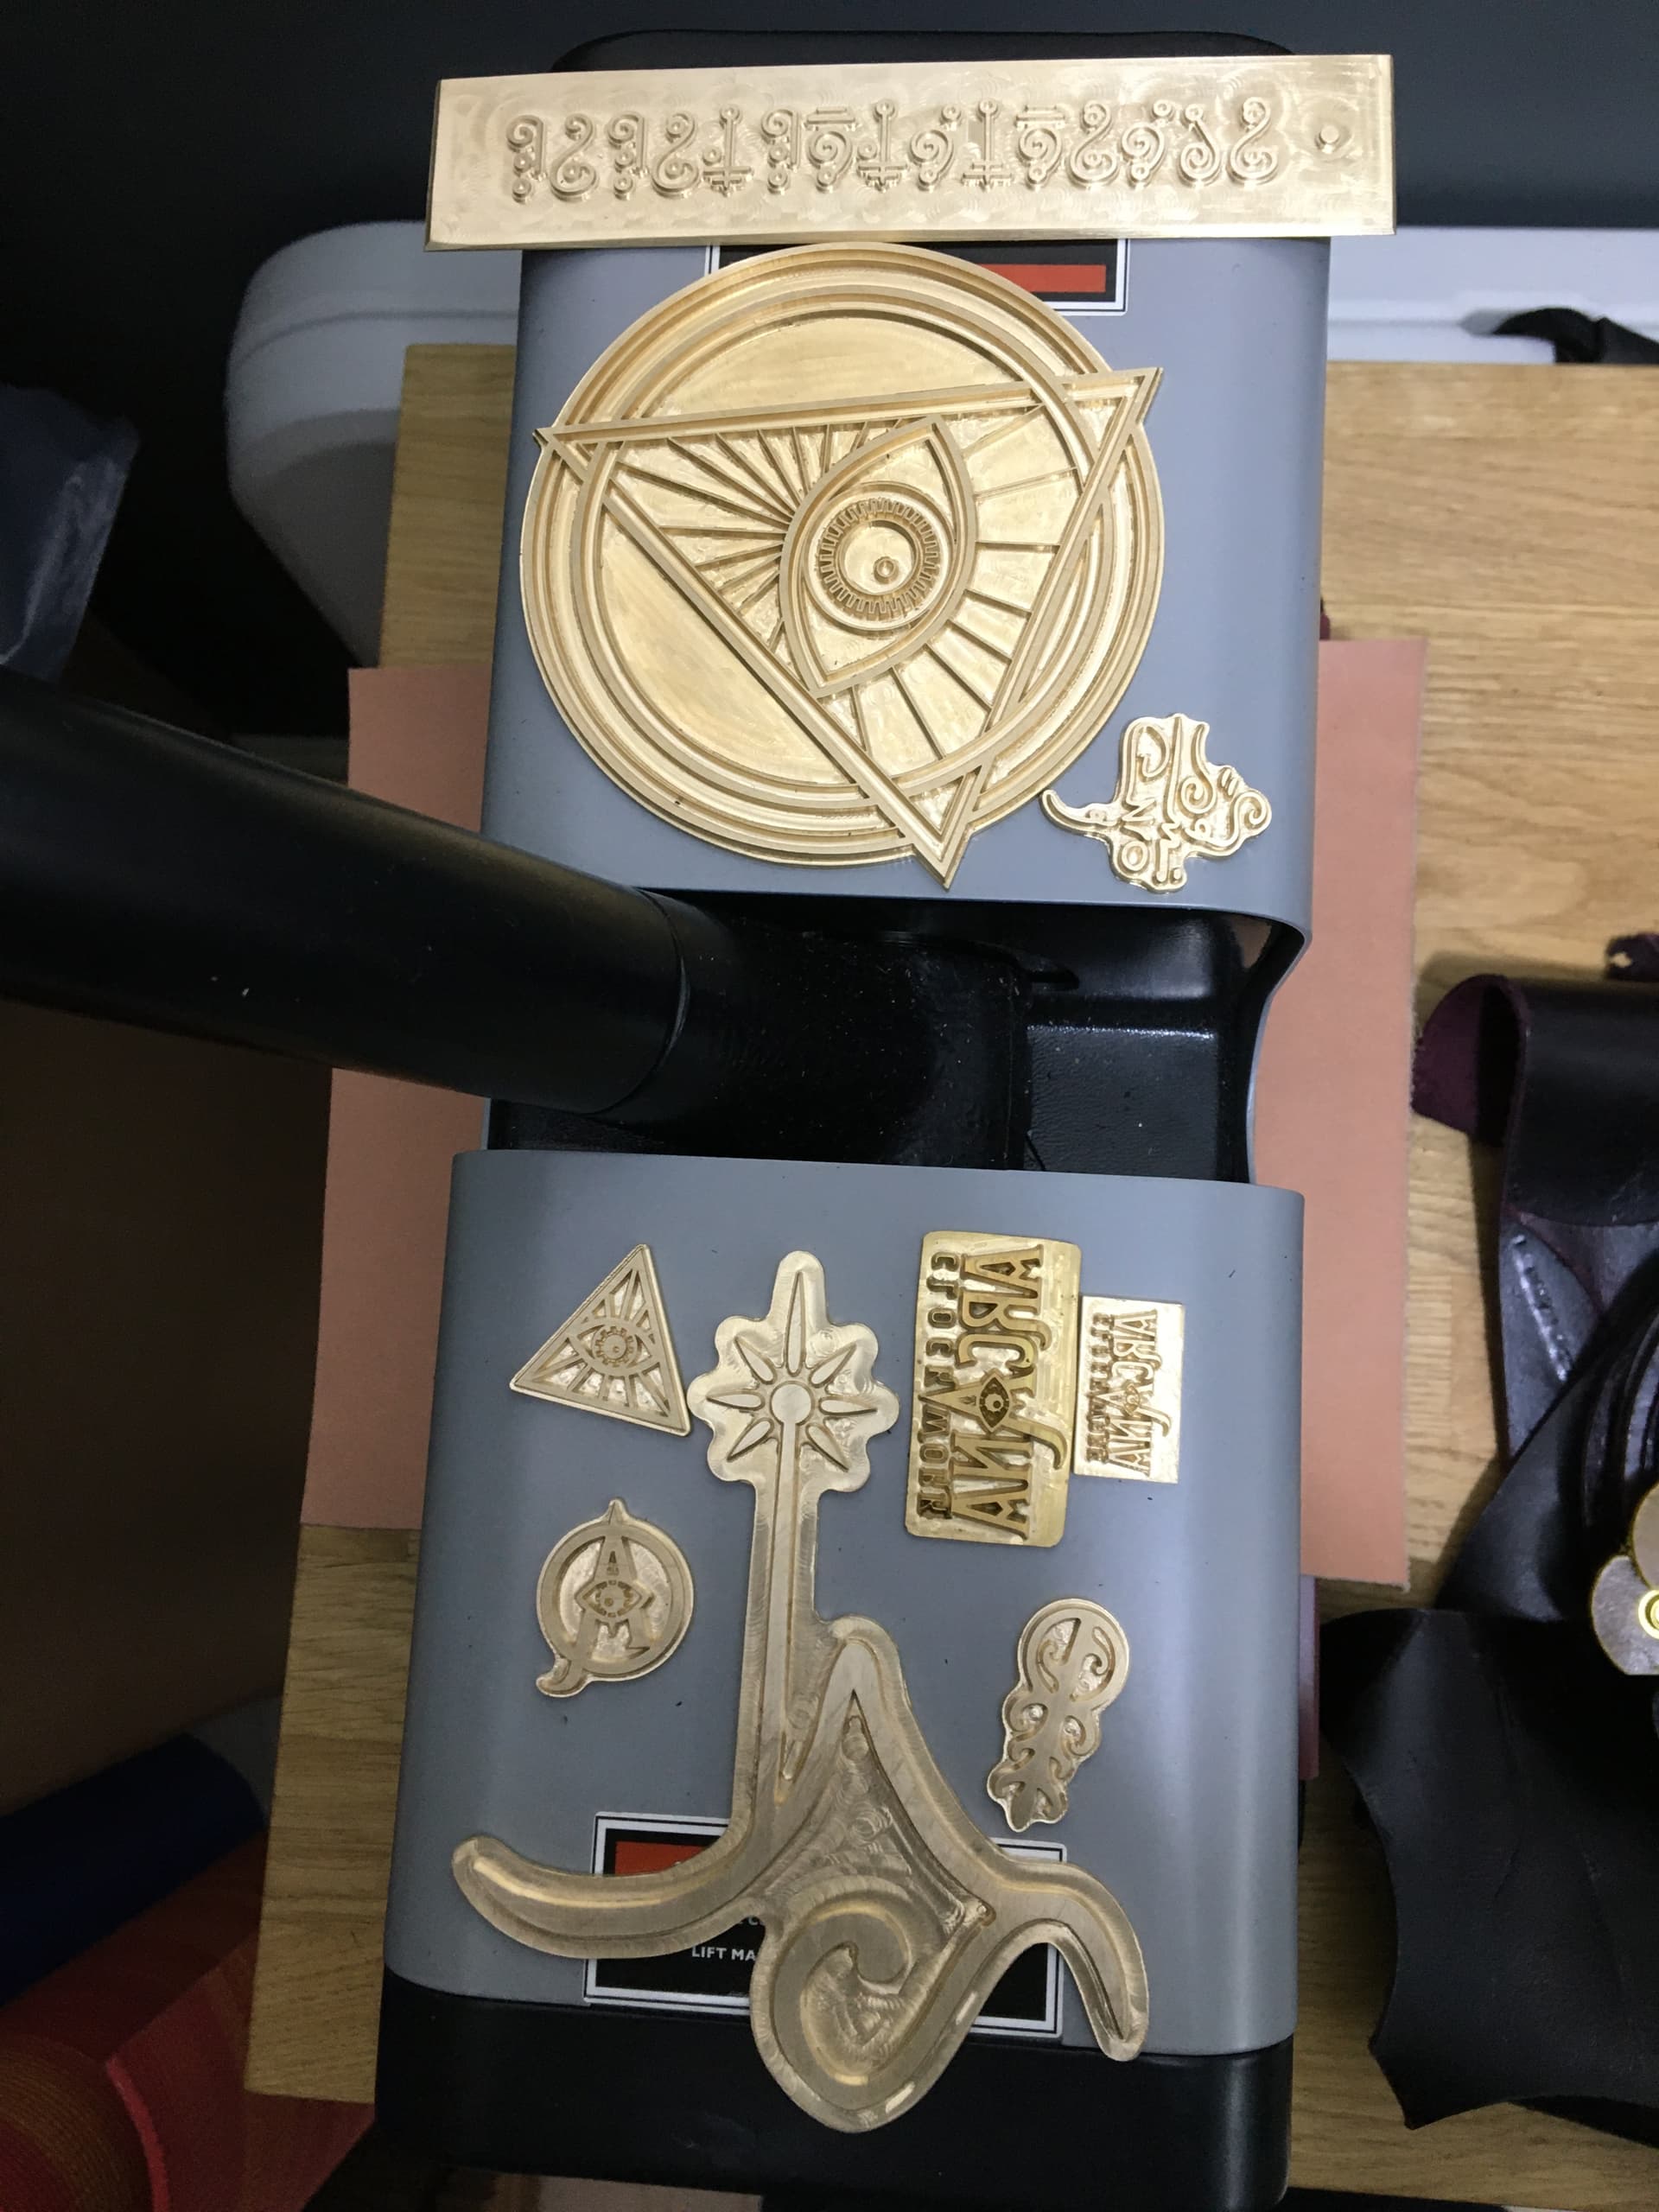
I make quite a few leather debossing stamps for both clicker press and heat/foil debossing on either my Shapeoko and Nomad in either 3.175mm or 6.35mm brass with a relief depth of 1.5mm to 2mm.
In my opinion, the “template settings” you are referring to are not terribly important and won’t save you much time.
You don’t make a “full design from scratch” when creating toolpaths for these stamps. You’ll already have done the time consuming “design” part, and the toolpath creation is just a method, not a design. For me, the steps are:
- Set the stock size (you can also load a “template” which has the stock size I guess)
- Select the vectors
- Create a V-Carve toolpath
The 3rd step looks like it’s from scratch, but it’s nearly always the same operation. I use VCarve Desktop, and there select a VBit (typically 60 degrees) and some clearance bits - these depend on the size of the work, but I toss in a collection like a 4mm, 2mm and 1mm bit and let the software figure out what works.
For large heat debossing stamps, I use 6.35mm brass and have an additional first step of milling two holes in the rear of the block so I can tap in some bolts (usually M5 or M6) to attach it to the heat press.
Alternatively, if they are thin like your examples you can slide them in to a rail attachment and don’t need the rear holes.
EDIT: One step I nearly always forget is to reverse the design… I get so used to seeing the designs in Affinity the right way around when I’m drawing them… and my oh my how many times I forget even though I tell myself to remember… I’ve cut so many positives that should be negatives. I need to make a sign that says “!TI ESREVER”.