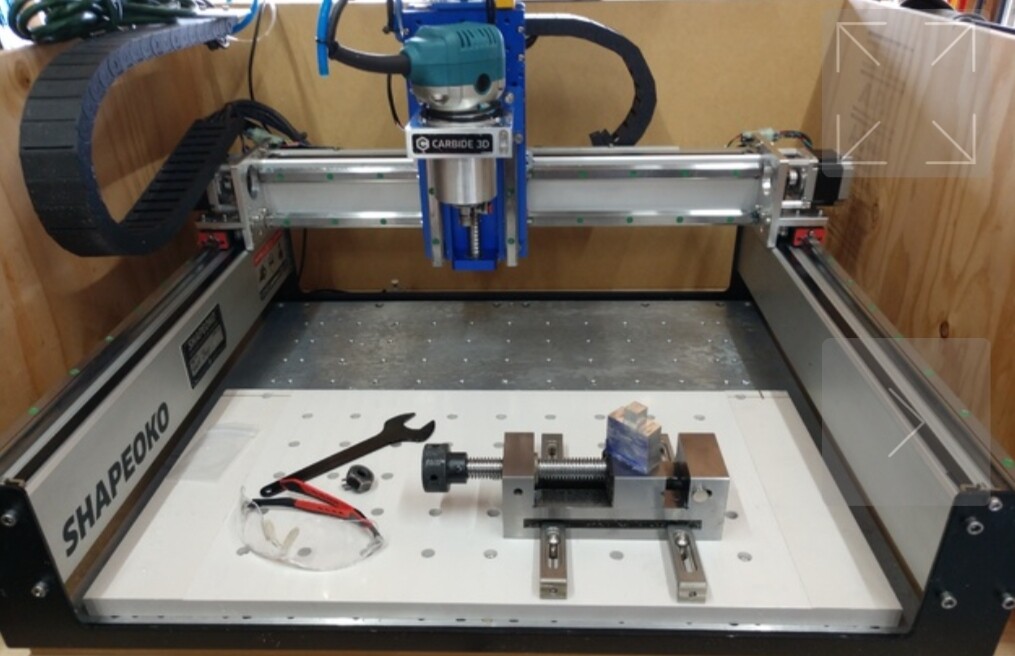
So, I ended up in a place I didn’t want to be a few months ago when I was transfer punching fastener holes for linear rail in my XXL aluminum extrusion. I bought a second SO3 XXL so I could add 15mm linear rails to it using this as my guide.. I cannot just start a project and work it through all the way, so I bought the second XXL so I could still have one functioning while I work on the upgrades on the other one.
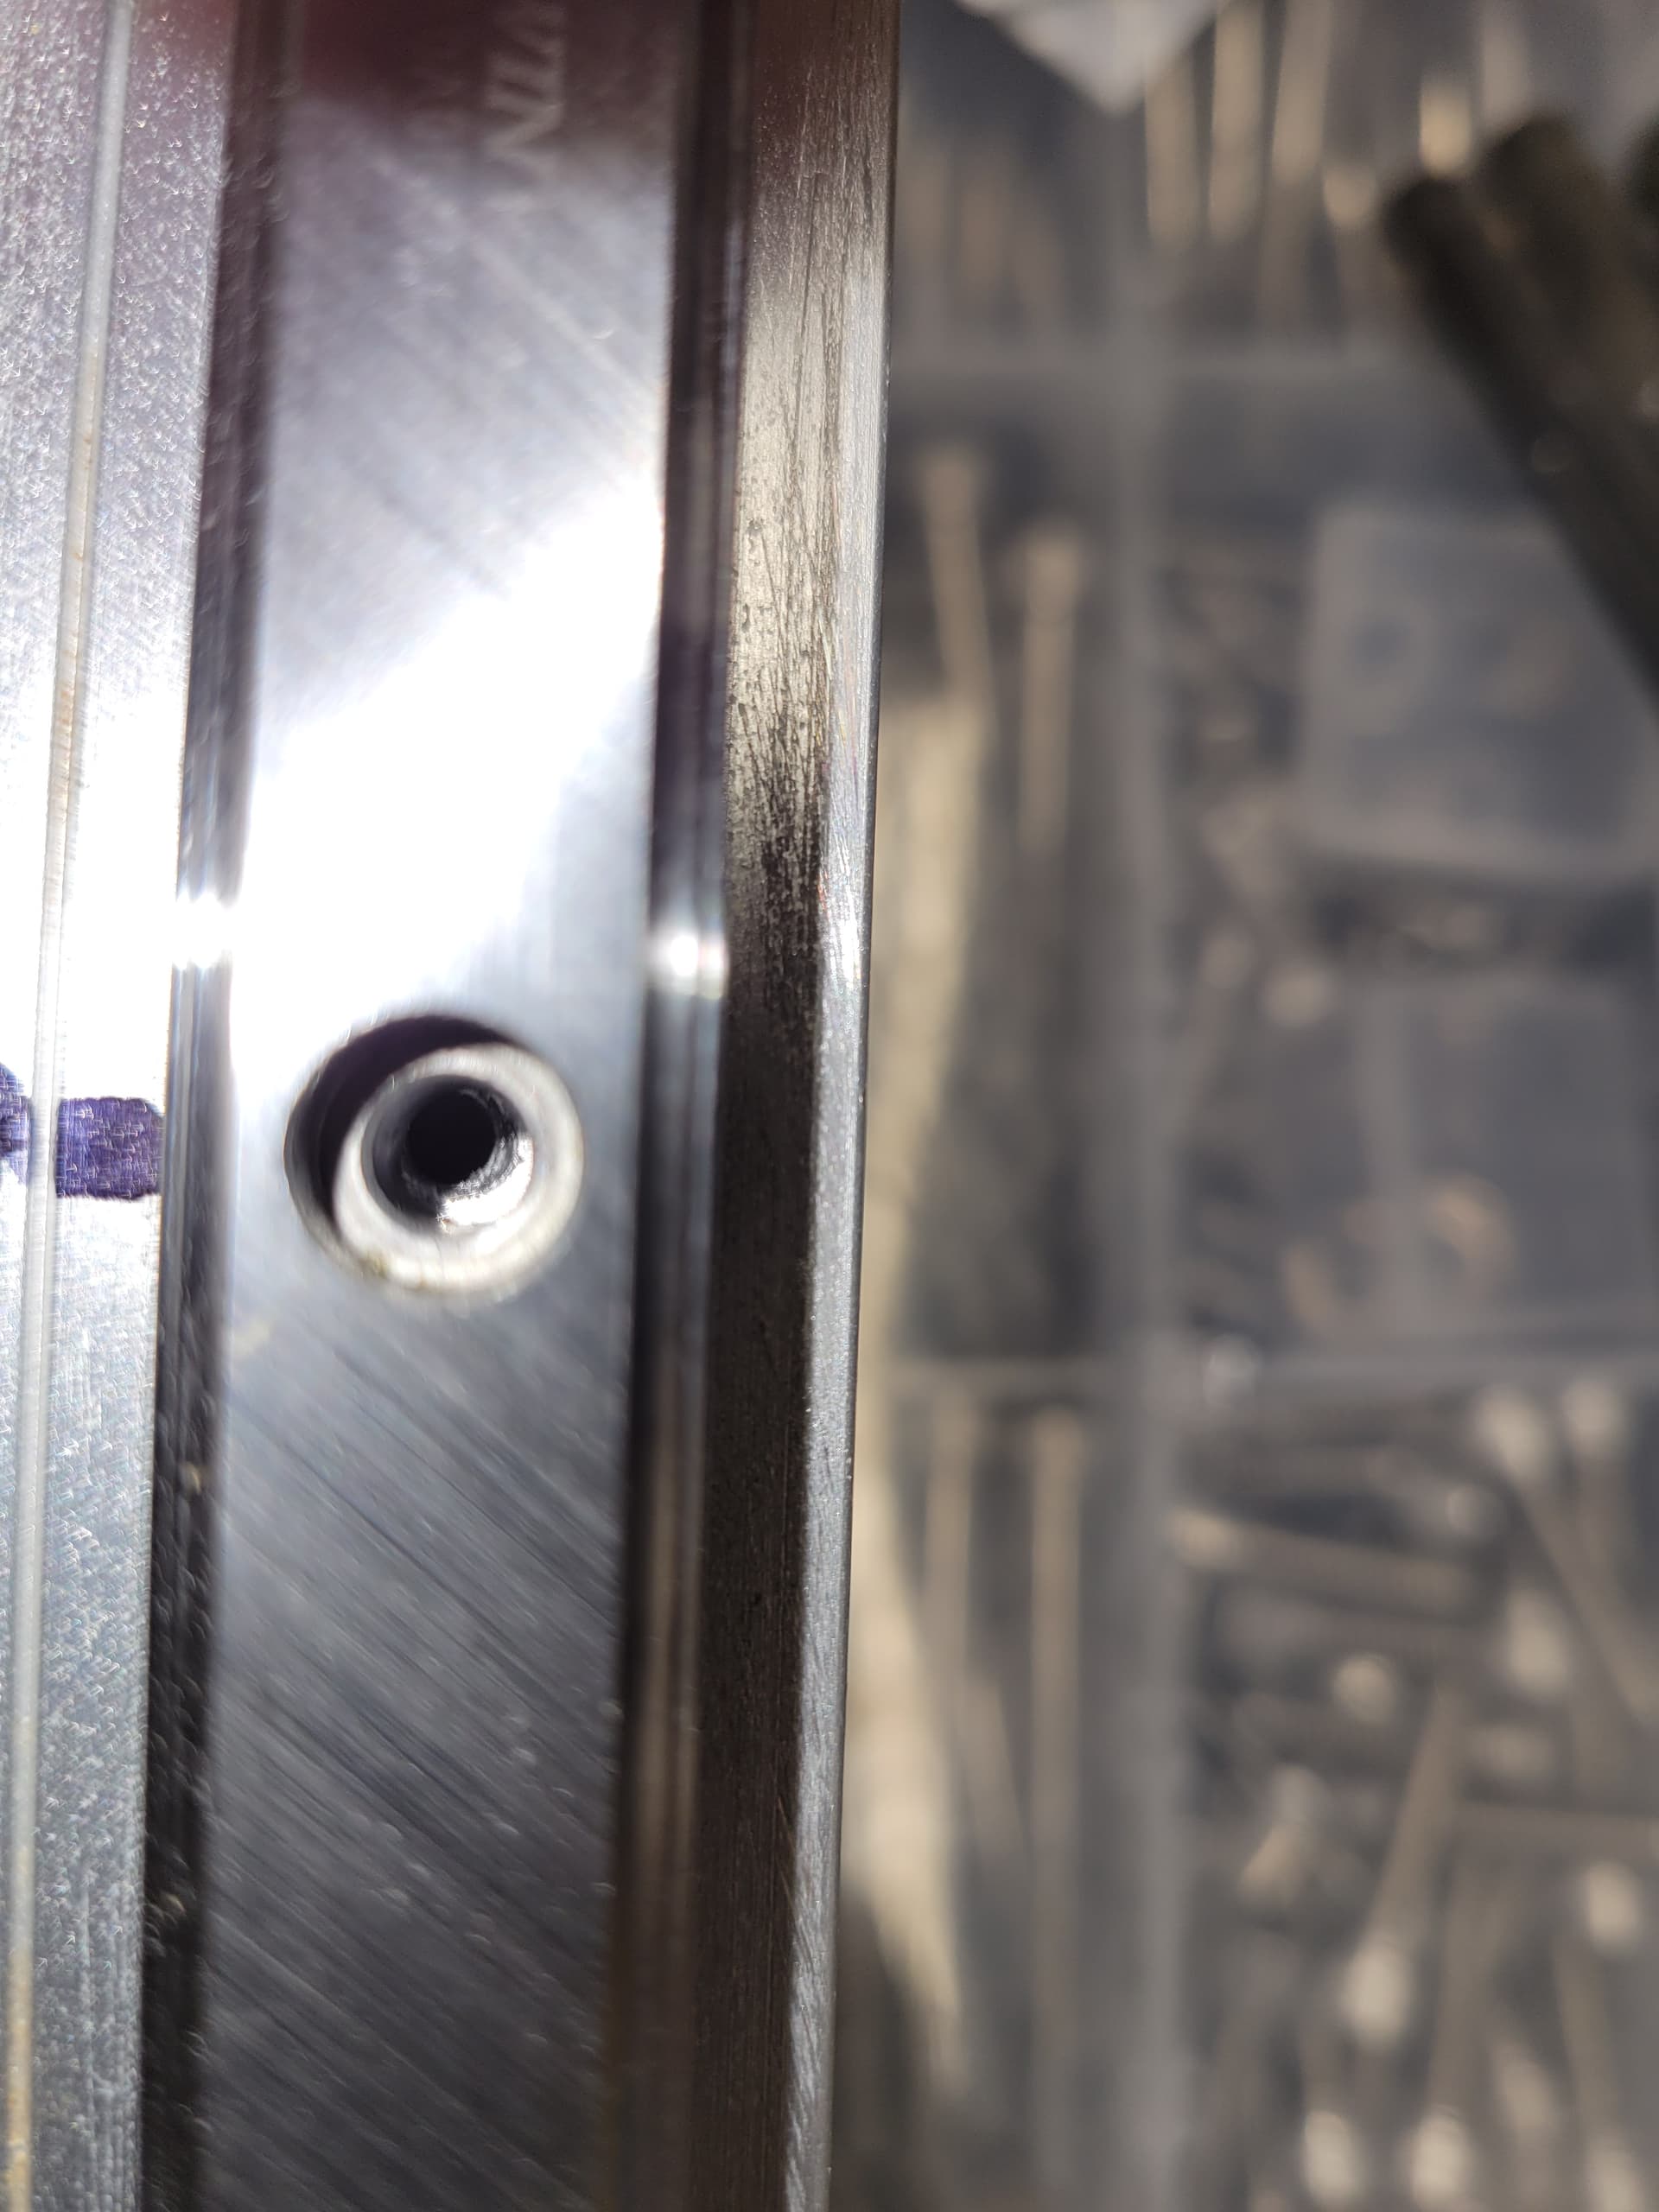
Apparently, despite having the proper size transfer punch for the fastener holes in the HiWin HGR15 linear rail, I was still able to center punch and drill three of the holes off-center. One was off just enough to not be able to align, but not enough to really see, so you only get to see the worst two of the three.

Well, being the exemplary person I am, I do what I normally do in this situation - figure out no, steal, no borrow a solution from the internet and then avoid doing anything for 2 or 3 months because I am worried about screwing it up even more than I already did.
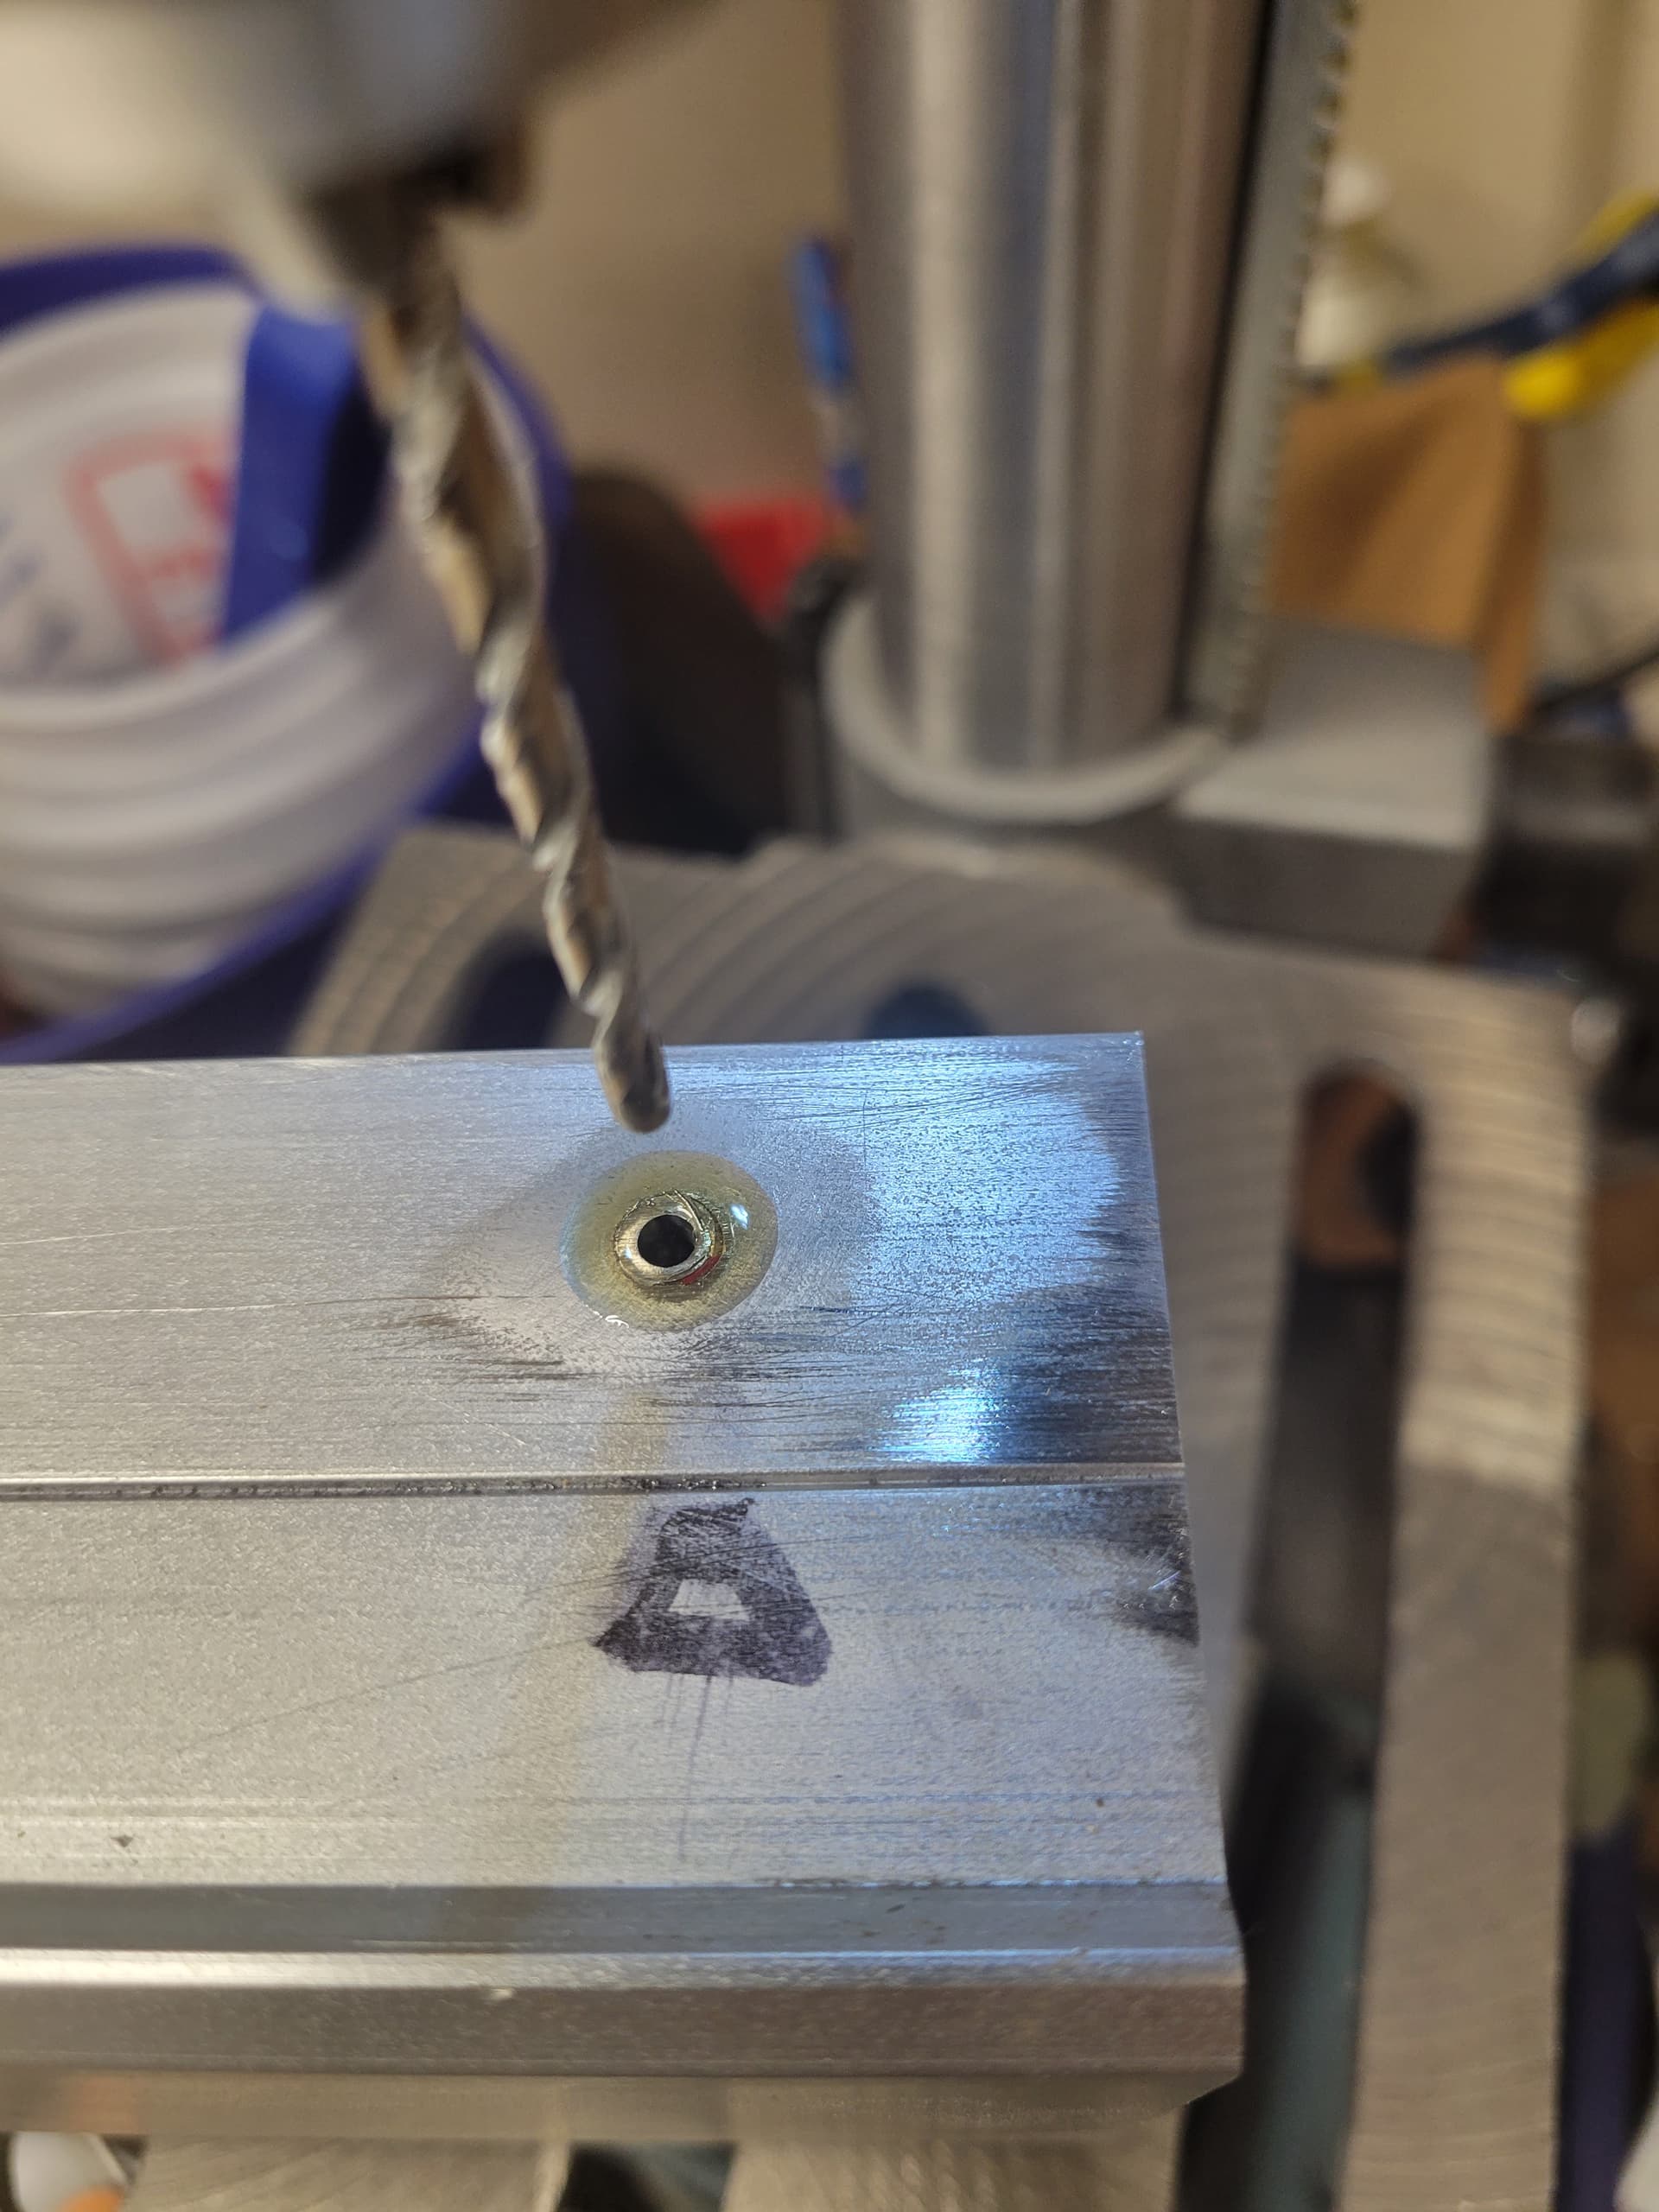
So, my solution I borrowed was to just oversize the holes, Loc-Tite in an aluminum fastener, and drill through that and re-thread. Easy. Except it seemed daunting, so I put it off until last weekend. I got the idea from wandering YouTube looking for info on repairing a cast iron anvil, and somehow ended up watching these videos on how to repair cracks in engine blocks. Pretty interesting, I thought.
Oh, you only have to deal with the '80s intro music on the first video, the other two are the continuation of the video that they broke into three pieces for some reason.
Here is the fastener I bought. I bought two in case I needed more material, but one was more than enough.

And here is the Loc-Tite and primer I used. These things are not
going anywhere.

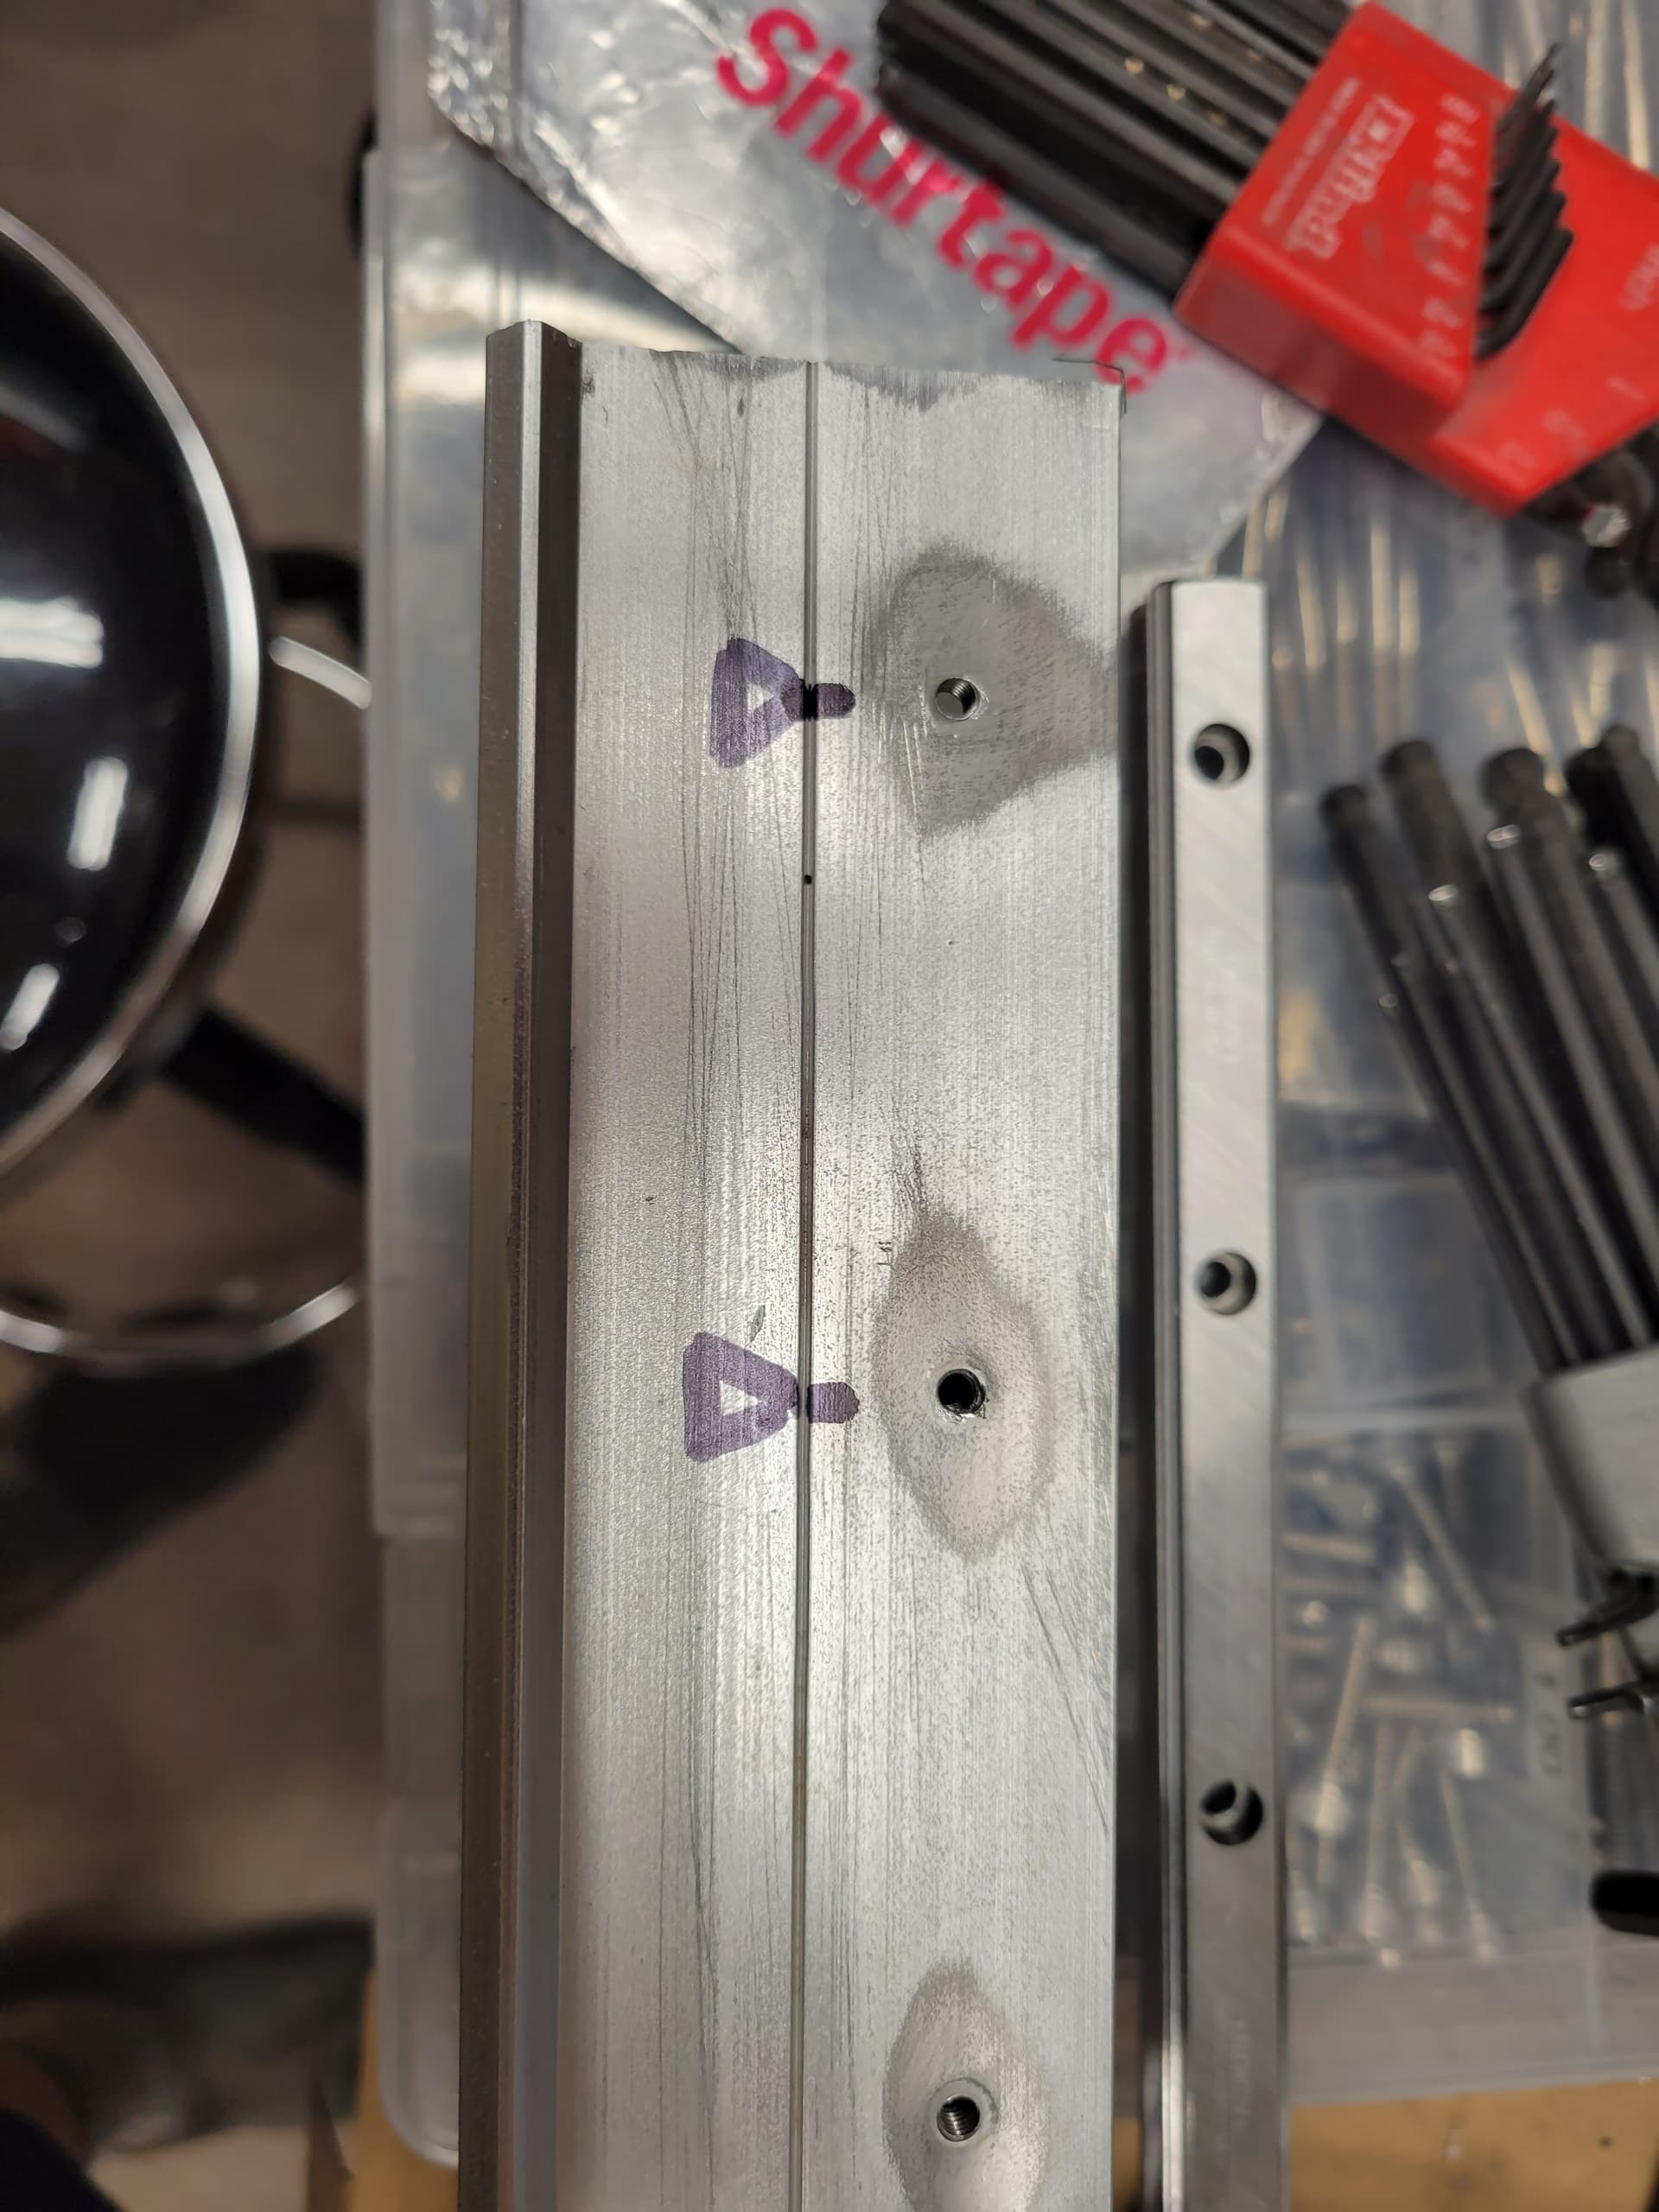
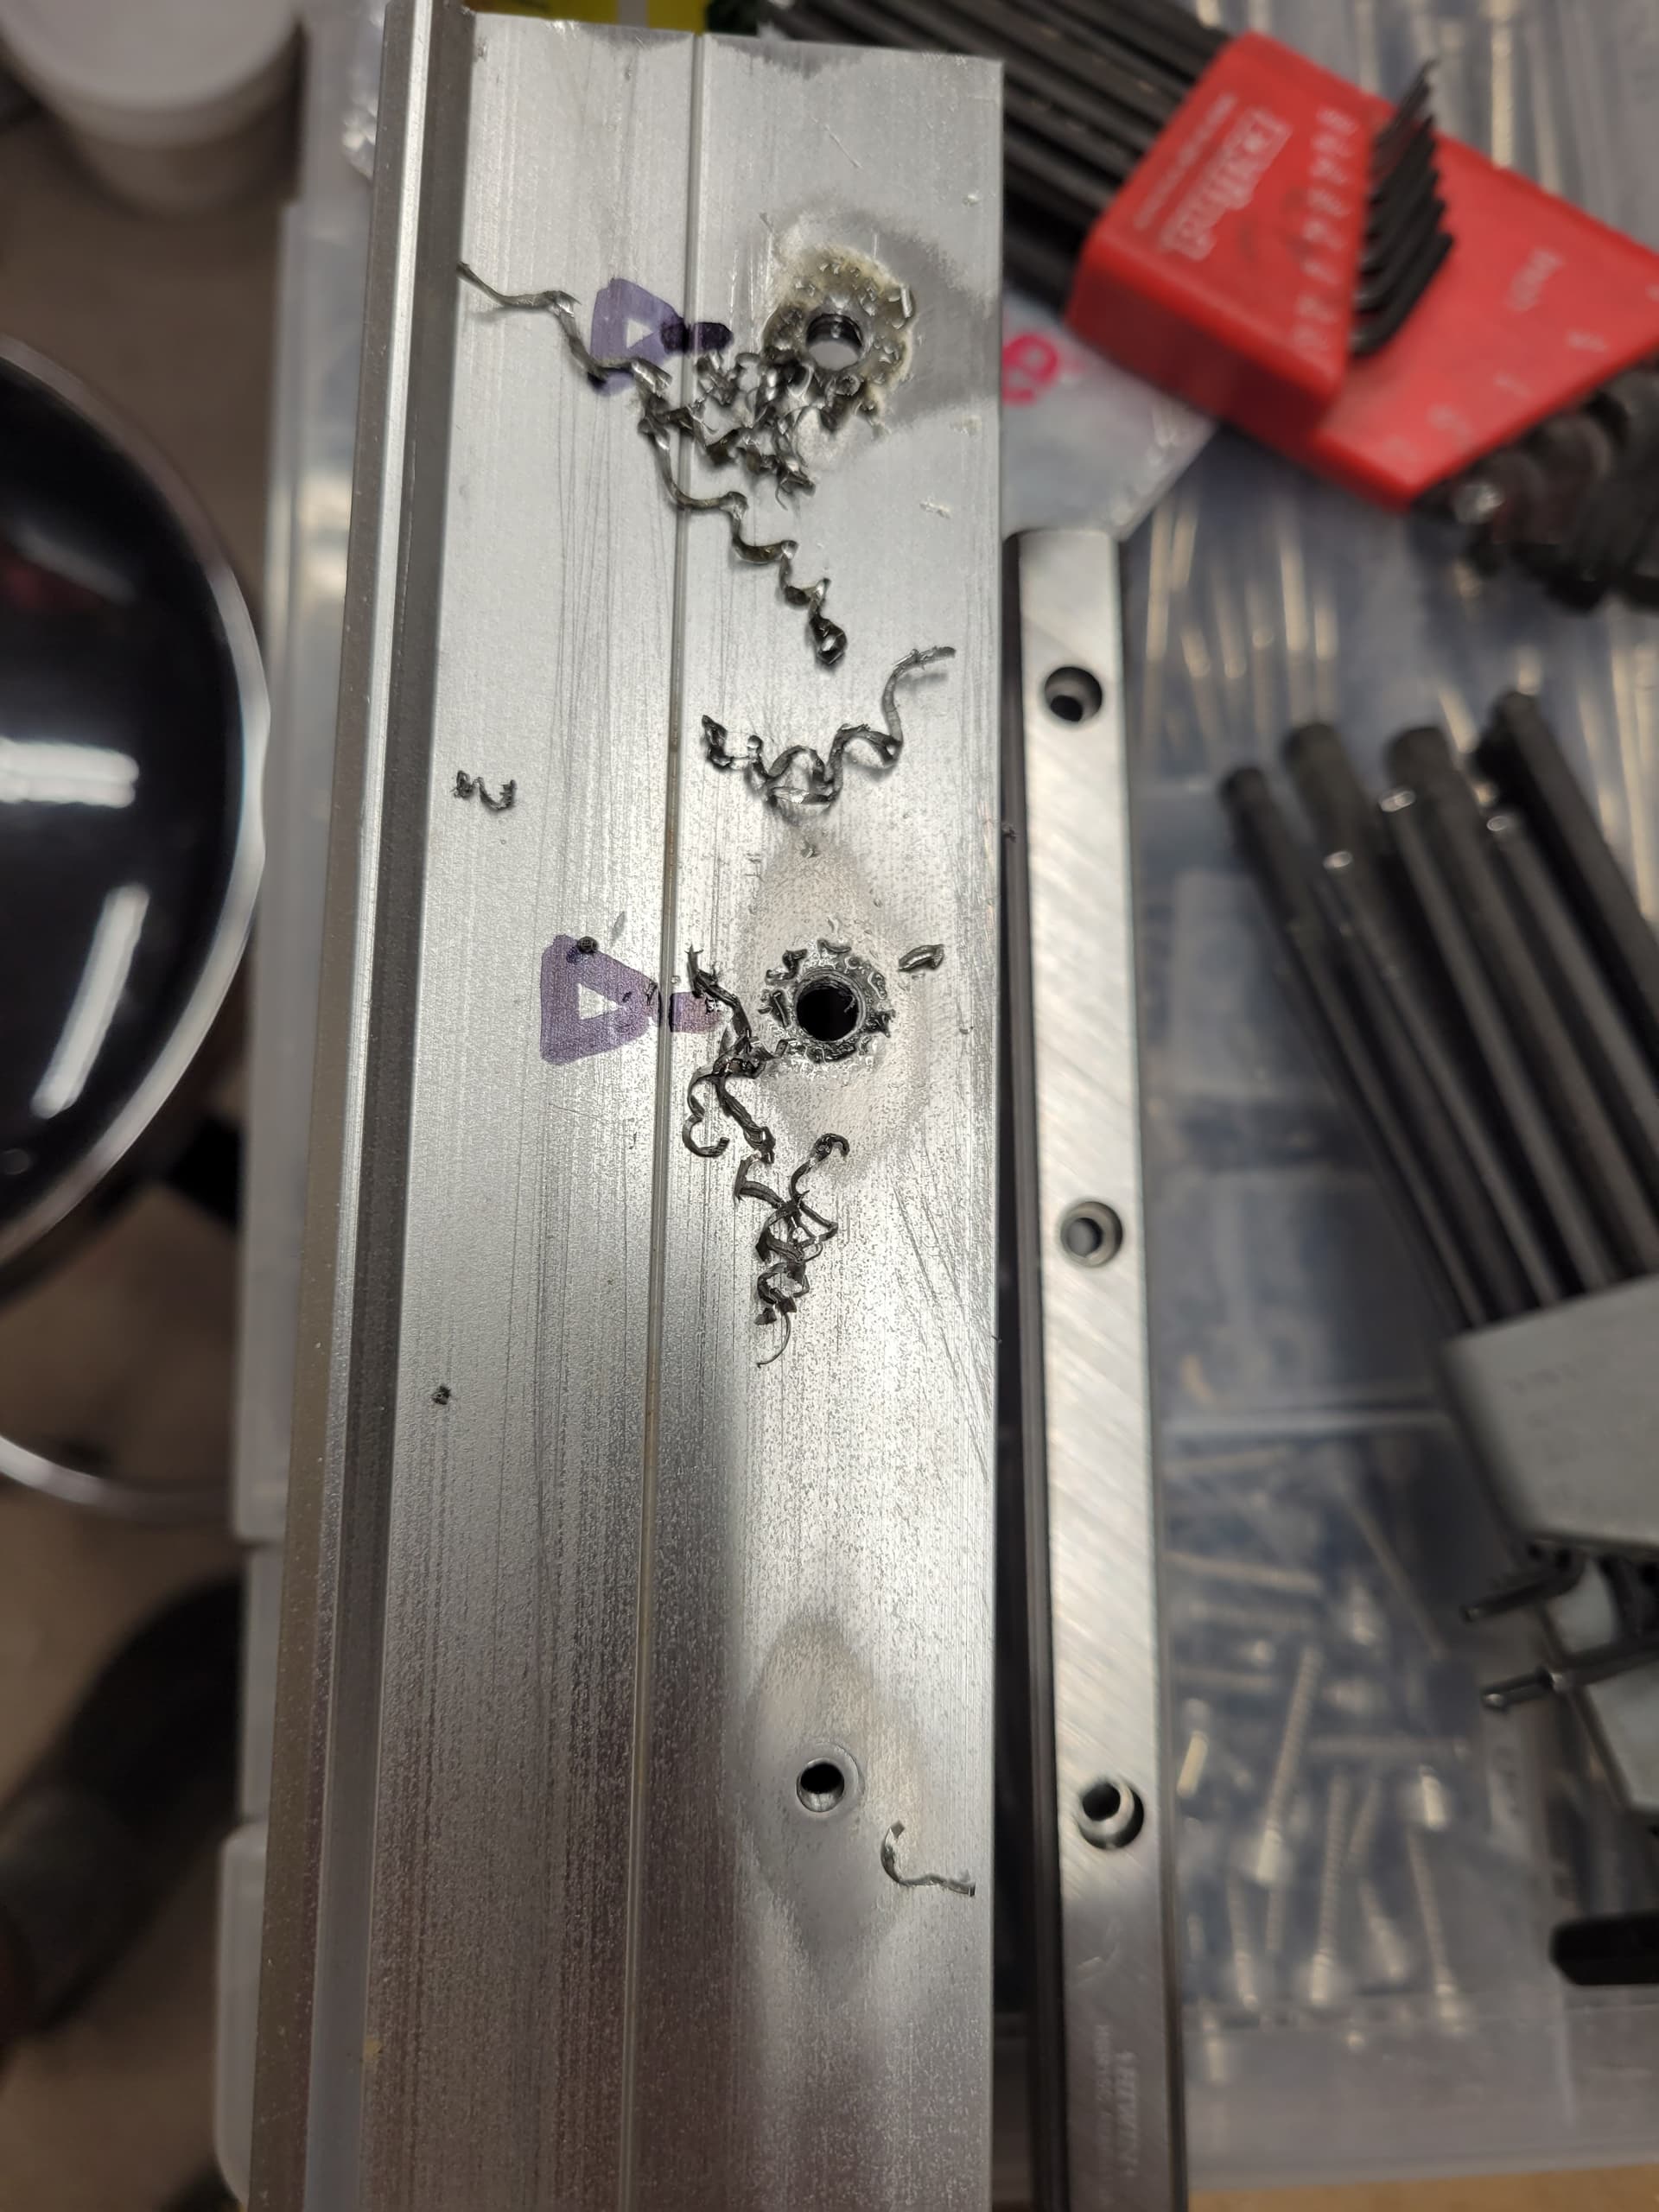
And here are two of the holes getting fixed.
I am a savage (unlike some of you sophisticated peoples using single tooth bits and threading operations), so I am using this Greenlee drill-tap kit and the 1/4-20 drill-tap. I did use my drill press though, but had to spin the chuck by hand, since it doesn’t go slow enough for tapping.

A couple of holes oversized and tapped.
Here is the ~3/8" long piece of aluminum screw I cut off for one of the holes.
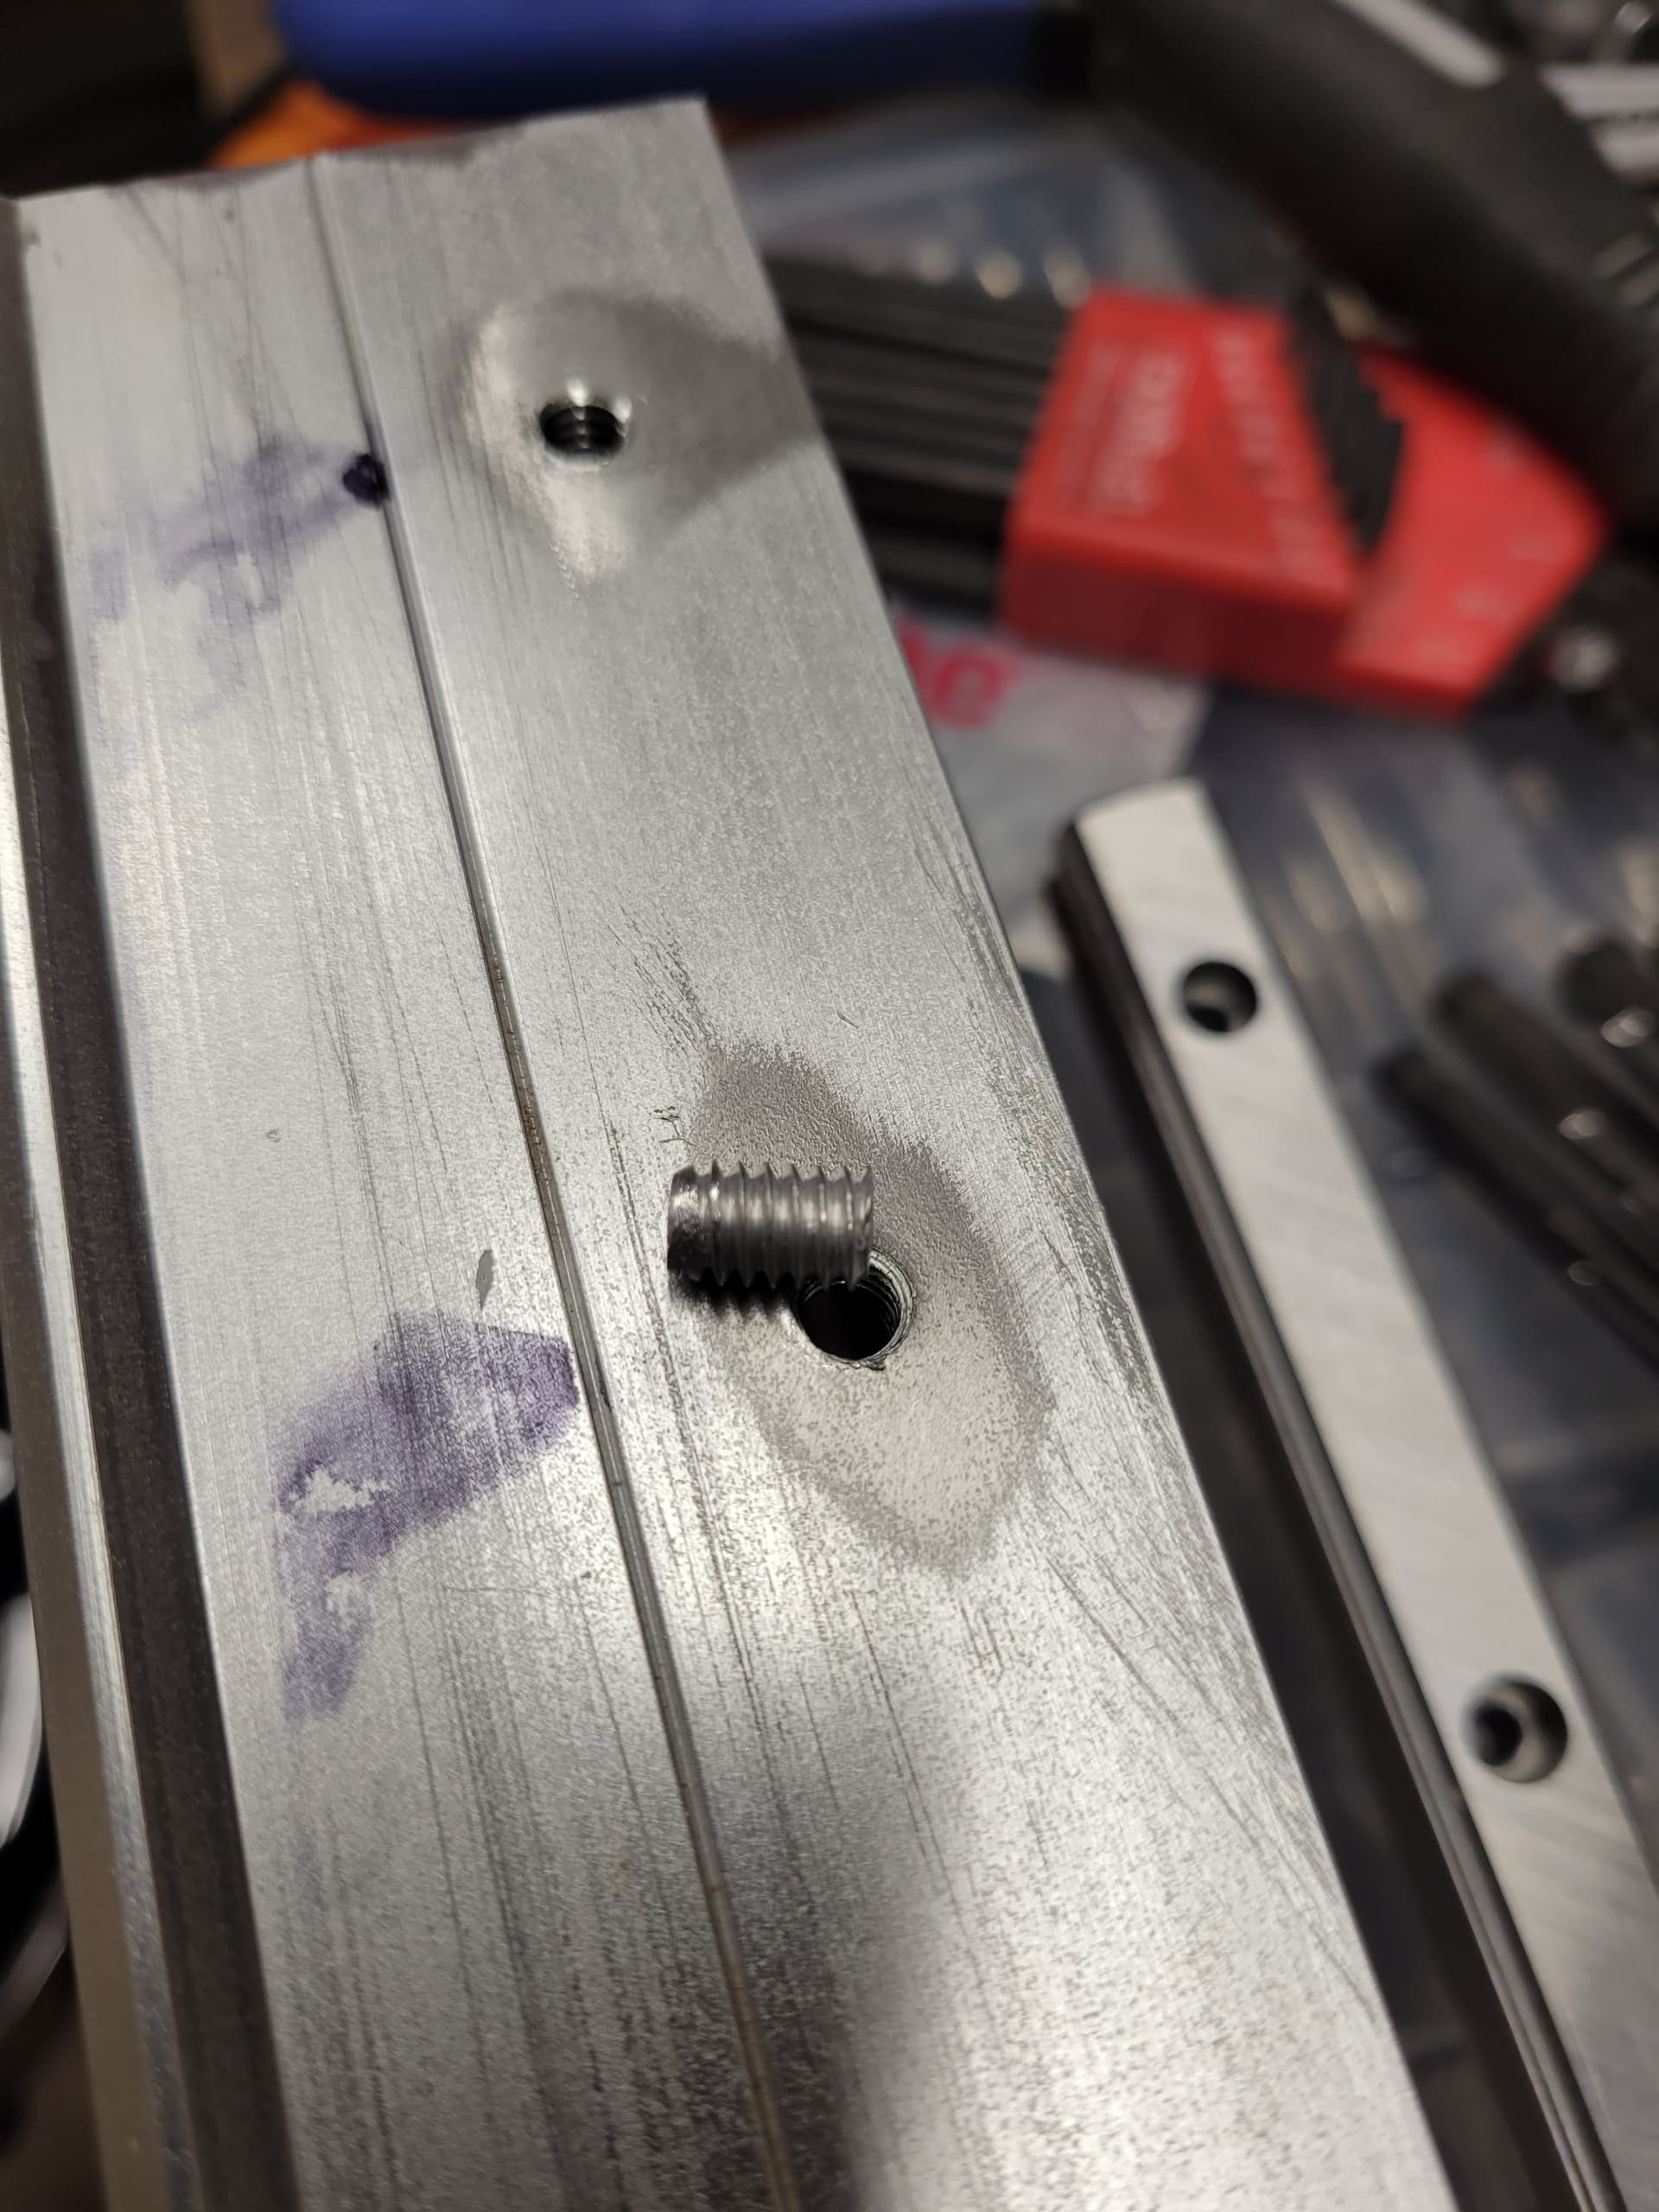
Threading the plug into the hole with pliers after a liberal spritz with red Loc-Tite.

Down about as far as I can get it.

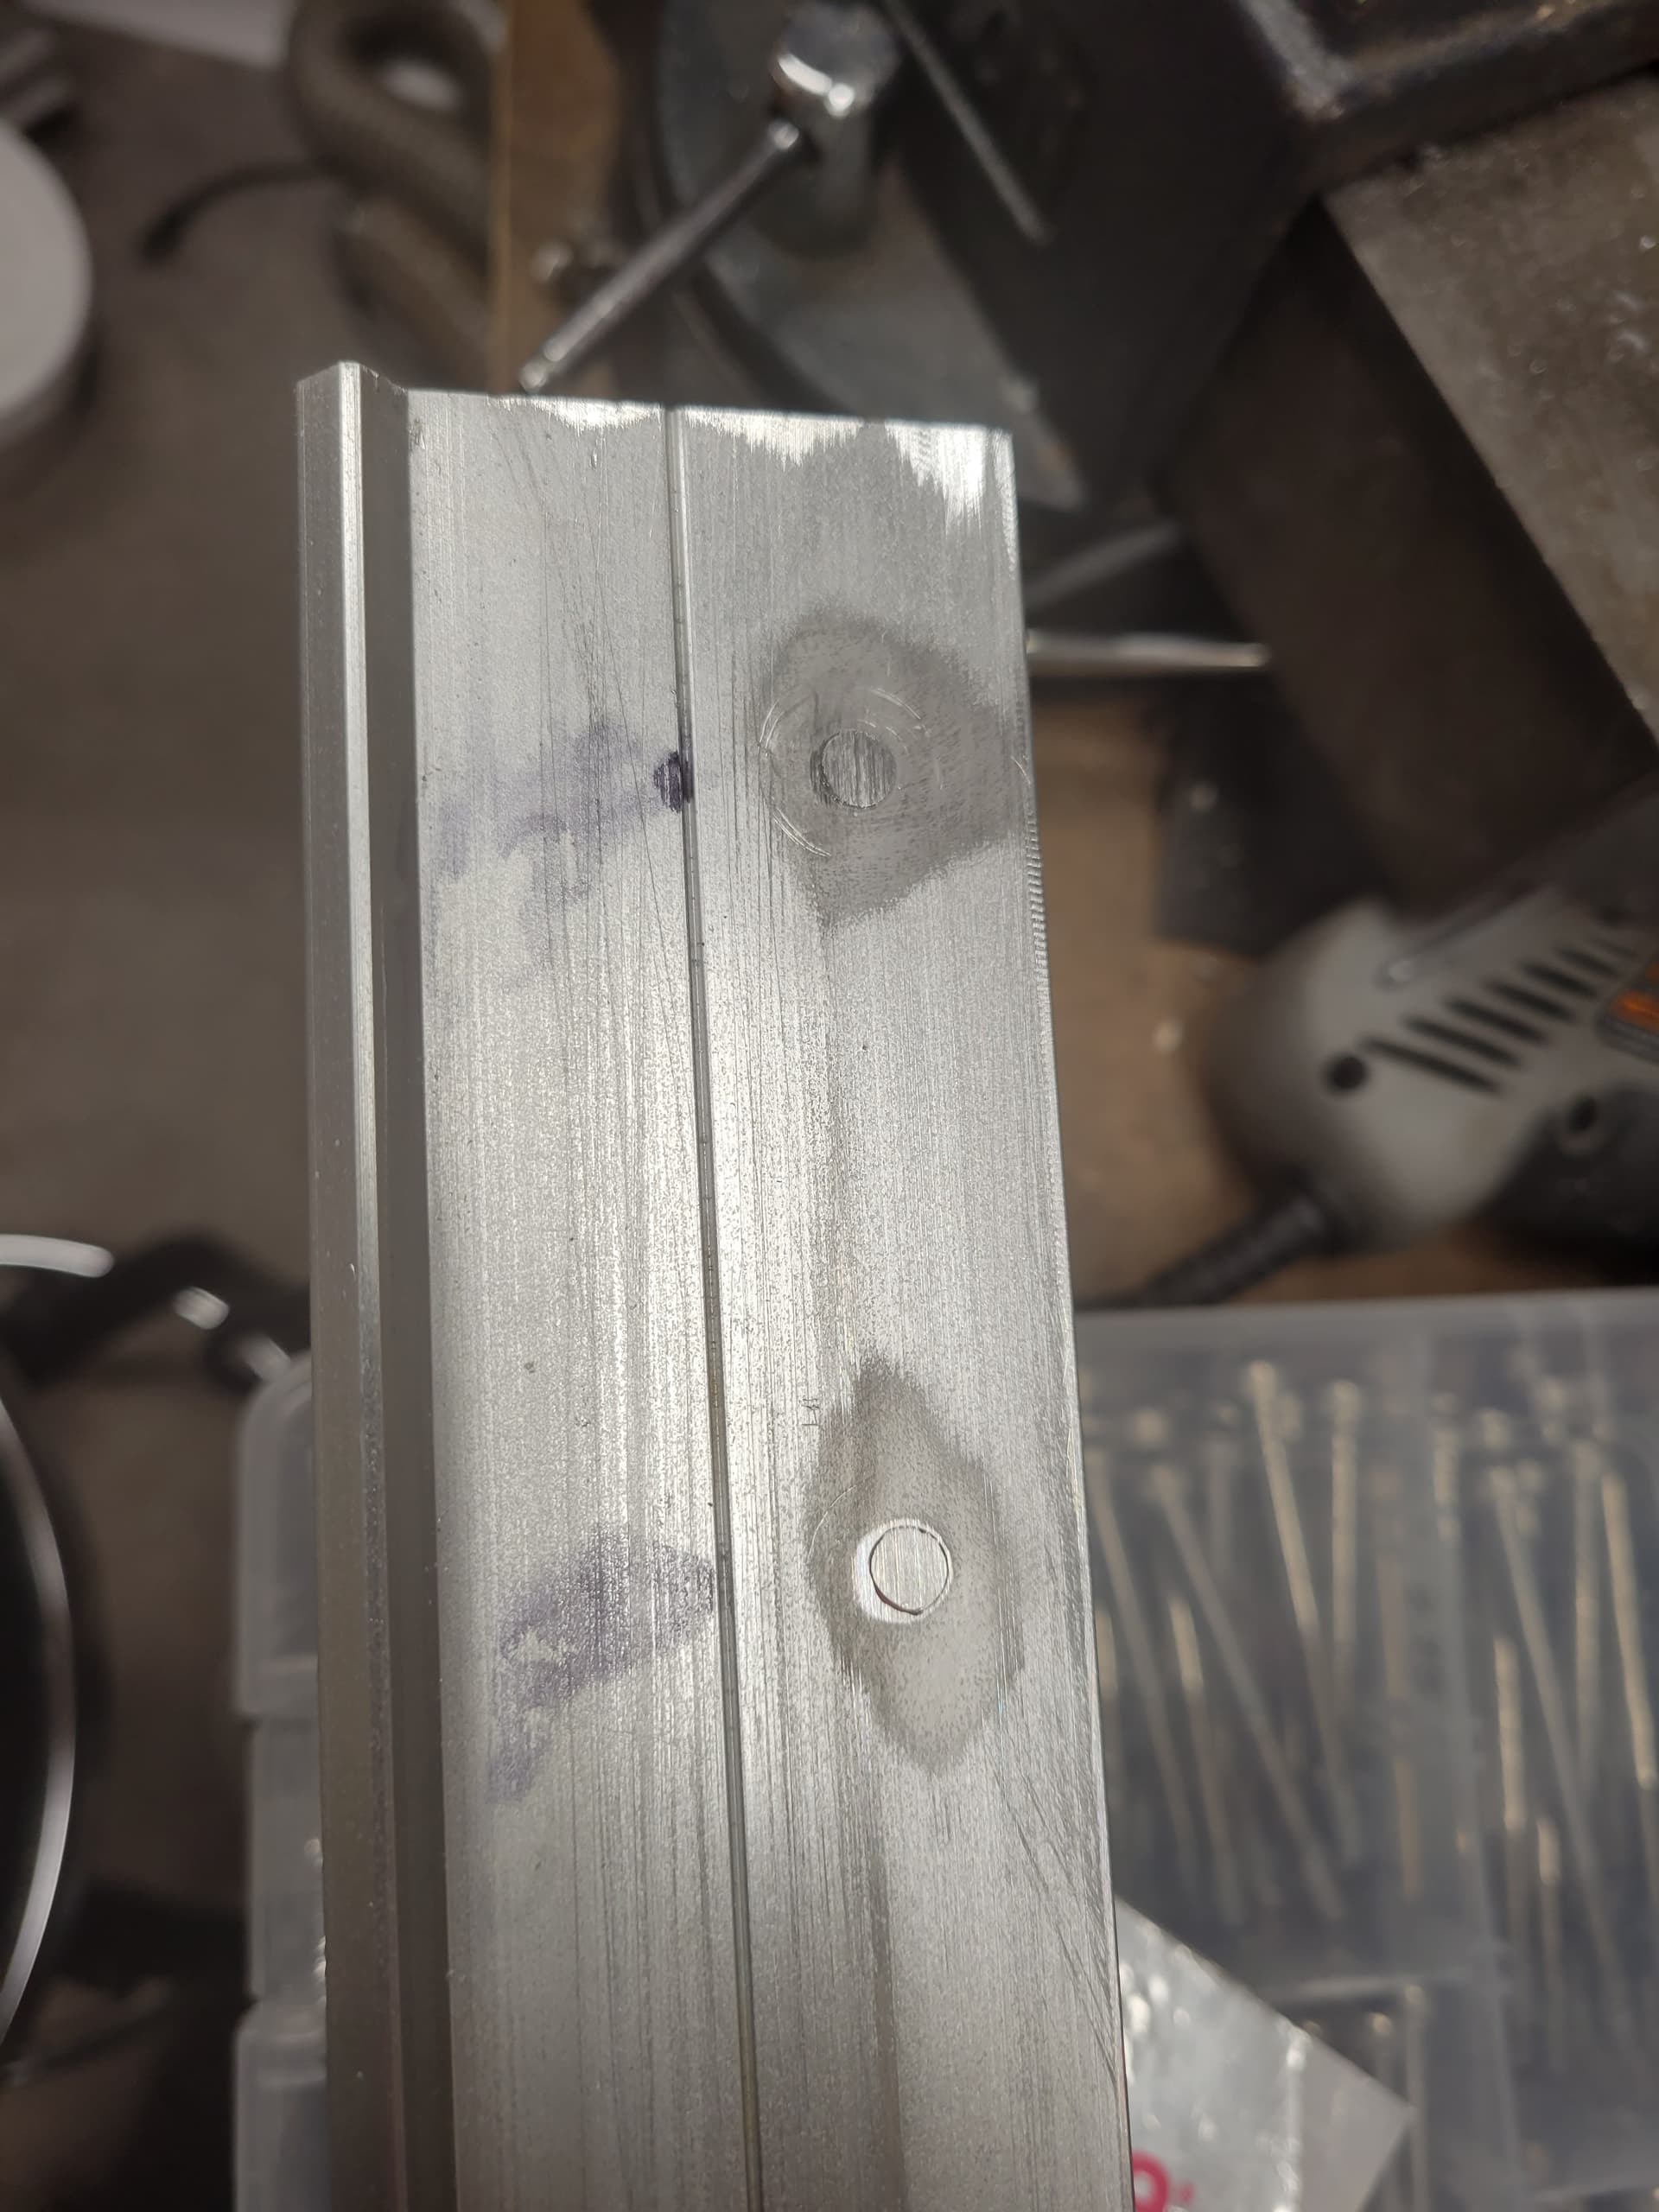
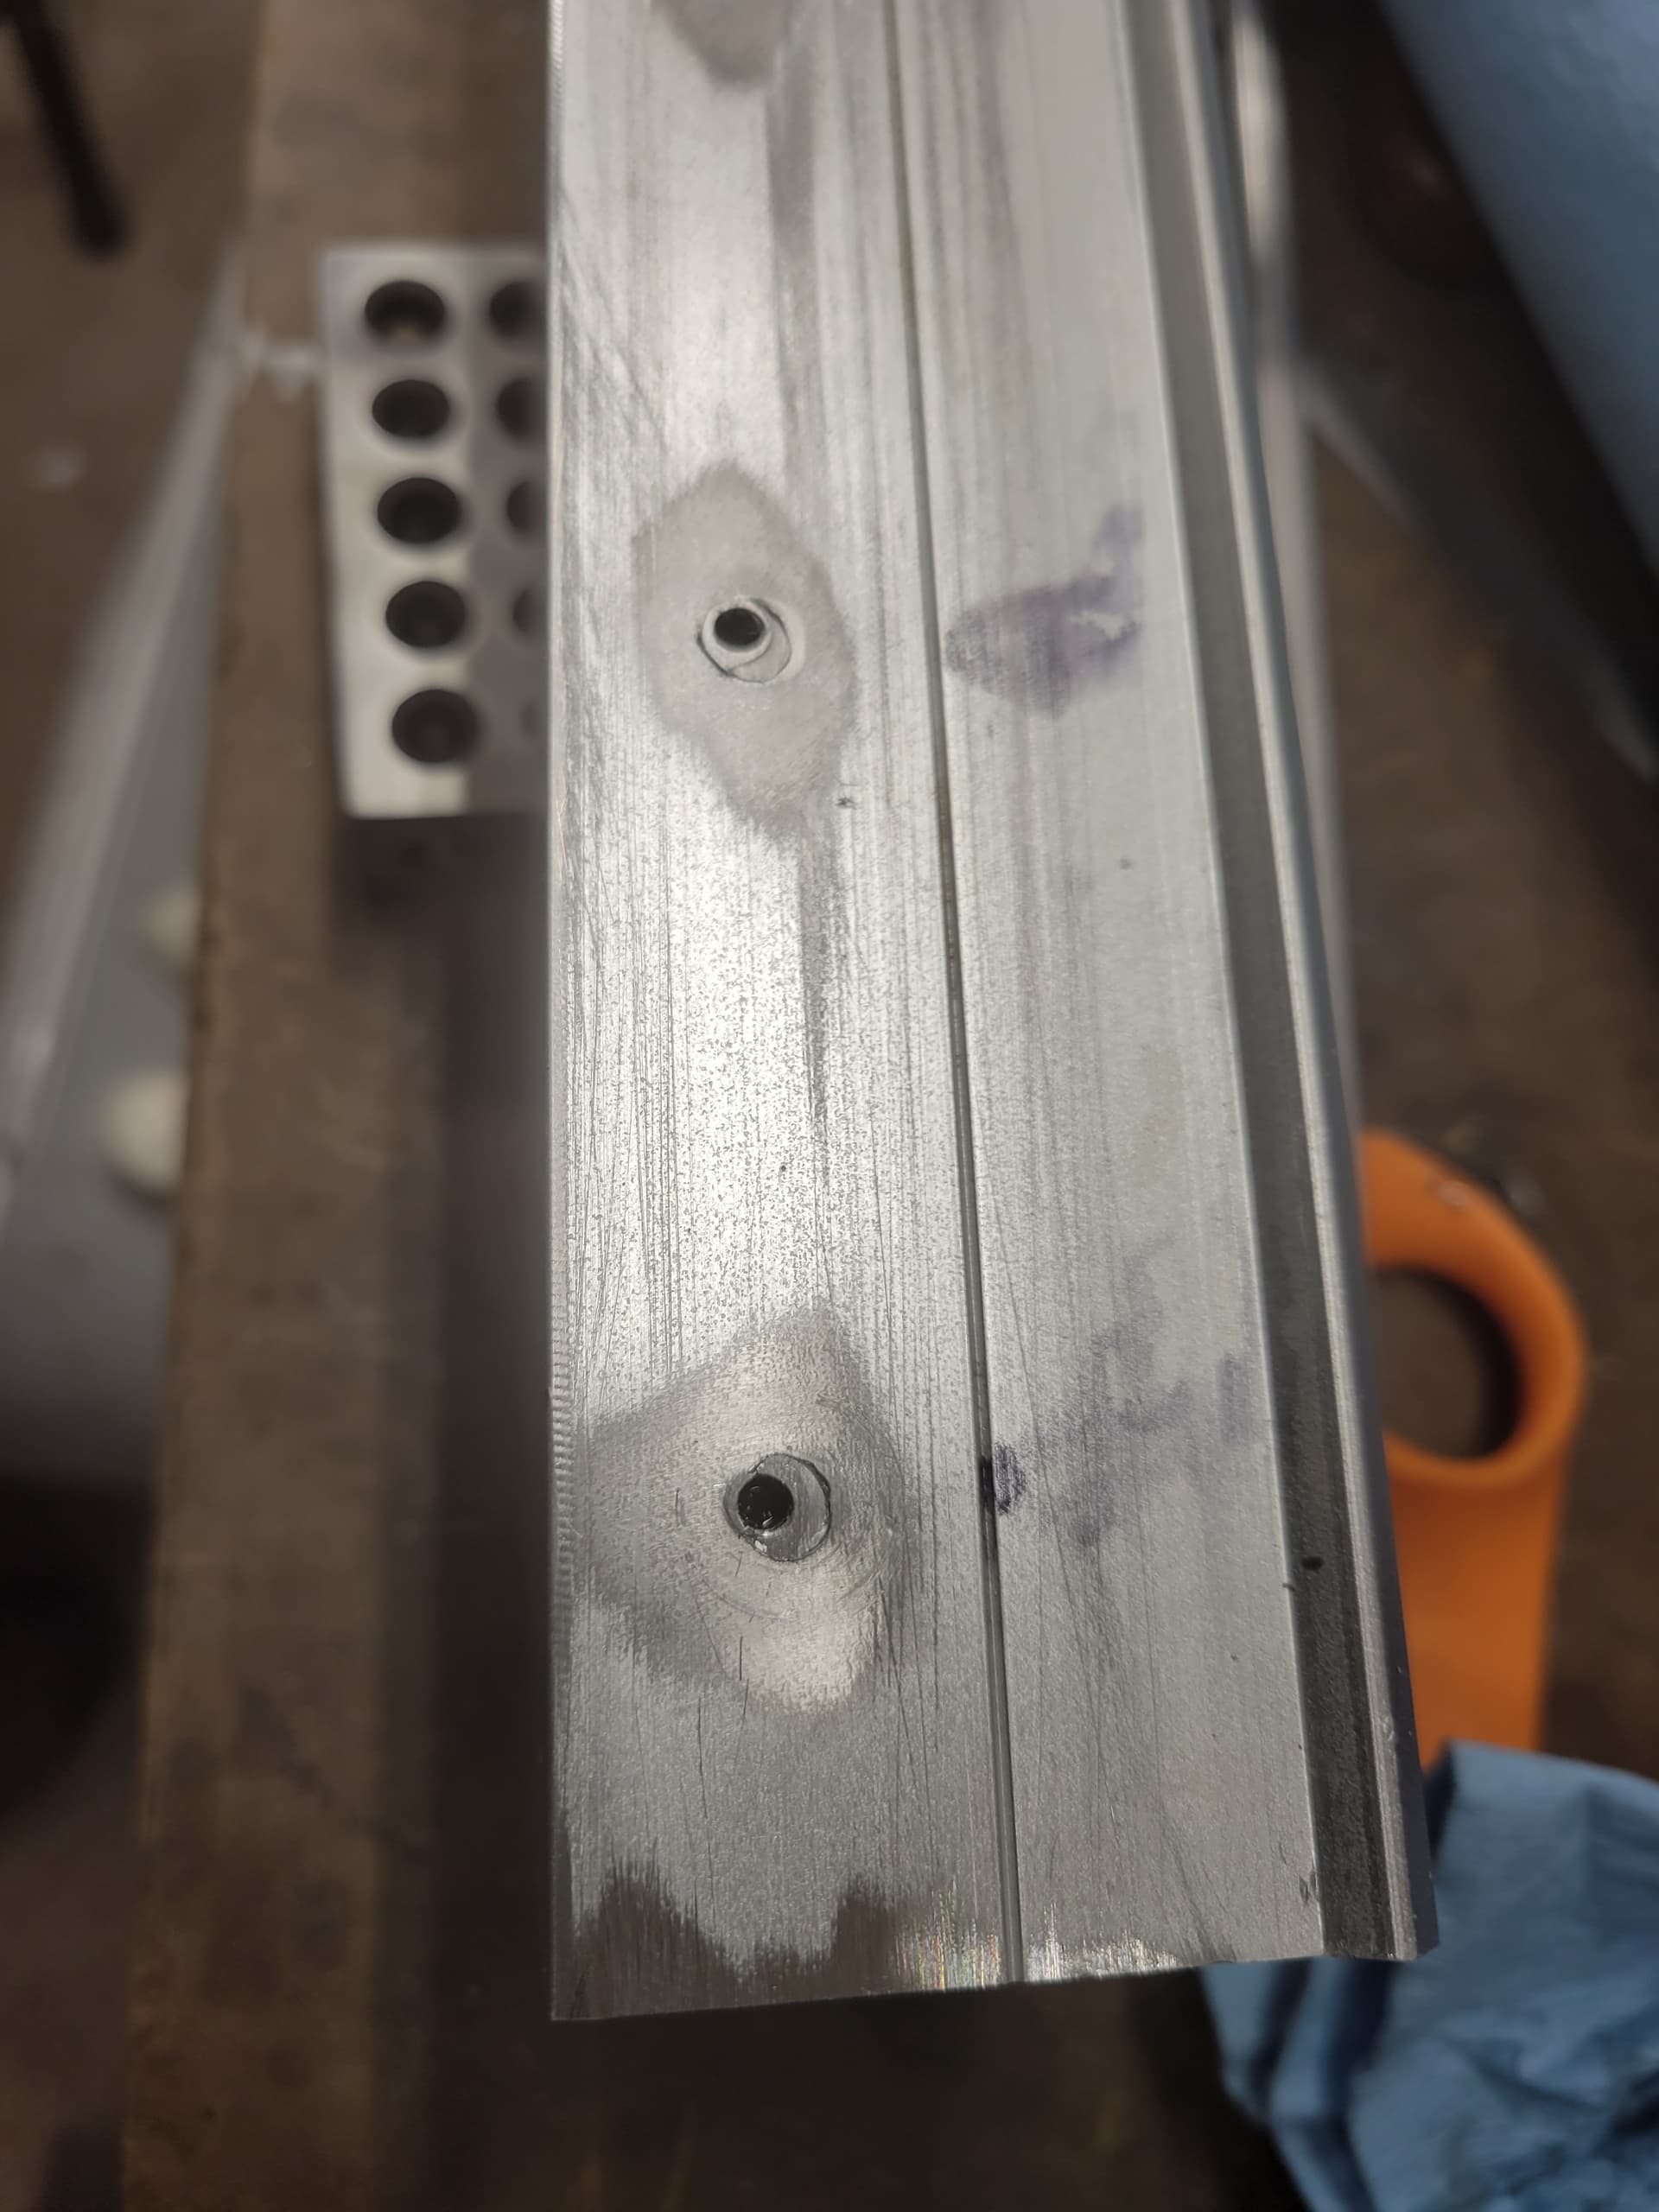
I filed them flat with my 12" Mill Bastard file.
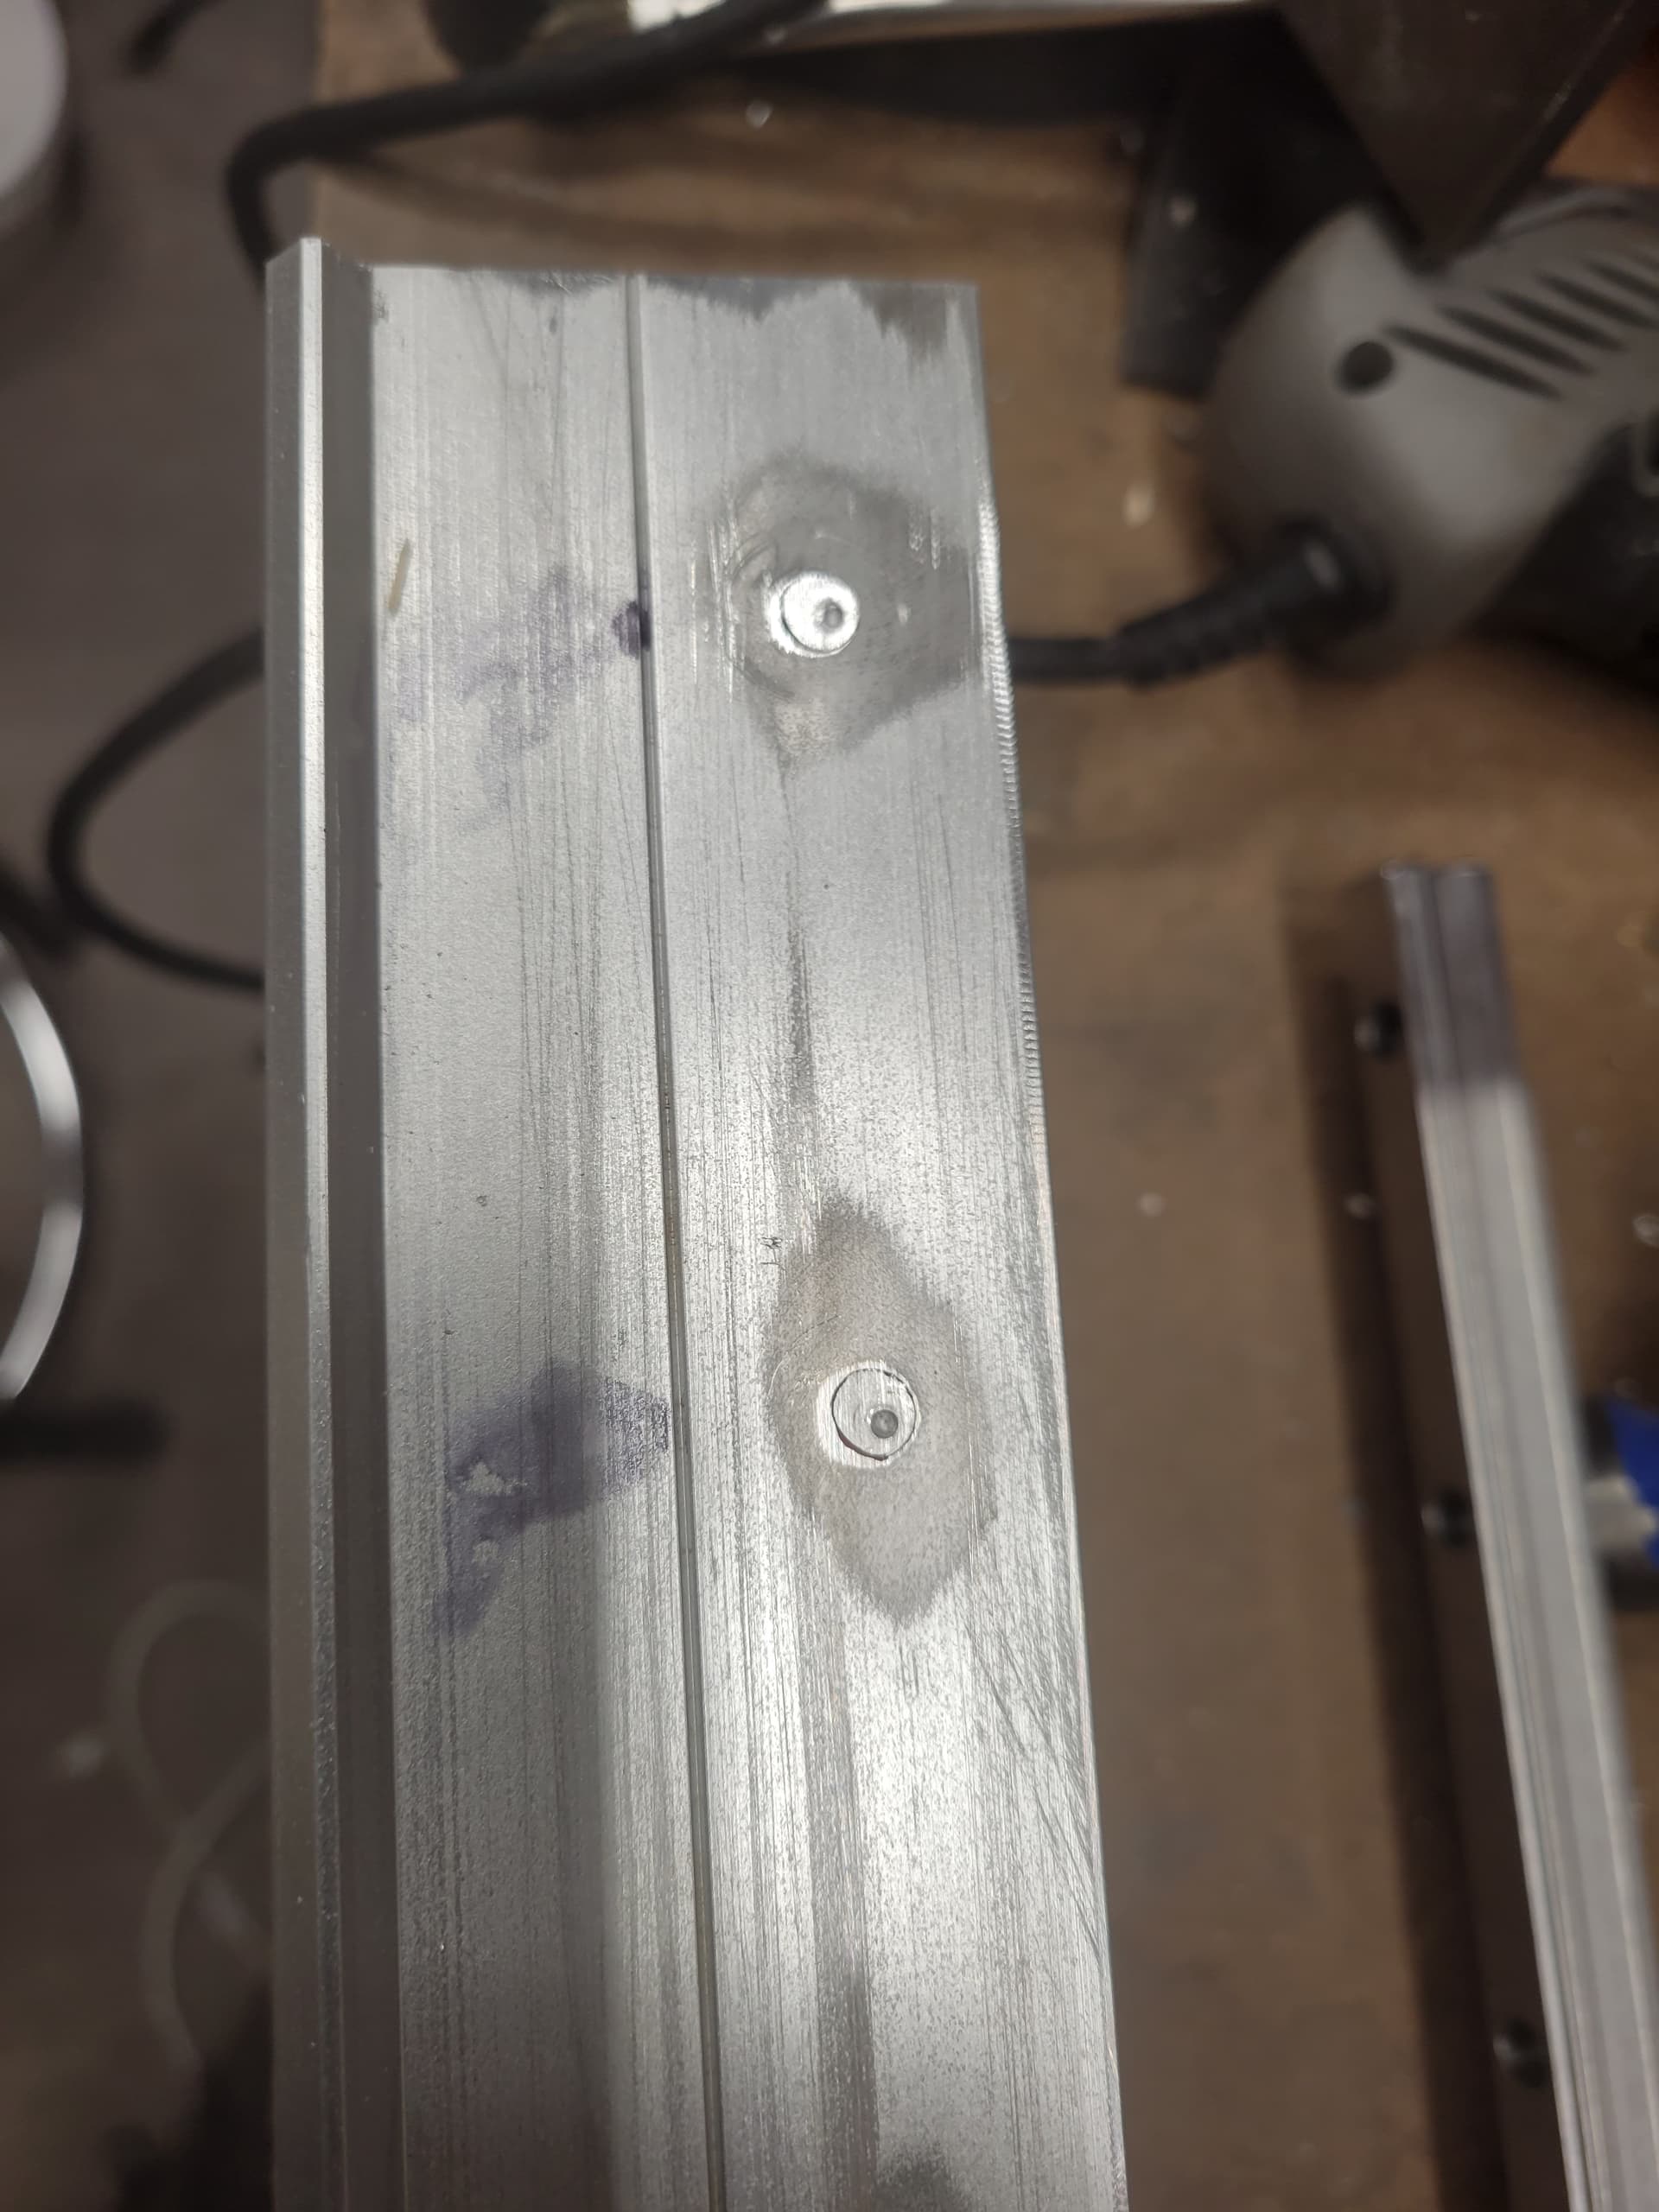
Then put the rail back on - indexed it and re-center-punched the holes.
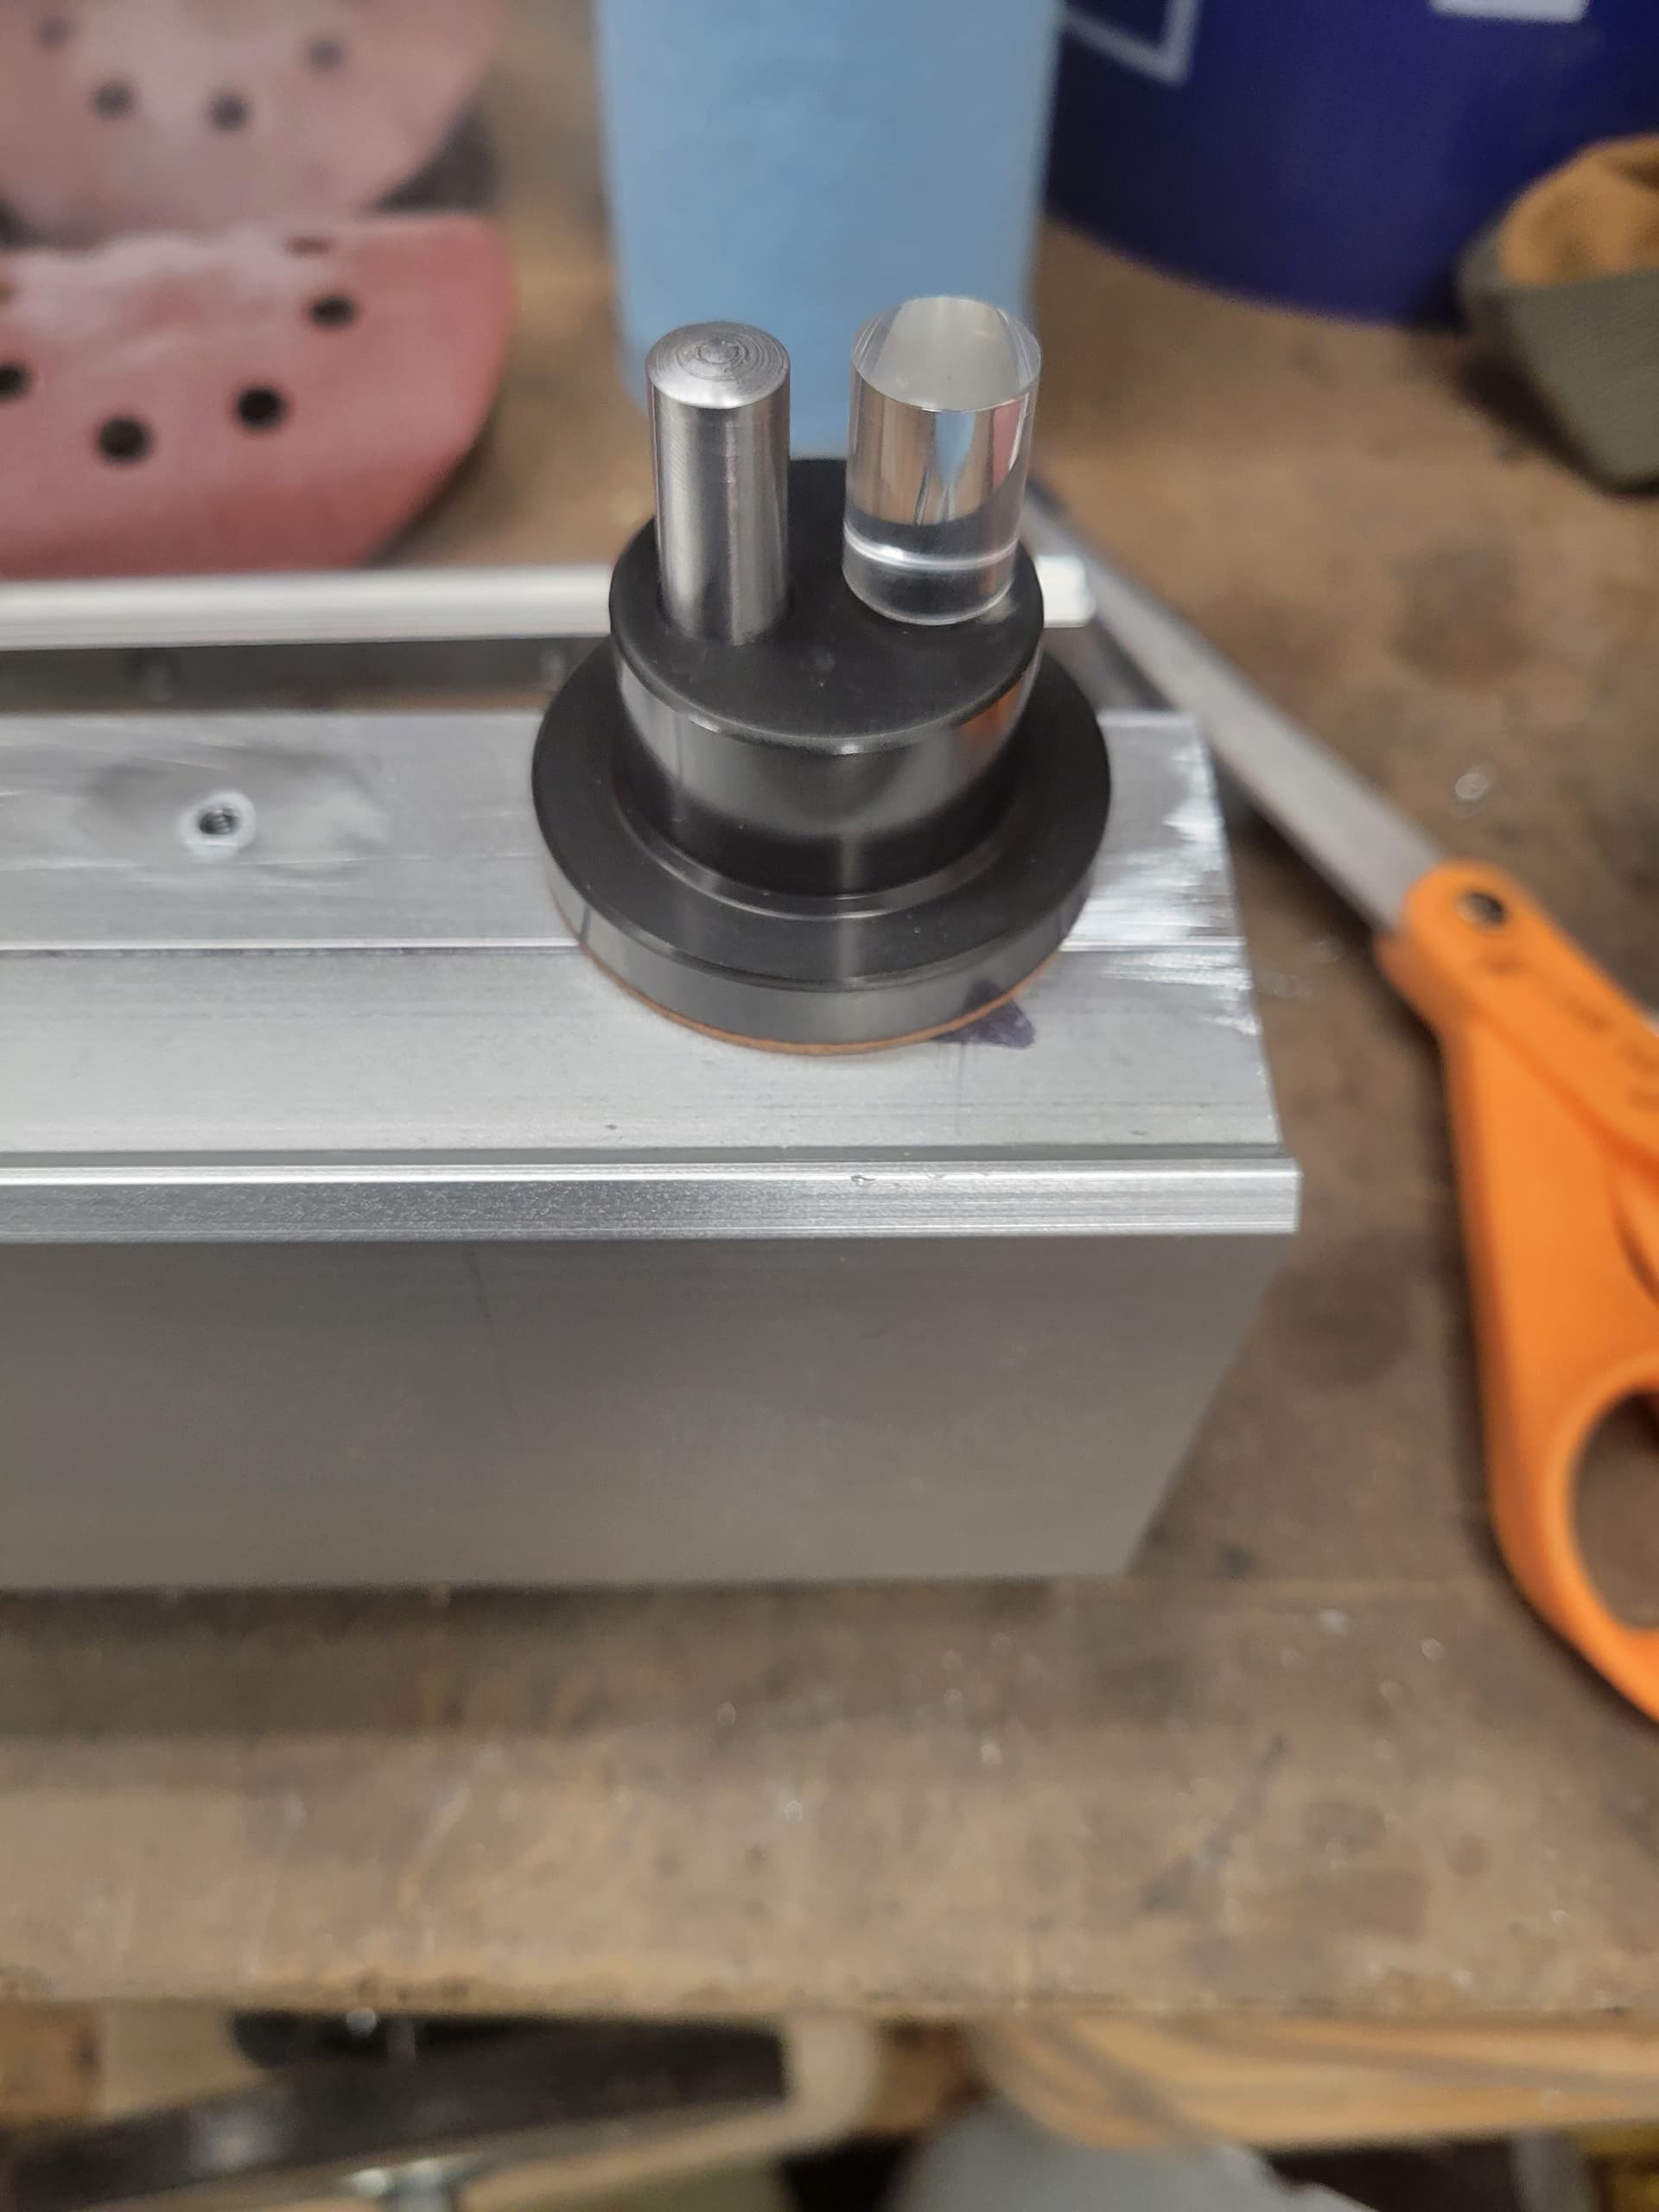
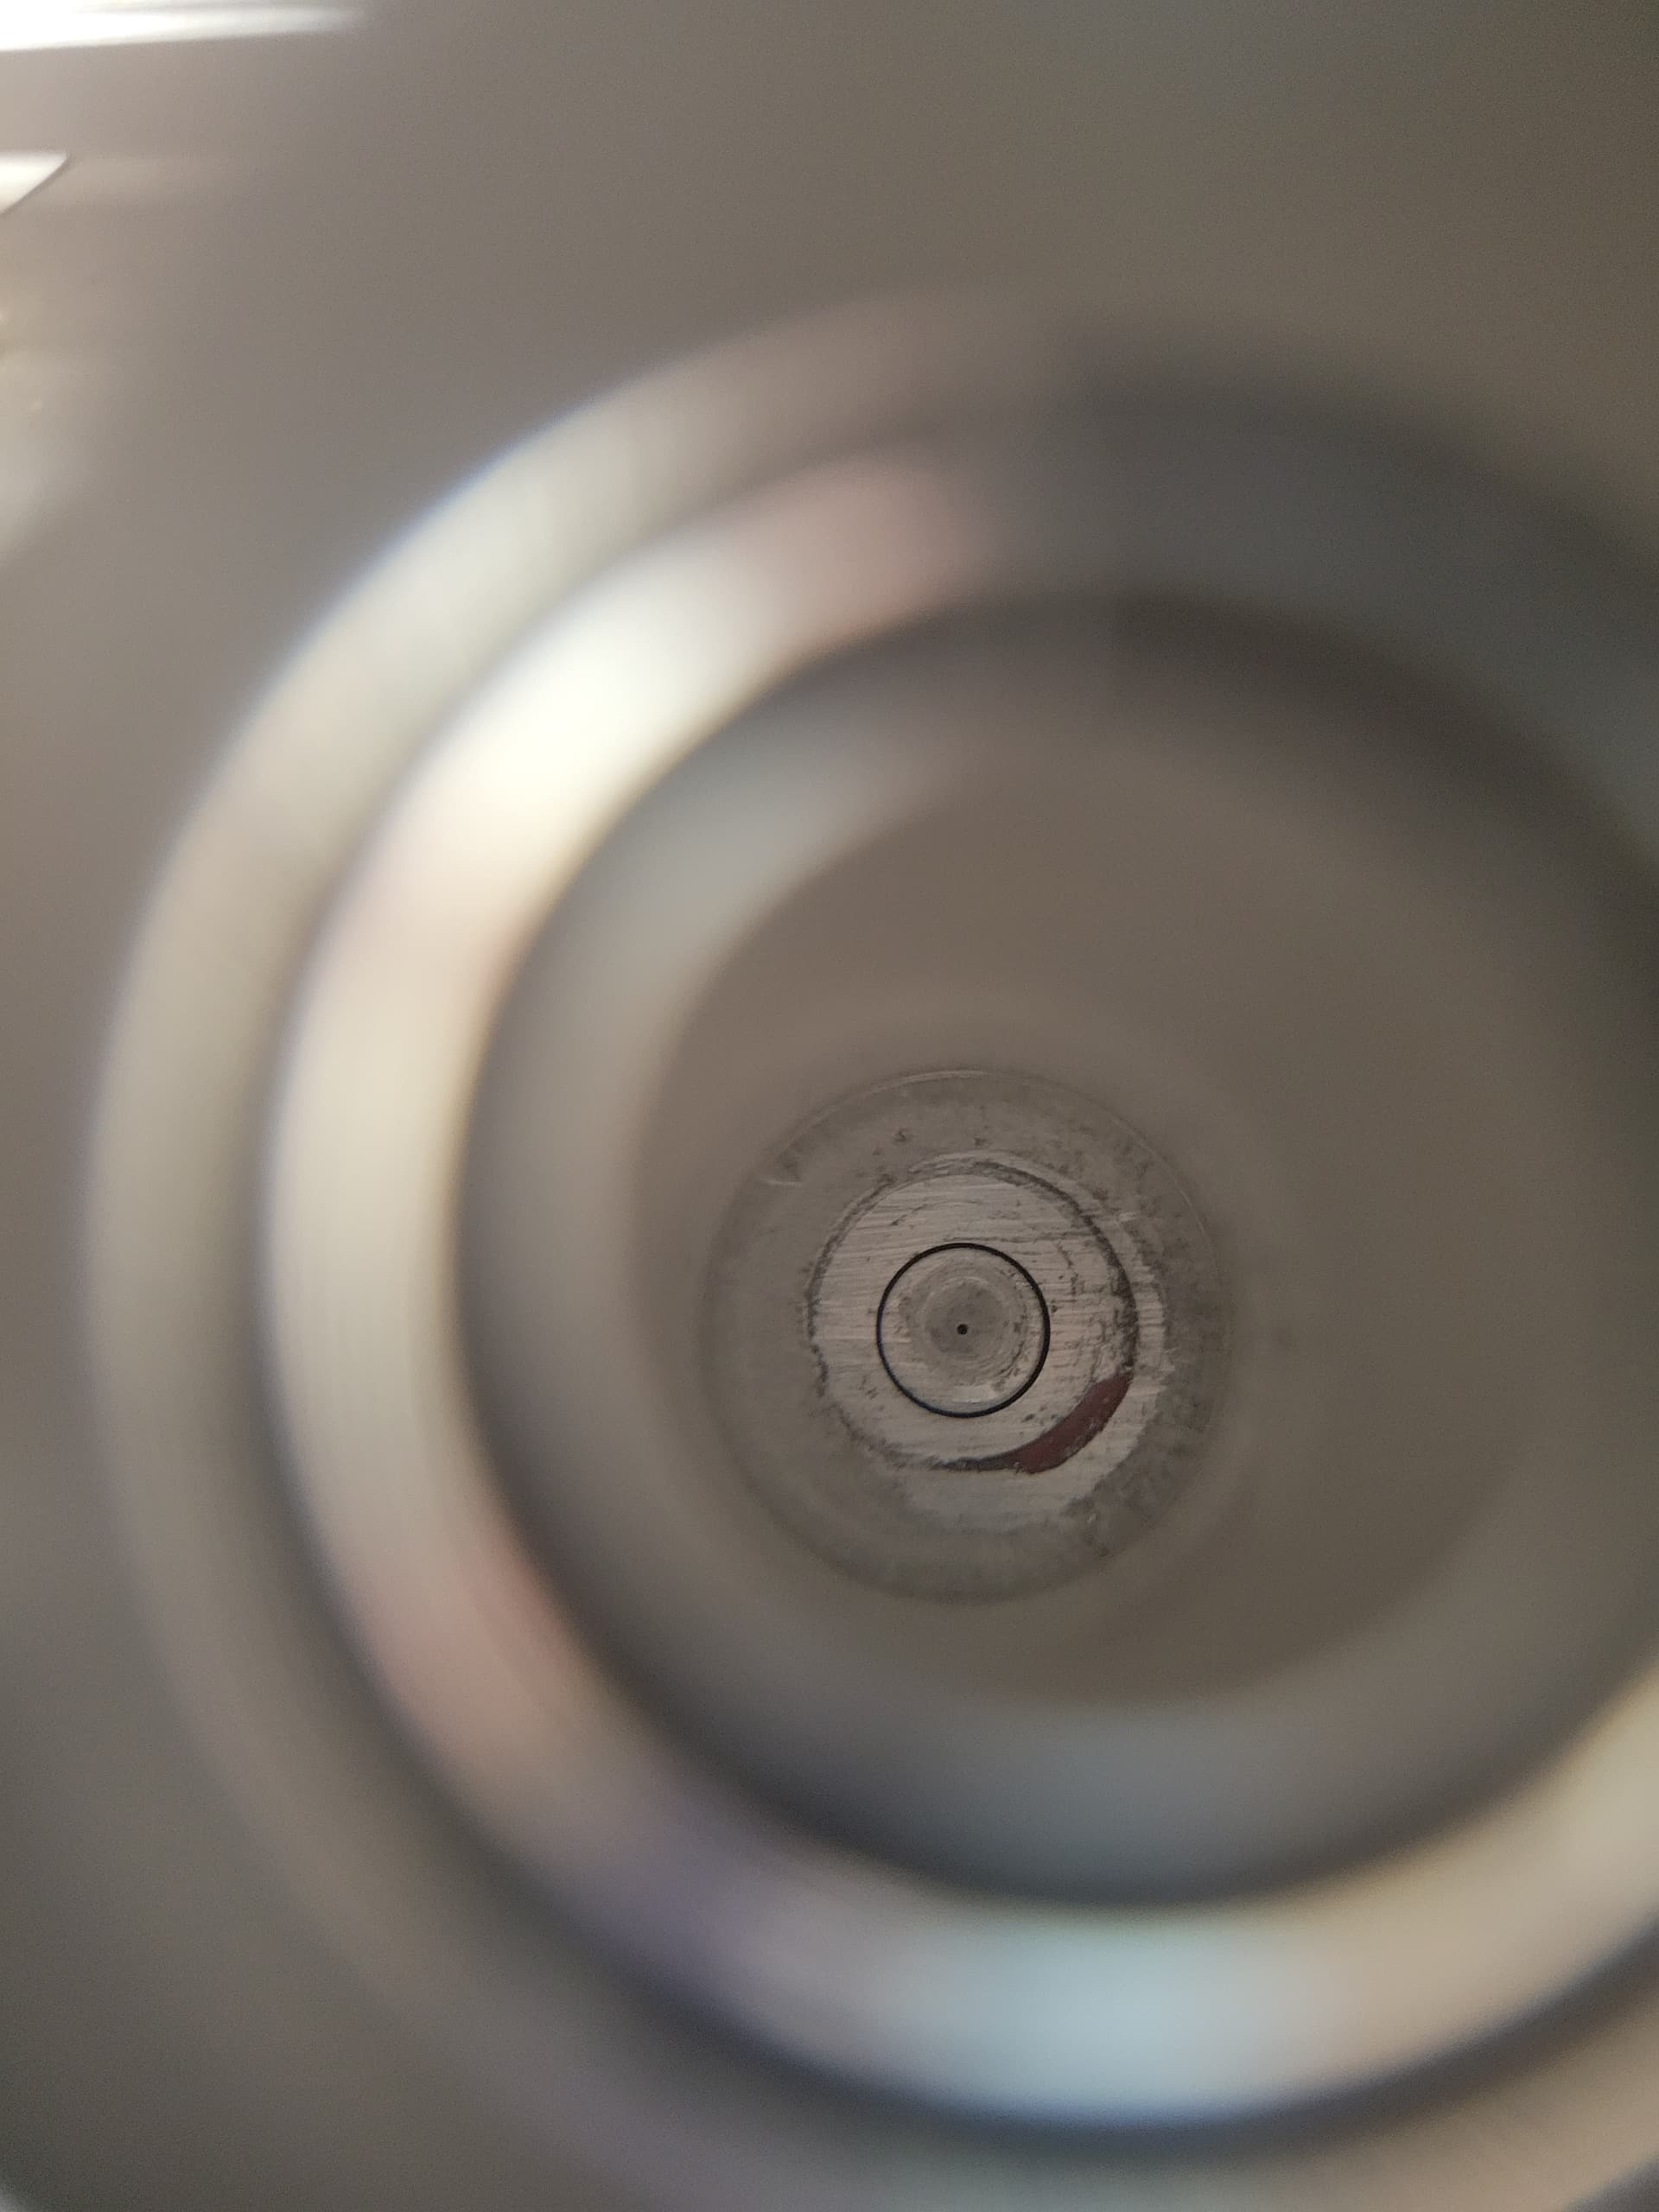
I then used this optical center punch to enlarge the dimple.

You use the clear optical side which has like a 3x or 5x magnification. Look into it and center the black base over the hole. Then you remove the optical part and insert the steel punch and hit it to make the dimple. When you are doing a bunch, it goes like this:
Center location with optical sight.
Swap optical with steel pin.
Hit steel p[in.
Move to new location.
Center location with optical sight.
Swap optical with steel pin. . . .
Here’s what it looks like centered on the small dimple from the transfer punch.
First plug drilled out.
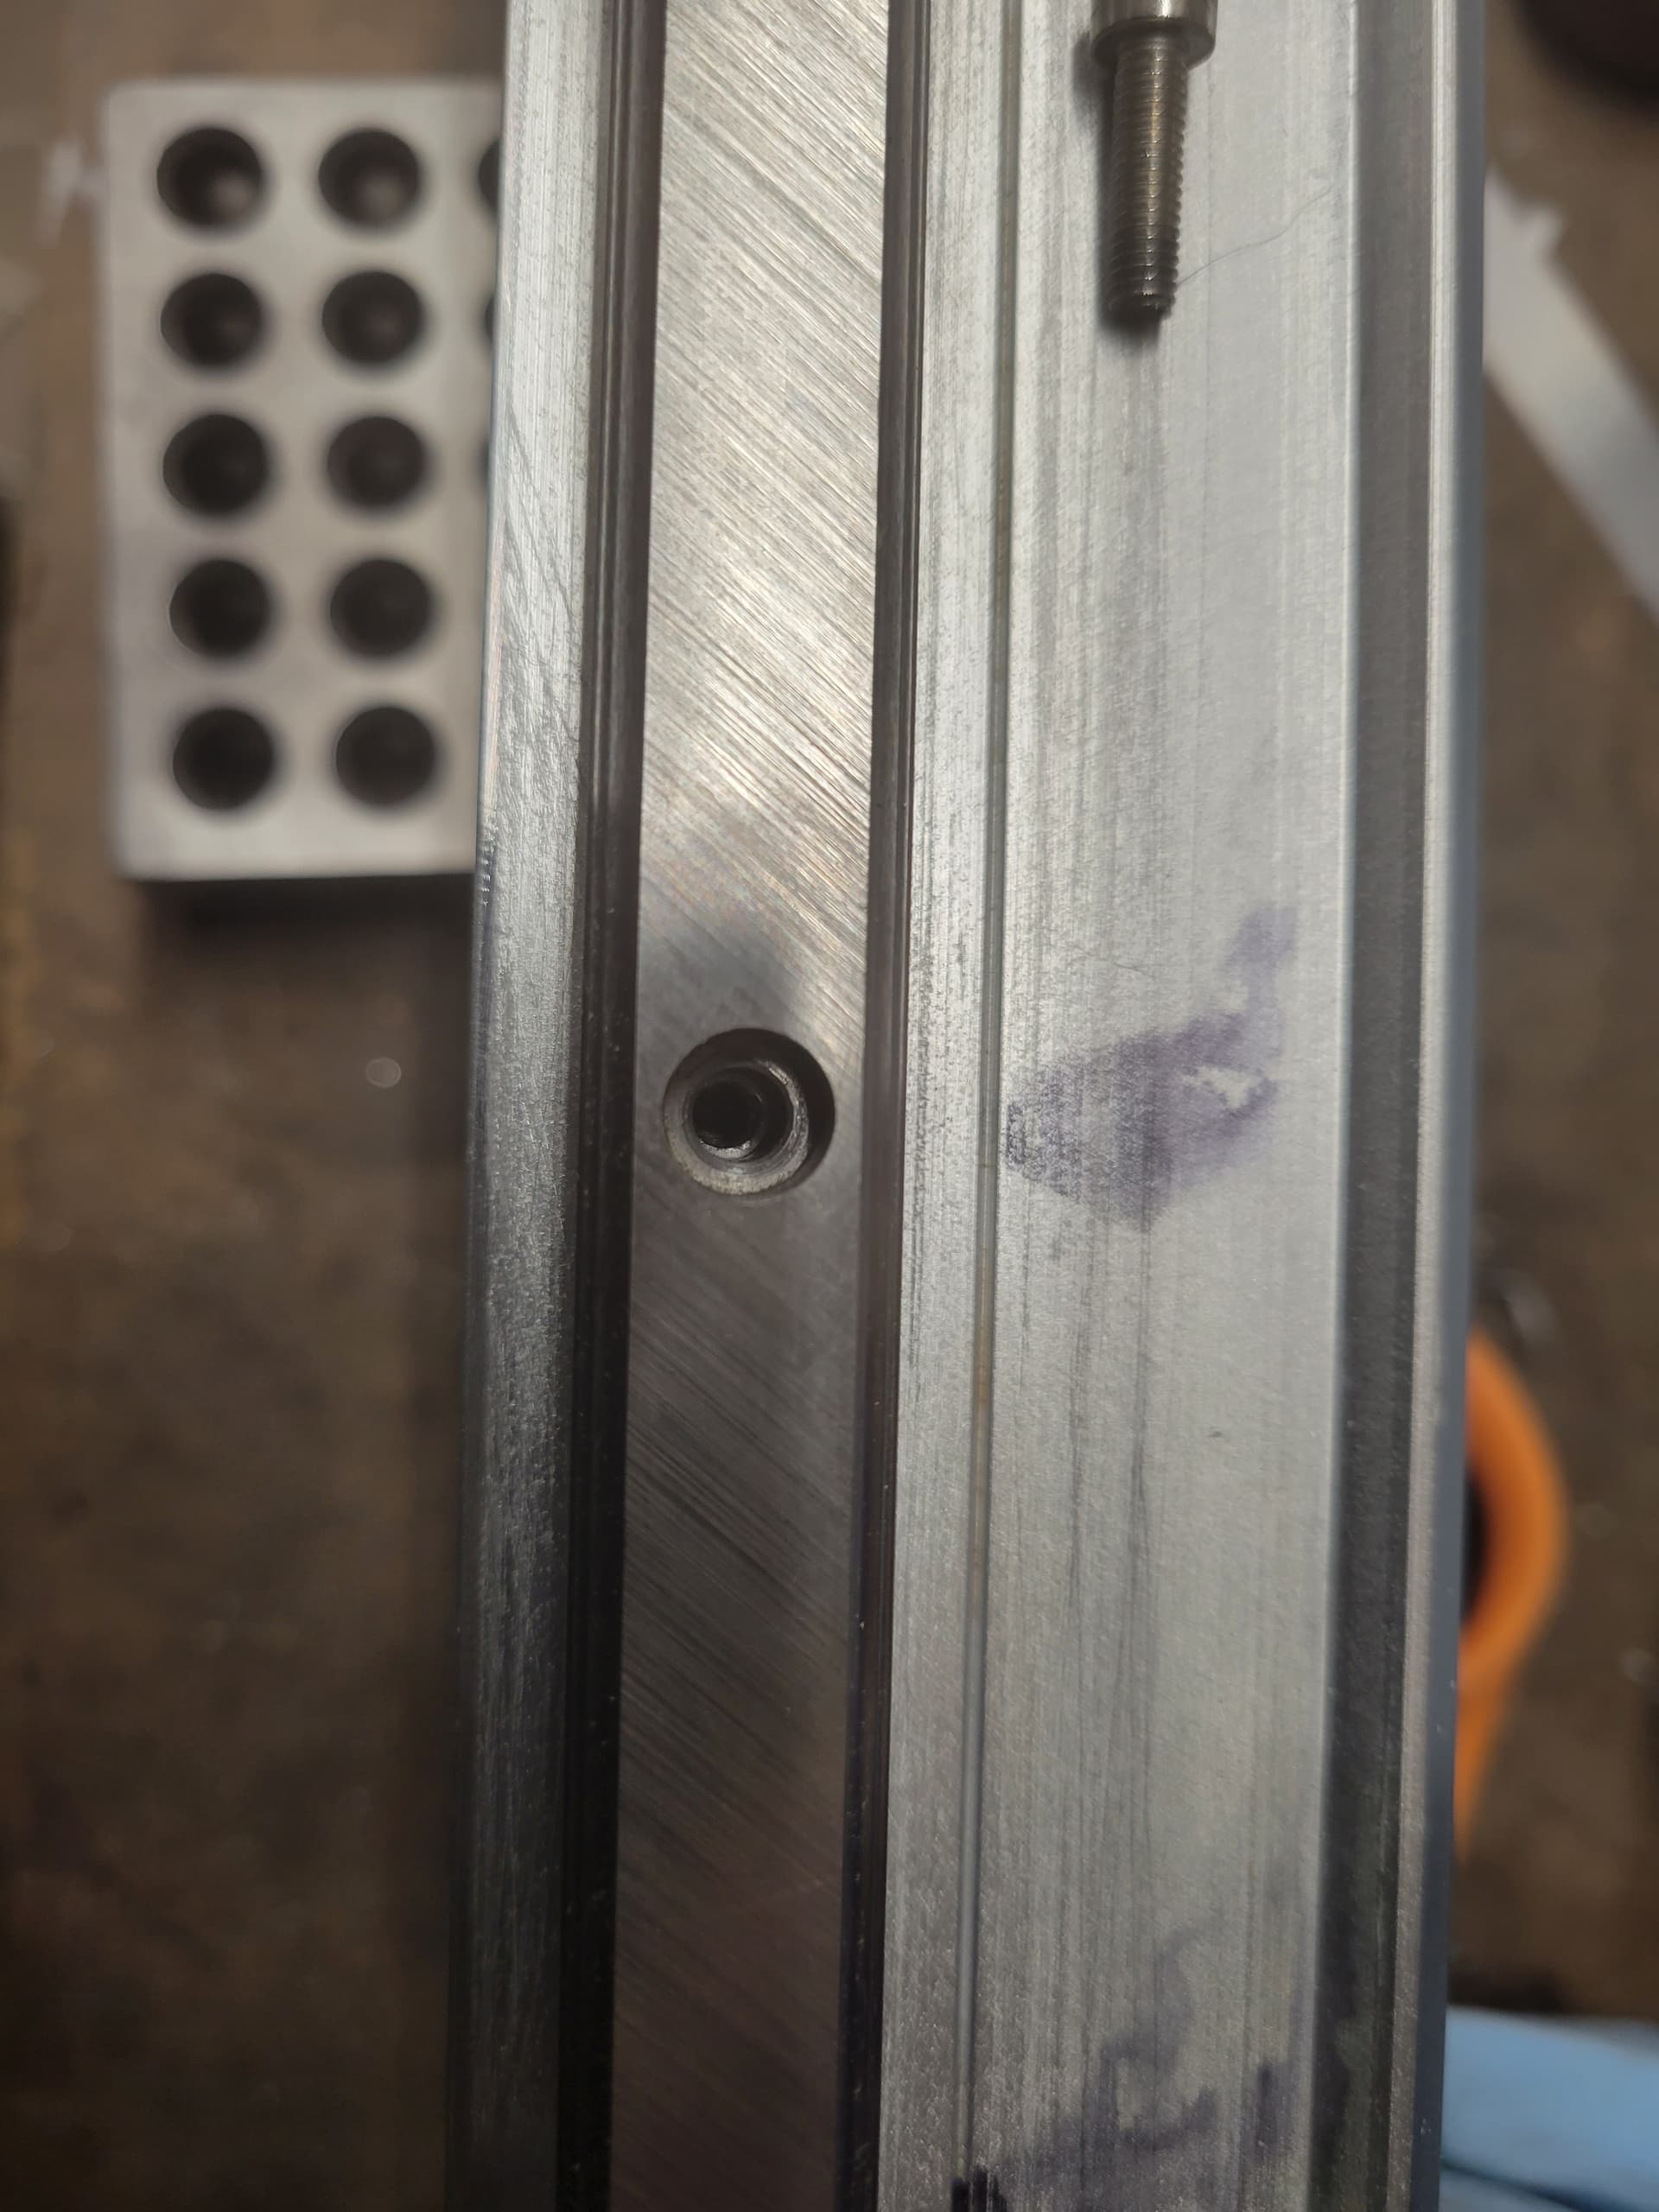
Tapped and filed flush.
Centered the way it should have been the first time.
Now all of my XXL extrusions have the HGR15 installed. Now I need to just cut the aluminum plates and fit the bearing blocks on them.