WillAdams
April 1, 2024, 10:30pm
1
Given a large and complex project such as:
CNC Plans Available at Checkout Introducing our Easy DIY Catering Cart - the perfect addition to your next special occasion, party, or event! Designed with the beginner to intermediate crafter or woodworker in mind, these plans will guide you...
Price: USD 10.00
which needs:
6 x 3/4”x4x8 – Plywood (Birch or Smooth Sanded Pine Plywood used in cabinetry)
4 x 4x4x8 – Untreated Pine (note Actual width of 4x4x8 is normally 3 ½ x 3 ½)
there are a couple of options to organize the file:
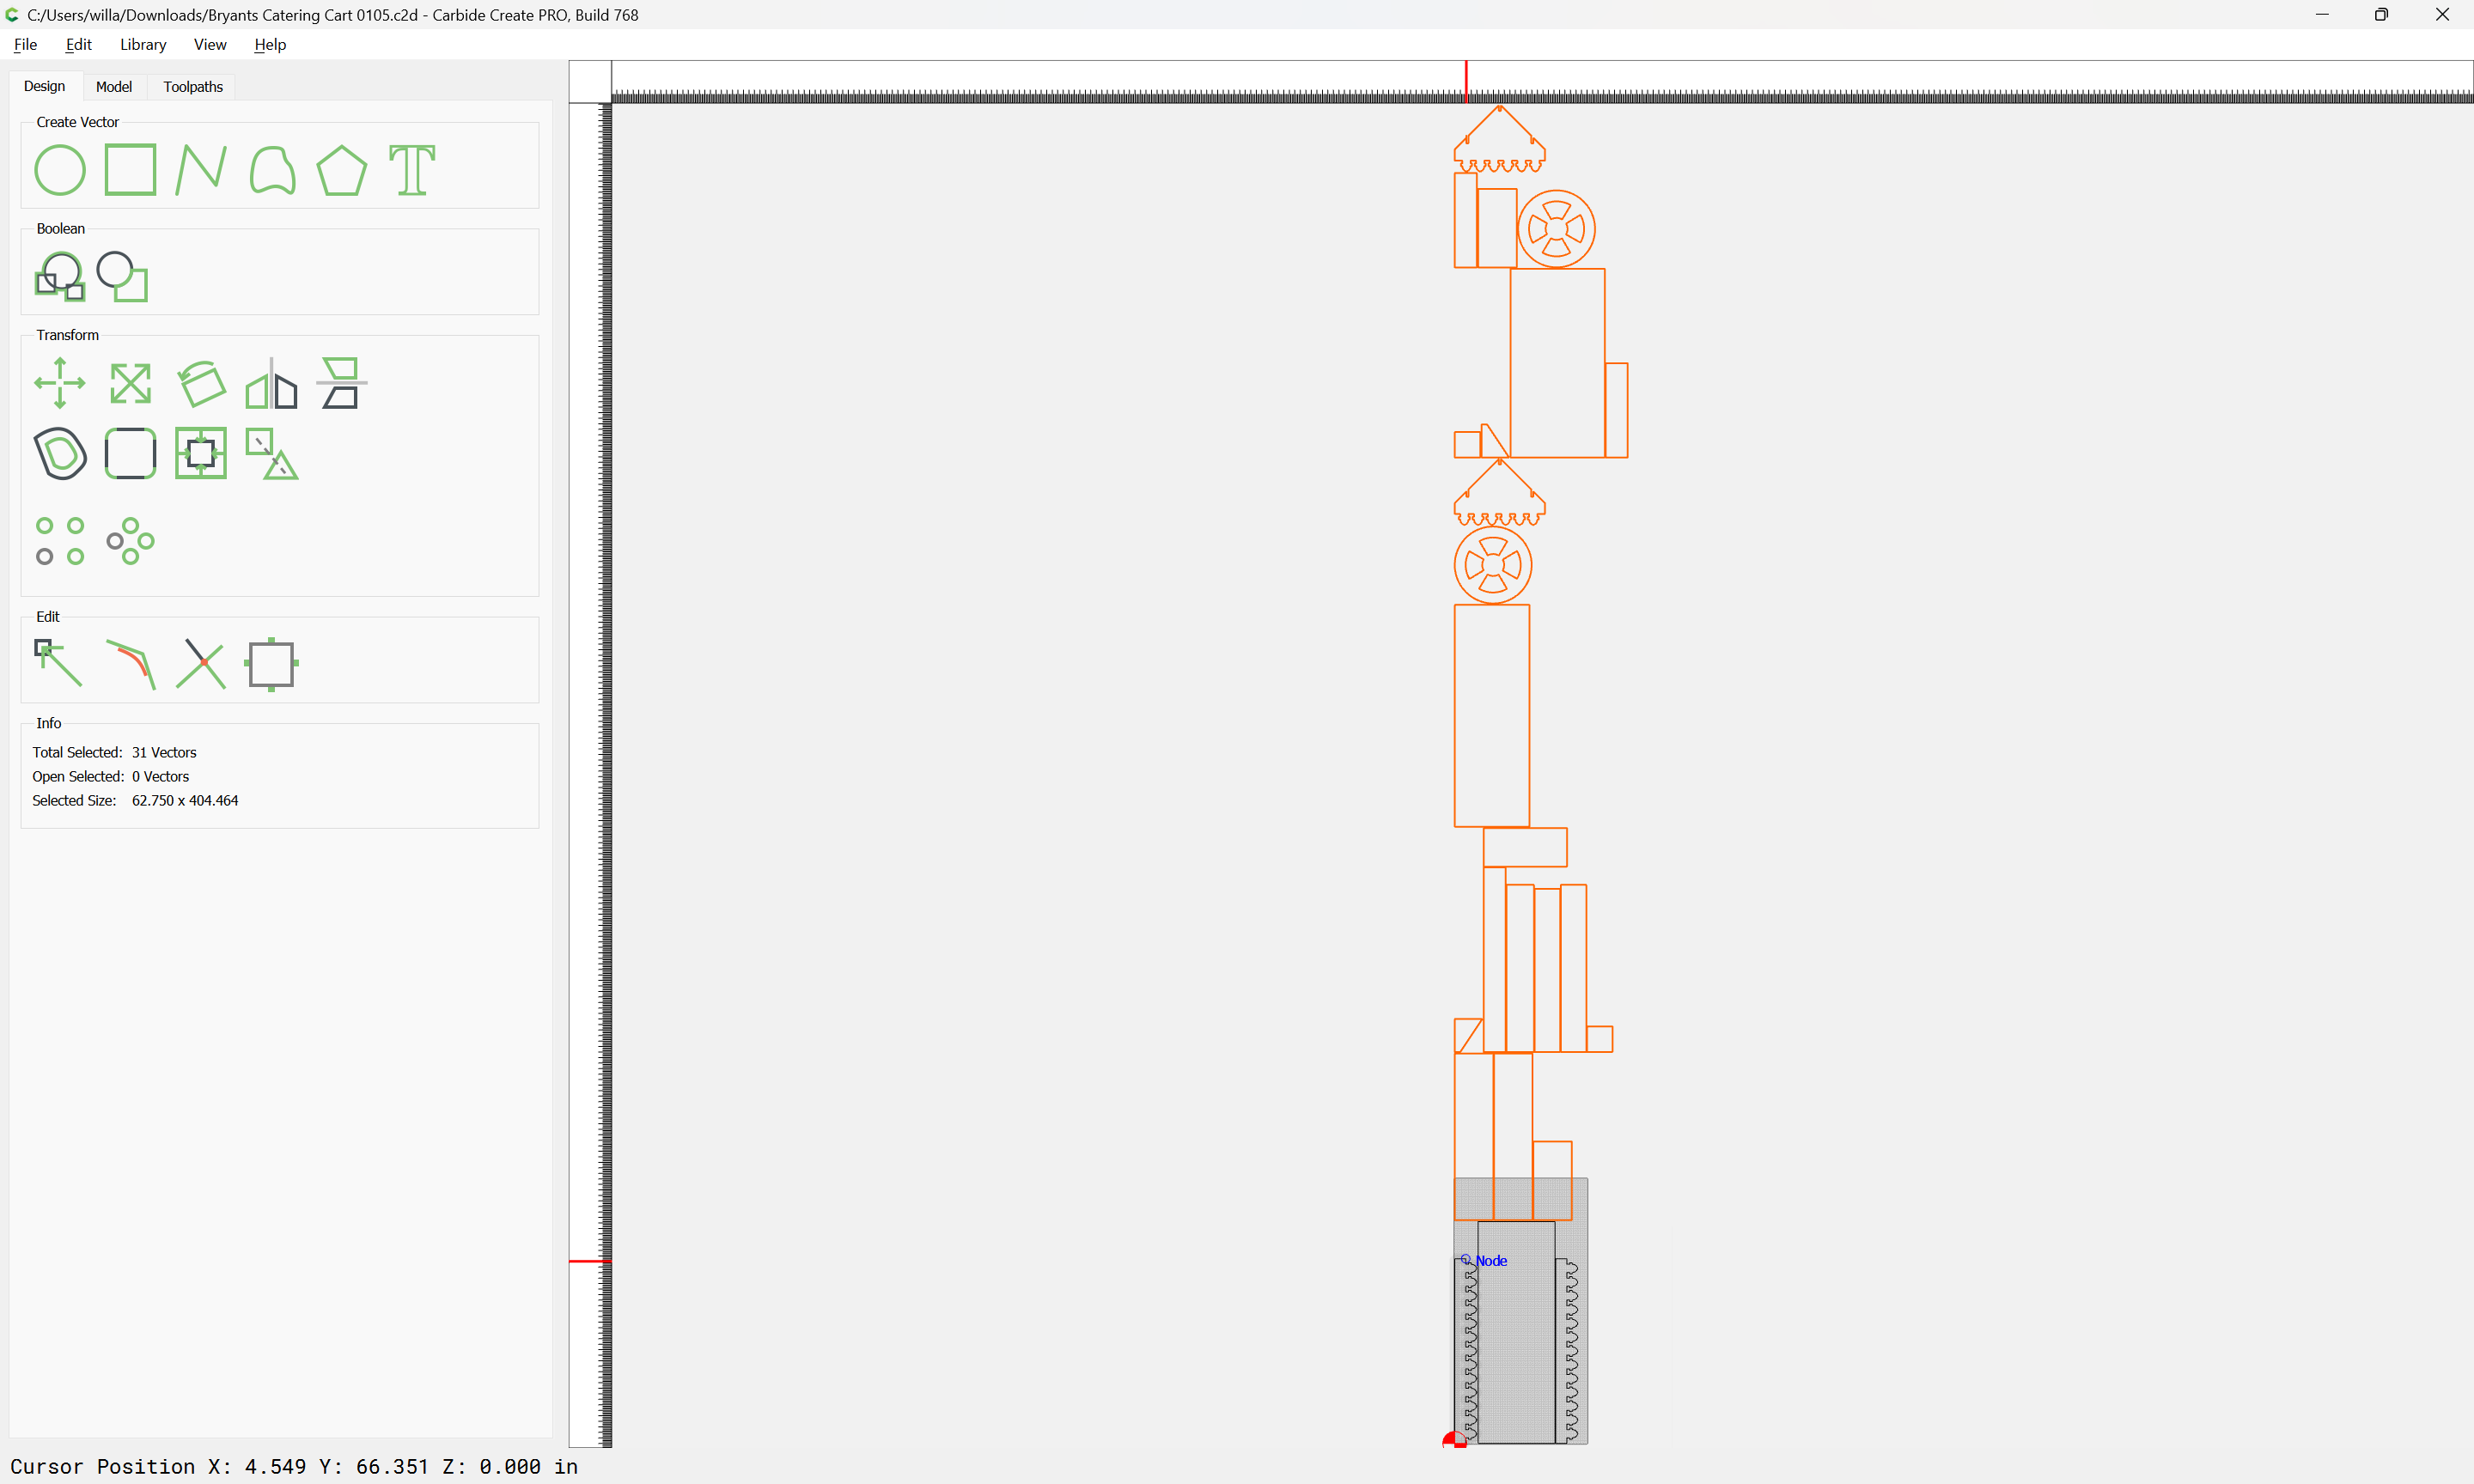
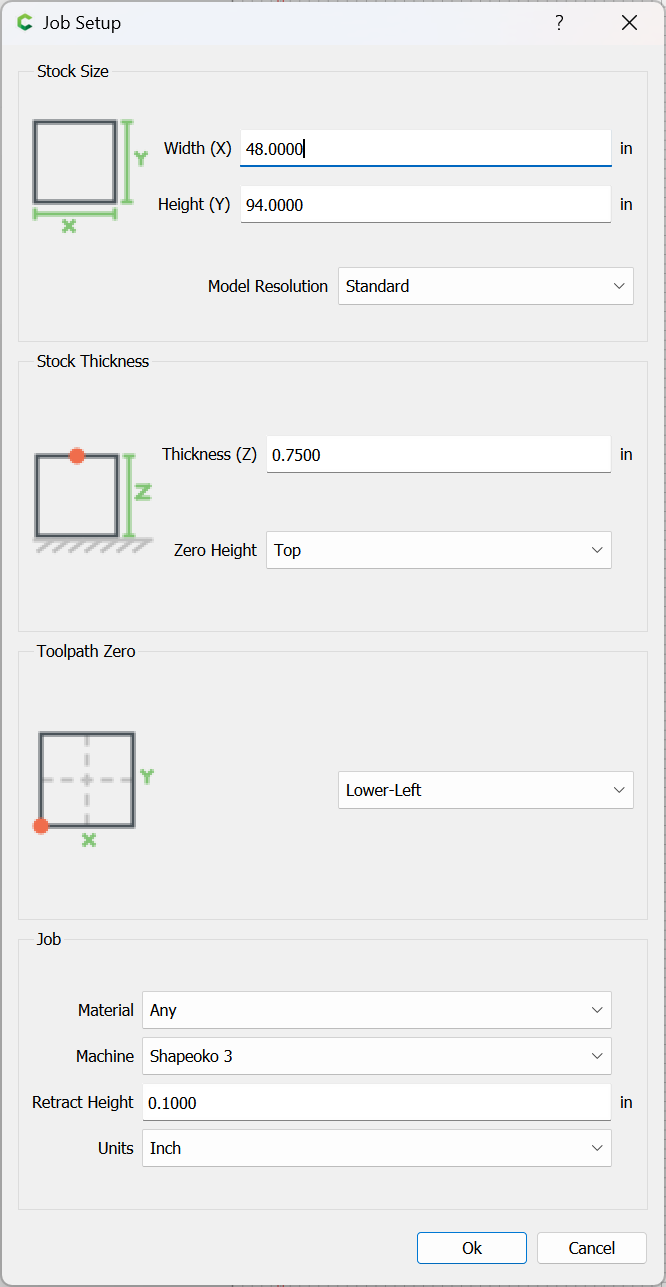
First, set up the stock:
and import the provided file:
WillAdams
April 1, 2024, 10:48pm
2
The first consideration is what tool to use — a #251 downcut is well-suited to cutting through 3/4" plywood:
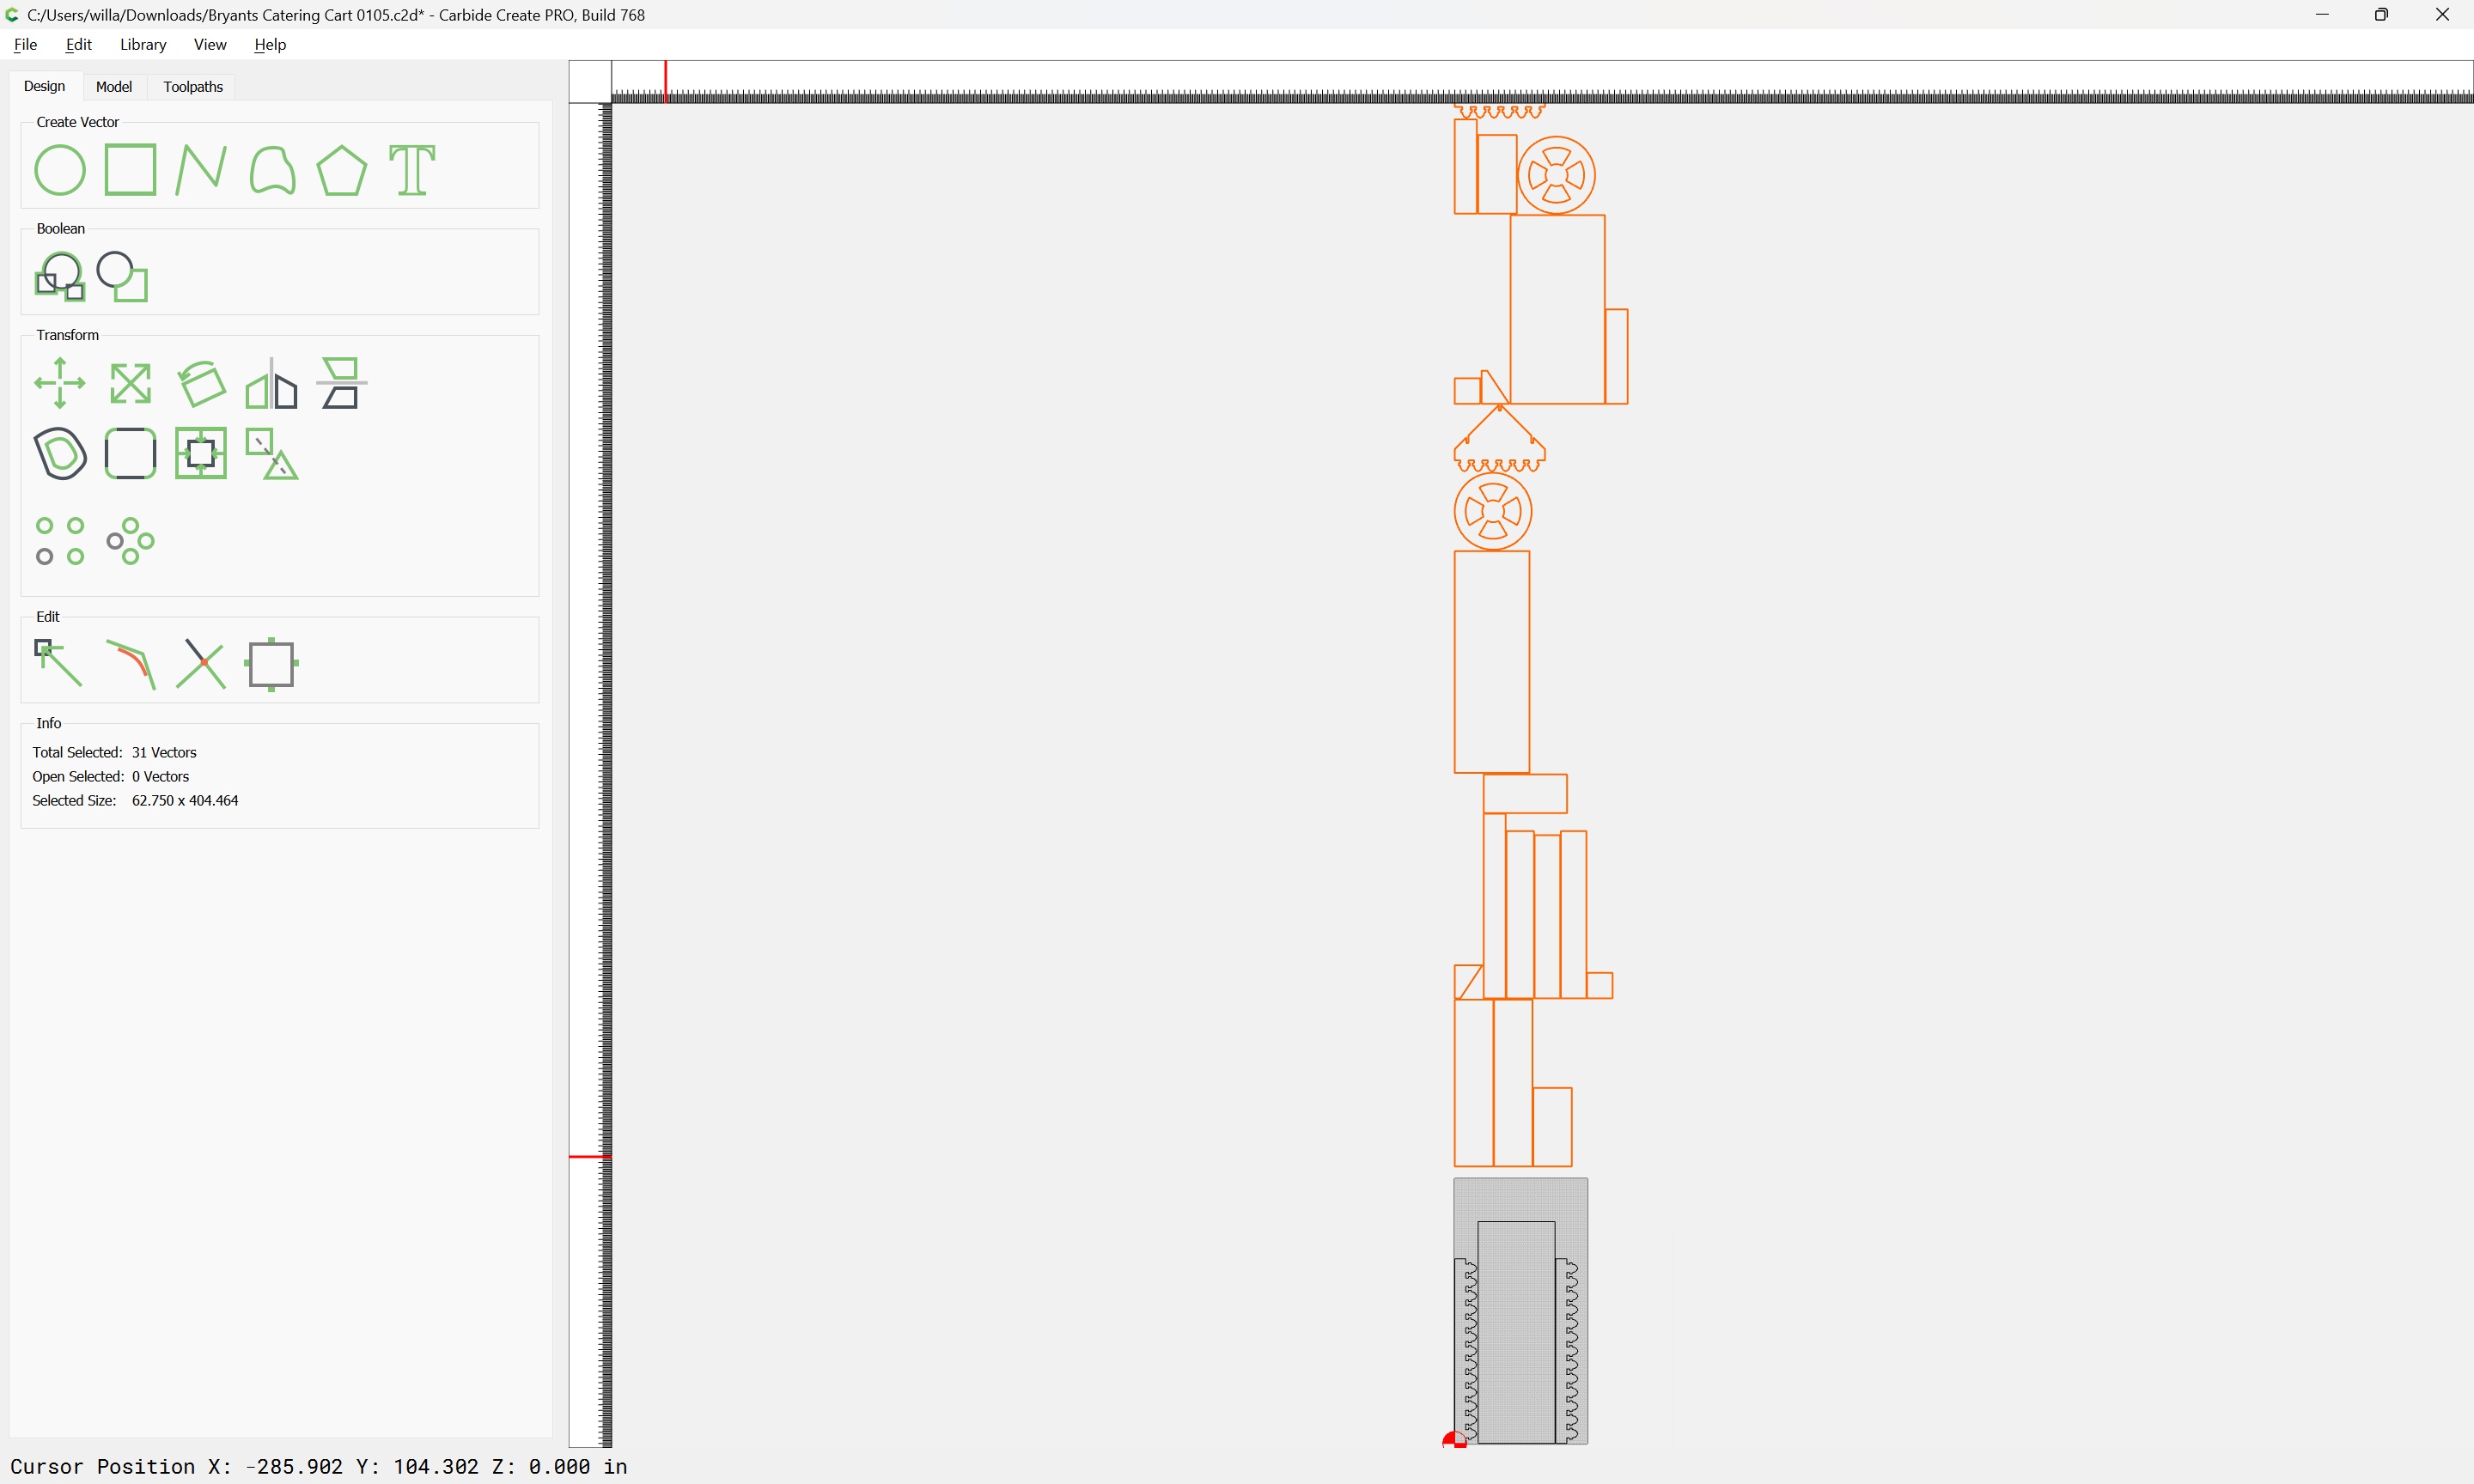
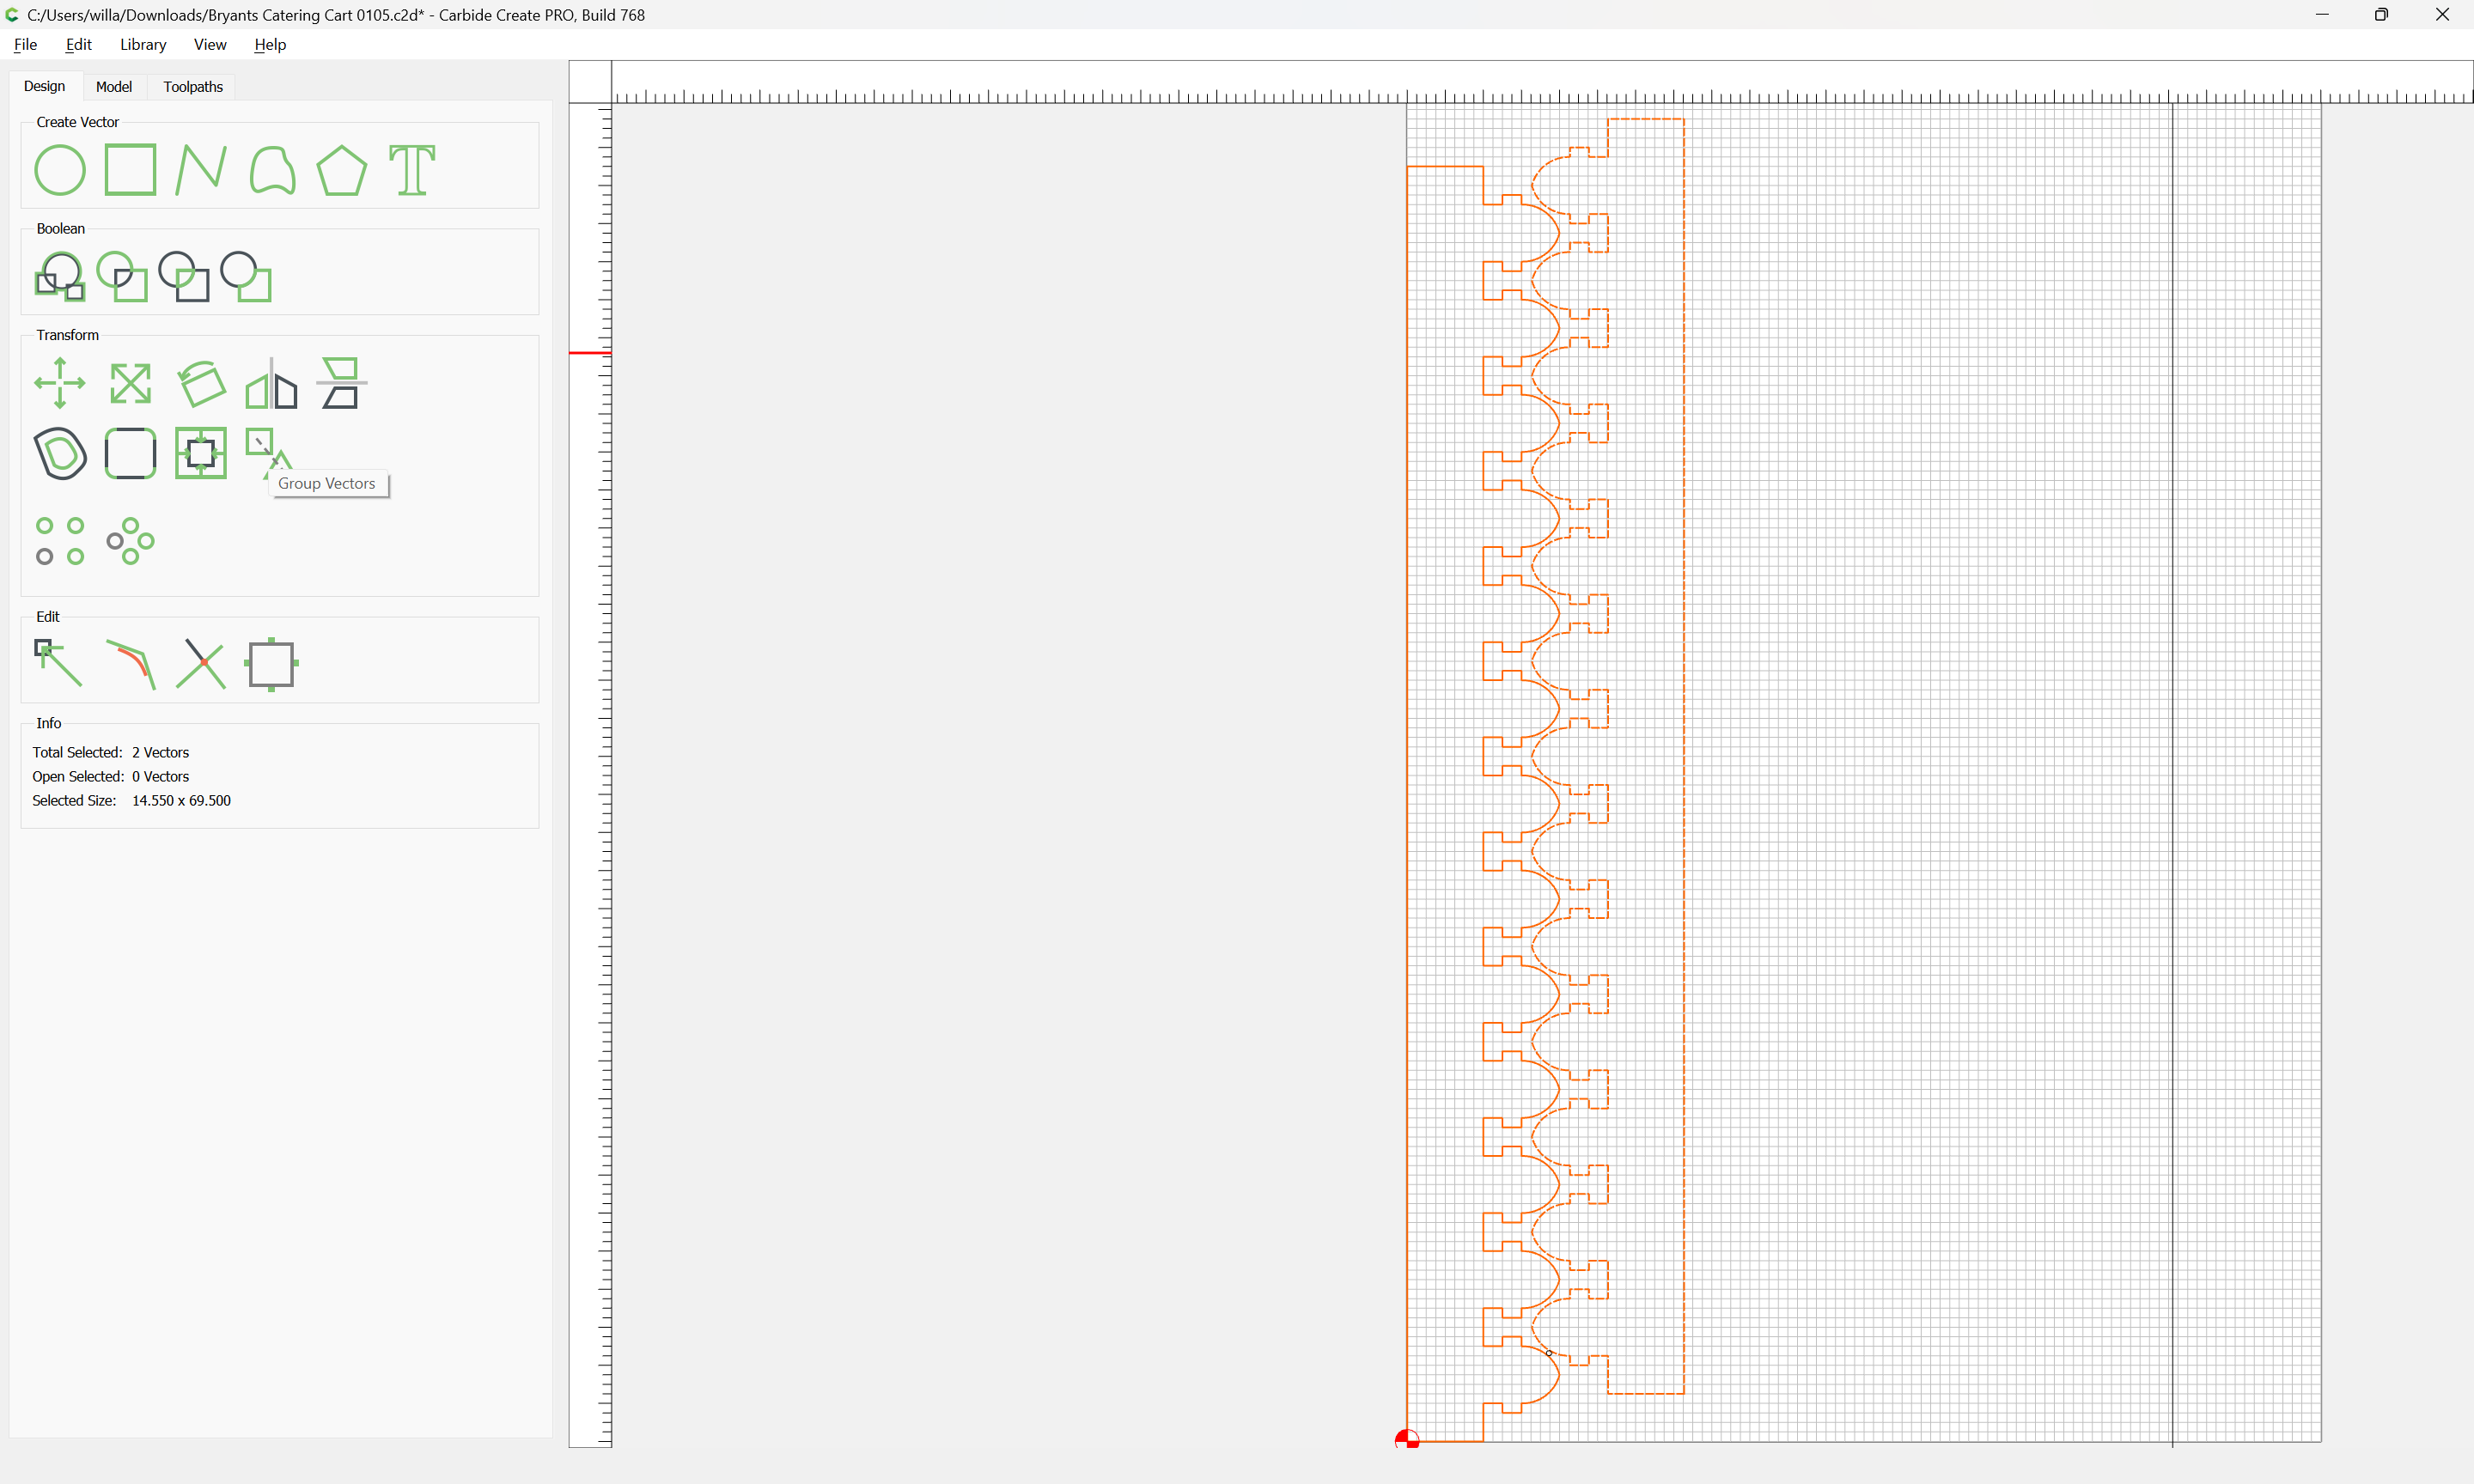
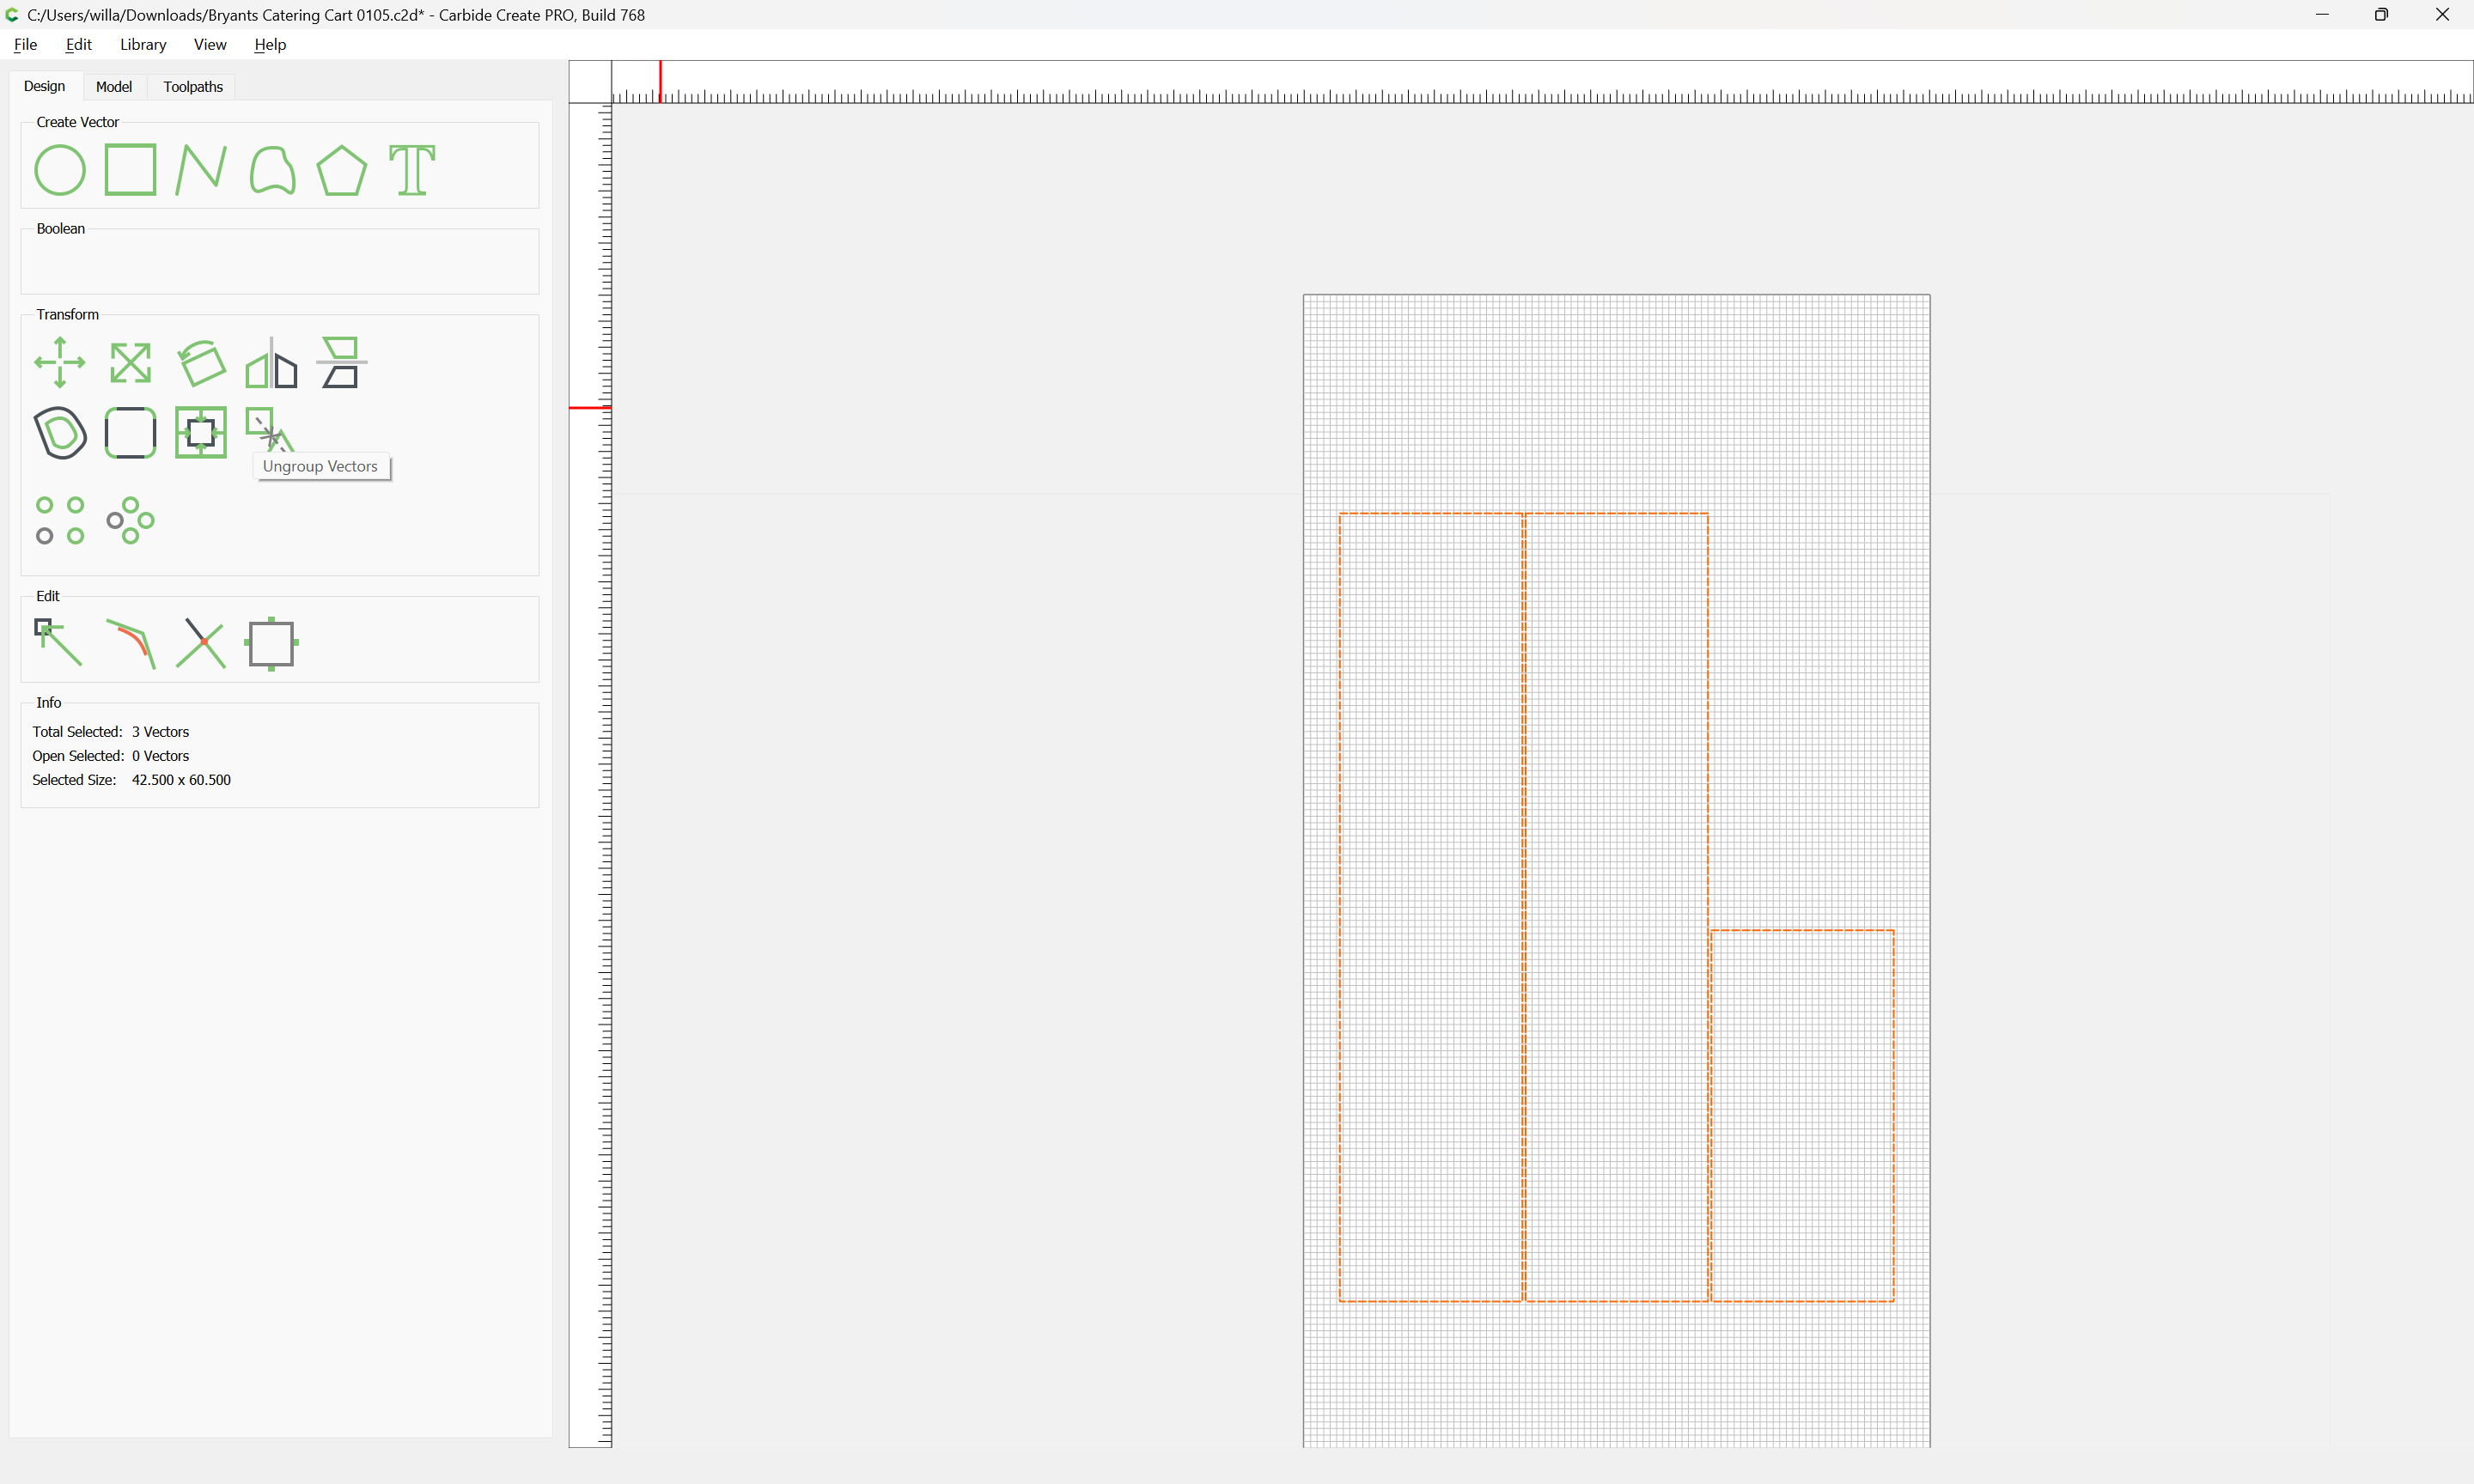
Select everything but the parts for the first sheet:
and move it out of the way:
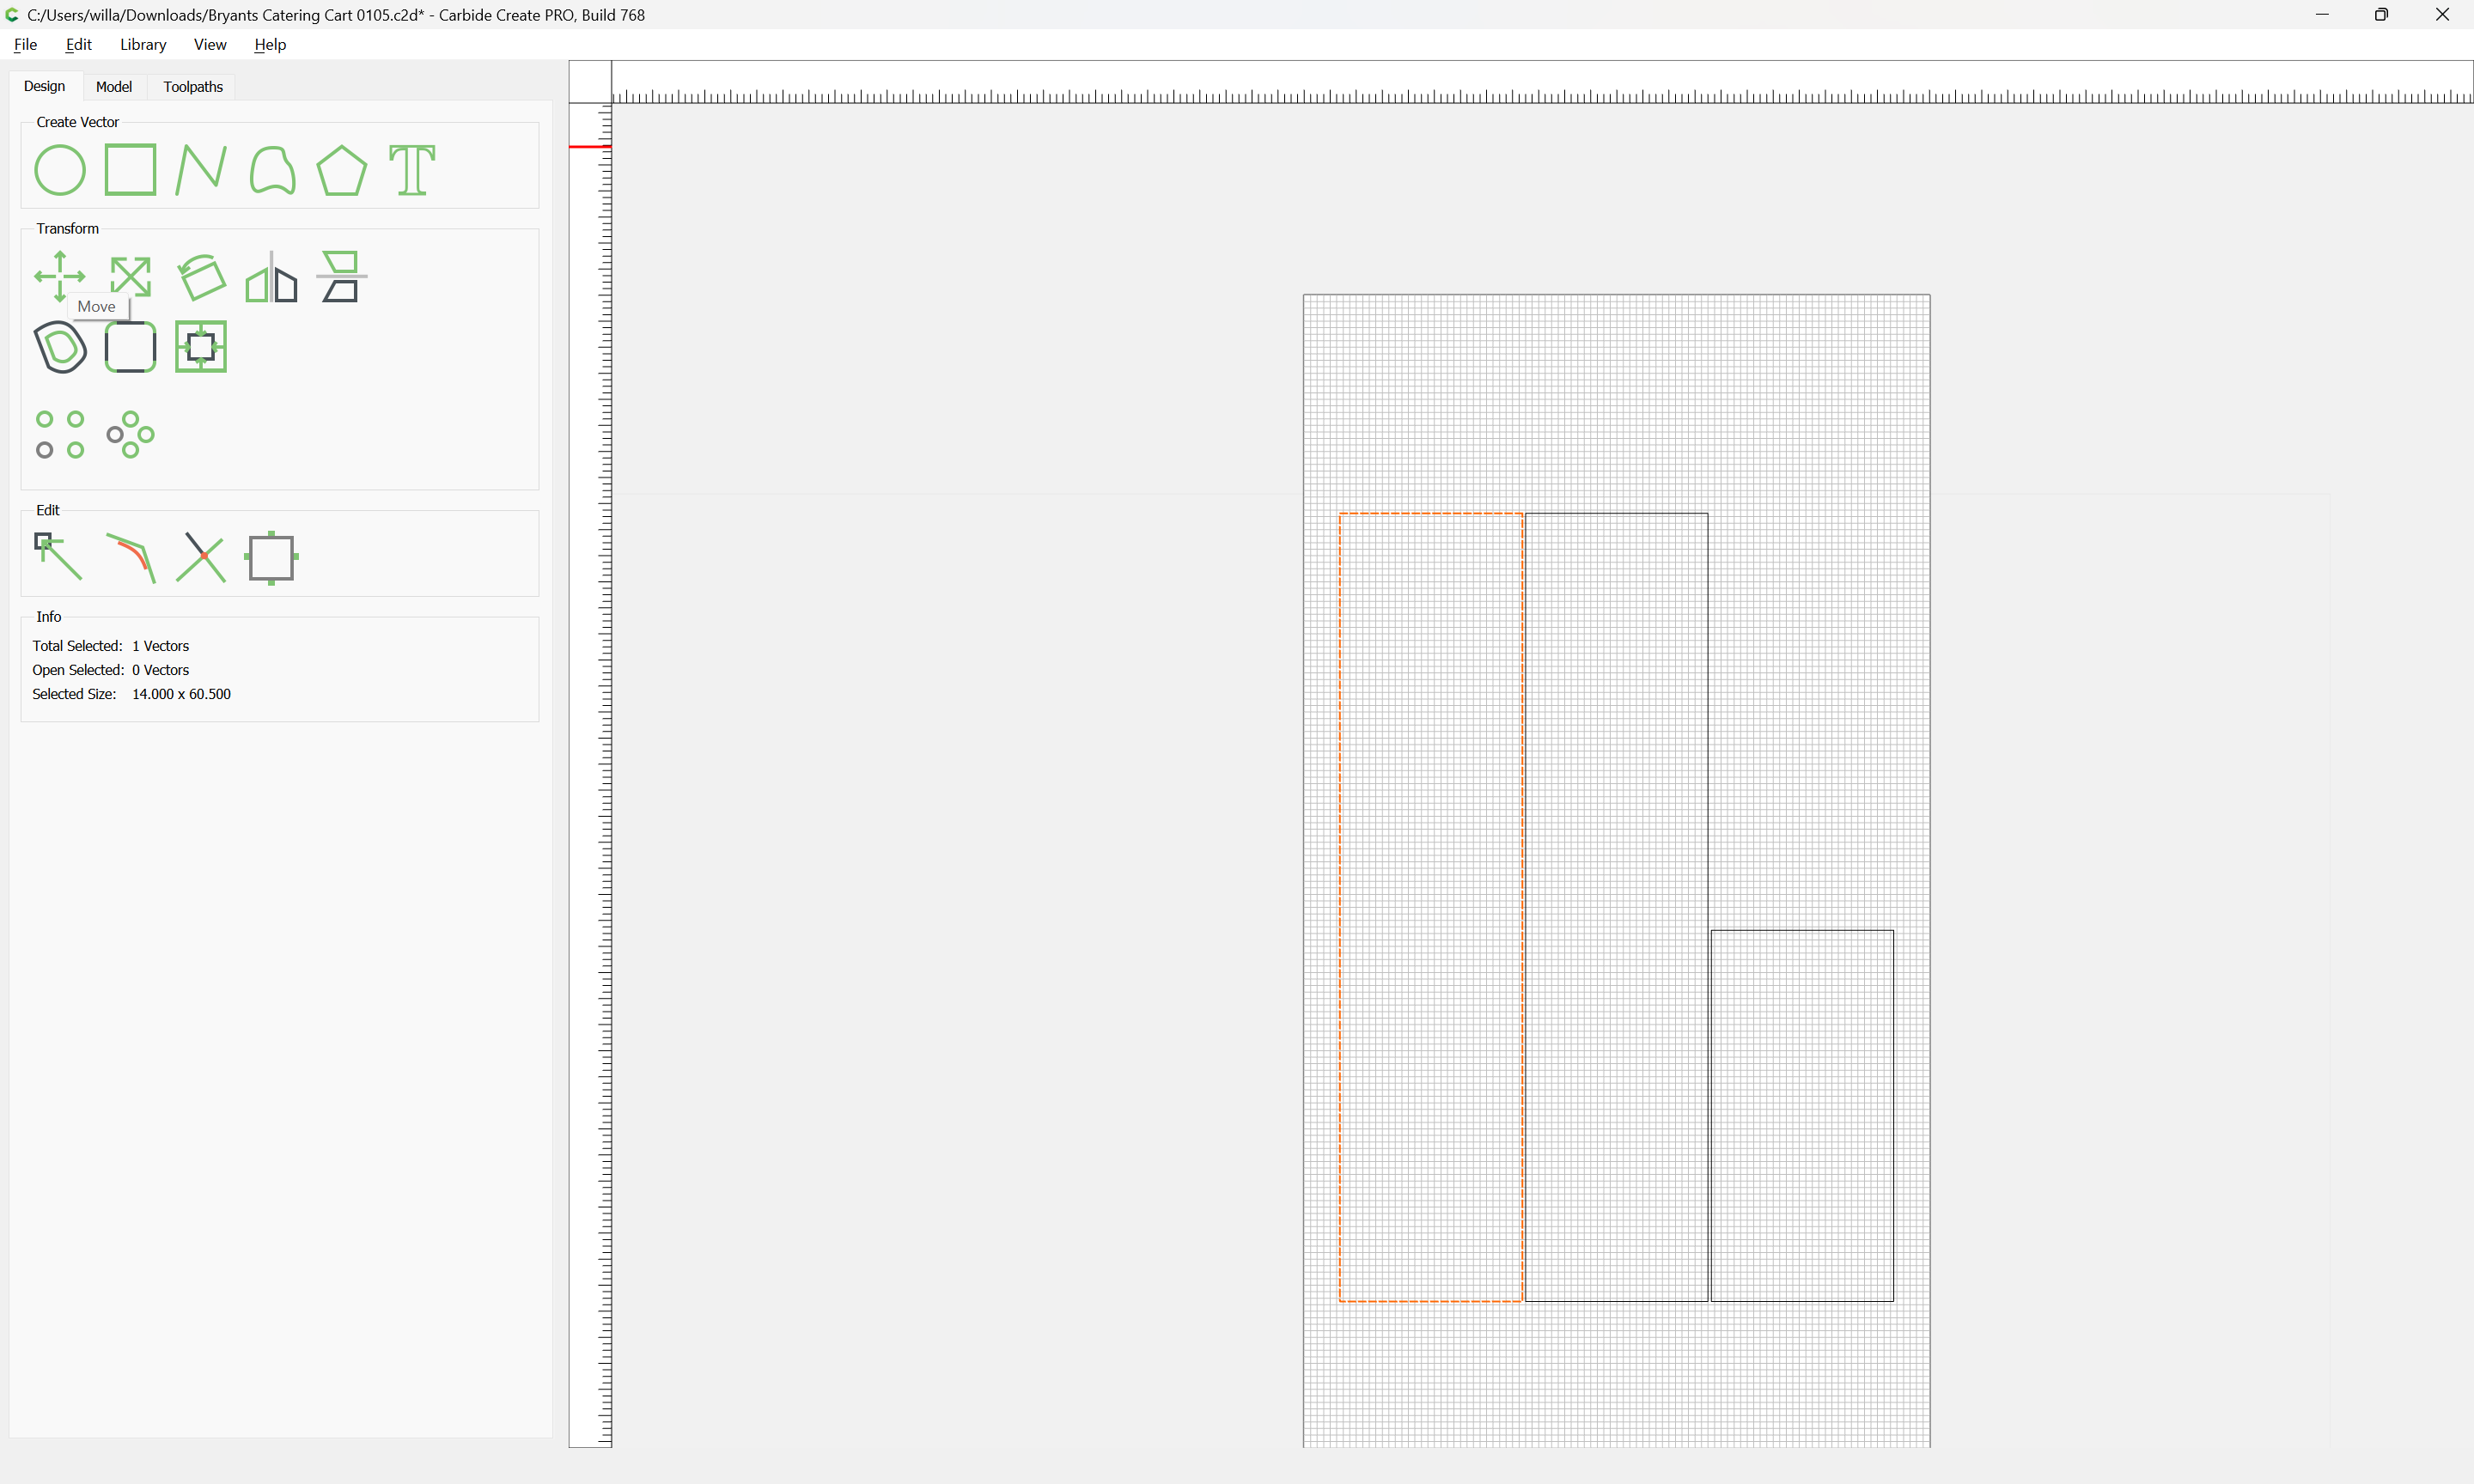
Select the parts for the first sheet:
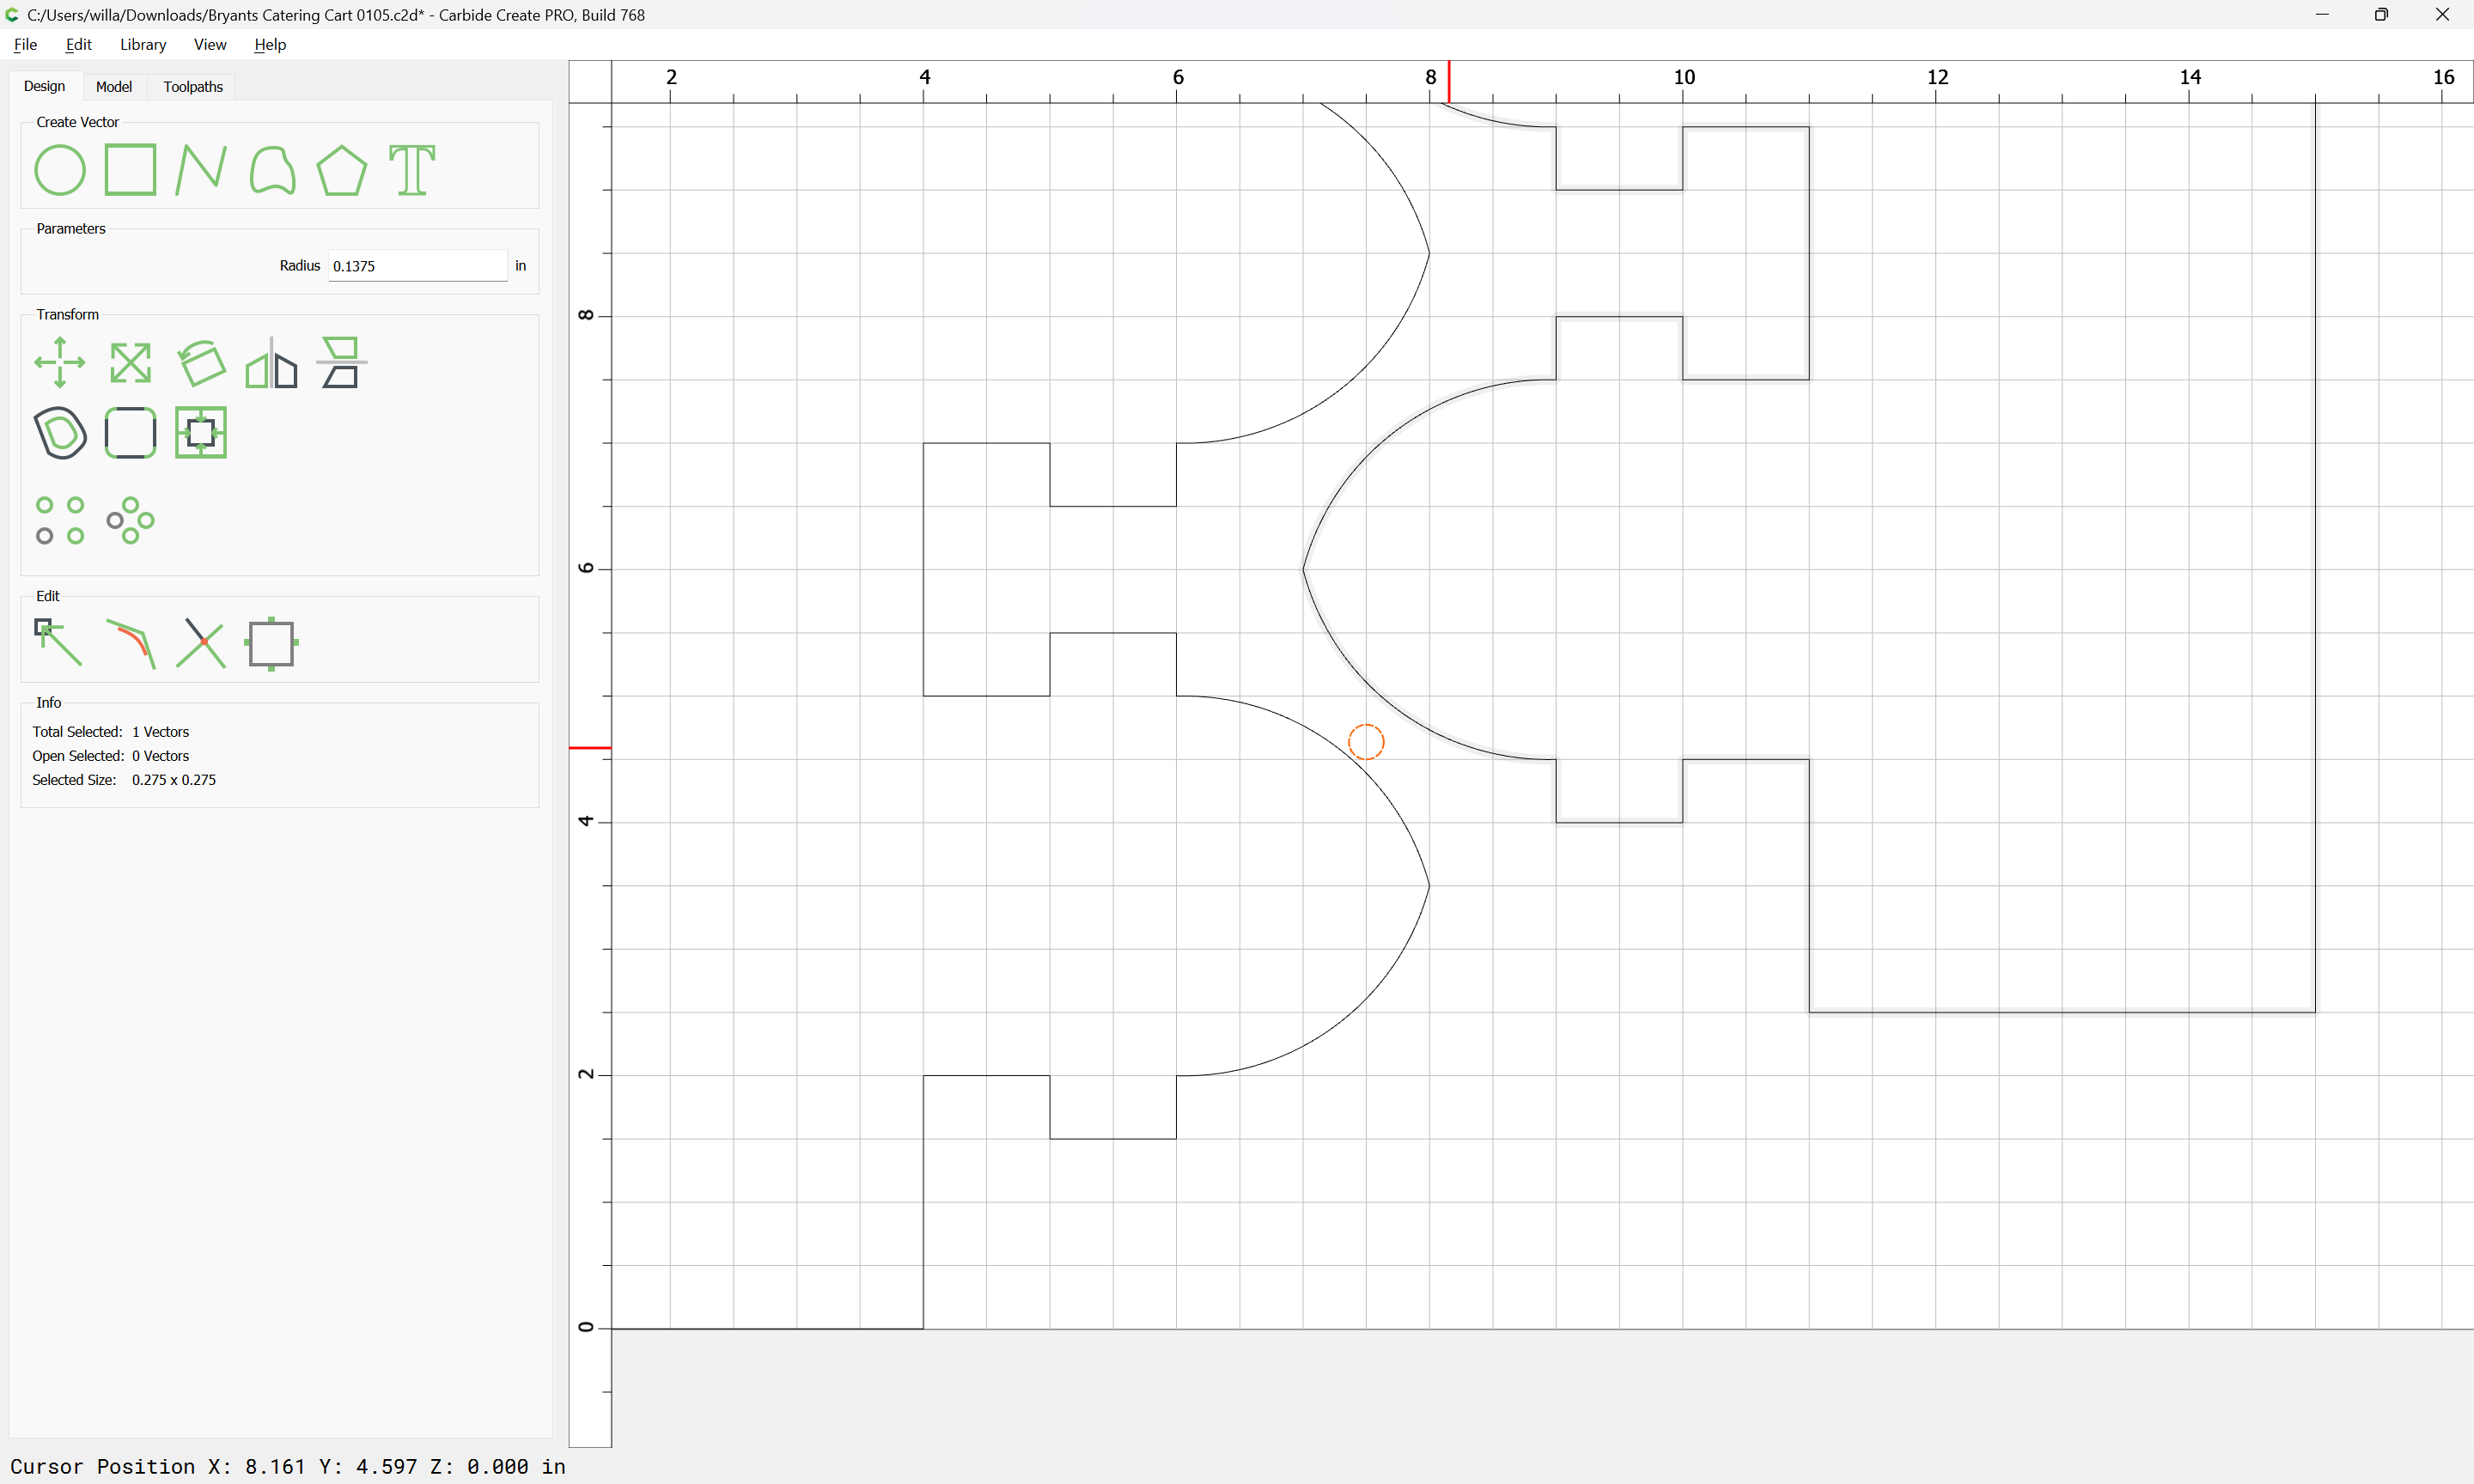
and adjust it to facilitate cutting — draw in a circle showing the tool diameter plus 10%:
and use it as a guide to position the two parts relative to each other:
Select the two pieces and group them:
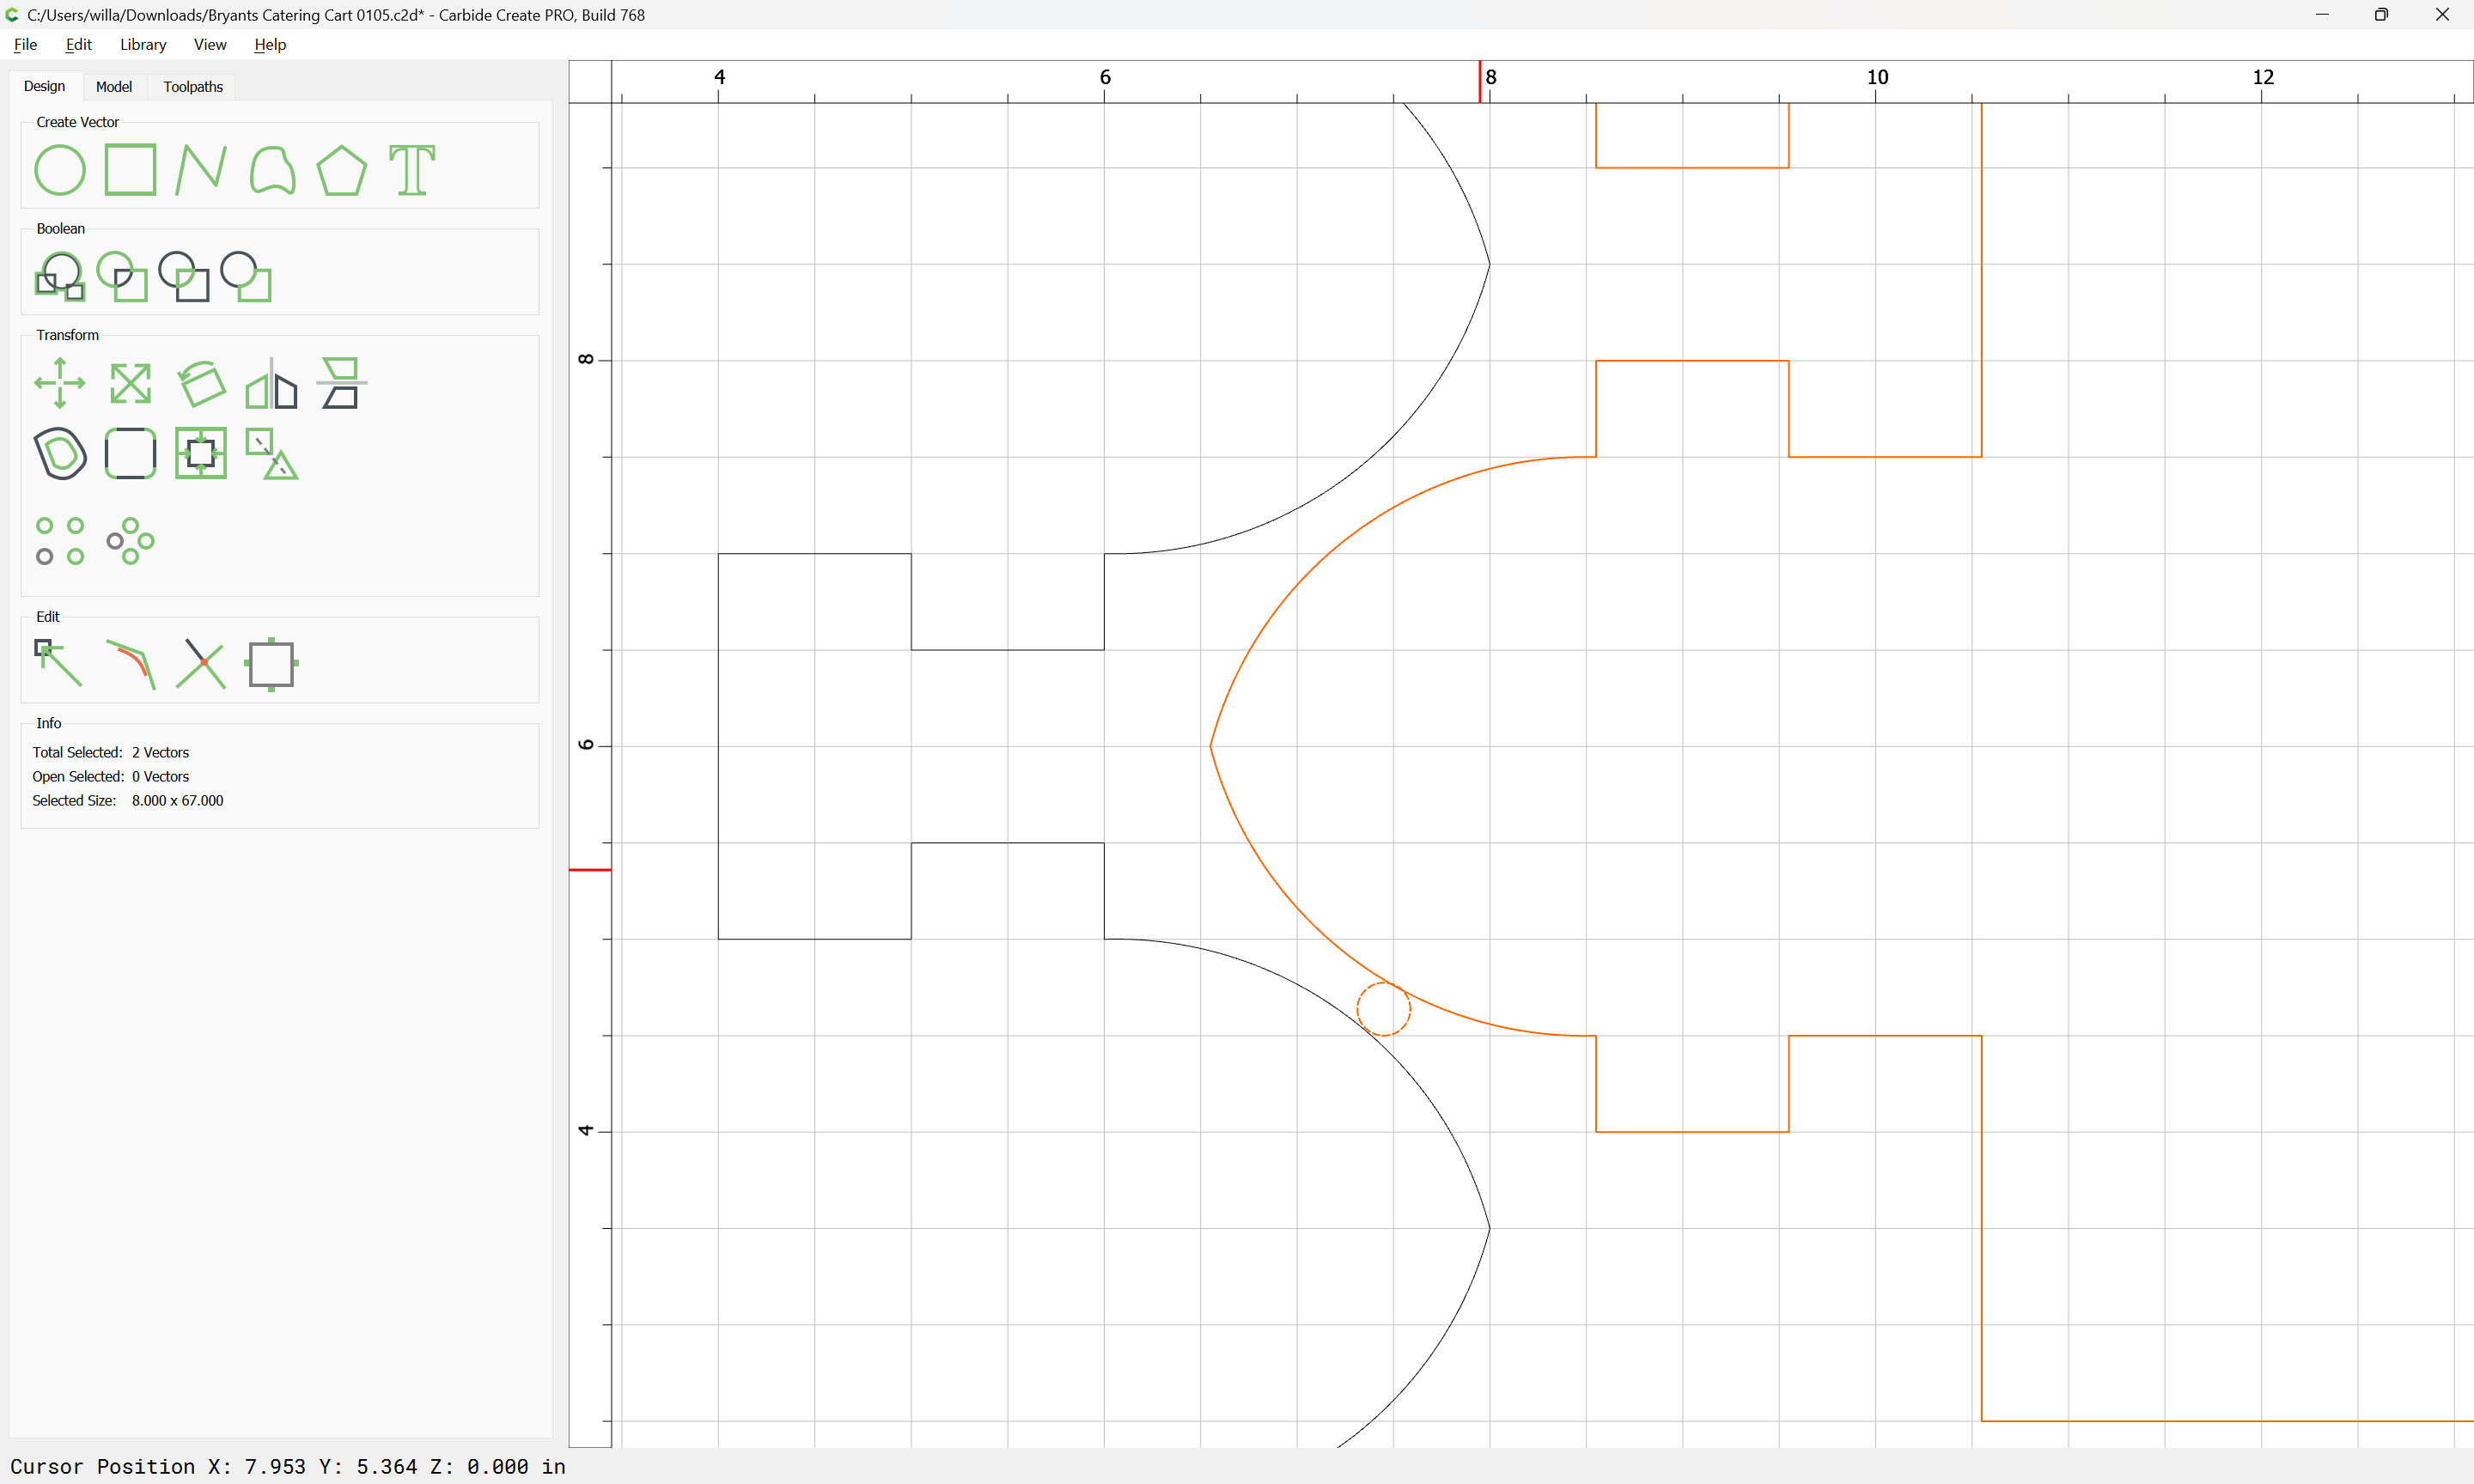
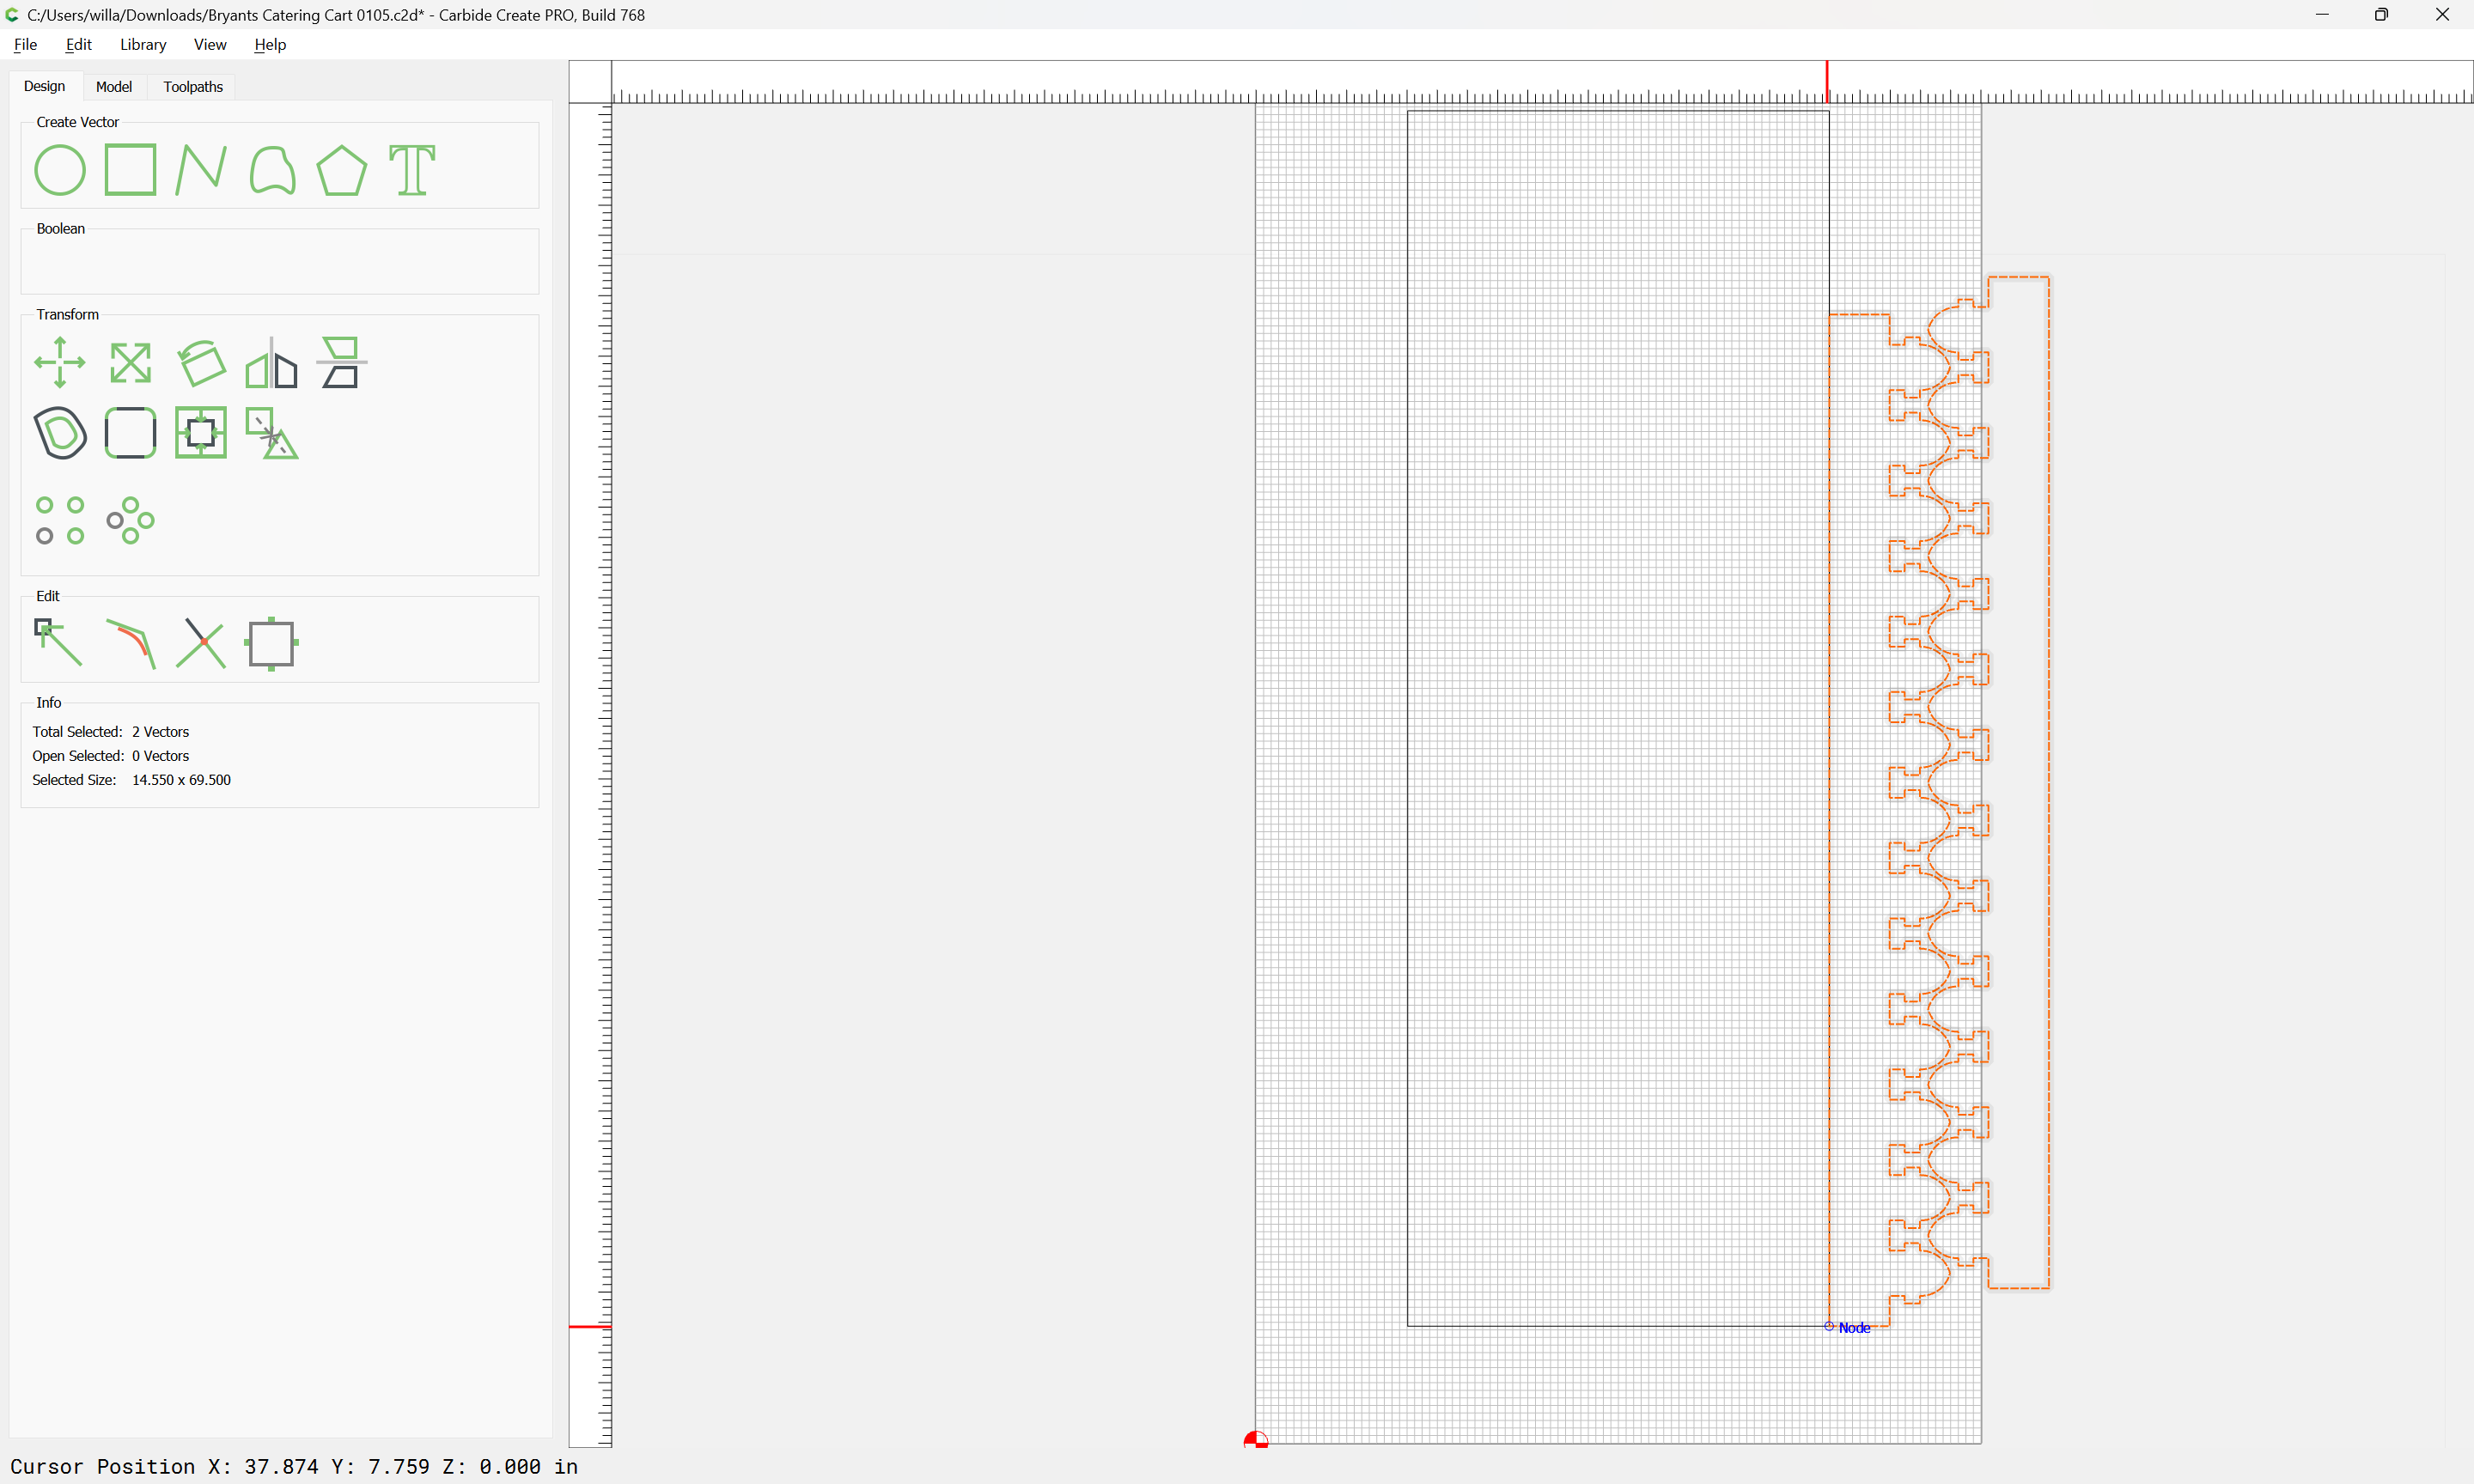
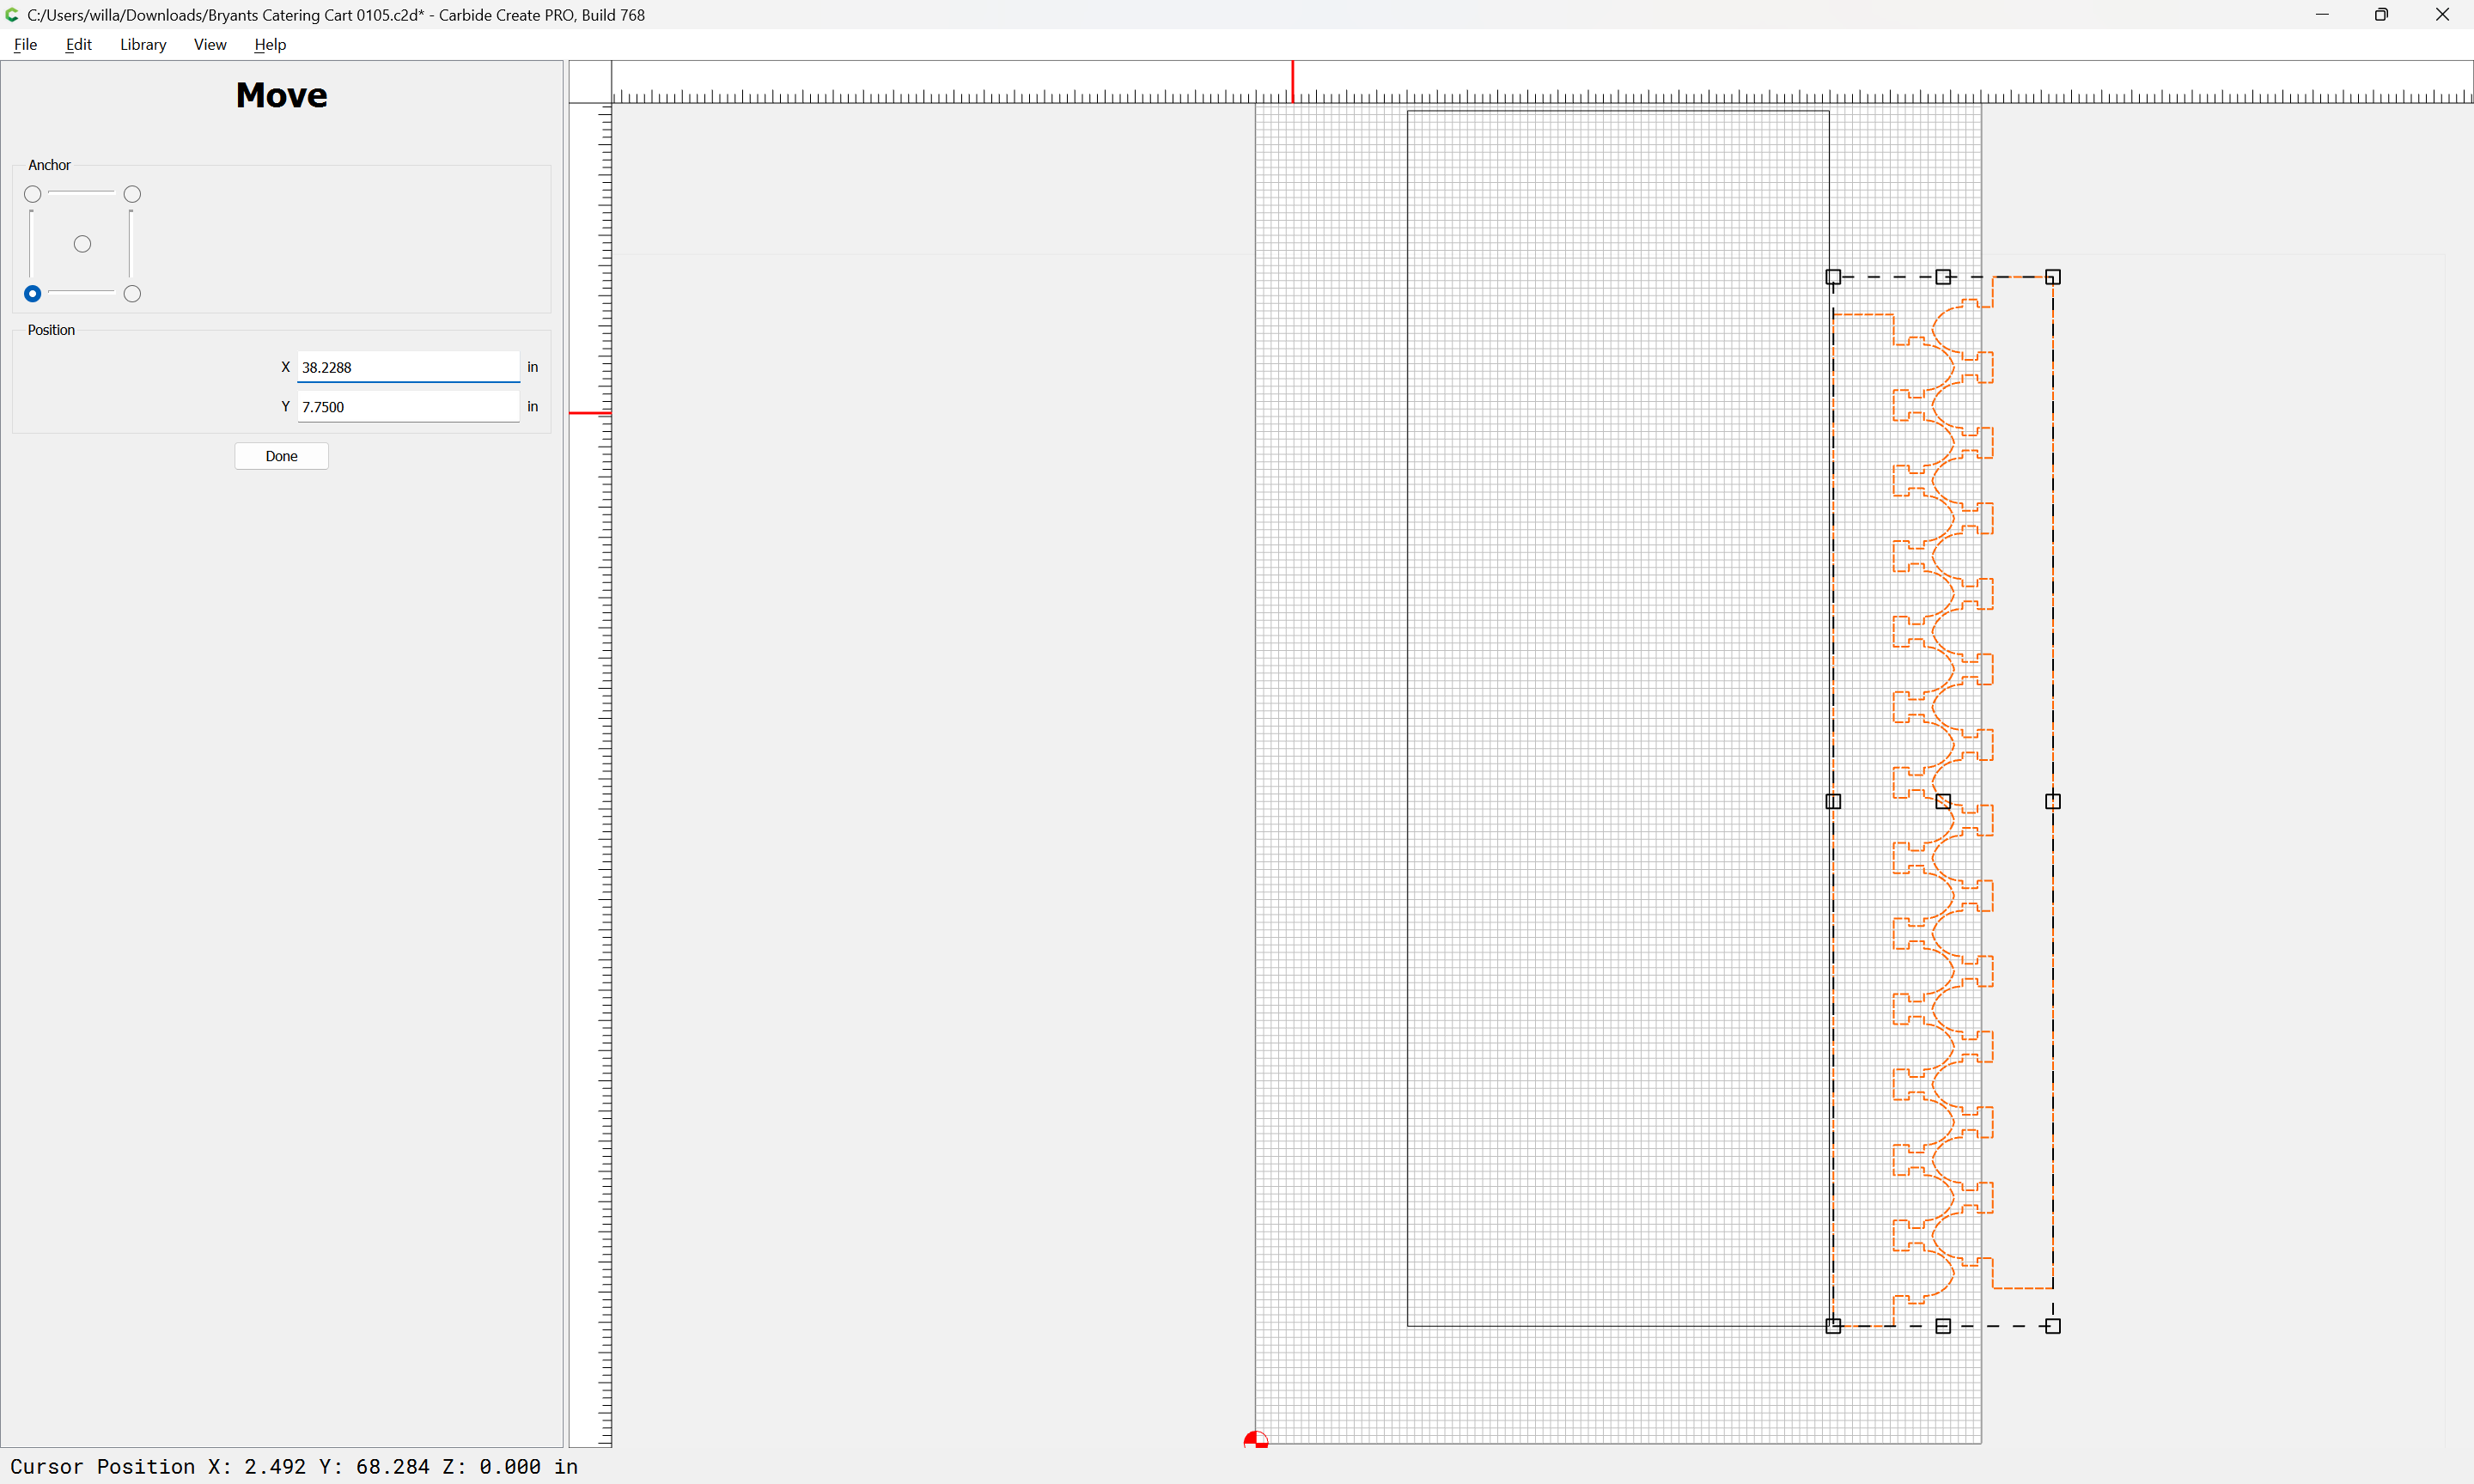
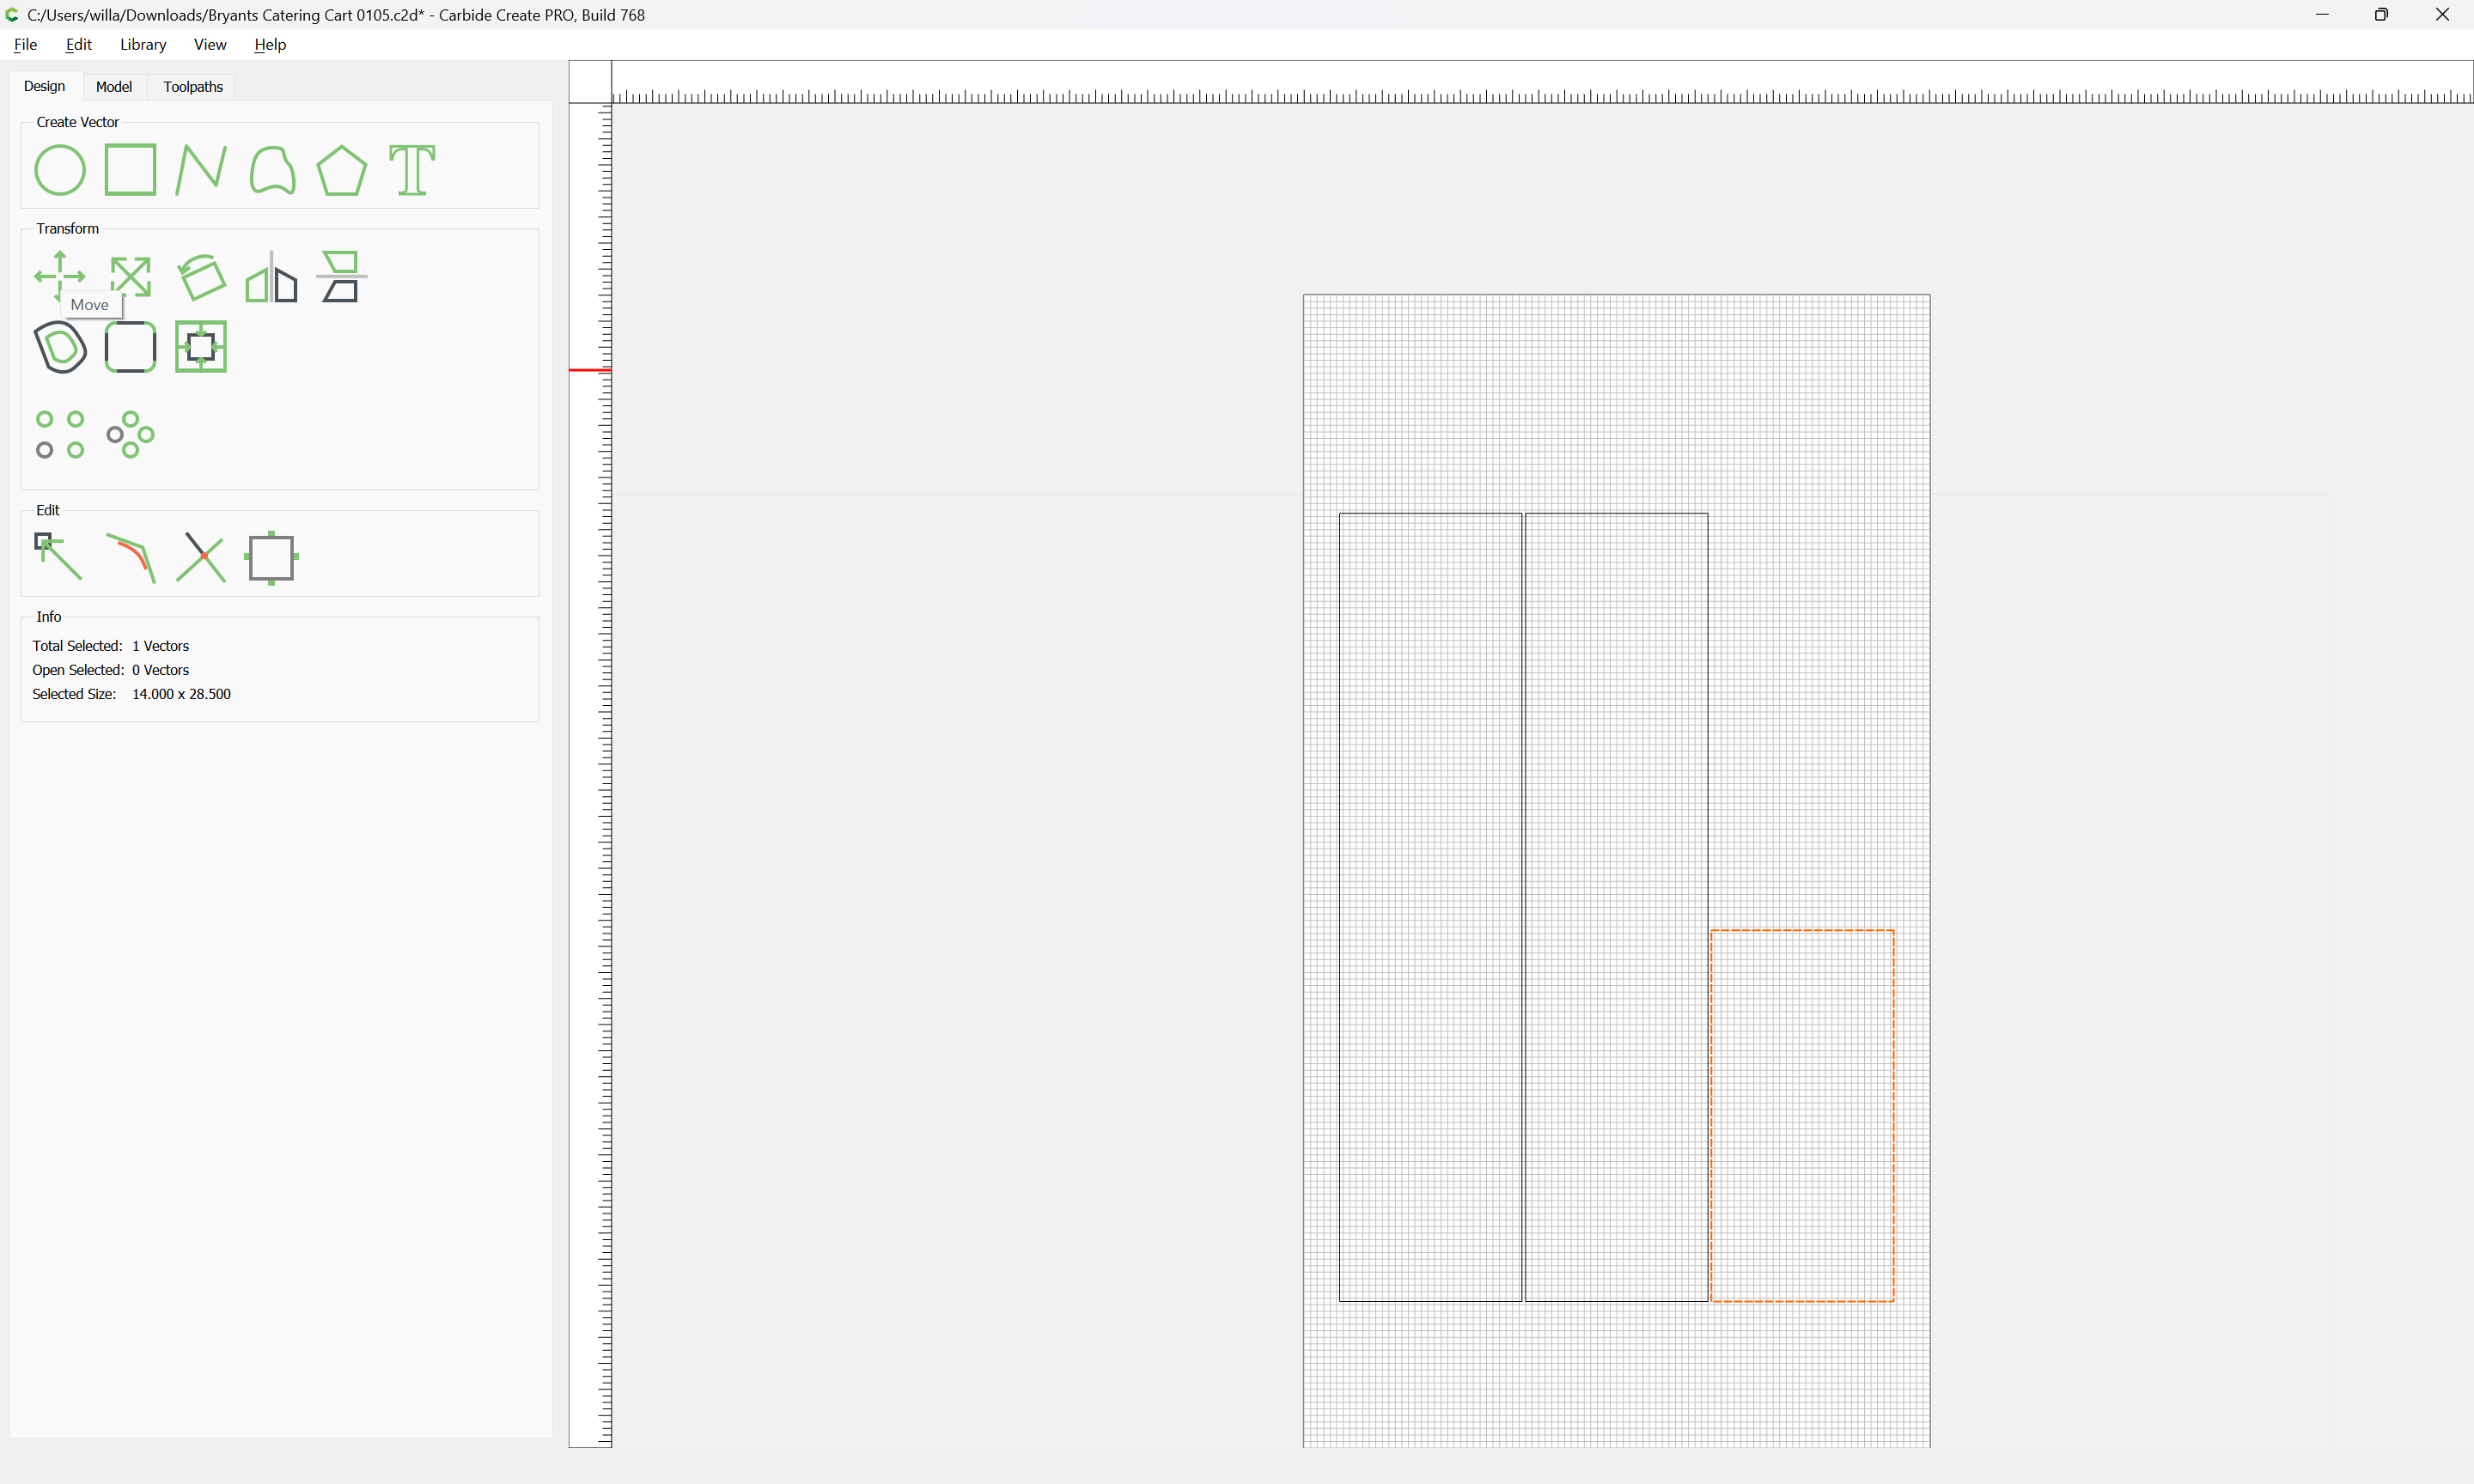
Select the other part and center it on the stock:
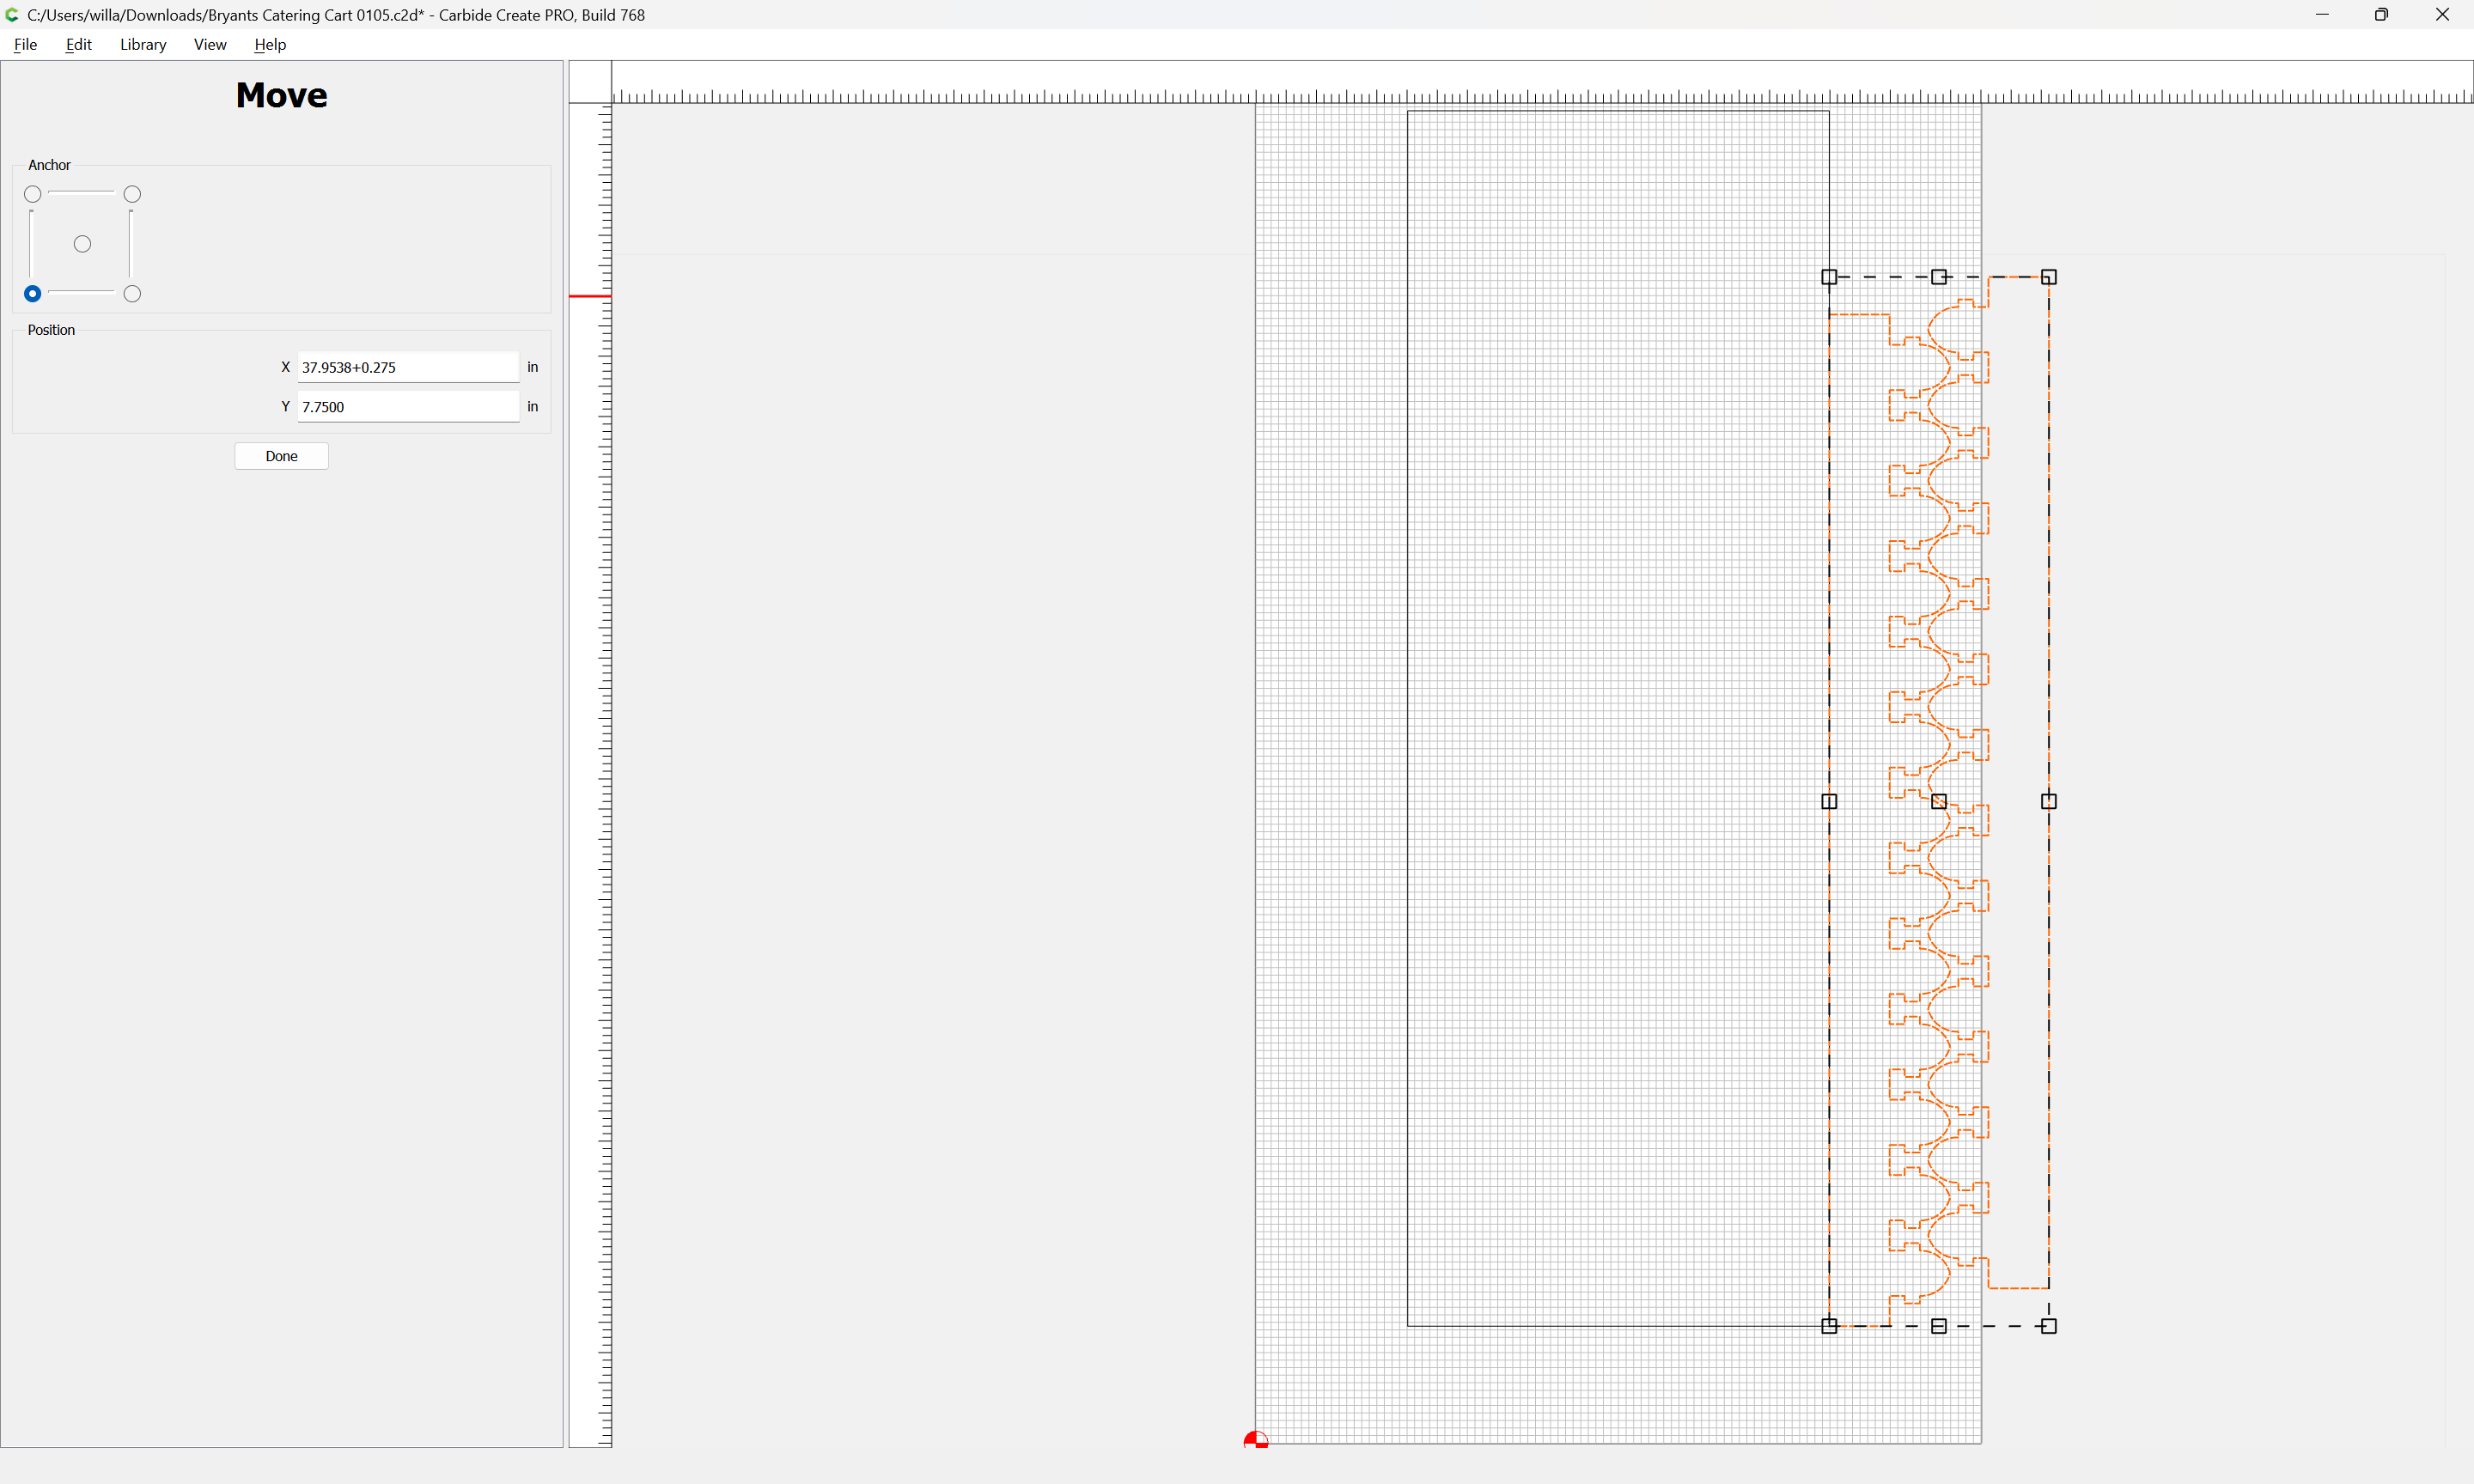
Then position the two parts:
and move by 0.275":
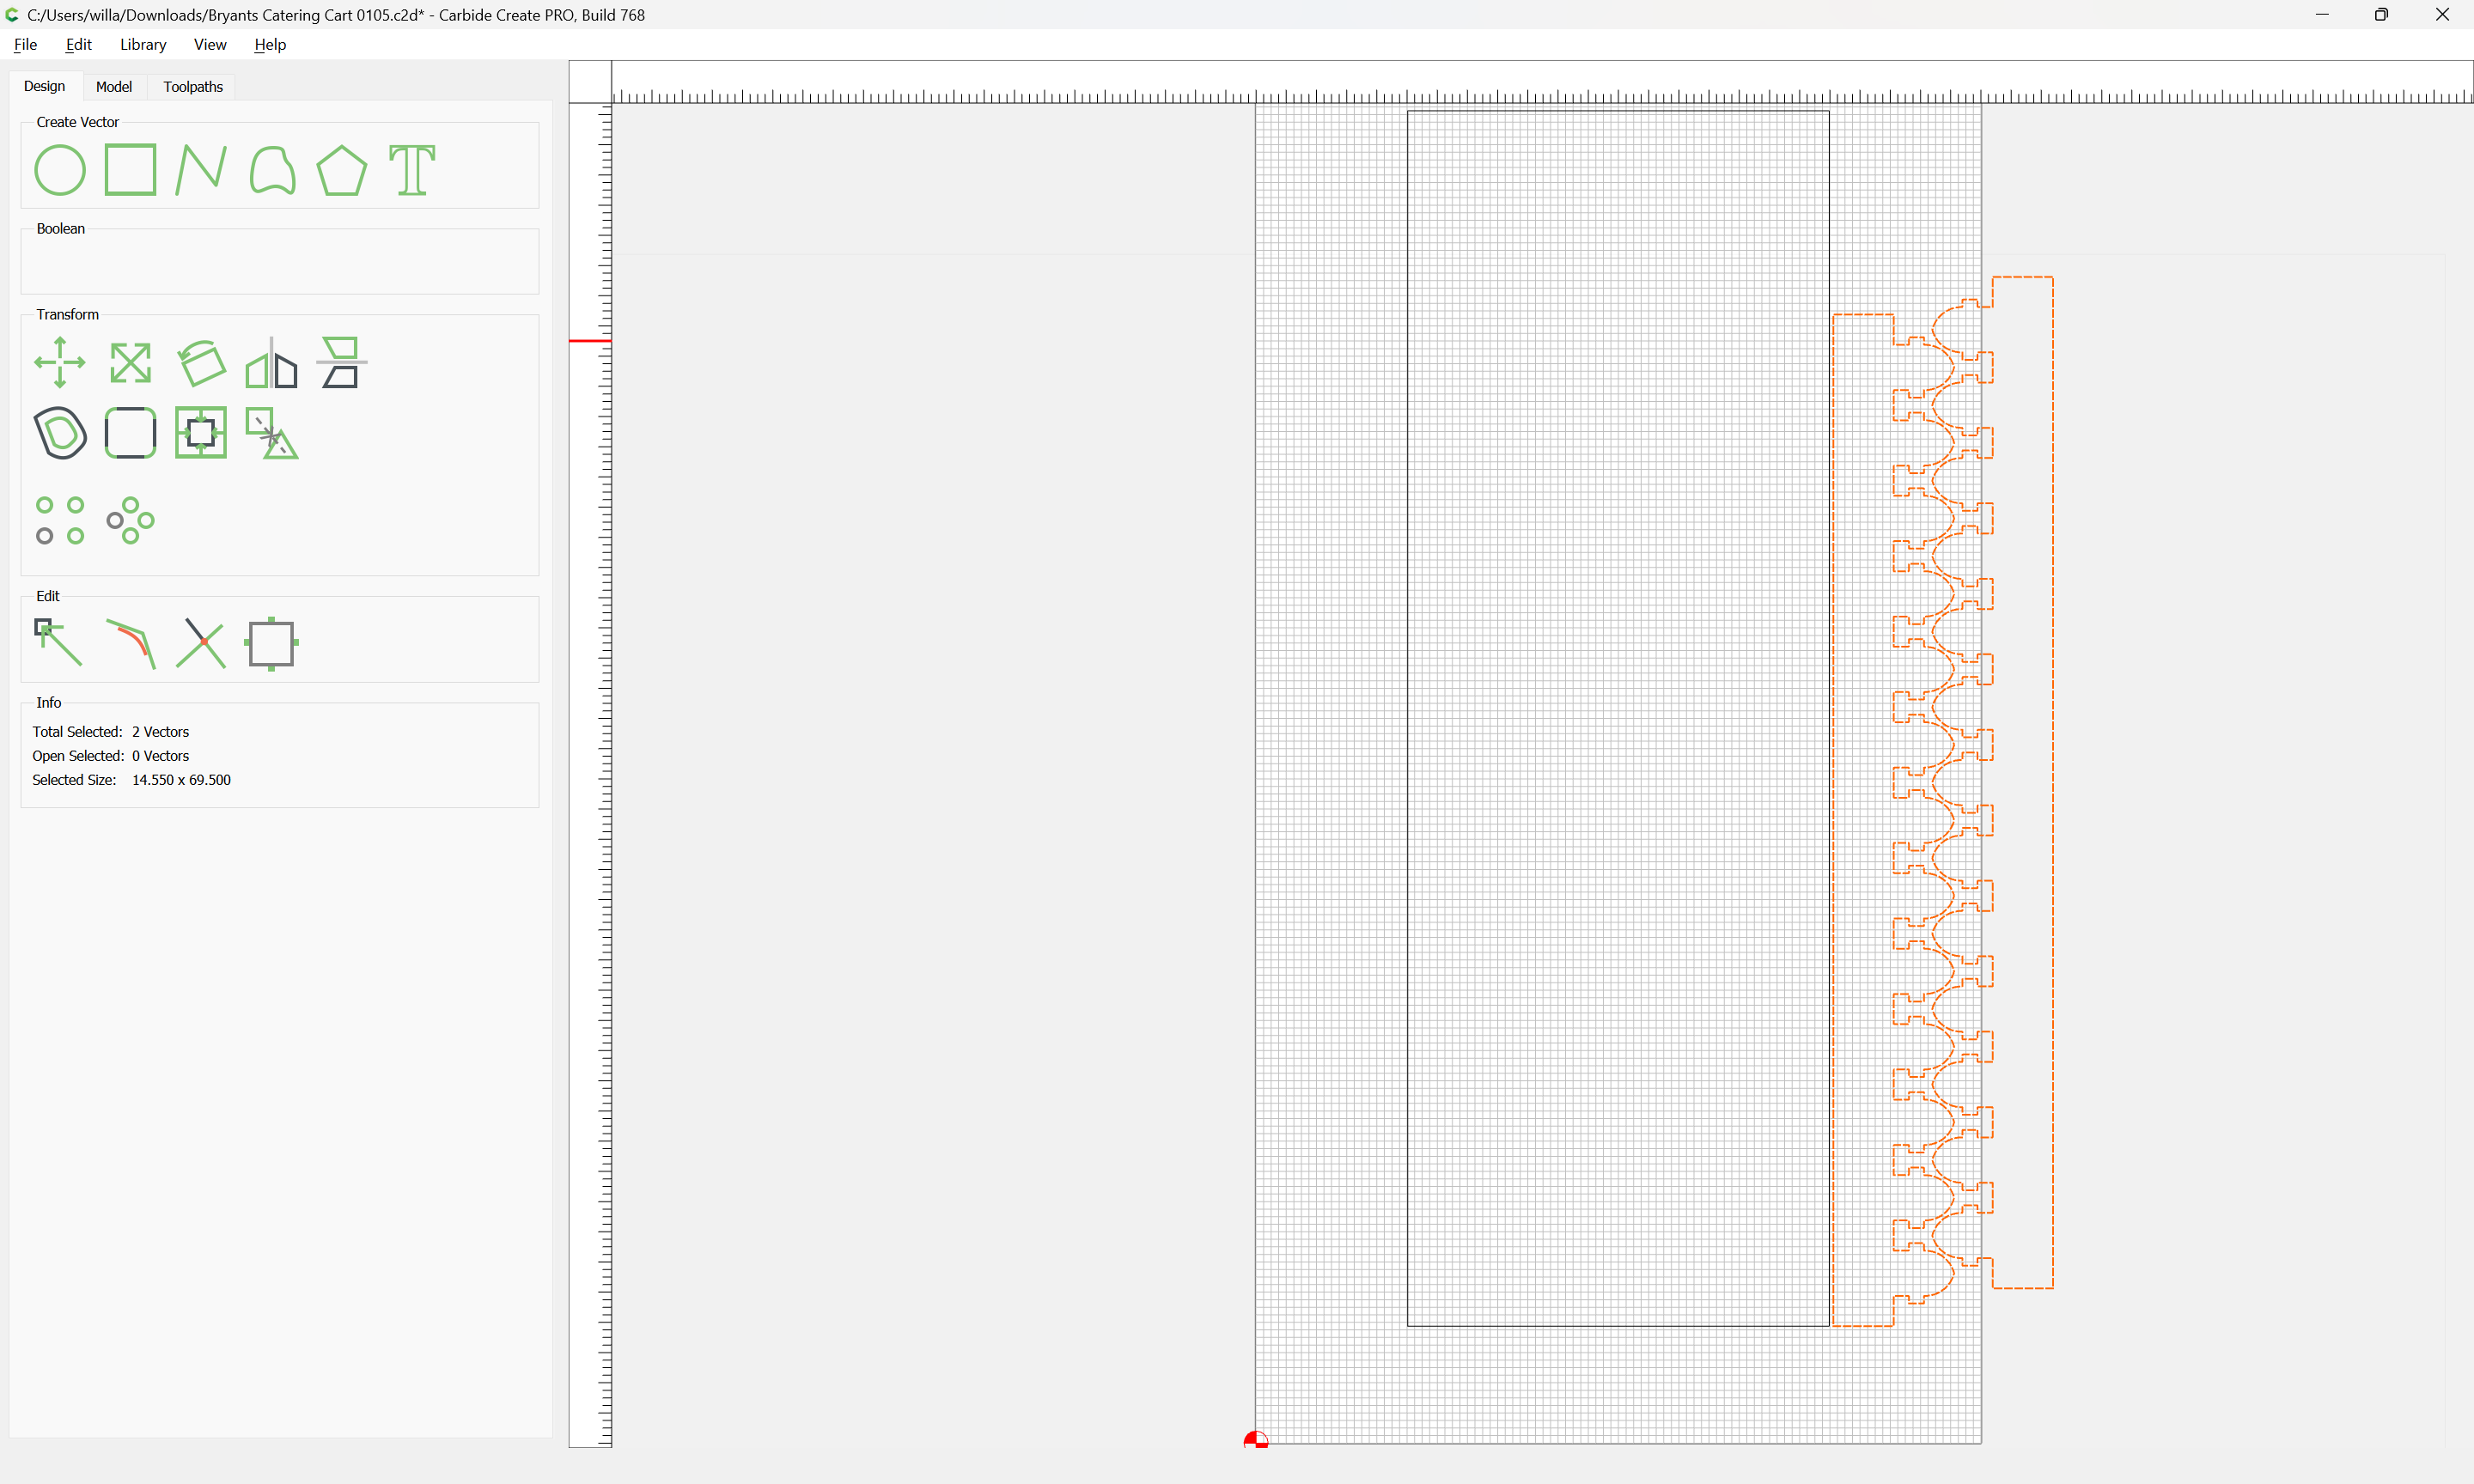
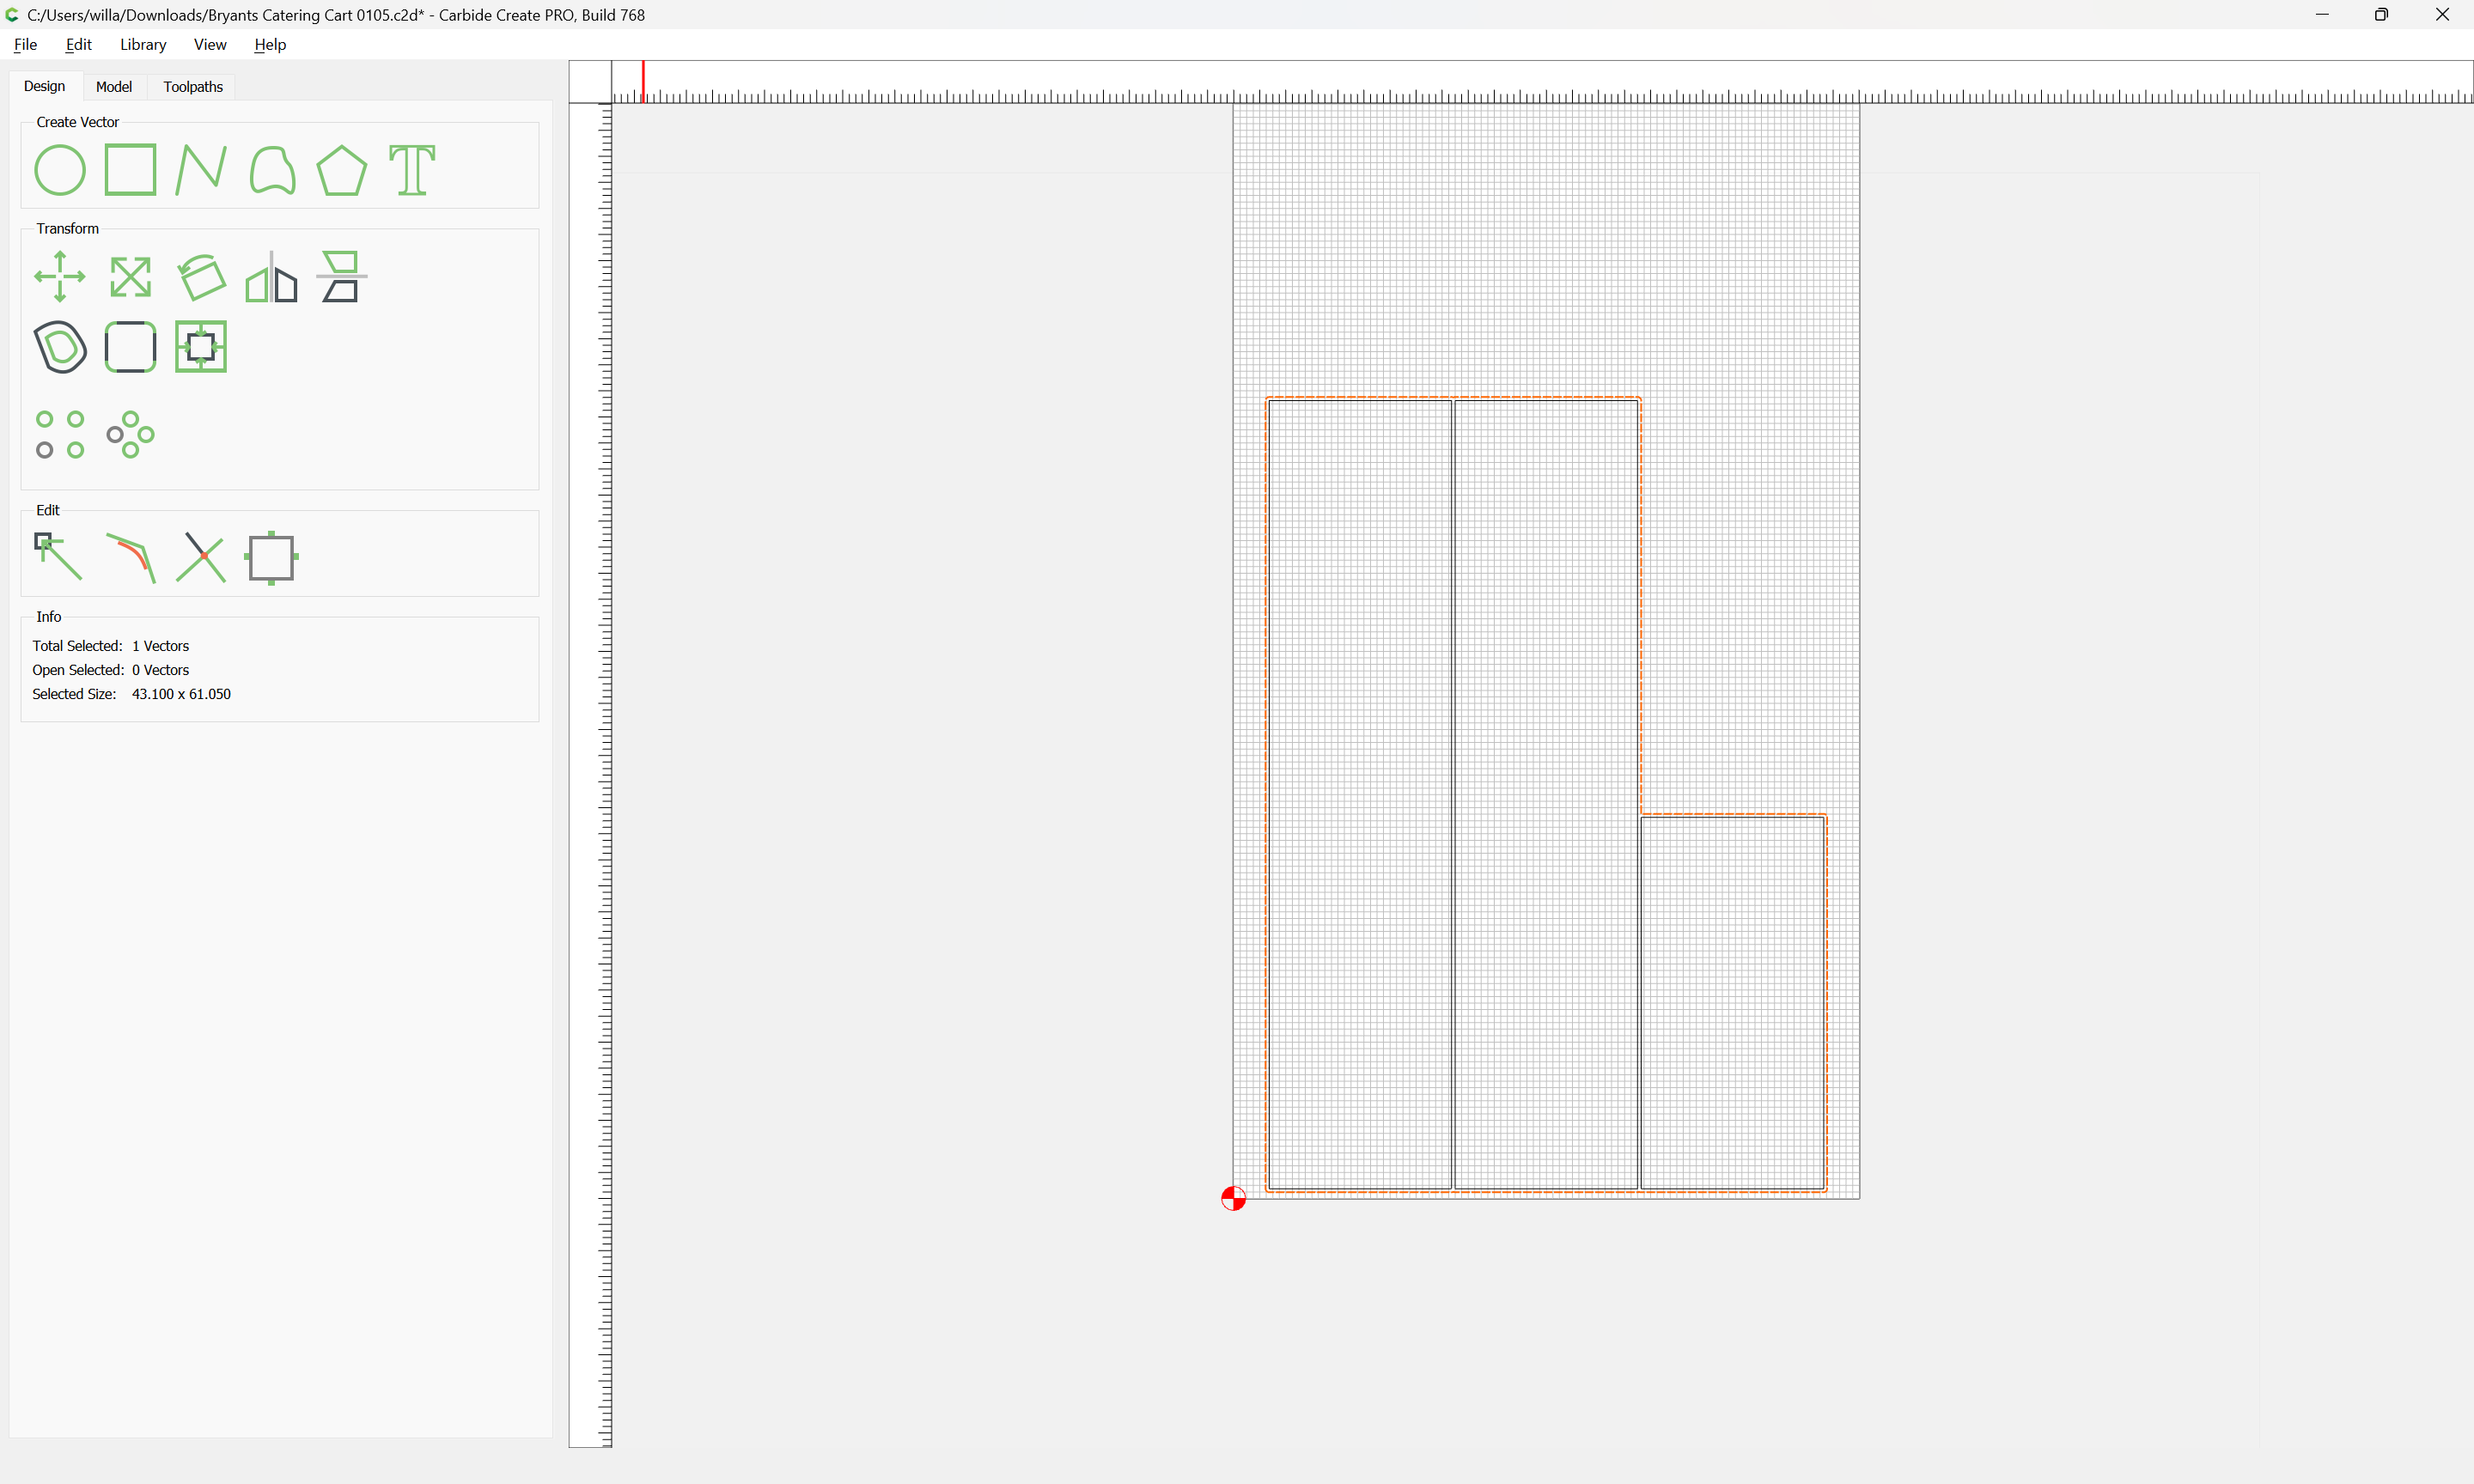
Select all the parts:
Group them:
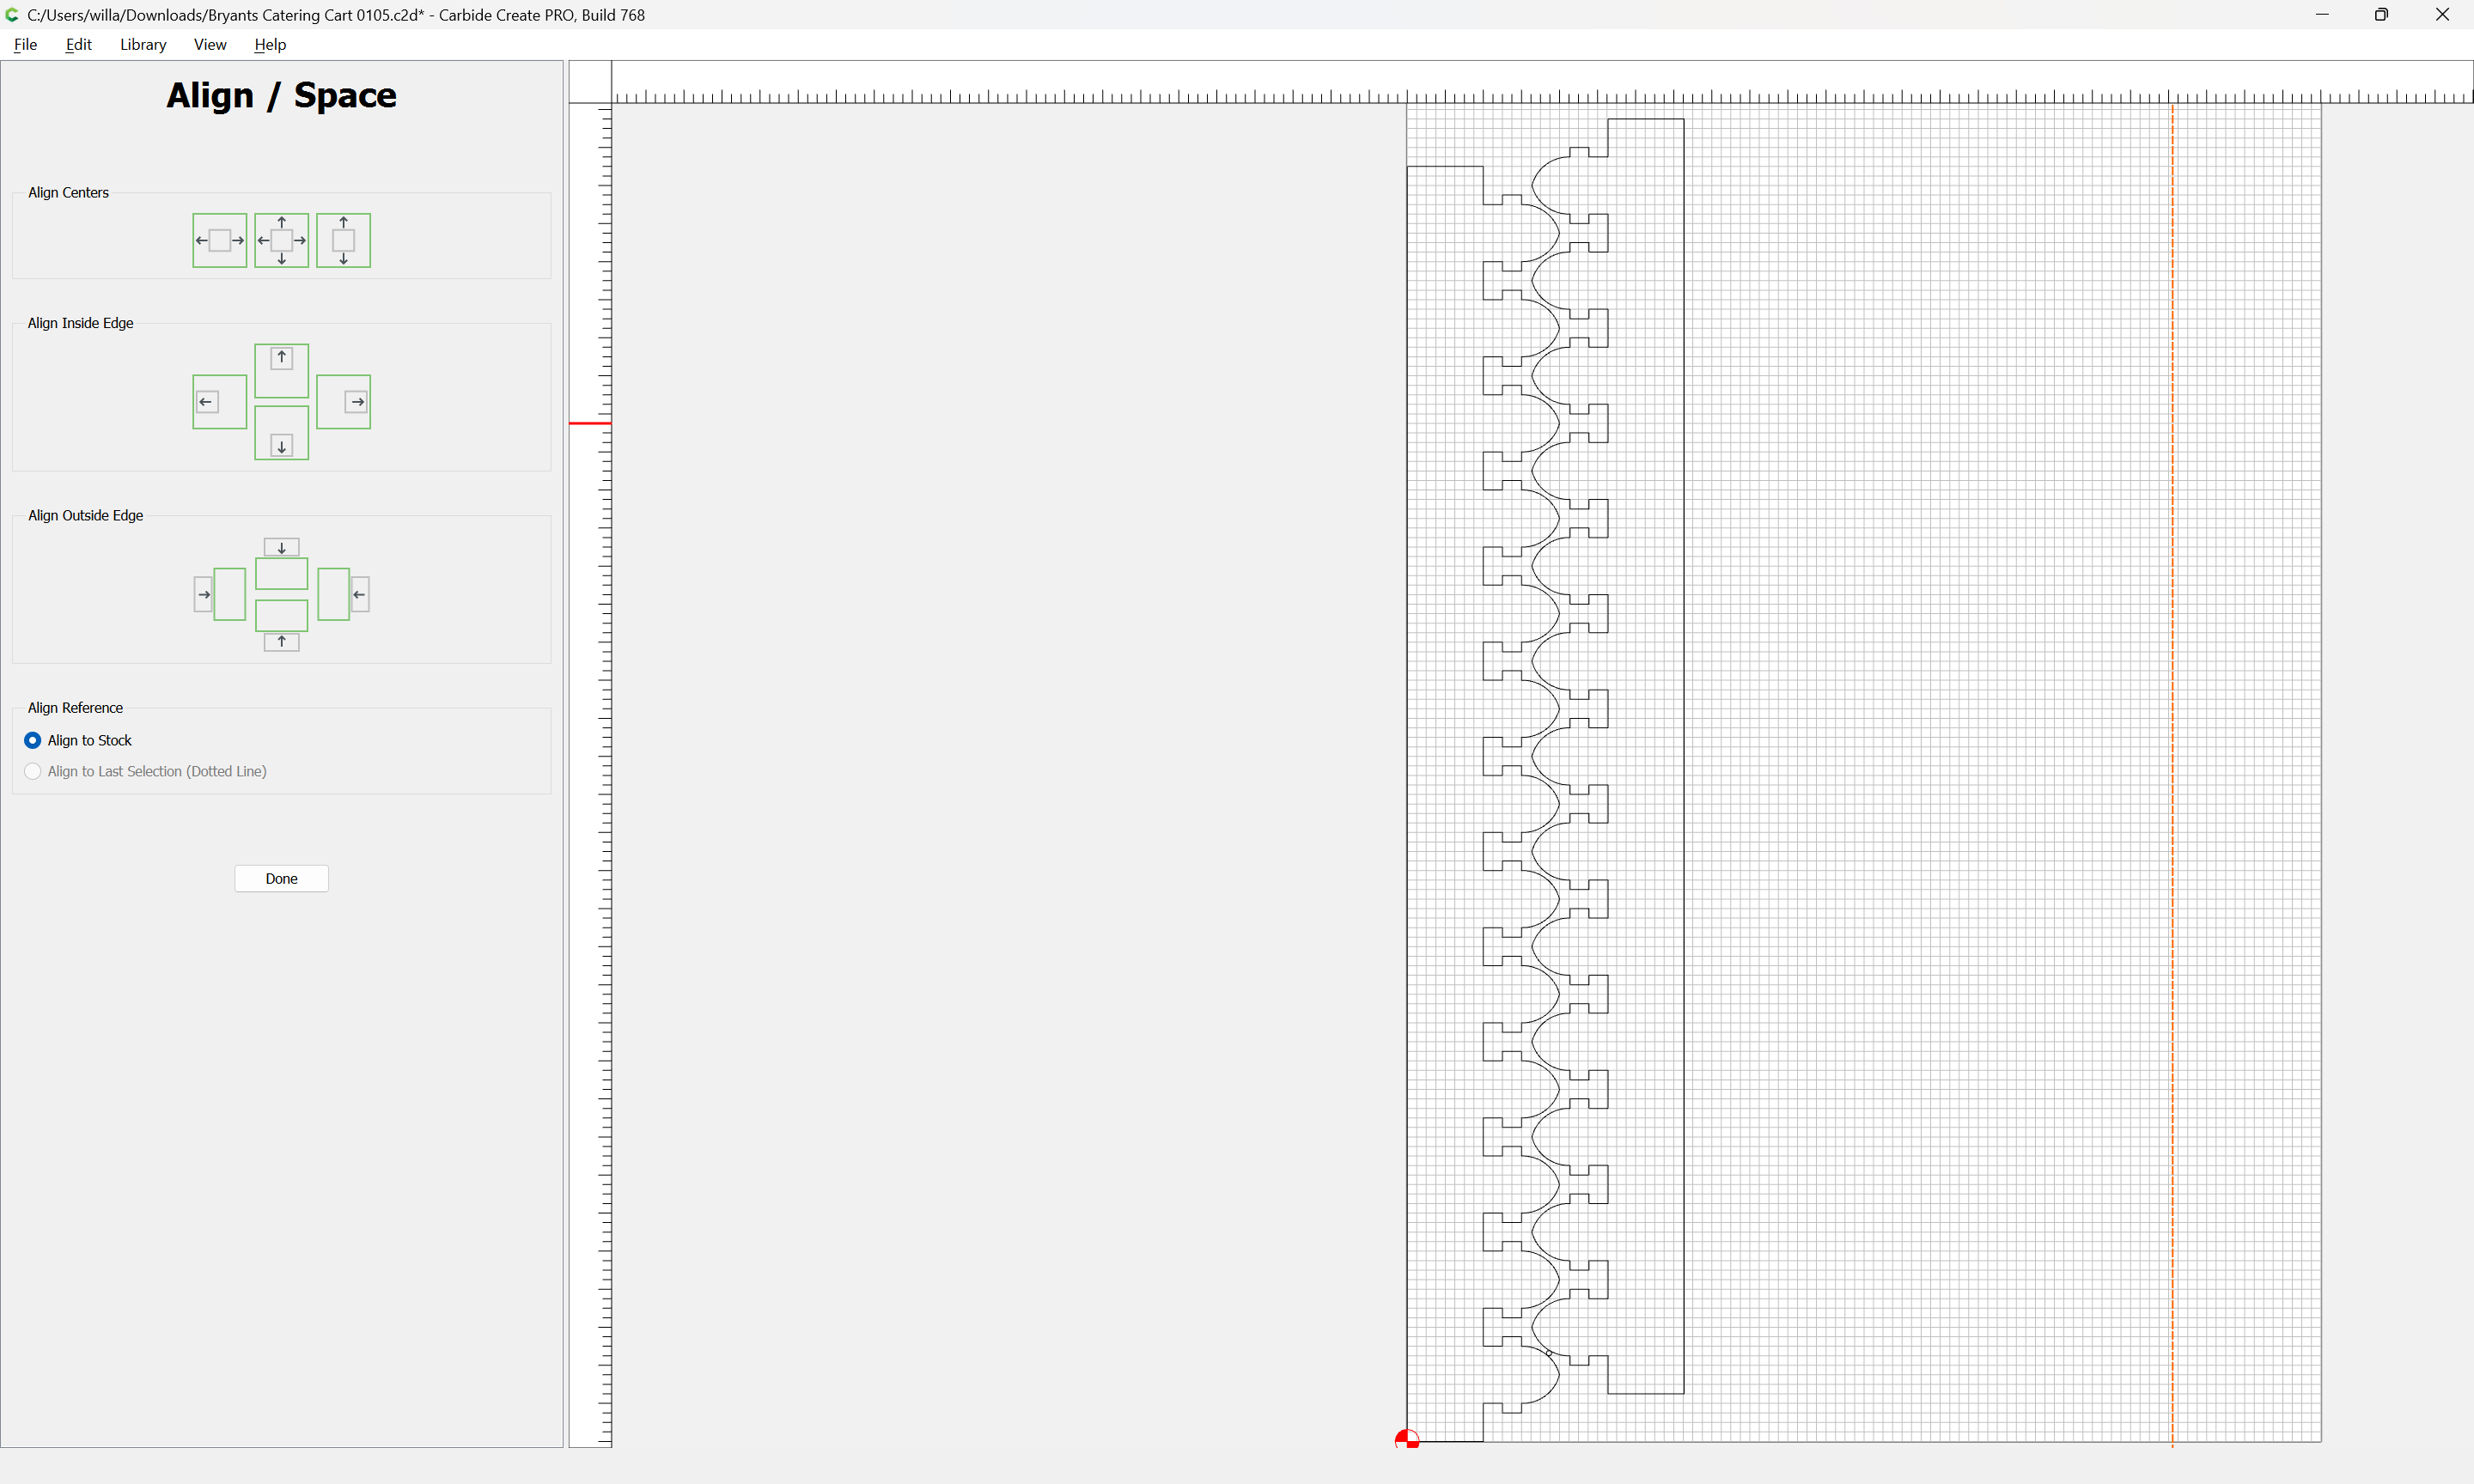
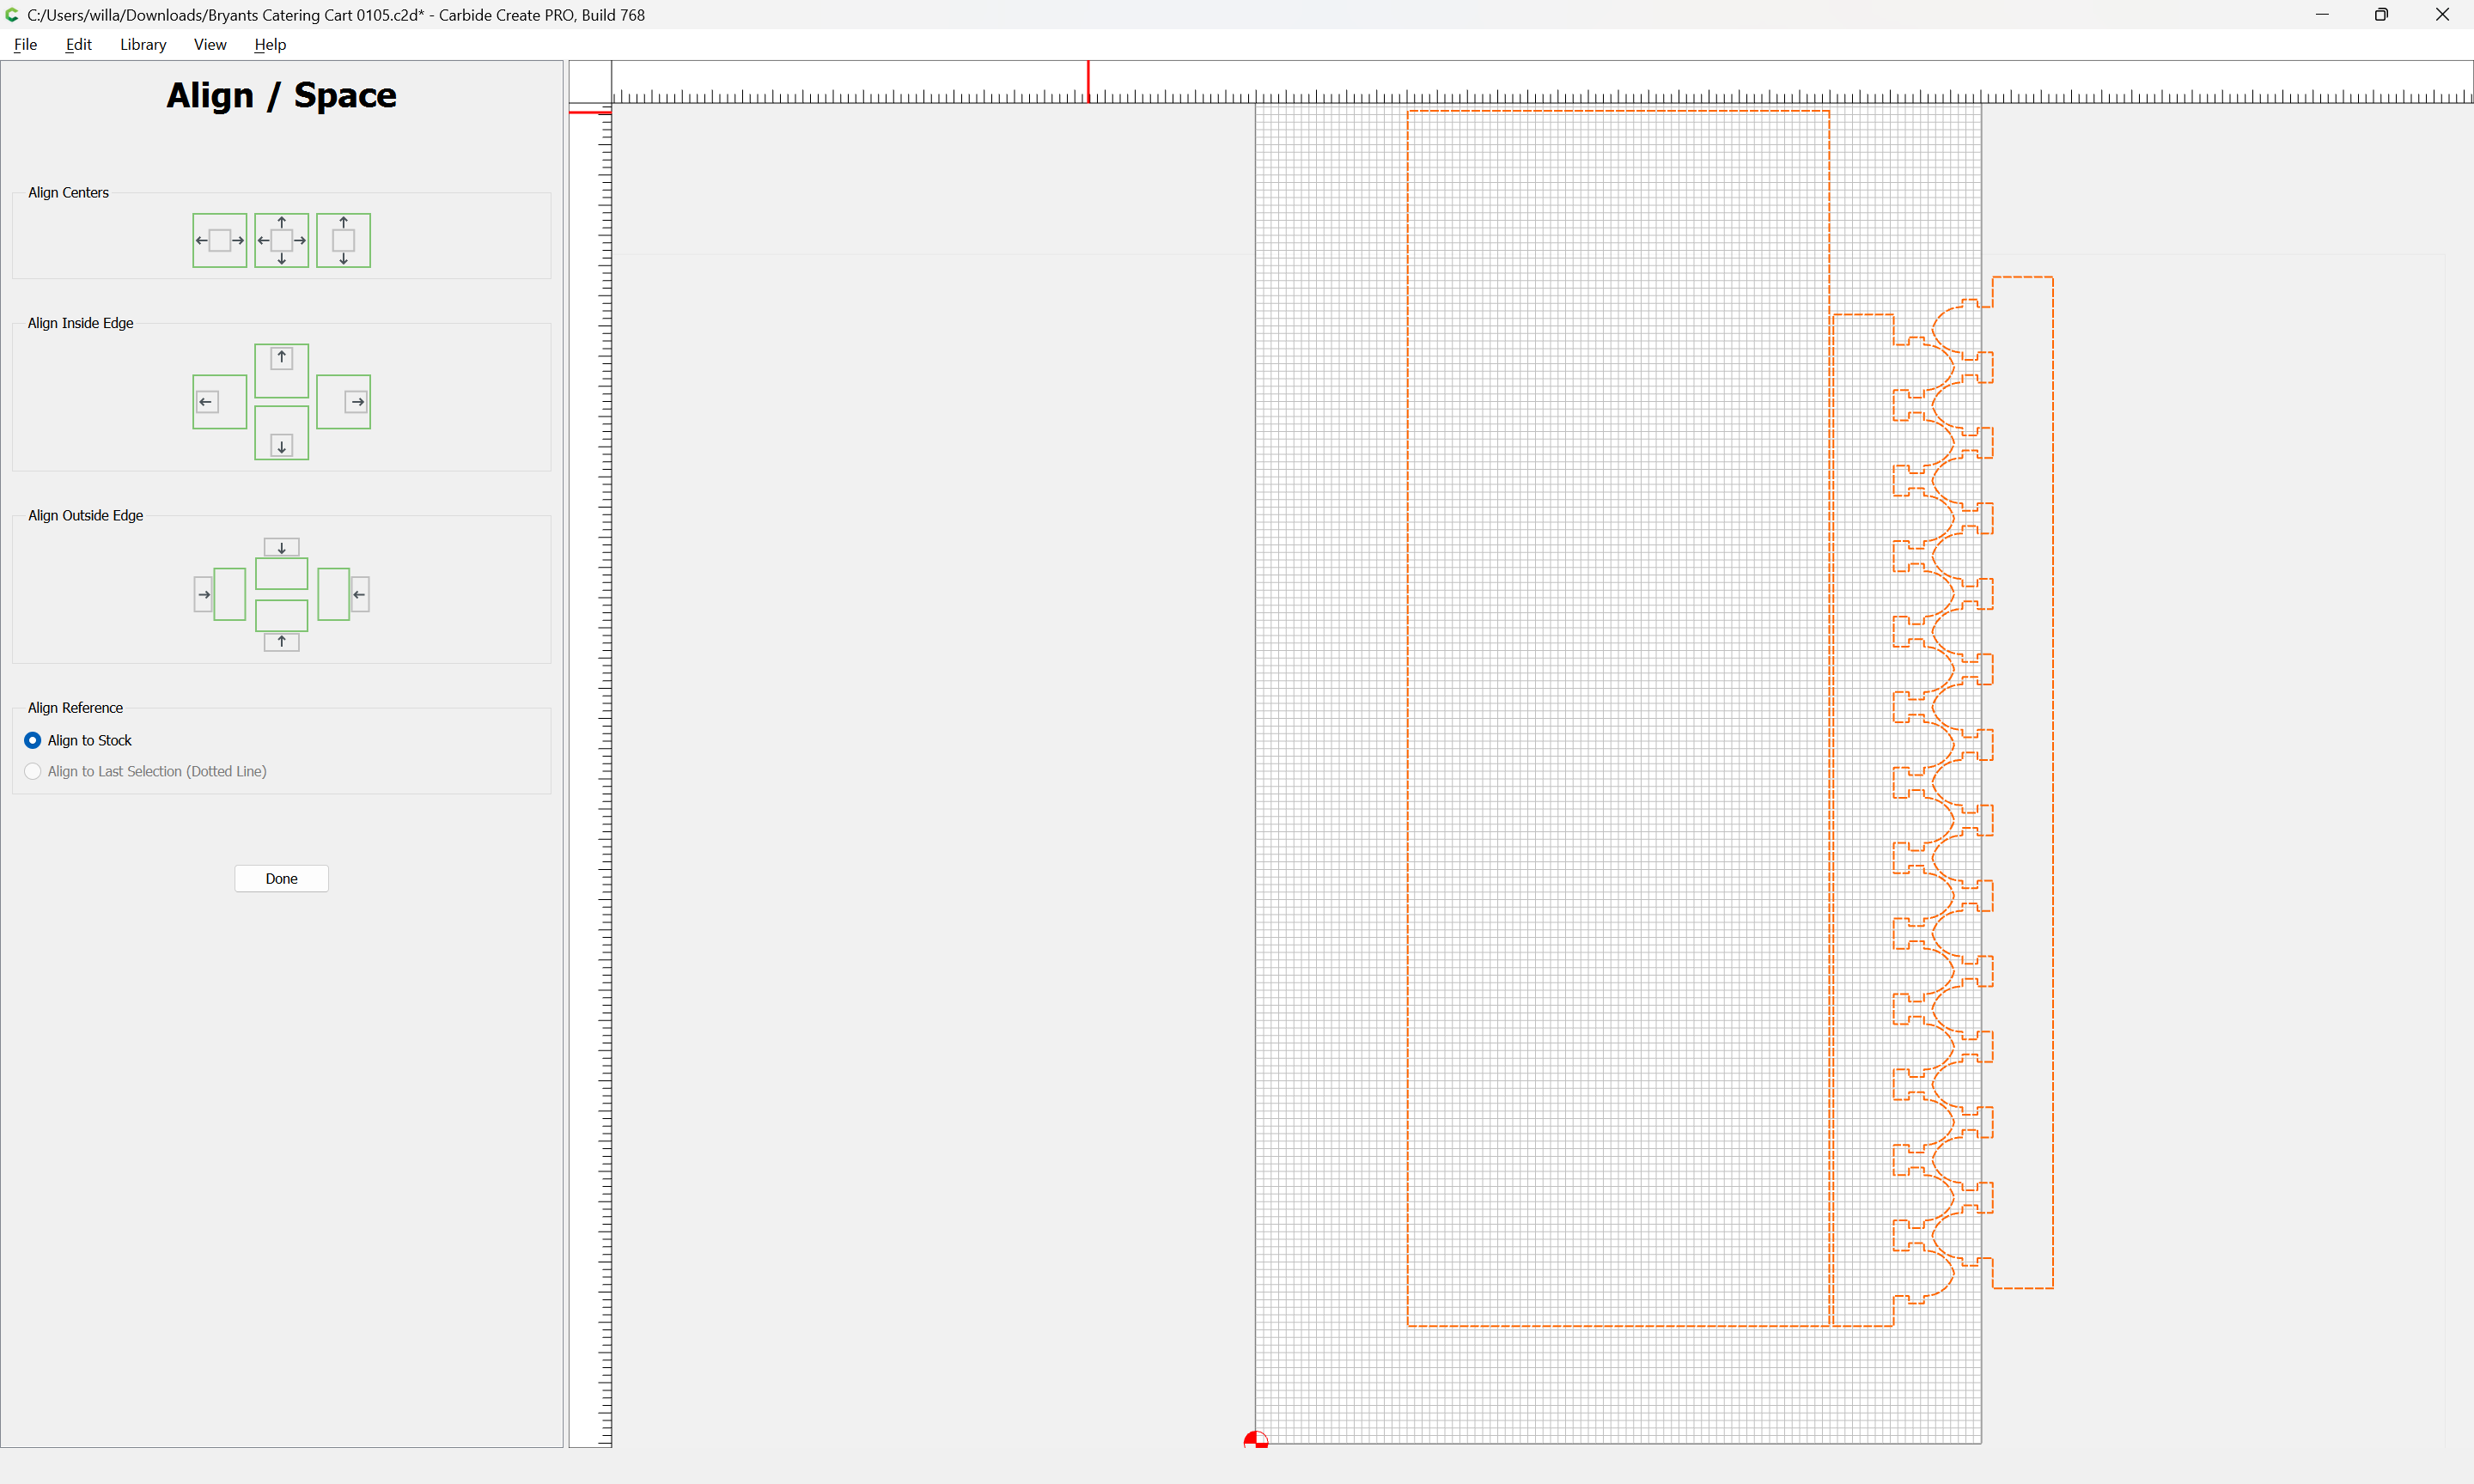
and align to center again:
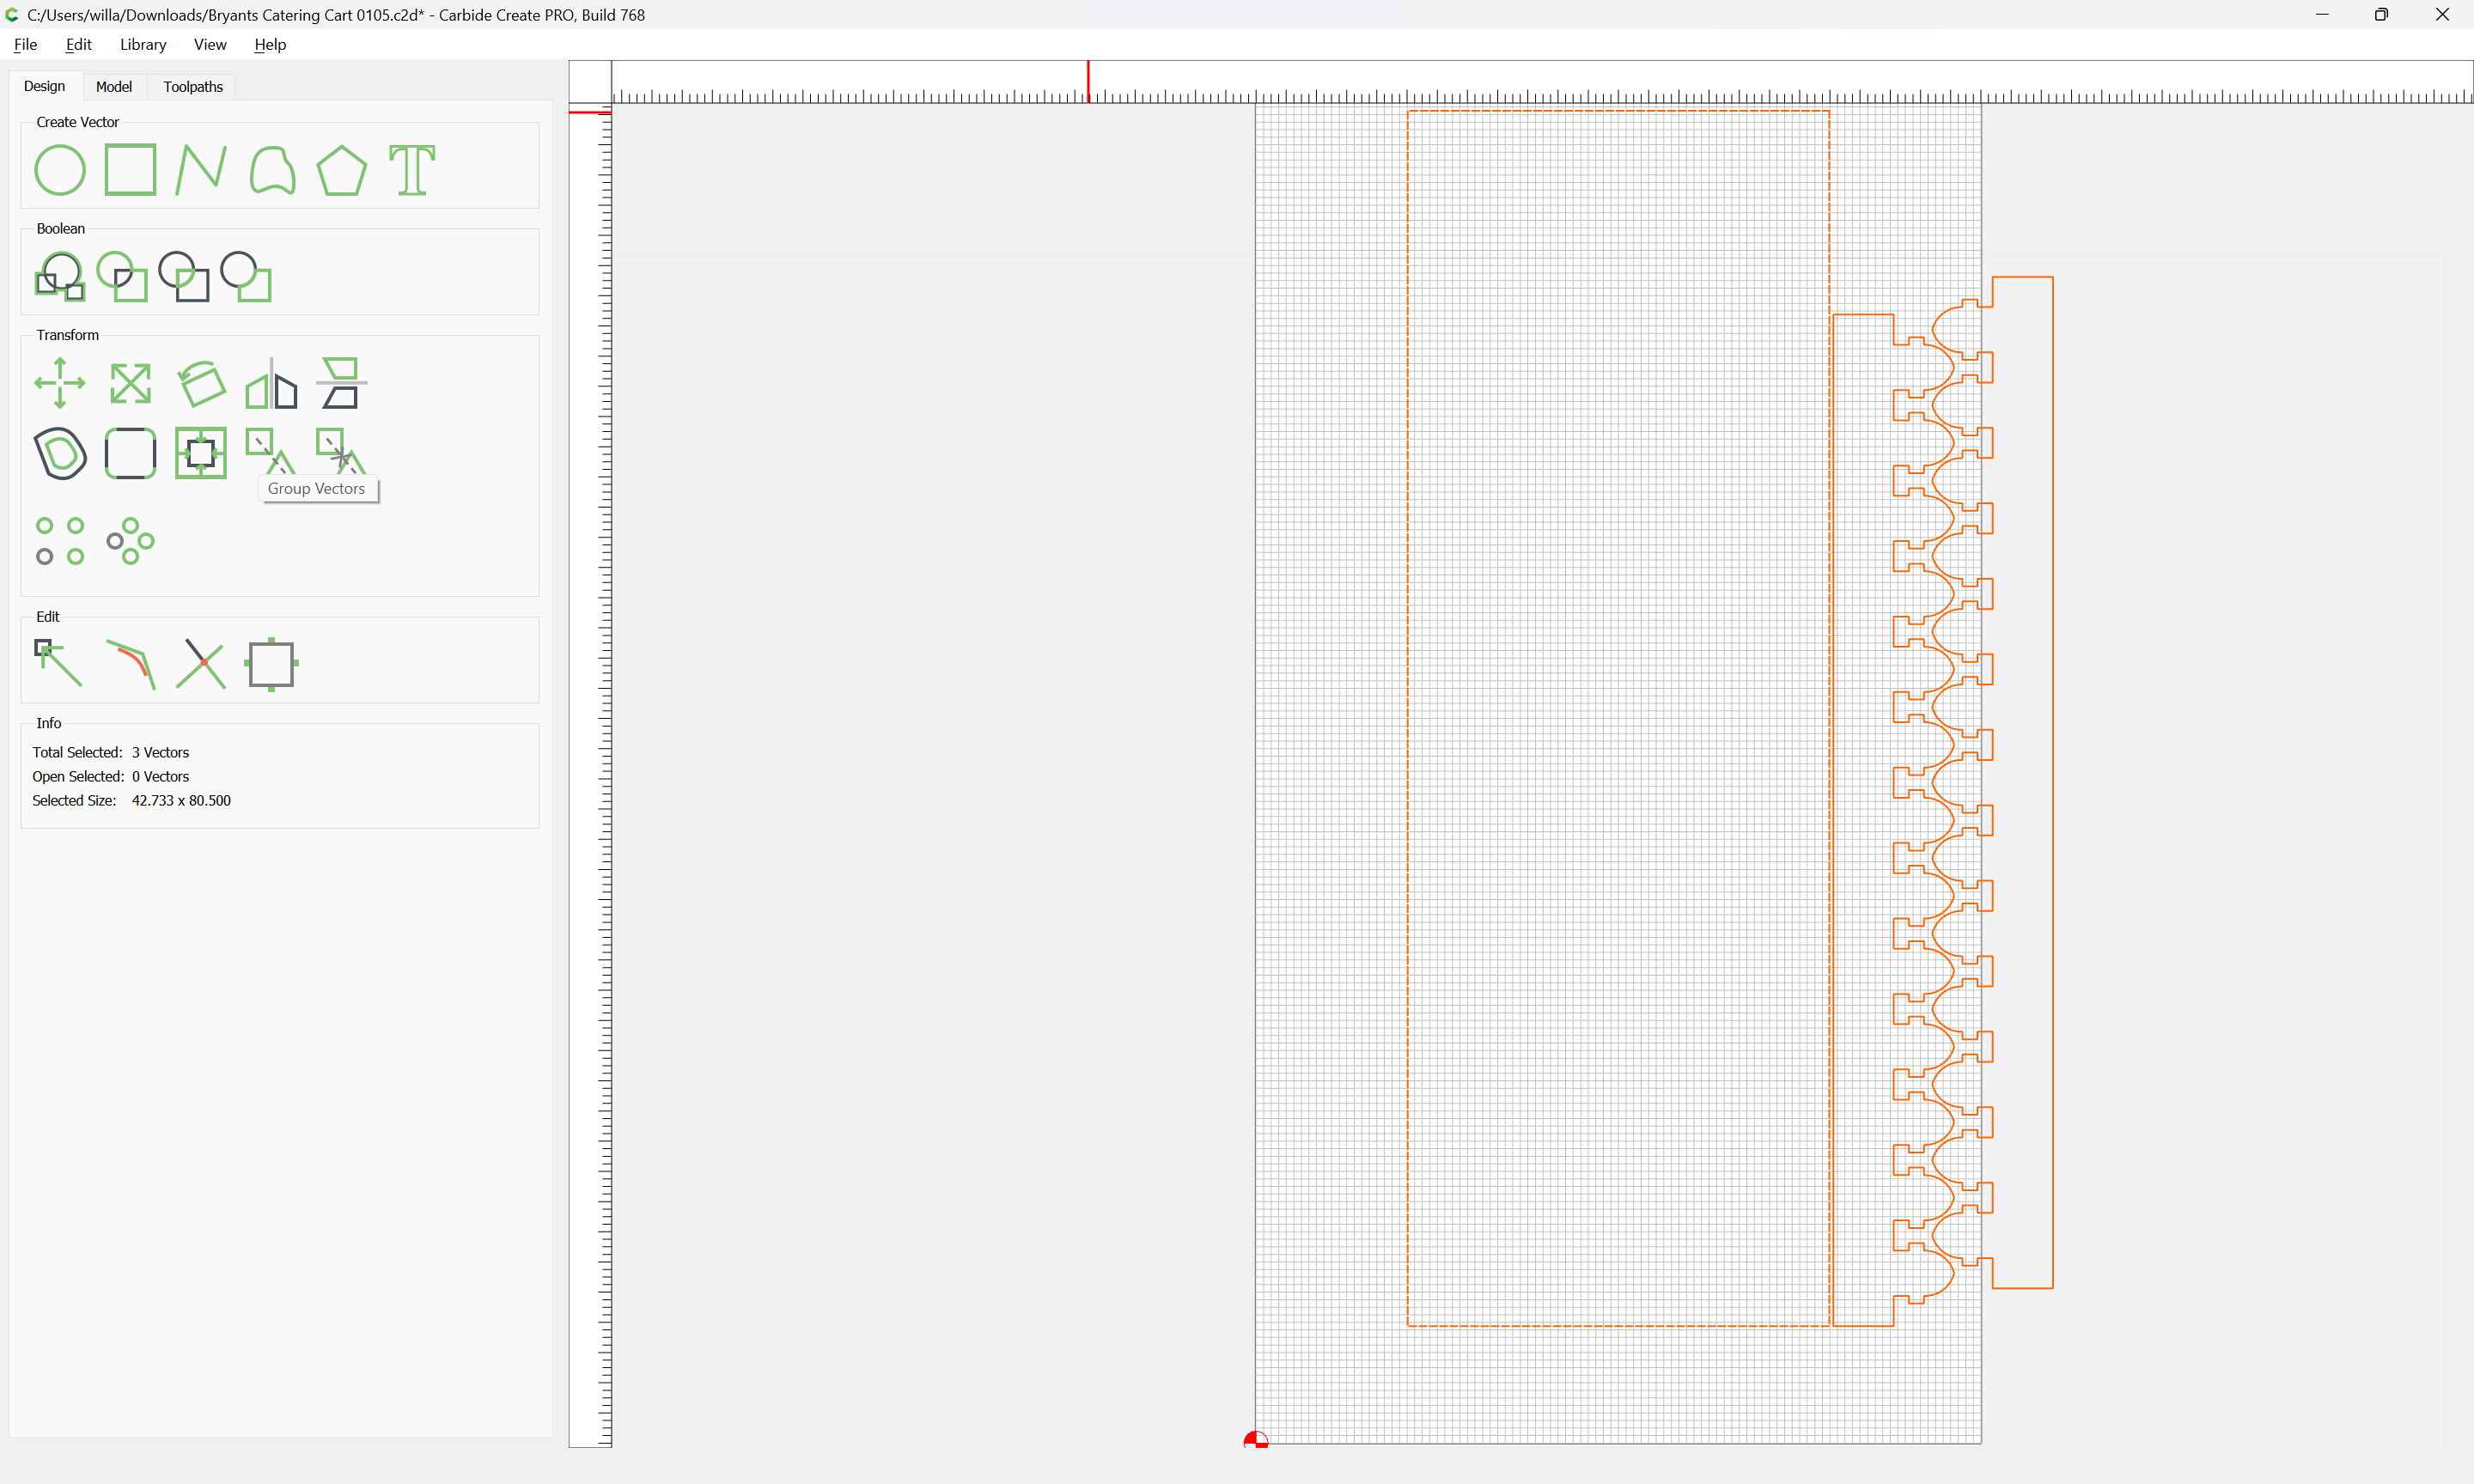
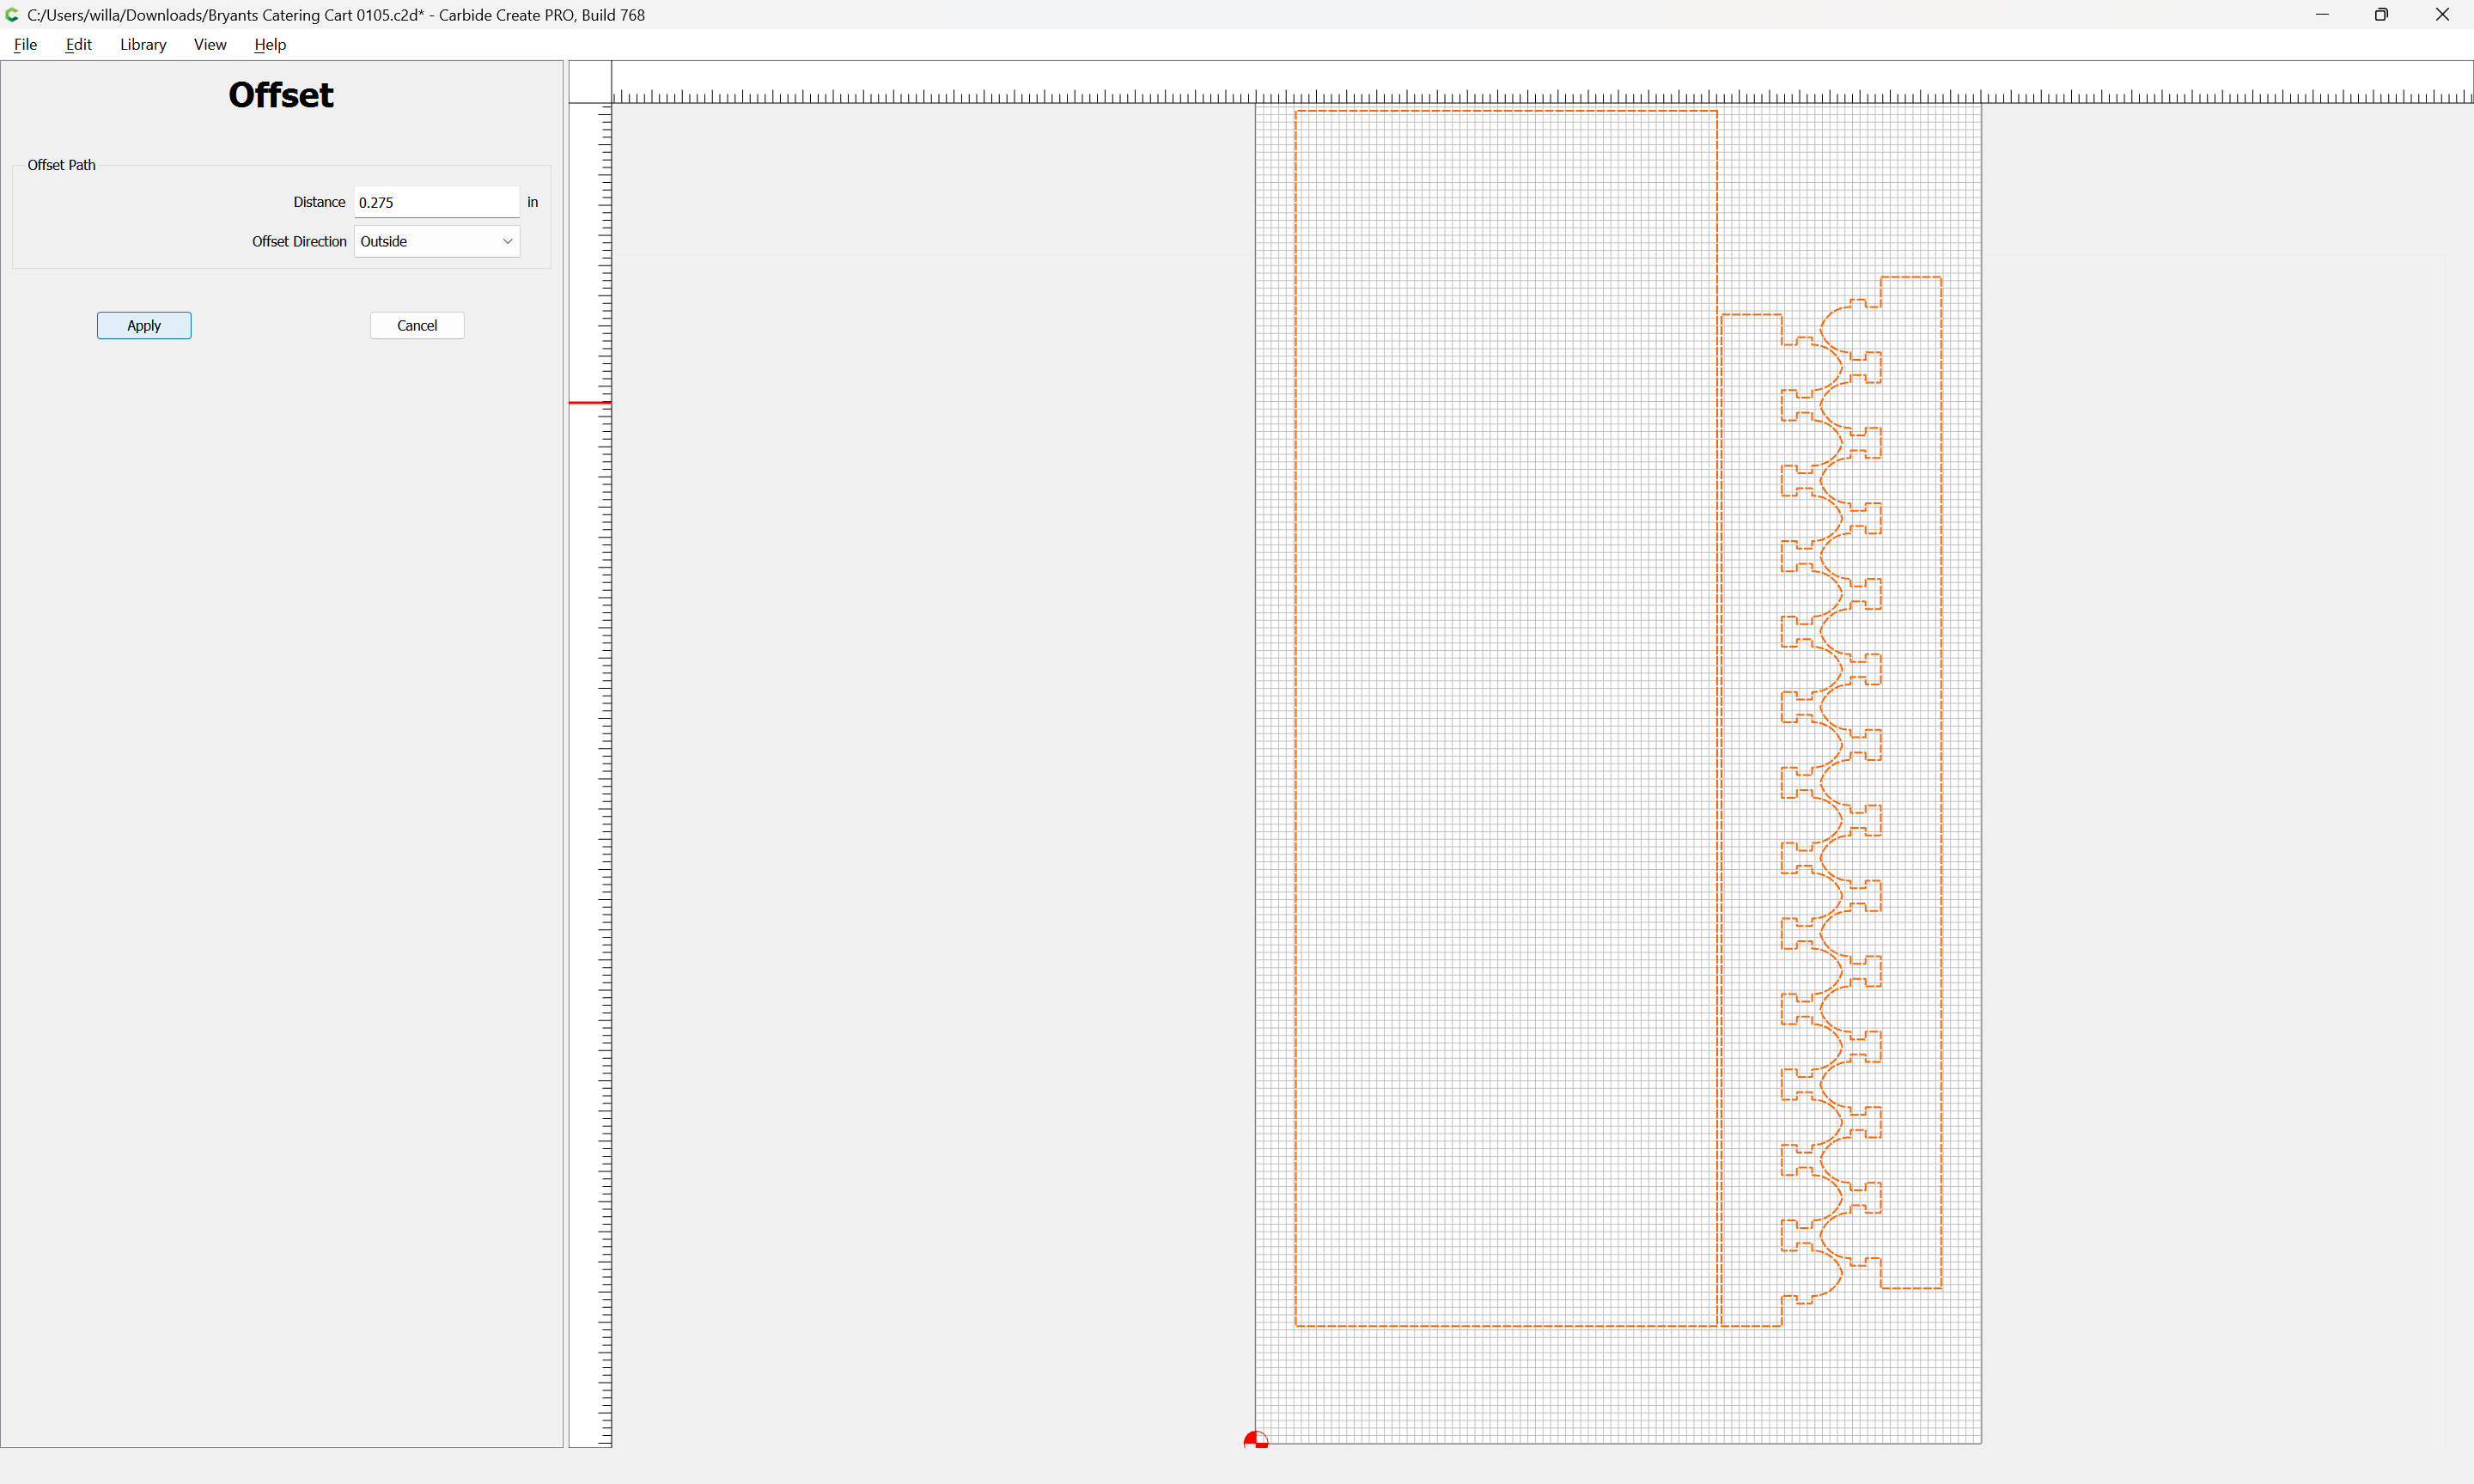
Offset to the outside by endmill diameter plus 10%:
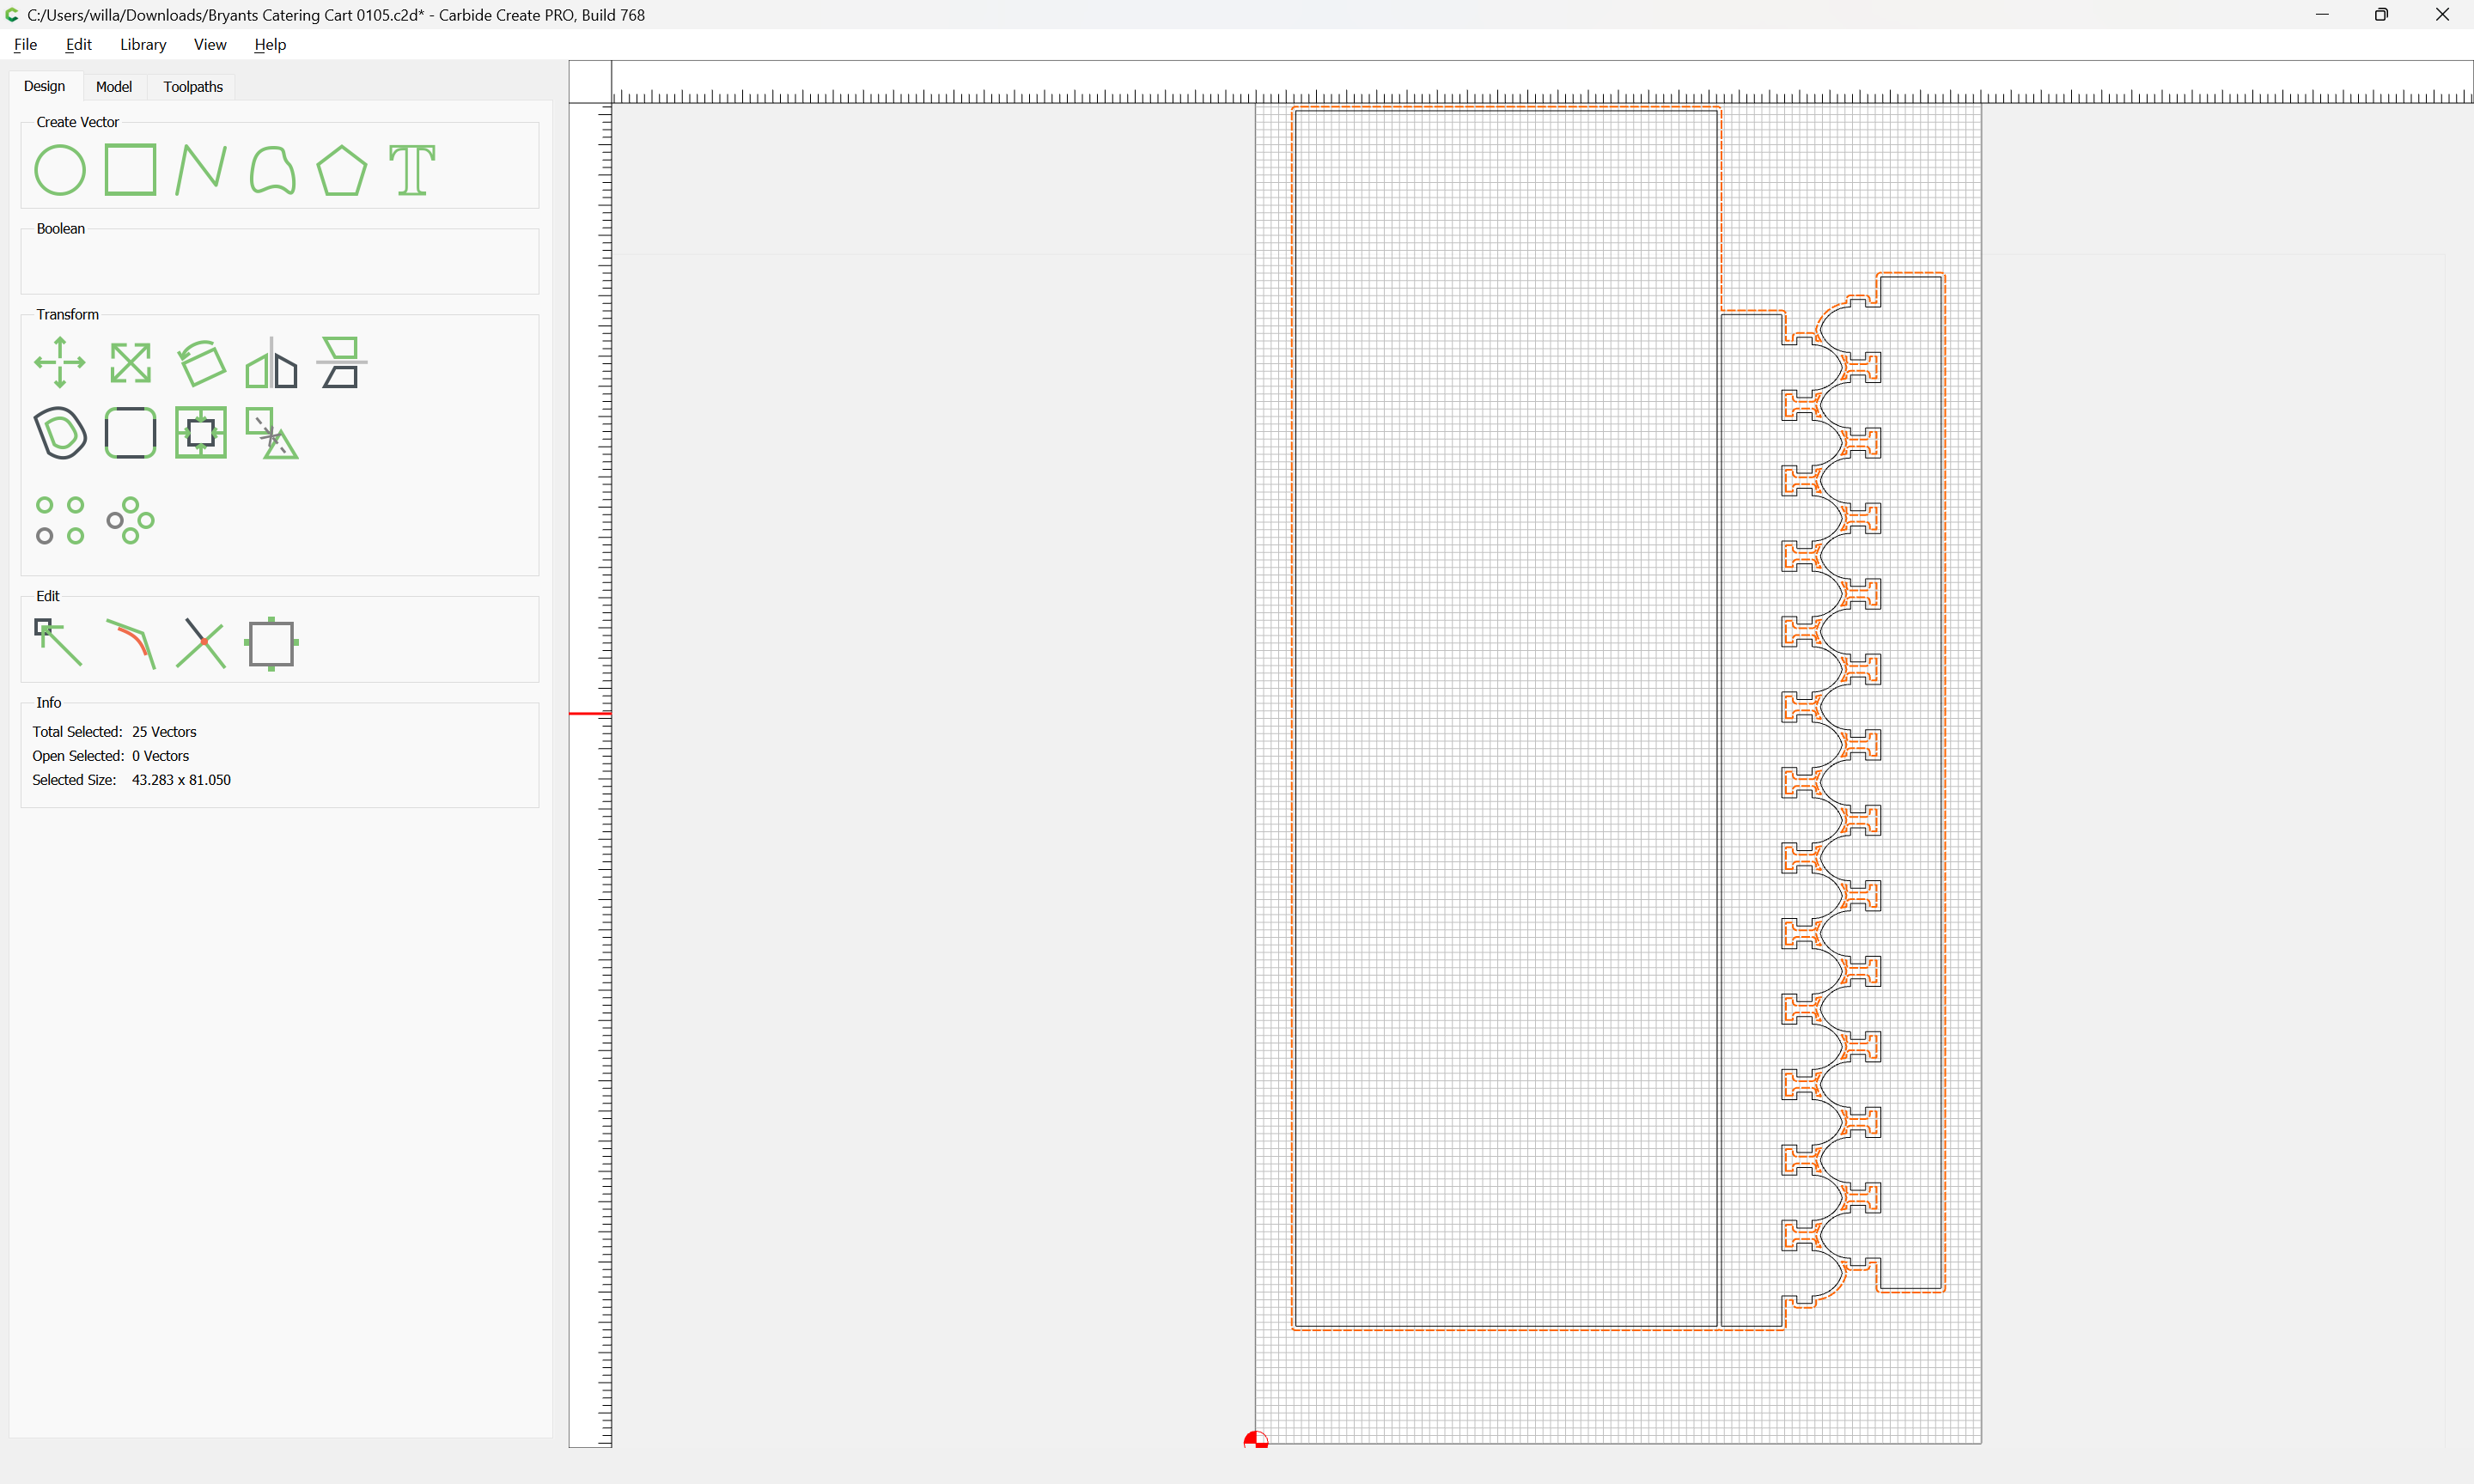
and group:
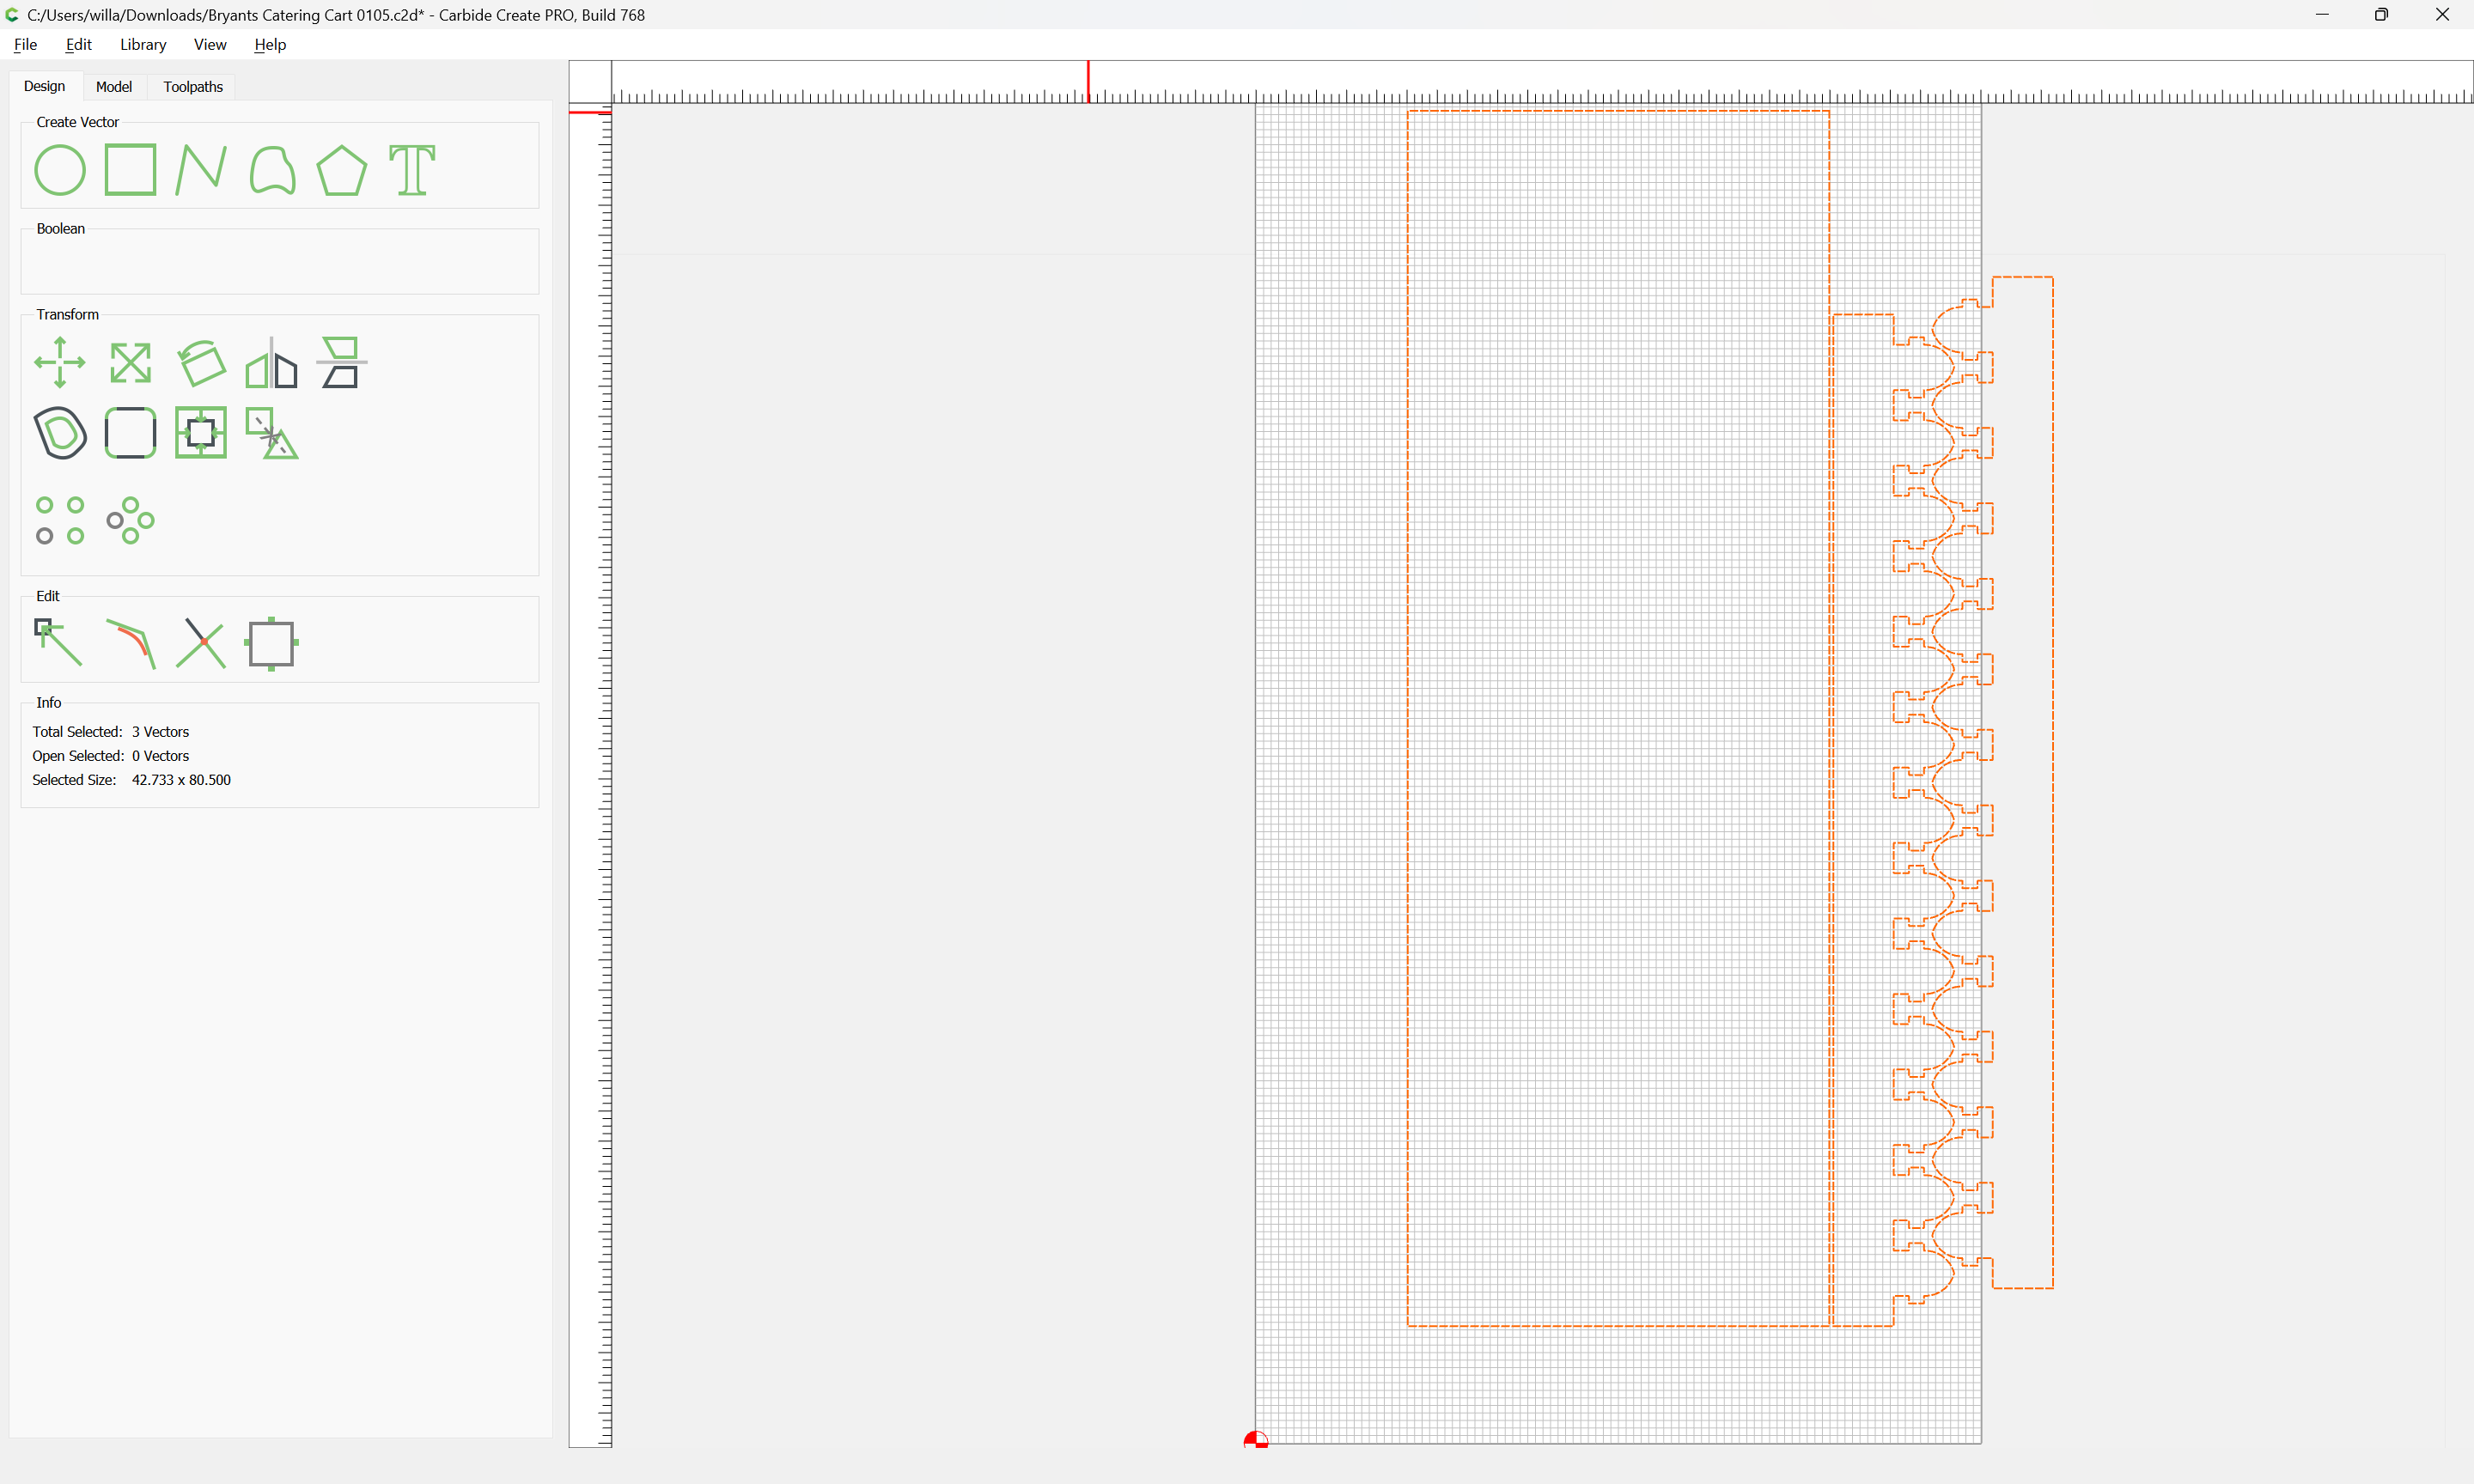
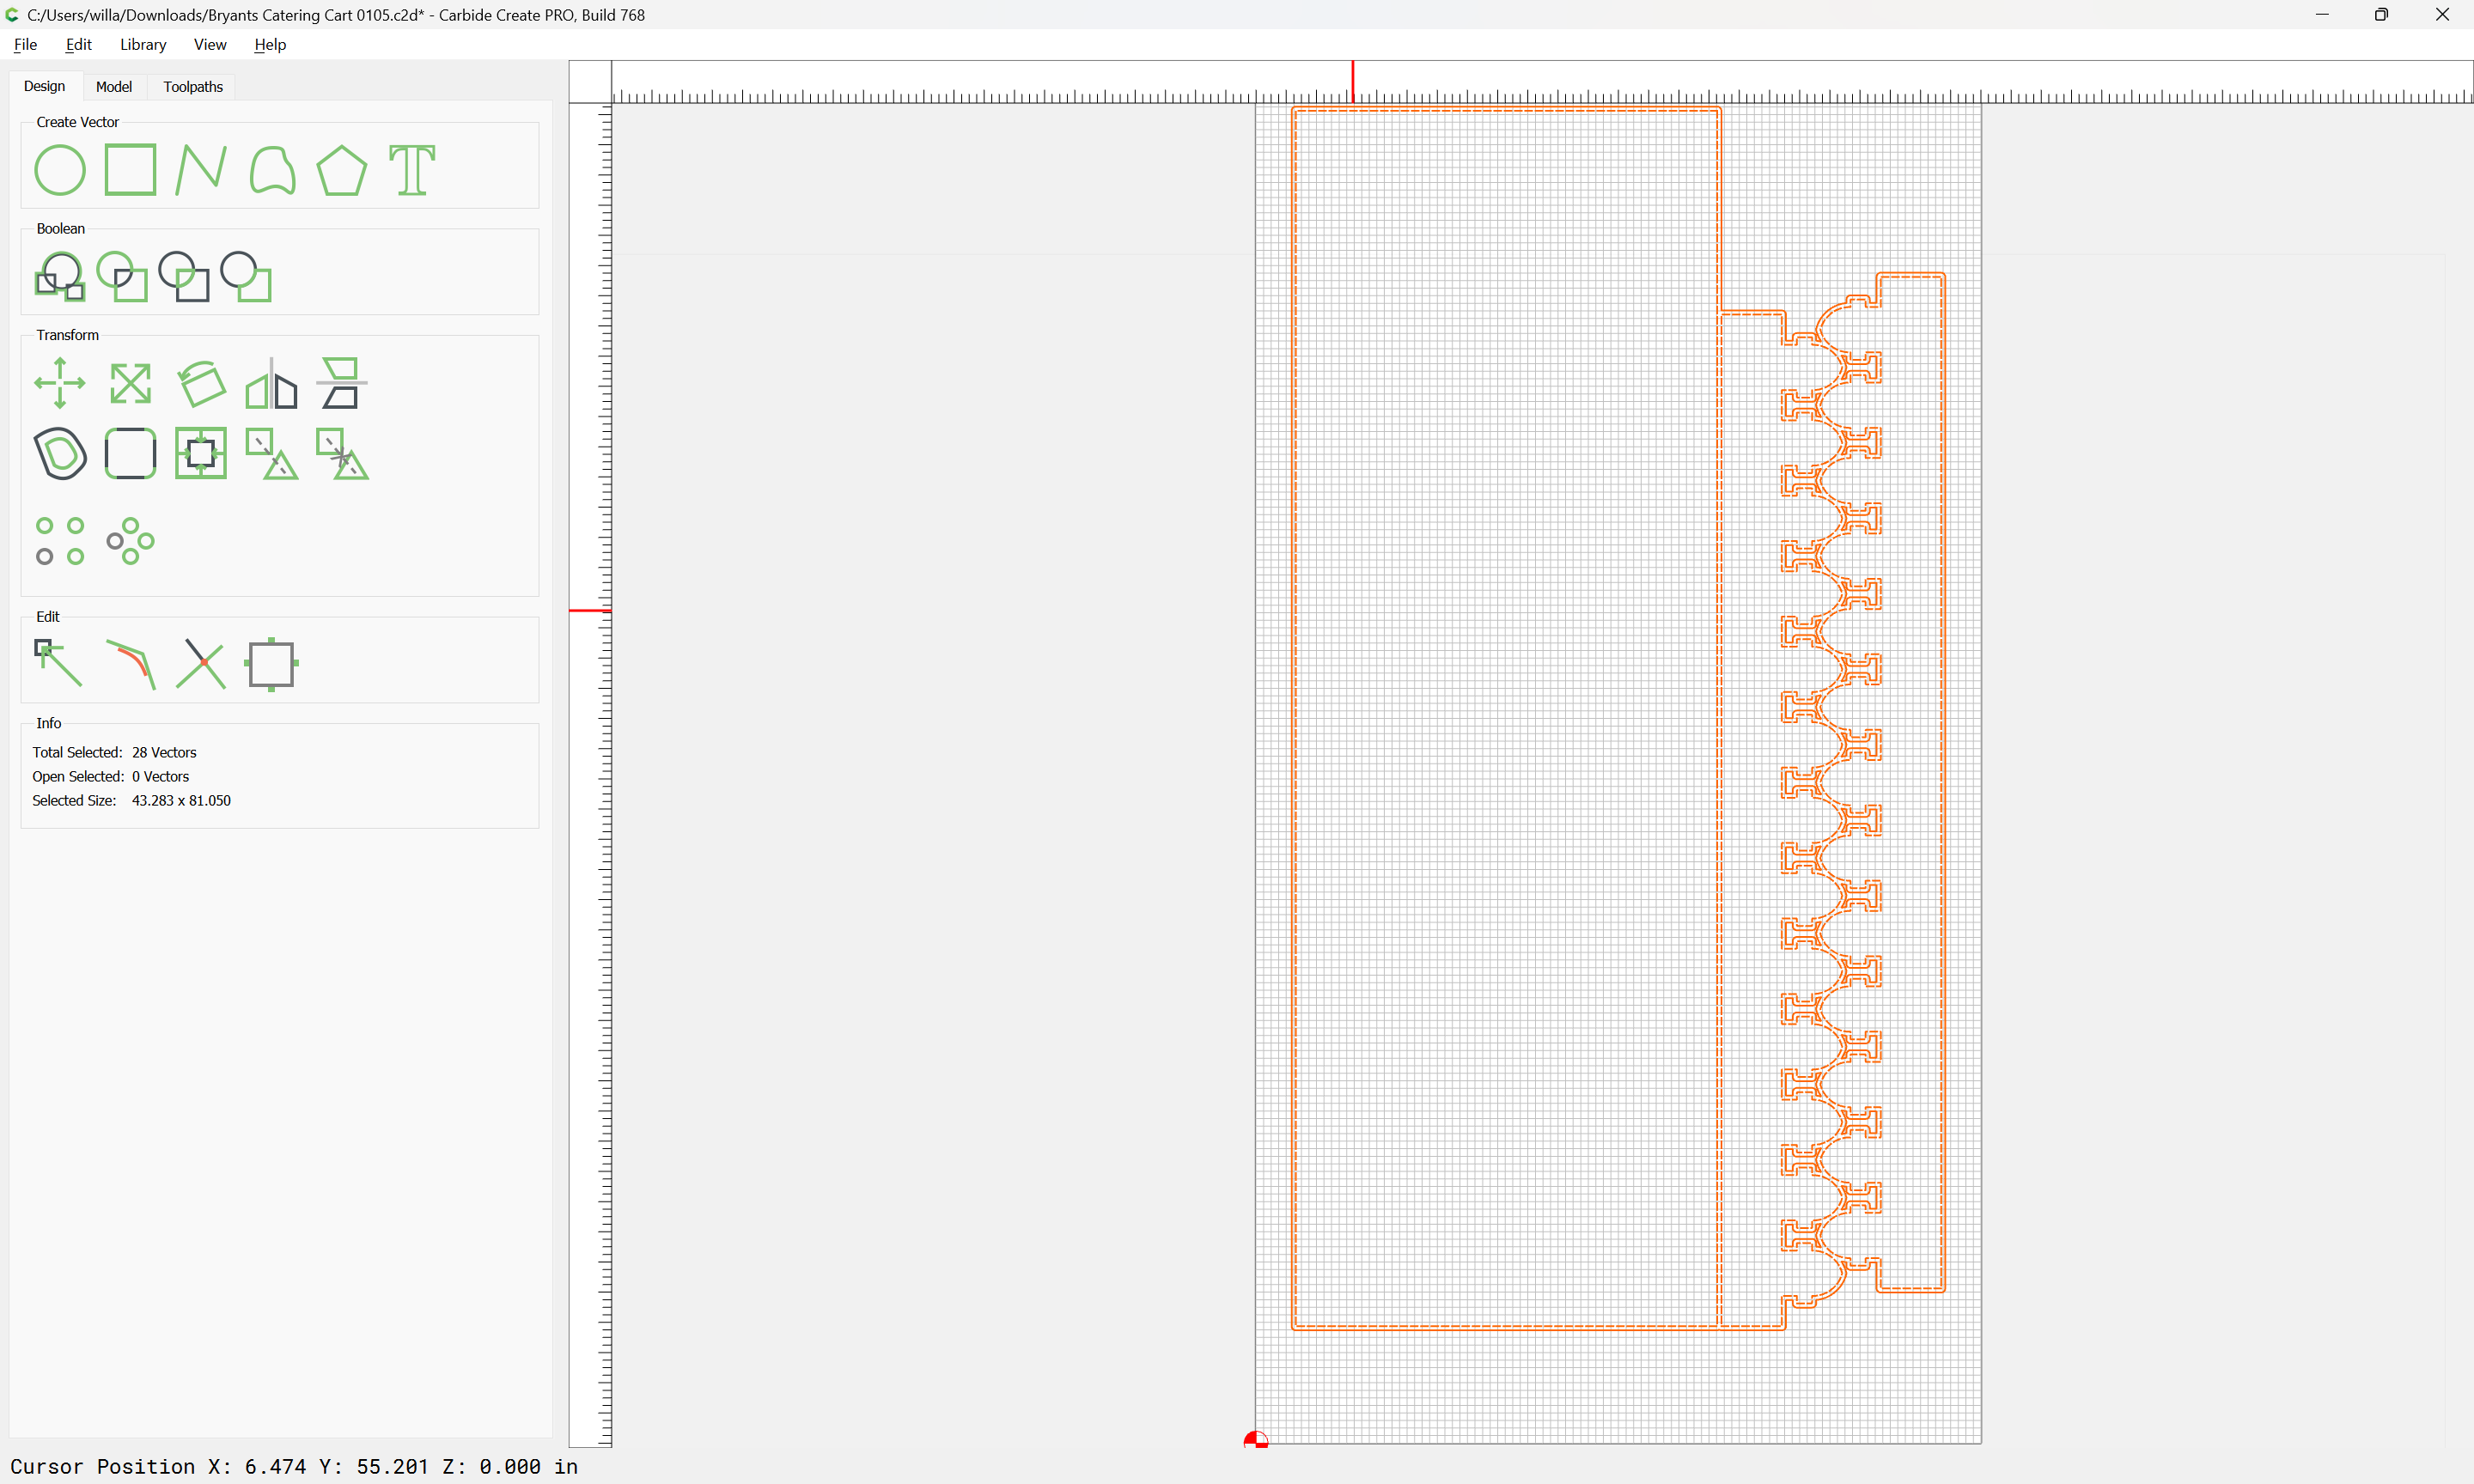
Select the geometry for the first sheet:
and move it to a new layer:
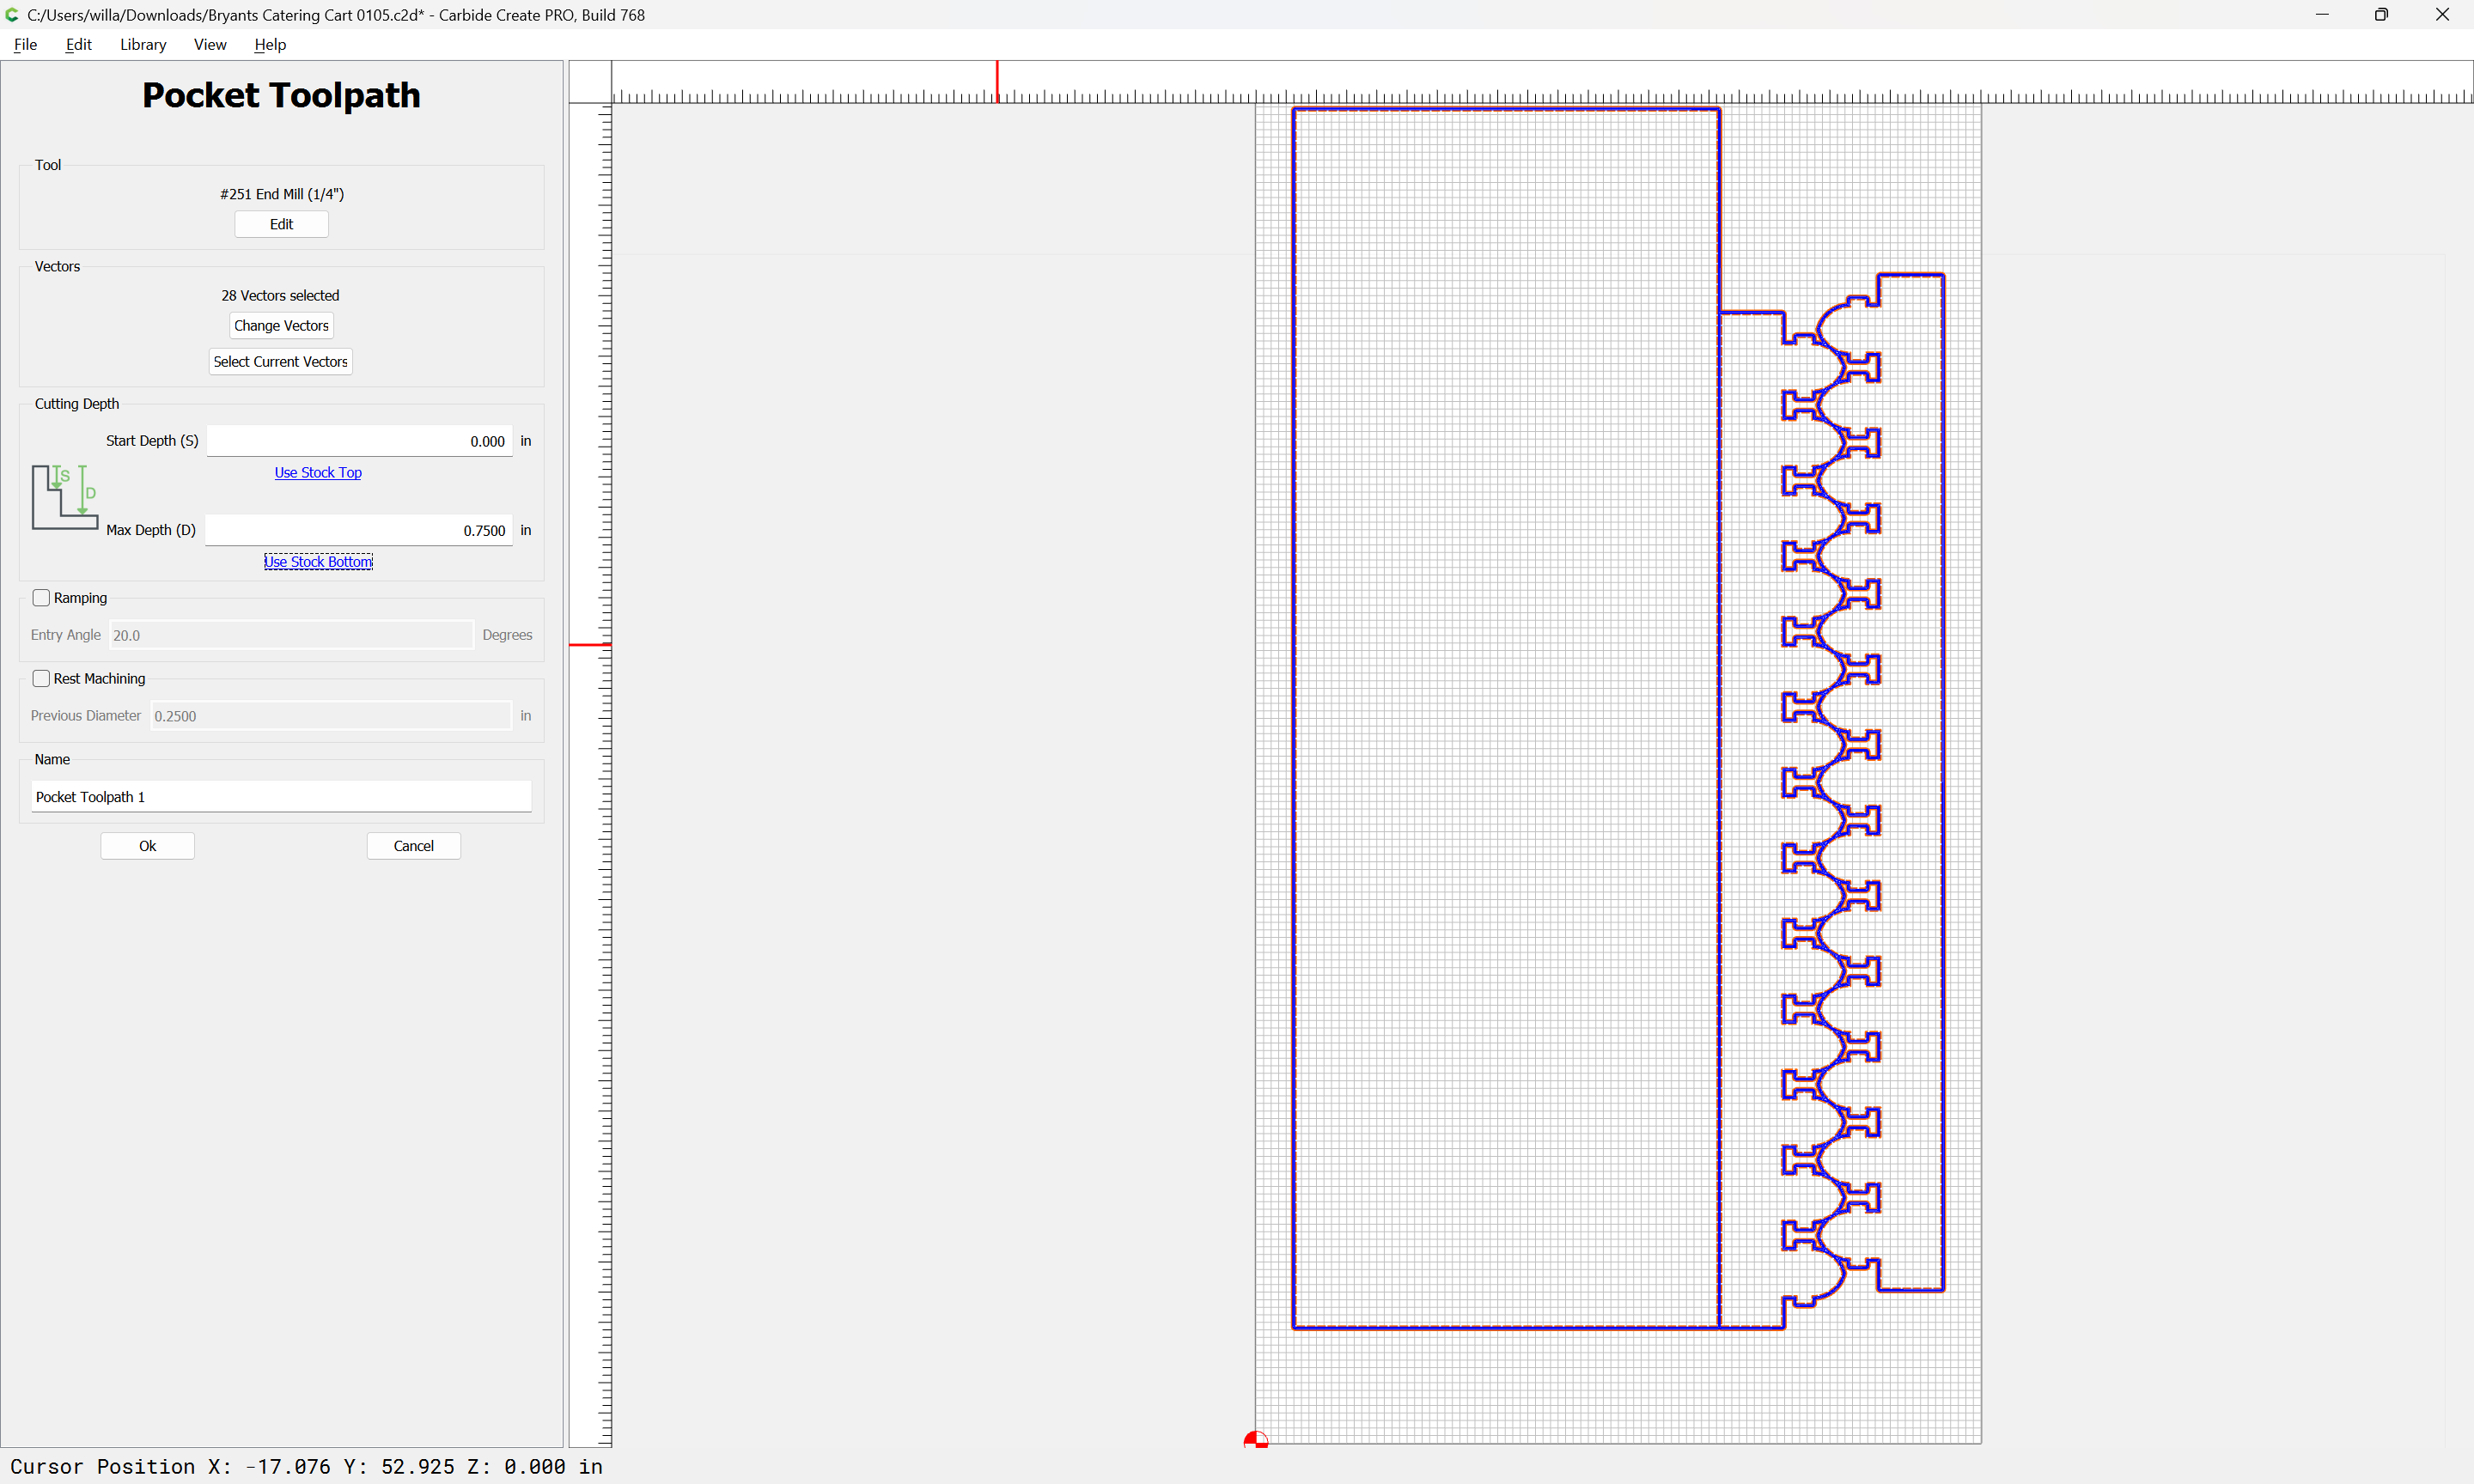
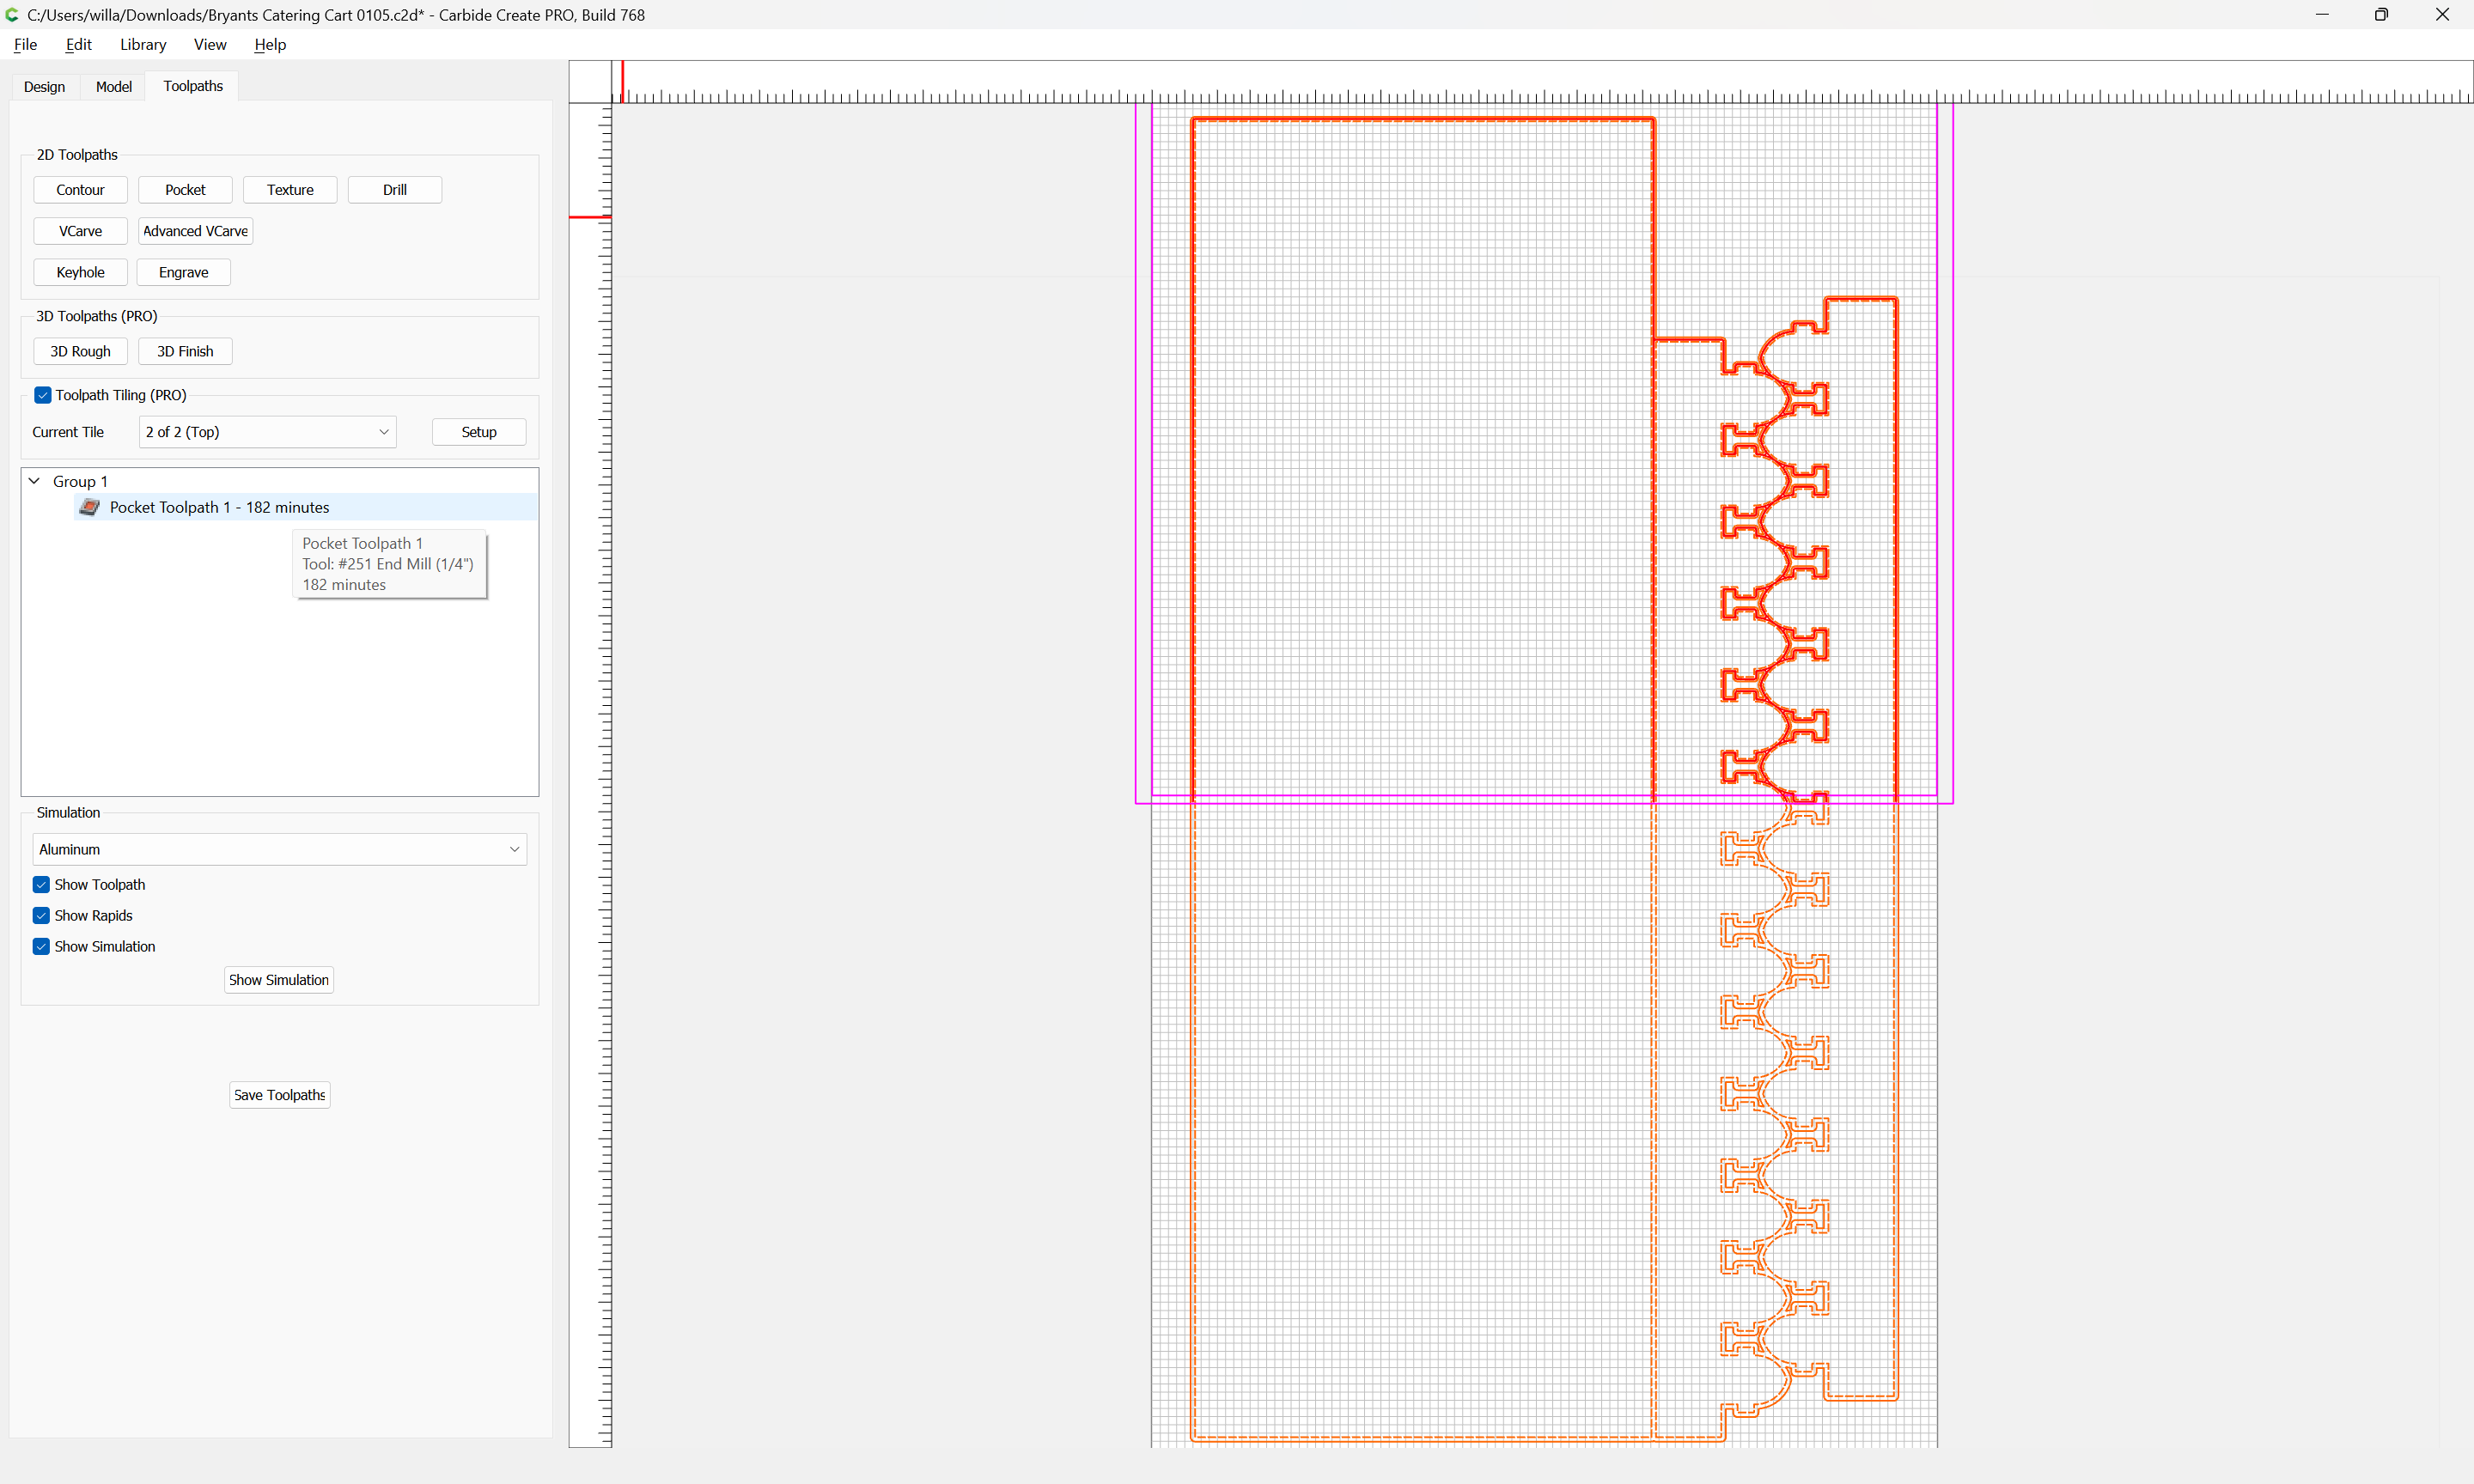
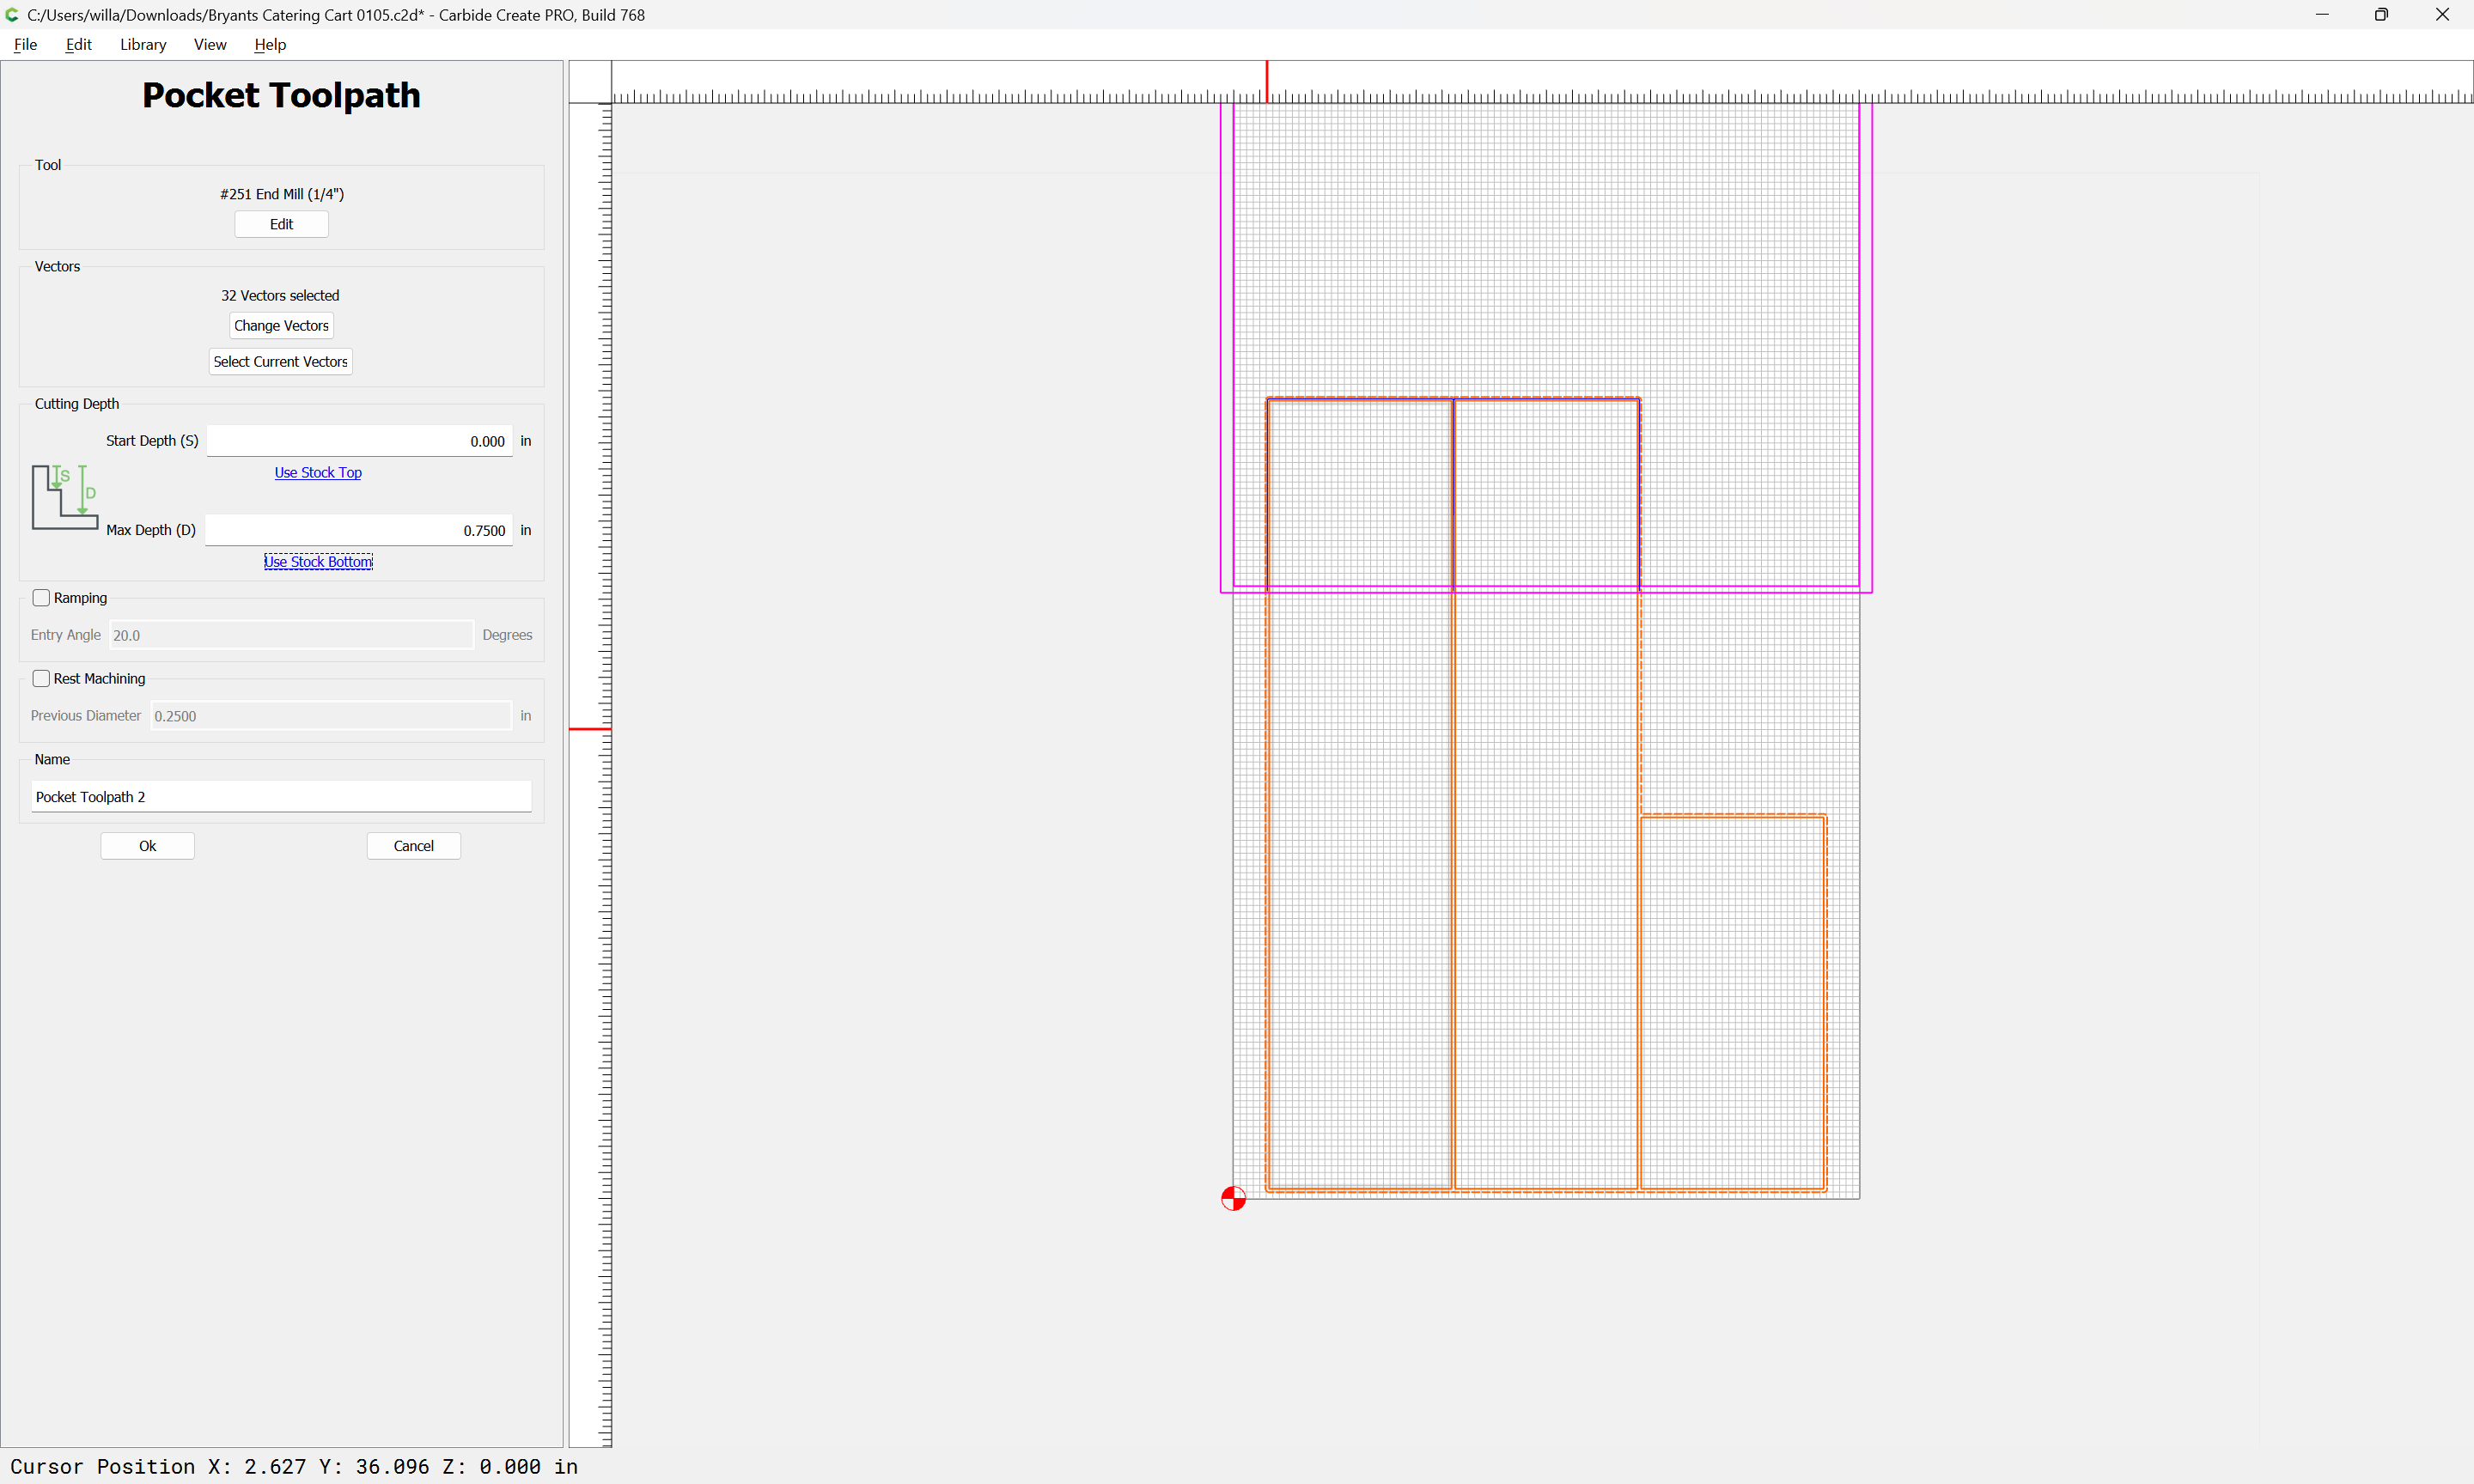
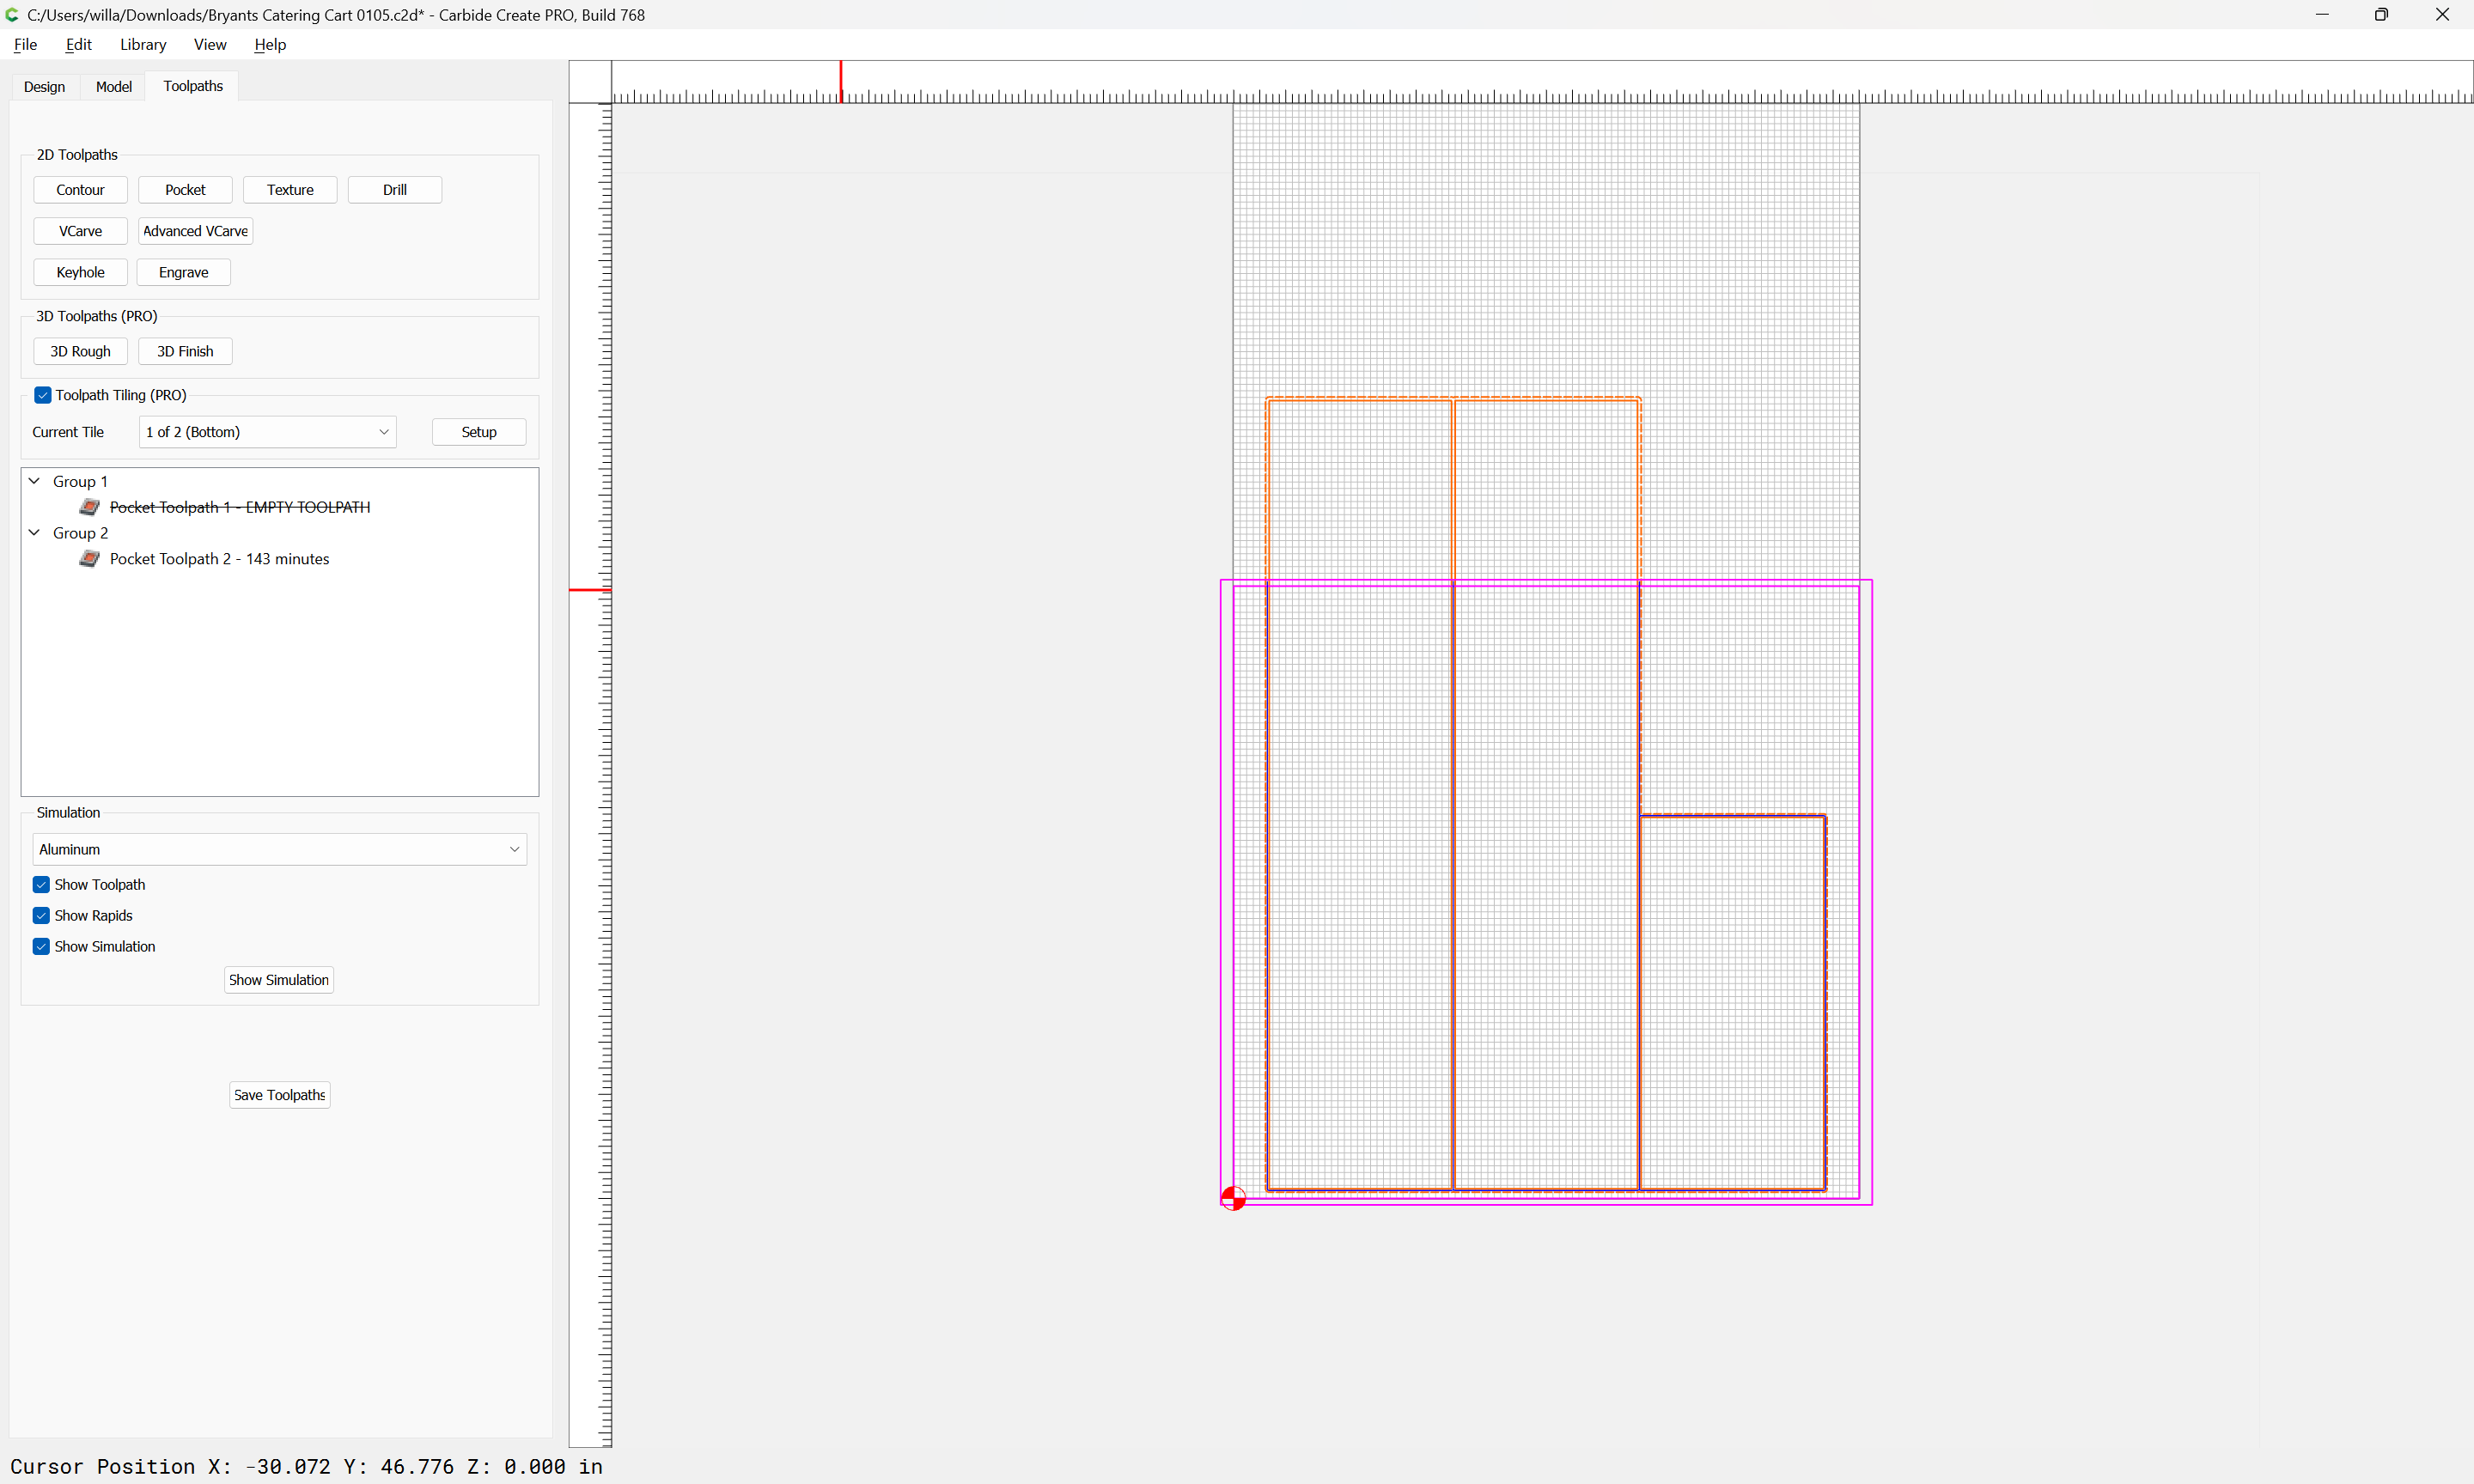
and assign a Pocket toolpath:
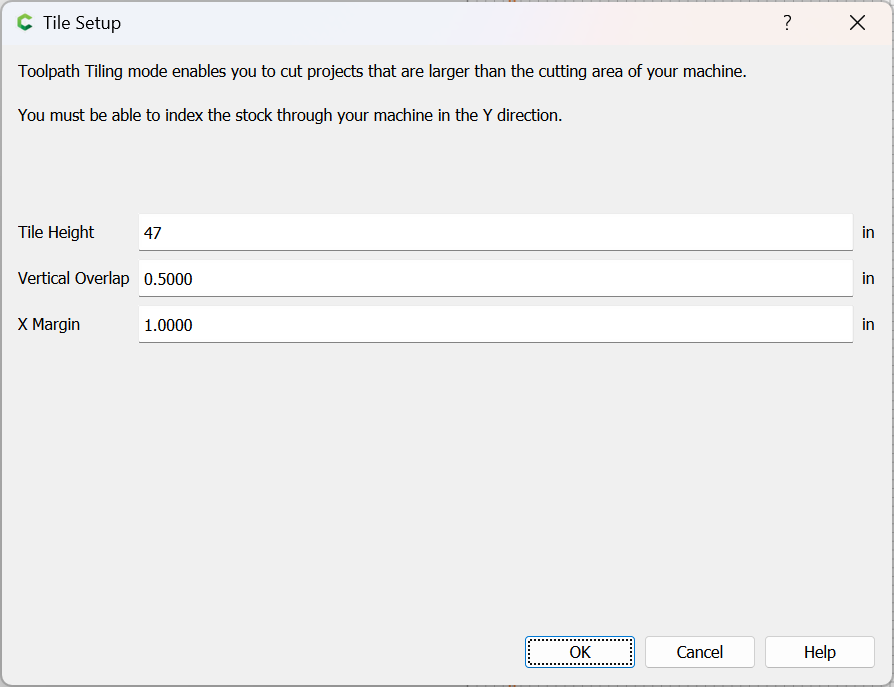
and set up tiling:
and adjust the Job Setup to get down to 2 tiles:
Then set up a new Group and new Layer for the next sheet.
WillAdams
April 1, 2024, 11:00pm
3
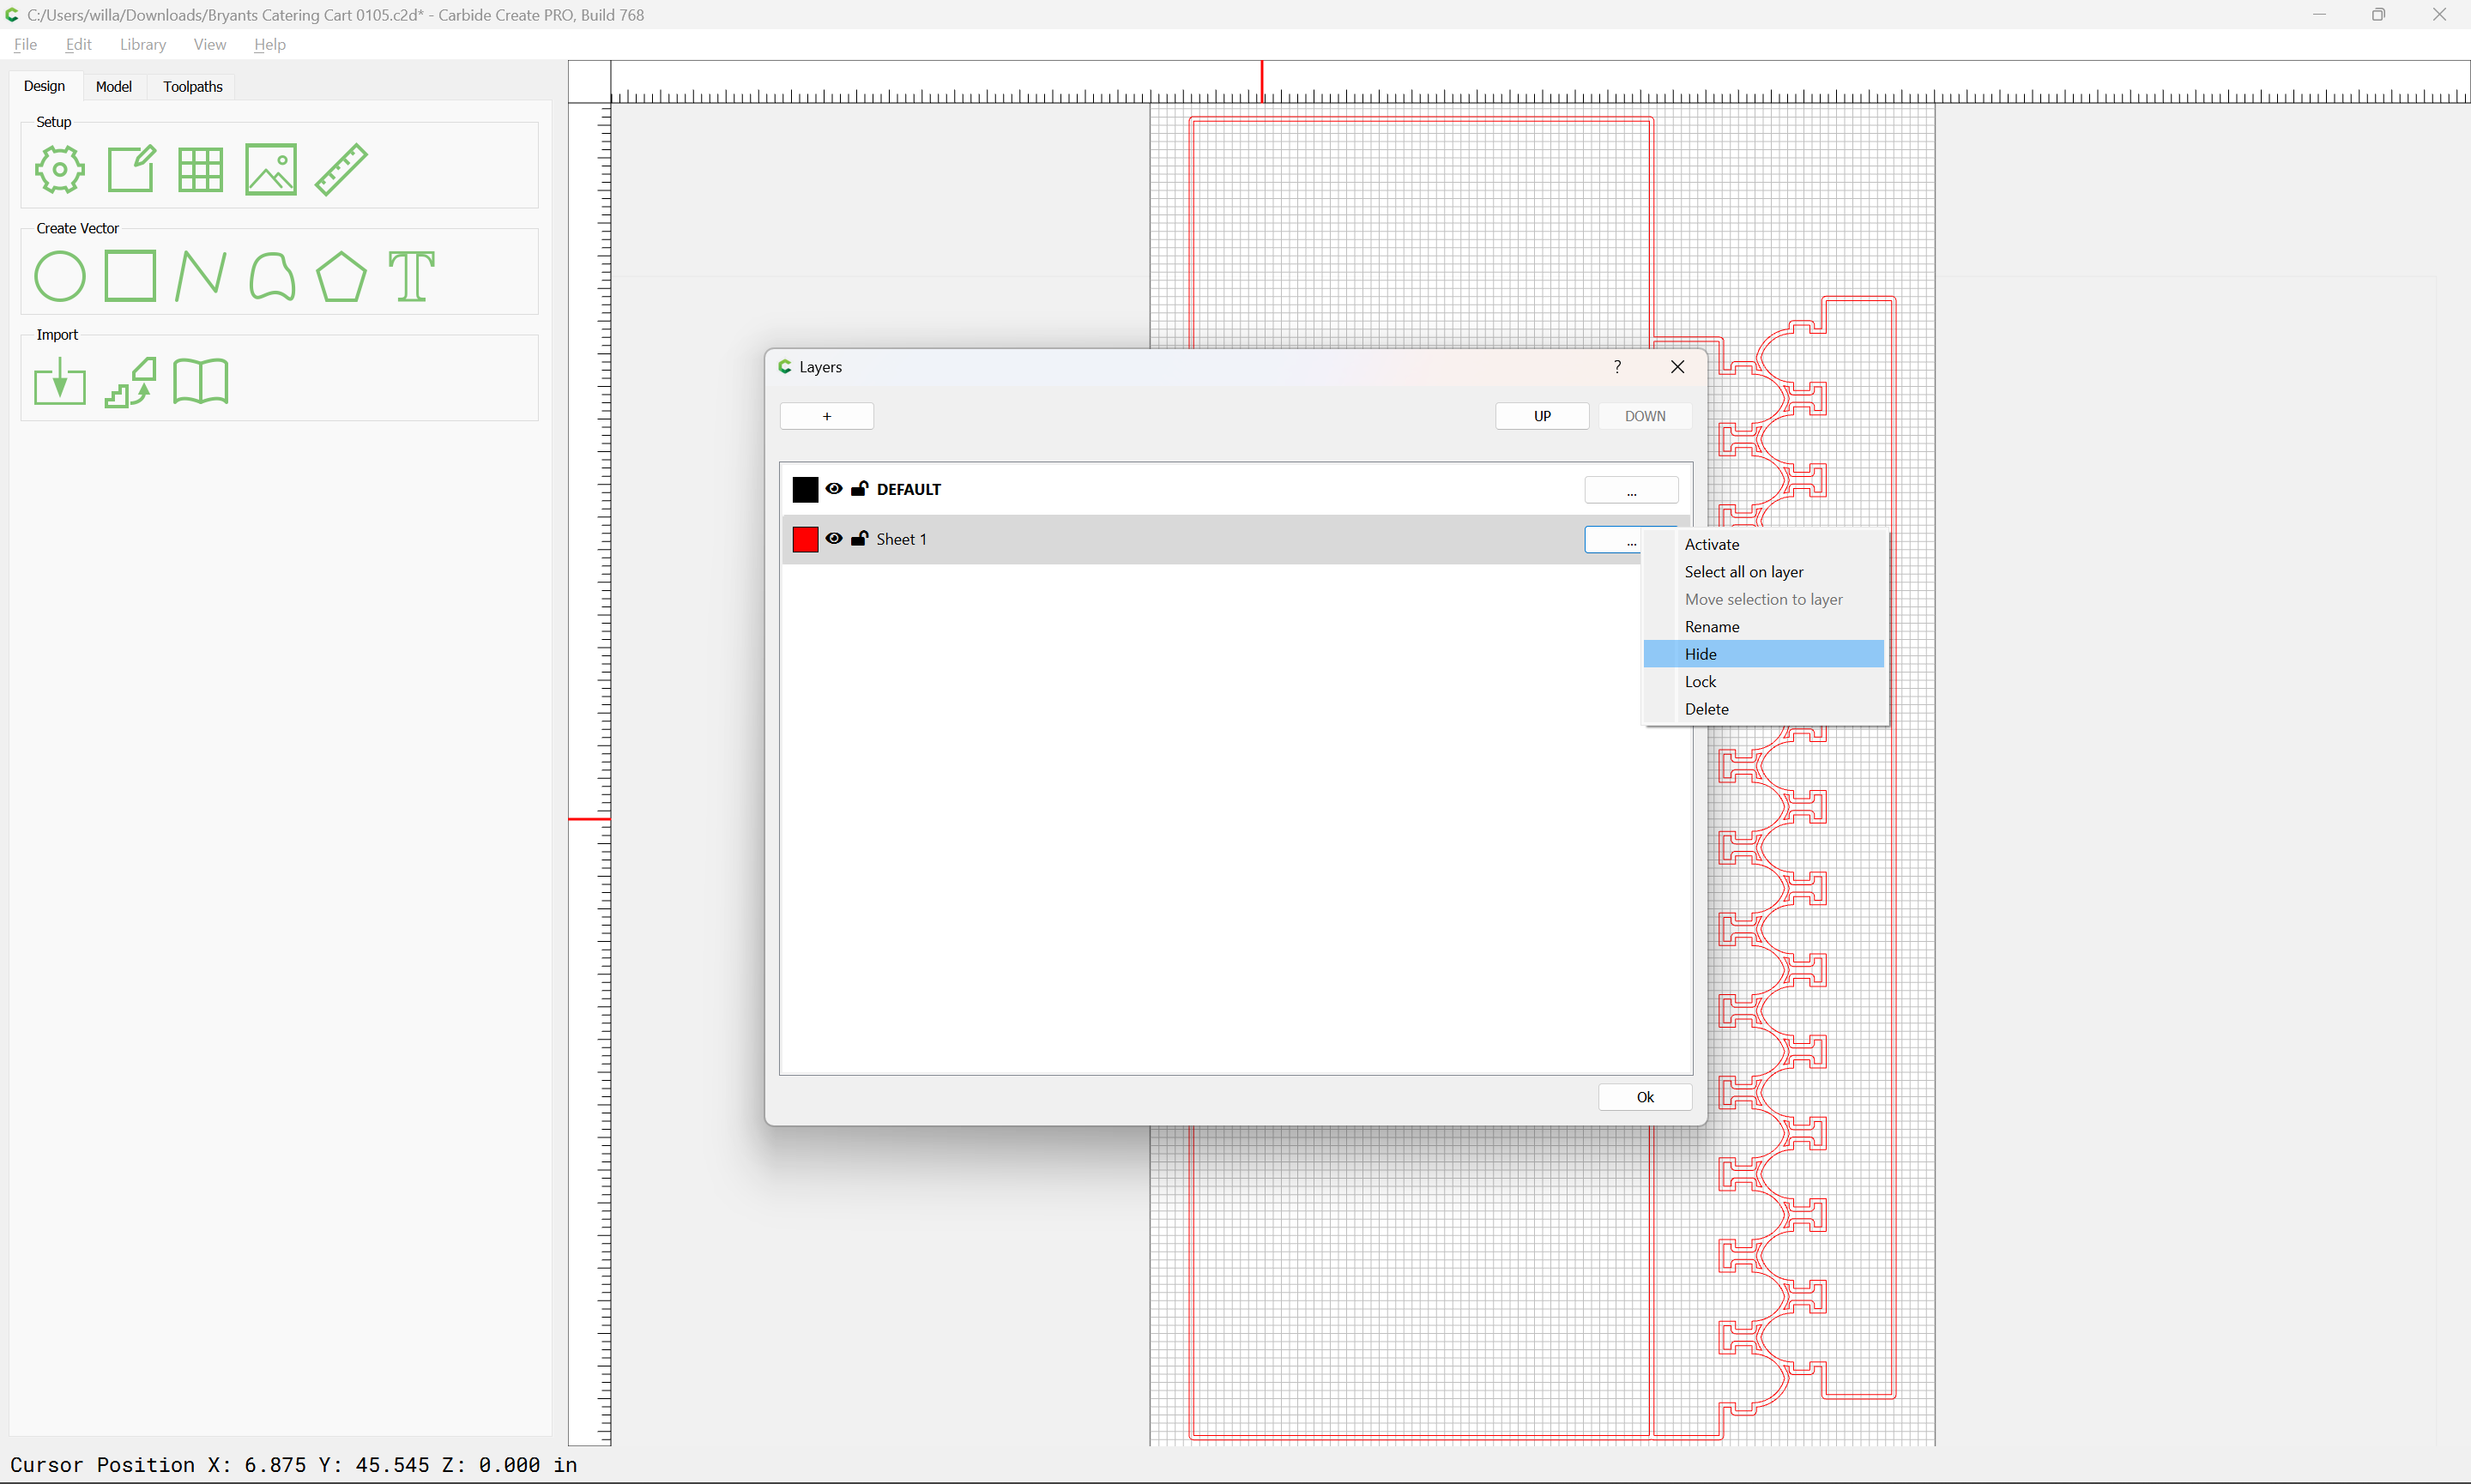
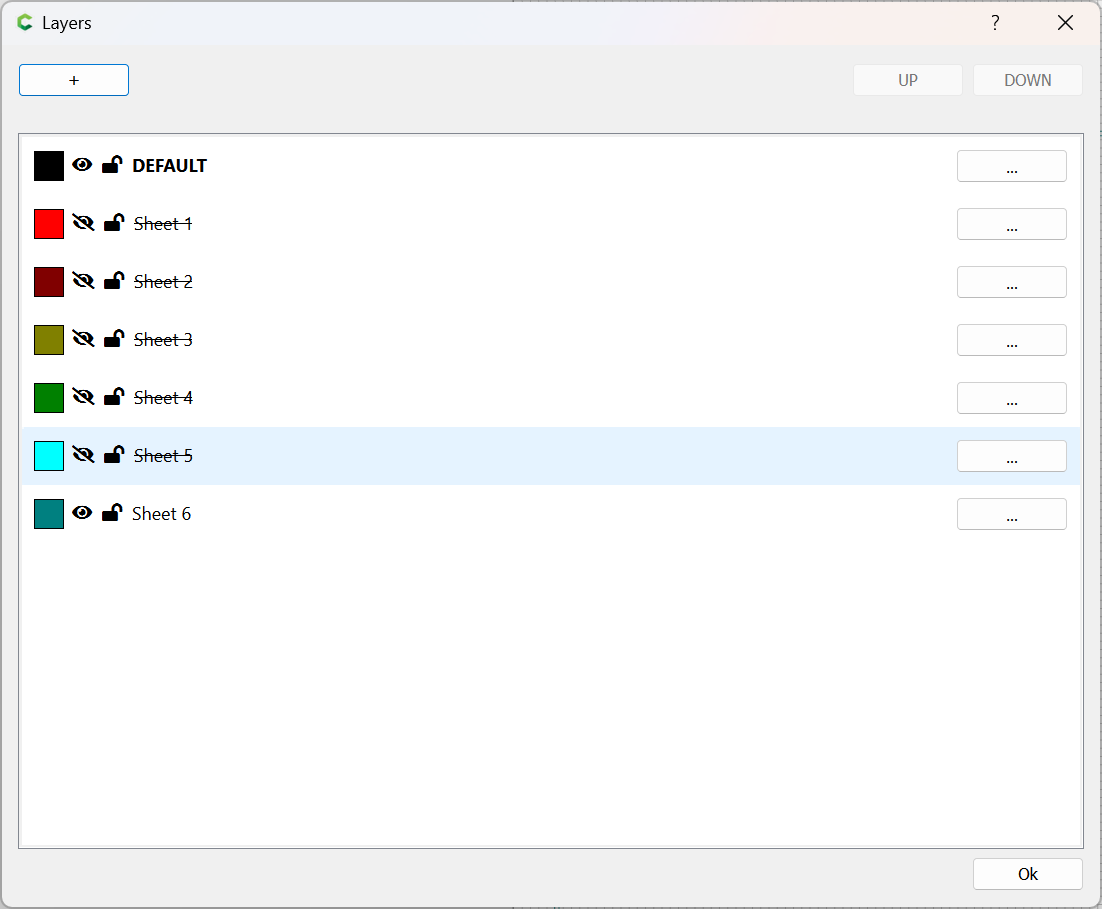
Hide the layer:
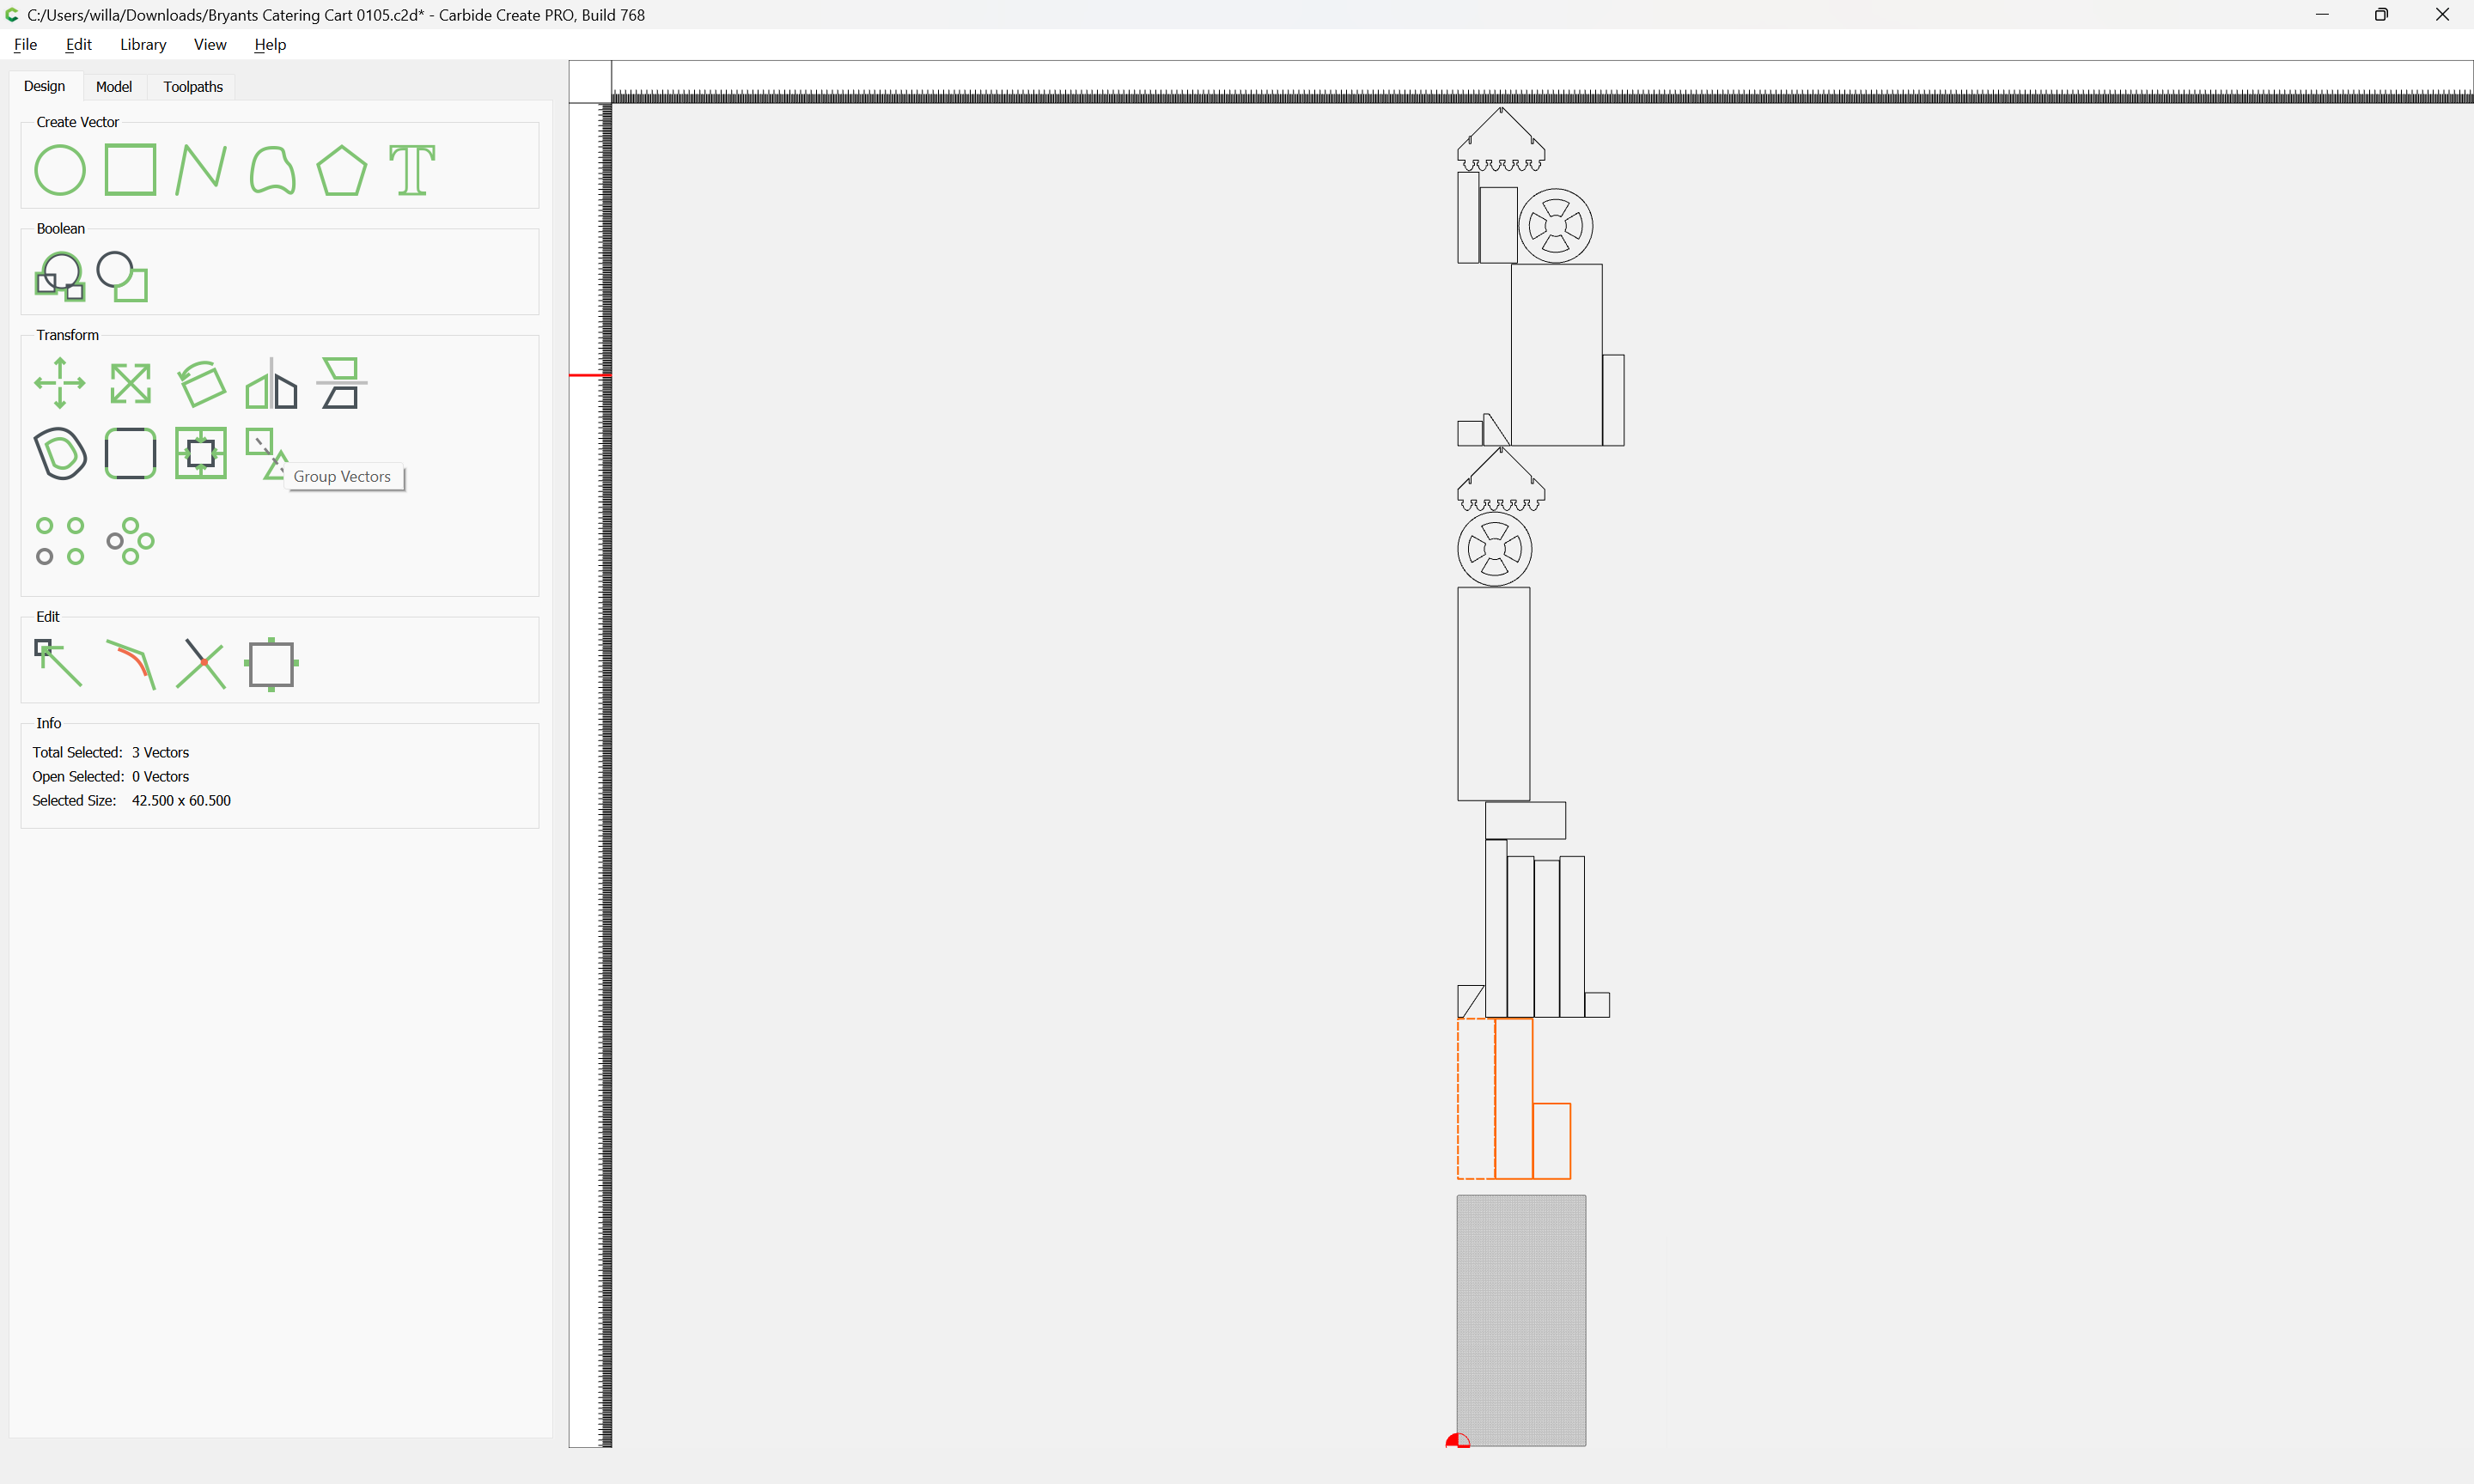
and select the parts for the next sheet:
Group them:
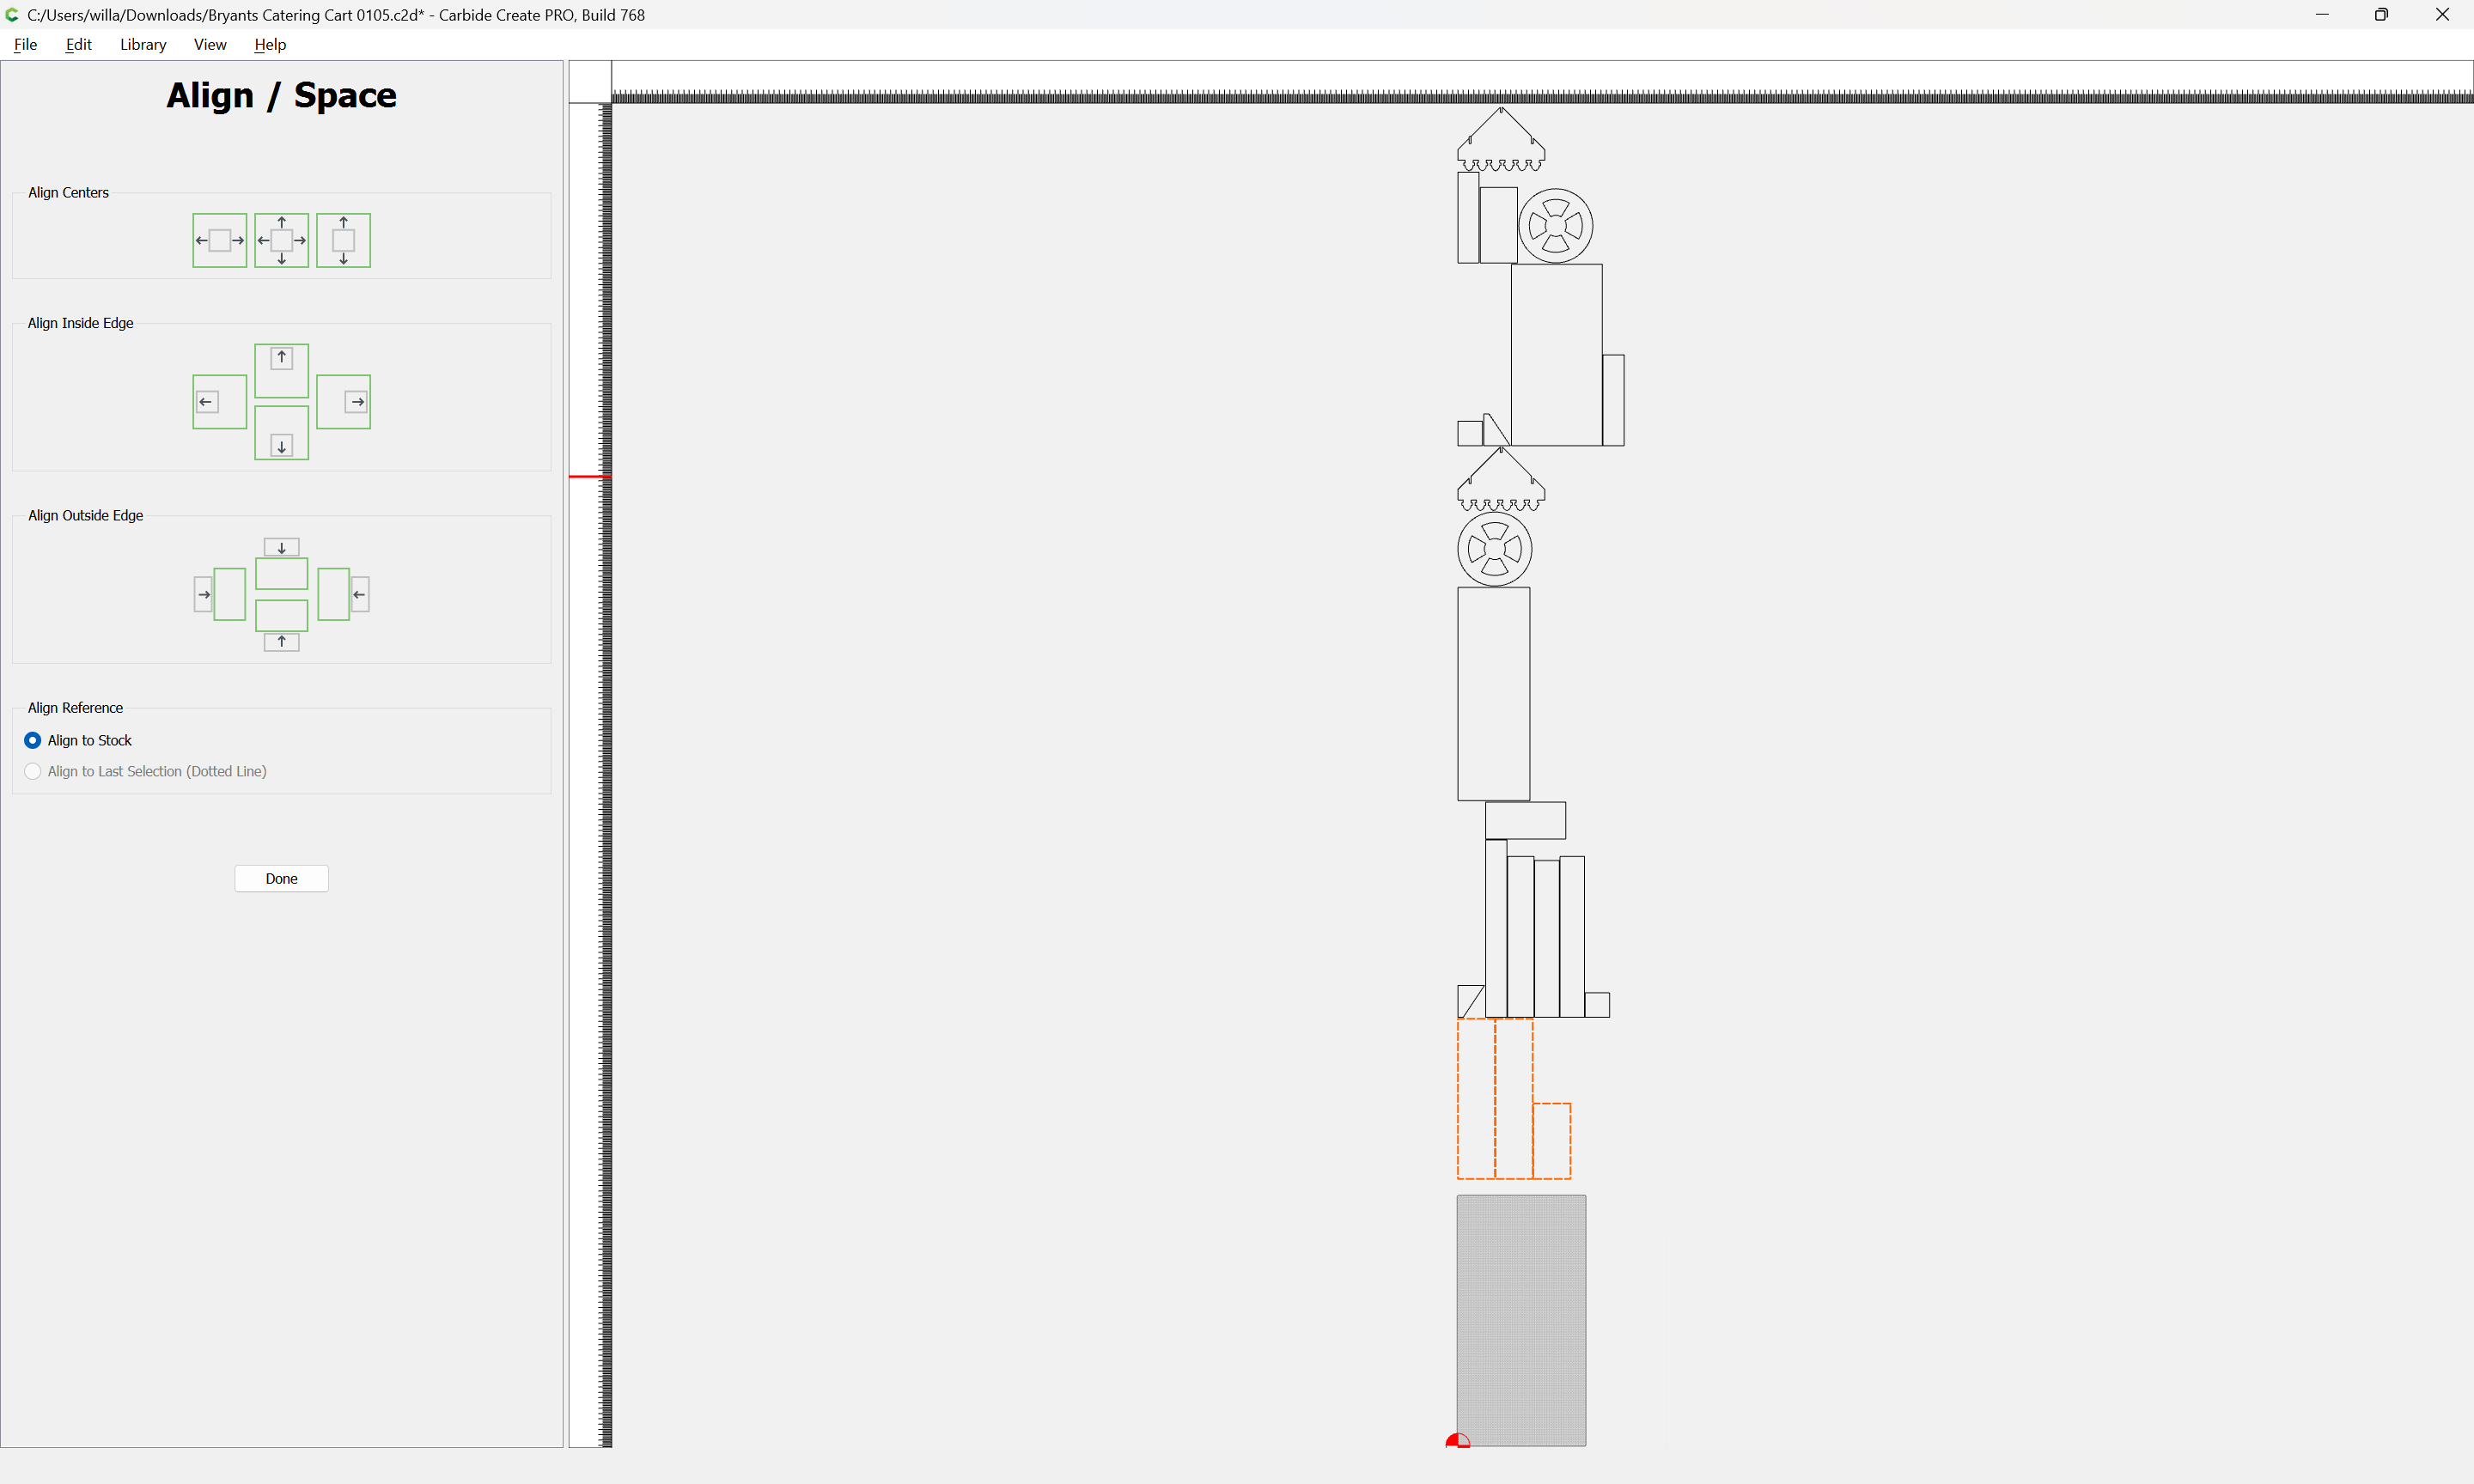
and align them to the center of the stock:
Check the part spacing:
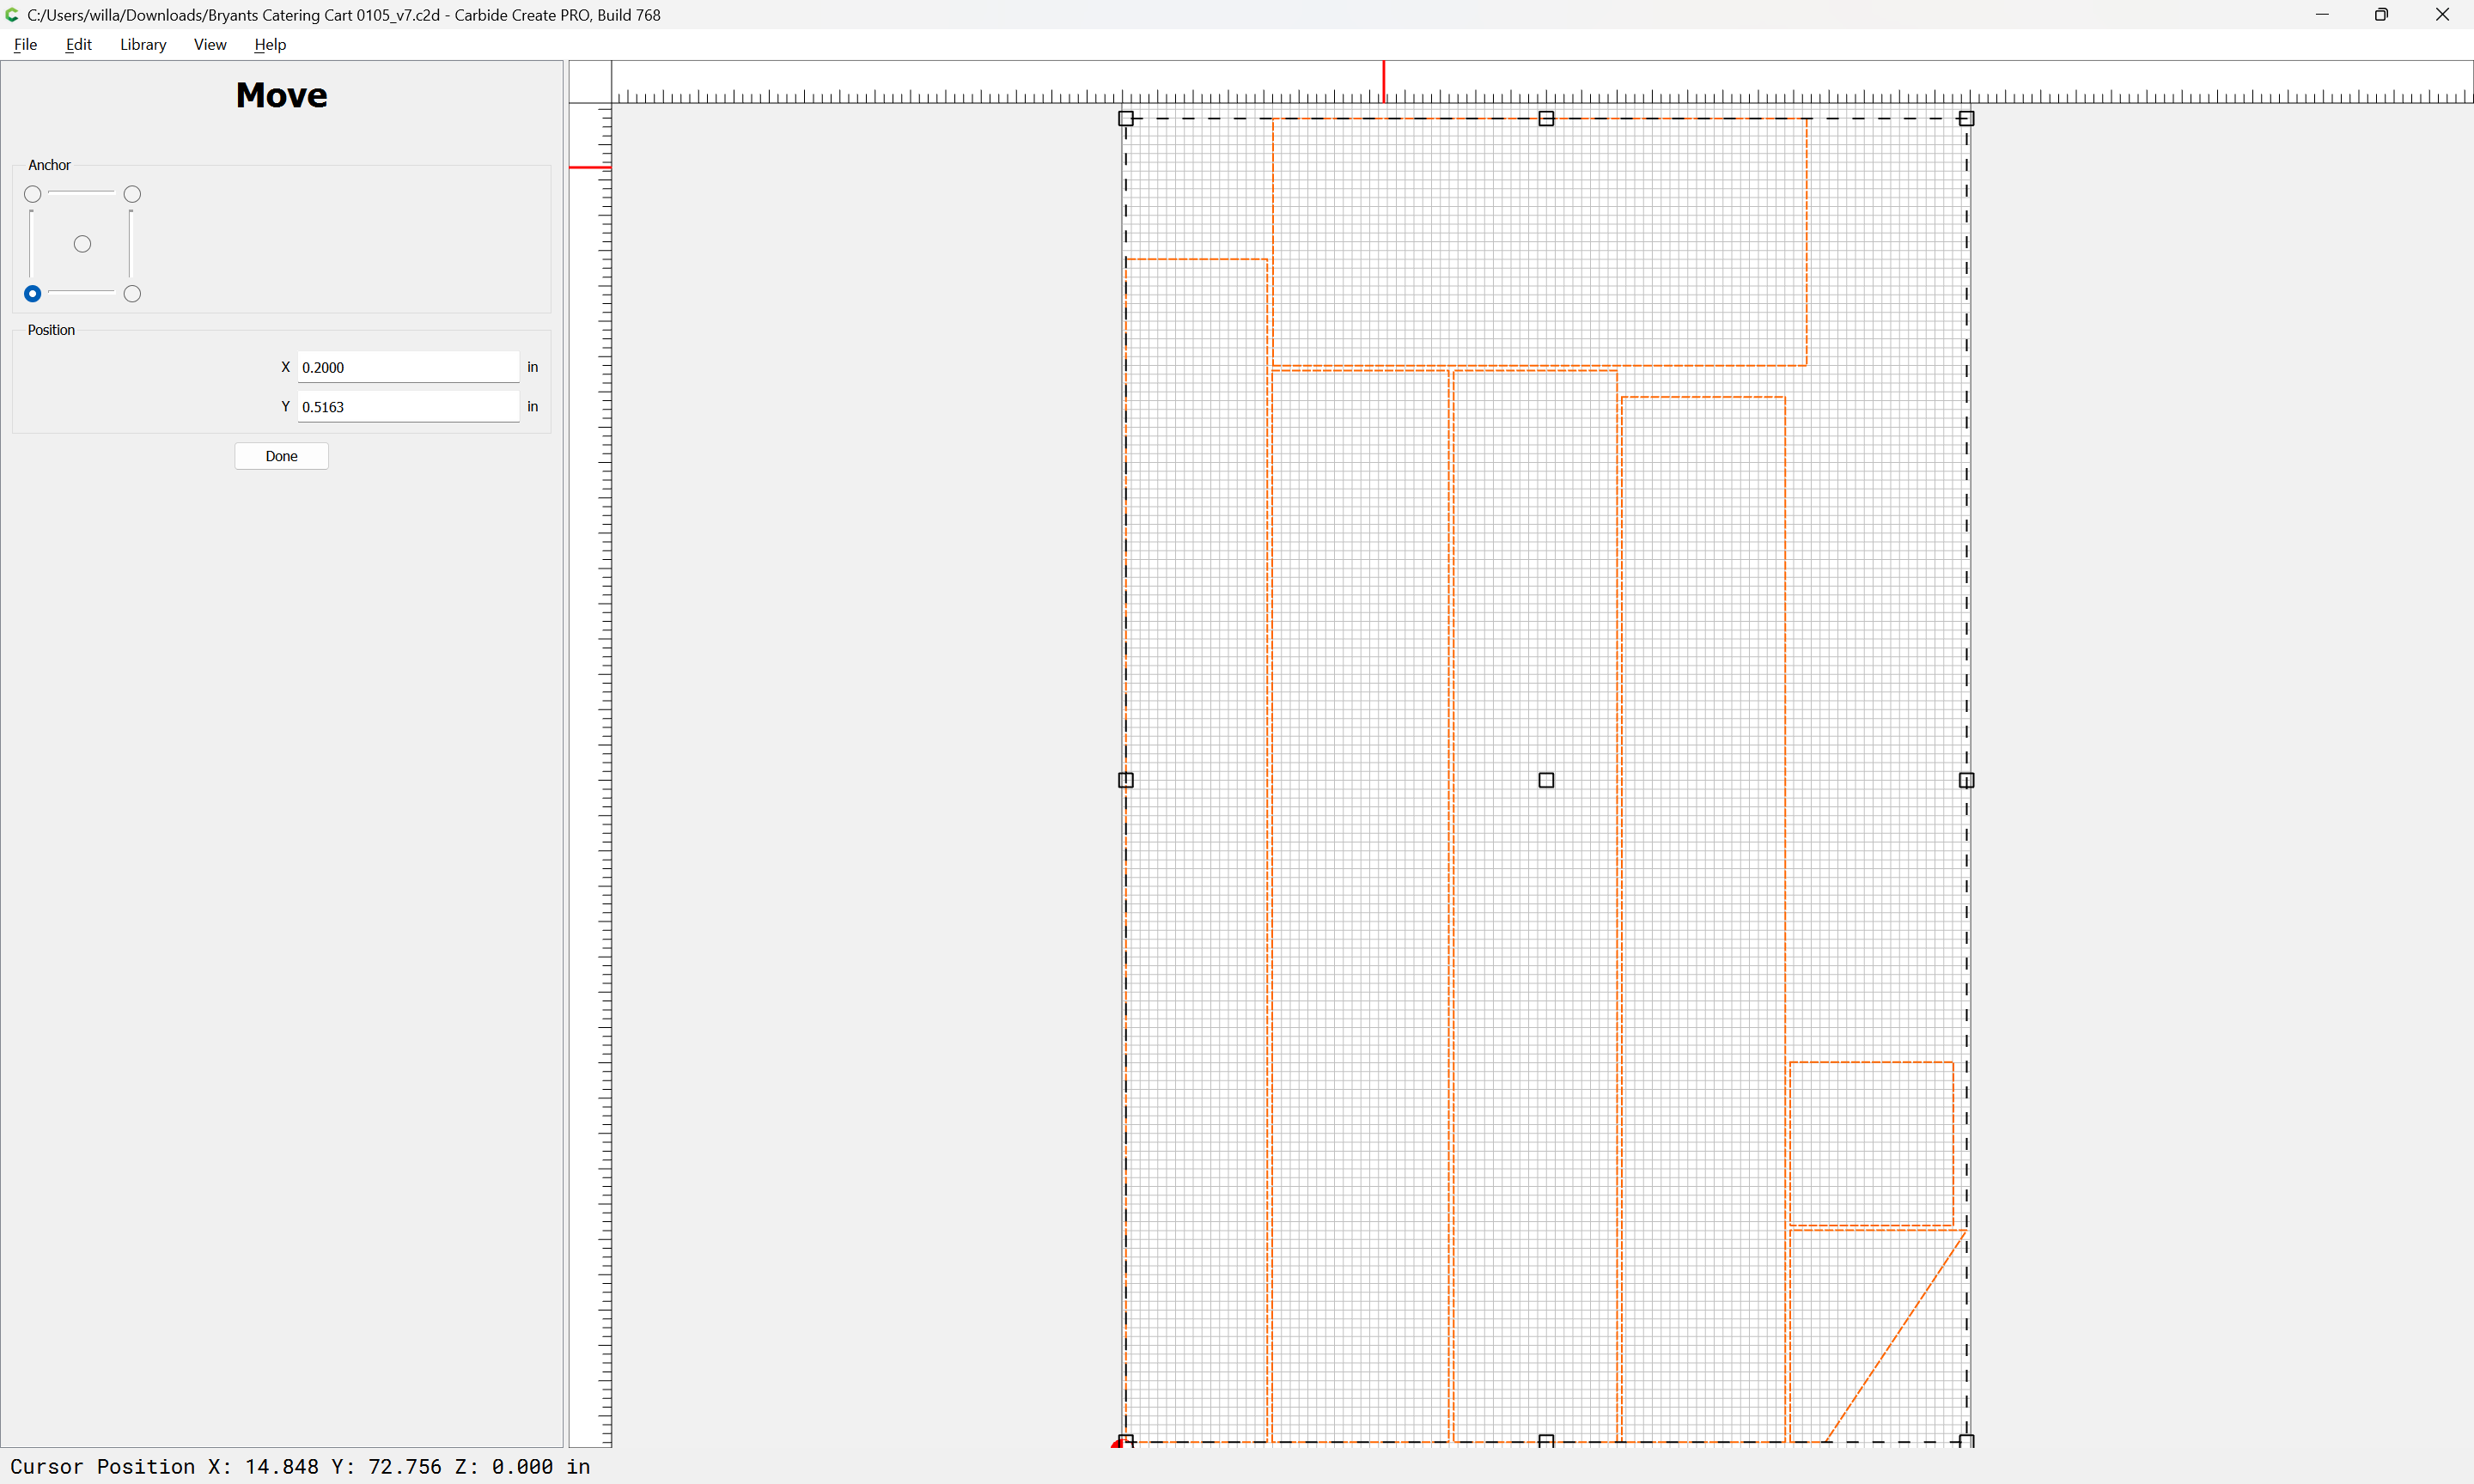
Ungroup and shift each part:
and adjust positioning:
and create an offset:
and set up a new toolpath in a new Group:
and put the geometry on a new Layer.
WillAdams
April 1, 2024, 11:38pm
4
Repeat for each, but note that for some arrangements:
it may be necessary to shift geometry to different sheets.
WillAdams
April 2, 2024, 12:29am
5
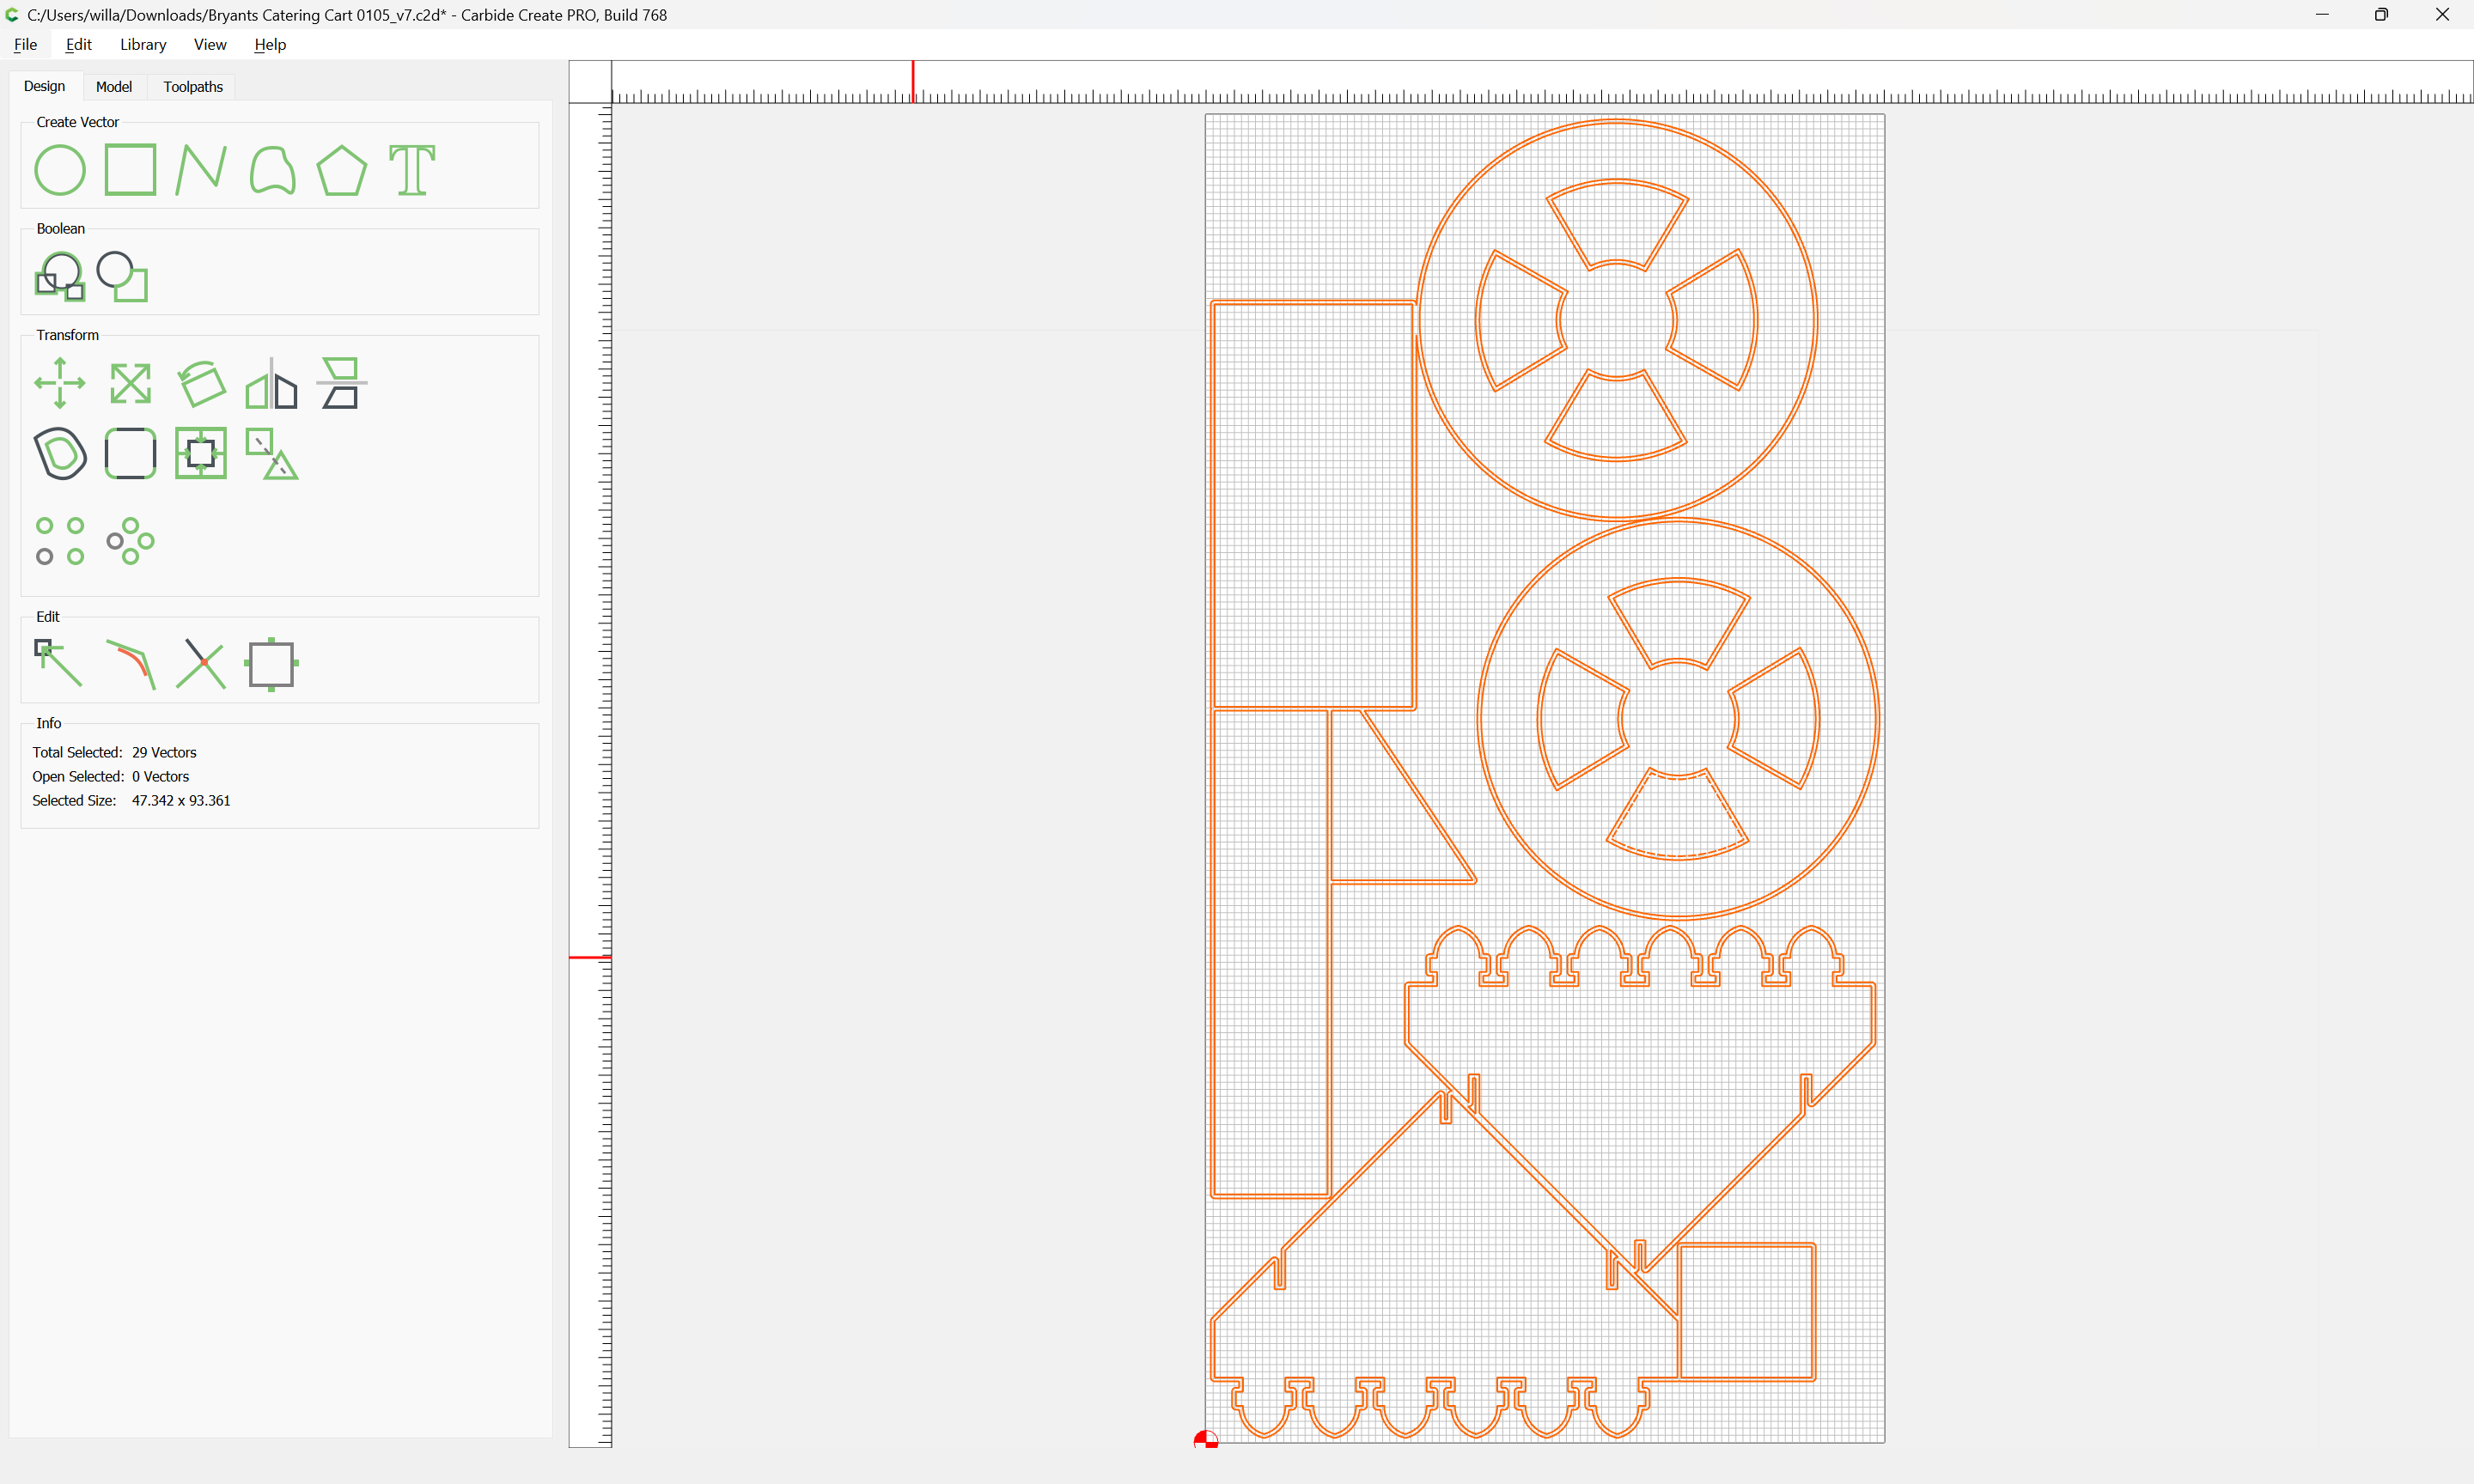
or re-arrange:
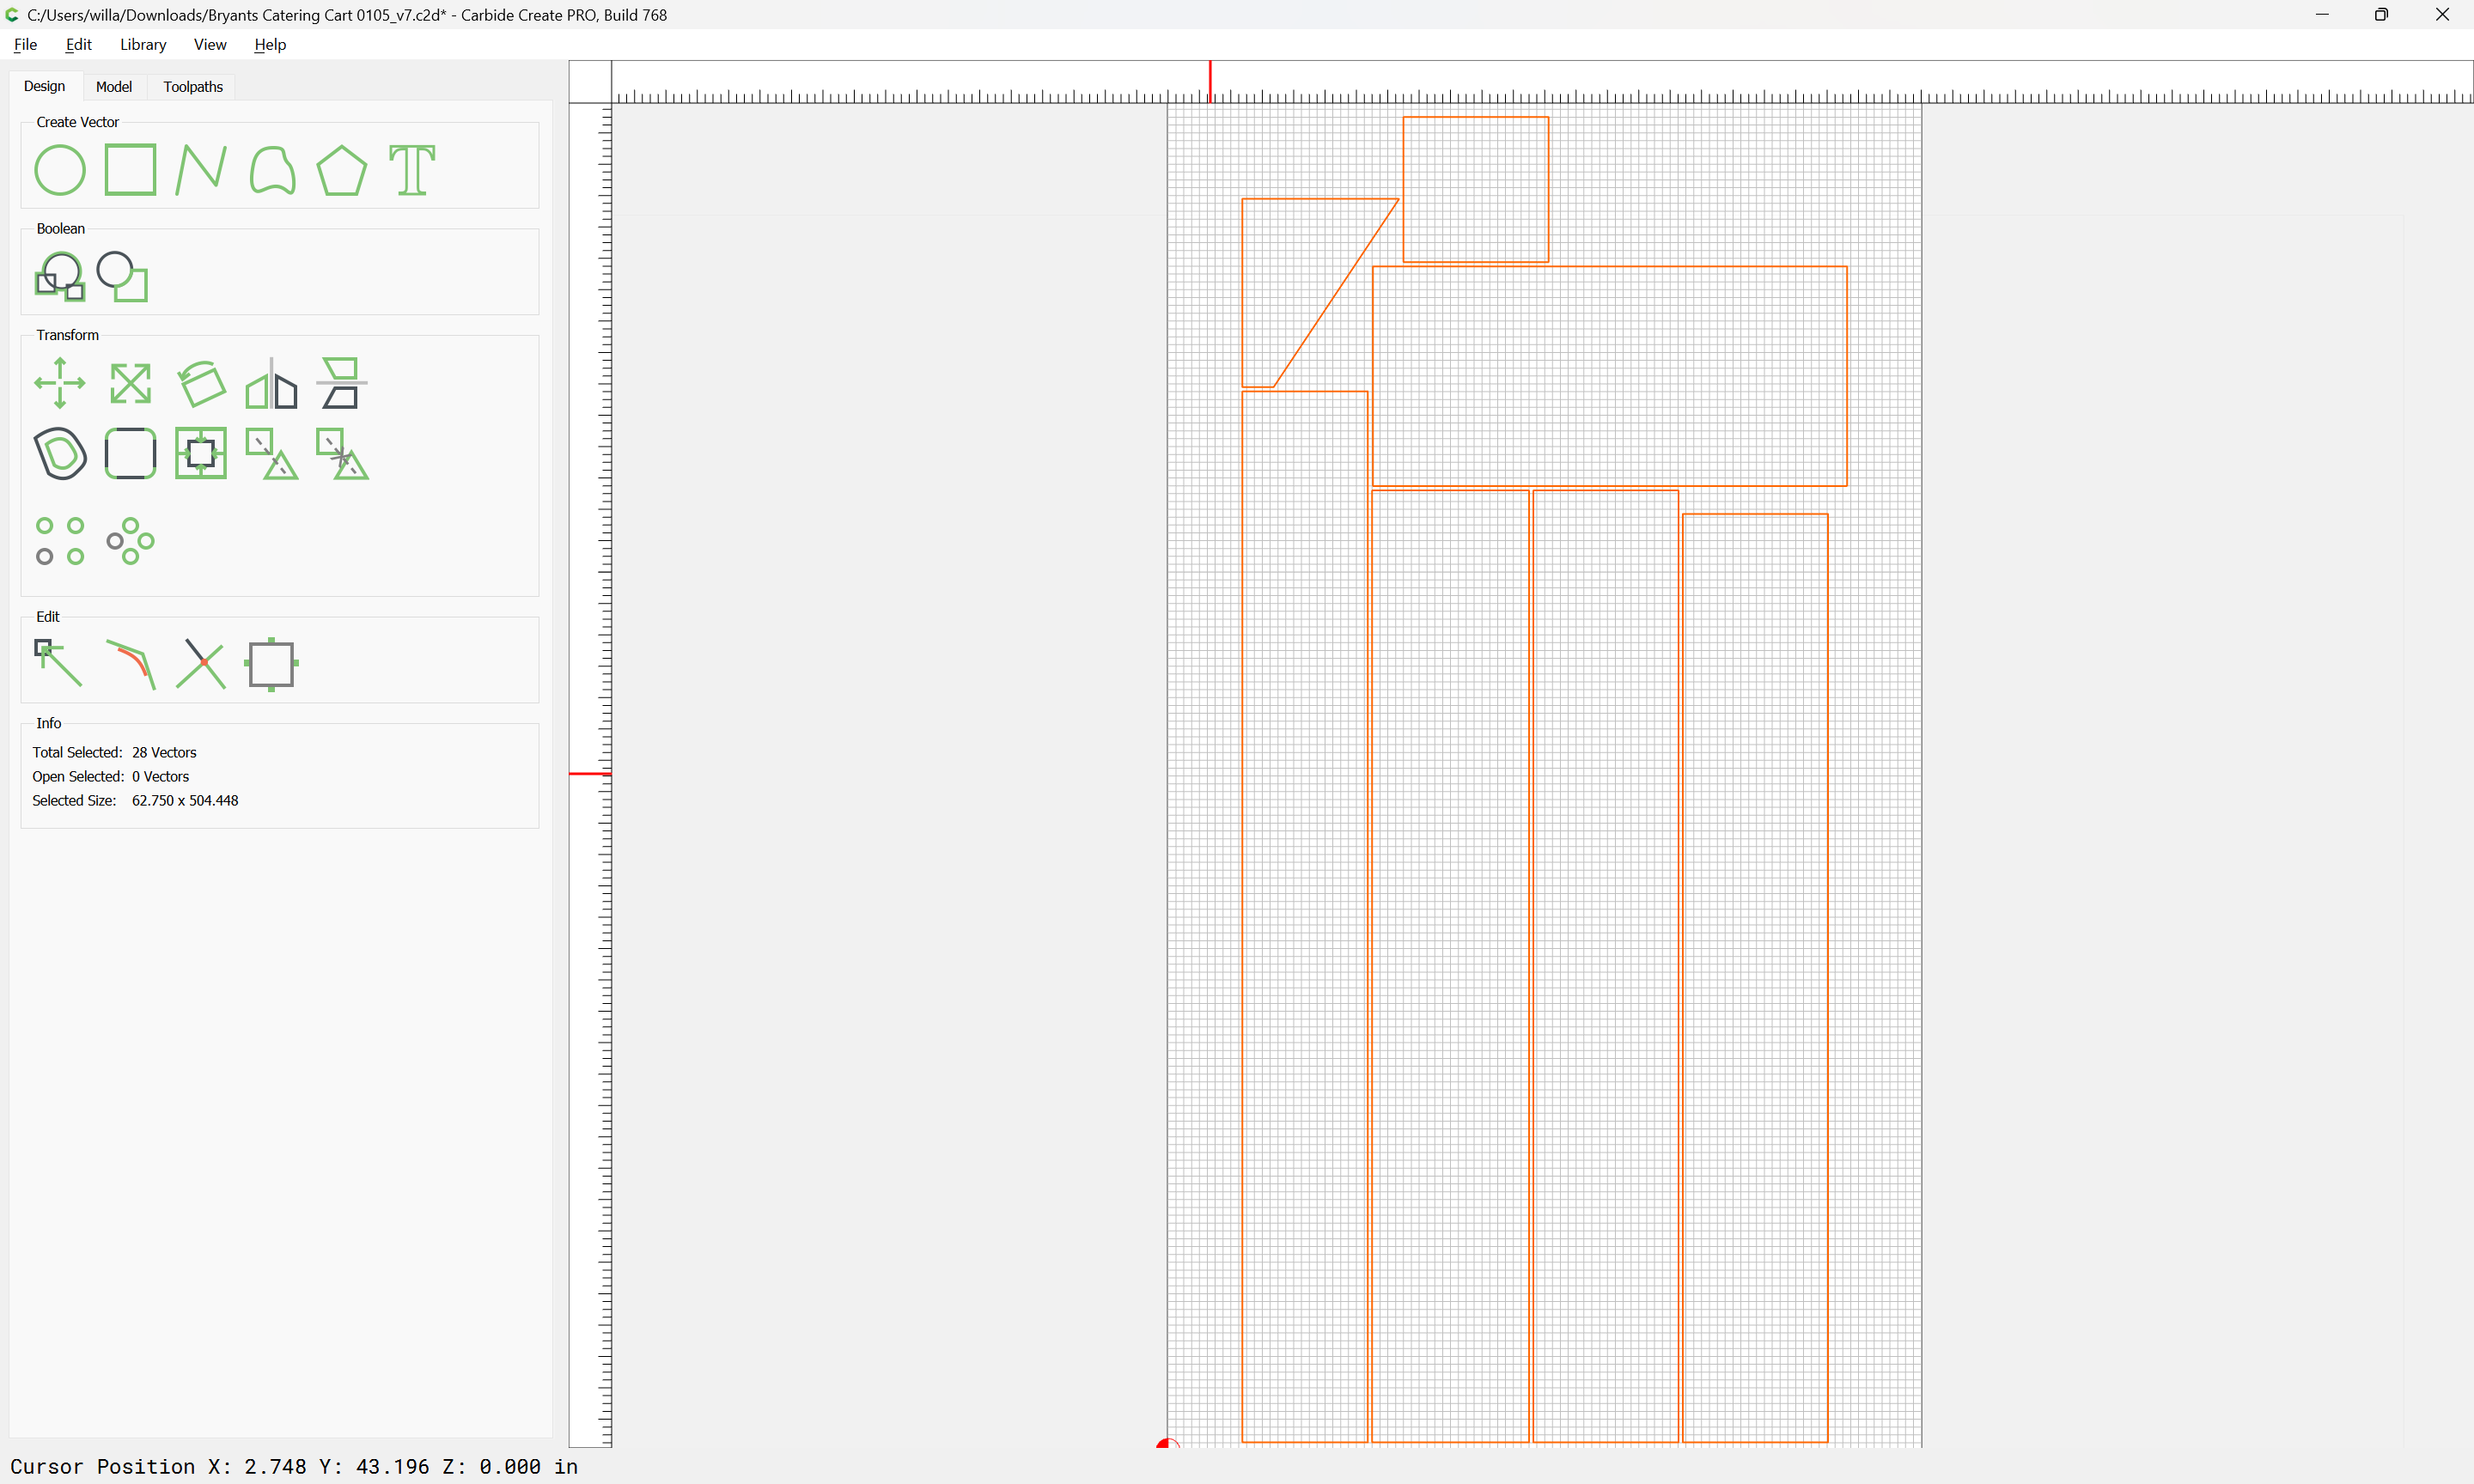
Eventually one arrives at:
which has geometries such as:
Shayla
April 29, 2024, 12:35am
6
I still have not had the chance to try this but I will soon. Thank you for the step by step tutorial.
system
May 29, 2024, 12:36am
7
This topic was automatically closed 30 days after the last reply. New replies are no longer allowed.