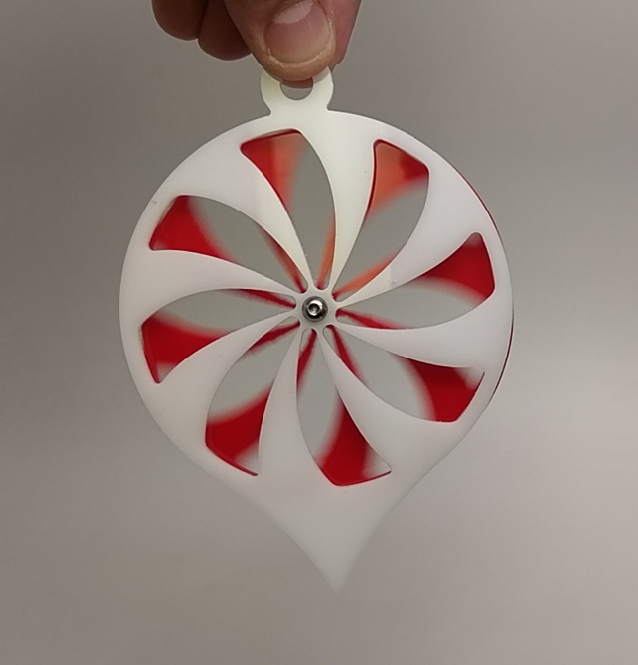
These are a great project, Tactile, Visual and infinitely customizable.
Whether you use this design for the classroom, or an Etsy store, you’ll be the first to have one, and they are hard to put down!
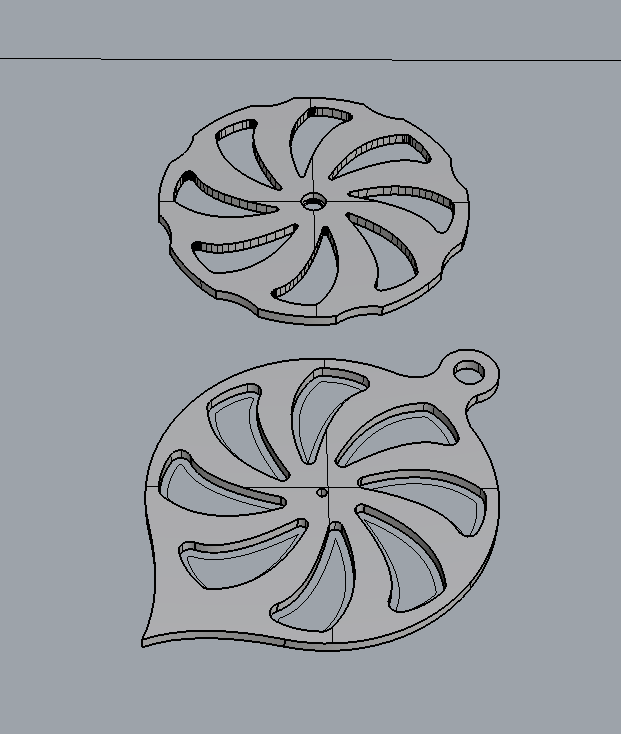
The Carbide Create file attached is designed for the Nomad.
For Each Ornament you will need:
2 pieces of acrylic 4"x4" x 1/8th"
Double sided carpet tape
1/16th square endmill #112
M3x10 button head
3x3x7 683zz bearing
M3 insert nut (mcmaster part number: 94100A110
Note:
You can easily change the design to eliminate the bearing if you want, Just place a 3MM through hole in place of the bearing pocket hole.
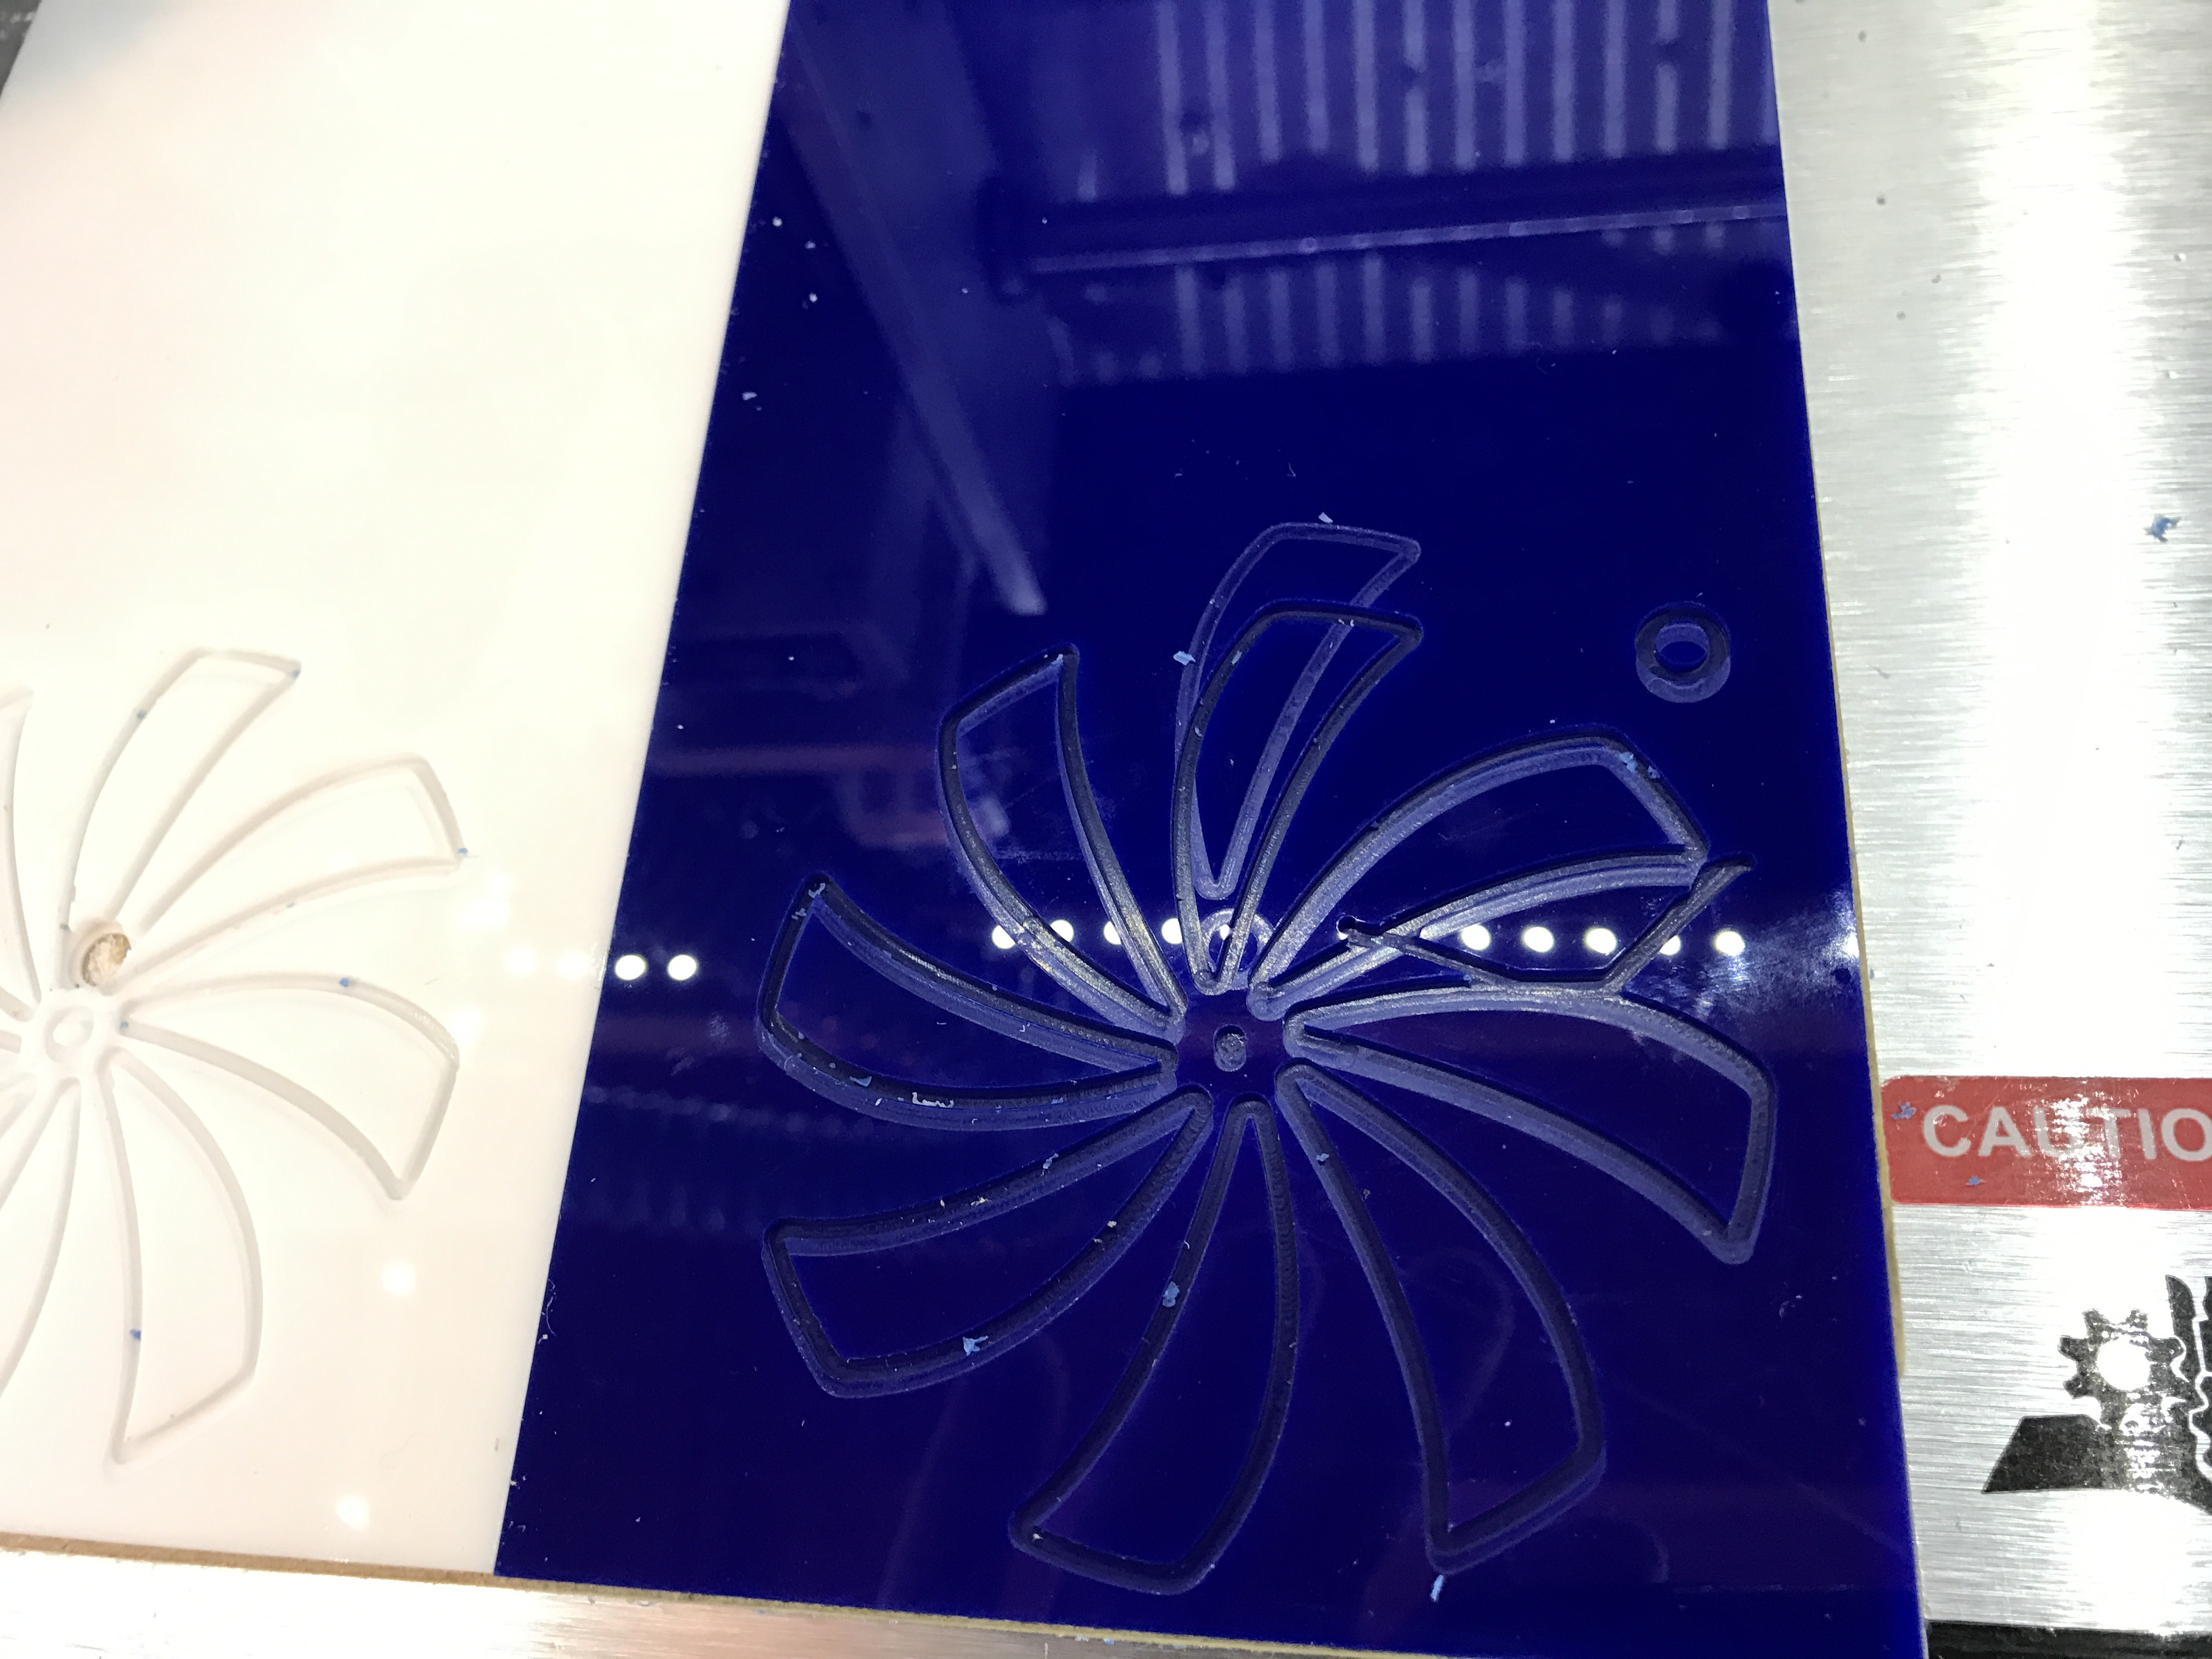
It started having problems very early in the cut, but I let it proceed to see if I could learn anything (and because the plastic was ruined anyway so why not). I stopped it when it made that large error in the blue piece. Not sure what’s up. Is it because the settings are for the Nomad Pro? Should I adjust them for the Classic? If so, how much? I really want to make these work, I got some brass and aluminum to make metal ones, once I sort out the bugs…
Oh, and in case it matters, here’s the g-code my CC output from your C2D file: xmasOrnament2016_v1.egc (645.4 KB)
EDIT: I had the protective paper on the top side of the acrylic when I was machining it. I don’t think that seems likely to have caused the problem, but I’m not sure.
@MrHume.
Check the carbide create design file and machining specs first. Did the drawing elements shift?
You may want to start fresh from the source svg file with settings you’ve run in acrylic.
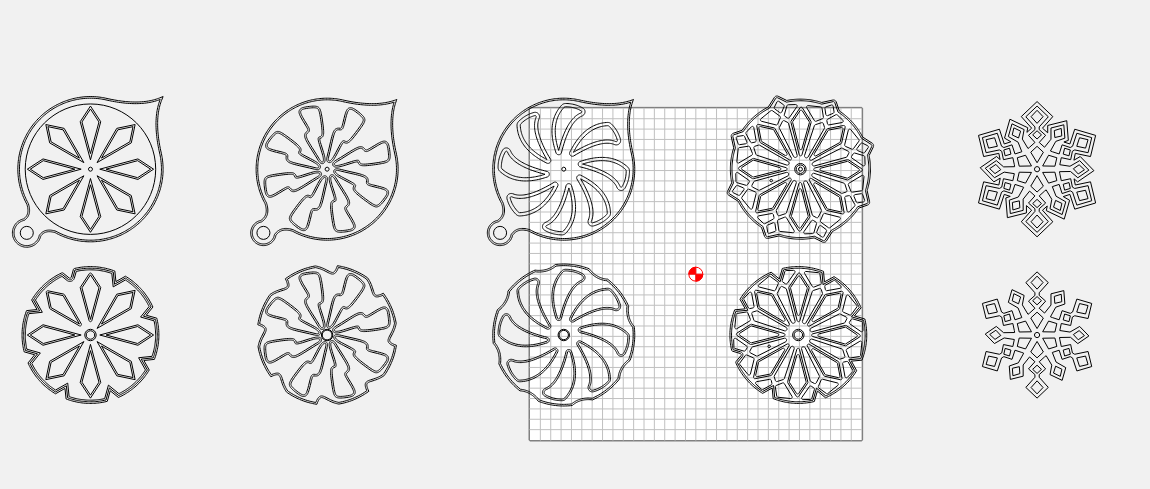
I redid the Carbide Create files with my own numbers, which I got from G-Wizard, and made four different designs. They came out pretty great! They spin forever, and people love them. Here’s a fun video:
NOTES:
The insert nut doesn’t really work for this, and in fact it will unscrew itself sometimes. I’m going to switch to a small lock nut. I think you’d need a thicker piece of material to really get the benefit of the insert nut, and you’d need to mill a hole for it on the other side, which makes it a two sided job. Probably not worth the trouble.
I do think the protruding hardware on these ornaments is the least pleasing part. I may make some nicer ones out of wood and brass, in which case I will find ways to hide the screws and nuts.
The hole I milled for the screw to go in was too small. A very trivial fix, but a bit surprising, since the hole in the CC file seems correct. I am going to test my machine for runout.
Overall a very fun project! Impressed some relatives who don’t understand what a CNC machine is useful for, and I love having the ornaments. Thanks for posting it, @ApolloCrowe
Here’s my CC files, if anyone wants to use them. I did the bottoms and tops separately: xmas_orns_2016.zip (638.3 KB)
Thanks! I’ve got a Canon 70D, just use a couple of the cheaper kit lenses for getting close to dusty, debris generating stuff. I’m a video editor for my day job, so I couldn’t resist giving it a quick color pass in Premiere Pro, just for the heck of it.