
It’s an empty file. There’s an SVG structure with no actual paths.
1 Like
So how can I get this file in a format to be uploaded into CC?
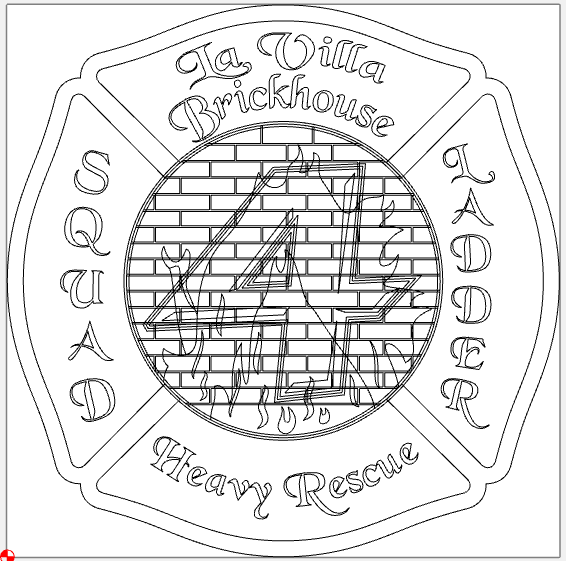
station 4.pdf (357.4 KB)
I’m trying to load it so I can route it into their table for their fire station.

1 Like
For a bit on how to address this see:
While working from a tracing, the technique of importing a pixel image version as reference may help:
and for further discussion, see:
So I’m new at this game. When I try to open the file in CC it doesn’t give me option to select it. It’s grayed out.
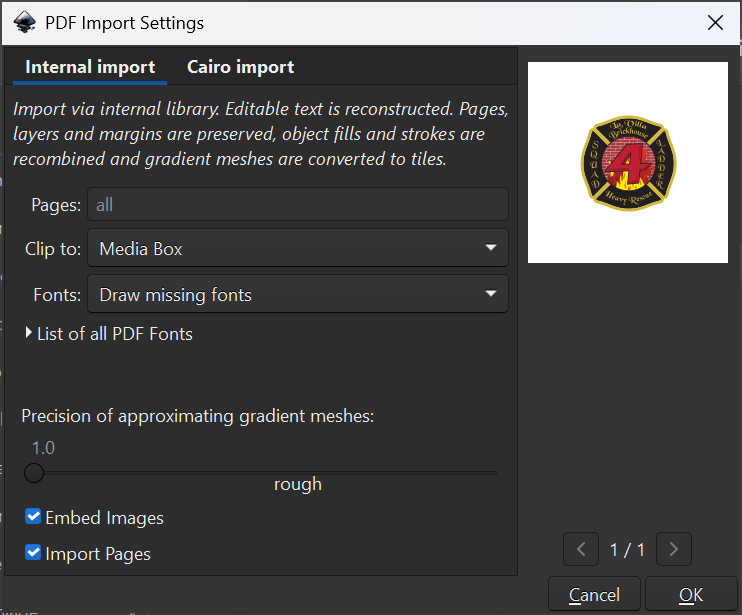
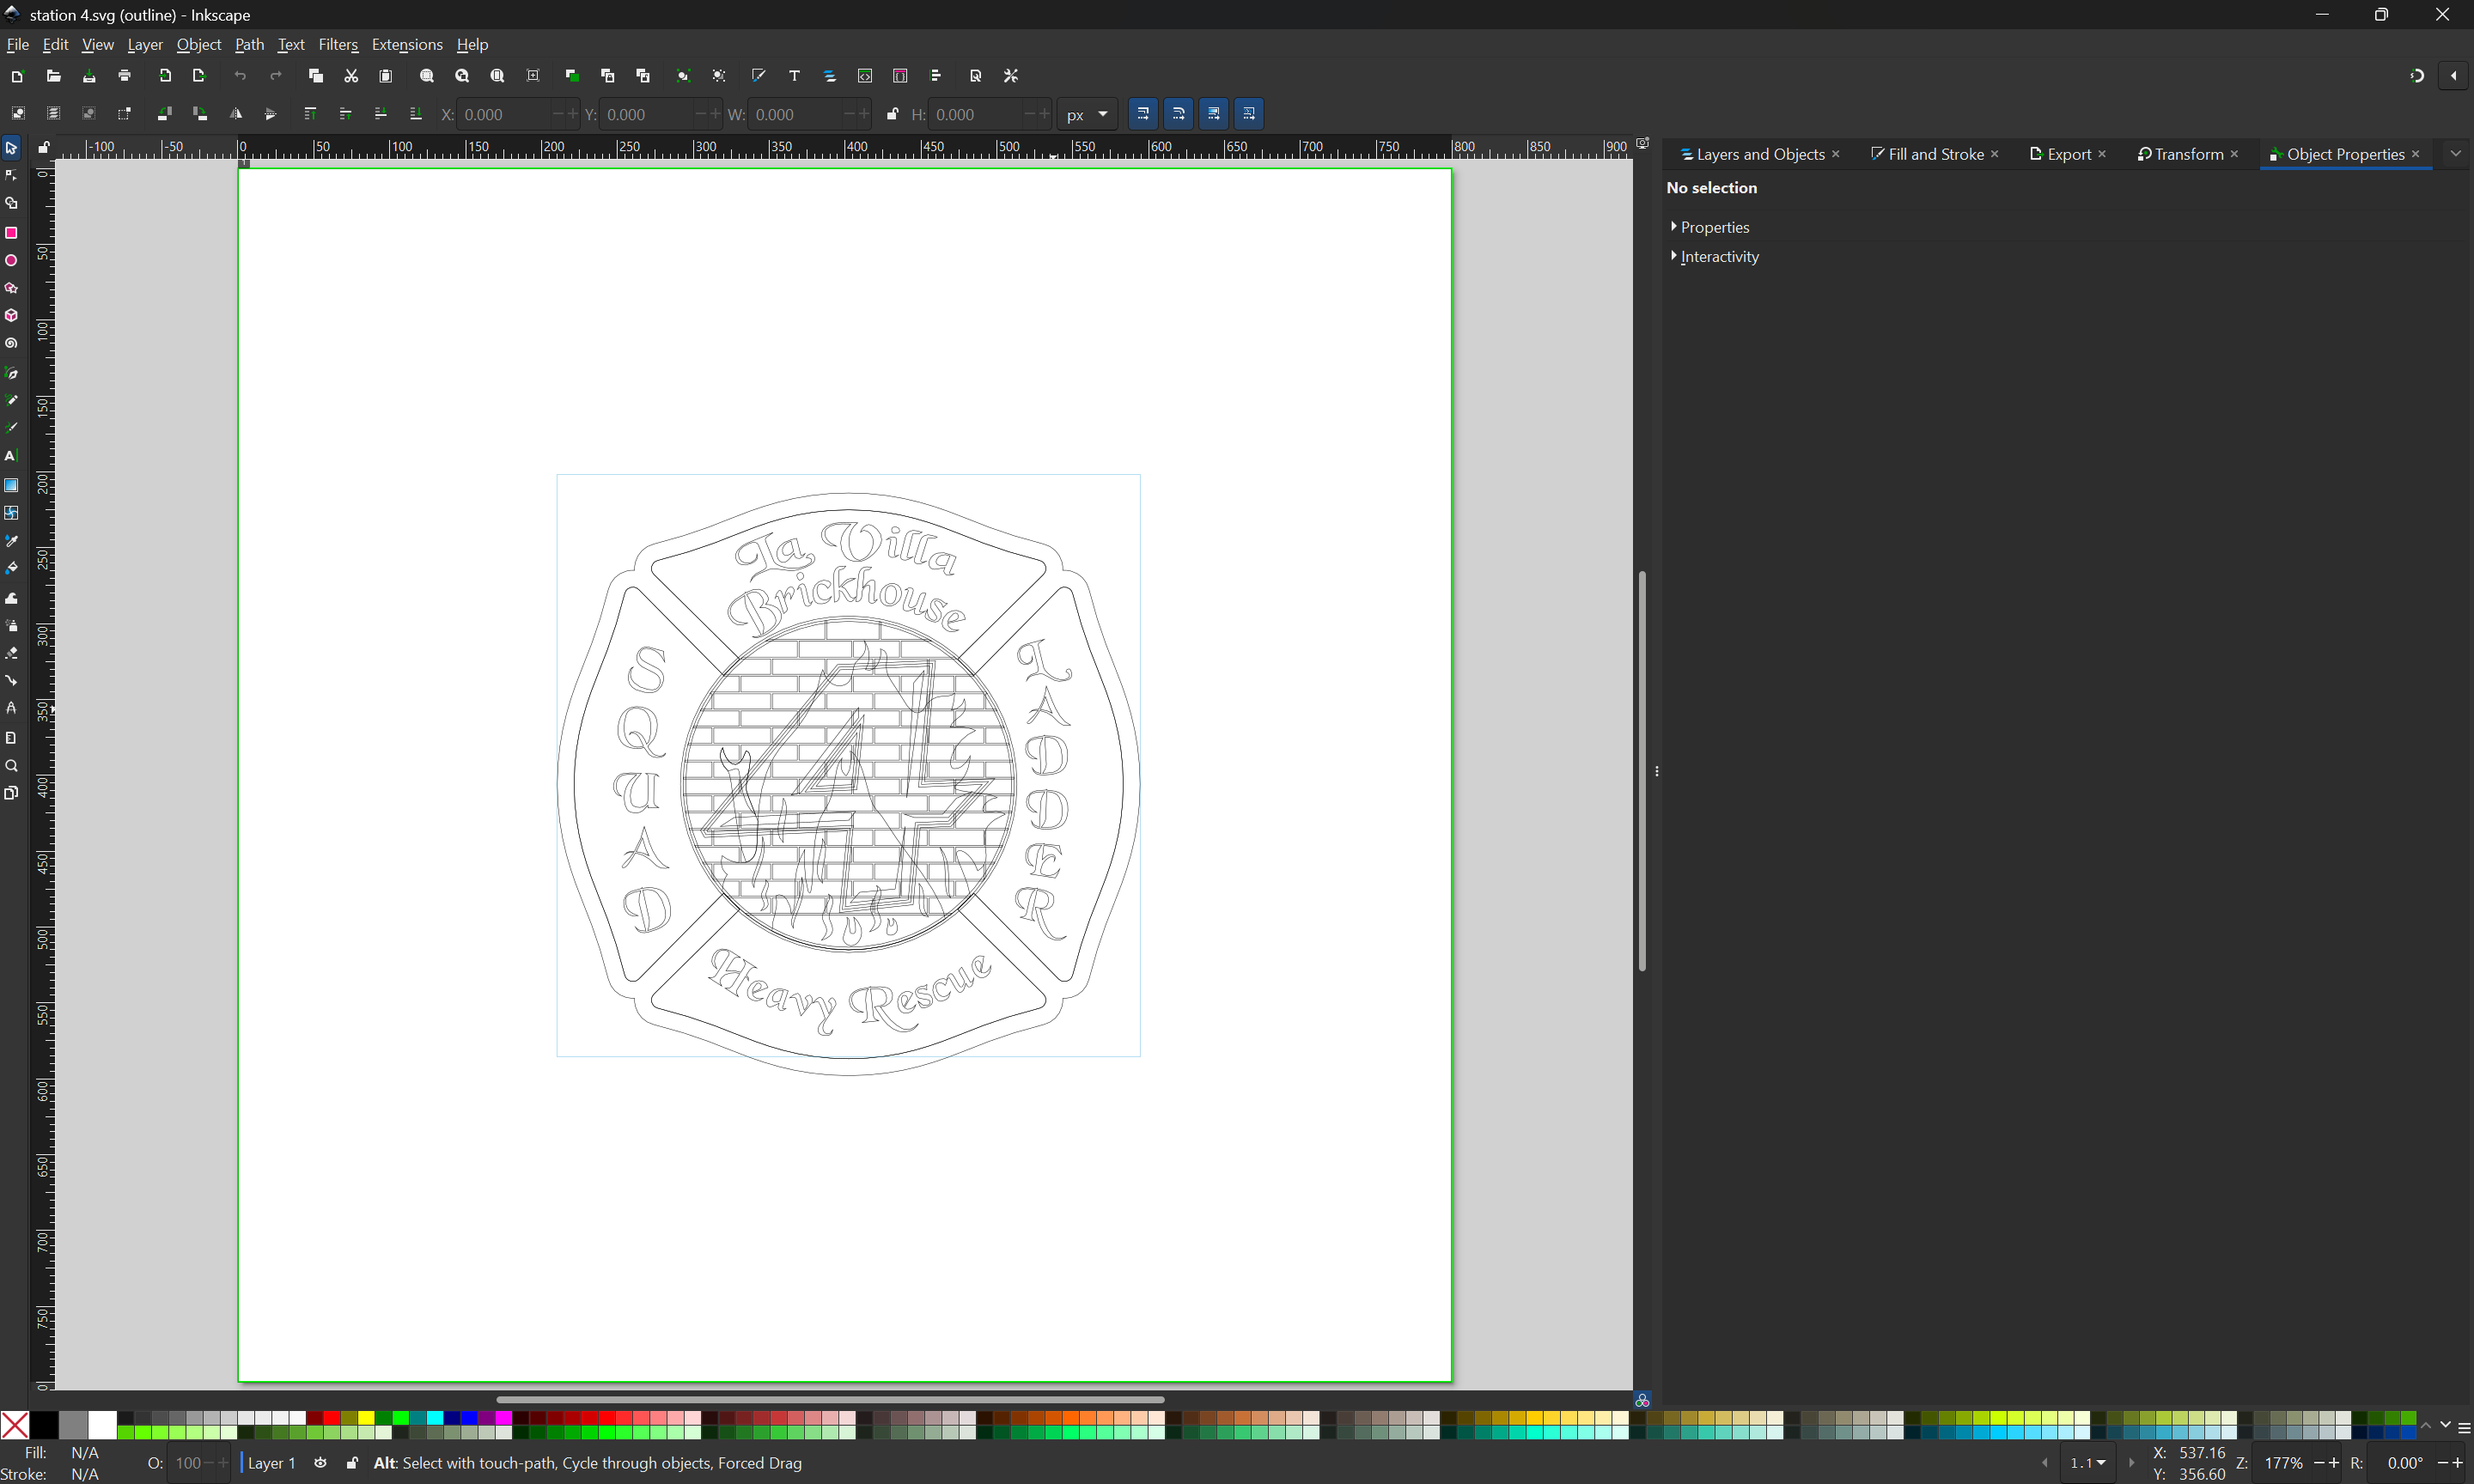
You need to open the PDF in Inkscape:

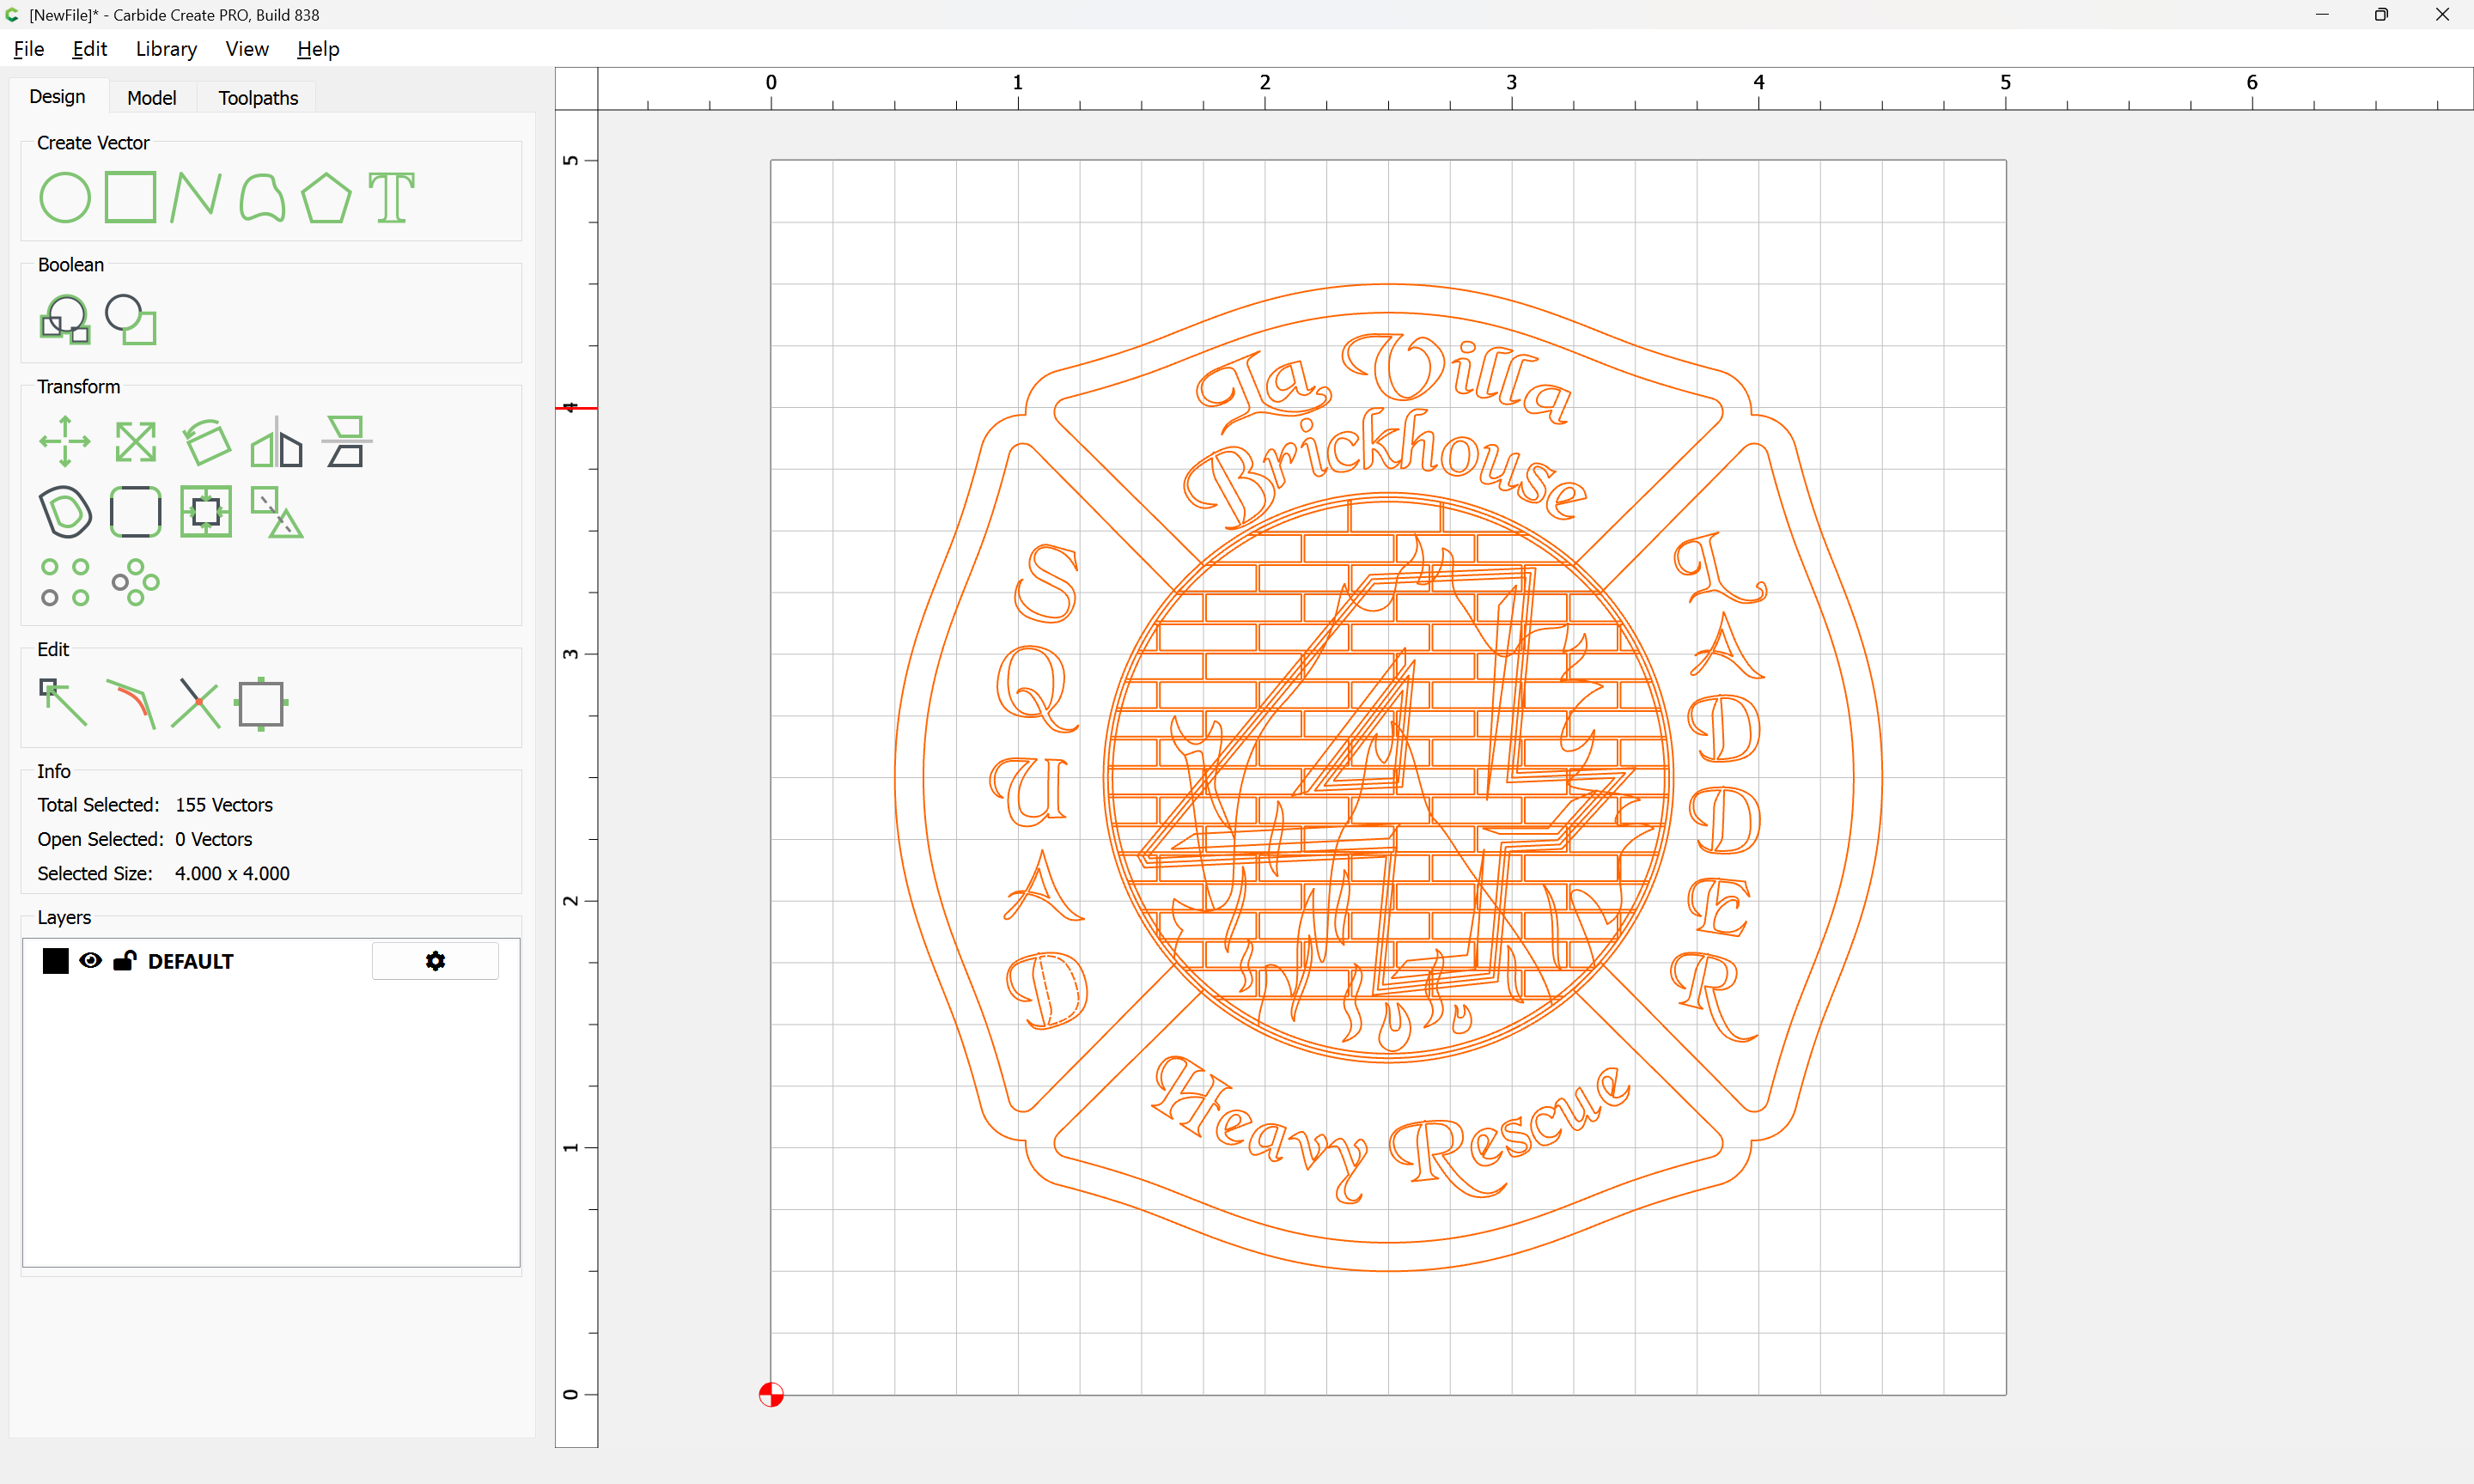
Resave as an SVG:

which will then open in Carbide Create:
Attached as a v8 .c2d
station 4_v8.c2d (320 KB)
Fixing the file is left as an exercise for the reader (or something for me to do during lunch).
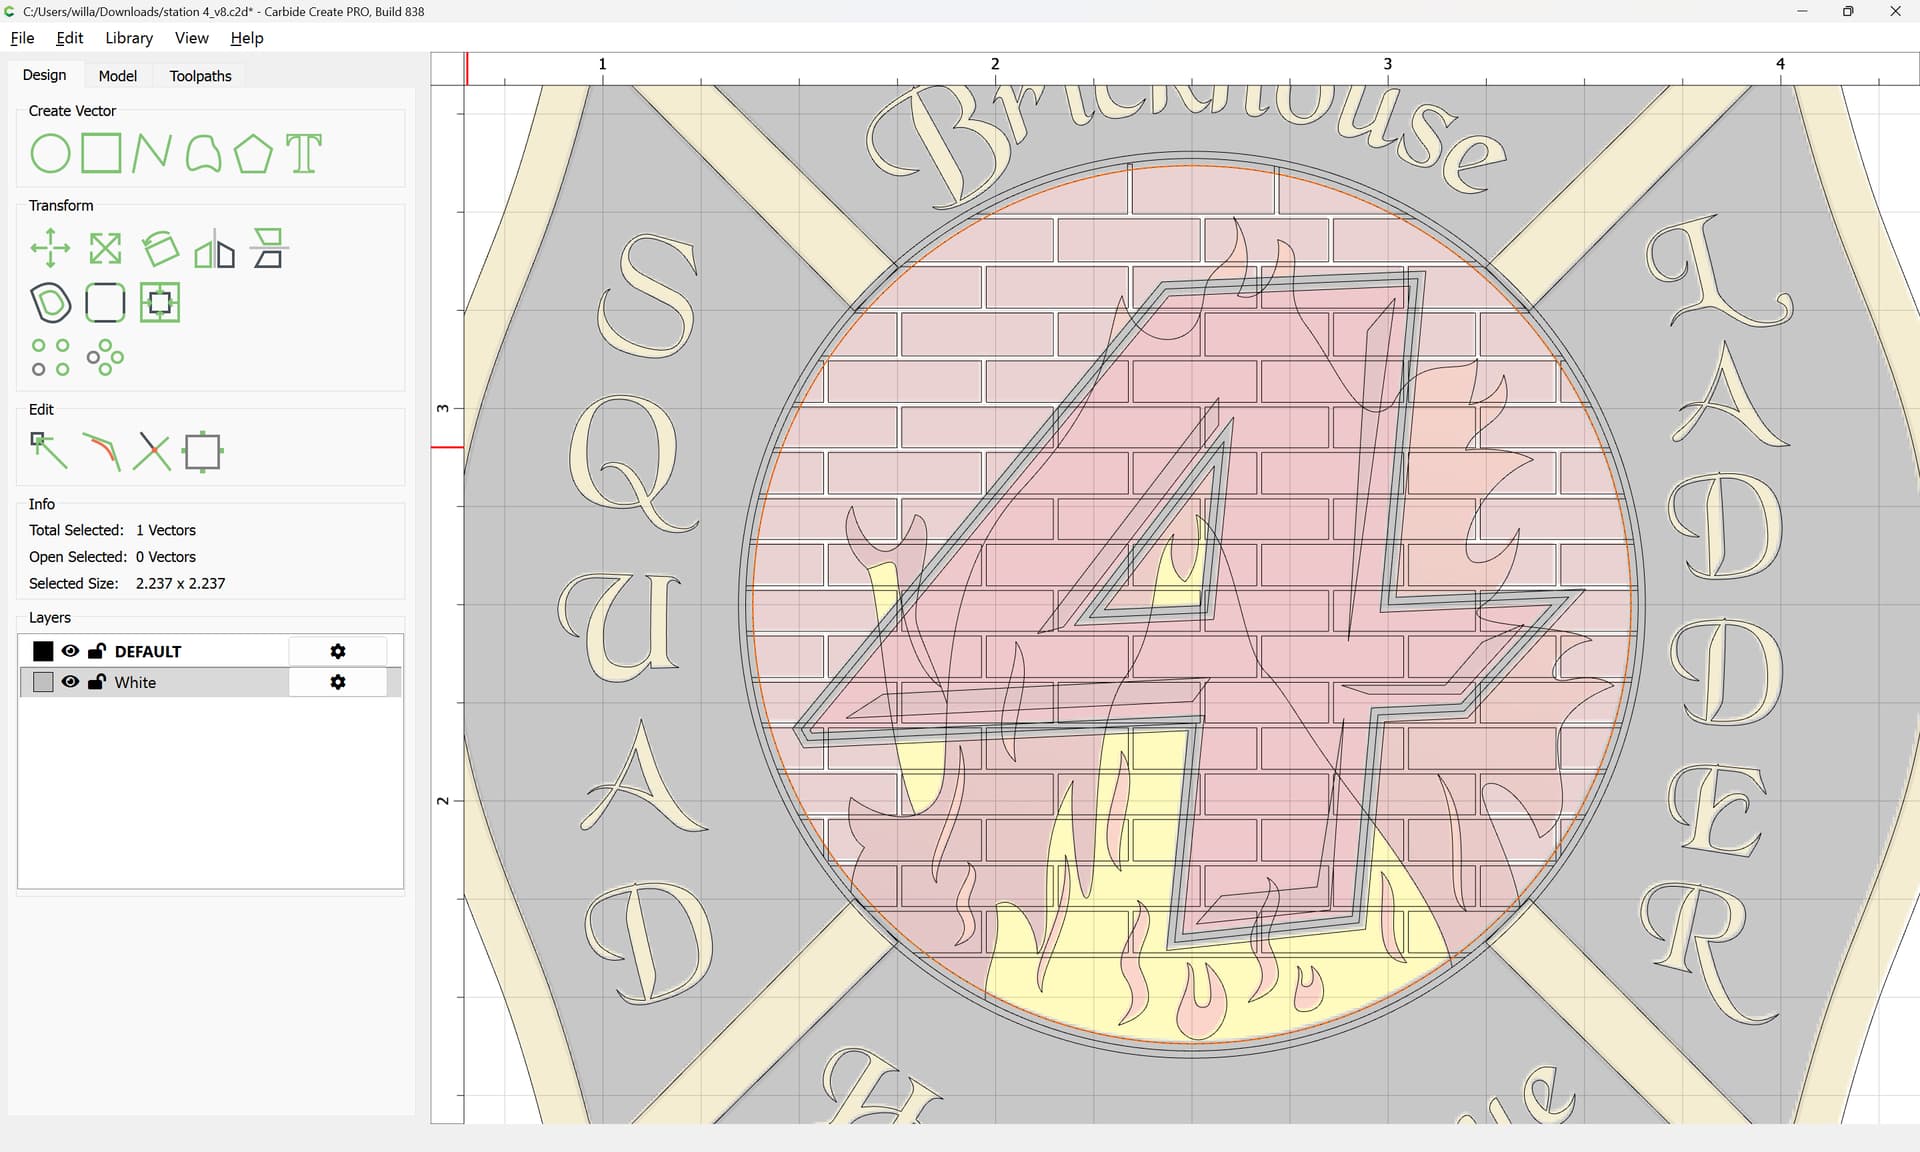
Start by importing the pixel image for reference:

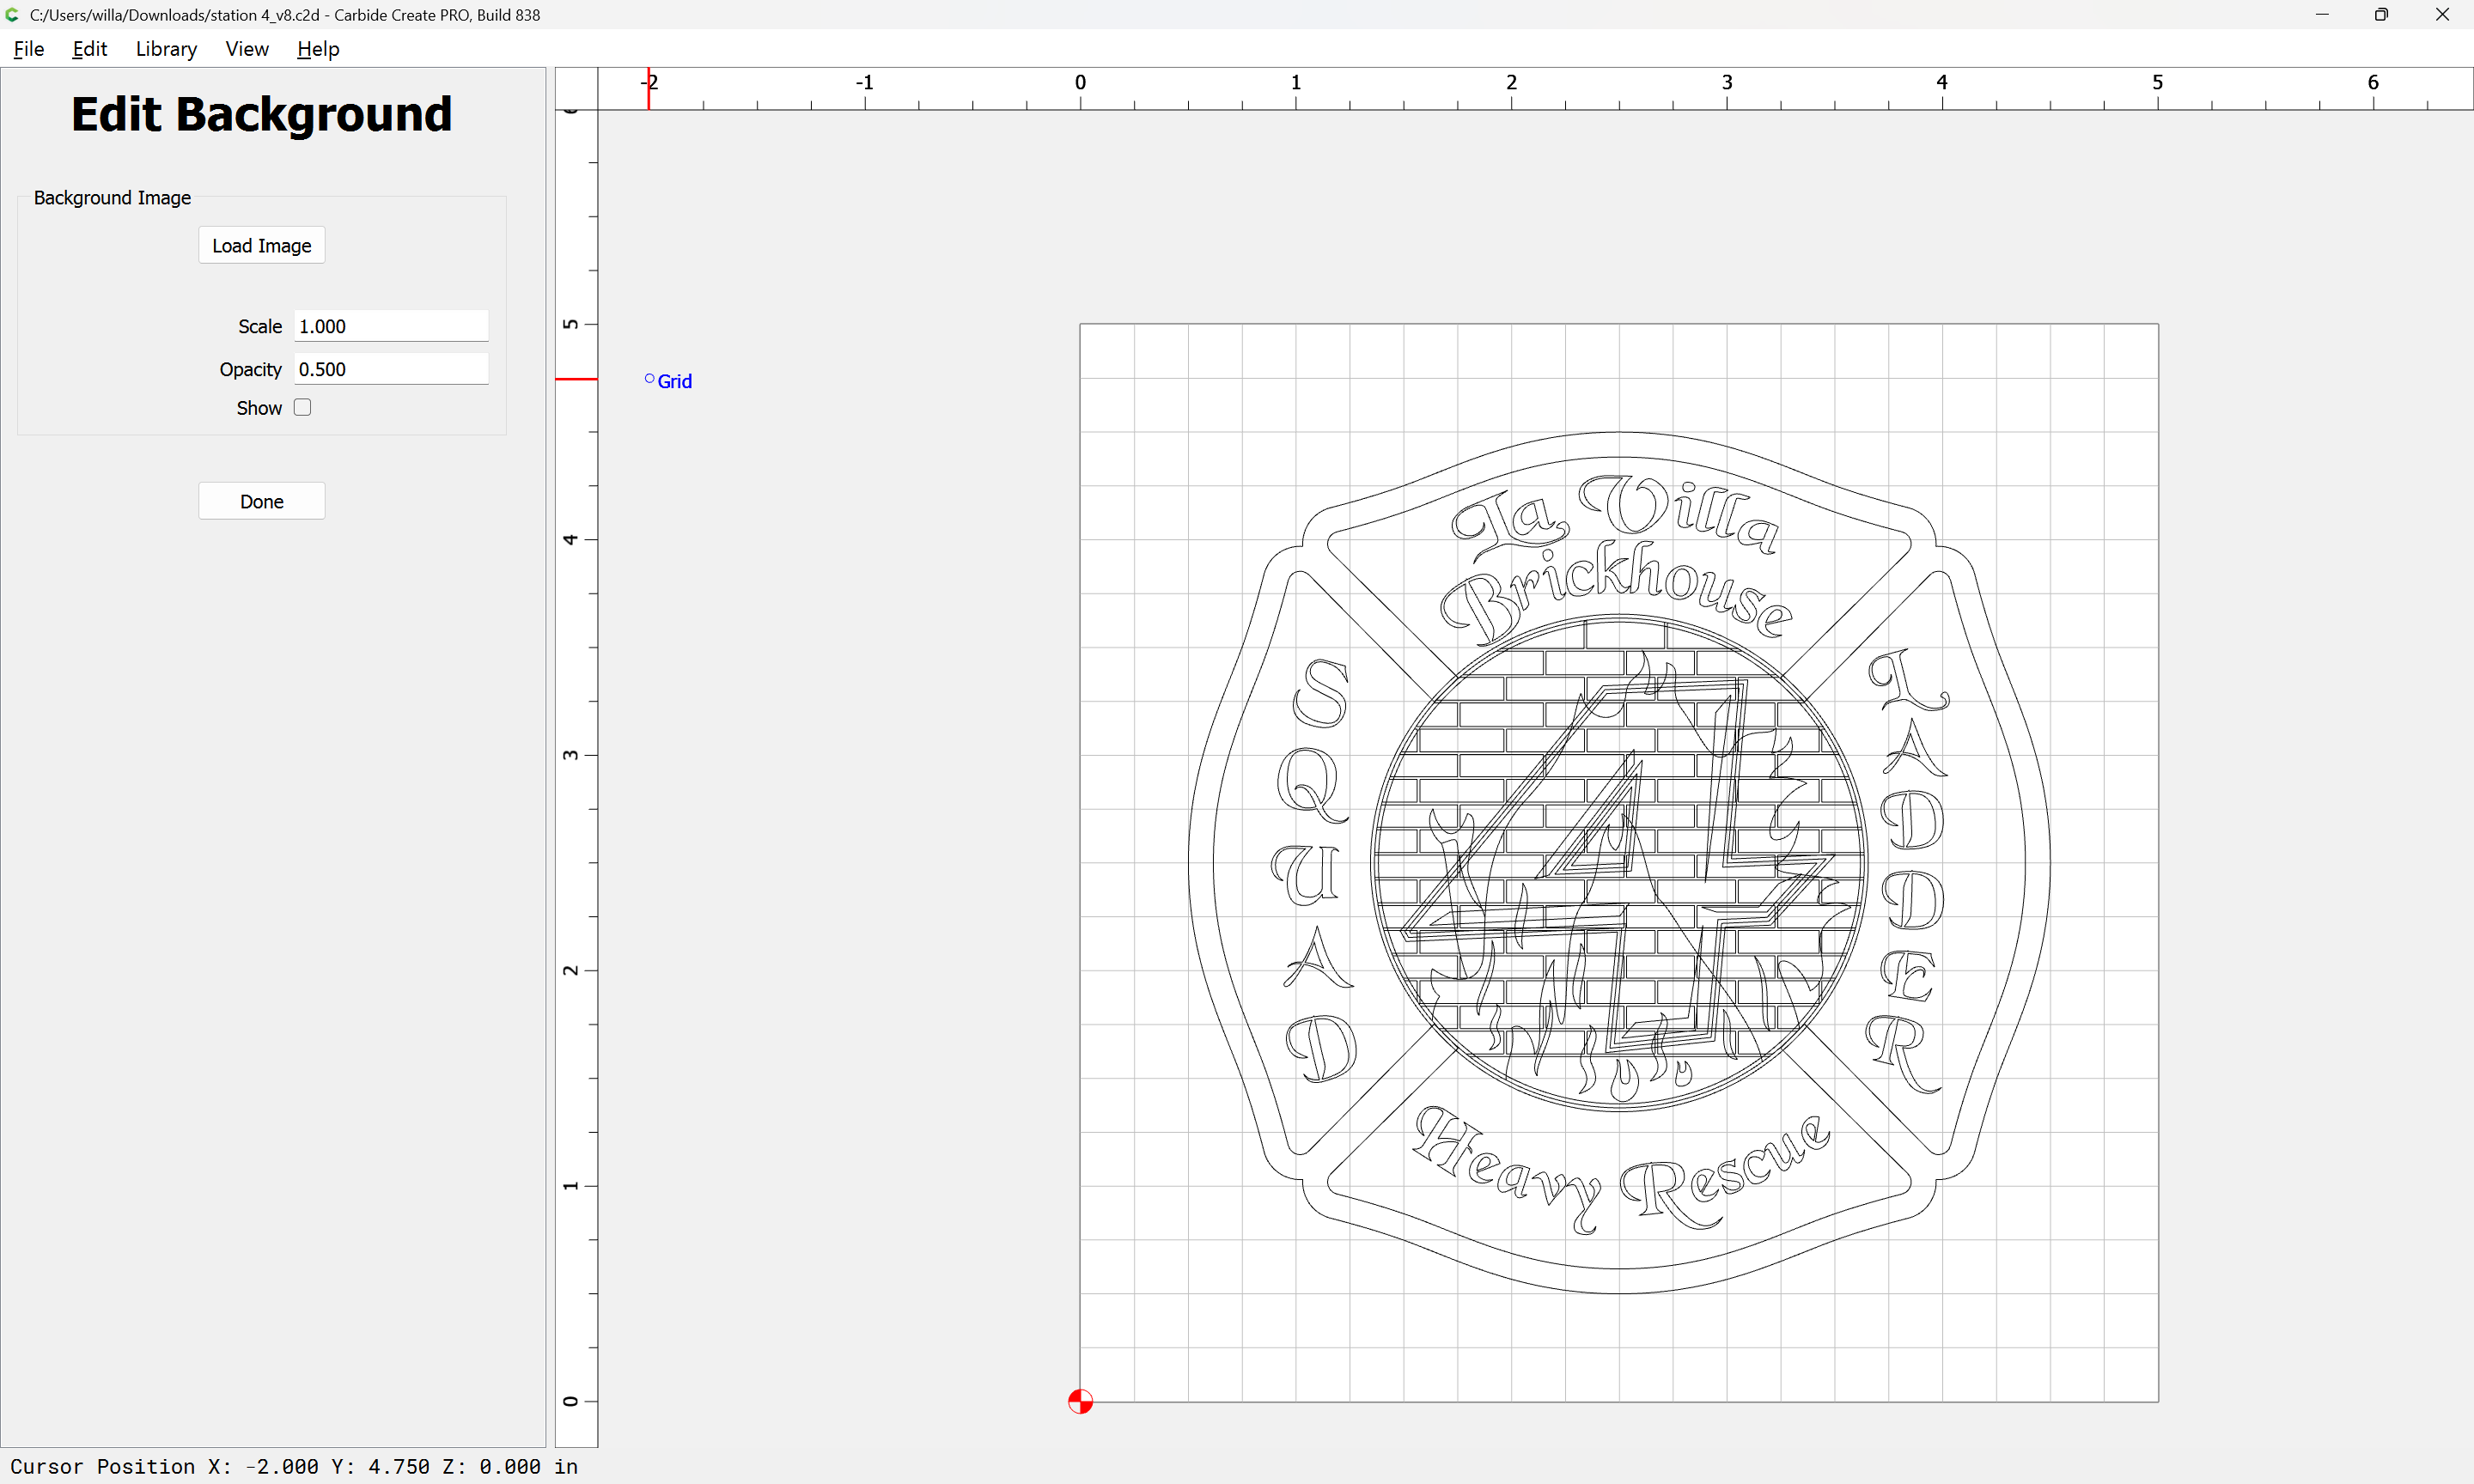
Load Image and adjust:

Done

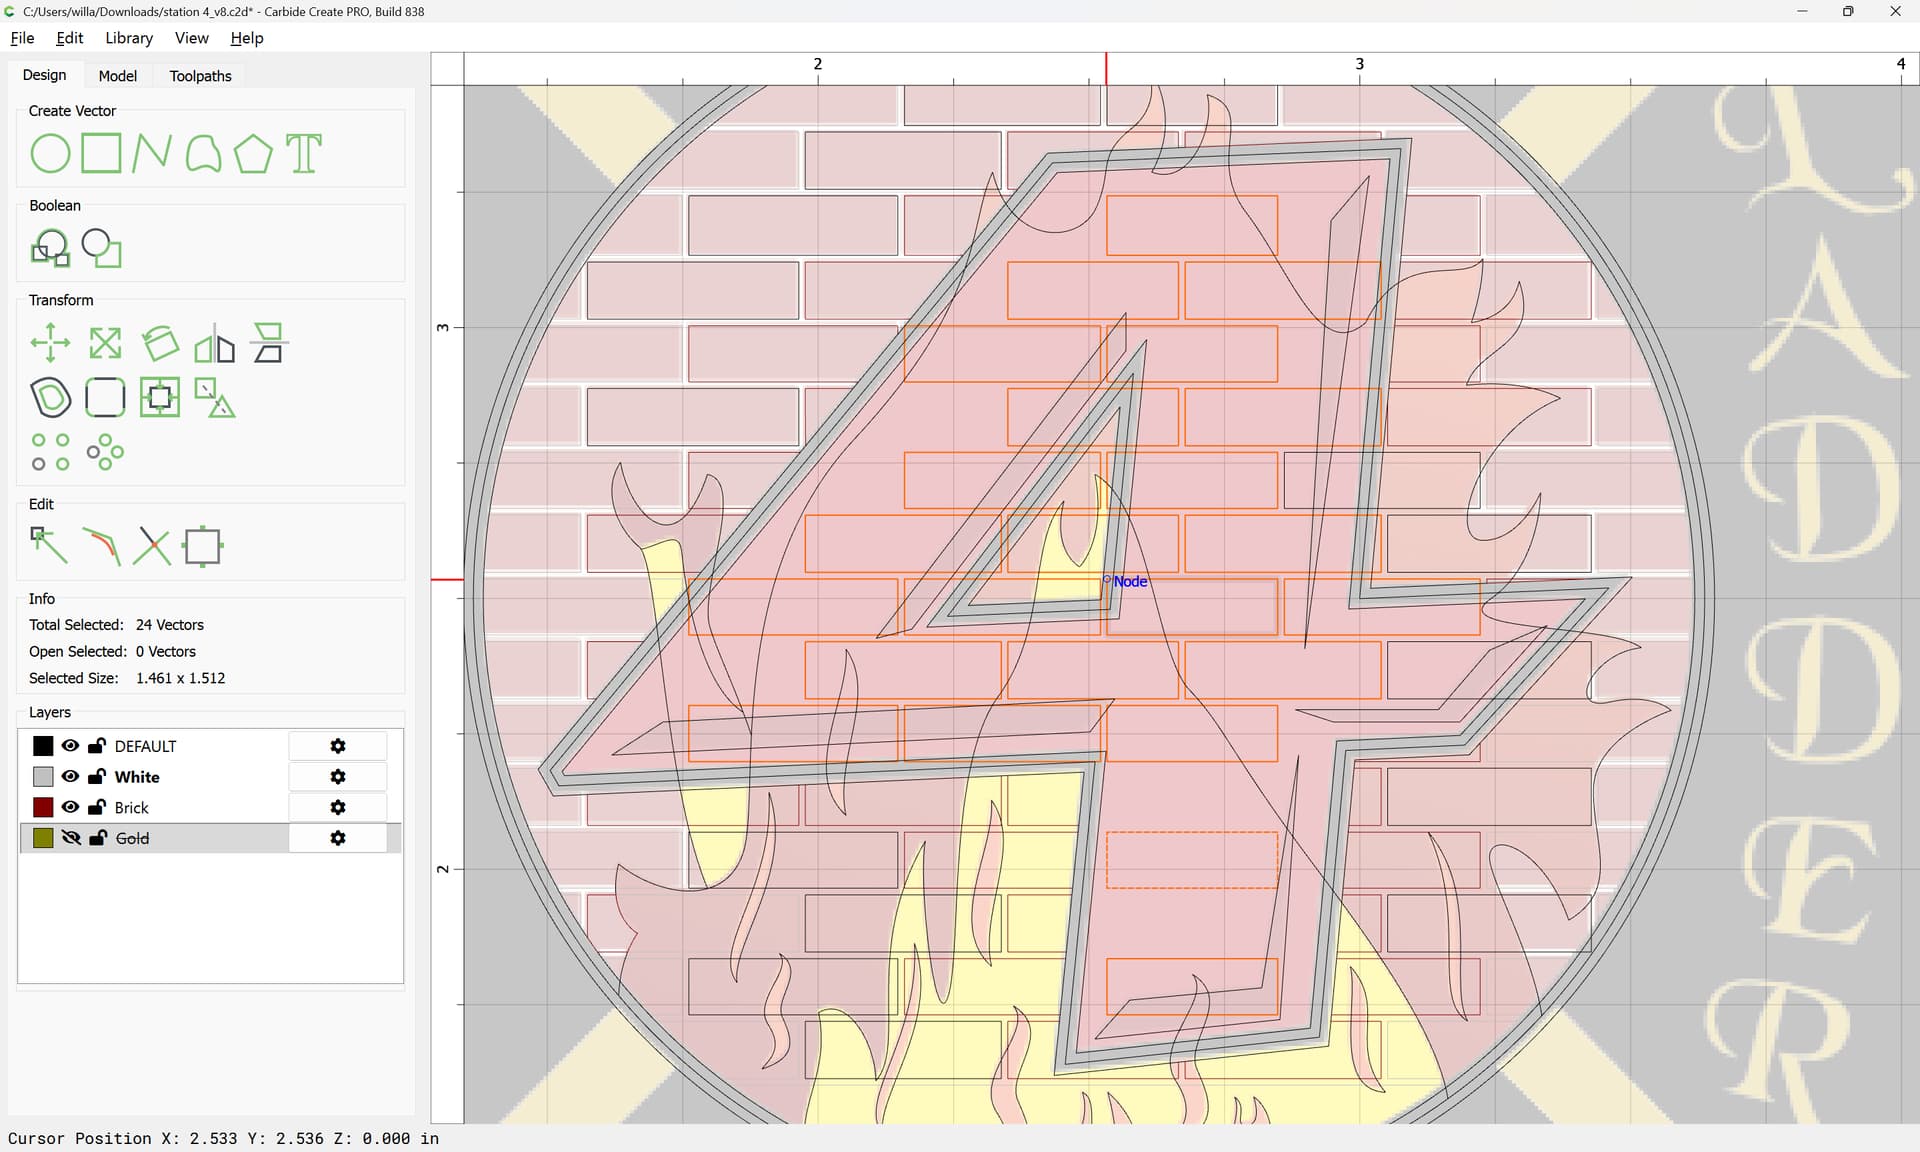
It will then be necessary to isolate each colour to a separate layer, and edit the geometries until each colour region is represented by a distinct and discrete set of closed vector regions.

For each region:

It will be necessary to create a layer:
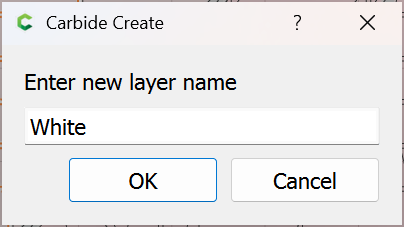
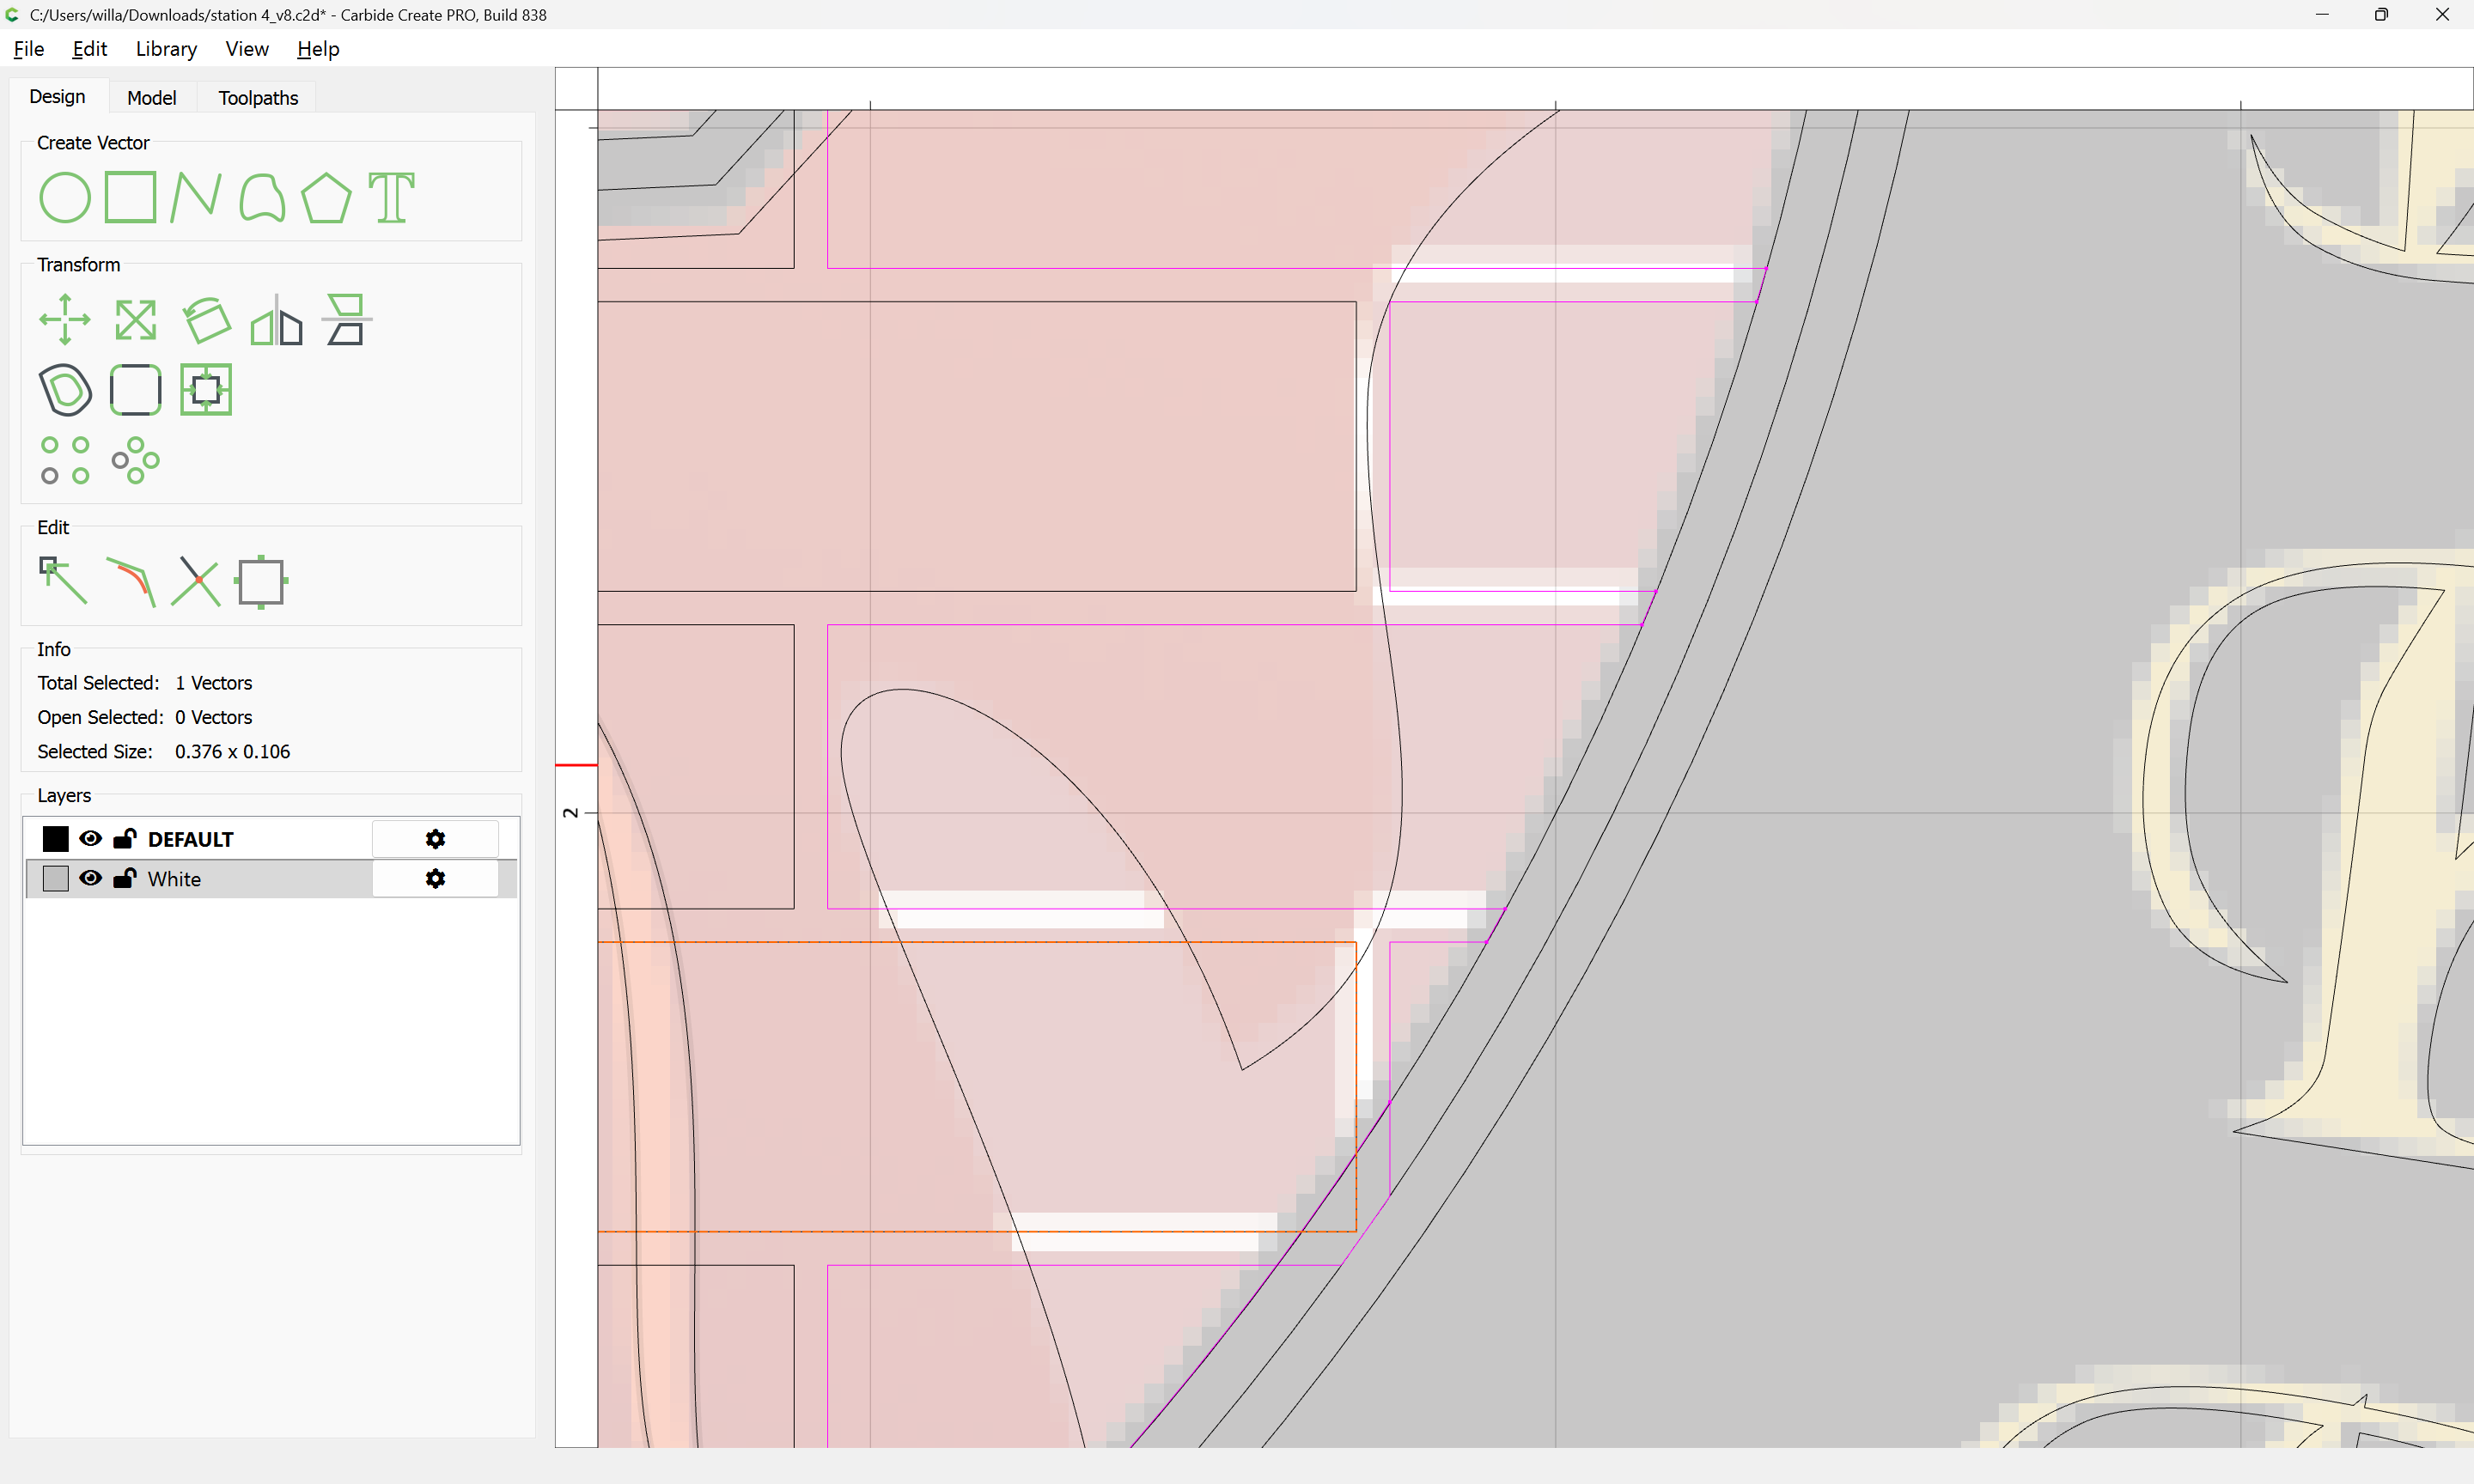
and duplicate any geometry which also defines another region:
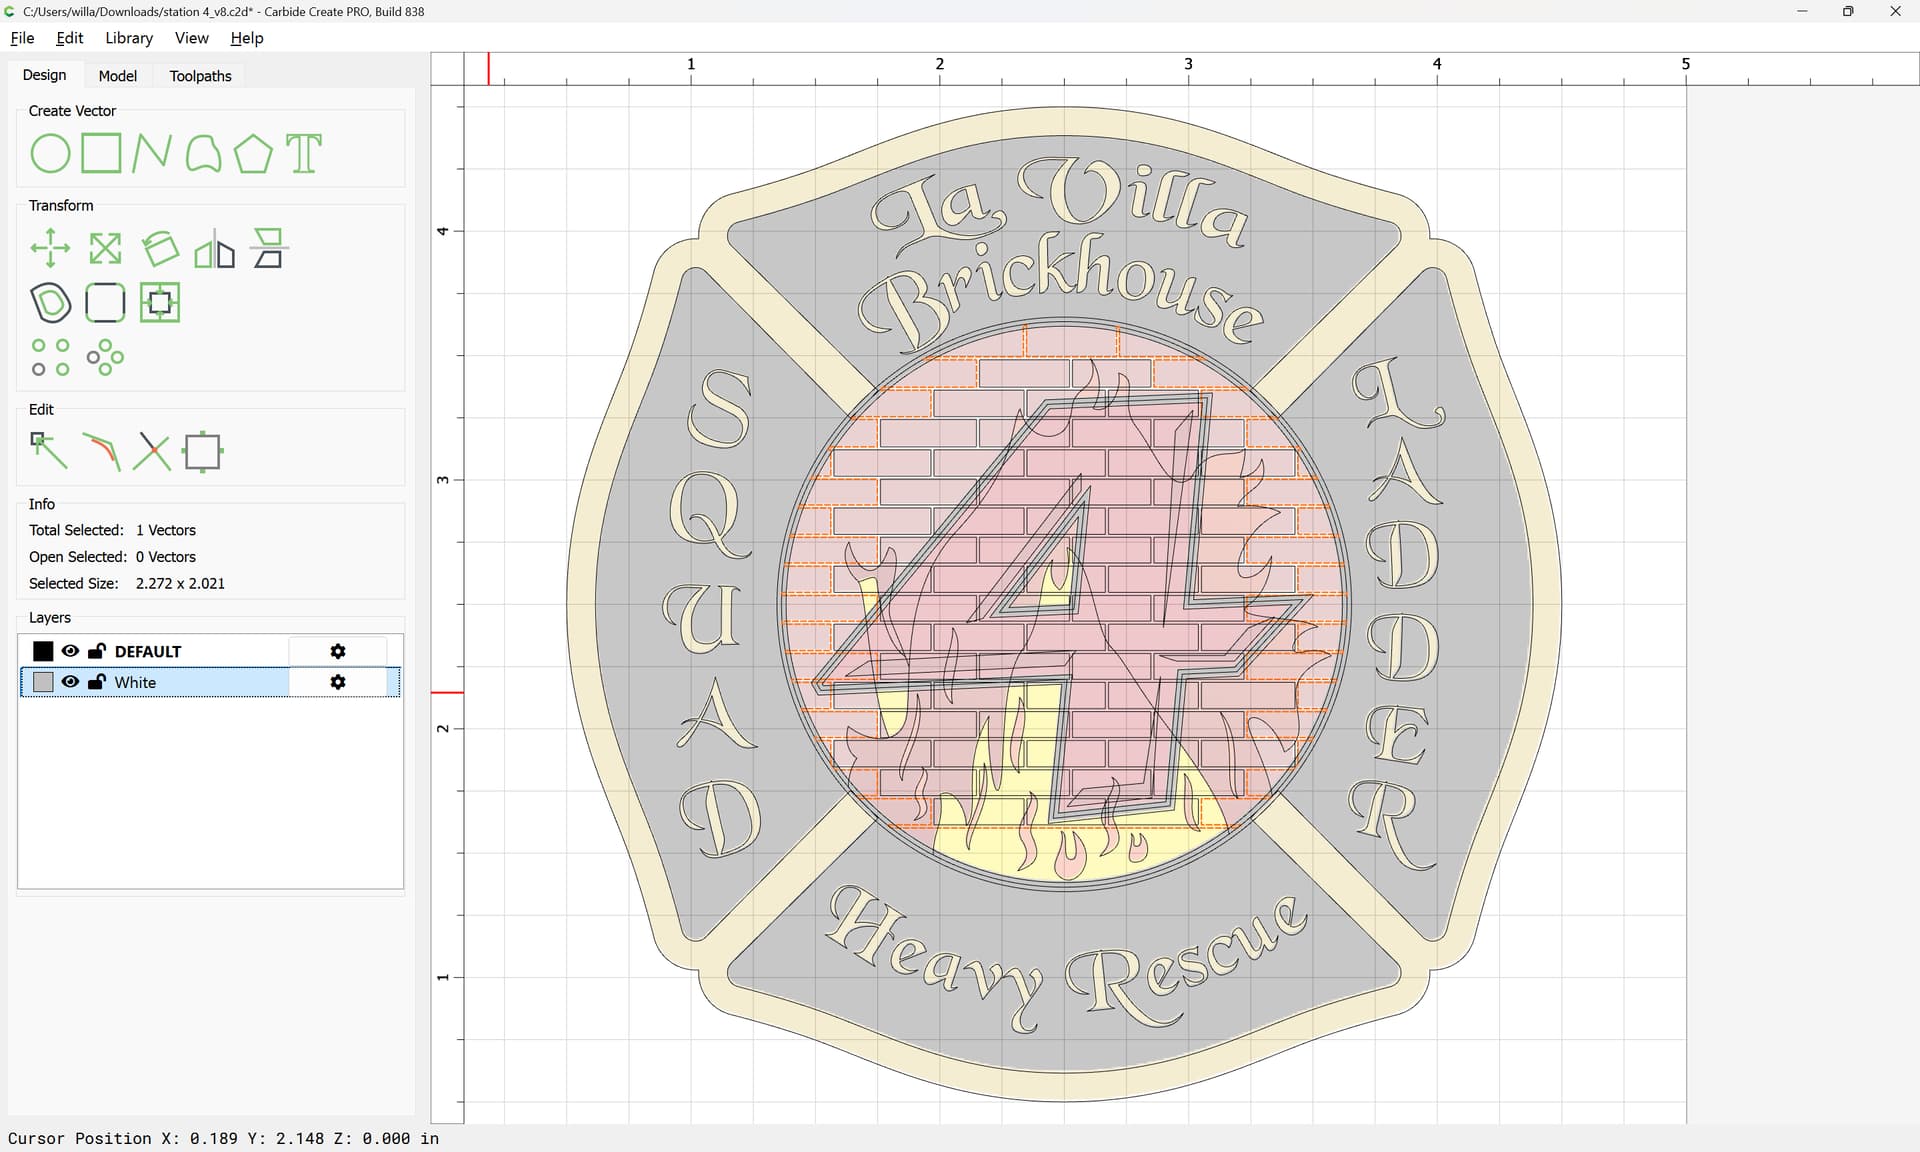
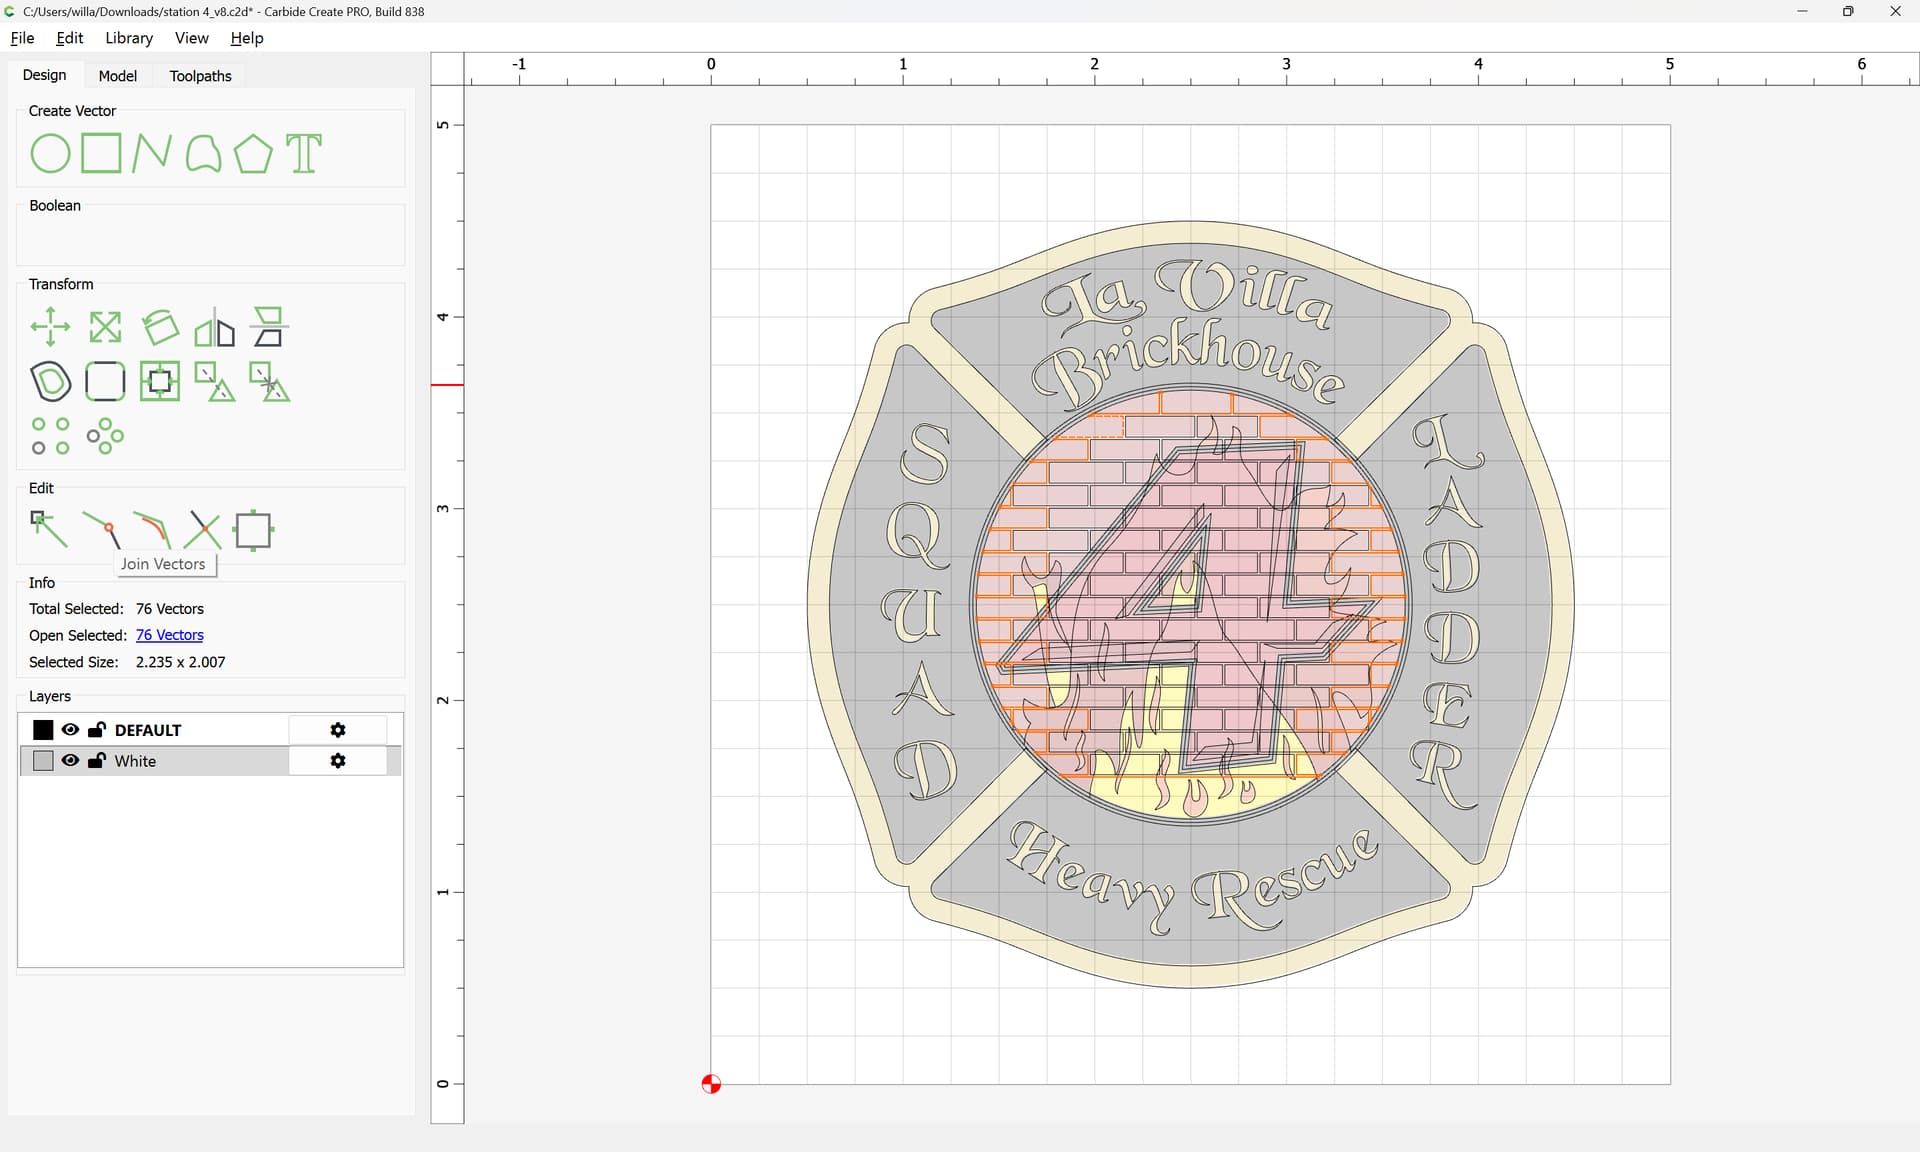
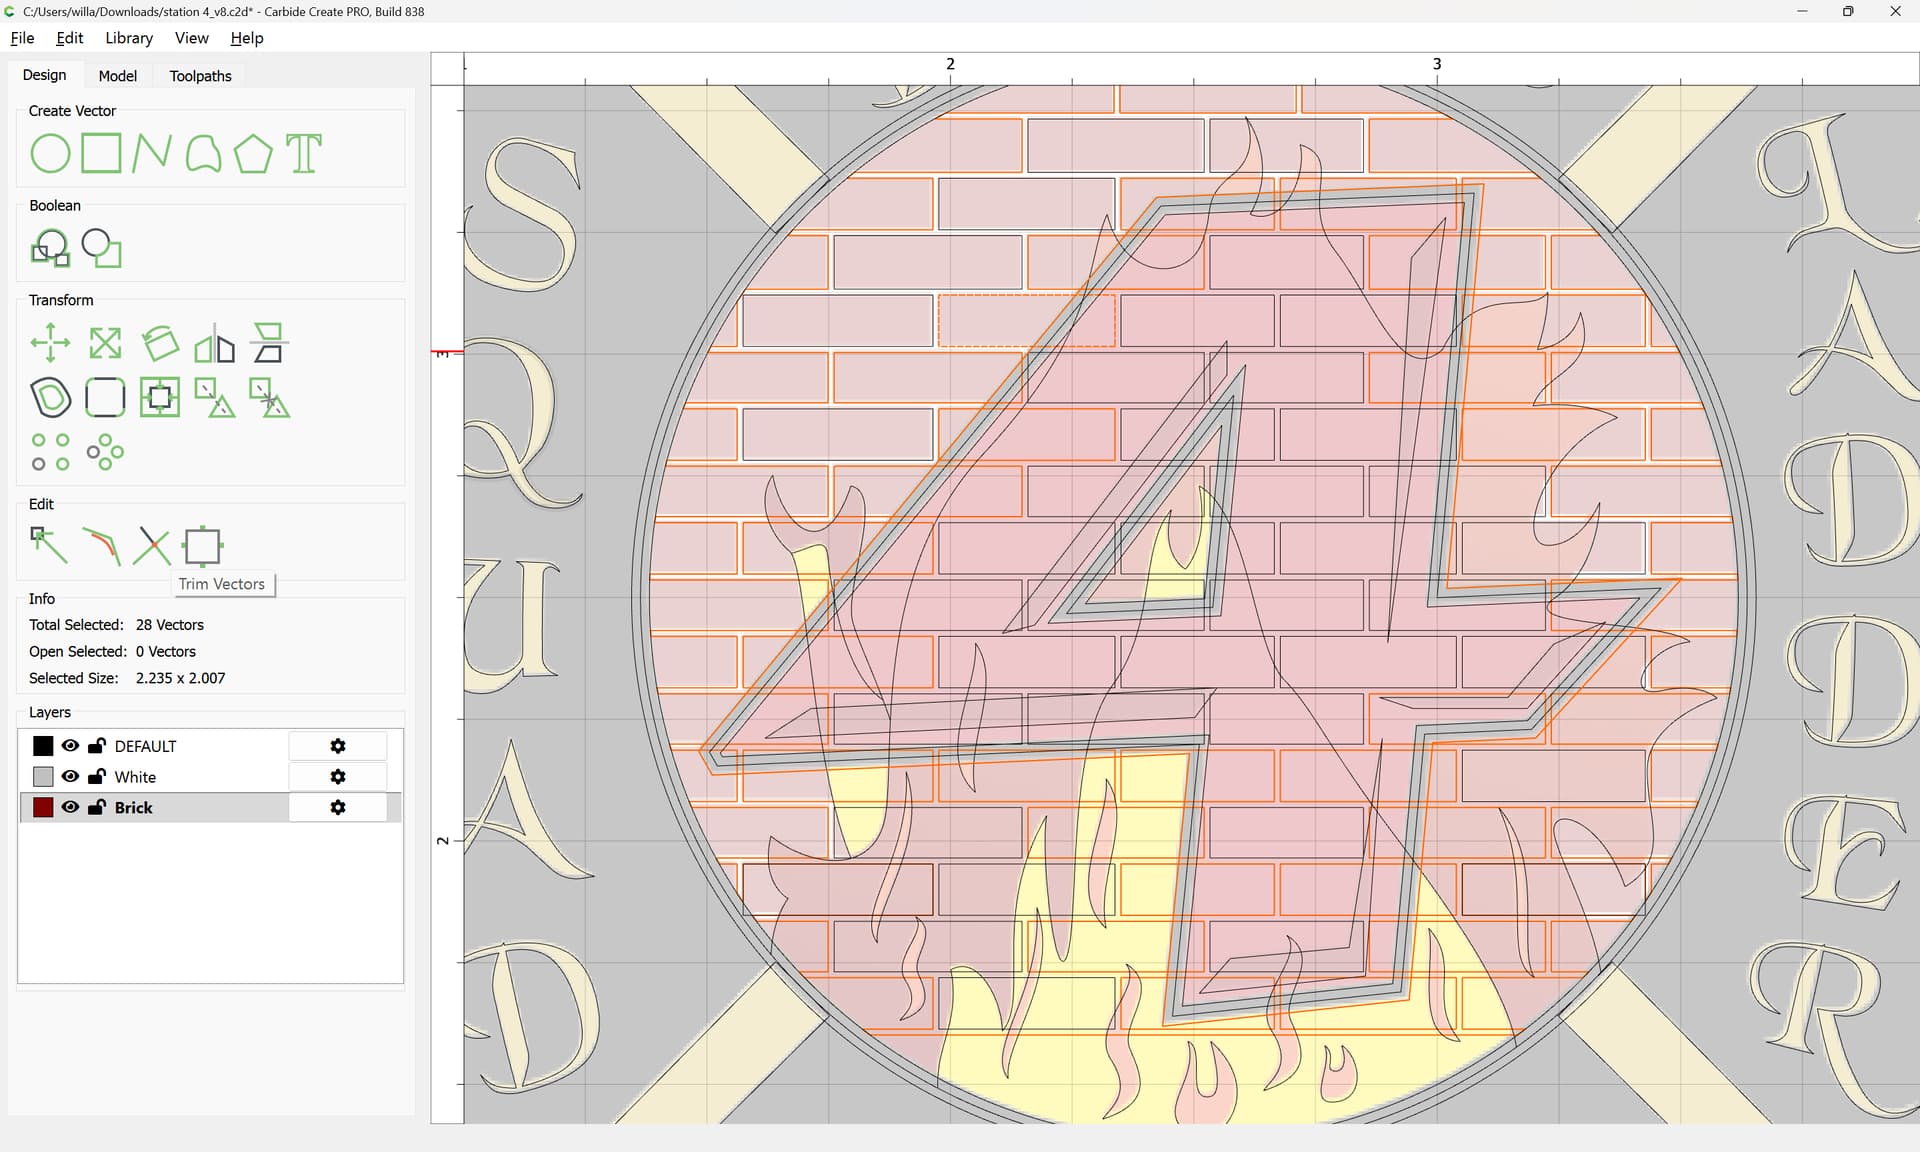
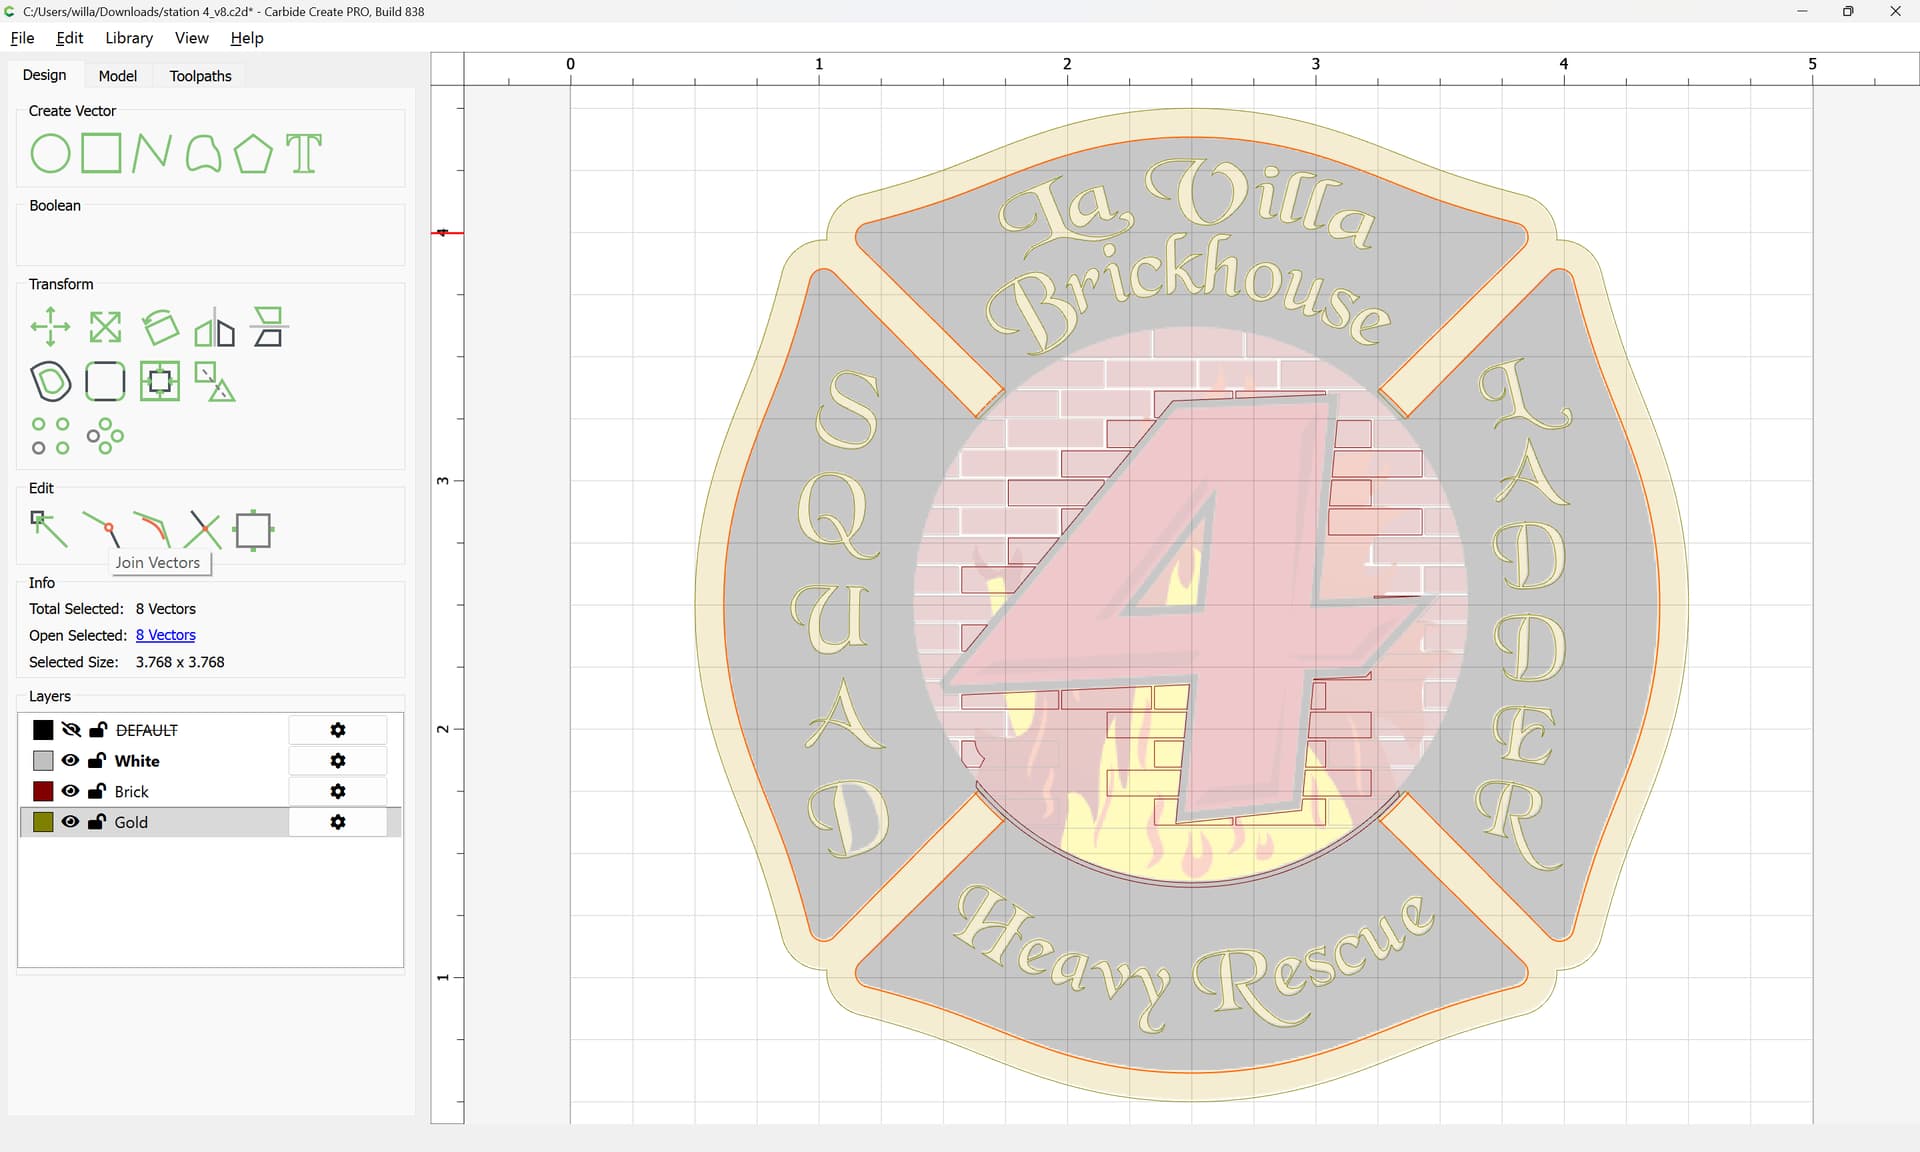
Then shift-click to select all the geometry which one wishes to work with:
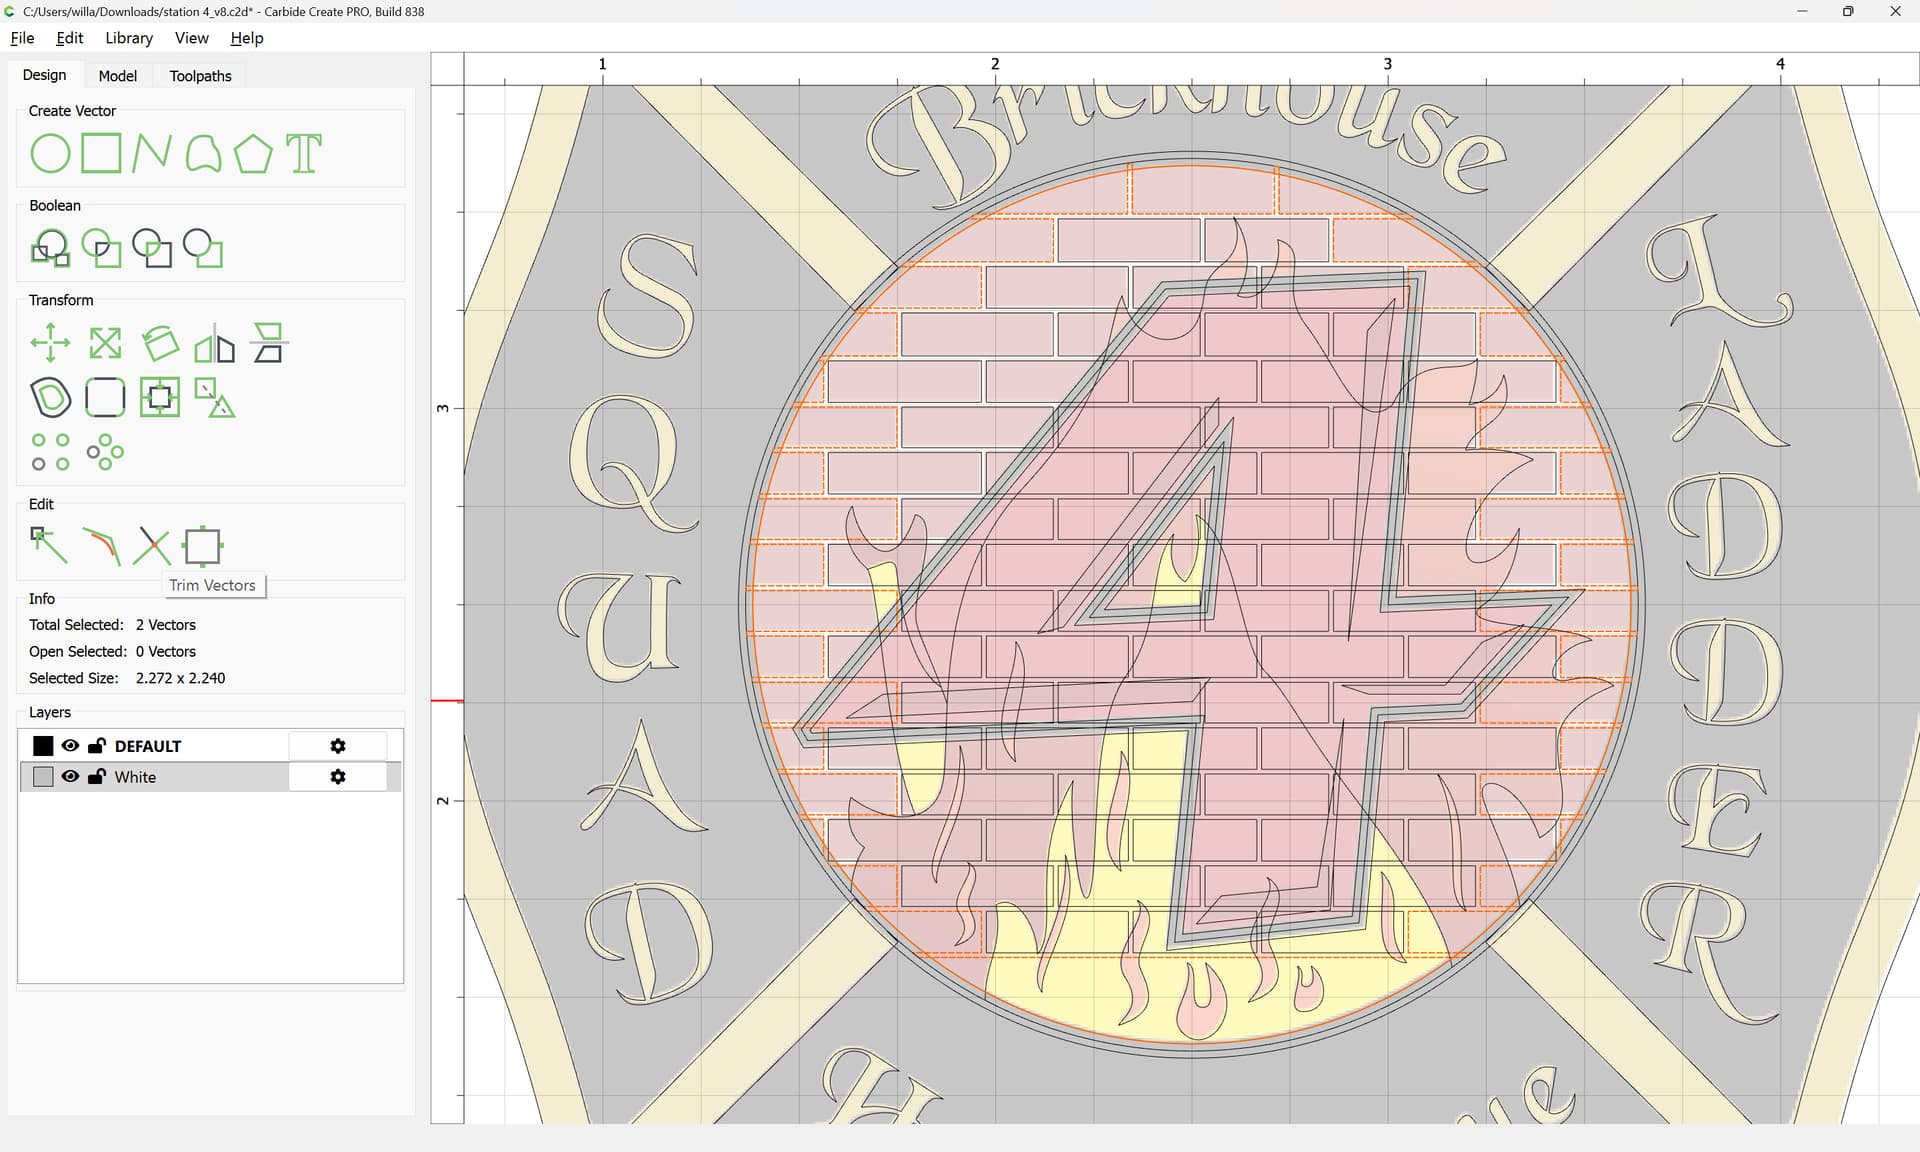
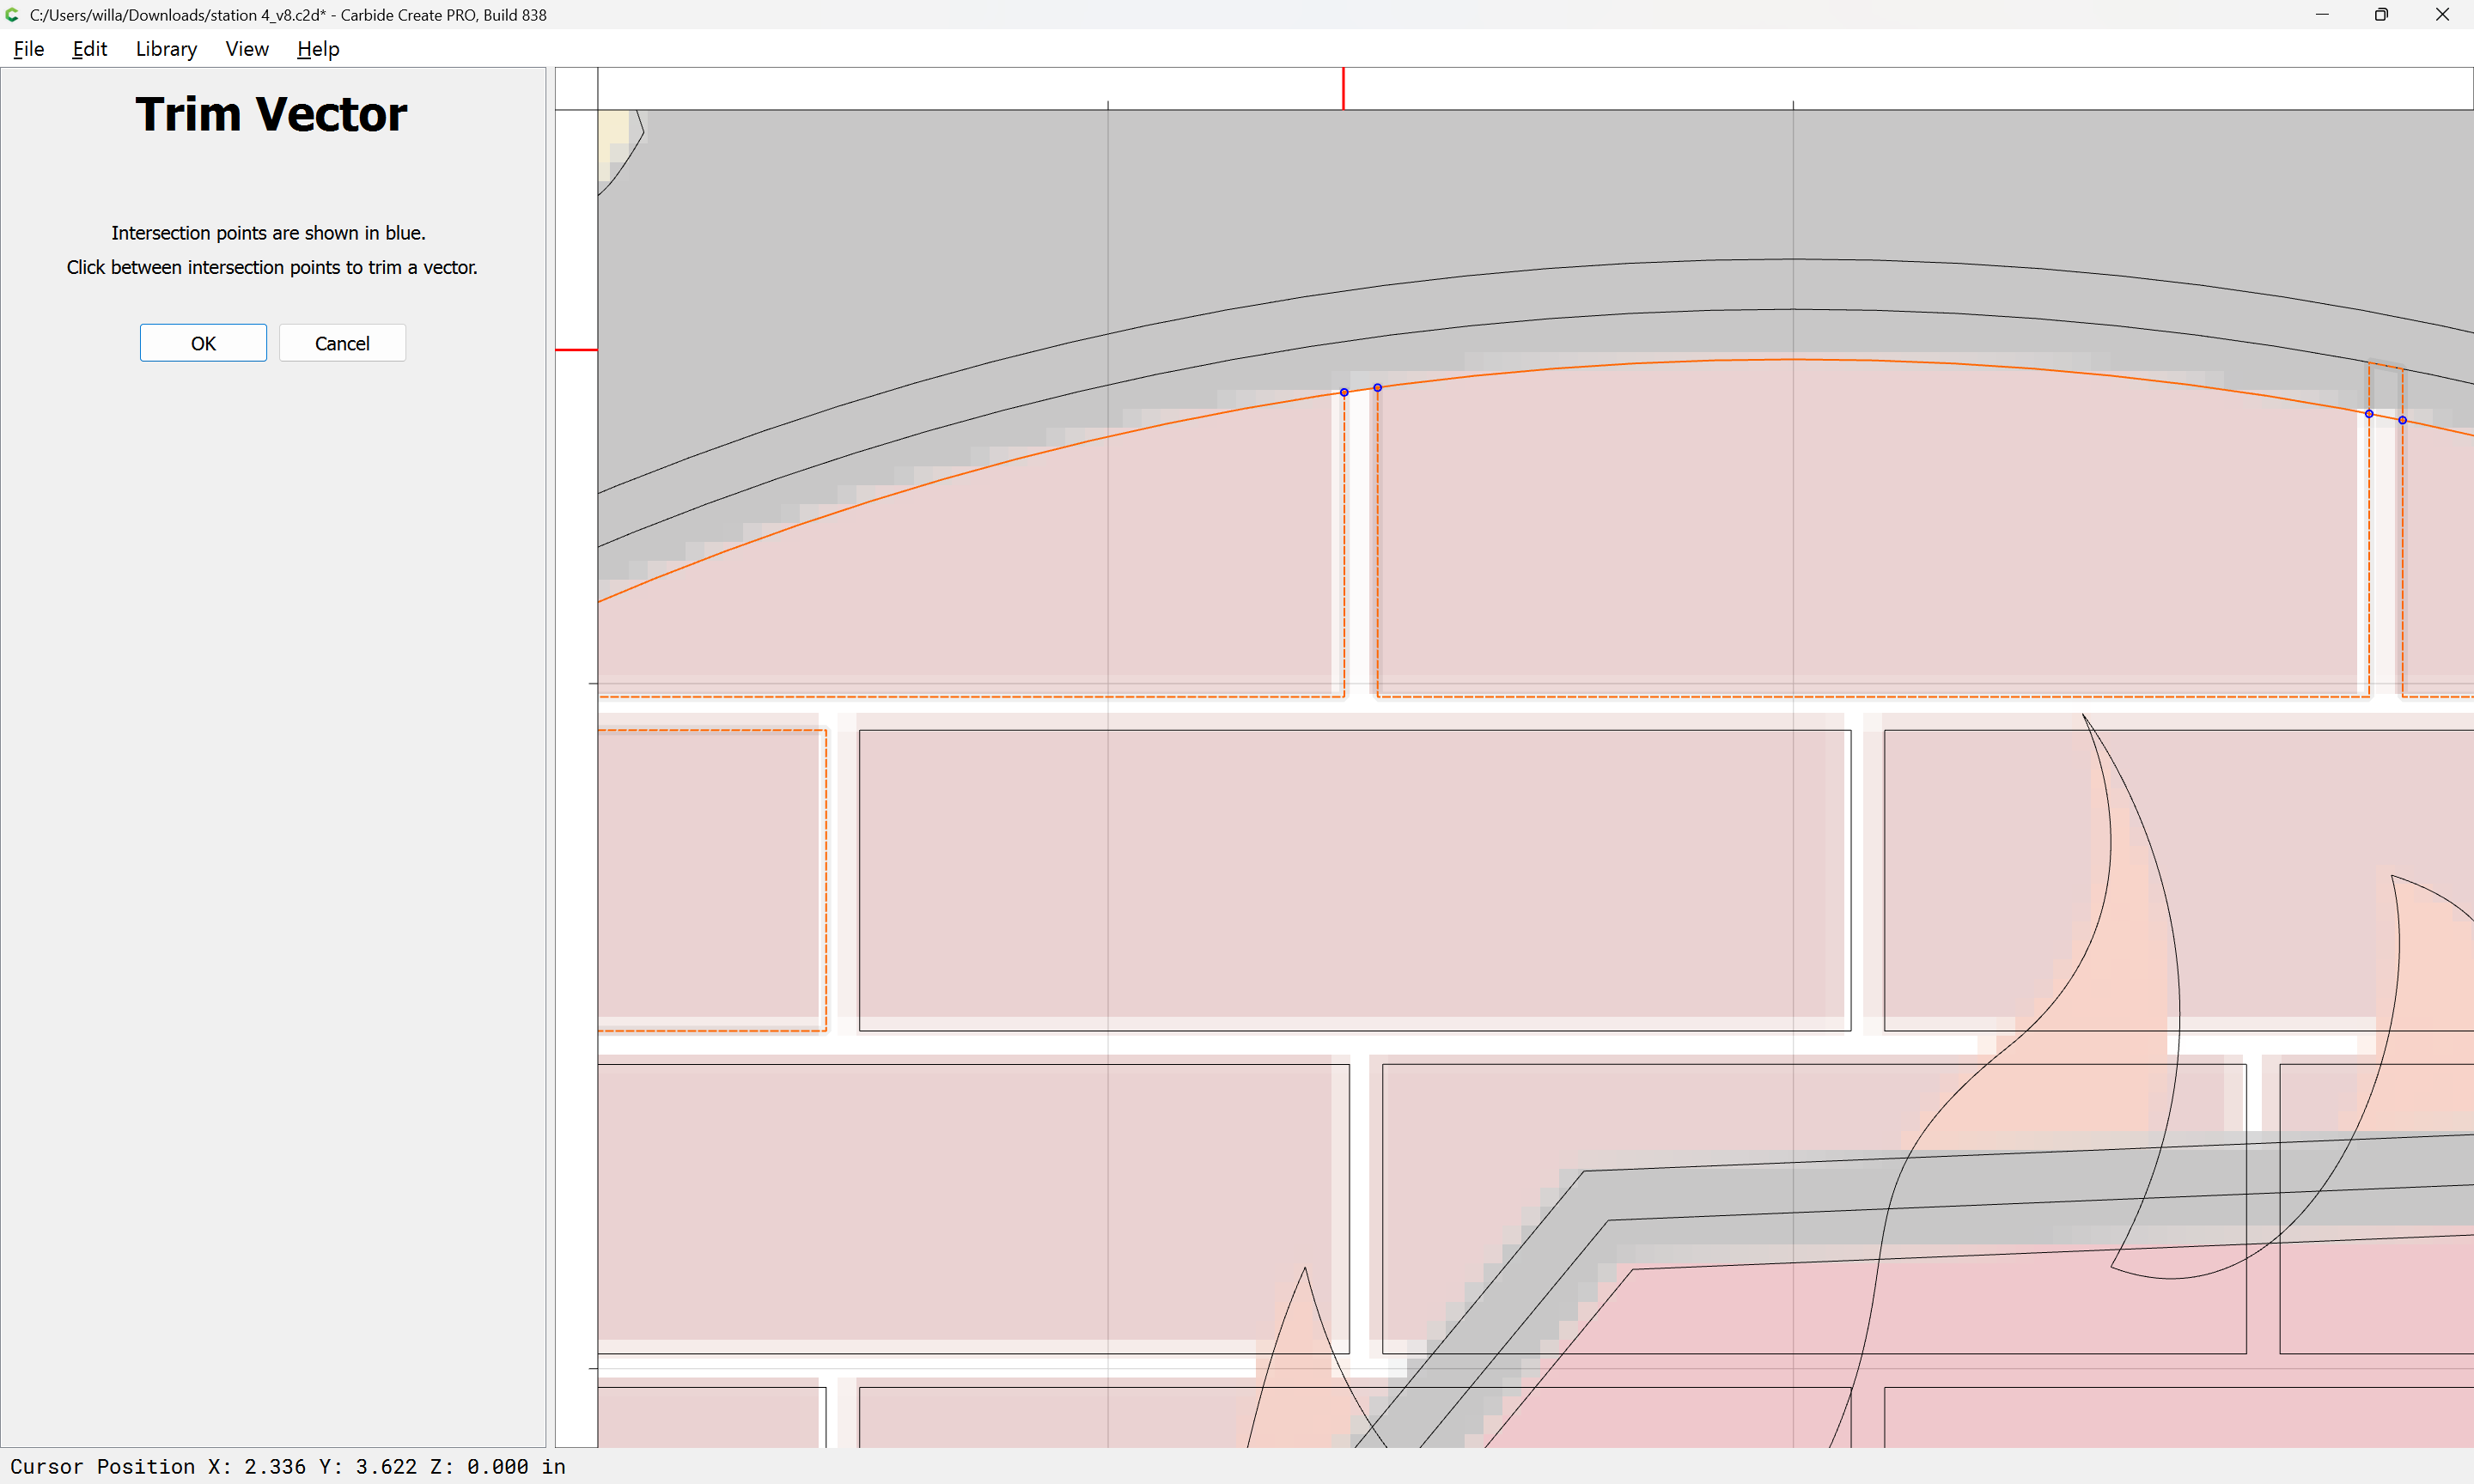
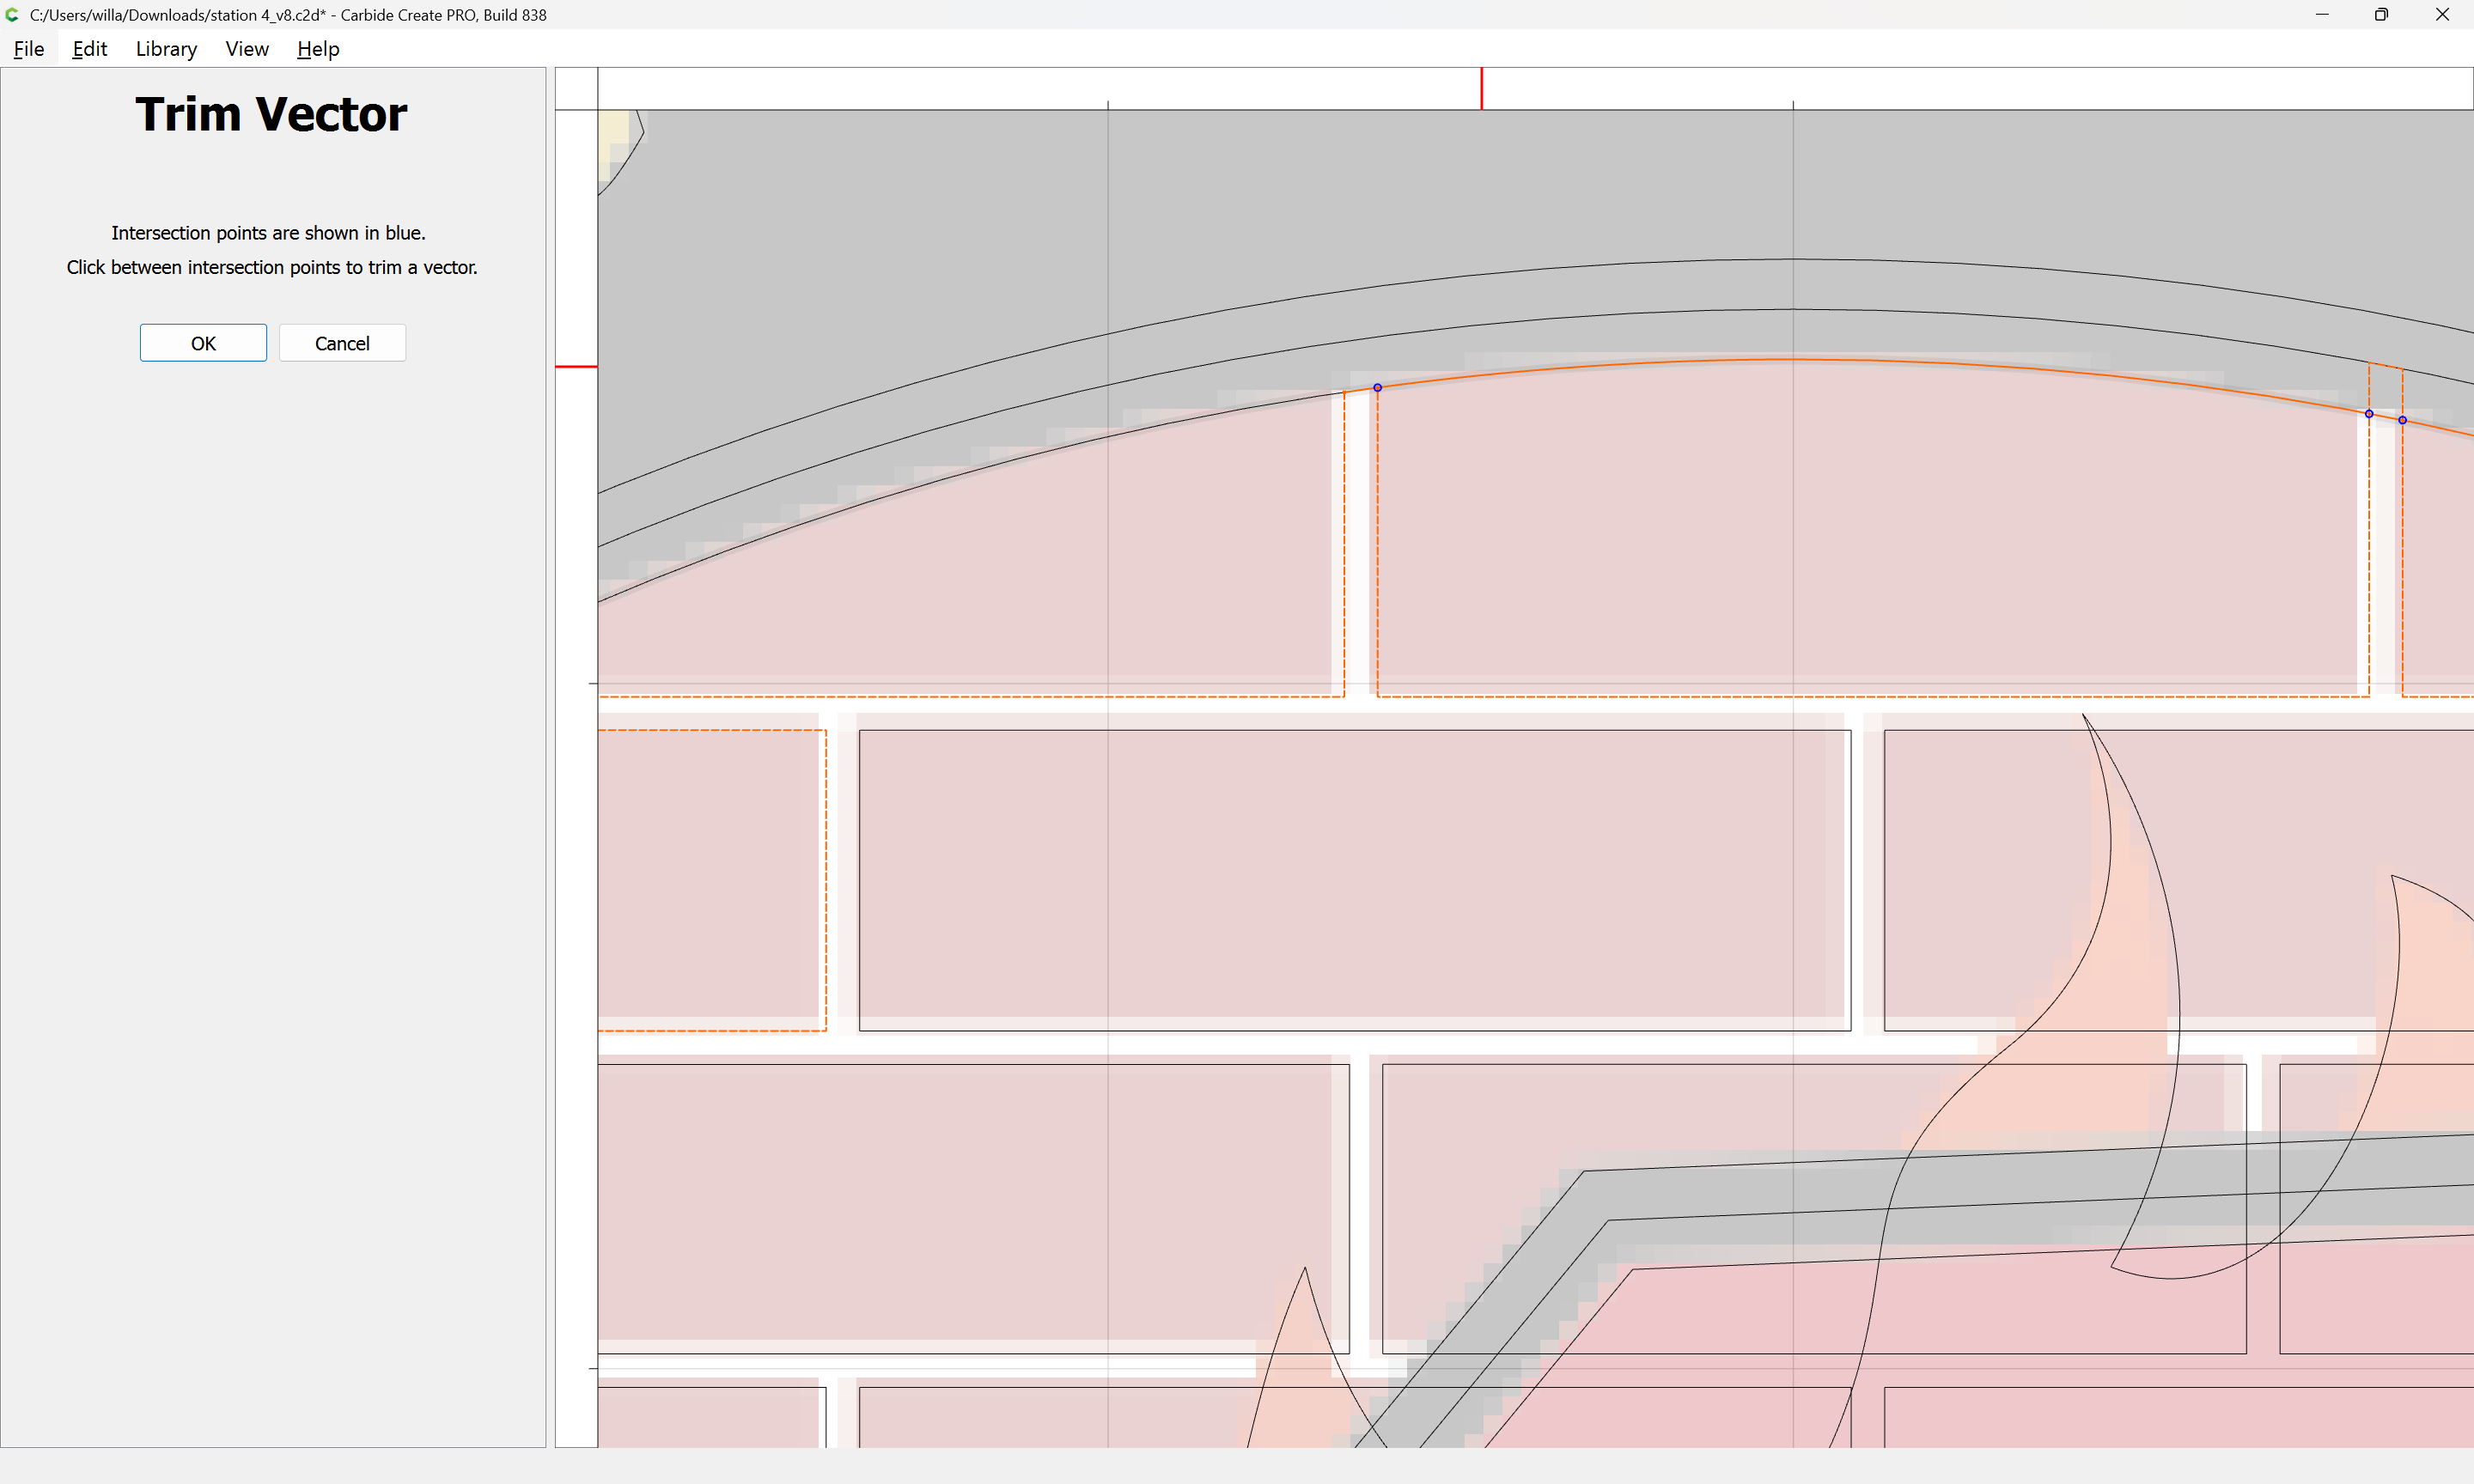
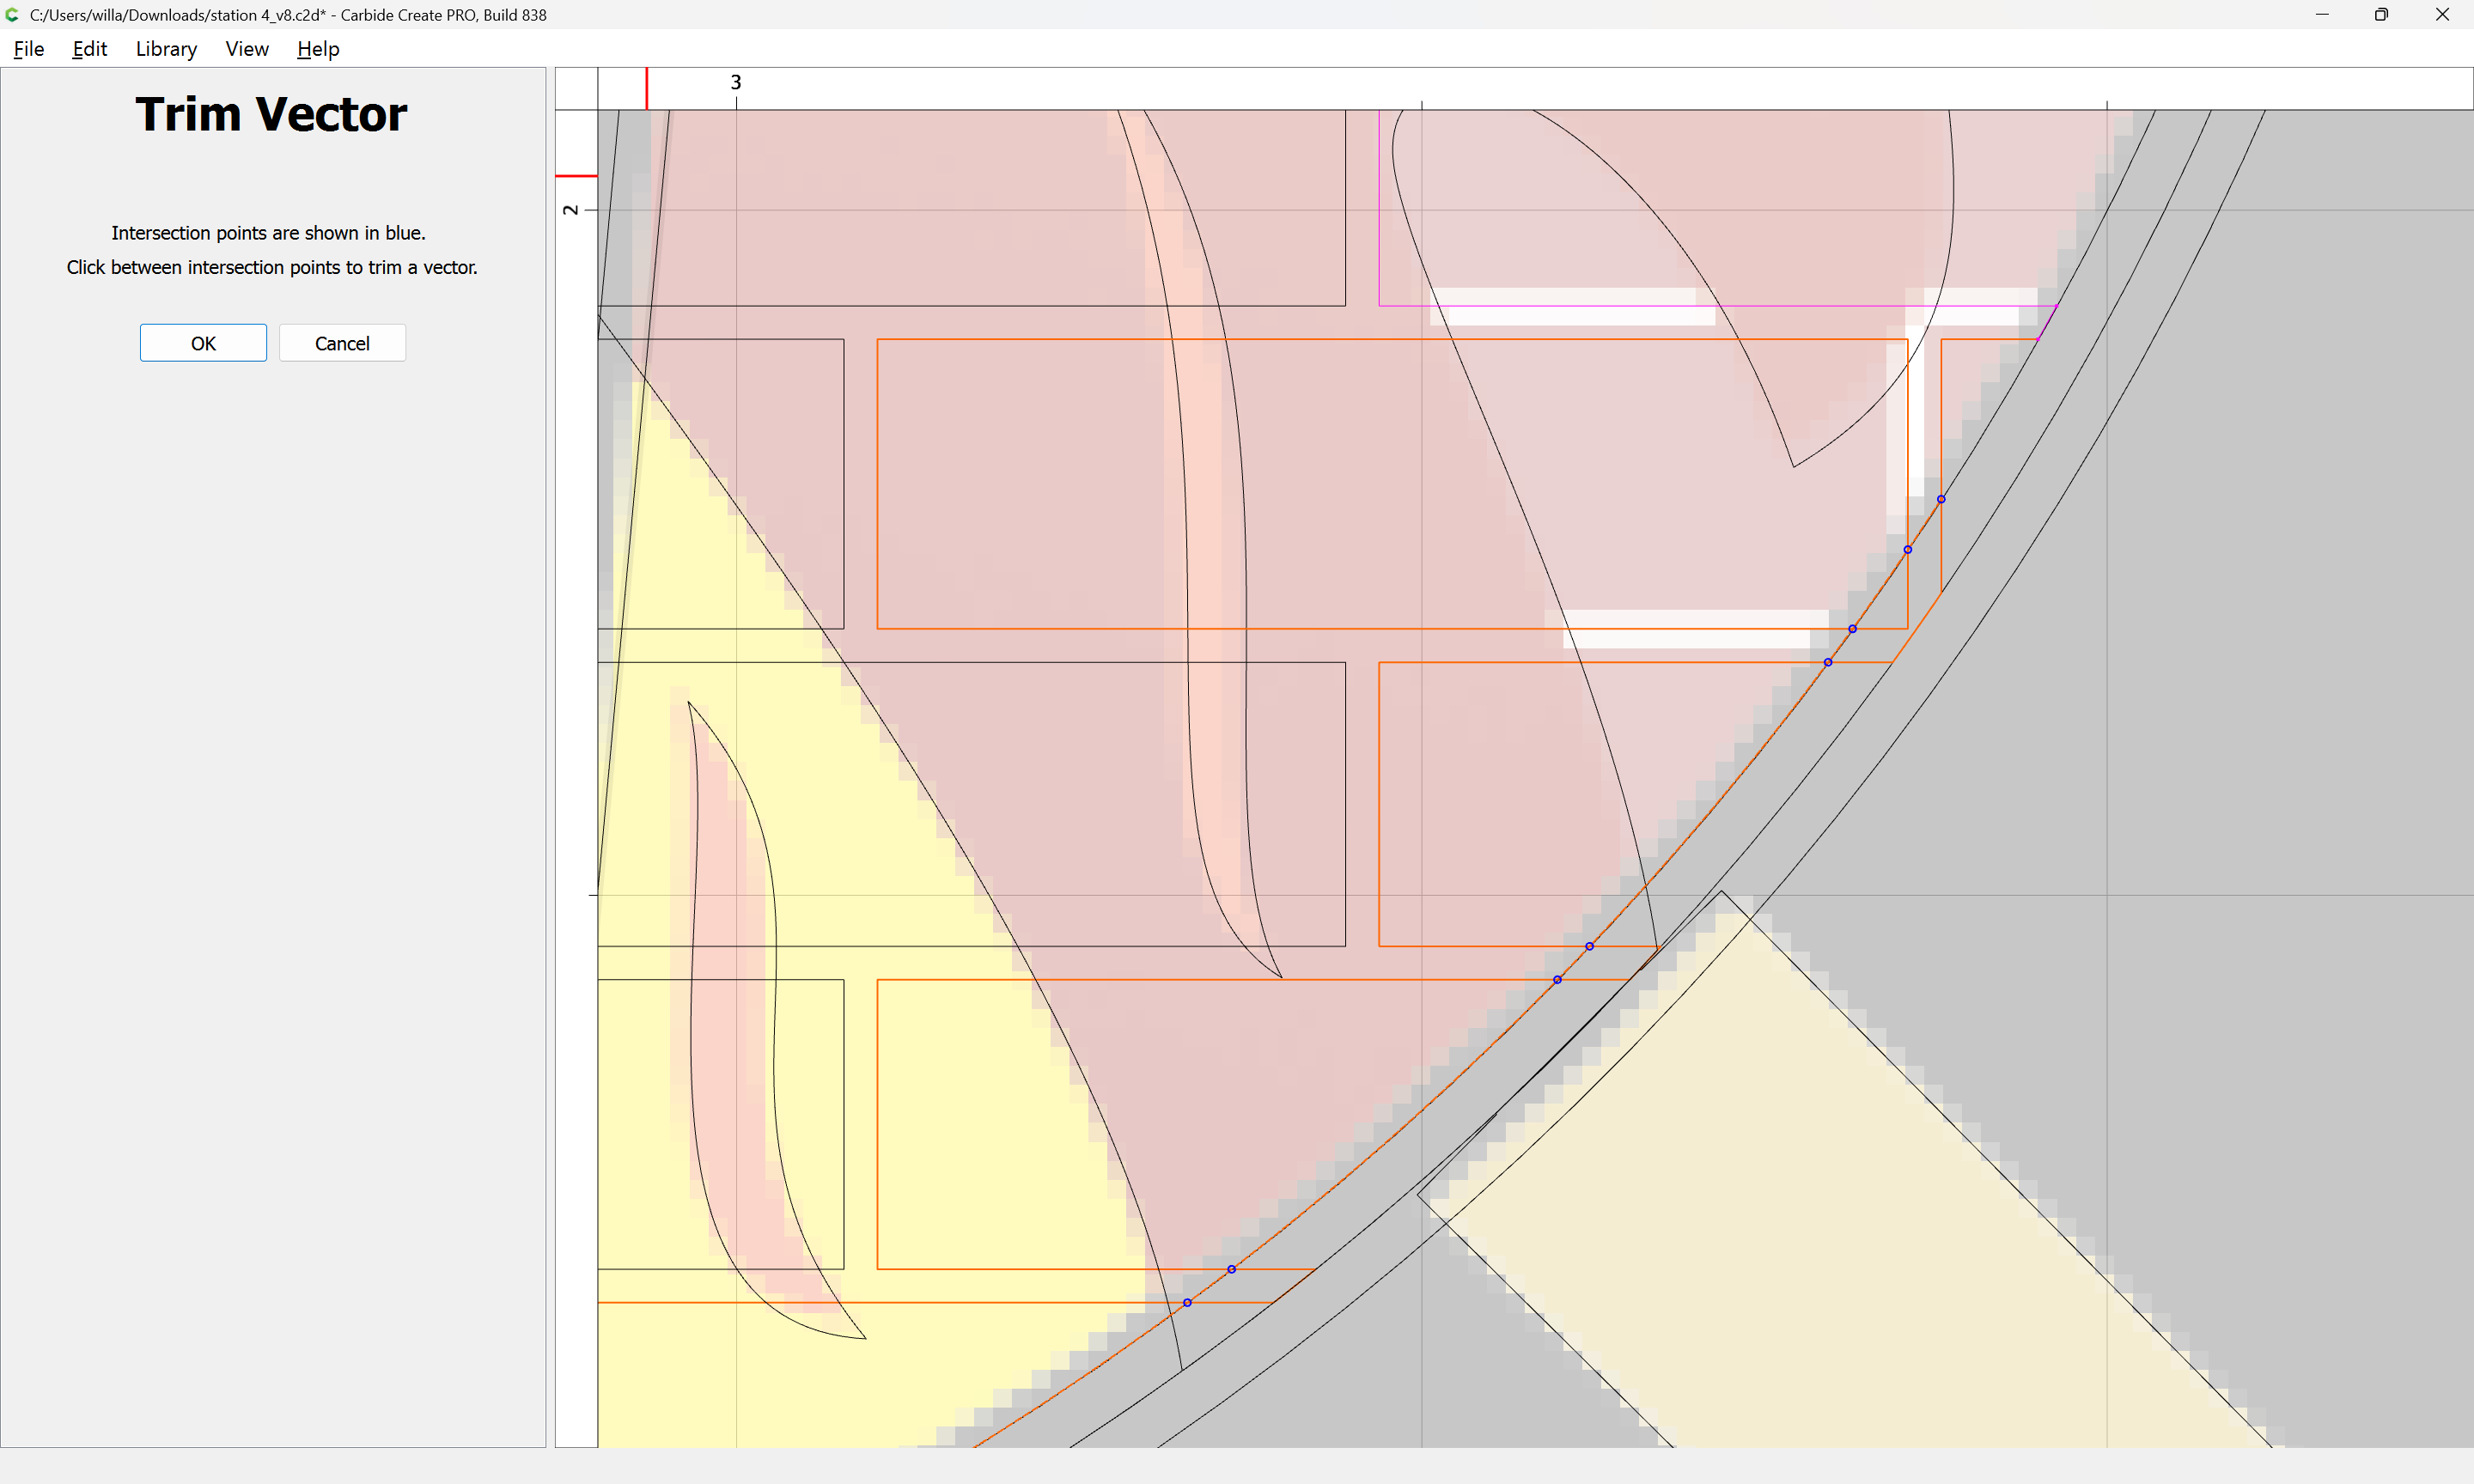
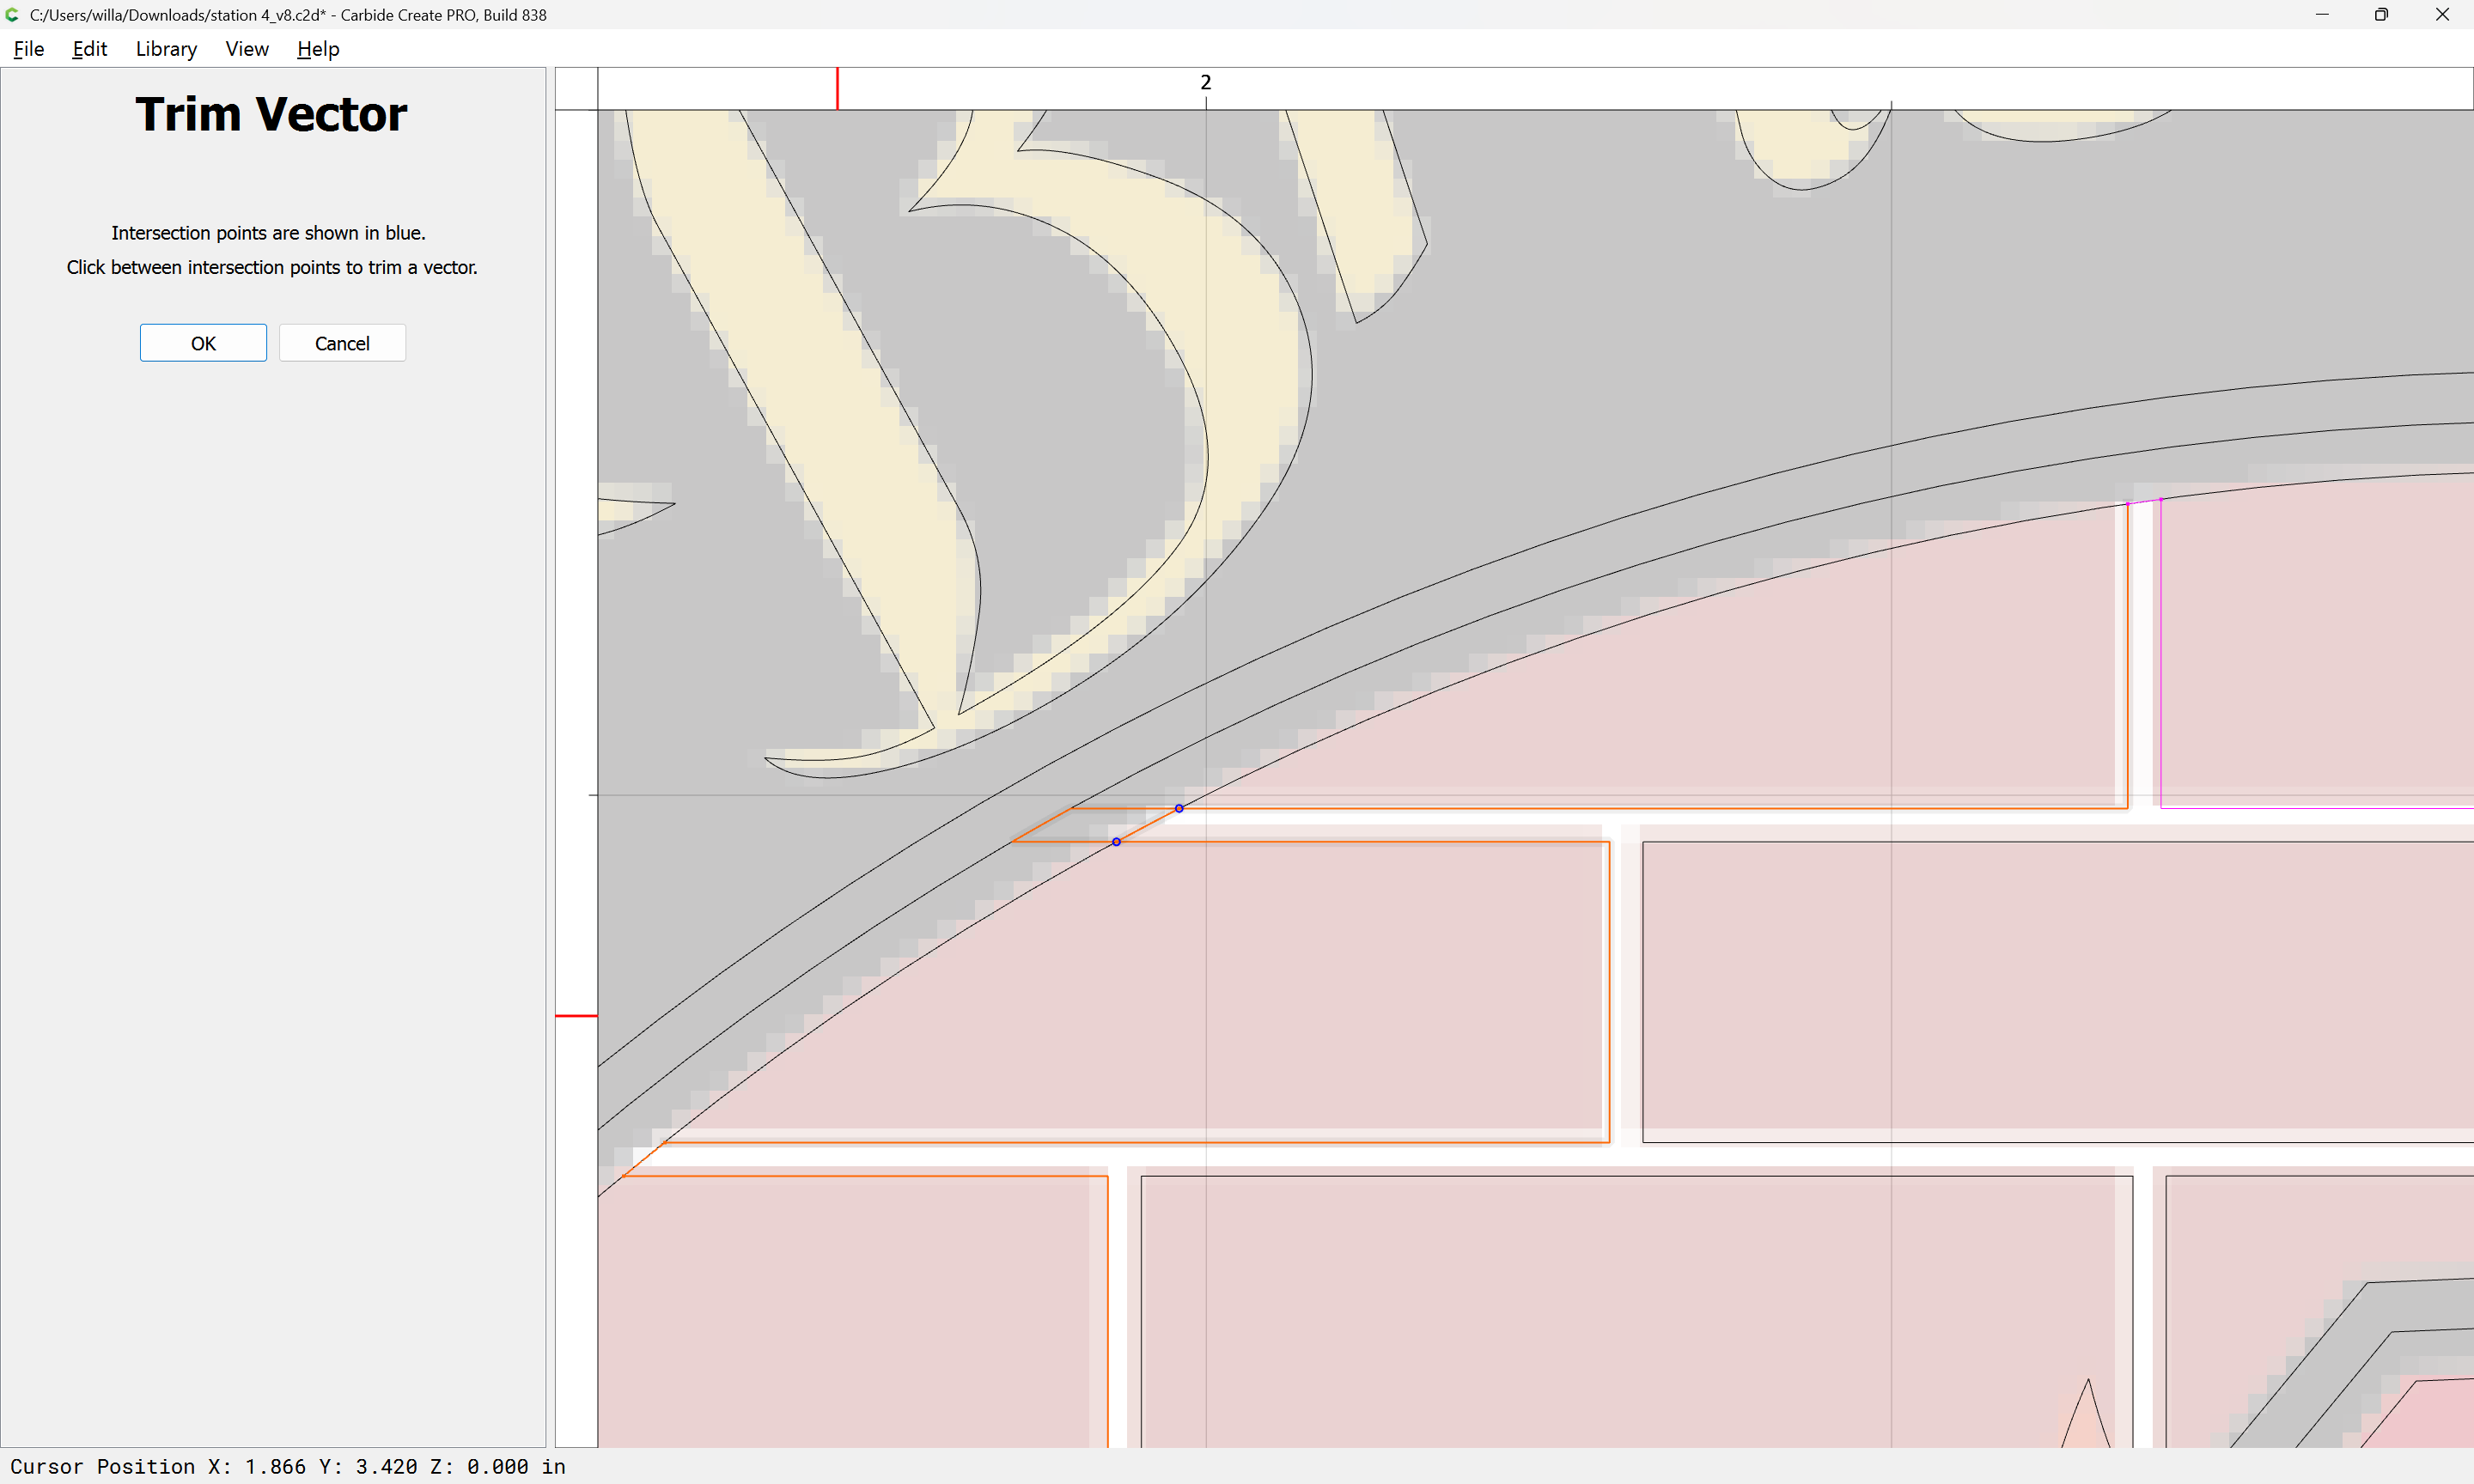
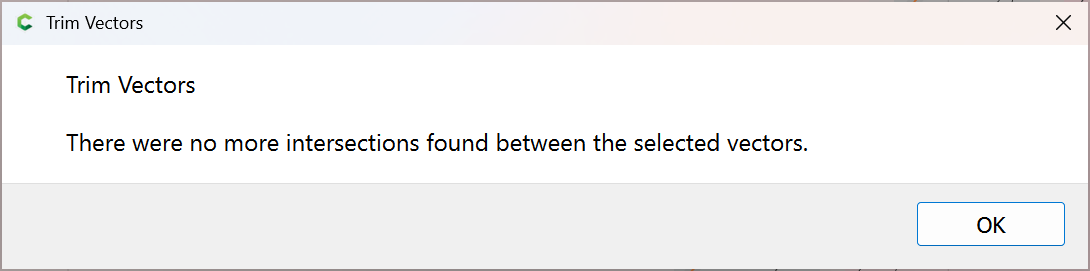
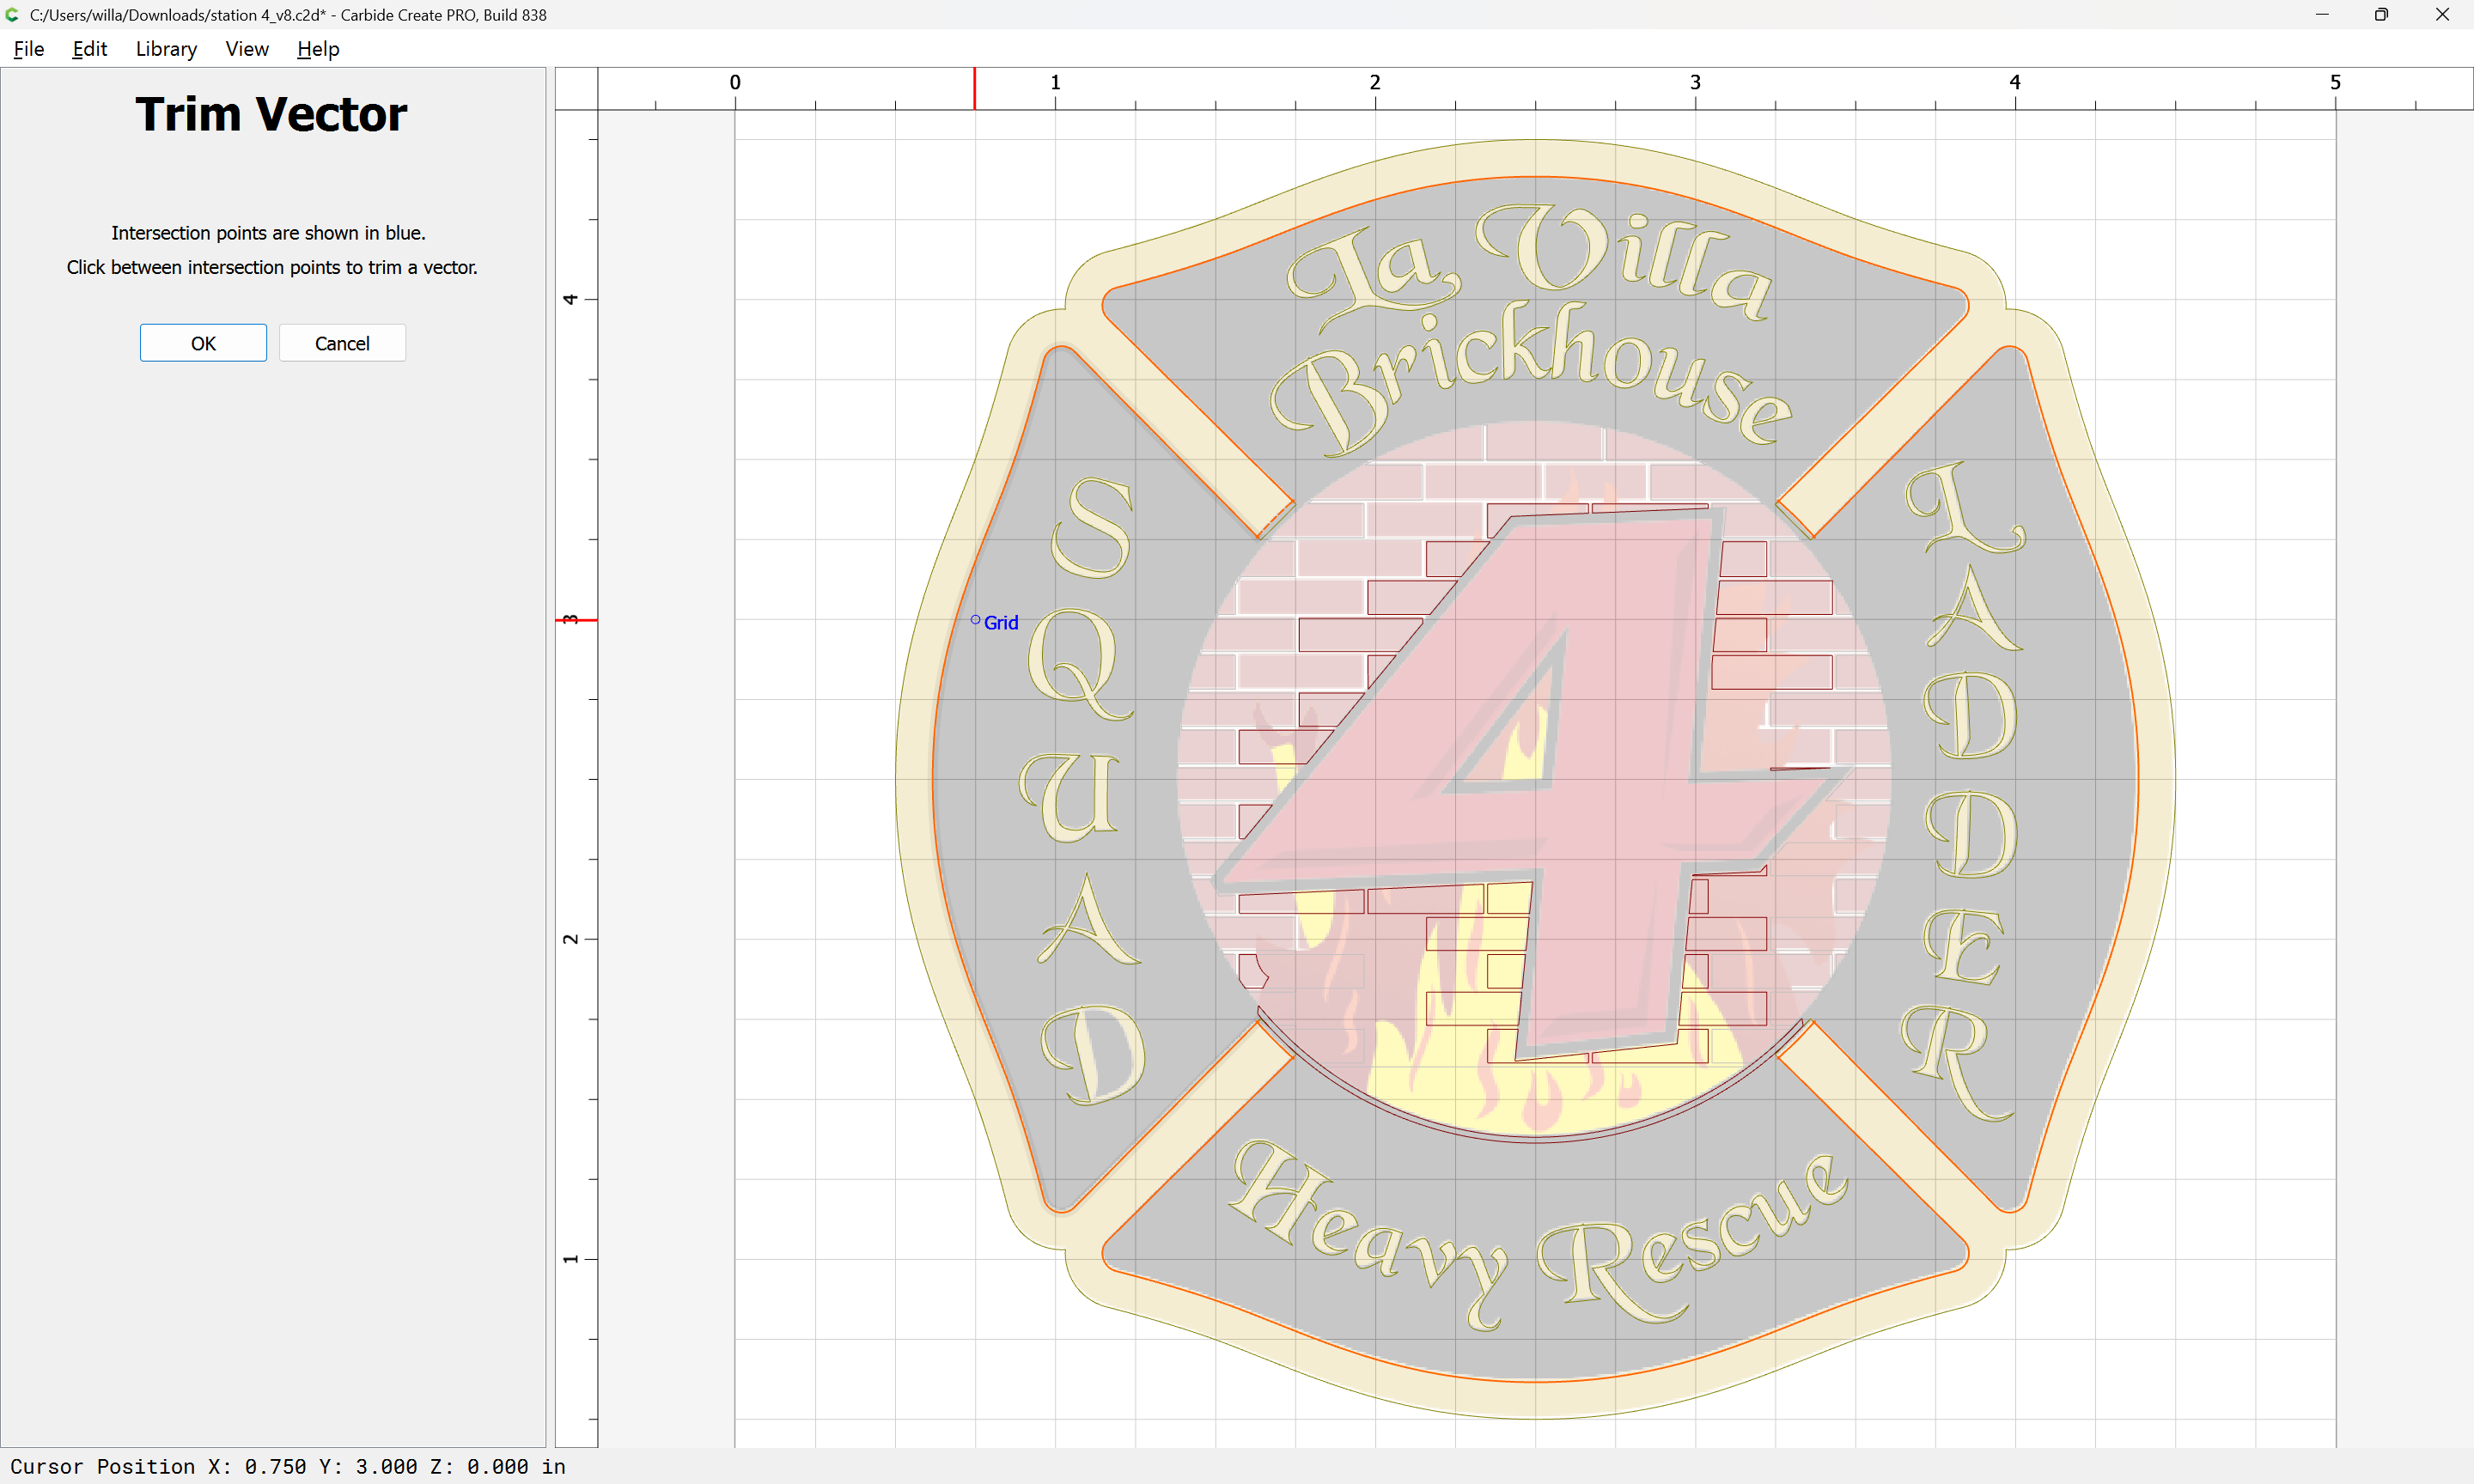
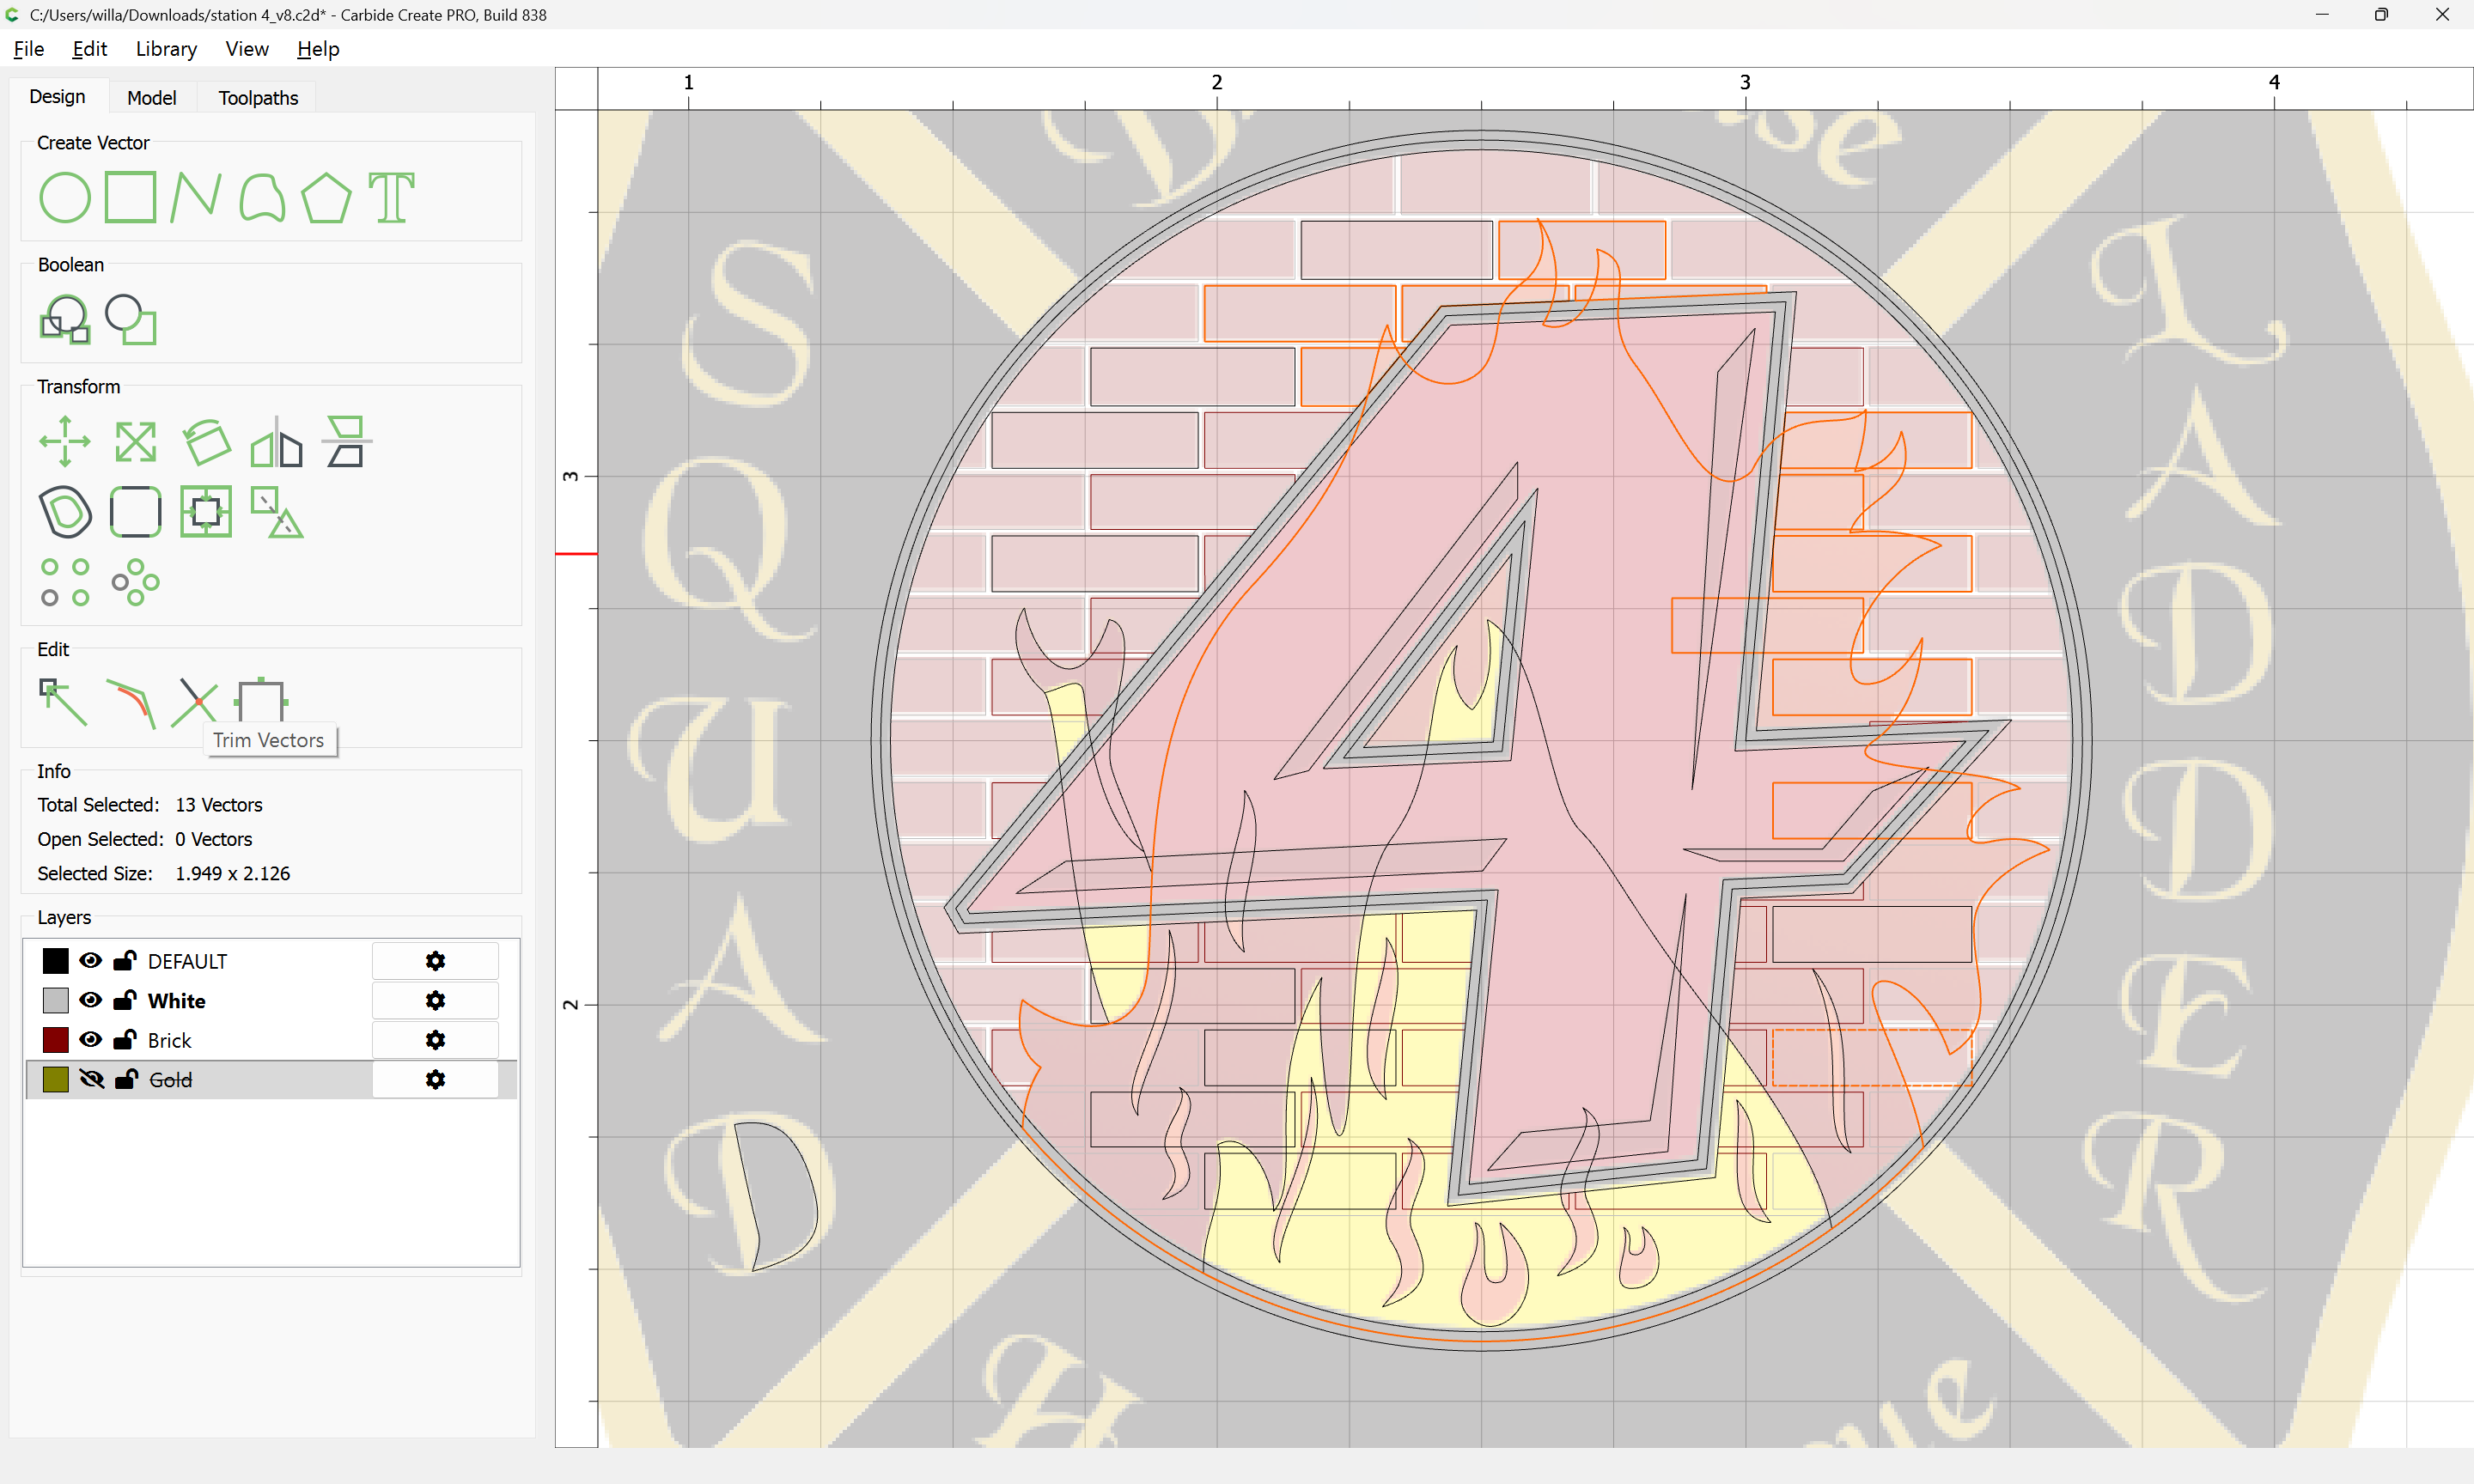
and use Trim Vectors to remove what is not wanted:
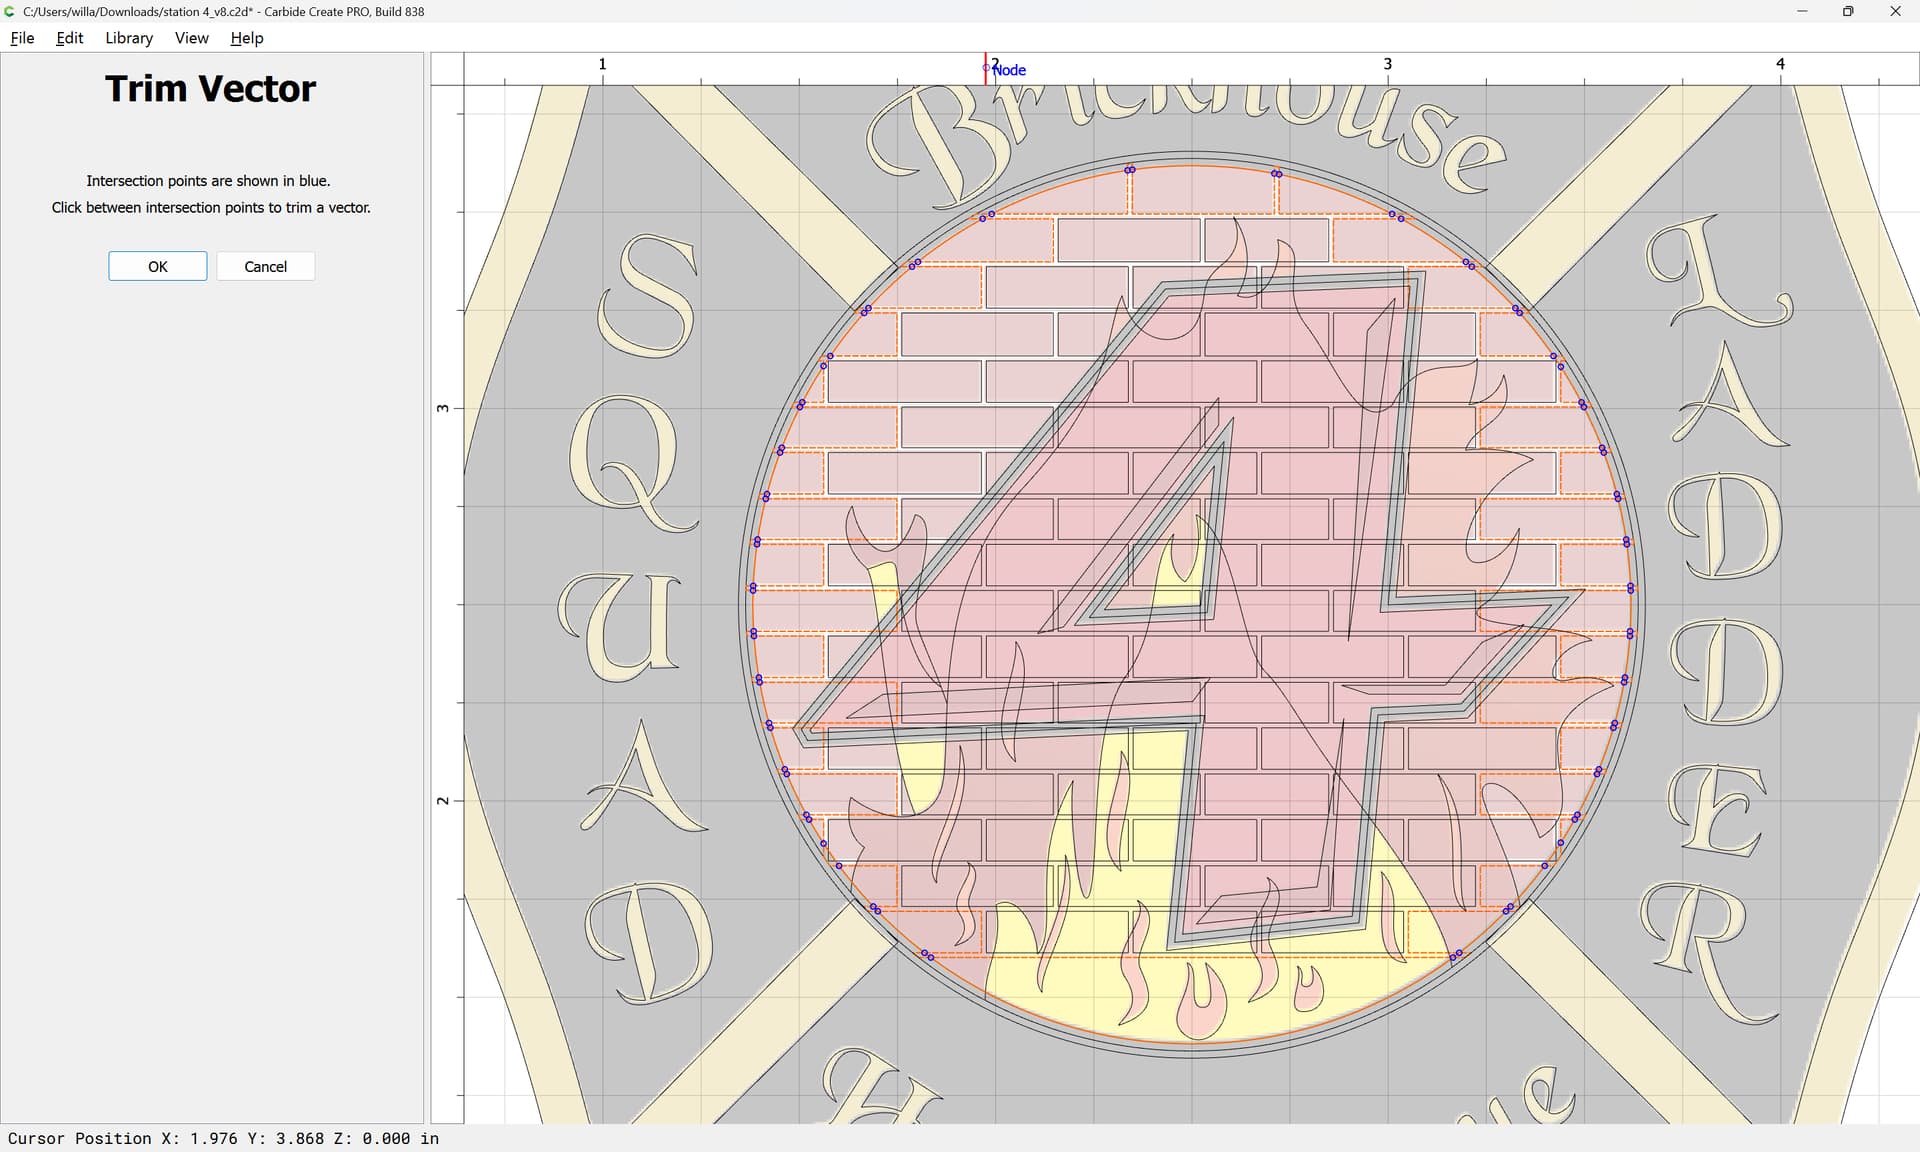
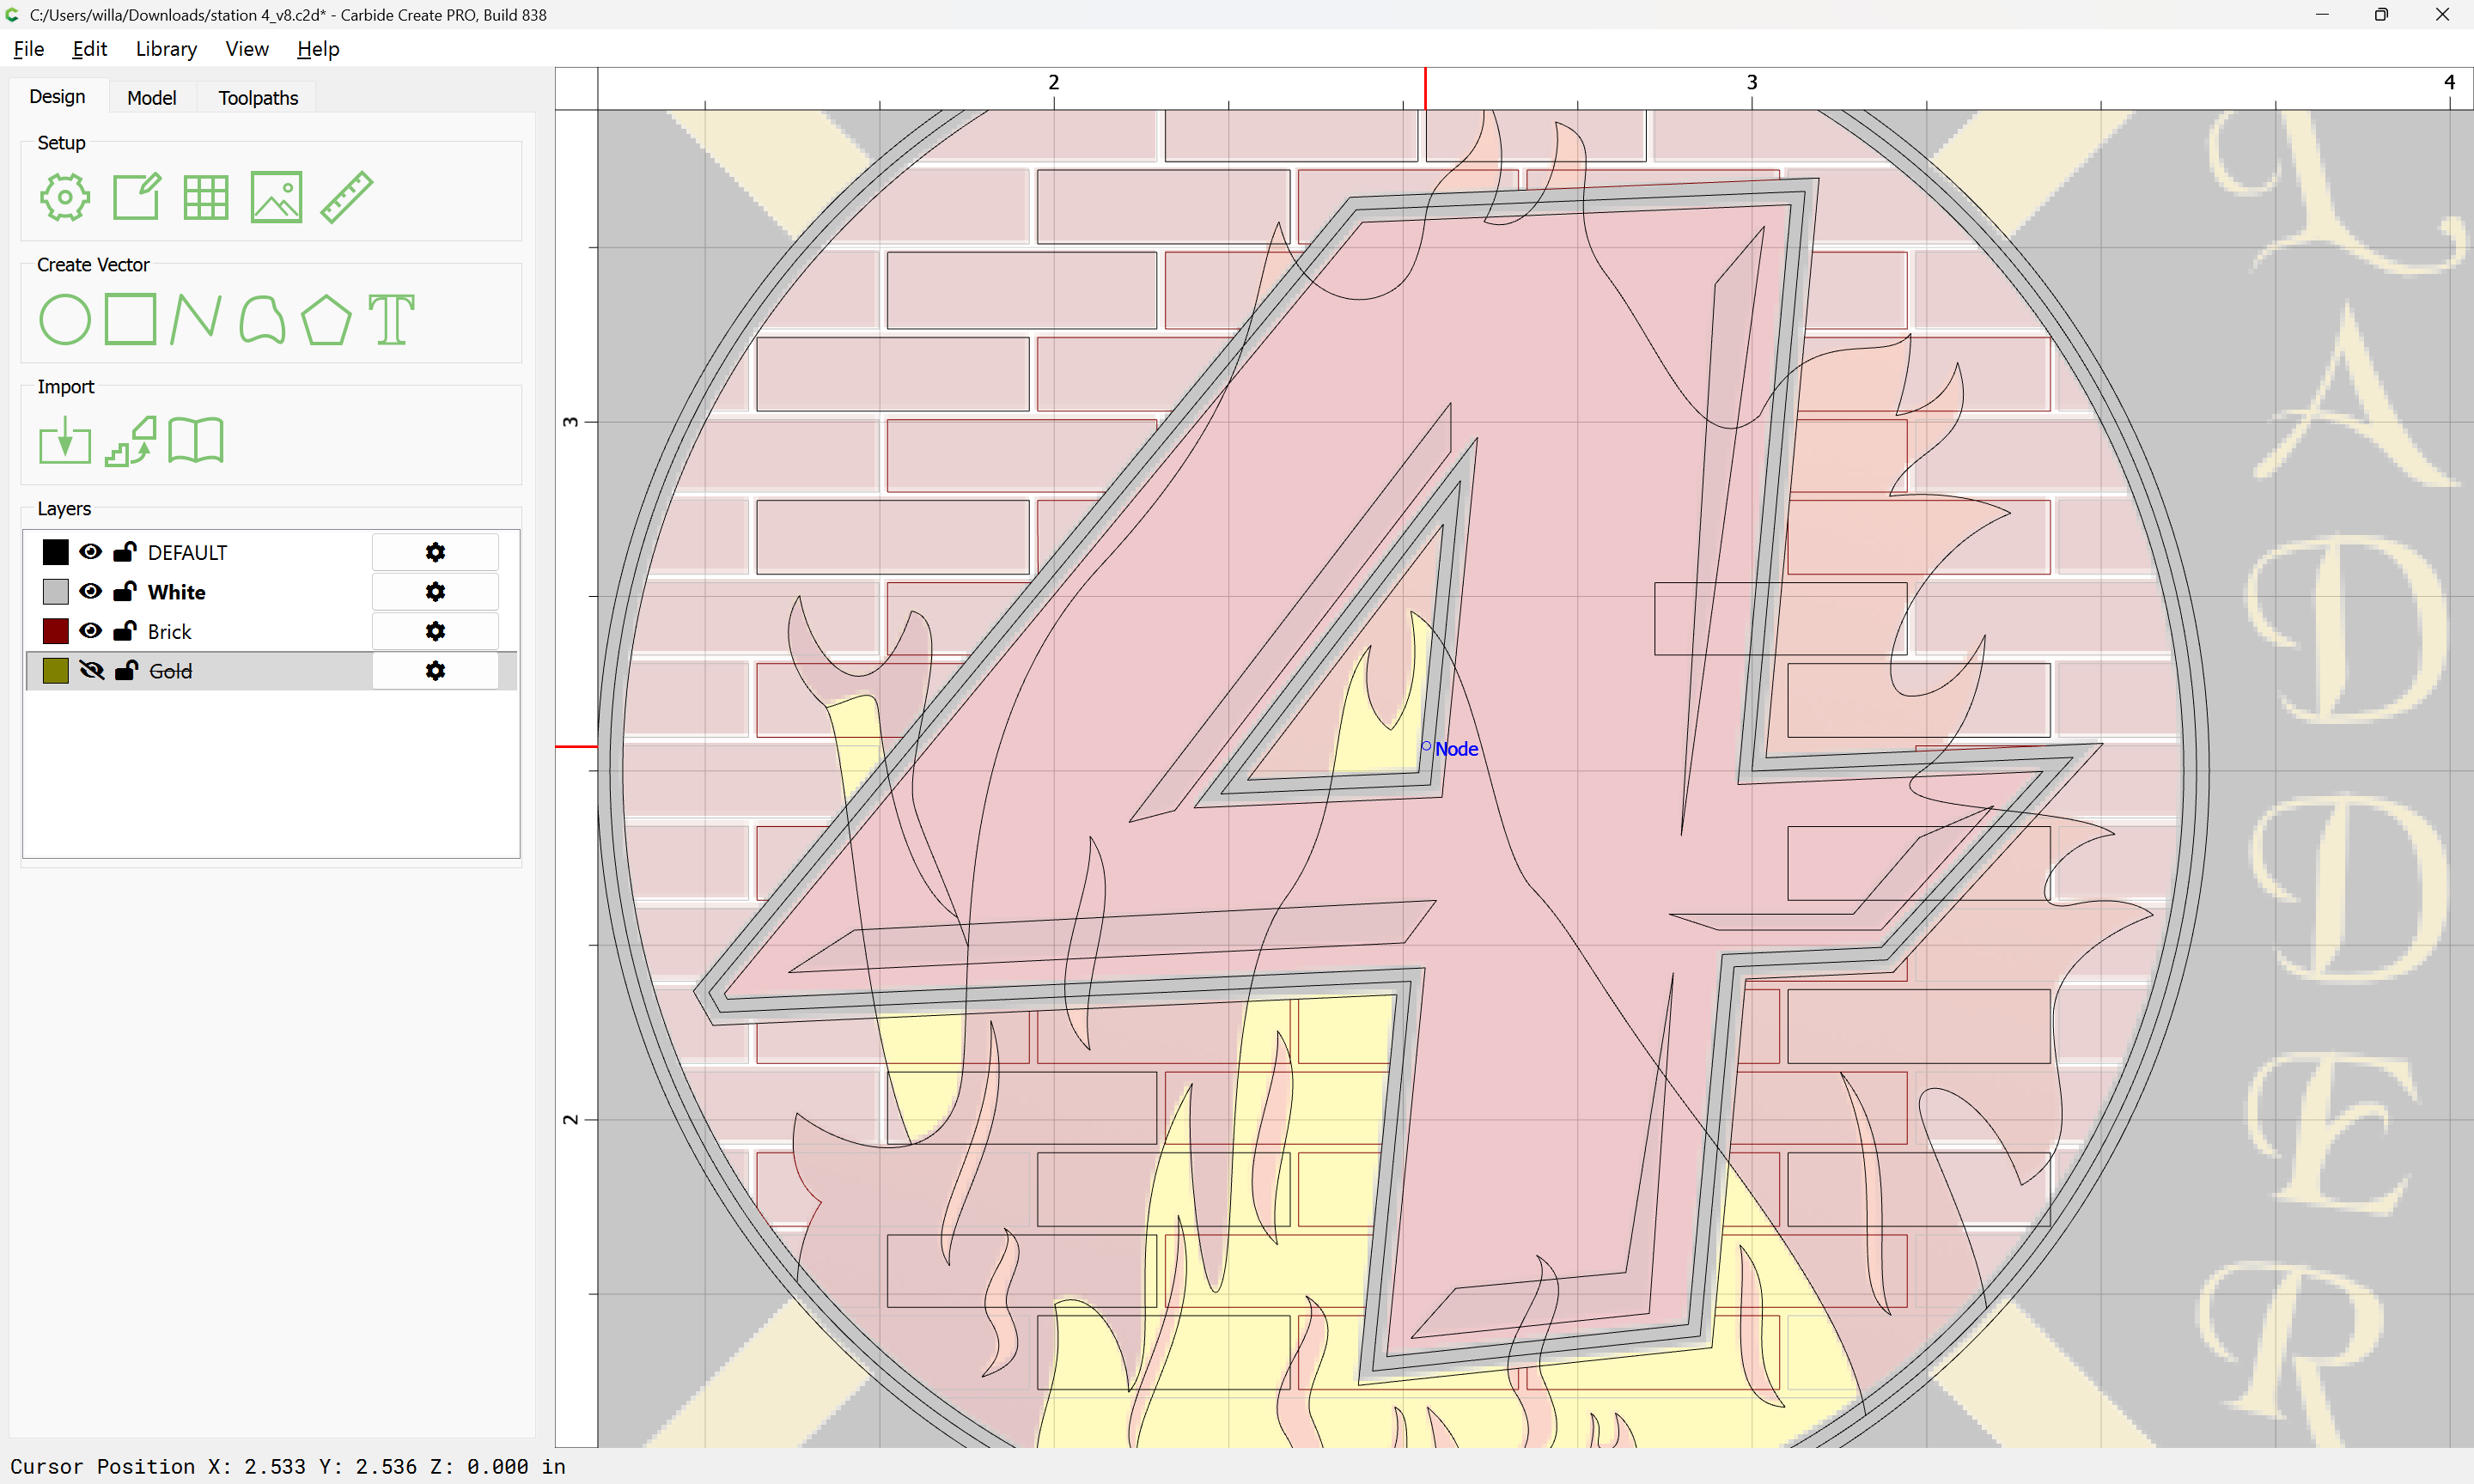
zooming in where necessary:
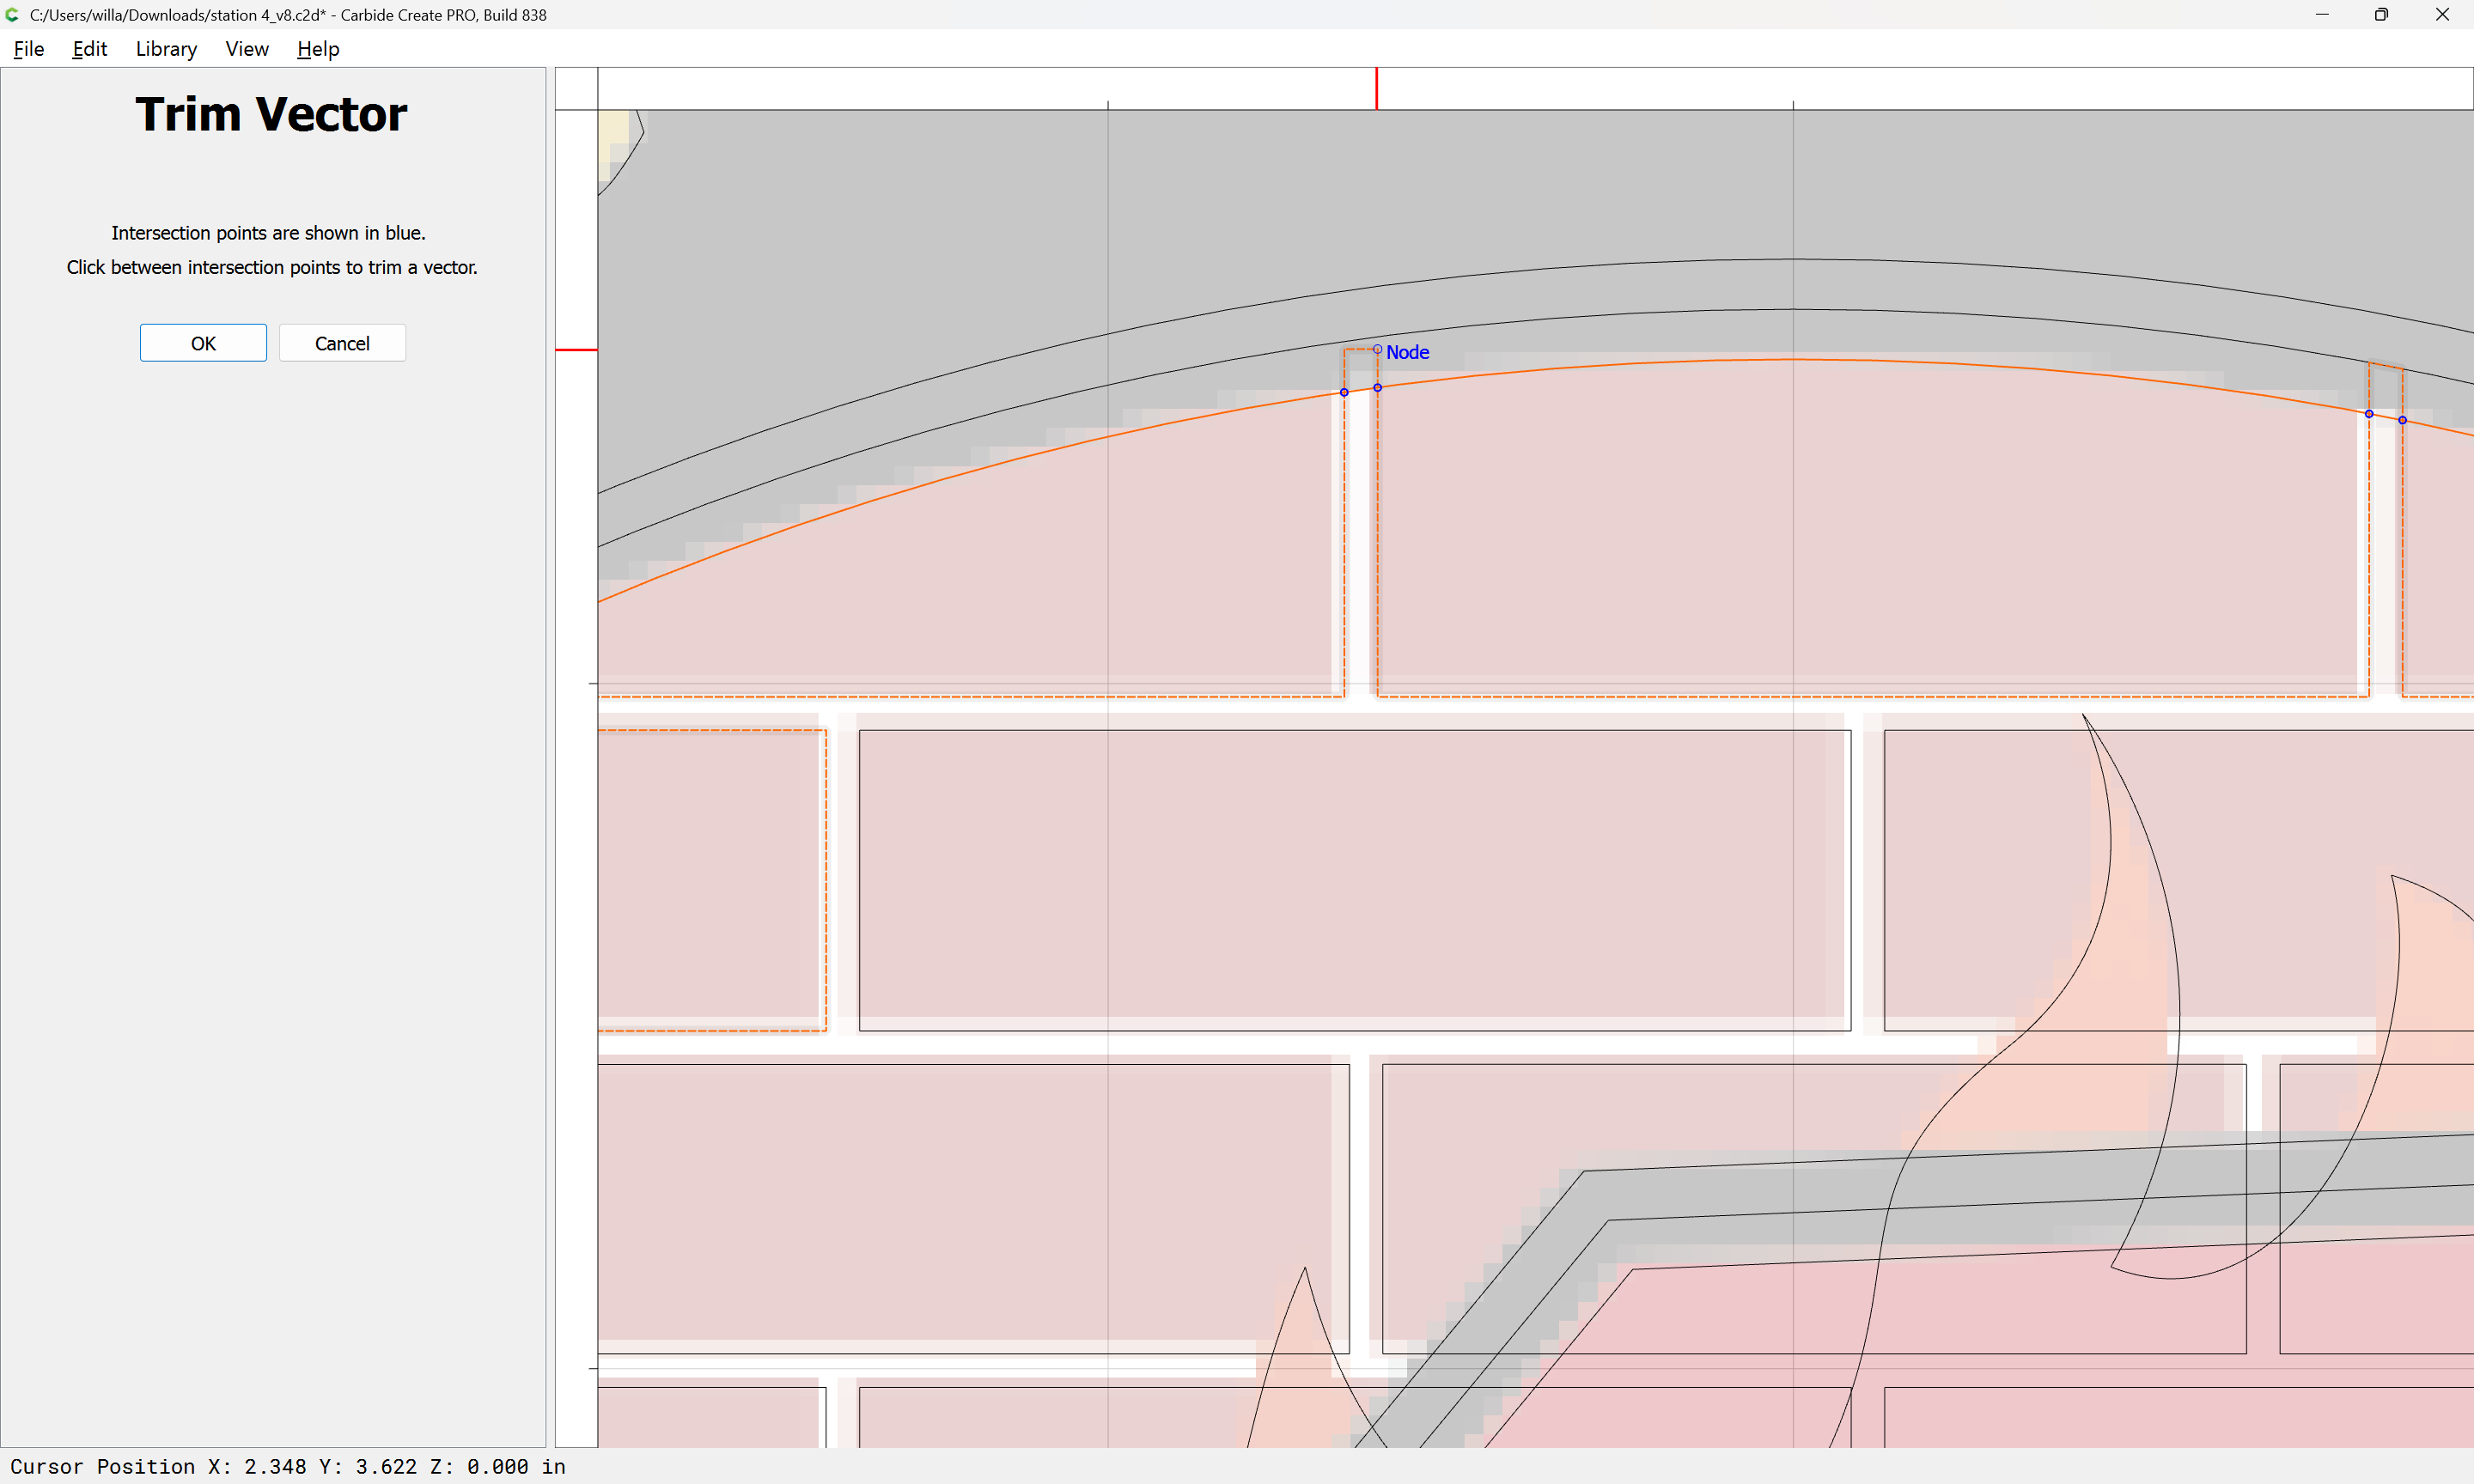
and where need be, exiting:

and duplicating:

adding to the selection:
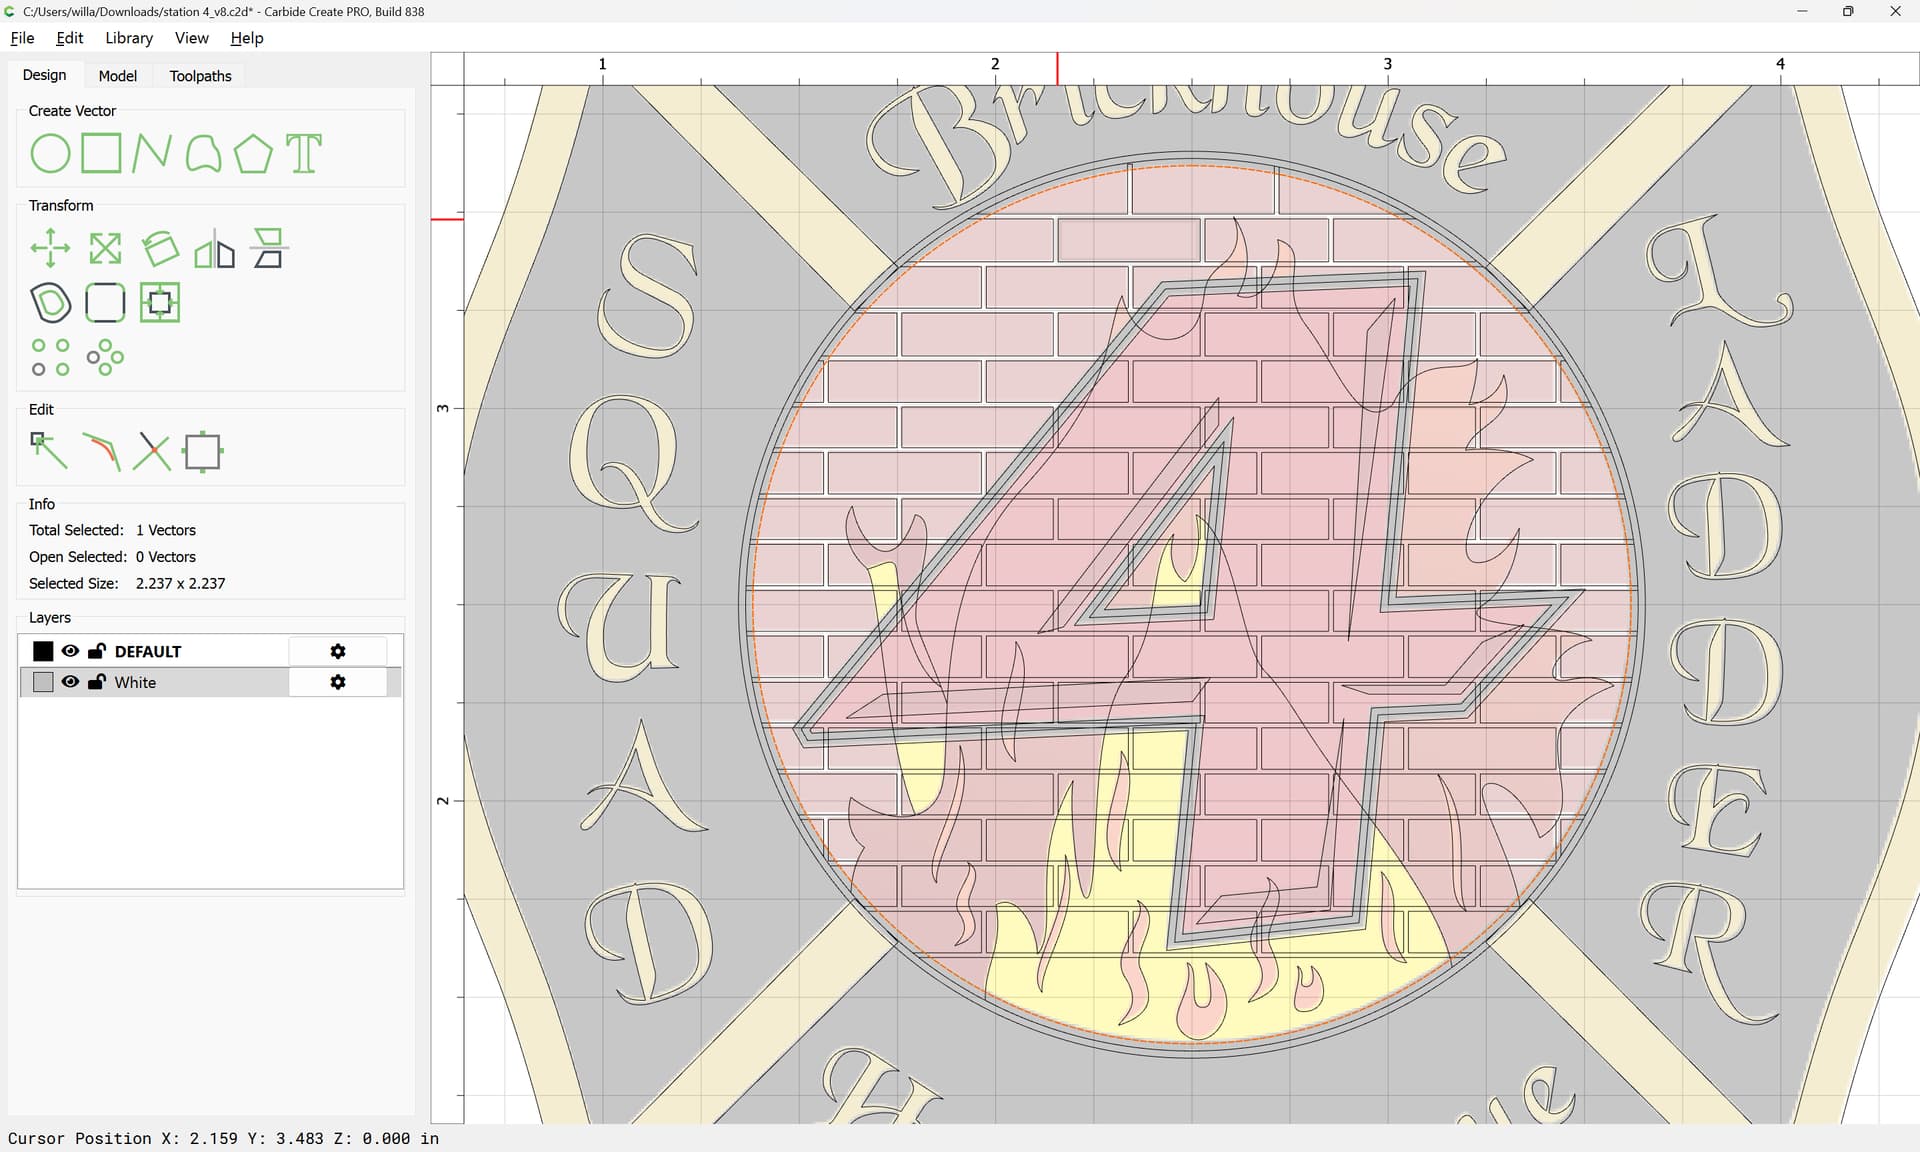
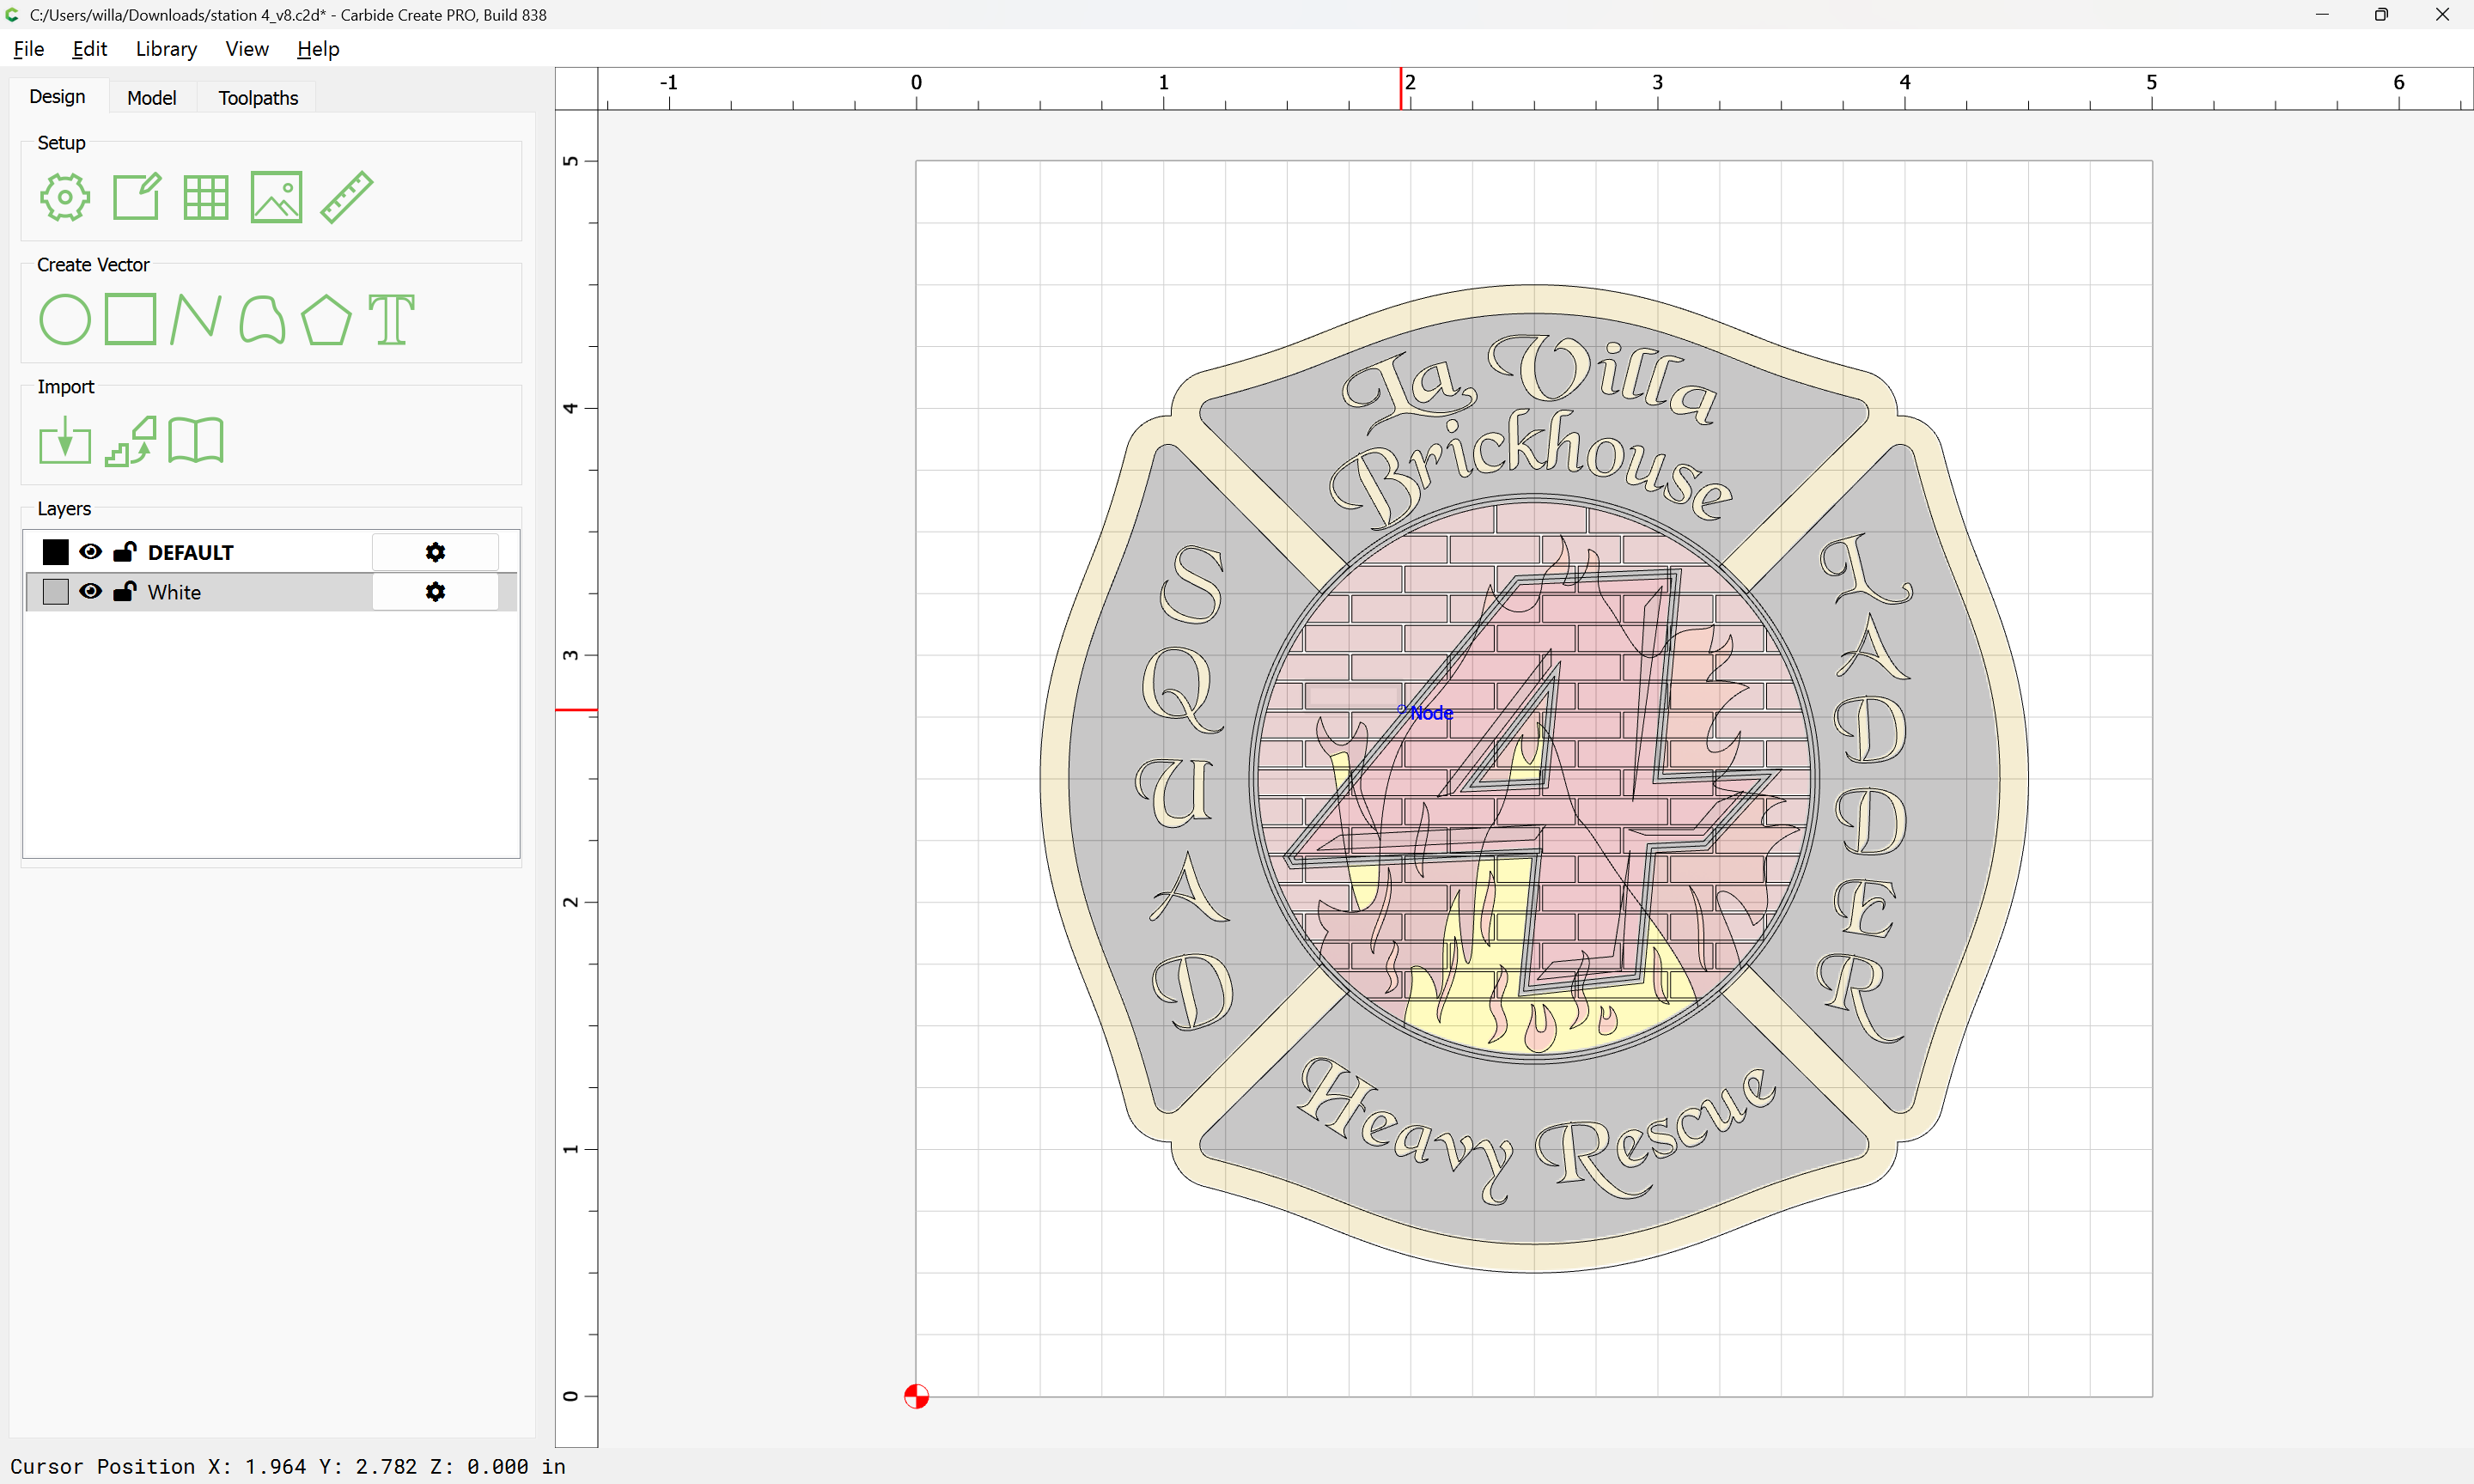
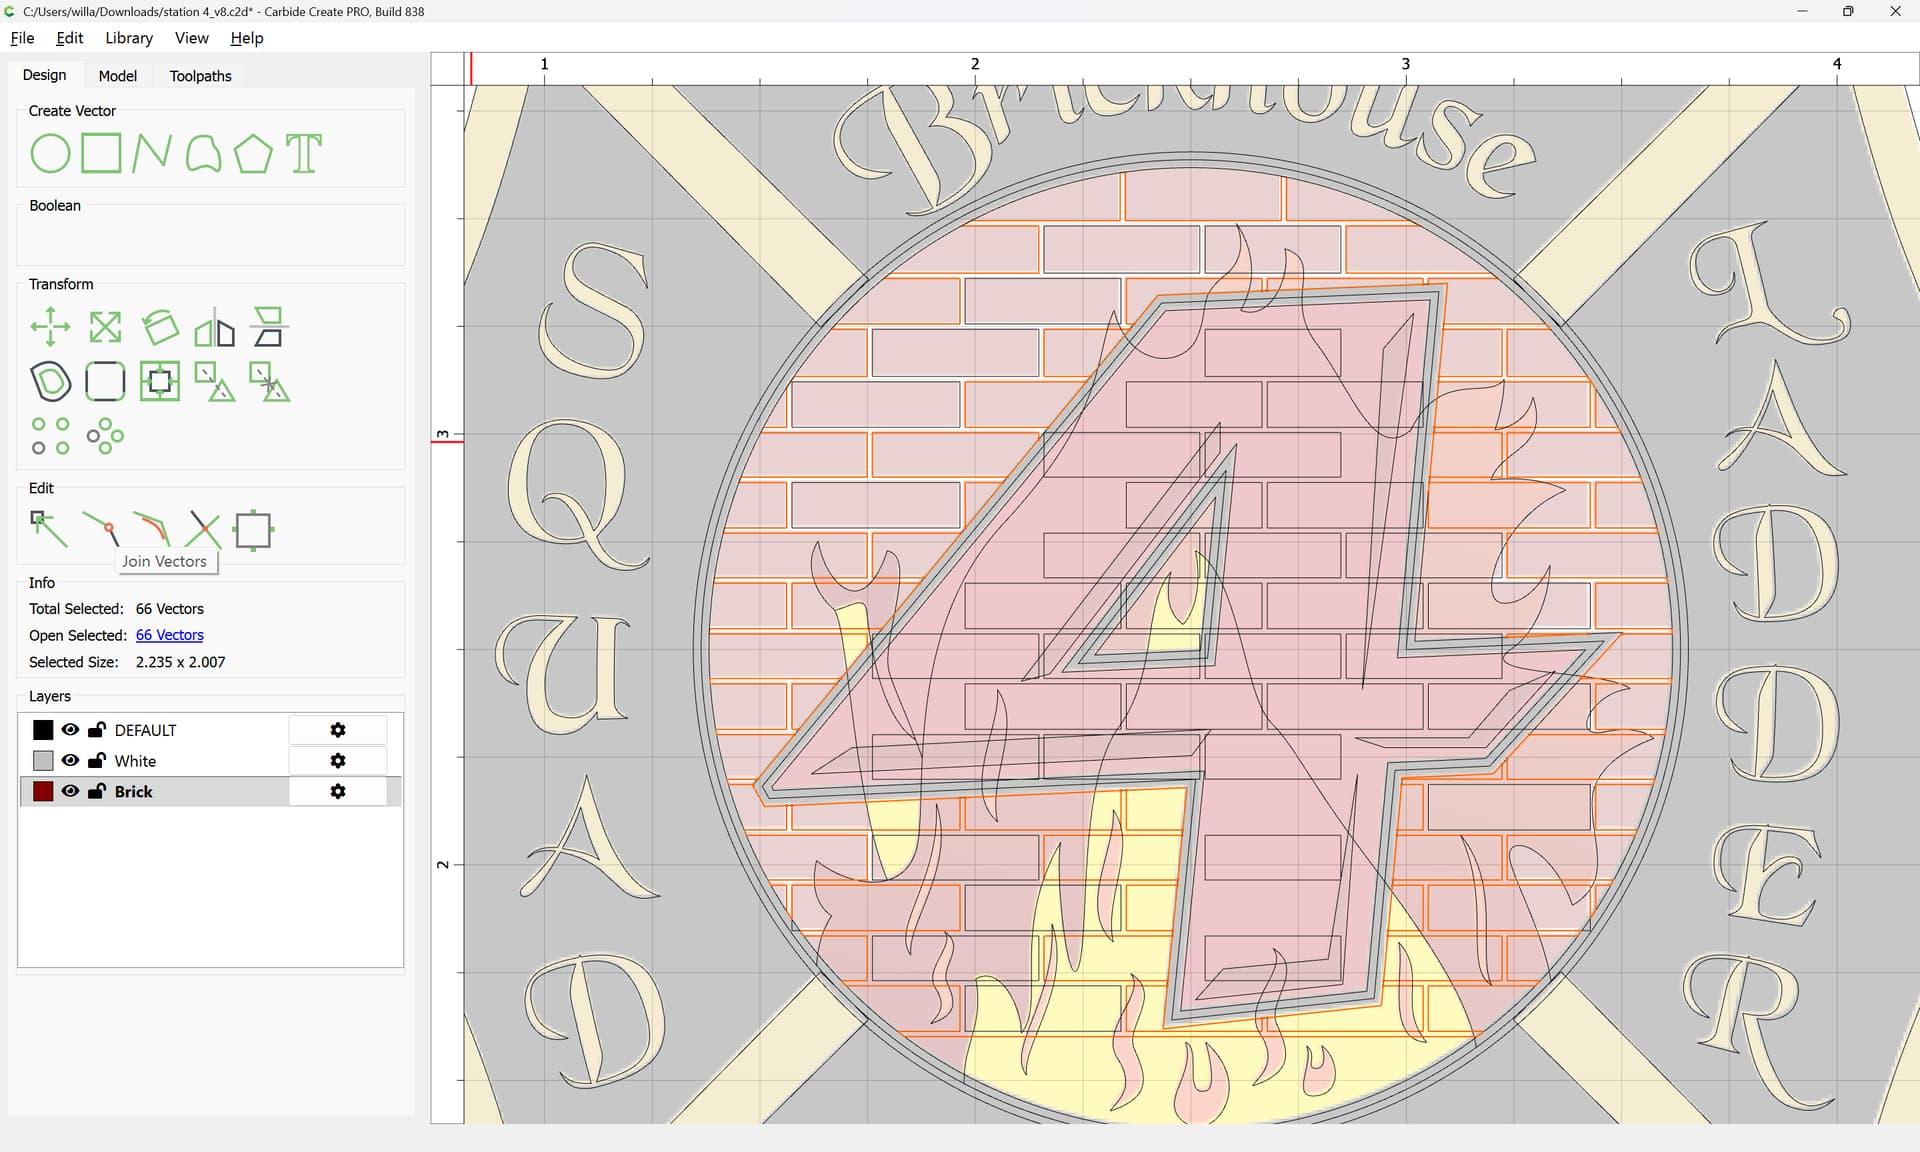
Working around until one arrives at:

OK
Join Vectors:
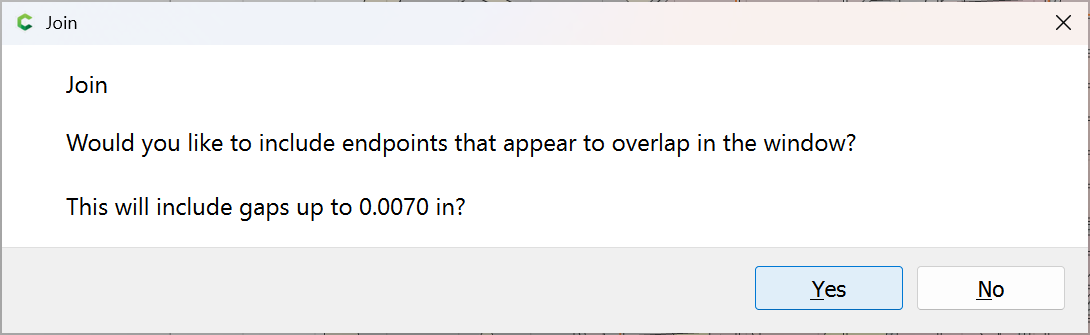
Yes
Repeat for the other colours/regions.
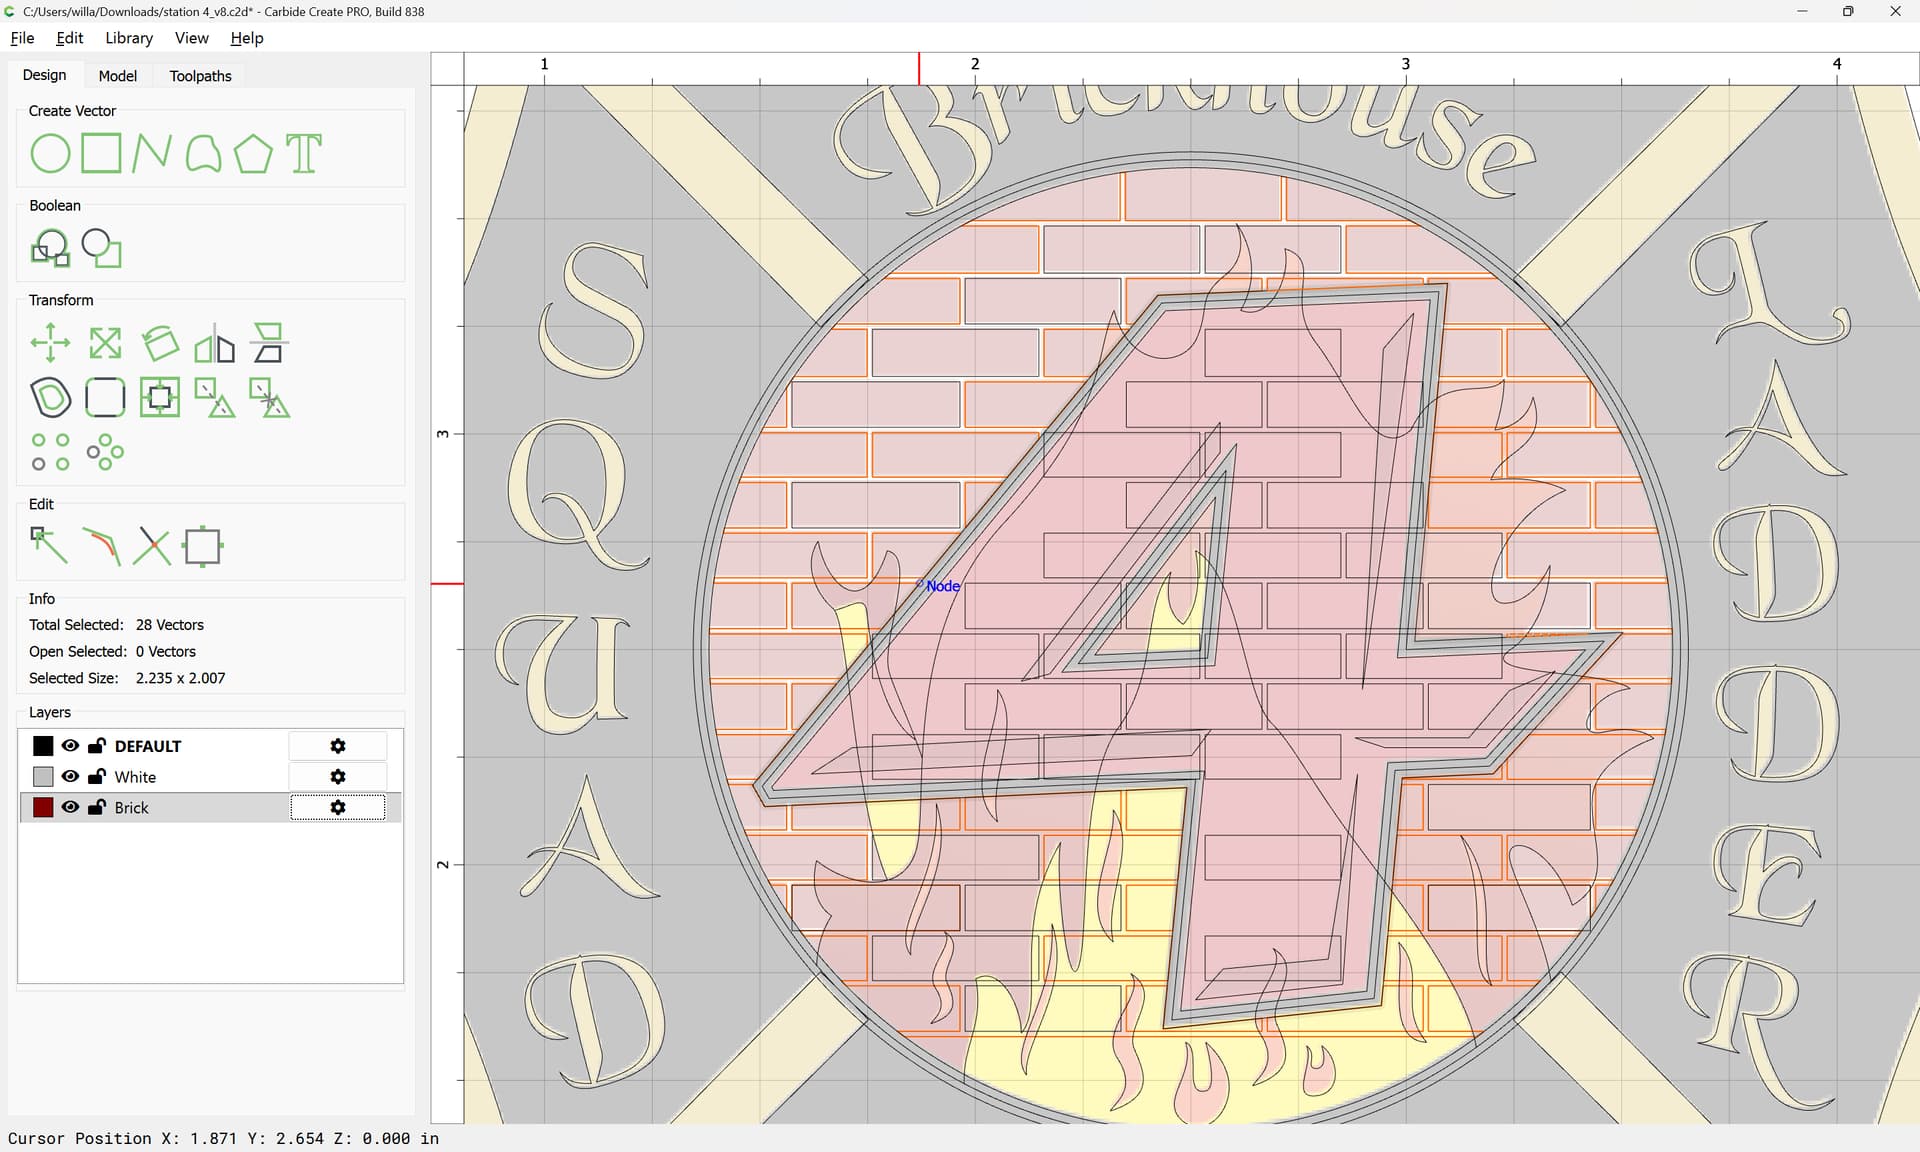
Repeat for other regions:
Join Vectors

Yes
Where appropriate, select elements which are totally obscured:
and delete them:
Continue for other regions:

2 Likes
@WillAdams Wow that was a long lunch!! ![]()
![]()
1 Like
Jesus. I need a class. I am way out of my depth on this one. I’m wanting to cut this image into a wooden table and I can’t even figure out how to do it since I’ve loaded it into CC.
Well, we have:
and the various videos at:
Possibly more didactive, I wrote up a bit at:
but note that a new machine includes 4 30-minute training sessions free, and if you want more, or have Carbide Create Pro, additional ones can be purchased:
or, see:
or, if you’re still stuck, just post the file you’re working on and let us know what difficulty you are having.
The first thing to decide is what you want it to look like. I see 7 colors (Black, White, lt red, dk red, brick, yellow, gold).
You could epoxy inlay all the colors. You could have layers where each color is a different depth. You could scribe/etch the lines and leave the surface monotone / wood. You could also use a mask and drag knife to paint the colors. Inlaying different species of wood would be an advanced skill project.
1 Like
Another option is to epoxy pour this in its own project, carve out the base colors first and then carve the outline color and pour until the project is complete. This mean you will leave the shield on the cnc and not move until each layer is poured, dried and carved for the next object and then repeat for the rest of them. Then carve a pocket into the table and set the entire shield into it and then surface for final finish.
This is a lengthy process due to all the colors involved. Lots of different ways to finish this and all of them are lengthy.
1 Like
This topic was automatically closed 30 days after the last reply. New replies are no longer allowed.