I’m attempting my first project past making circles, squares and writing my name. I have had a Shaper Origin for a couple of years so I’m not a total newbie to CNC.
My project is a French cleat fixture for all my bits. It has two shelves with through holes for the 1/8, 1/4, and 8 mm bits in my collection. Also has partial depth holes to hold 3/8 in dowels below the through holes for the bits to rest on. The holes for the bits are through to try to keep sawdust from building up.
Anyway, I specified the various hole sizes plus a little fudge factor in my design and used the Drill toolpath but what I got was just a bunch of straight holes drilling with the 1/8 bit.
Should I have used another toolpath, say a pocket for each of the holes? What exactly is the purpose of the Drill toolpath?
The Drill toolpath is intended to allow the machine to plunge with the selected tool without any side-to-side movement — it makes a hole the size of the tool used (plus any deflection/runout) and does not consider the dimensions of the geometry.
If you have geometry which you want to be cut at its size, then use a Pocket or Contour toolpath.
As @WillAdams said it is a straight plunge or peck drilling. So if your router bit is smaller than the hole you are making just do a pocket. CC has changed because in the old days making a .25" hole with a .25" bit was a no go so you just make the pocket .26" and it would work. So if your bit is the same size as the hole increase the circle a little and you can just pocket it to the depth you want.
Just remember if you work in inch it is then transslated into metric. When that happens there can rounding errors in the conversion and not make exactly what you intend. Usually it is only a few thousands off but for a french cleat in wood it wont matter. However if trying to make precision holes in alum then use metric to eliminate the rounding errors.
It’s recutting right now using pockets cuts and looks like it’s just fine. So a Drill toolpath is just to drill a hole, gee, who would have guessed.
I had a couple of other issues but nothing insurmountable. I’ll ask about them tomorrow. Right now I’m going to nurse a bourbon and my hurt feeling over a Rangers loss.
Mike
PS I’m not cutting another thing until I get my dust collection plumbed to the Shapeoko. I got antsy and thought I’d try a project without it. MDF, what a mess. I wonder if I’m the first new user to do this? LOL
I like making fixtures, jigs, etc. out of MDF but I’m cautious about the dust from it and wear a mask. It is nasty stuff. Working on plumbing my dust collection today.
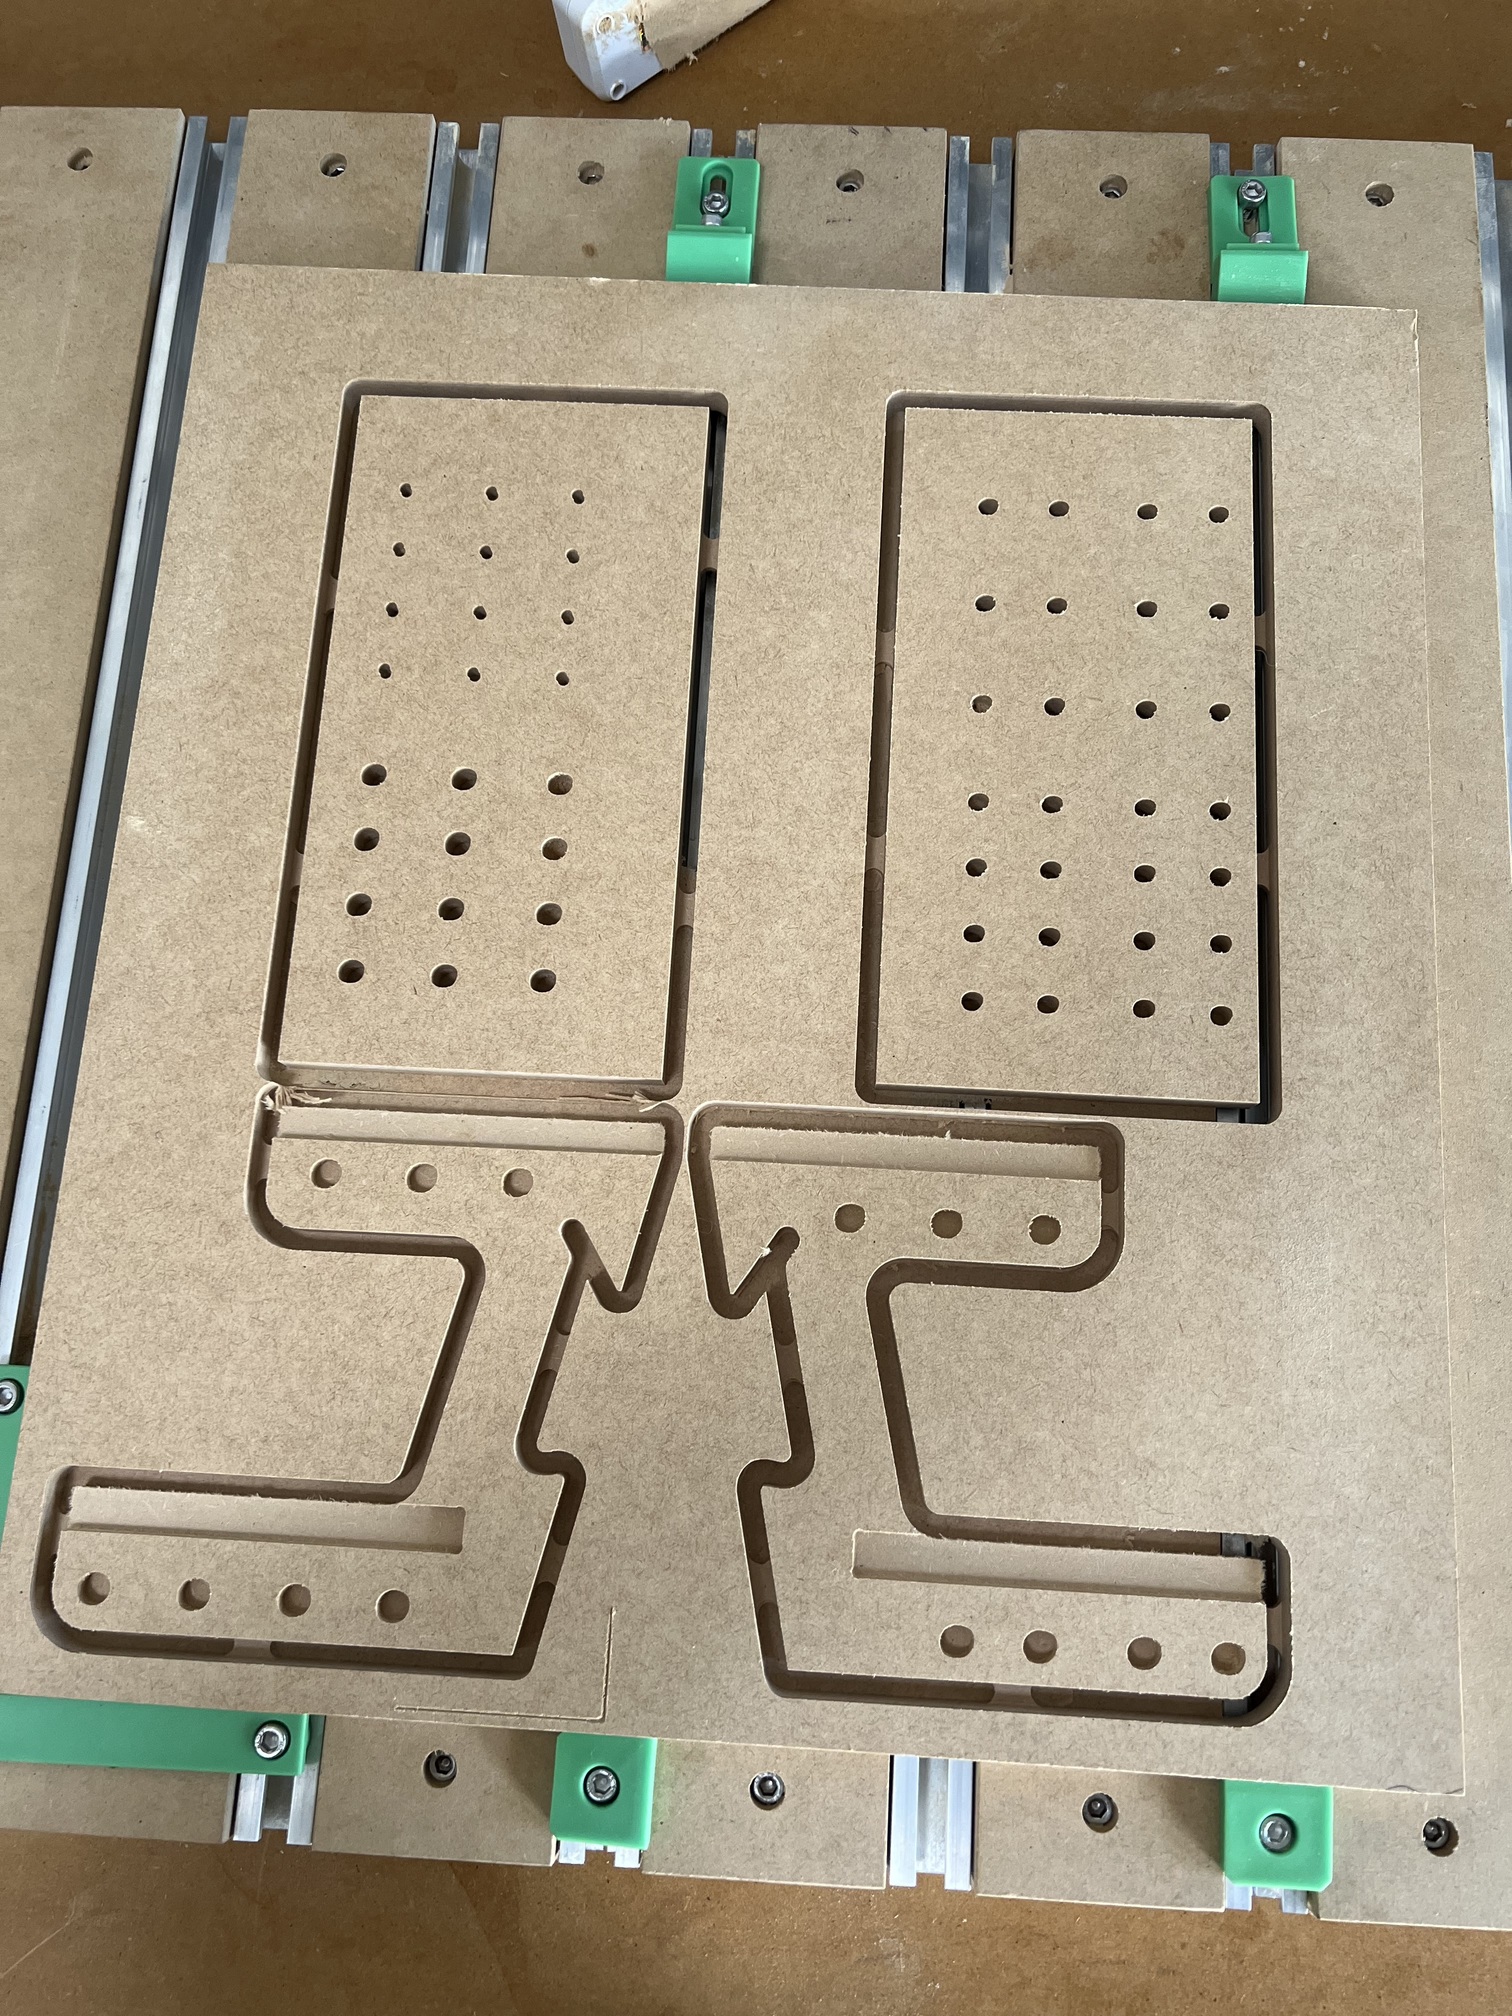
Here’s the fixture before I pulled it up. First problem I had was every time I tried to start the program, I got an error message the zero point in my program was too low and would cut through the bottom of my machine. I disabled the first toolpath which engraved labels in each bit area after reading on another thread that some people were having trouble with VCarve depth errors, I think it may have had to do with me getting confused about the multiple BitSetter requests when initializing and zeroing. Eventually it worked.
The second was that on each of the Pocket paths for the shelf cutouts, the machine first ran the complete pocketing routine just above each cutout (a ghost pocket) before dropping down and correctly cutting the pocket. I did not see anything in the Create file that could have caused this but I’m sure it’s there somewhere.
I see that there is a new beta release of Motion that may have helped me with both problems. I really thought I should get more proficient with the current release before trying the beta but I may go ahead.
Nope! When I got my first SO3XXL I had no dust collection except me holding my shopvac wand close to the spindle while it was running the program - it worked but still a fair bit of dust would make it out into the general air without having a dust boot. I think a few times I cut some MDF test pieces without doing anything - that convinced me pretty darn quickly how dust collection with a CNC is pretty much mandatory!
Having spent many years working as a finishing carpenter, I had eaten plenty of MDF dust while ripping up sheets of 3/4" for cabinets/shelving/features on an old table saw which had no proper dust collecting shroud & the only dust collection was keeping a box under it to catch what would fall directly beneath the saw. It was a game-changer when I finally got to use a jobsite table saw which had a shopvac port on it! Since then, keeping wood dust of any kind to a minimum has been part of my working setup.
Not the first, won’t be the last! I cut mdf one time without dust collection. That was a horrific experience for me. I had my machine in an enclosure so thankfully it didn’t coat the entire garage but I learned my lesson and never ran without dust collection again!
I wore a mask while cutting MDF and vacuuming up. I had a lobectomy on my right lung in January so I’m even more conscious now of that kind of stuff but as far as those things go, it couldn’t have turned out much better. I’m 71 years old but pretty healthy overall and as my doc once told me “You dodge bullets better than that Neo guy.”