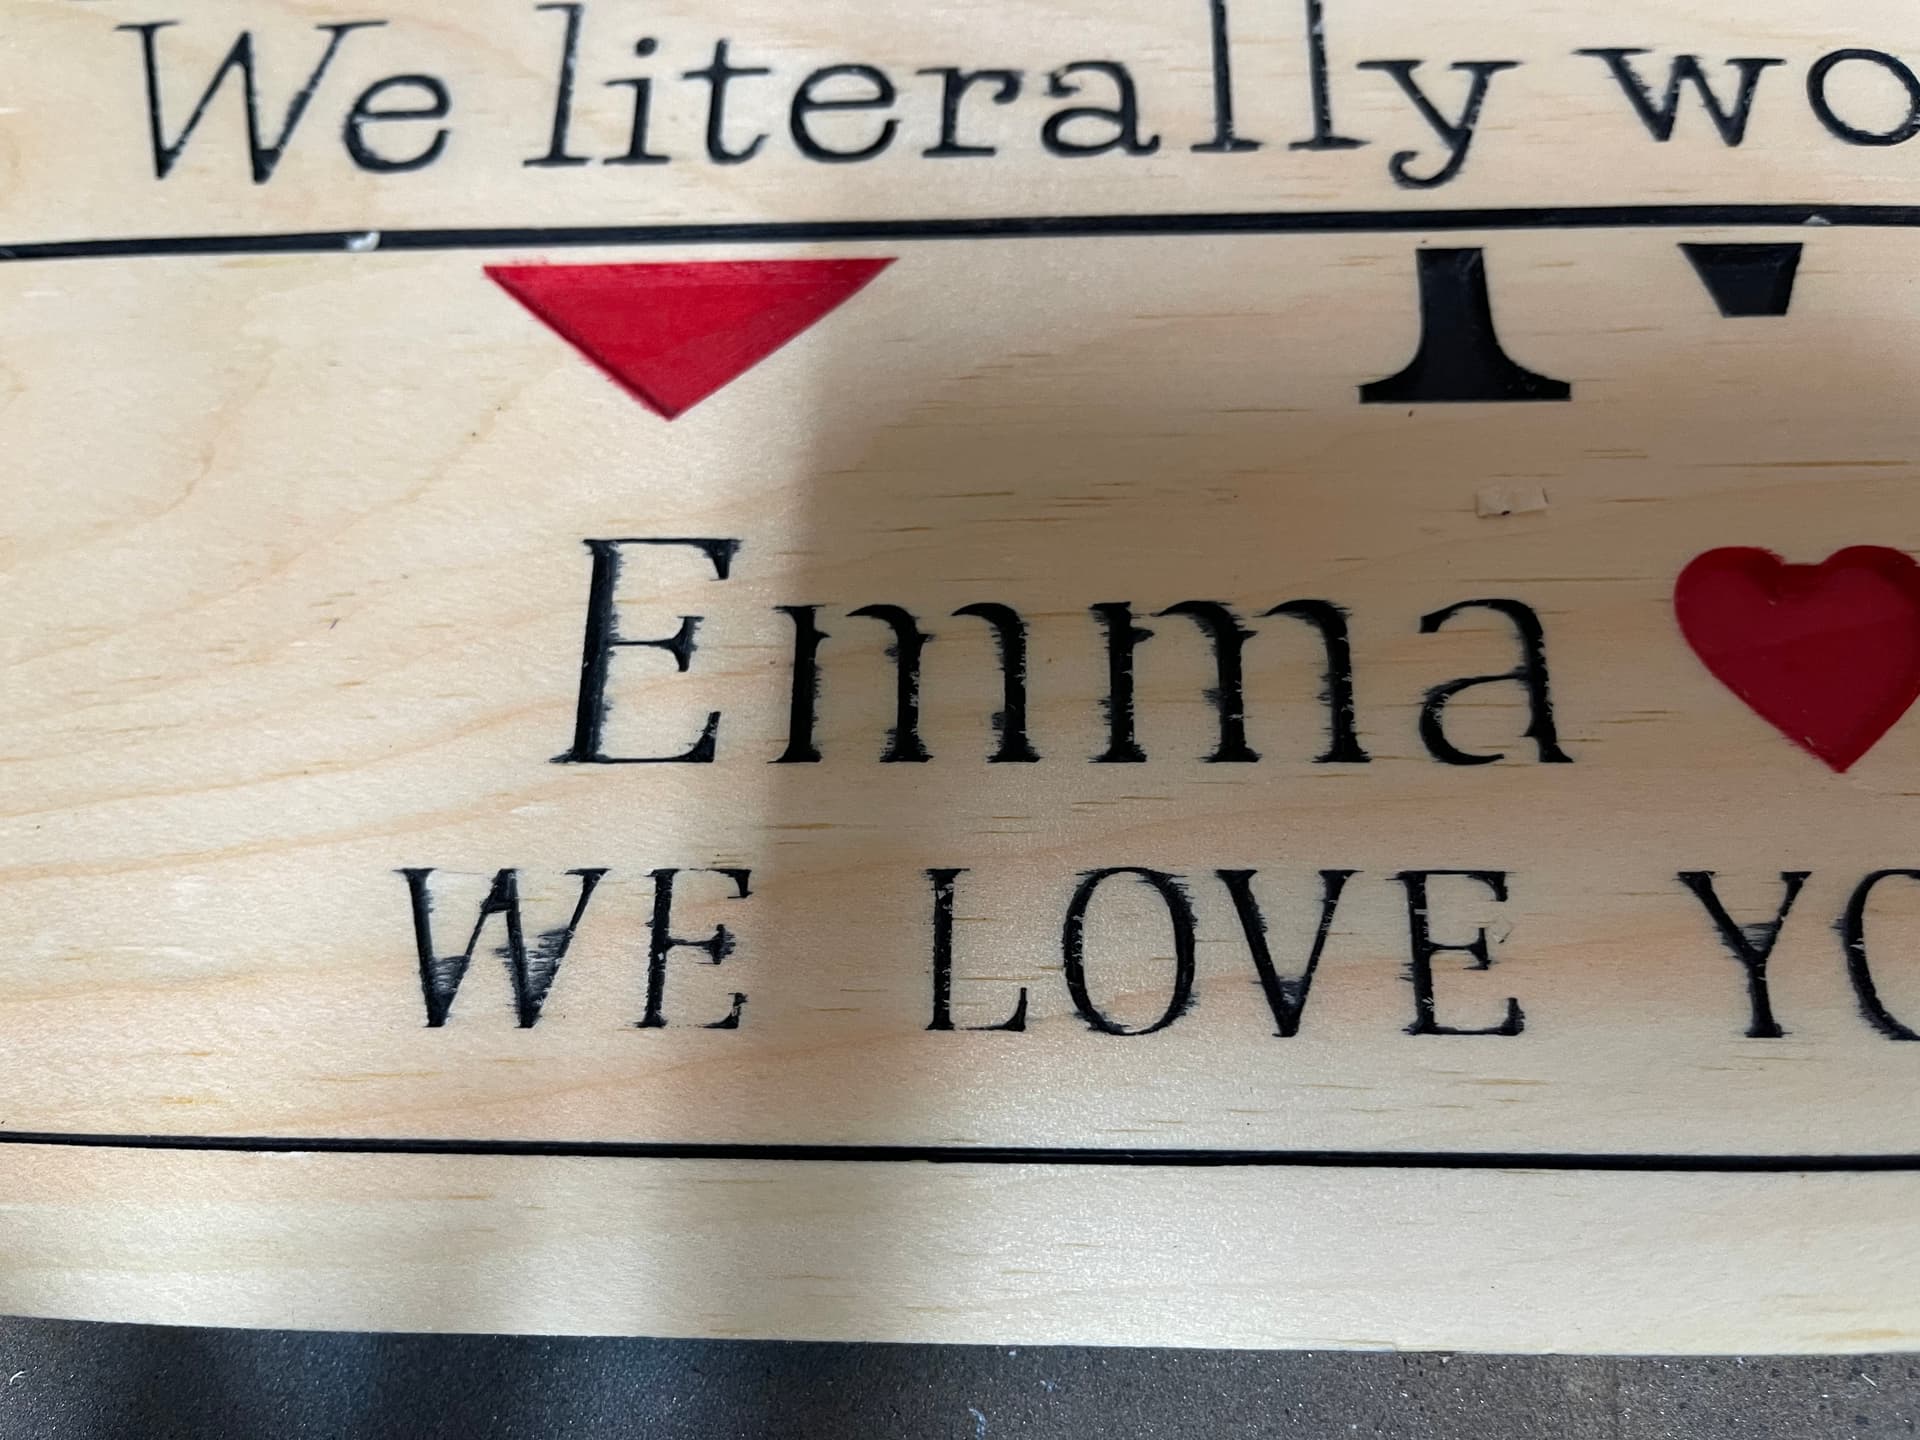
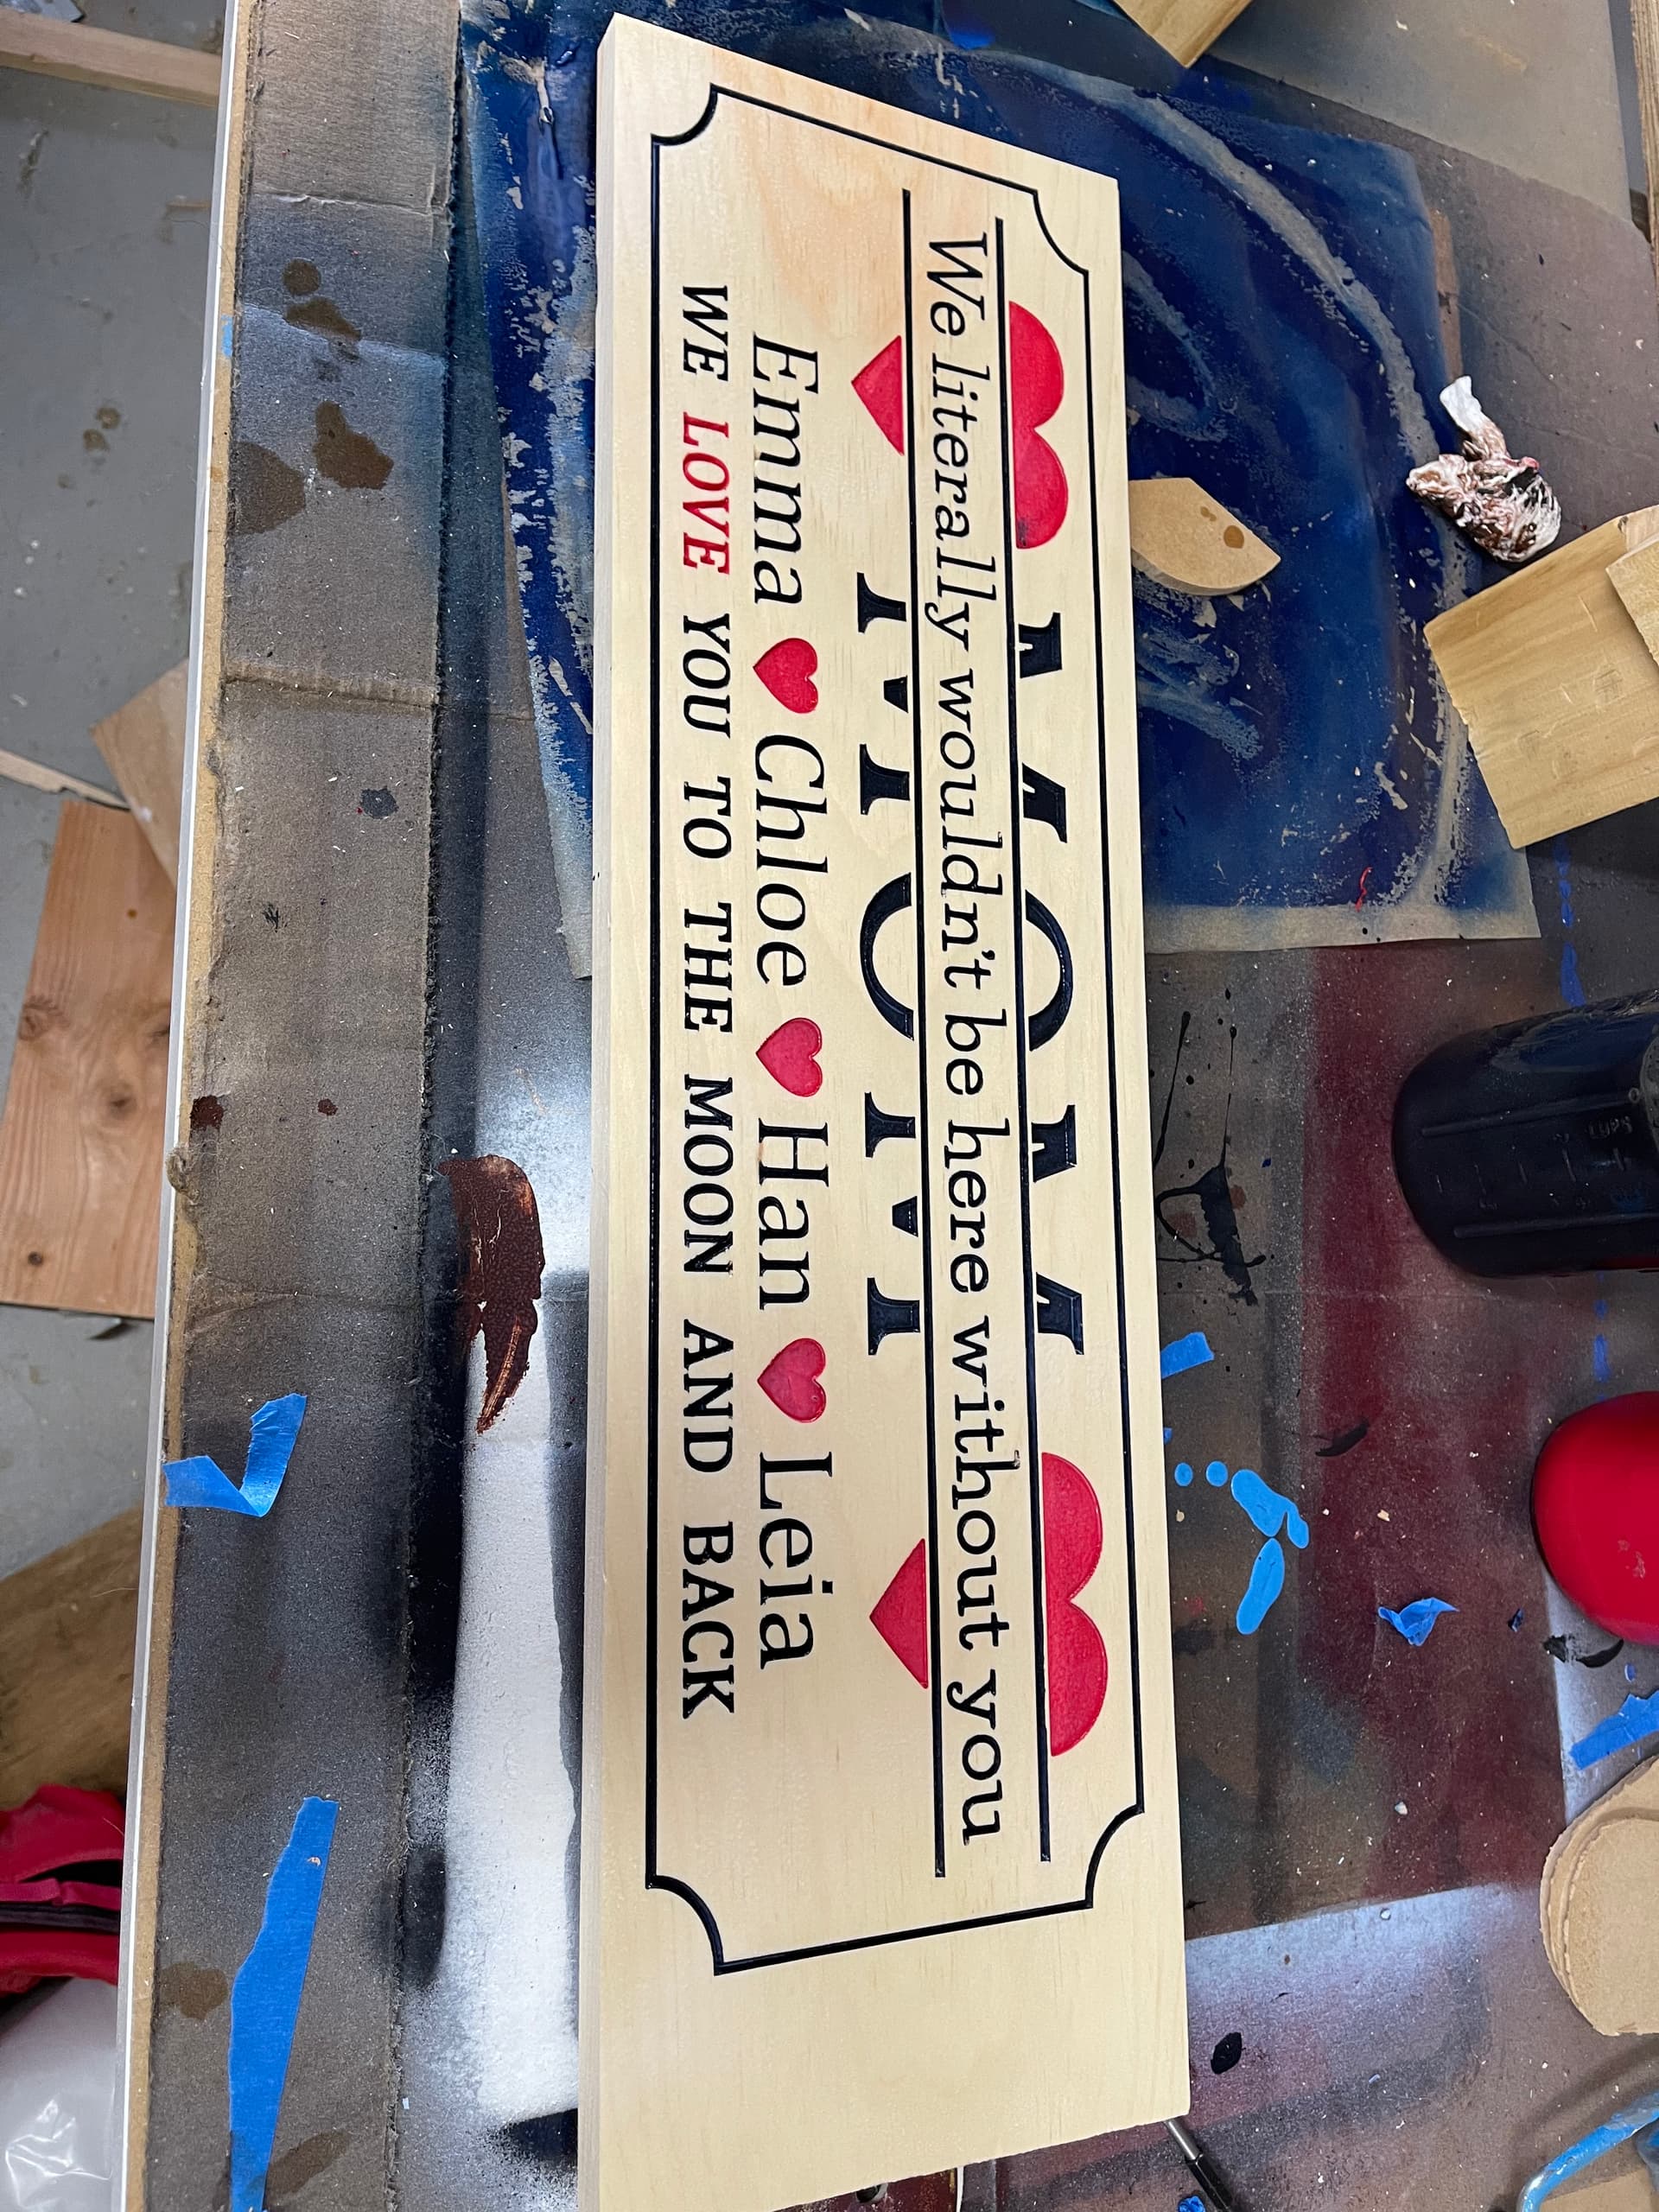
So i’m making this sign…a number of different things are happening
i think i need to level my entire waste-board. Ive had my shapeoko since January and never did it, so that’s on me and I’ve been reading some awesome threads about it.
If everything is set to carve down 1/8 inch and it doesn’t seem uniform across the whole project then it’s either my wood isn’t perfectly flat, my waste-board isn’t flat…or both
I’m using my 60Vee to VCarve out letters but they don’t seem deep enough or “thick” enough. I’m figuring this is just due to the font and i should go with something bolder.
My process has been to carve, paint, and then run through the planer to clean it up. Not only am i getting some streaks (i’m probably not letting it dry long enough) but it’s blurring the letter themselves like they’re not being cut deep enough. Obviously I’m going to lose clarity with each planer pass but am I on the right track or is this a fool’s errand?
Do you have a go-to flattening bit for your wasteboards?
How do you carve and cleanly paint inside the grooves of the text
(freehand? oramask? Seal the wood first and then wipe off the paint? Run it through the planer?)
is spray paint too thin or am I probably not letting it dry long enough?
If I’m painting am I better off pocketing the letters rather than Vcarve?
Not sure I can answer a lot of your questions, but I do know that the advice I have been given is to seal the areas where you are painting and then paint later to avoid the streaks. I have seen most folks are doing this and getting good results. Oramask or something similar is another option, but I have been told you need to also seal before painting those areas as well.
I use the Whiteside 6210 for surfacing my spoilboard and projects. I use dewaxed shellac (Zinnzer Universal Sanding Sealer) before acrylic painting. Sometimes 2 coats. This helps prevent paint from being sucked into straws of wood. Then use 80 grit ro sander to remove most of excess paint. Then 120 grit to remove rest of paint. 80 grit paper can remove fine detail if not careful. If your project is delicate skip 80 and go to 120. Bit be careful not to oversand with rough grits. Always use grits in order. The sanding process is scratching your project with finer and finer scratches. Skipping grits takes longer to remove previous scratches.
80-120-150/180-220-320-400 grit. Not all projects require 320-400 grits. Softer woods get worse with excessive sanding.
Always do the same things to both sides of project made of wood to prevent warping.
I have used masking but usually just limits over spray, you still get it. I sand when dry. Wipping wet paint may make a bigger mess than sanding when dry. Small projects I use 1/4" brush. Bigger projects I use airbrush. Both work well. Both have pluses and minuses. Use what you got.
Like others i seal the board with 2 coats of whatever my final product will be. I Mostly use water based polyurethane since im indoors. So i will put 2 coats on, then do my carving, then paint the carving, and use a 220 grit on my orbital sander to clean it up. After that i will usually do 2 more final coats of poly and its done.
You dont have to be careful with your painting this way
also since its sealed and your sanding it off.
If you have enough polyurethane or finish on it you could spraypaint and then sand… as long as the wood is sealed anything would sand off it
Youd just be down to bare wood again most likely.
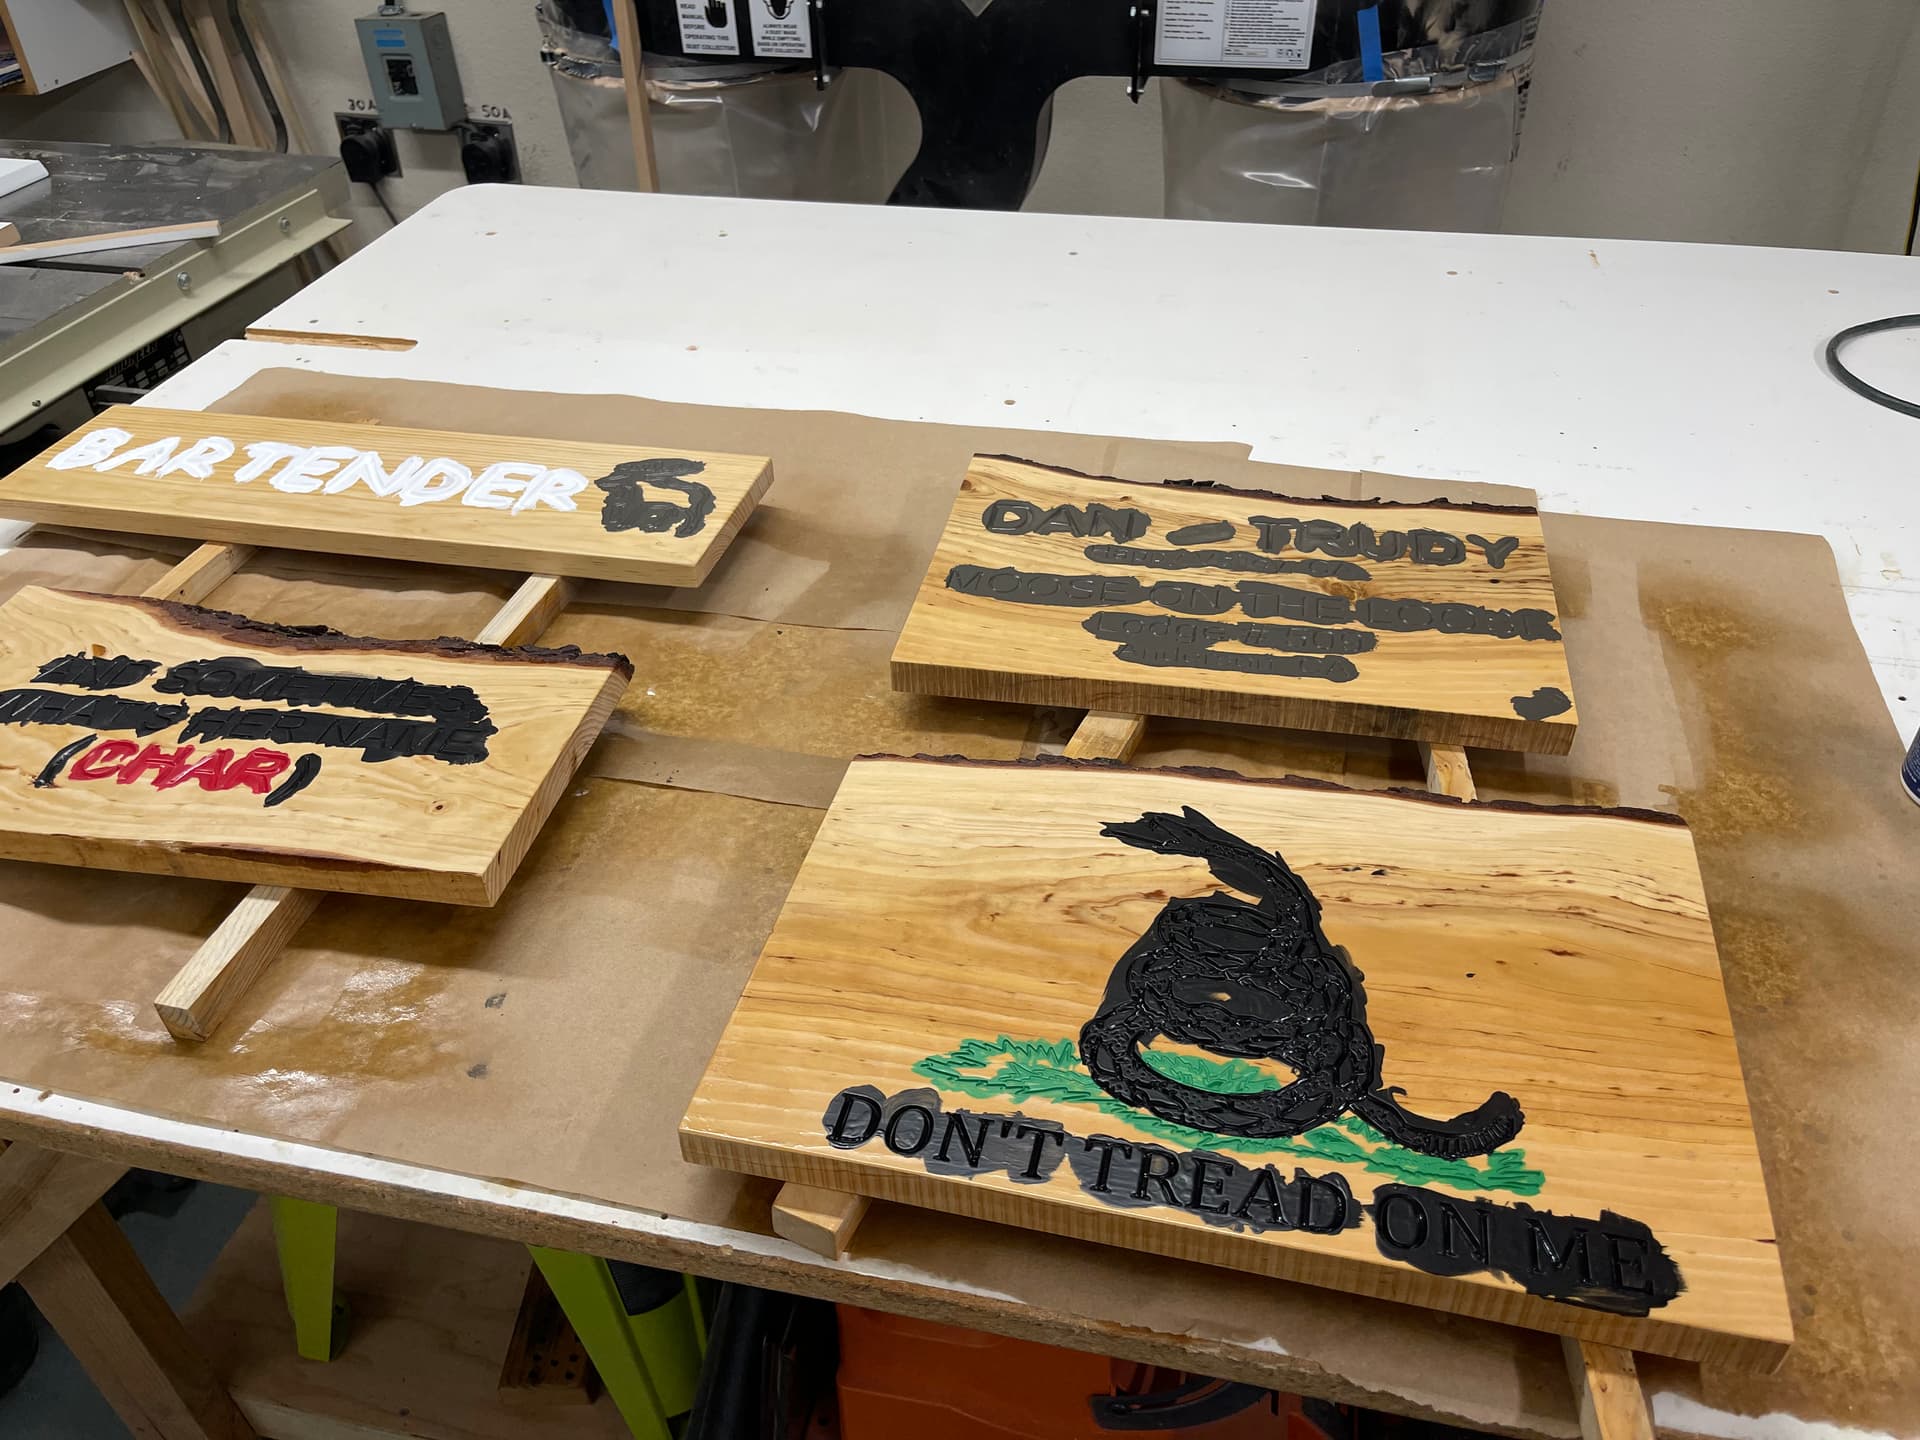
I just had an issue with adhesive backing from a vinyl stencil getting stuck on the wood after i did some spray painting of a logo using the stencil. I ended up having to sand the entire painted logo off because i couldnt get the adhesive off without removing paint also. I had no paint residue left on the wood at all.
Keep in mind though any low spots like dents or also porous grained wood that is not fully flat these low spots would still have paint so much more sanding would be required
Shellac dries in about 15 minutes. I use a small brush to coat the carved part. I use glue/acid brushes to apply shellac then a rag to coat flat areas around carve. I coat with shellac after carving to seal up the carved parts that expose the porus straws in the wood.
Spray paint takes a long time to dry. Acrylic painted with a brush still takes over night to dry but cleans up with water and had low voc compared to rattle can spray paint. Airbrushing acrylic is dry almost immediately but is not cured for use immediately.
Rattle can paint goes all over the shop, is not good to breathe and does not wash out of your clothes or off your hands. I use rattle can paint but only outdoors and with nirtle gloves on.
2 coats of seal before carving was key and 120-180-240 sandpaper did the trick. I just put down another coat of satin poly so I can do the process again and fill in the little spots in the letters I missed.
I should have know that there would be sanding involved…there always is.
agree, i’d like to avoid the rattle cans but that quick and easy spray on Poly is super-tempting
i use the rattle cans outside and very sparingly, but sometimes crazy ornate detail in my carvings are too much of a pain in the butt for a brush
I had some of the same issues with the paint leaking in the grain.
I found that sealing with shellac works for me its not perfect but makes a huge difference.
I also found using tinted epoxy works, takes a little longer but the results are far better
I carve, use shellac, 2 coats. Let it dry for a couple of hours. Then use latex paint ($5 samples from Homedepot). Use a brush to apply the paint liberally. You can do multiple colors all at once.
When drt, (usually a couple of hours) orbital sand the entire face with 180 grit.
Remove all the dust and hit it with 2-3 coats of spray-can indoor/out poly.
I end up slightly shimming some of my live edge sign blanks.
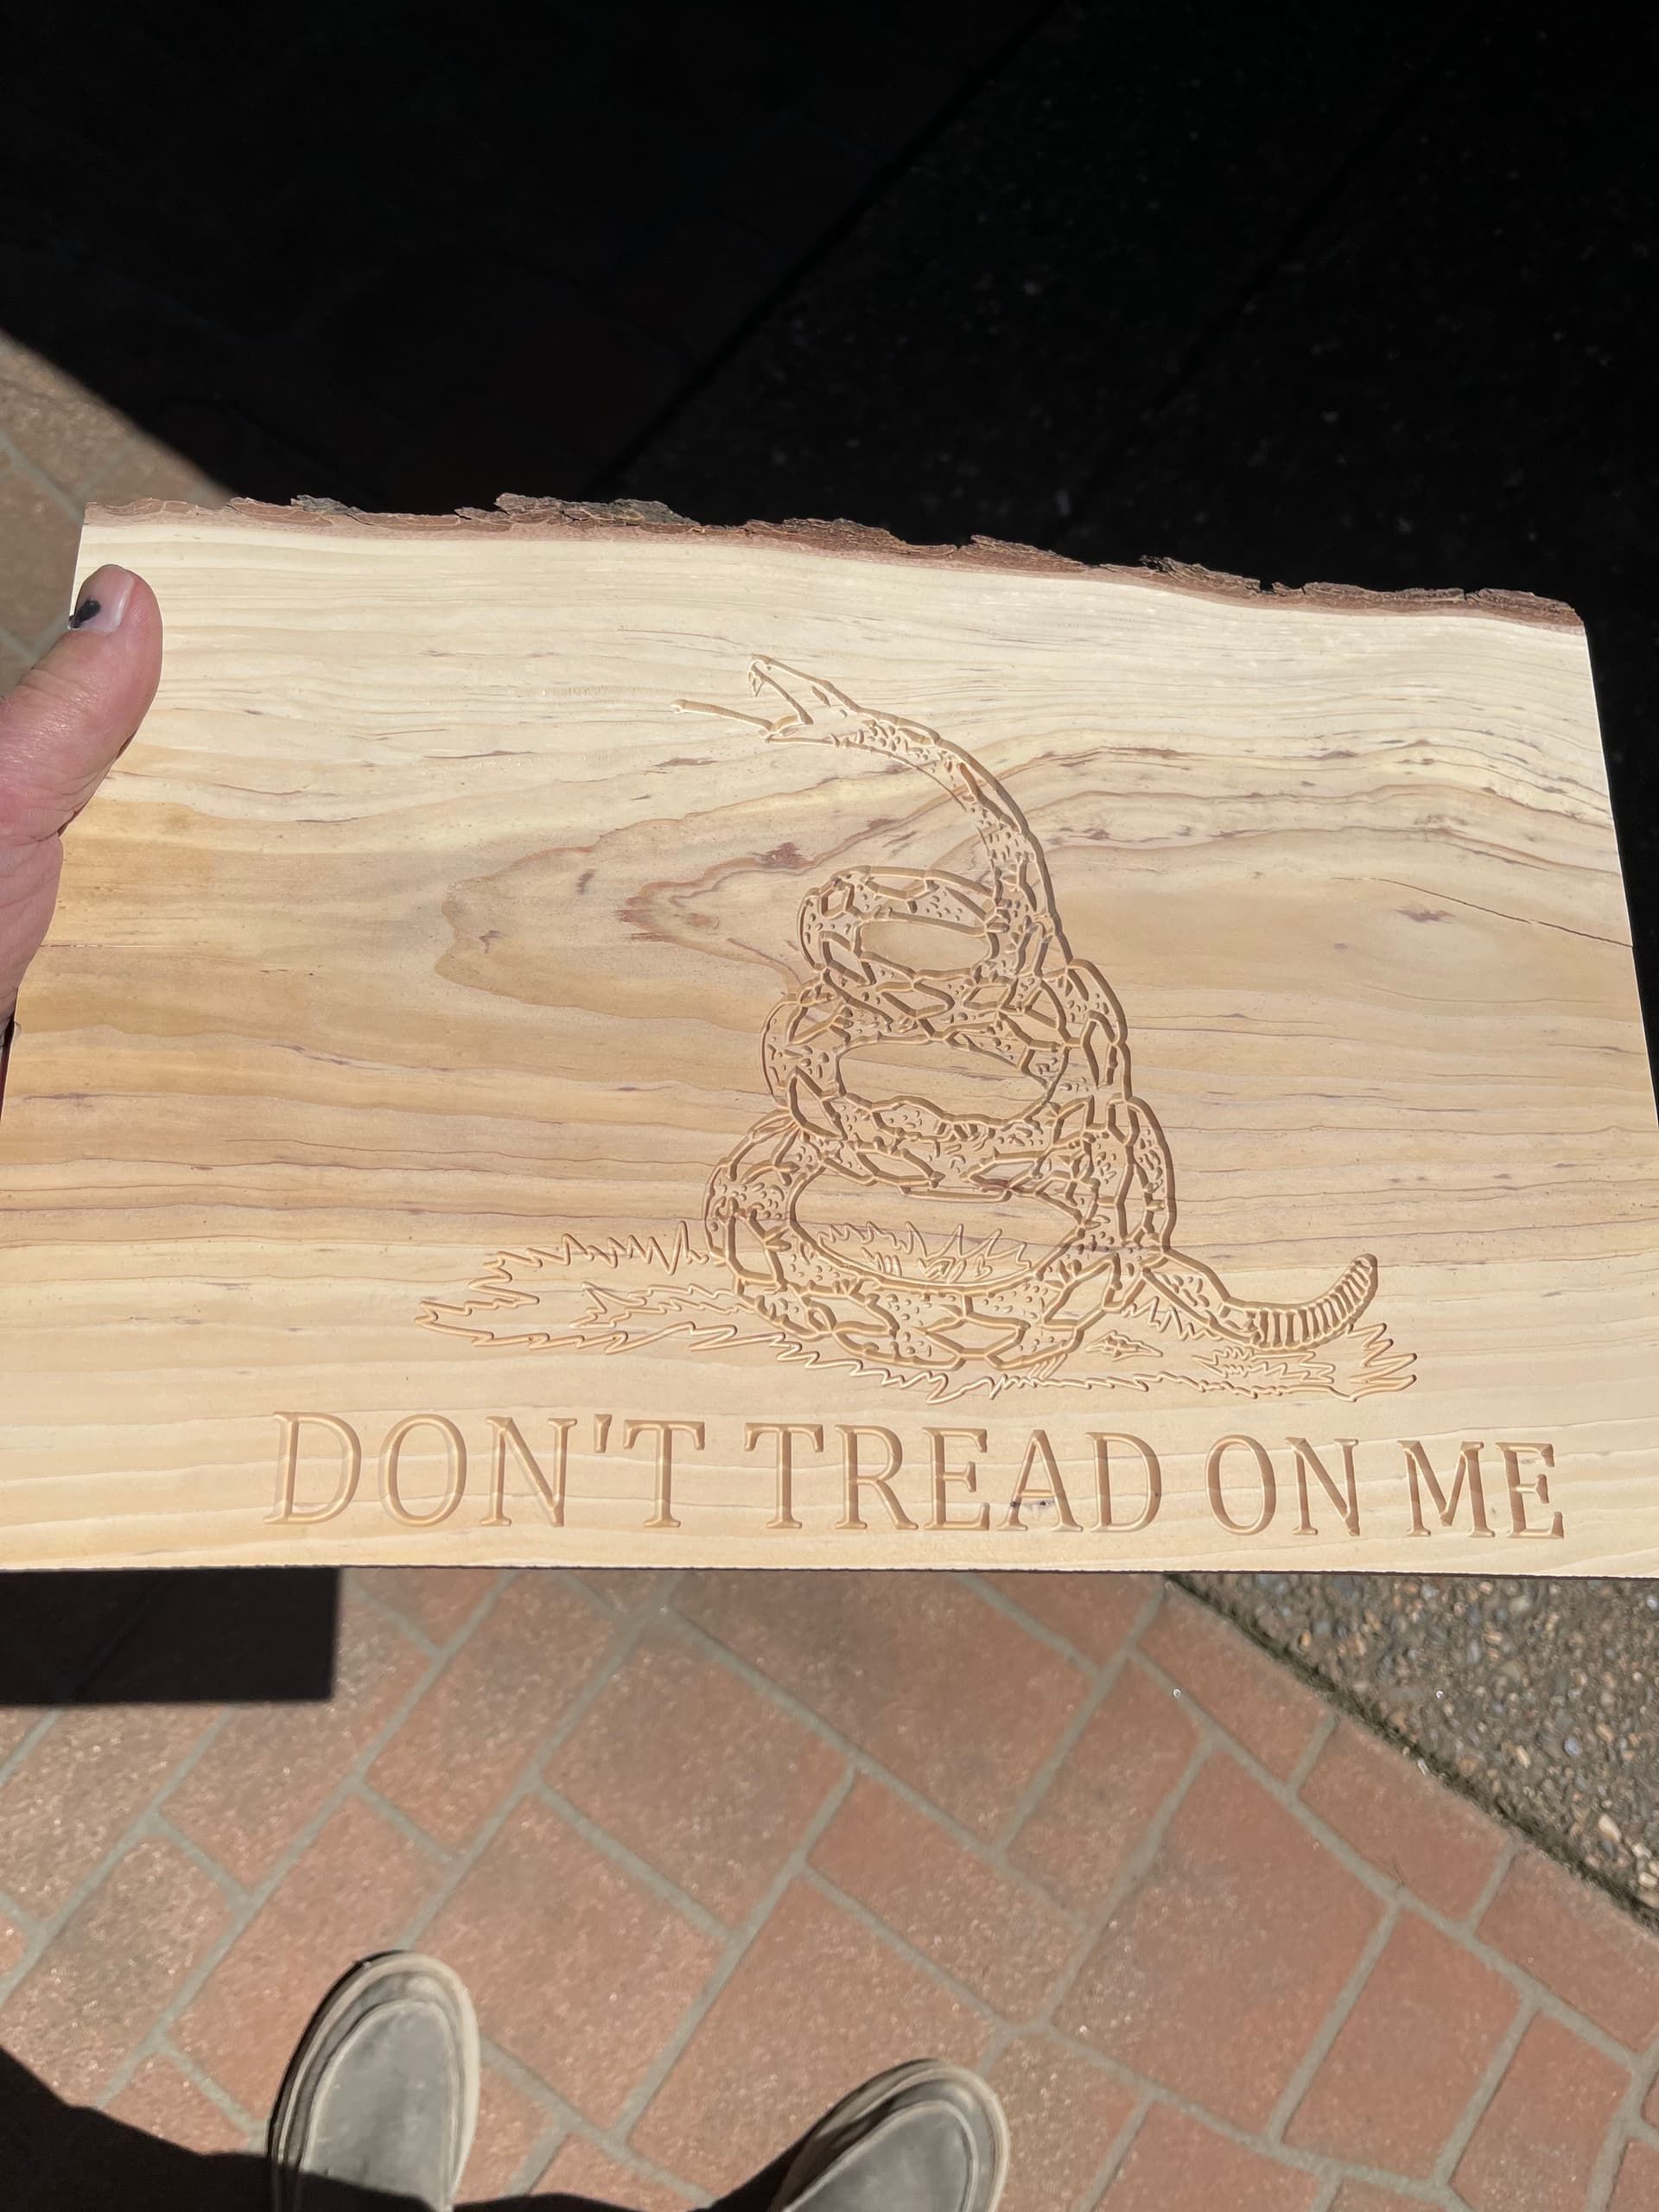
My only criticism is with your pictures. The pics are good but if you are on Windows open your pics in the Photo app. You can crop your pictures so your feet dont show. In the Photo app after cropping you save as keeping the original or just save and write over the original. If you are on Mac I am sure there is a photo editor.
On Android open pics in Photos and edit and you can crop pics.
You want to show your work not the blank space around your work like your outfeed table or your feet.
honestly…i dig the authenticity of the feet in the pic. and better still is the case of “woodshop thumb” in the top corner. that’s my kind of photo shoot