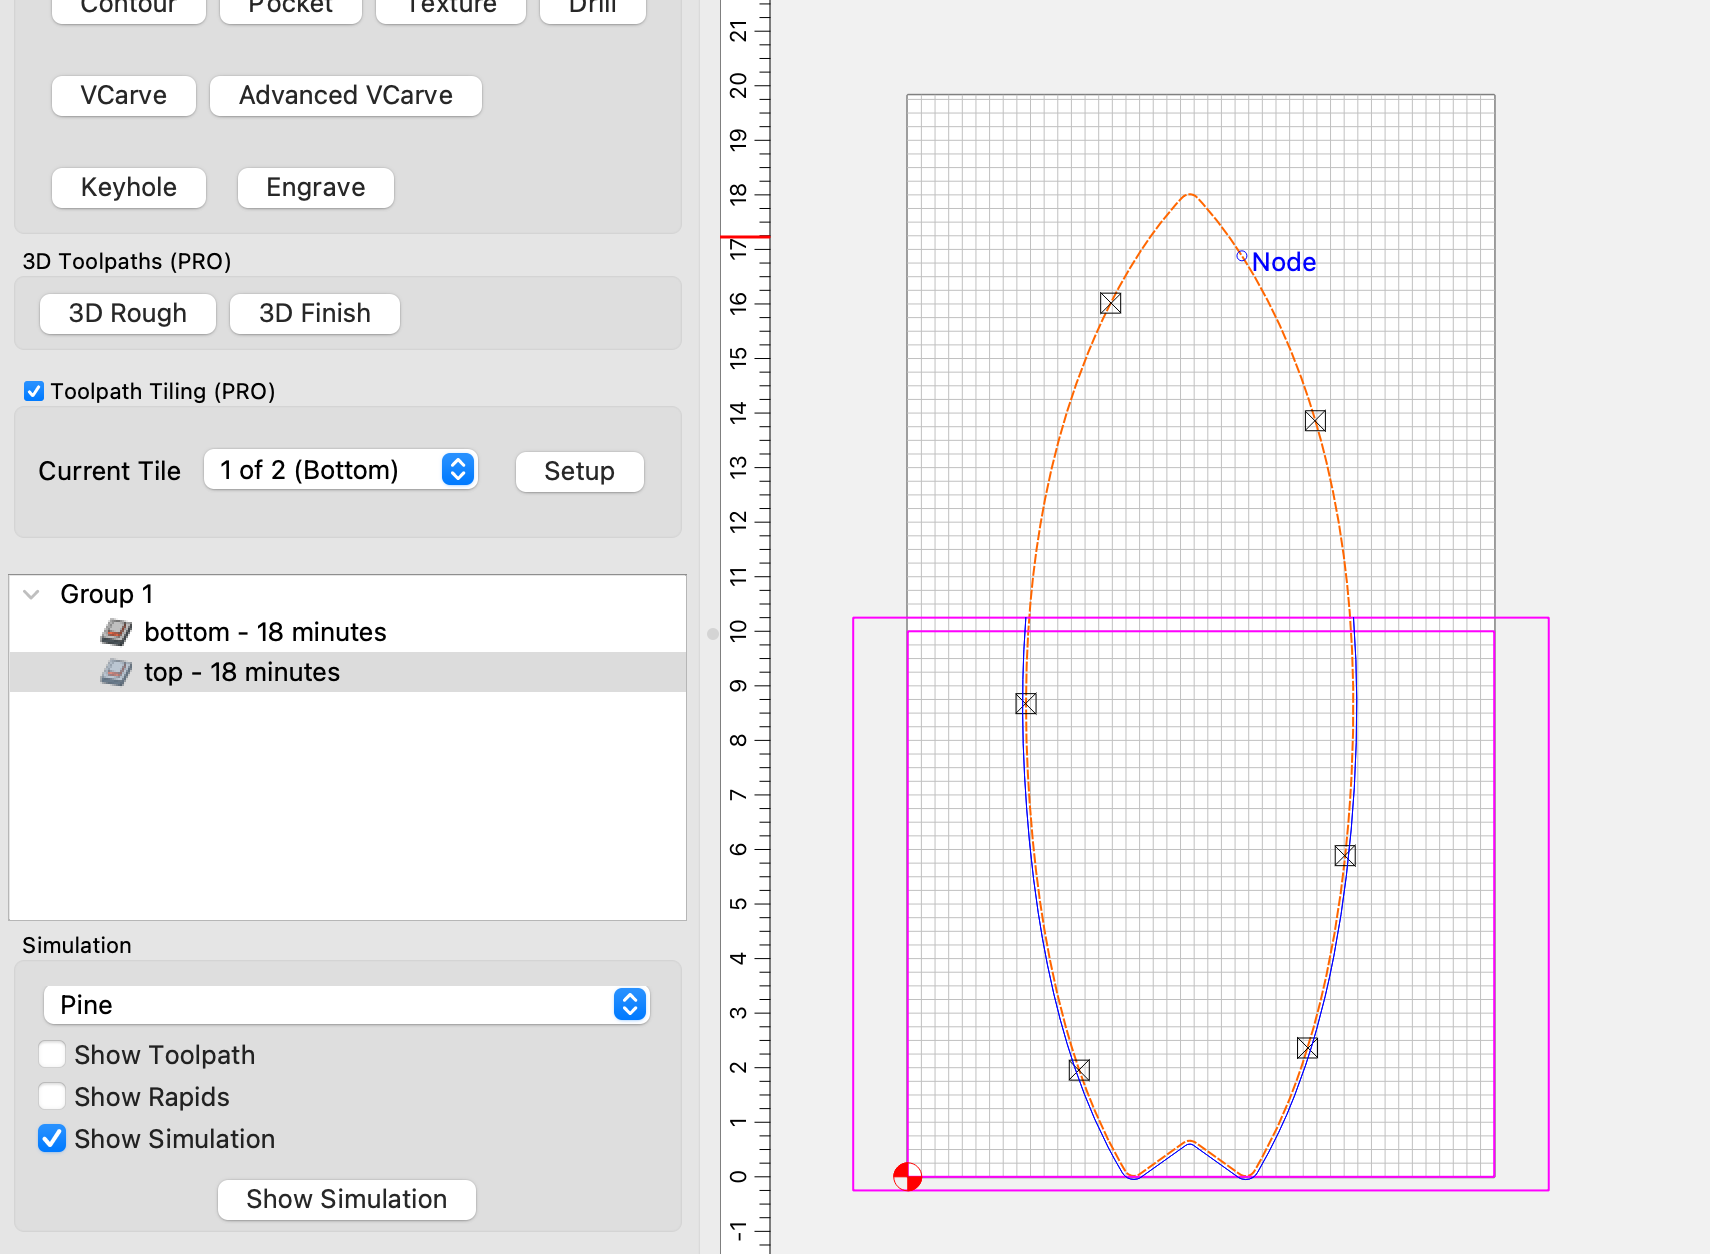
So, I was trying out the tiling program with a smaller and simple project.
I set the tiles with a .25 overlap (pic attached). It only ran the bottom tile, not the top. It was pretty much done at 60%, but just kept going over and over that path (not going any deeper). I worked around it by disabling the first tile and saving the second tile in a separate file. I pulled piece down and ran that separate tile.
Is this the way it’s supposed to be done? Or did I do something wrong and it should have run in one file? It totally works saving them separately, but I just want to make sure that’s the way to go.
PS - it did cut PERFECTLY! So excited about this addition. THANK YOU!
PSS - got my 4XXL on Friday, set up on Saturday, ran lots of test stuff on Sunday, practicing tiling today. This is a GAME CHANGER for my Etsy shop!!!
PSSS - Customer service is amazing…reason why I went with this and I wasn’t disappointed!
Yes, when you turn on tiling, you only have one tile active at a time. So save your G-Code, the activate the other tile & save G-code to a different file.
If you turn off the tiling, it should still output the entire path. Which, I assume would hit a travel limit.
I don’t understand why you have a “bottom” & “top” path???
It looks like you are just doing a contour (profile). You should have 1 contour path, then let tiling separate it into 2.
That said, I would suggest having two separate toolpaths if this stock is reasonably thick — add offset geometry (endmill diameter plus 10% or so) and then select it and the original and cut as a pocket down to tab height — it will roughly double the cut time, but will also halve the tooling engagement and markedly reduce the likelihood of things going off-course.
Okay - I have to play with it. I just checked the tile option and set the size (I went smaller just to try it). Then did tile 2 and it was placed on the top. I mean, it worked perfectly once I disabled the bottom and brought it down the 12" exactly. It was perfect.