The two projects below are for Stephen F Austin University in Nacgodoches Texas. The first is a prototype to make and sell at the University for a Scholarship for Forestry for our Woodworking club. The second project is for the Sylvan Timbersports SFA Lumberjack competitions to display at their booth at the competitions. Both of these are for the University and have obtained permission to use their logos because this is not for resale outside the university.
I tried the new inlay feature in CC without success. I made this wall hanger for SFA and the inlay was a little small for the pocket I created. I will attach the files (male and female)
sfa_project_v2_female_pocket.c2d (176 KB)
sfa_project_v2_male_pocket.c2d (204 KB)
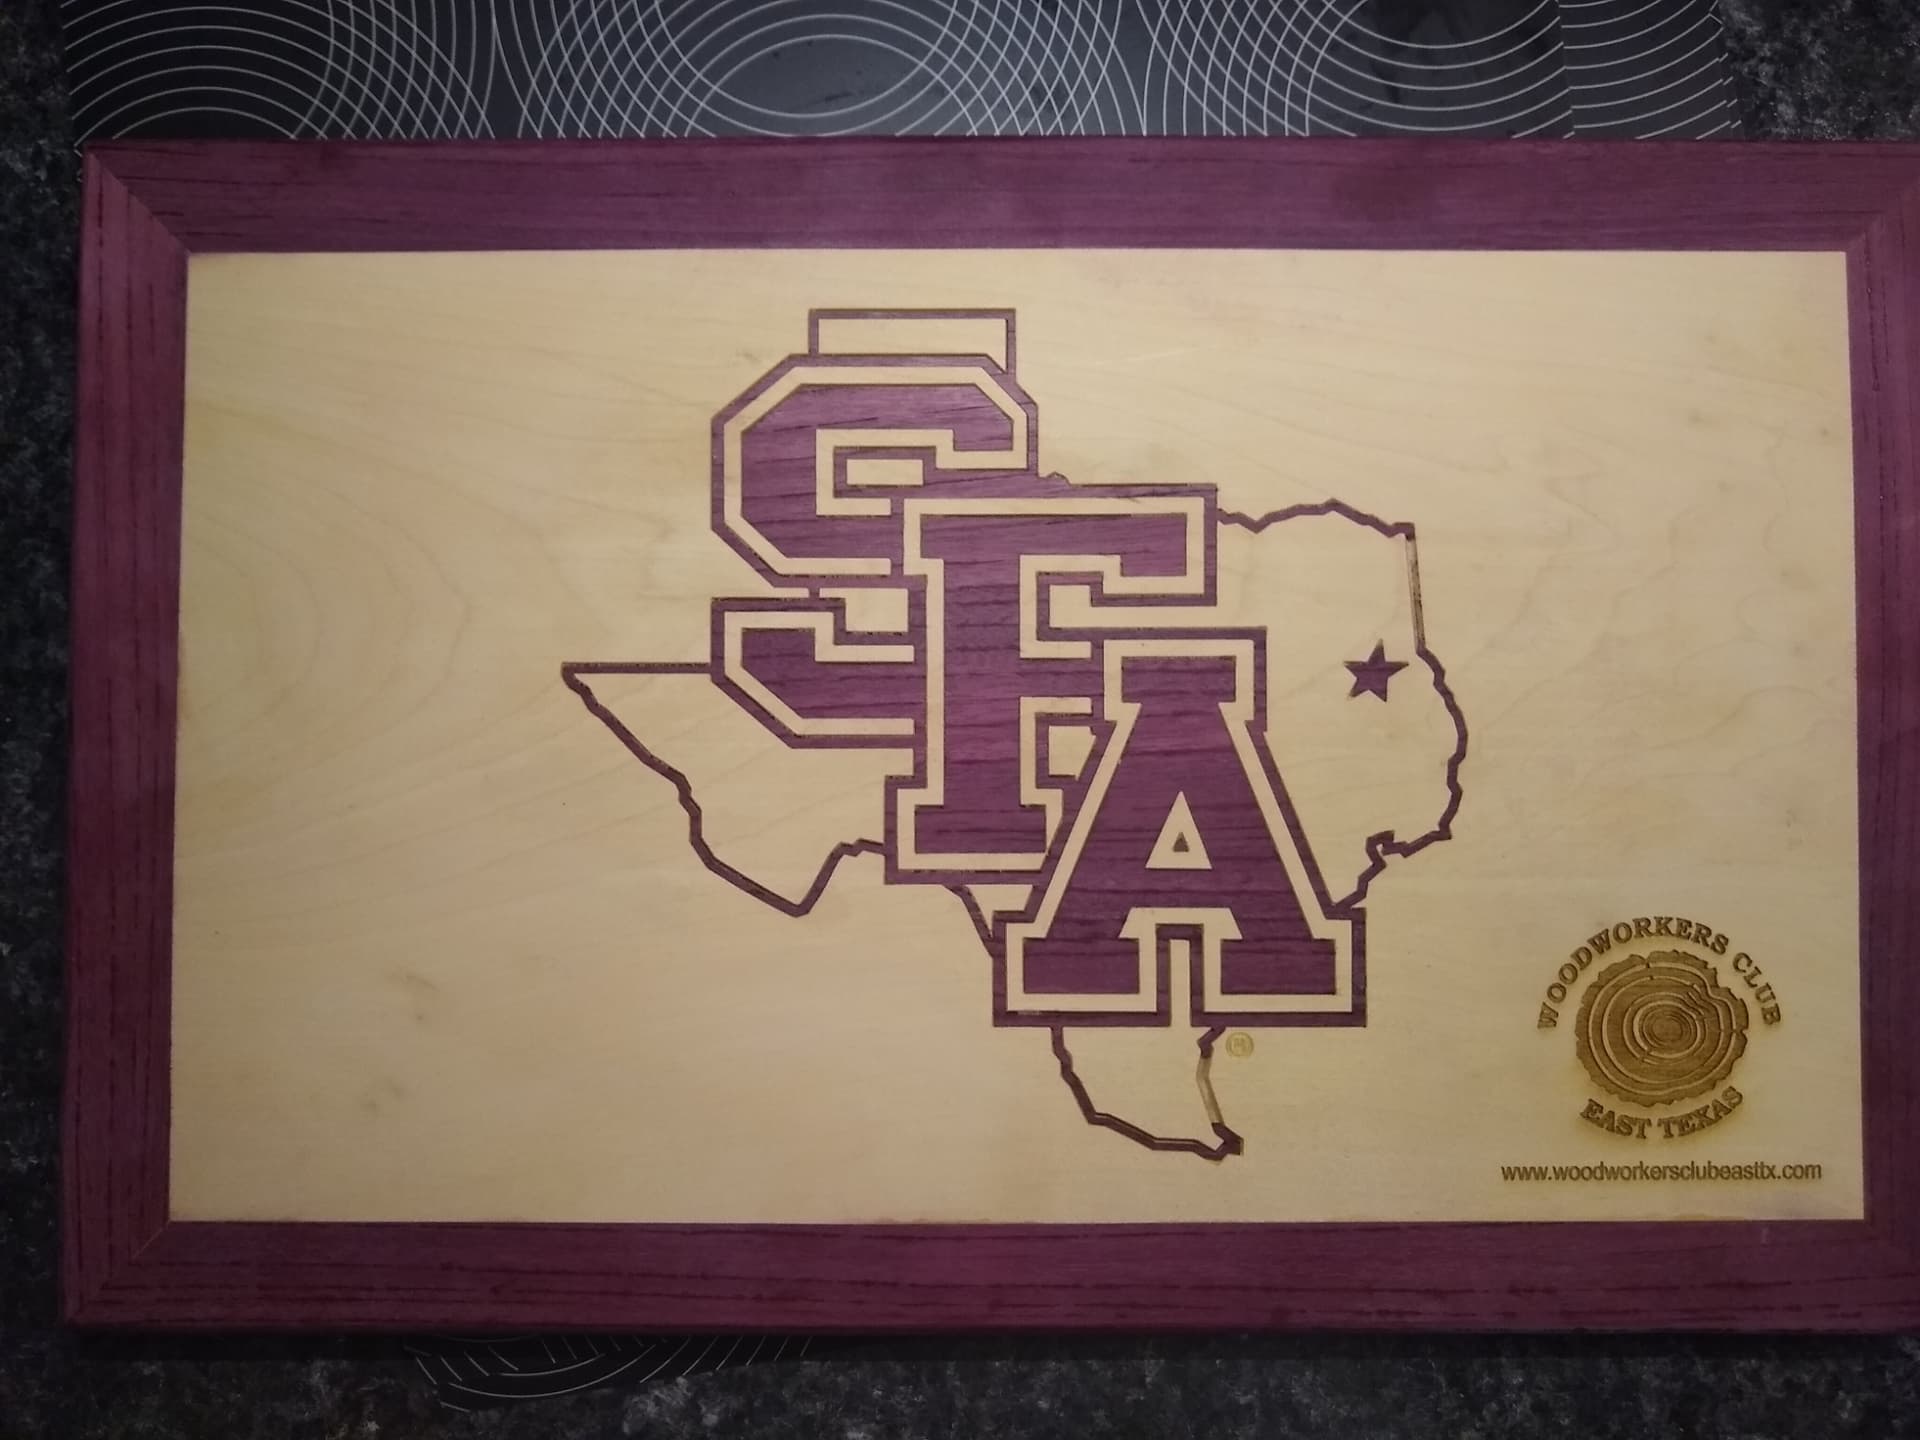
This is the product produced from the above c2d files. If you blow it up you can see that the purpleheart inlay did not fit very well in the pocket.
Any advise on the two files above to get the builtin inlay to work would be appreciated.
Now because I seem to be failing with the builtin inlay I made another project that came out much better using the older way of starting the male inlay at 0.075" and not at the surface of the male inlay.
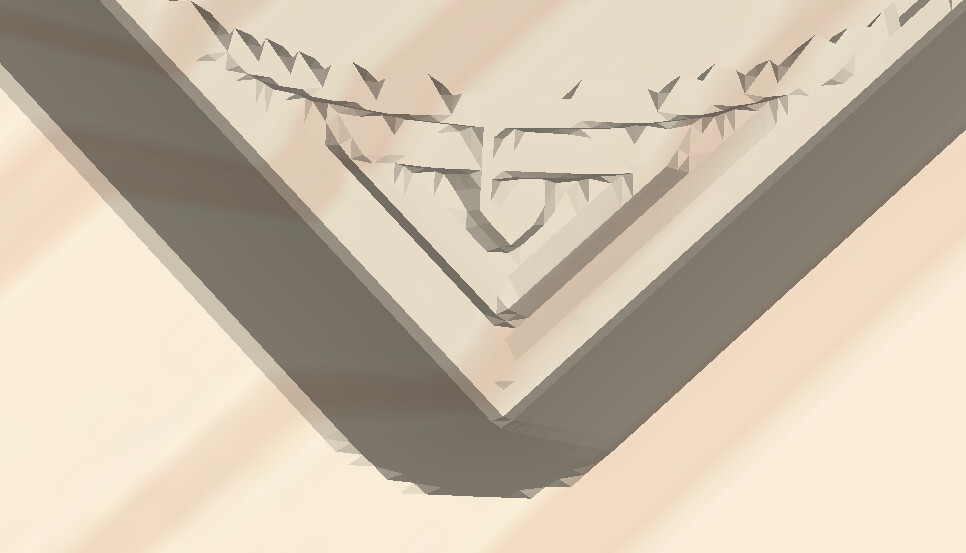
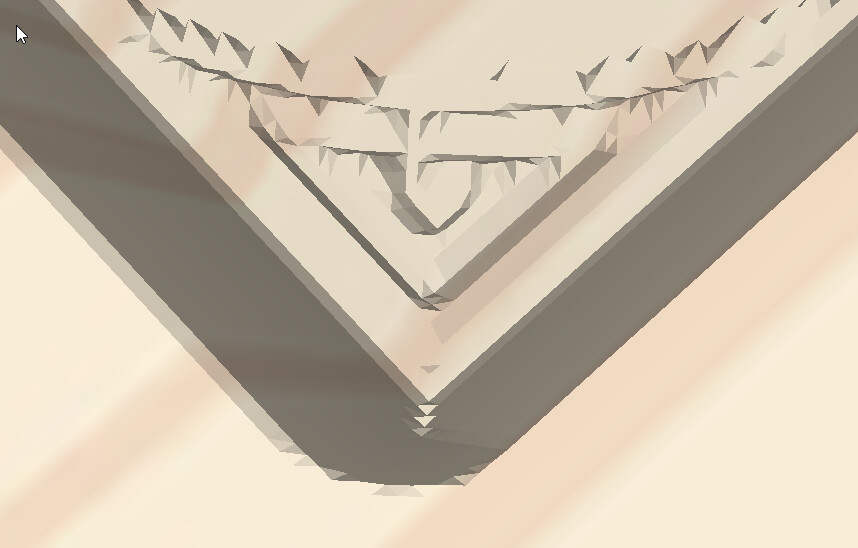
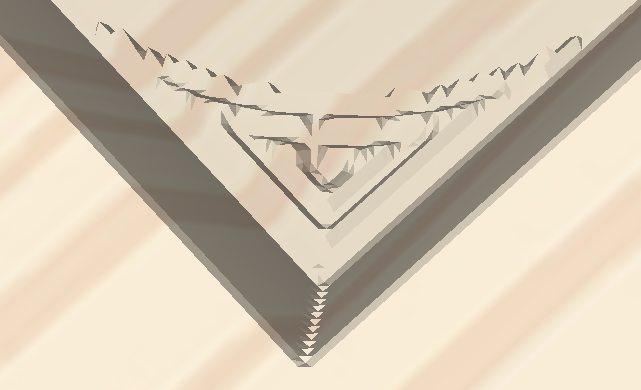
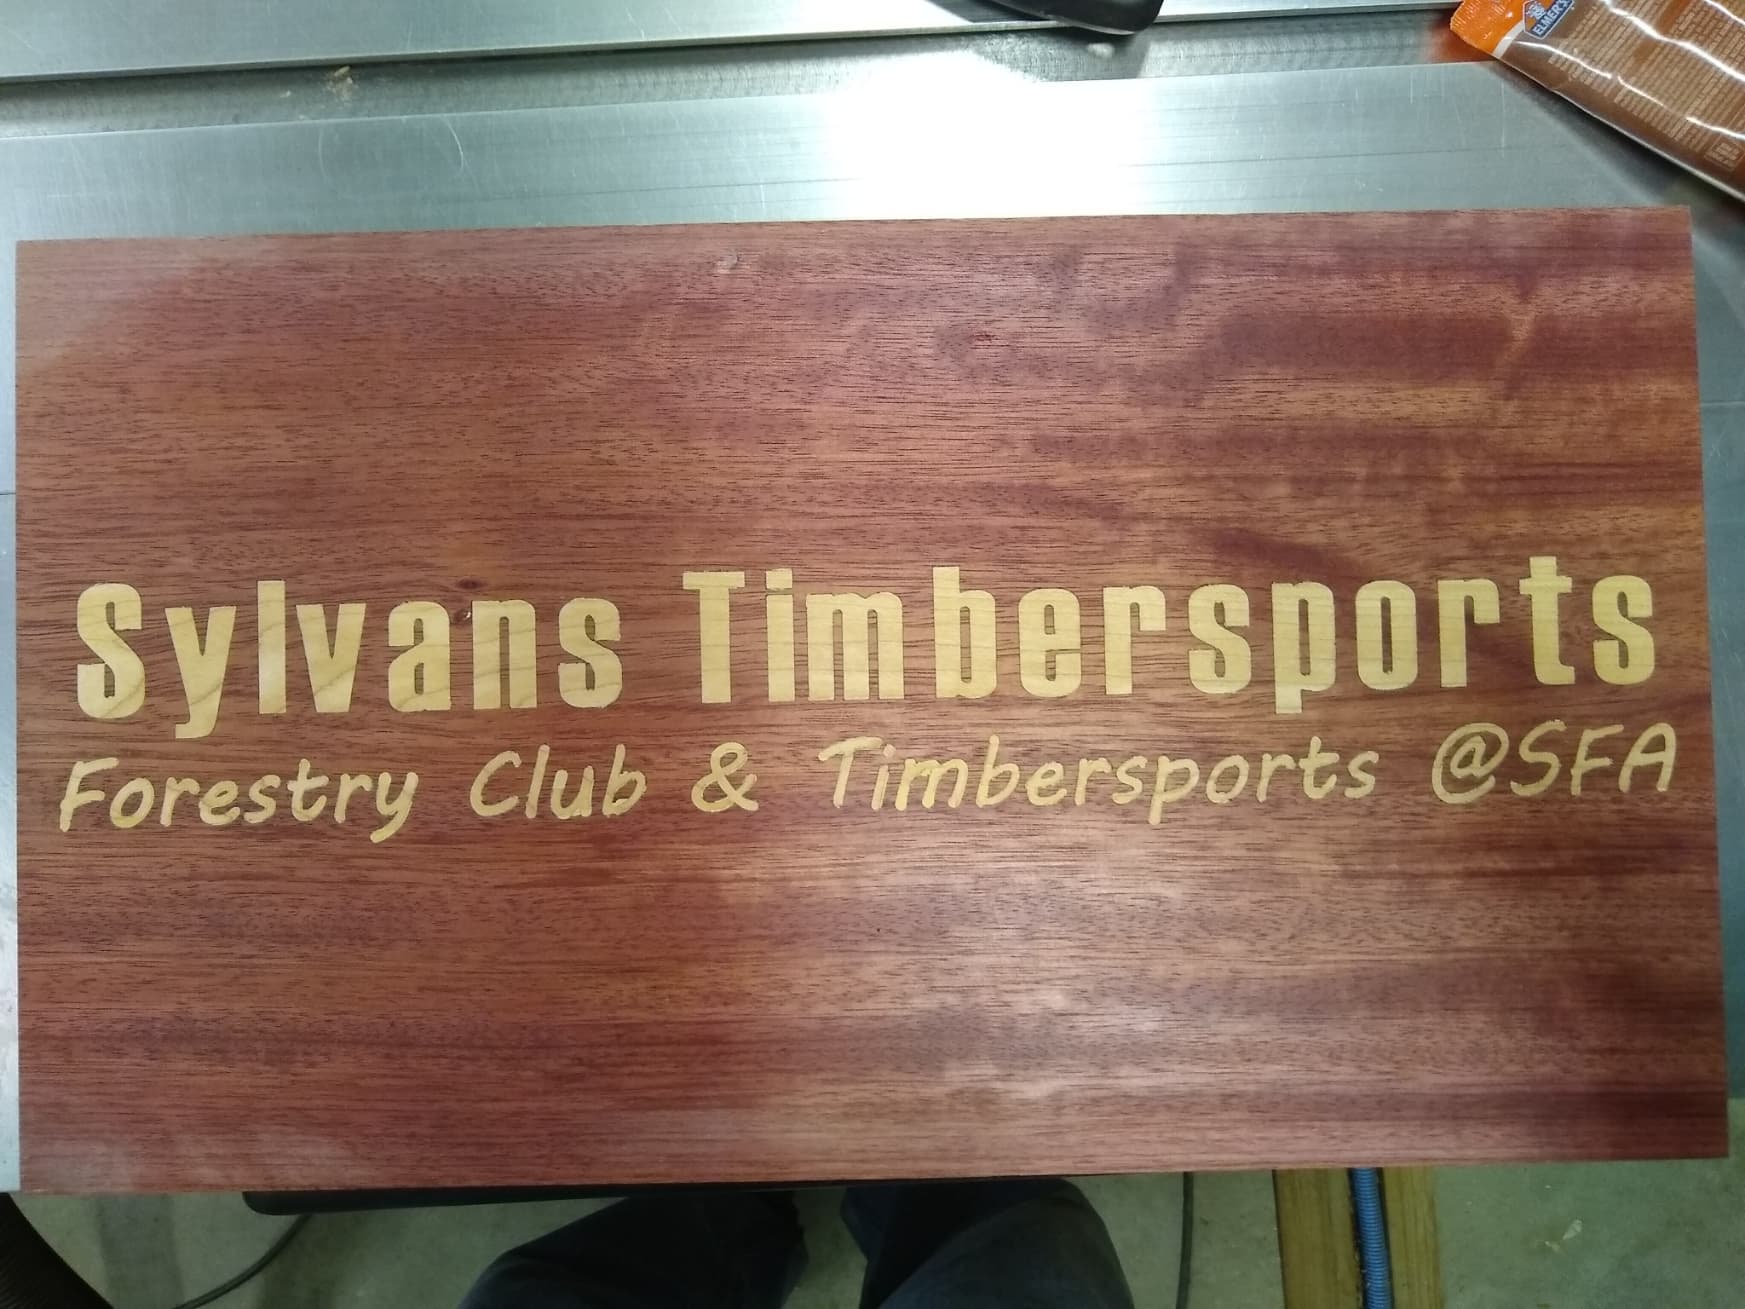
Here are those files and a picture of the inlay. In the case of this one I made 1 too many surfacing passes and tore out some of the inlay. That seems to be a common theme for me and that is just one more pass then I should have. However I was able to fix it with some filler. This is a prototype for the Sylvan Timbersports at SFA. They compete in logging evens and are quite accomplished.
Please give any feed back on these if you have some on the files.
Sylvans.c2d (472 KB)
Sylvan_male_inlay.c2d (620 KB)
Since this piece was a prototype I made some more images on the back and will be making a slightly modified one for the Sylvan Timbersports as well.

This was a 4+ hour carve.
So please give me any advise on either the CC Inlay procedure to produce a better inlay or the manual way with recommendations for a good tight fit of the inlay. For this I will not try inlay but fill with white epoxy. I think the carvings are too small and intricate for an inlay. When surfacing the inlay off I will stop one pass before I think I should to avoid problems.
sylvan_icons.c2d (1.0 MB)