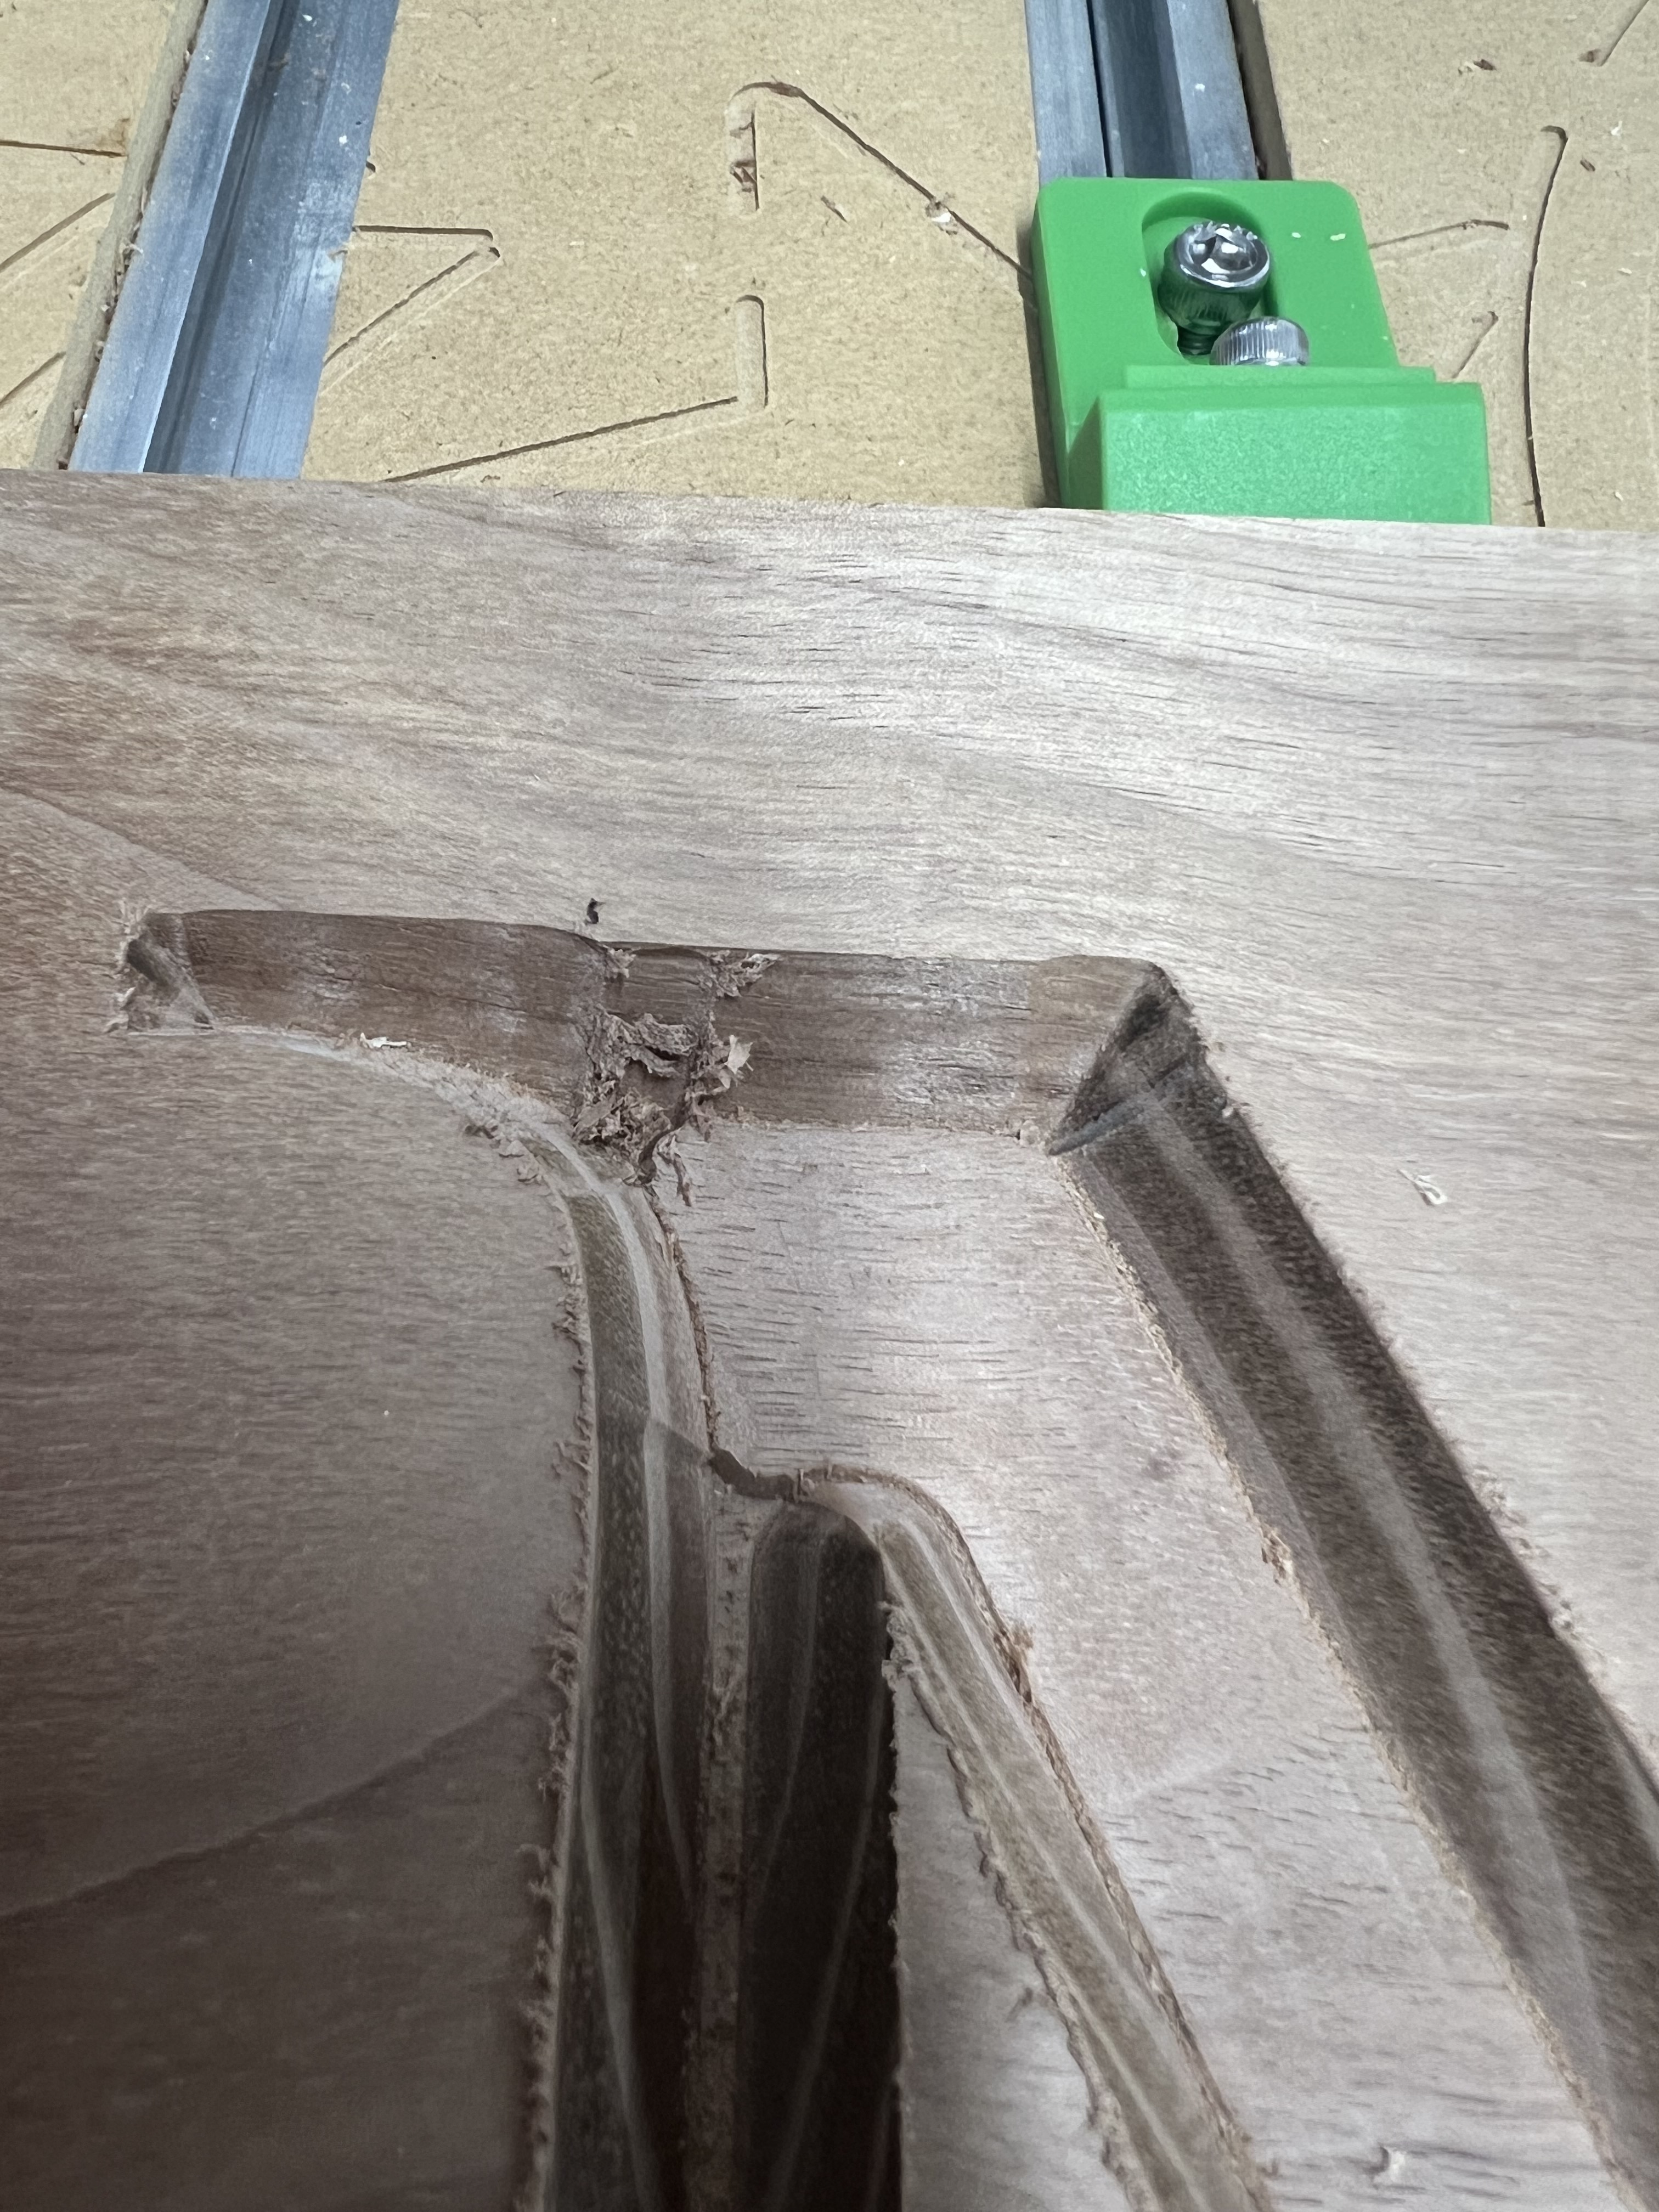
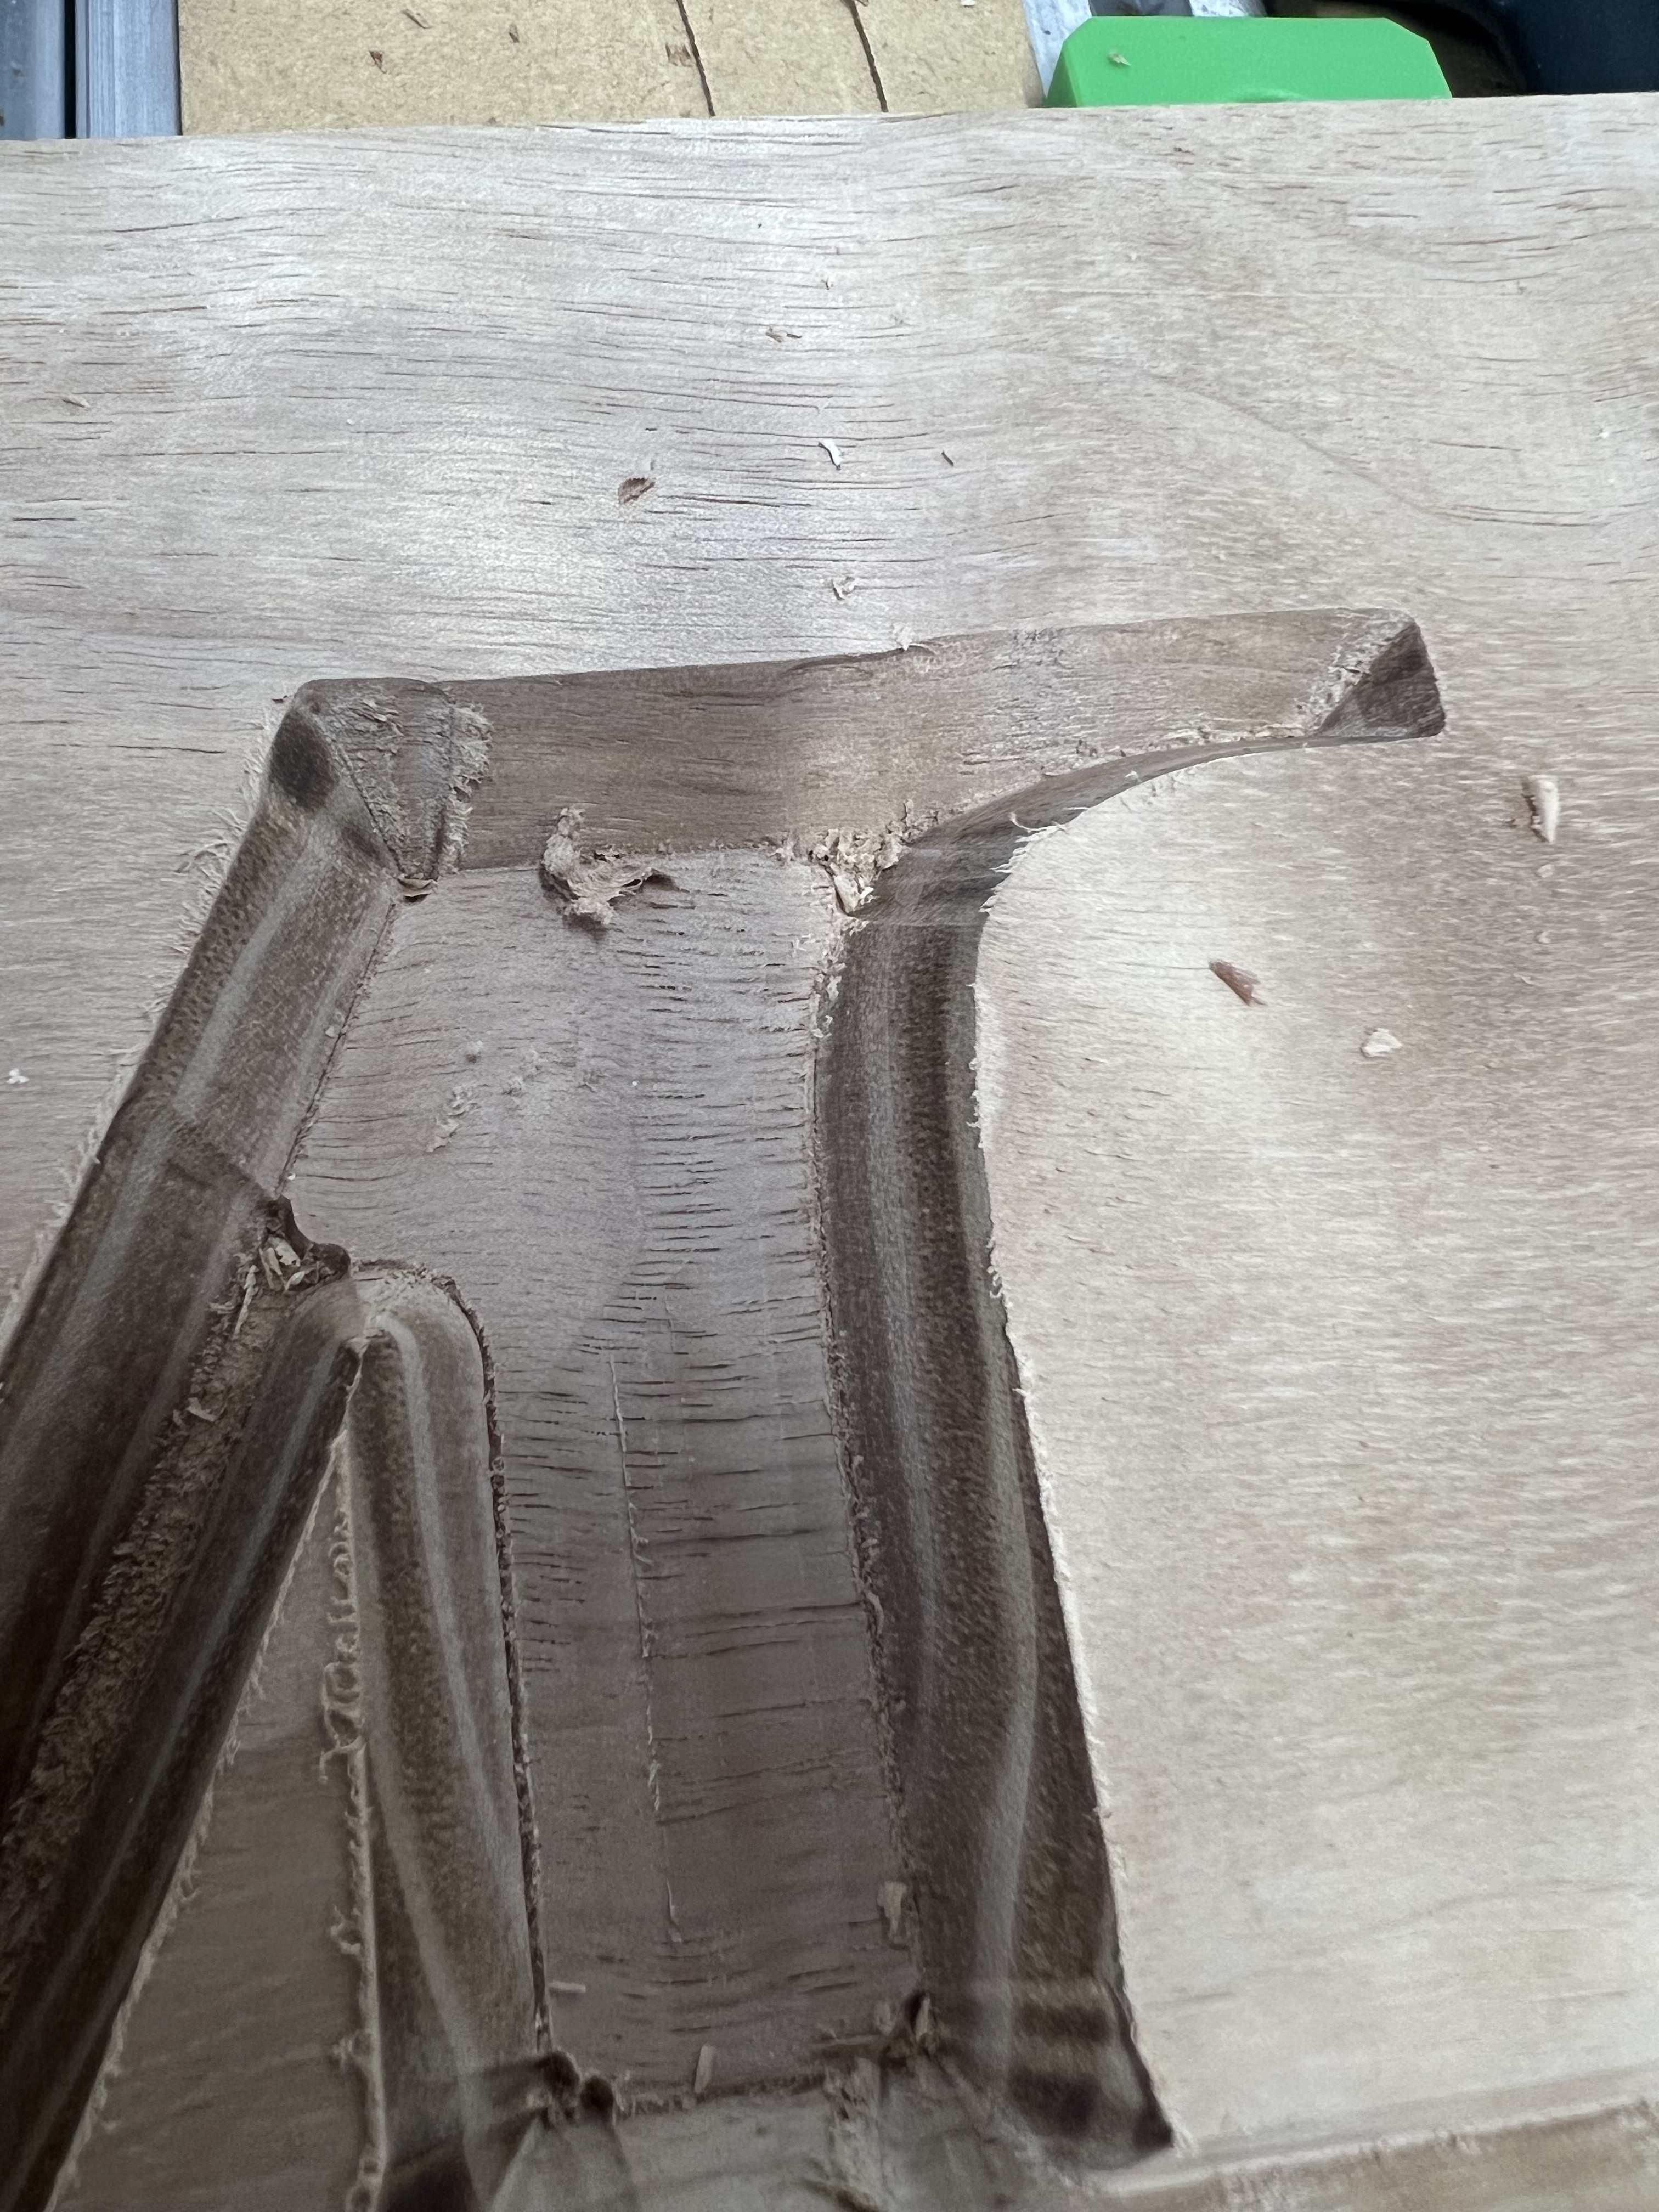
Hi everyone! I am hoping someone can help me. I am working on an inlay cutting board. I imported a design and used the advanced v carve tool path. I ran a couple of test cuts in pine and plywood as a proof of concept, and everything came out good. But when I moved over to the walnut, I had two issues come up.
the depth of the 1/4” end mill was significantly off from the depth of the 60 degree V bit.
I am using the 1/4” end mill to create some of the bigger pockets. I have the shapeoko pro, so I am using the bit setter during the tooling change. Again, I didn’t see this issue on the softer materials, only the walnut.
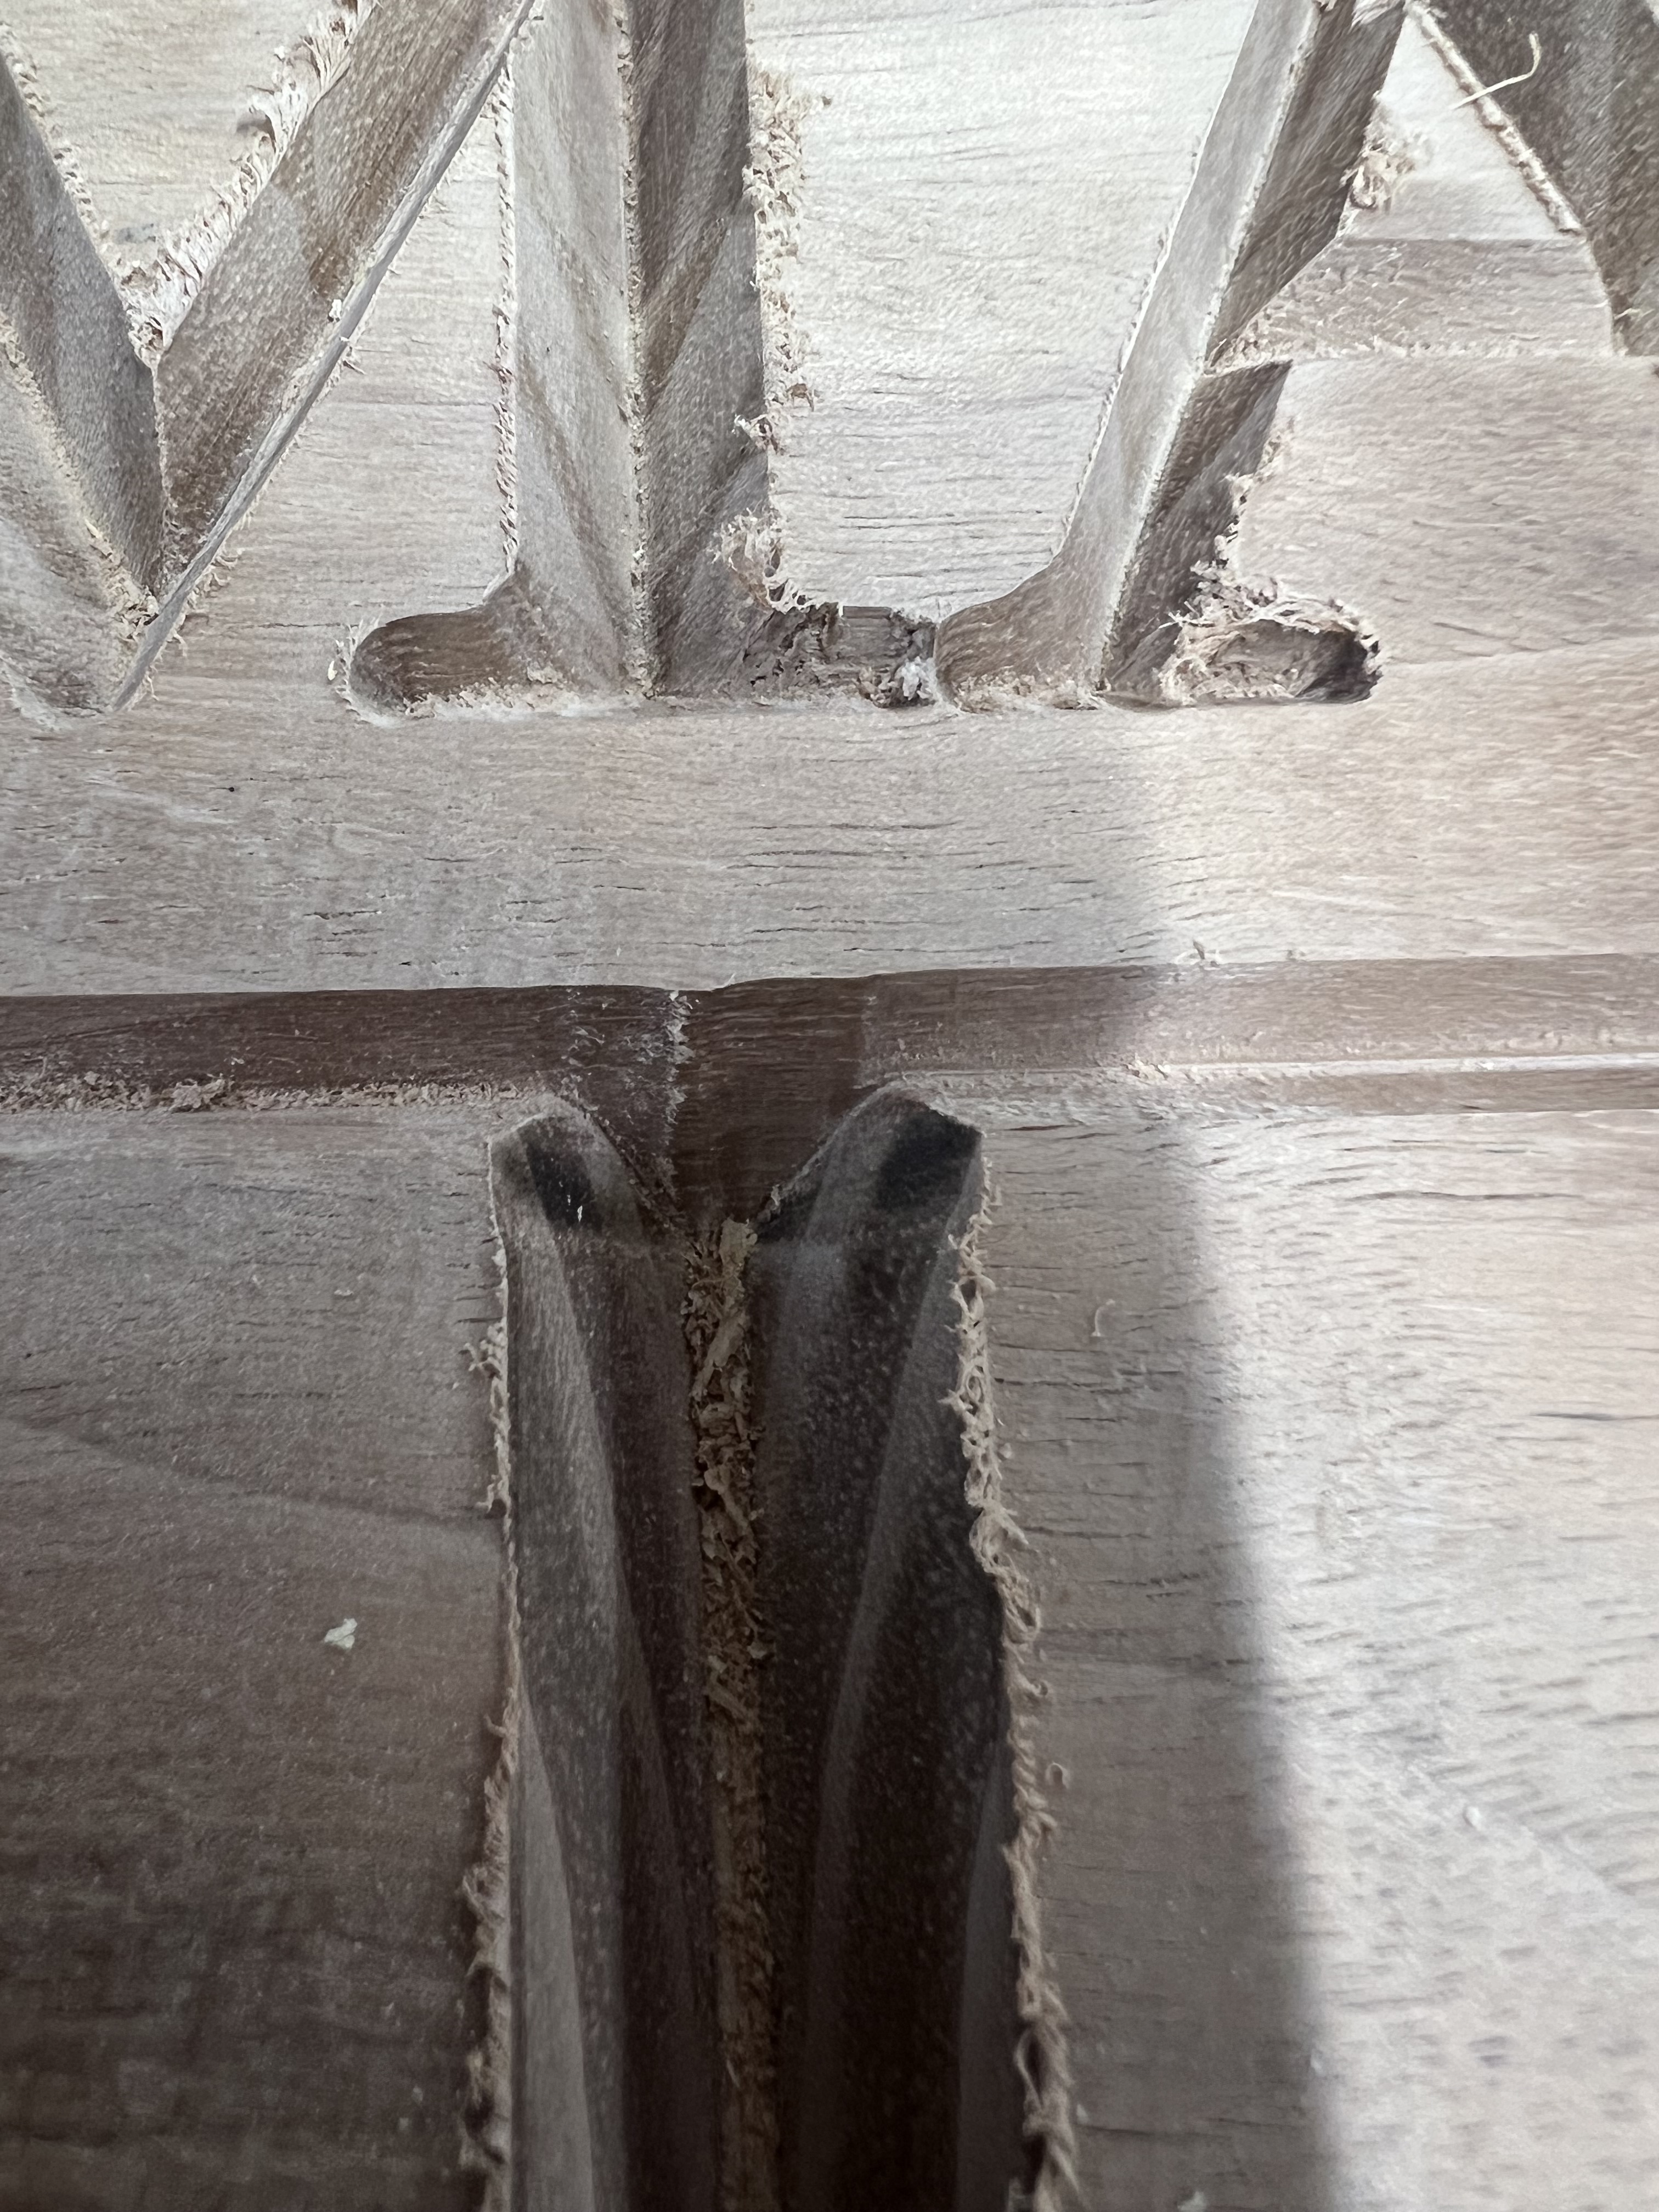
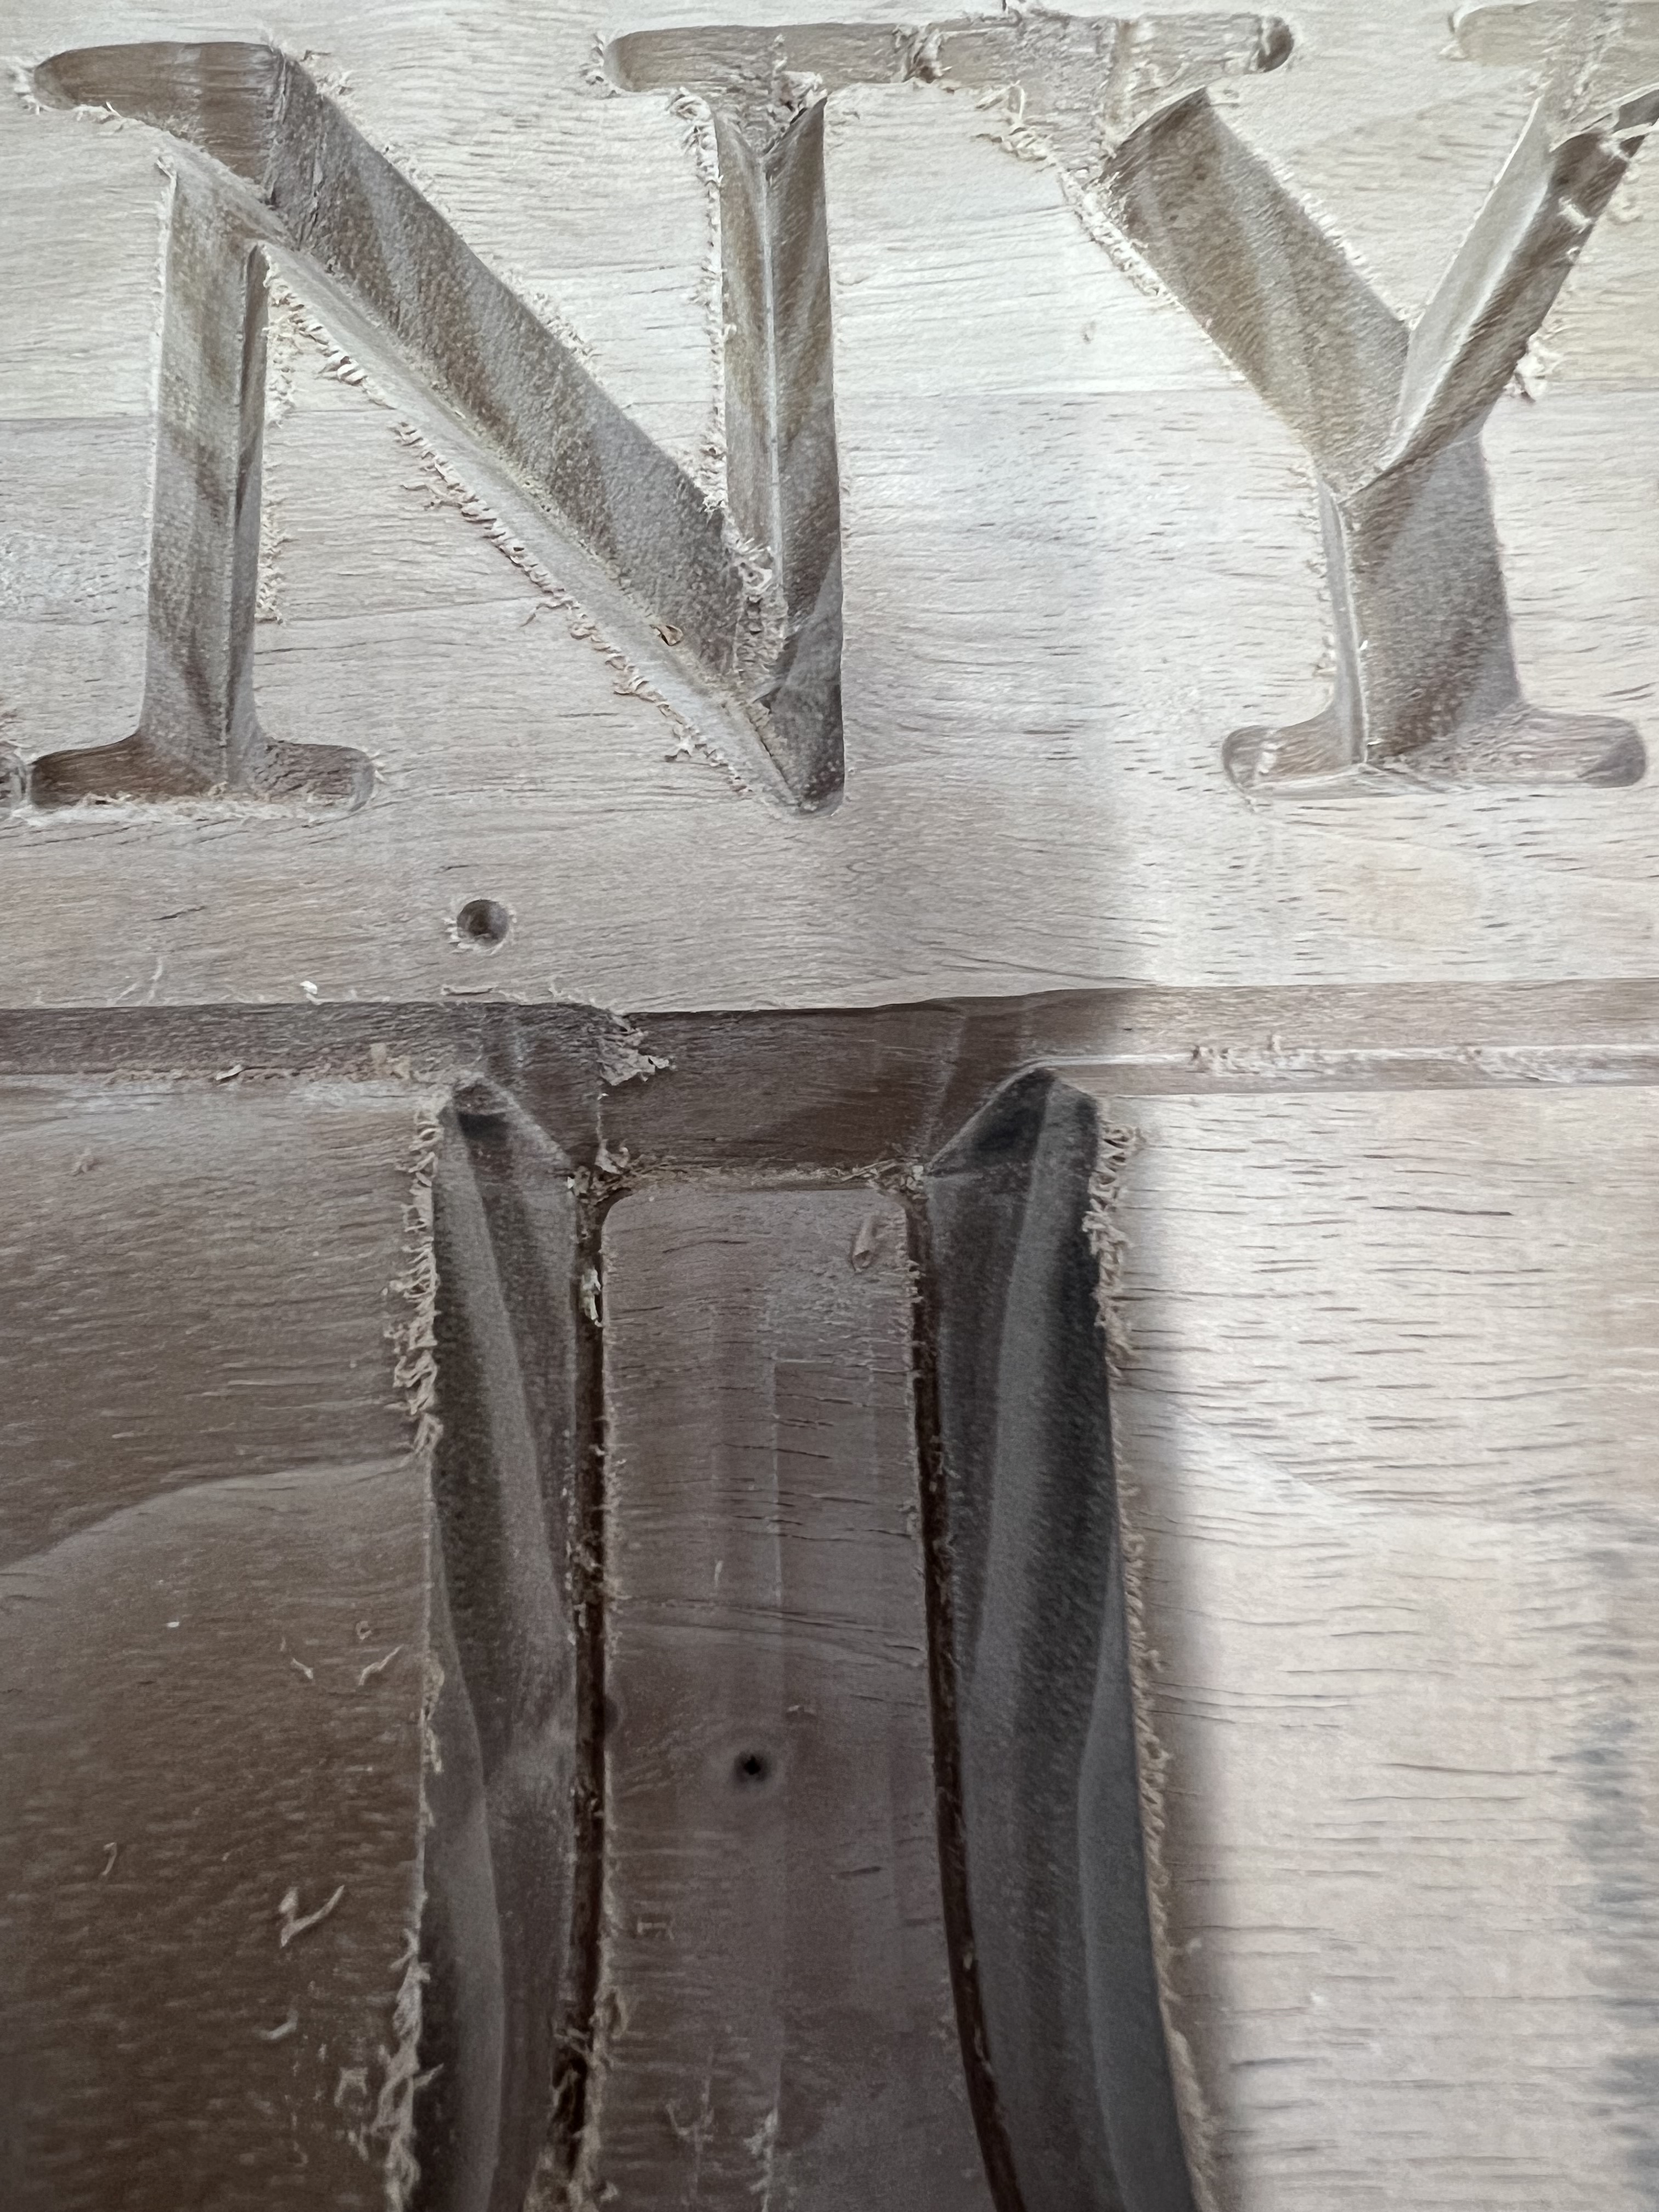
lines are not crisp at all, especially where the v-bit feathers out on the edges.
I can’t imagine when I make the plug, I will see similar variation on a straight line. I saw a little bit of this on the softer woods. But not to this extreme. I also don’t see this issue on the simulator in Carbide Create.
Has anyone seen either of these issues and can point to a solution?
What are your feeds and speeds? If it works for the soft wood and is off with the hard wood, I would lean towards your speed being too fast for the hard wood you are cutting.
Also, it looks like your v-bit is a different angle than what the program thinks it is. Maybe double check the angle of the bit and what you have listed for the bit in the program.
I verified this morning that the program was calling the tooling I was using. I attached the CC program on another comment. For speeds and feeds, I used the default recommendations for hardwood that are pre programmed into CC. Both tools I was using were Carbide 3D tools, so I felt like it was pretty safe to use recommended settings. When you say speed, you are talking cutting head speed?
I once had a similar issue. The bit moved in the collet when it made its first cut. It was a new collet and new bit and both had a light coat of oil (most likely to keep them from rusting on the shelf) that I had to wash off.
That is a great point, the V-bit was pretty new and may have had some residue. I would have expected the end mill to be the deeper cut though. I did notice some roughed up marks on the shank of the v bit. Might be due to slippage. Would slippage have caused the irregular edges?
I reran the program and the depth issue seemed to resolve itself. I am guessing one of the tools slipped in the collet. However, I’m still seeing irregular edges. I went ahead and on the straight line, I went back and created a second straight path over that line and it cleaned it up. Hoping to run the plugs this weekend and see what happens.
Sounds like you are on the right track. It sure does look like the bit is not steady. Are you inserting the bits a good distance into the collet and also taking the collet out and cleaning it before starting the jobs? If all this is good make sure your stock is not moving a little on you. I see that you use the side press hold downs and I had an issue with one of mine not being tight enough and I didn’t see it moving but I could see it in my lettering for sure. Best of luck with your attempt again this weekend.
What @brlane99 said, I’ve had my stock get “sucked up” by an up-cut bit if not secures well. I use the double side tape approach to work holding these days.