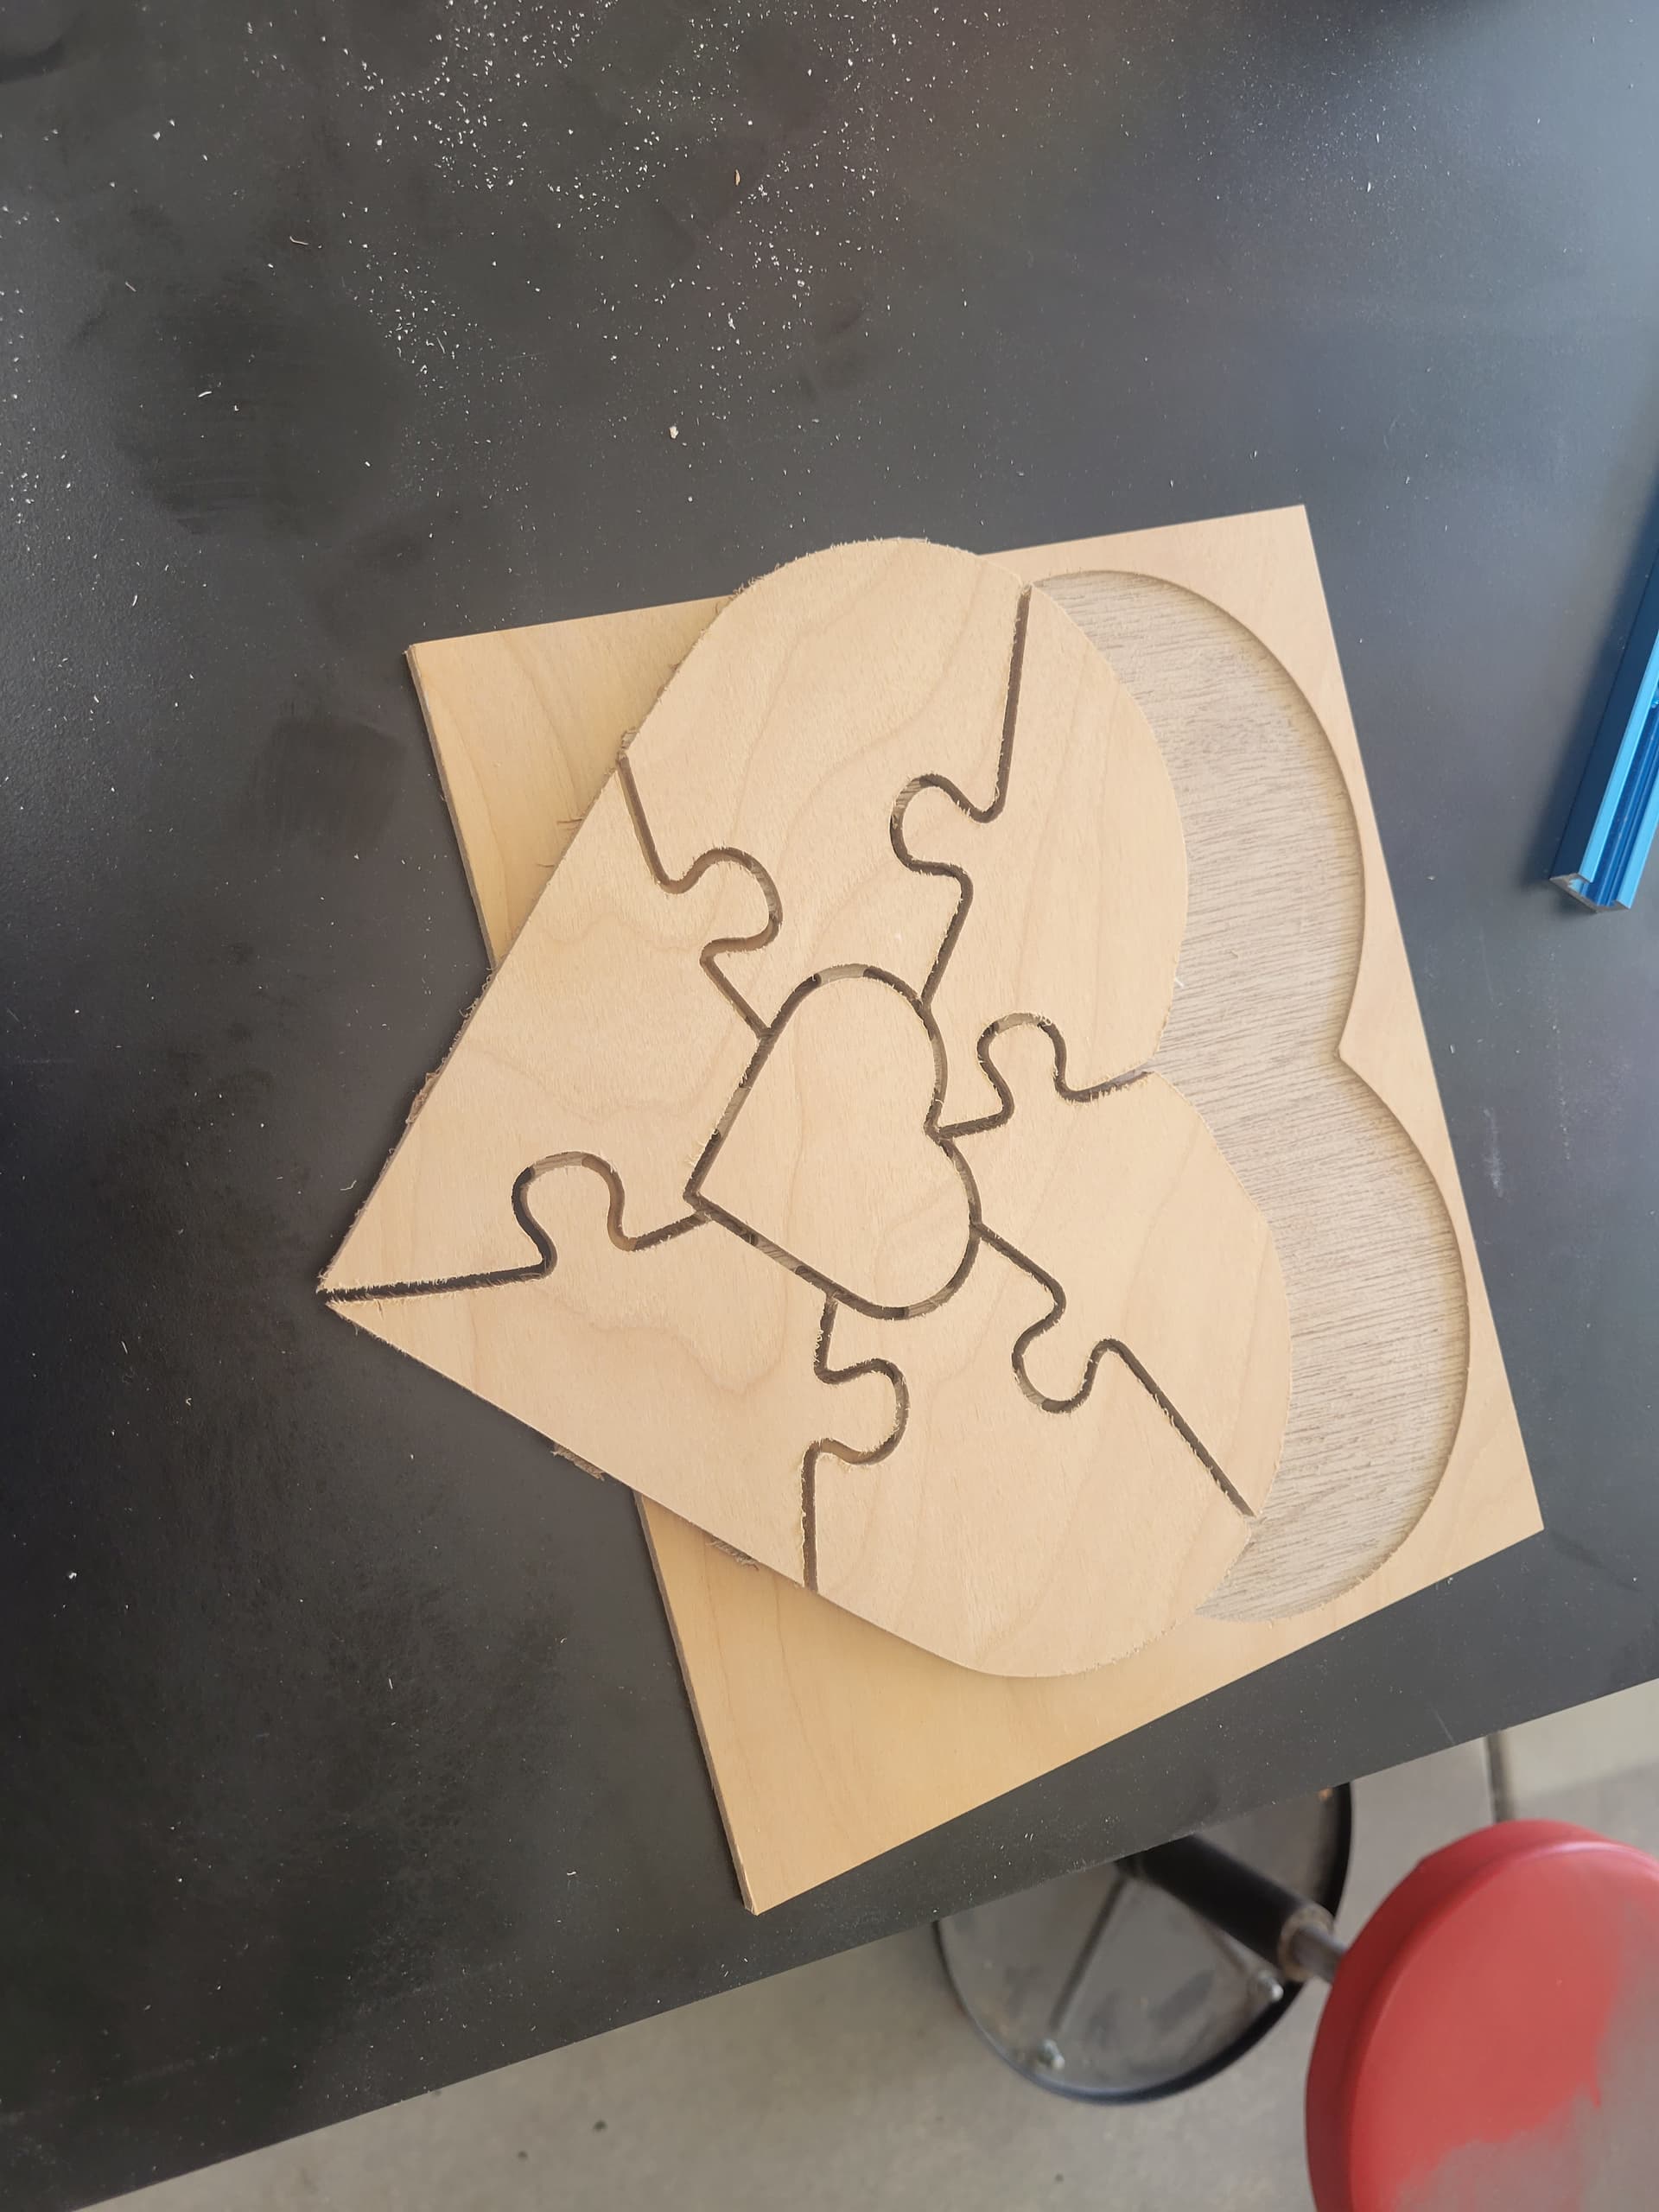
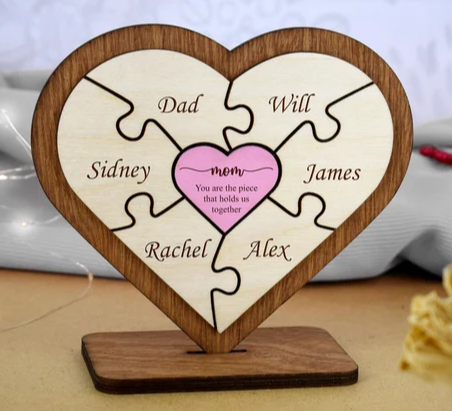
So what am I doing wrong? I have had my Shapeoko 3 XXL setup for just over a week now, and I think this may have biten off more than I can chew for a first project. I am not doing a true inlay with tapered sides. I just want a small pocket to drop my “inlay” into so when I glue the two pieces of wood together they are lined up in the right place. I am trying to make the attached image. I bought the vector files on etsy. I followed a video I saw. I have gone through about 6 batches of MDF and 1/4 plywood to try and get this to work.
I can’t get the two pieces to fit together. I make my pocket slightly oversize (0.004), and I cut on the outside of the “inlay” and it is always just a little too big.
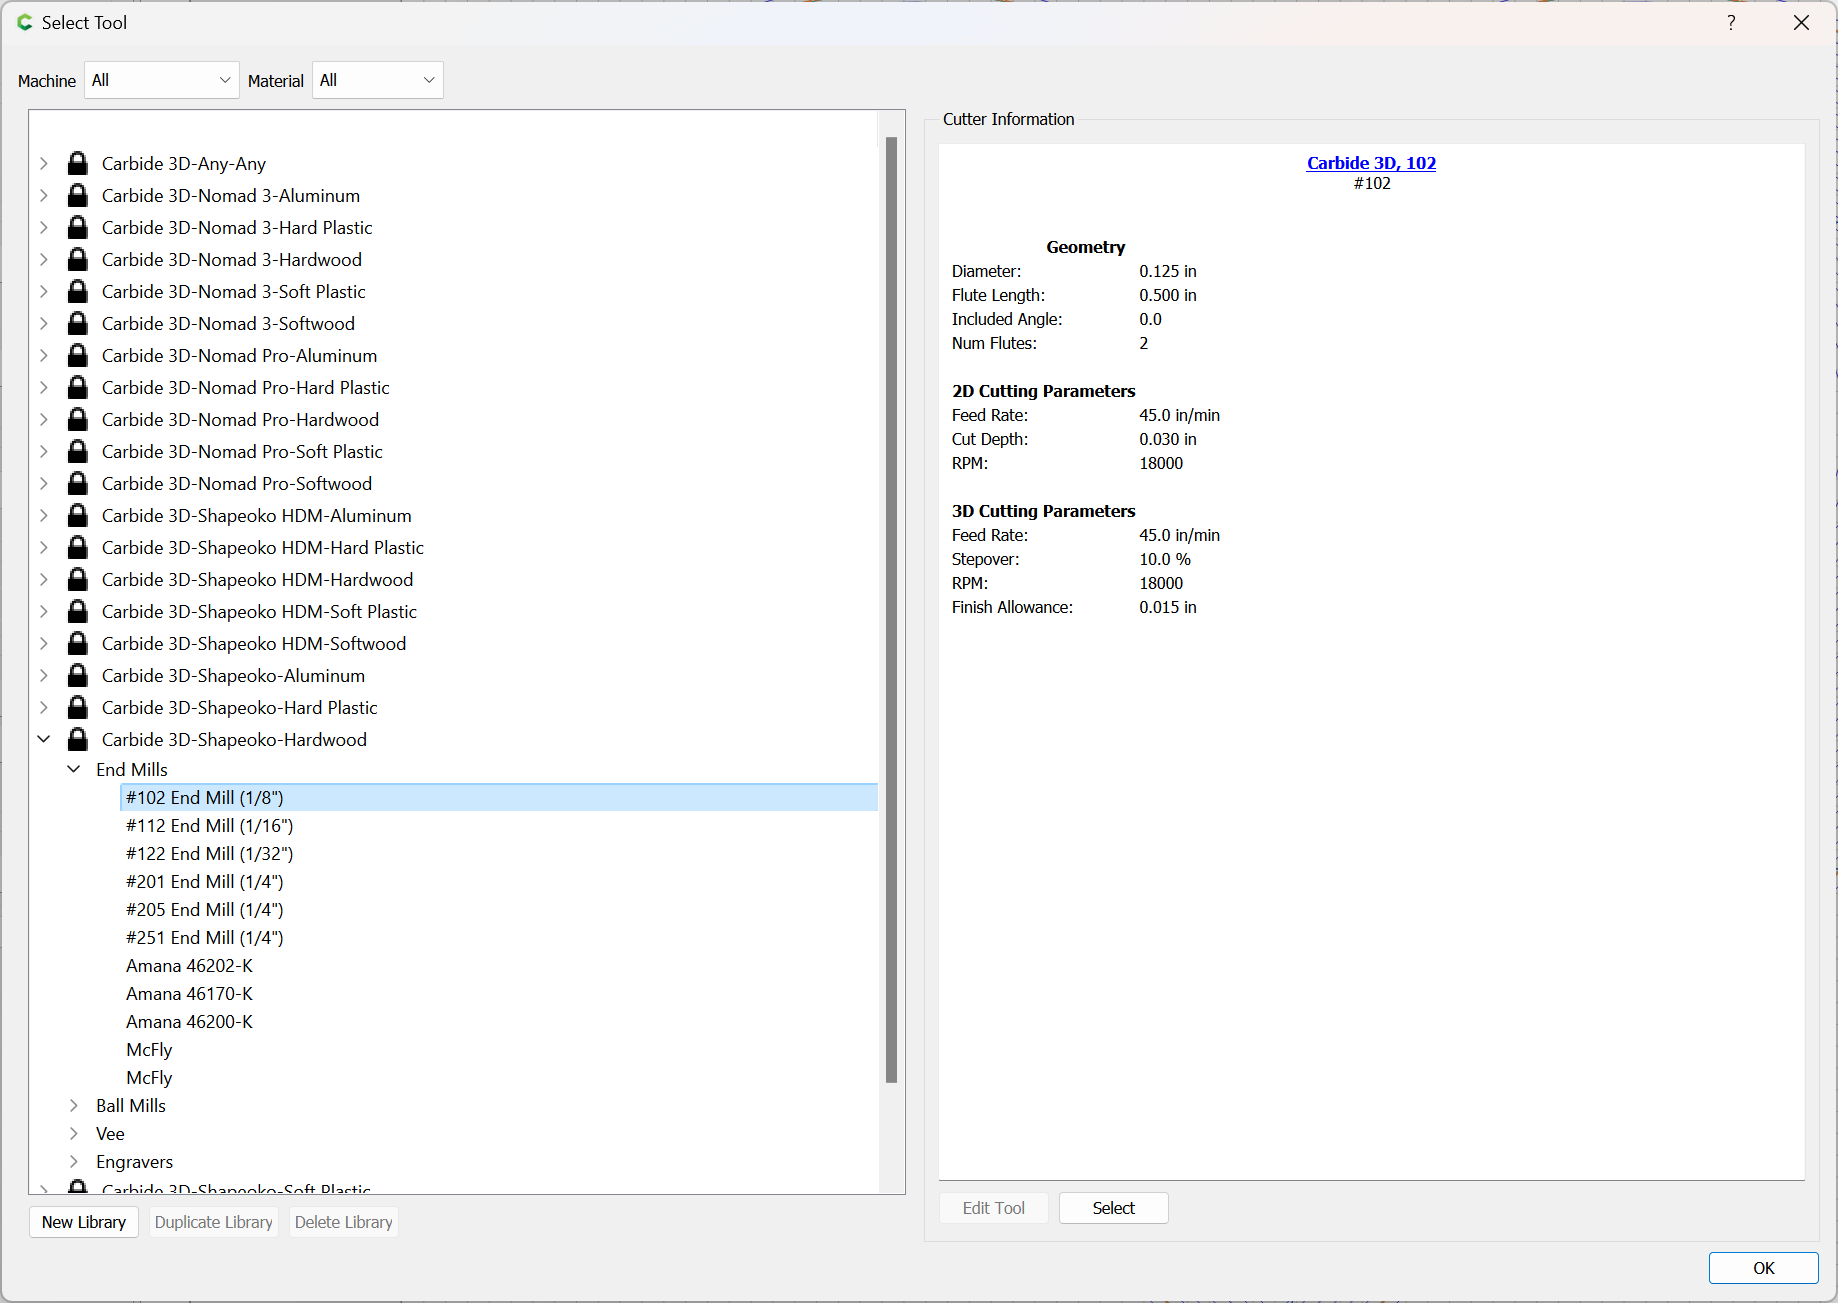
No reason in particular other than I don’t know any better. 102 matched my bit with 1/8 in and 2 flutes, so I left it alone. Do feeds and speeds affect the actual cut path geometry?
CC has added an inlay function but I have not been successful using it. The older way has worked for me in the past. You cut the female pocket with advanced vcarve with a 60 degree vee and what ever flat end mill to clear the flat area. Then reverse the image and make a new file for the male plug. Use the same bits as for the female pocket. However start the male plug at .1" and not the top of the material. The reason is if you start the male plug at the top of the material you are making the same size as the female pocket. This will cause the male inlay to not fit into the female pocket. By starting at .1" you are making the male inlay slightly smaller than the female pocket so it will fit inside the female pocket. My understanding of the CC inlay mode is they are doing an offset to the inside to make the male inlay slightly smaller.
For your puzzle parts use a smaller bit or cut the individual puzzle pieces out of separate pieces. When you cut them out of the same piece of wood all at once you will have a gap the width of the bit and that makes the puzzle pieces not fit tightly tighter. You can use a larger piece for the puzzle pieces but explode the pieces separately so get a better fit.
I get what you are saying, but this particular case I want the gap between the pieces. My inlay is just a really shallow pocket to put the whole heart puzzle into so I can register it where I want on the backer layer. If I can’t get this to work, I will just a trickier glue up to laminate the two species of wood before I carve the names into the top layer.
My suggestion would be to cut the inlay parts first, then the pocket — you can test fit the inlay parts while the part is still clamped — if things don’t fit, offset an appropriate amount, run a contour toolpath, then re-cut w/ the new toolpath.
Your picture shows the rough cut edges of the insert, with what looks like part of the tabs still on.
And it looks like it’s really close to fitting already. Sanding off the tabs will likely remove just enough to squeeze in. and if not, sand just a little more. i.e. hand fit it.
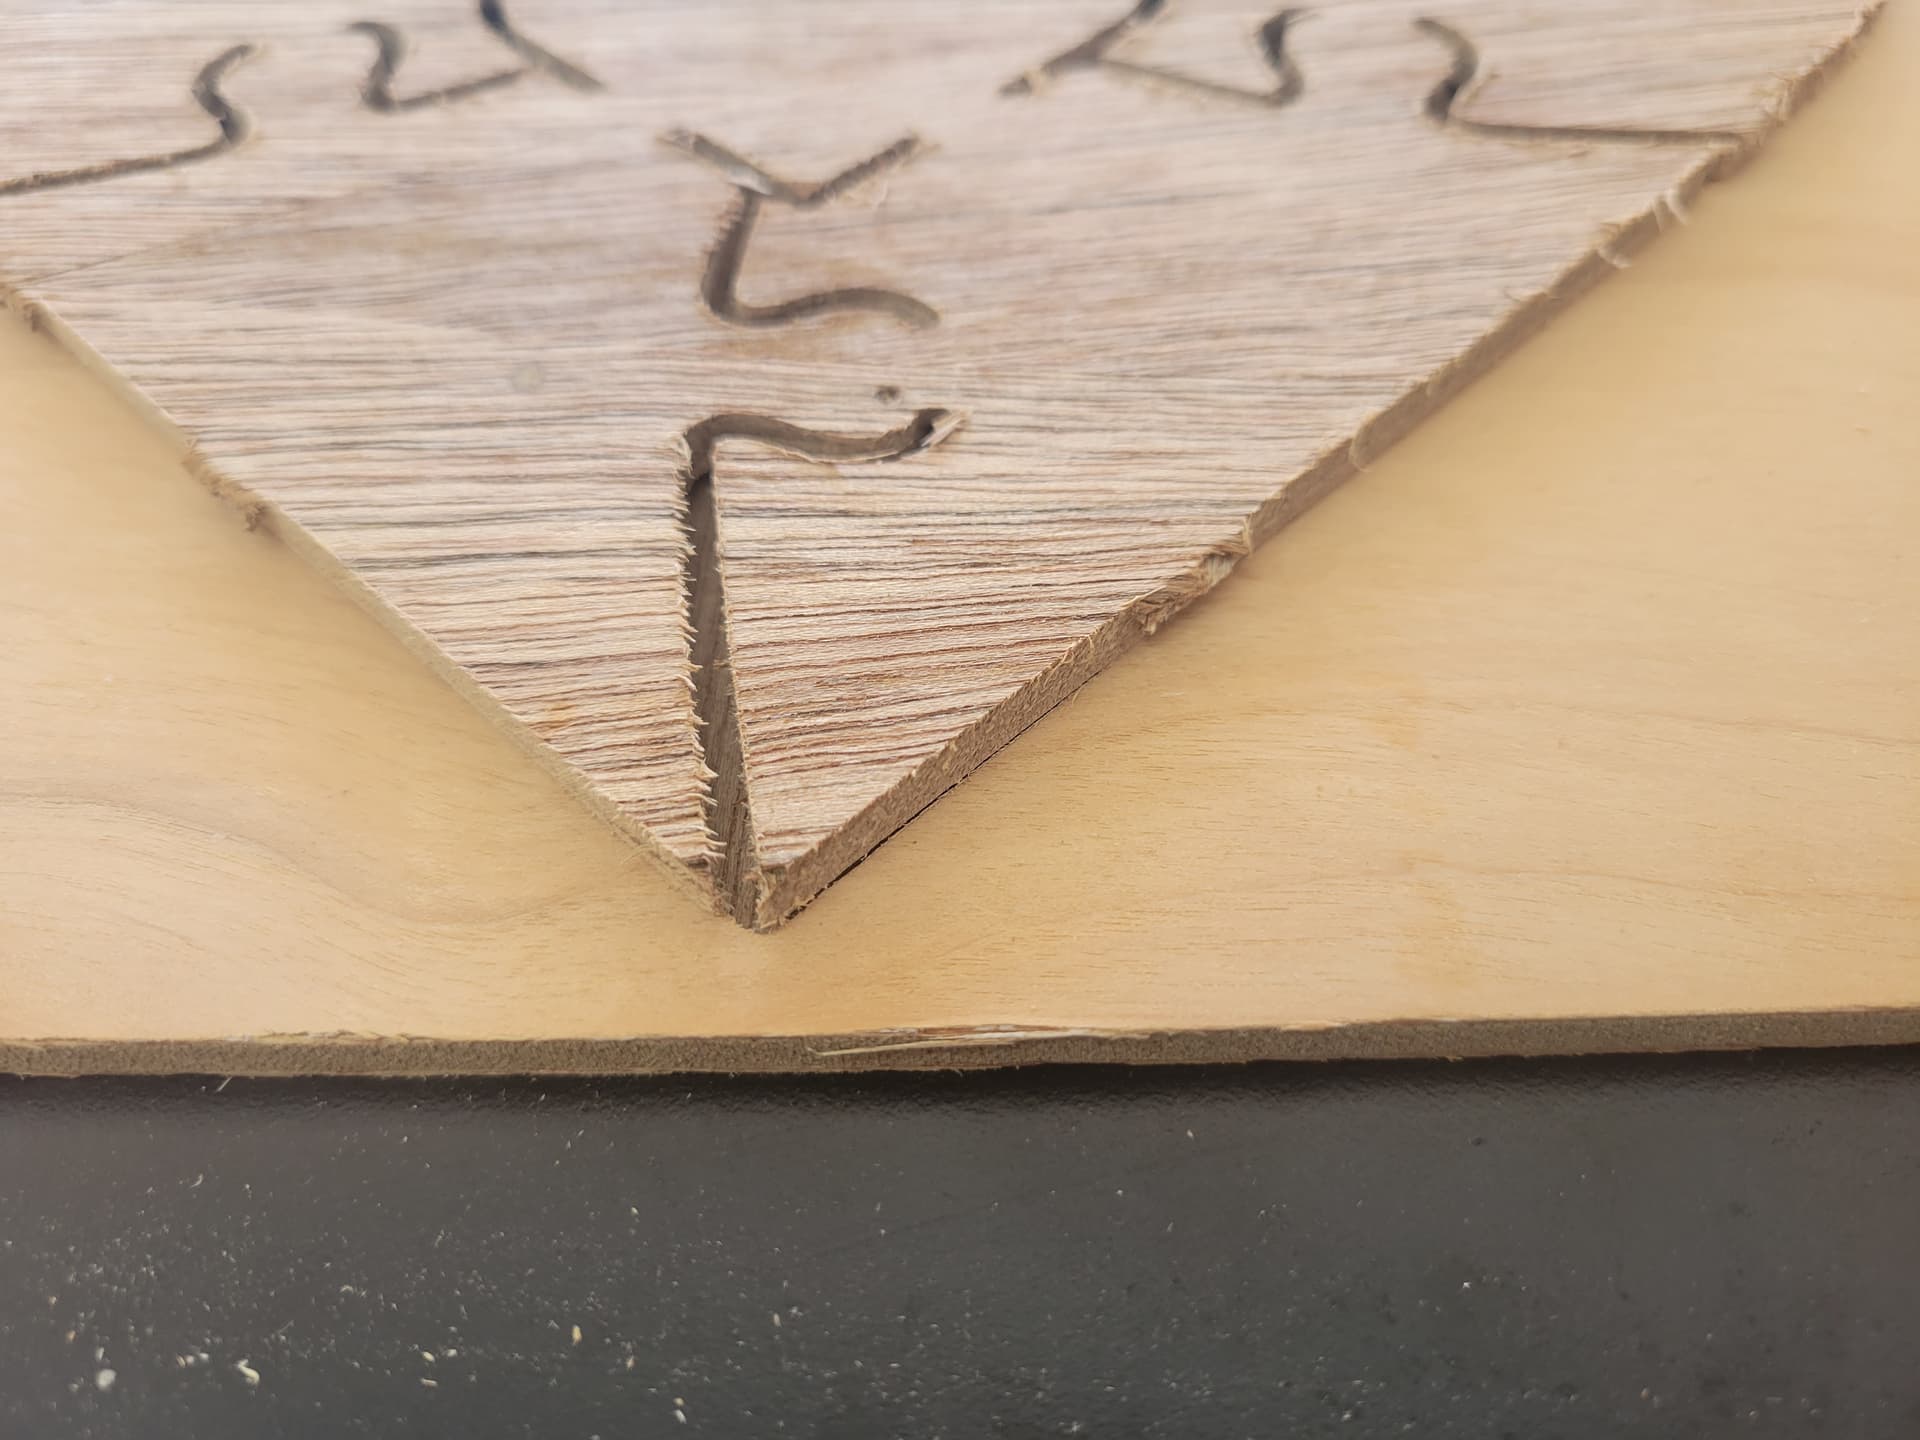
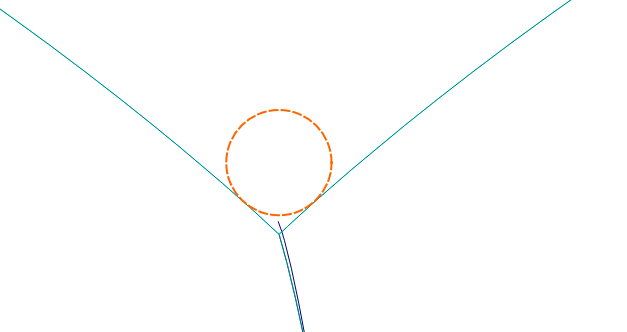
Another very small problem I see is the sharp corners. One on the pocket, and one on the inlay.
When you cut the pocket, the sharp corner at the bottom of the heart is going to have the radius of the cutter. You either need to chisel it out sharp, or put that same radius on the inlay. Then the sharp corner at the top (Between the Atriums of the heart ) will work the other way. Either sharpen the corner on the inlay, or round off the corner on the pocket.
It’s the classic, “Square peg, Round hole” paradox…
So I did a combination of a few things. I created a new file and used the smaller inner heart as my vector. I then duplicated it 4 times and created an offset vector with gradual increasing distance. 0.005 and 0.0055 worked out. Thanks everyone.