OK…of course, now, I need to know when to do this upgrade. Do I do it while assembling the HDZ or do I get the HDZ on and the retrofit the sensors? Can I even do that? Will I have access to the screw holes unless the HDZ is off the Shapeoko?
Also - the video shows a replacement of electronics on the board - it would be great to have some documentation on this, to make sure I put the right thing in the right place.
i just received and edited mine today. and actually, i was looking for it too… and i came across this video.
I didn’t need some parts, like aluminium brackets, to hold the “plastic tracks, for the cables”
(I scratched my head for a moment…)
everything is working fine. I’m happy, more than happy to modify his sukkit.
Might be worth reaching out to support. From what I’m gathering, looks like it’s been a hectic couple weeks over there, so documentation may be lagging behind slightly.
Based on what I see through video (and having not gone through the process) it looks like you can do this all with the HDZ installed. Nothing looks hard to reach once installed. Though you could certainly do it with the HDZ off the machine as well.
@GJM
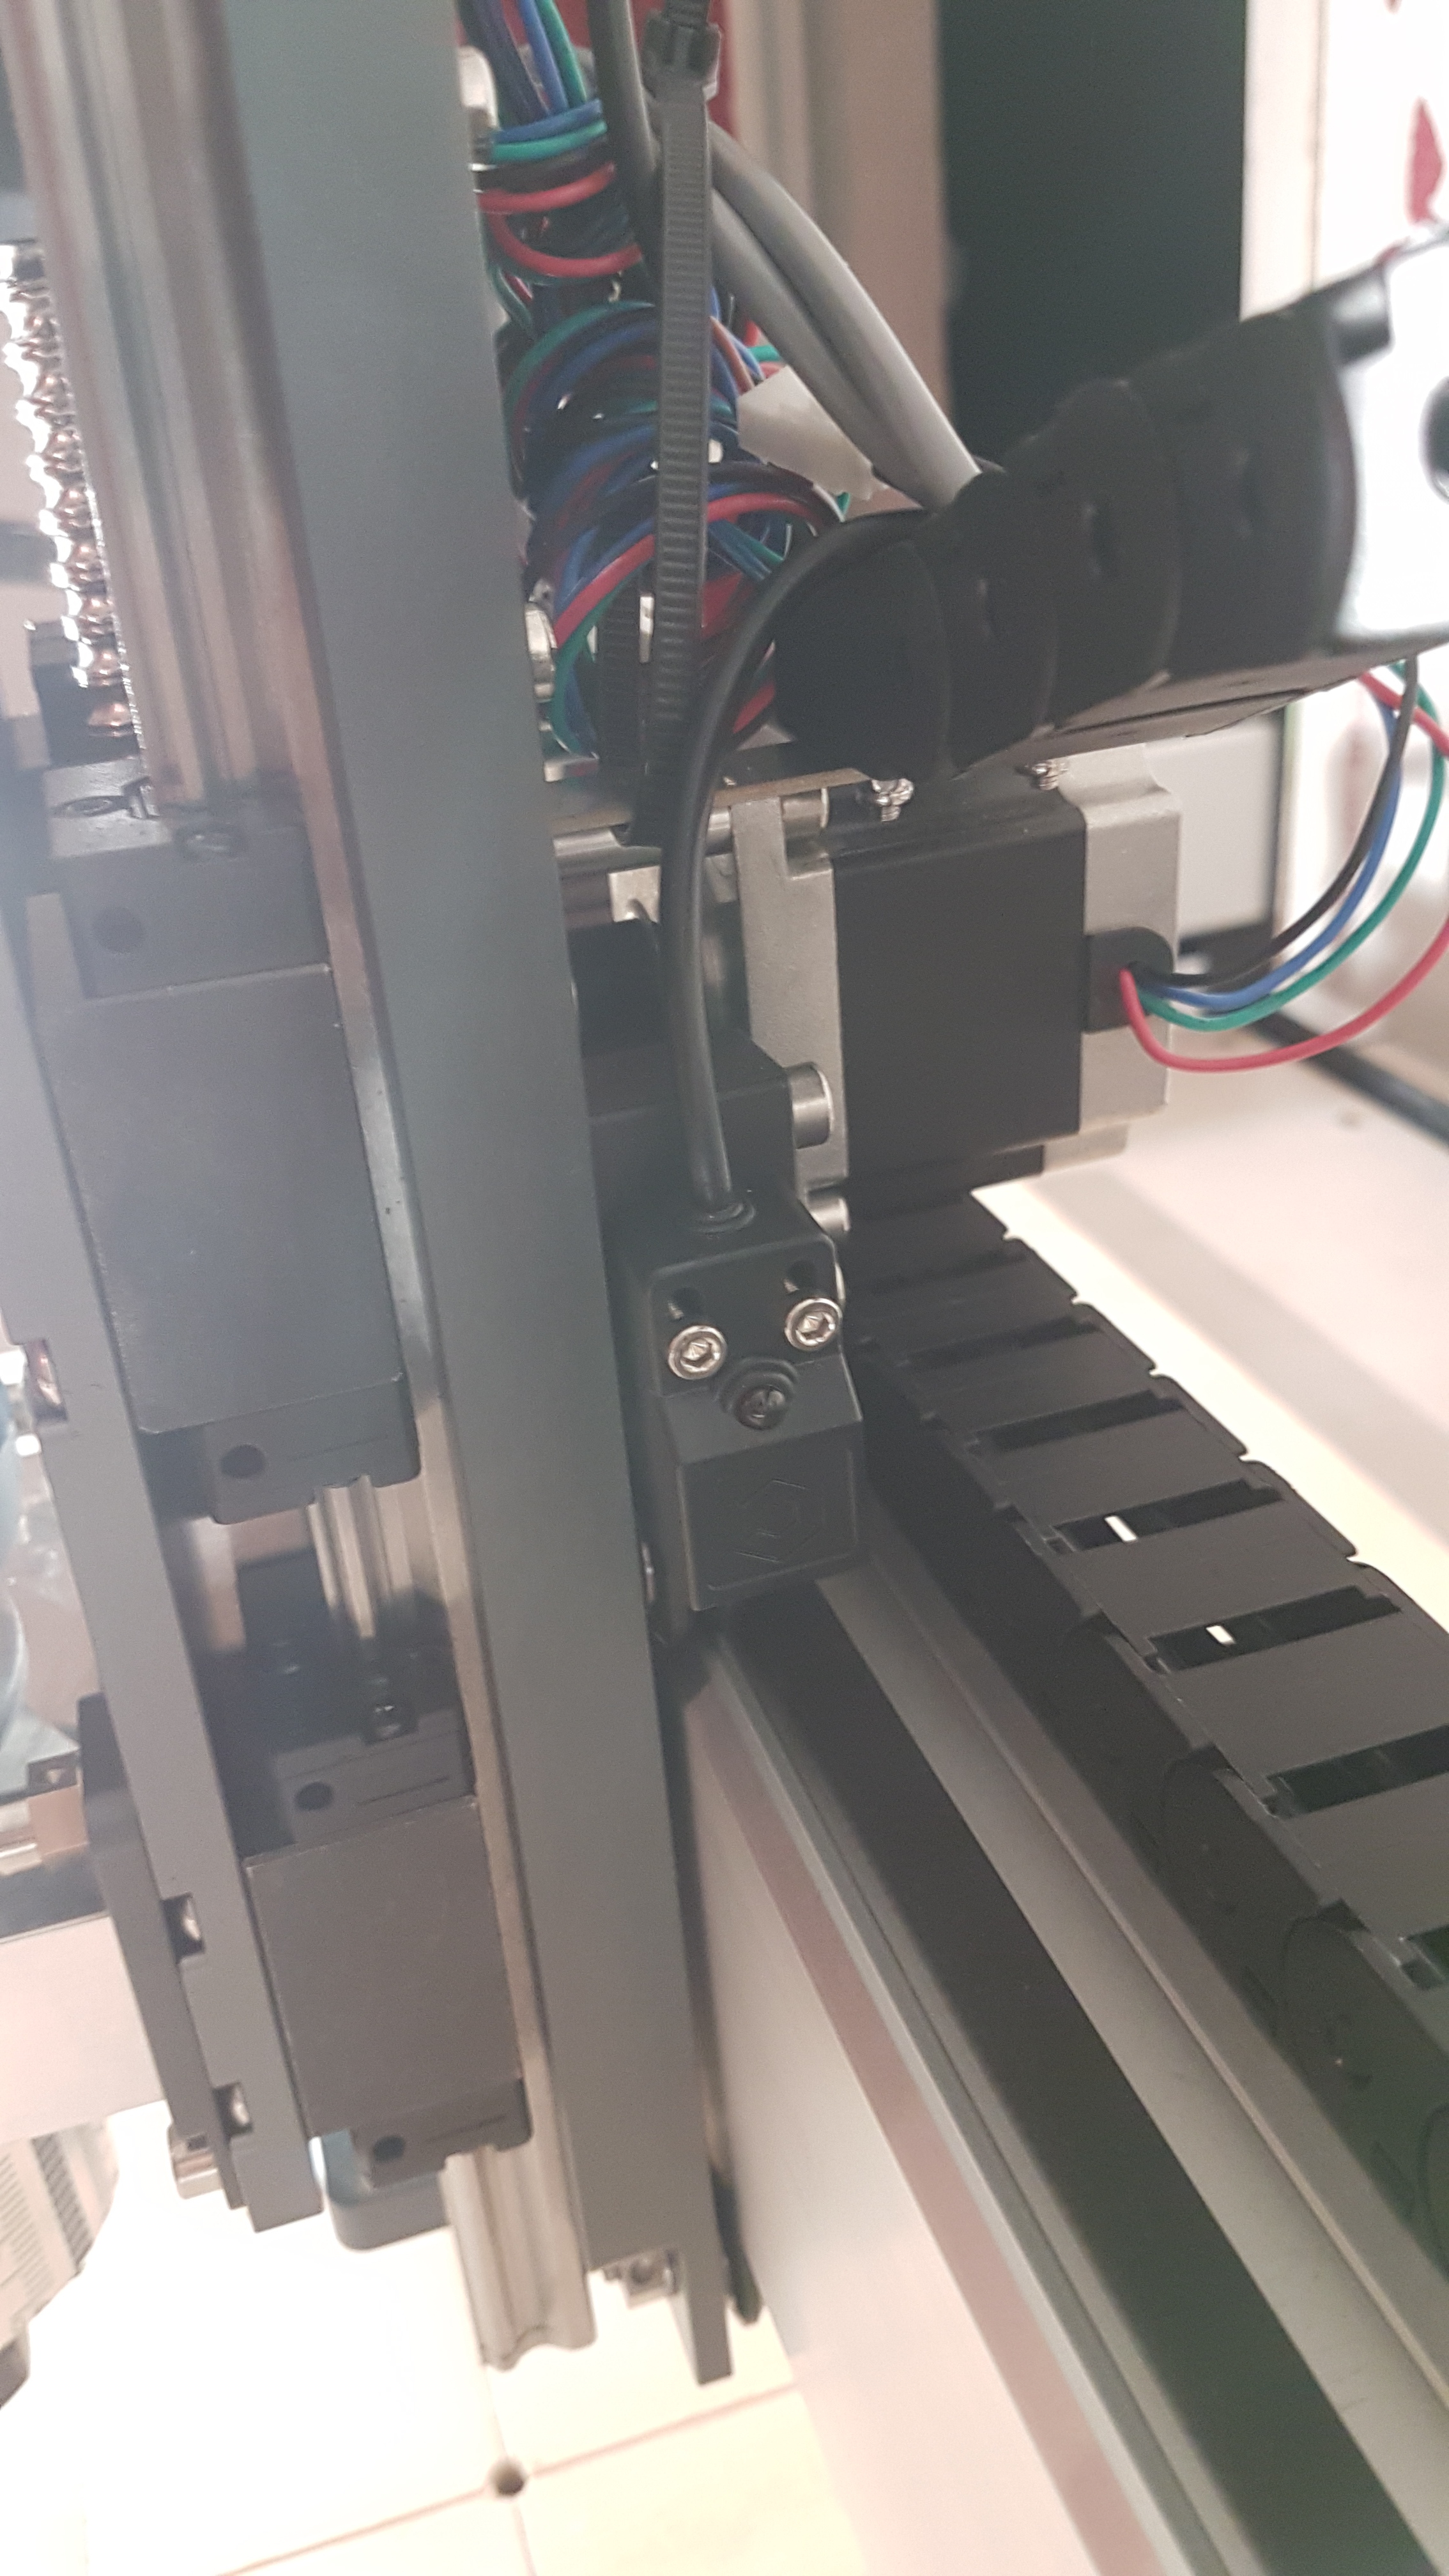
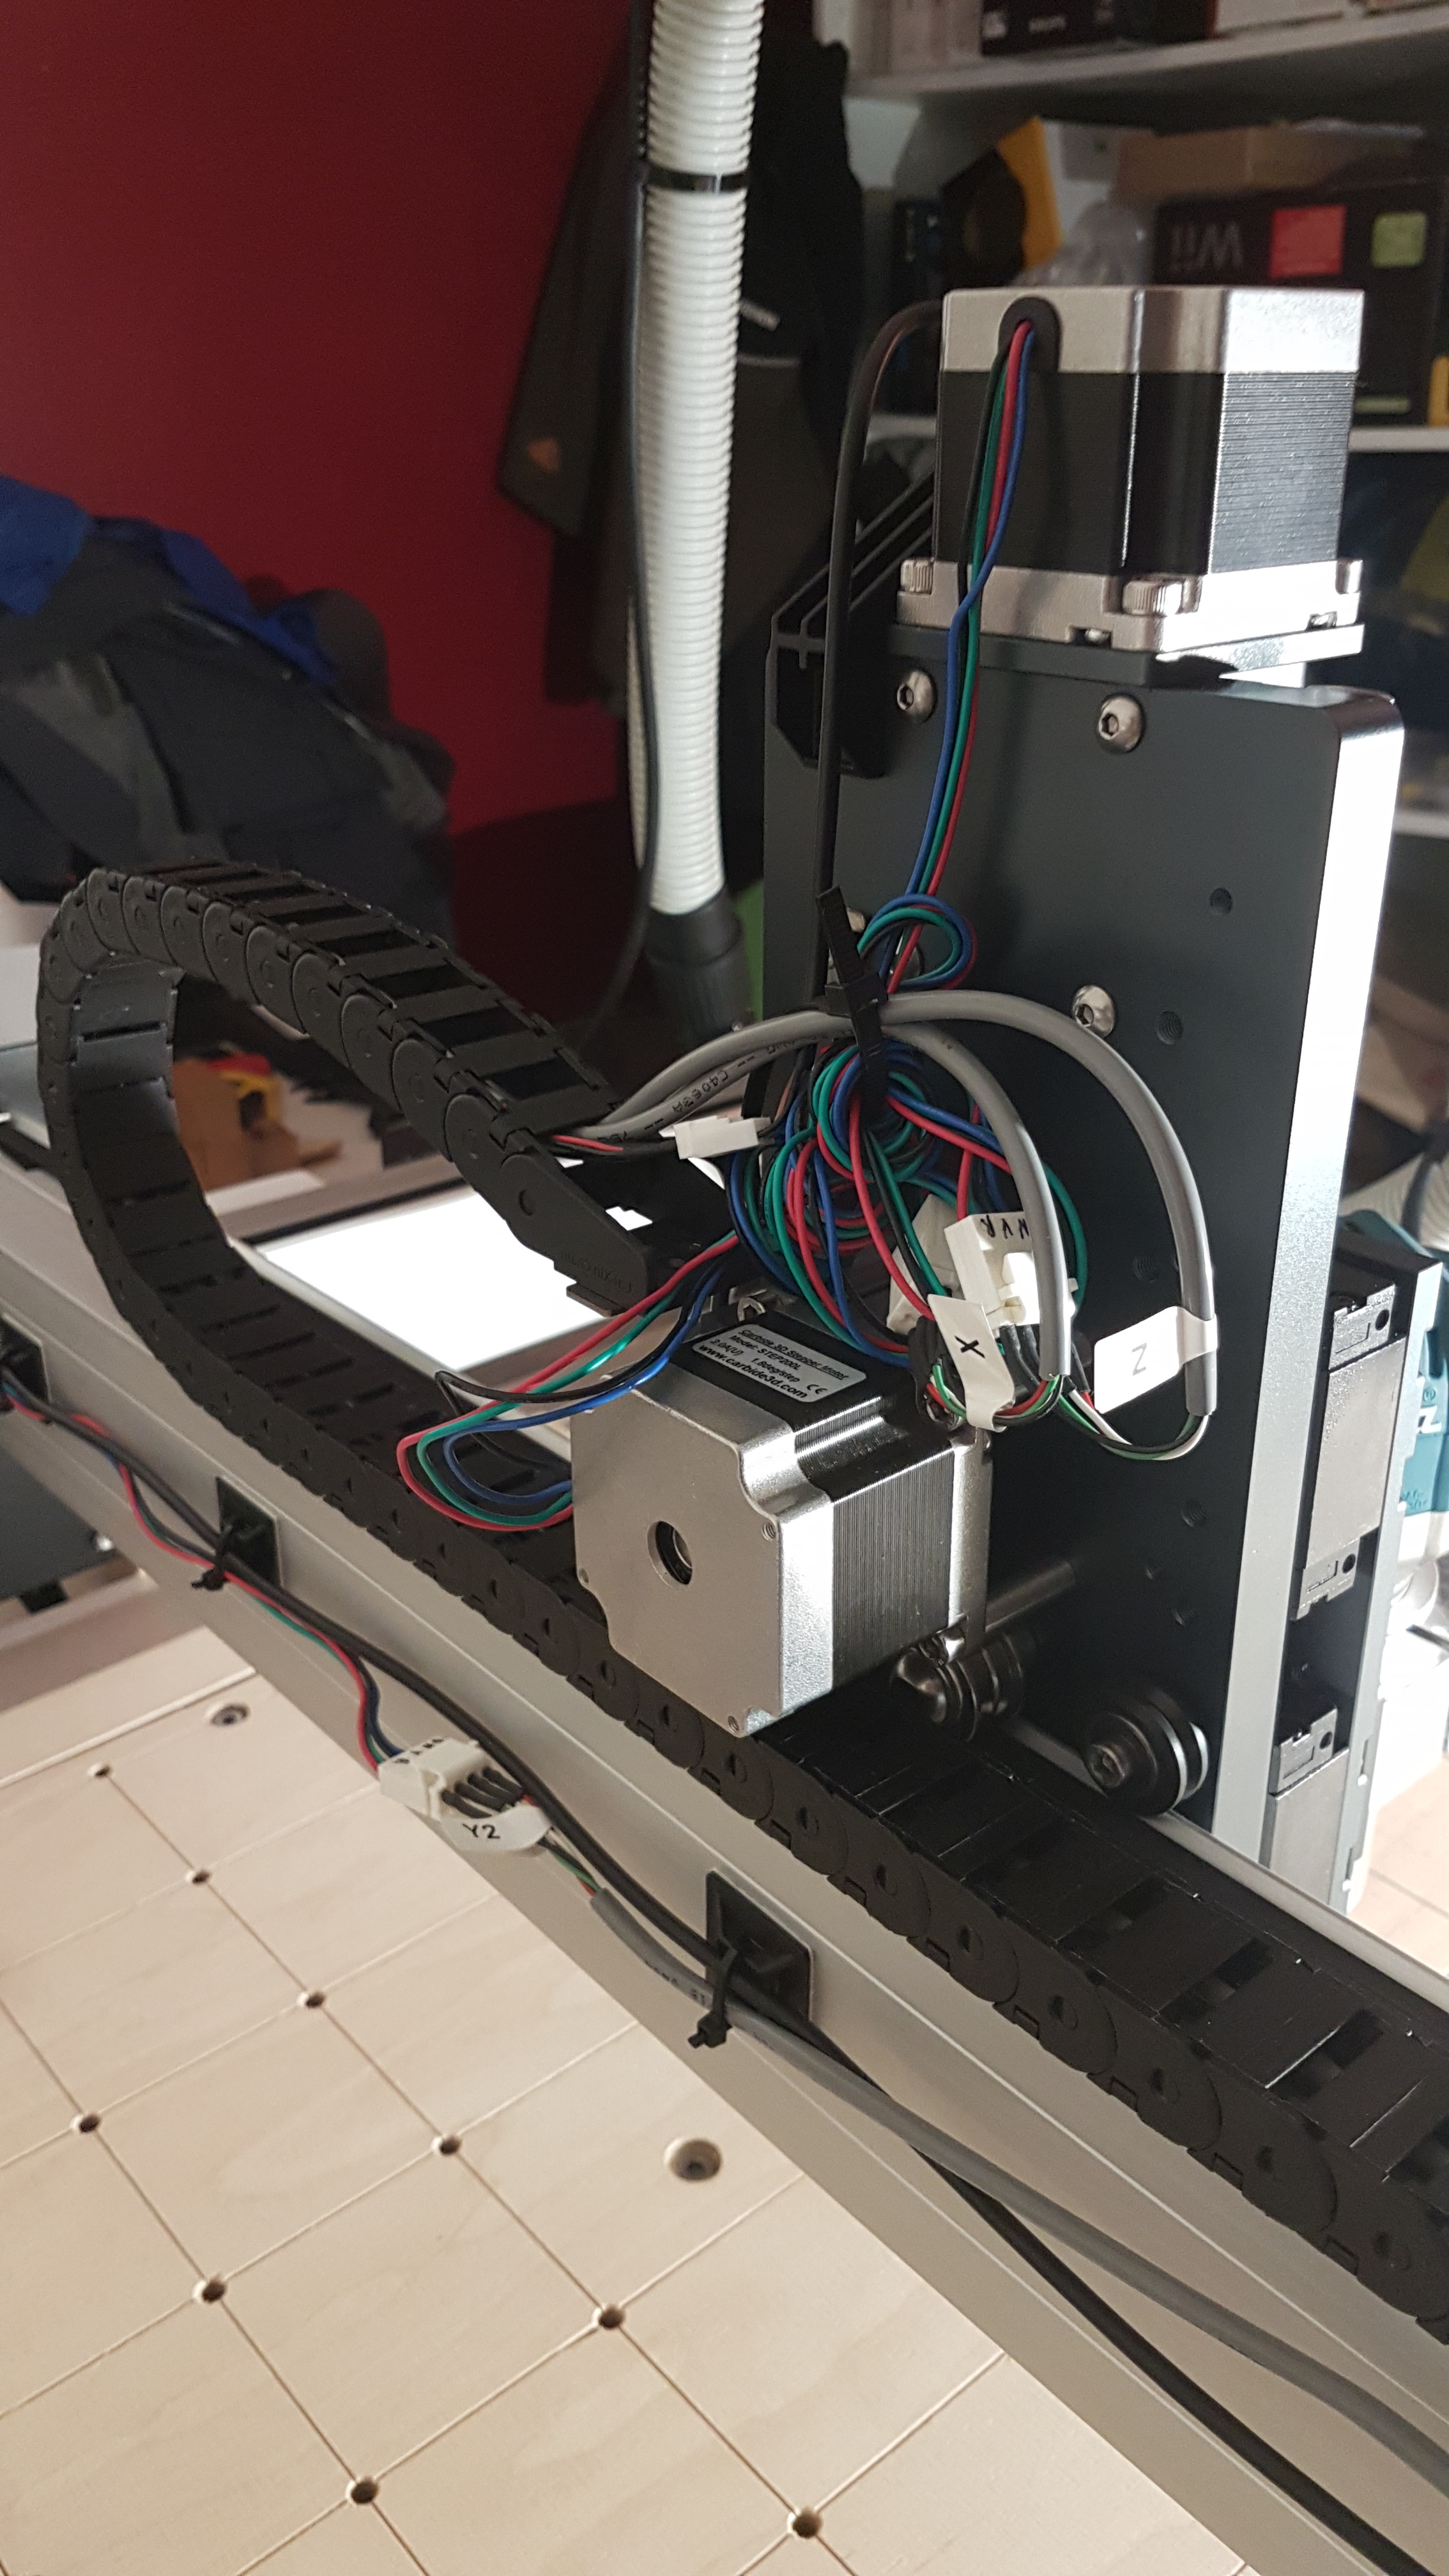
undo all the old Homing Switch (open the “caterpillars” where the elcetric wires are) set up the hdz, and take care of the new Inductive Homing Switch. do it all the same day. it’s easier.
@BLKKROW Unfortunately, the 4.0 doc that you can scan for does not have the proximity replacement instructions included. It talks about saving the old ones and has detail how to reinstall them…
No need to apologize! Hopefully, I’ll get some advice from the support guys about sequencing and attaching the sensors to the board (which is a change, according to Winston’s video). Or…I’ll end up figuring it out myself via trial and error…but I’d prefer not to error - so any advice support can provide will be helpful!
@GJM
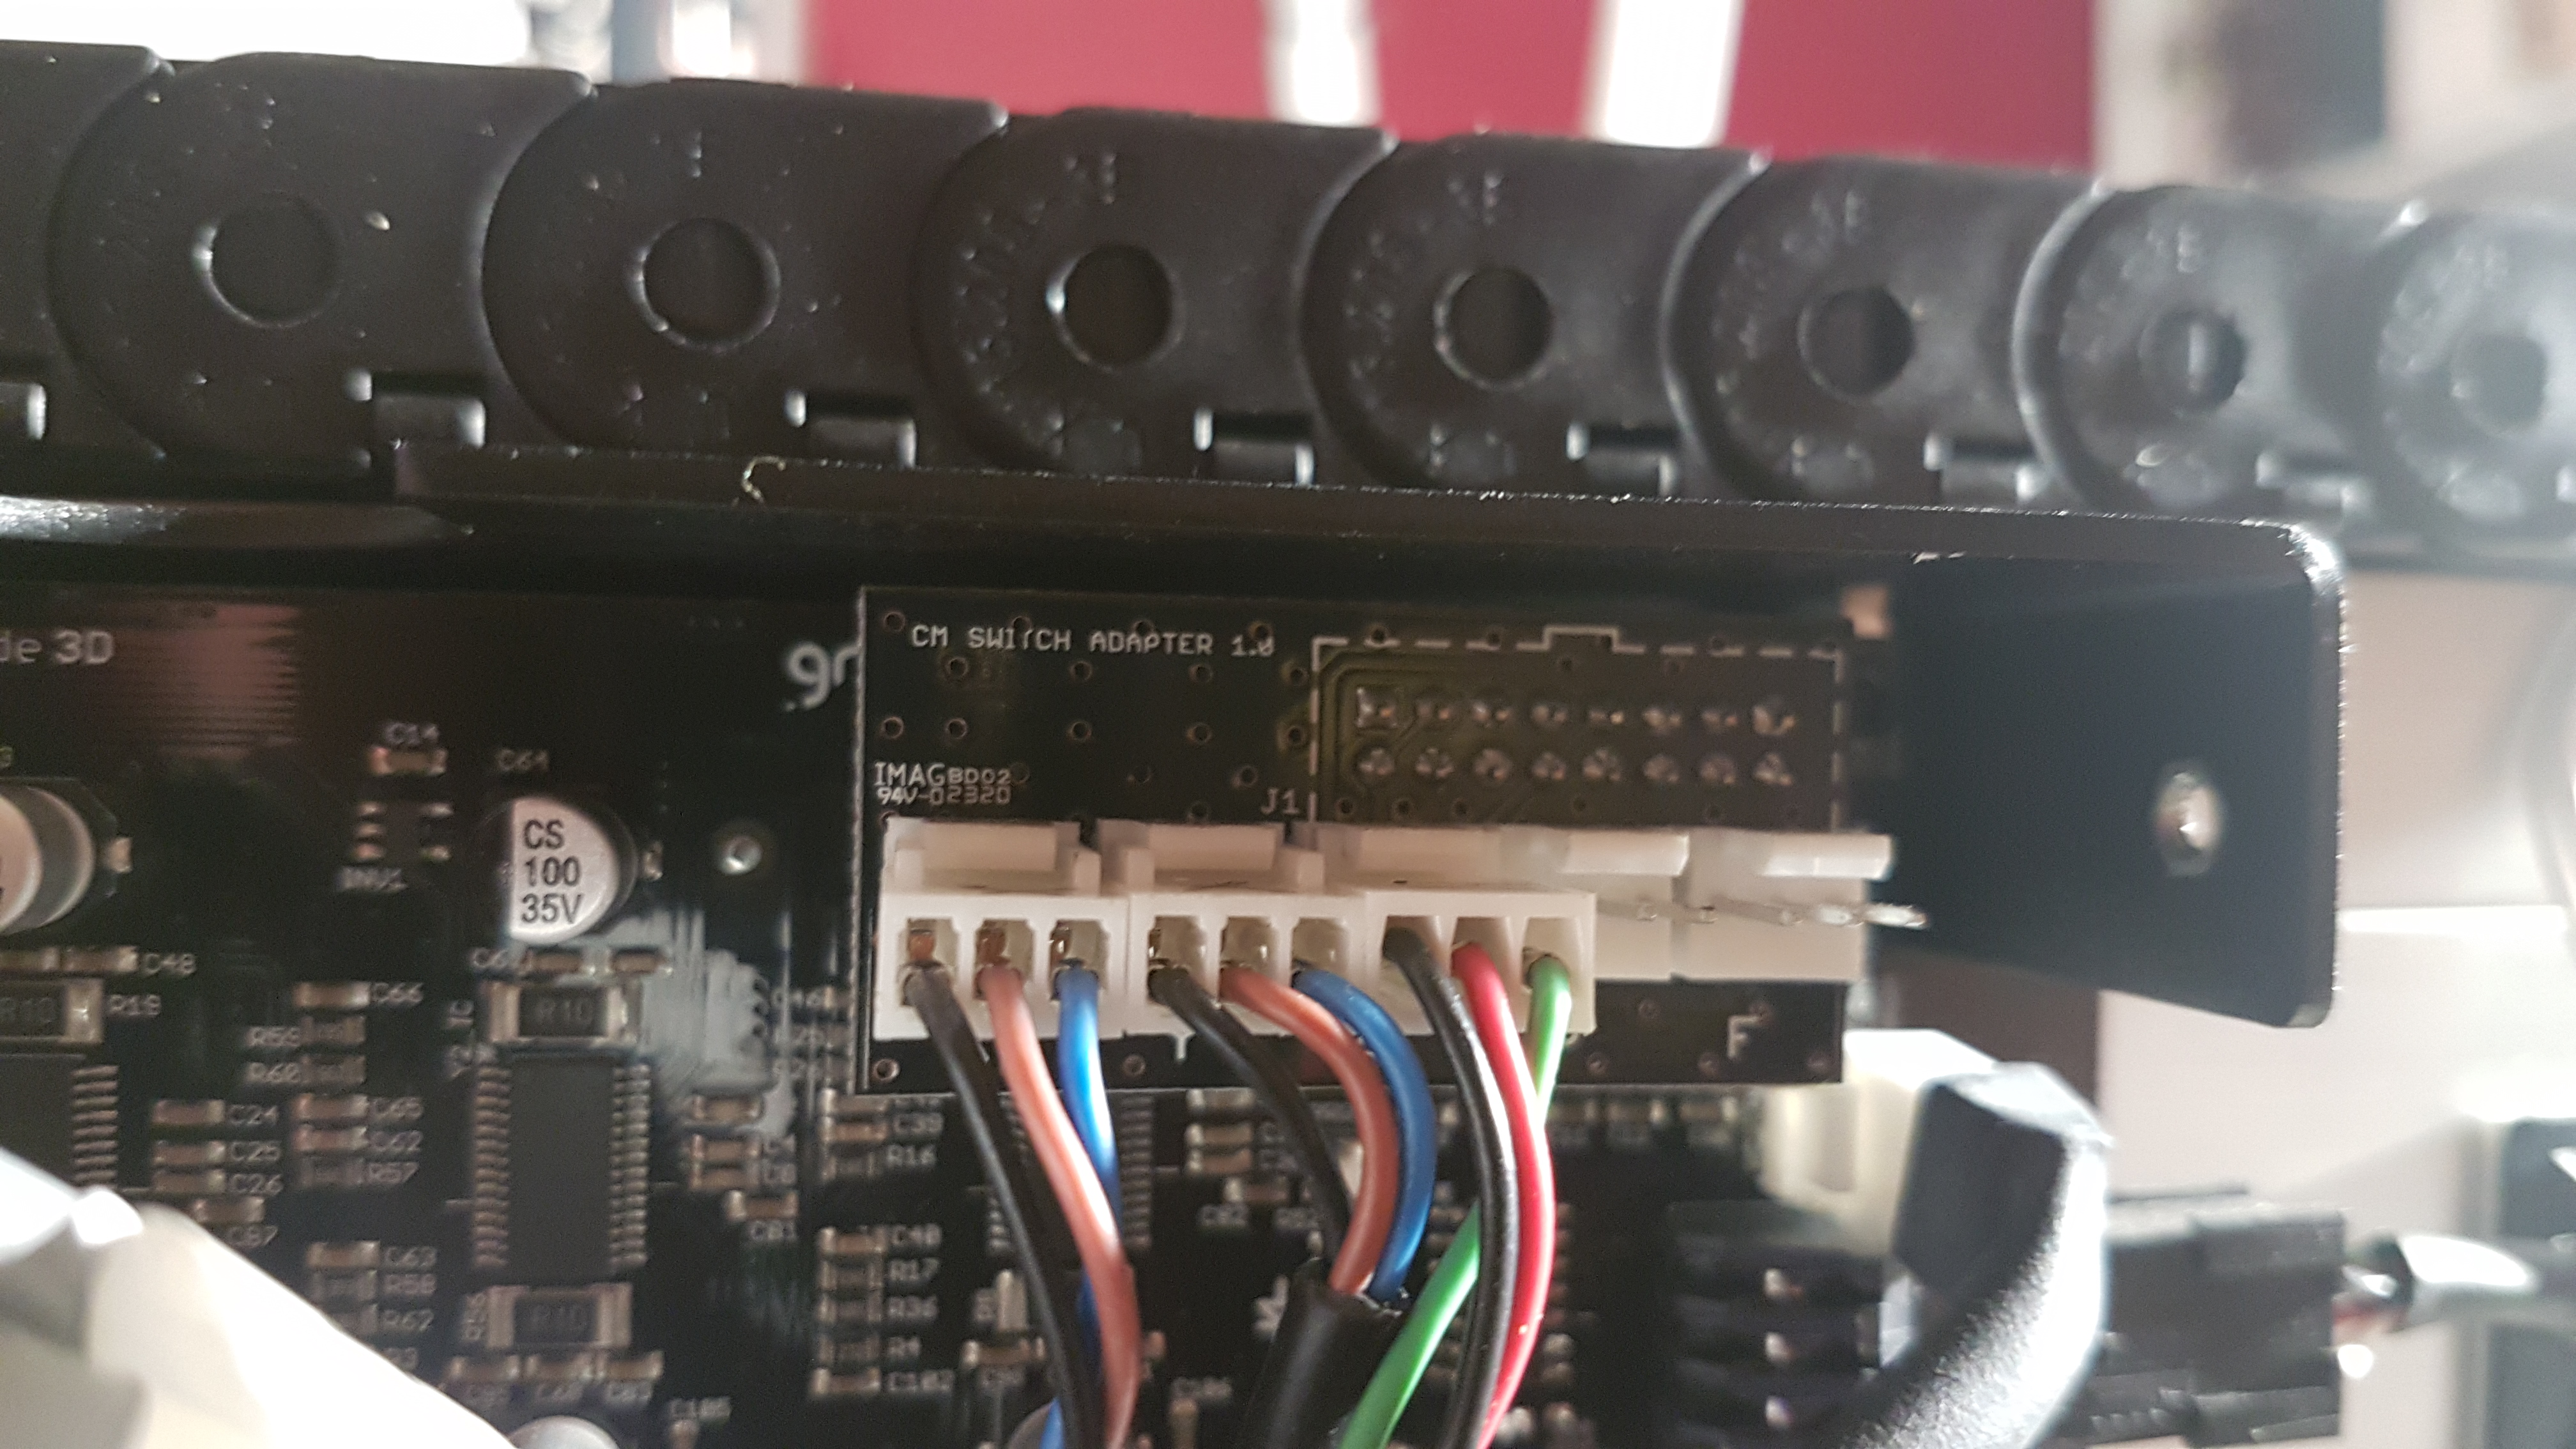
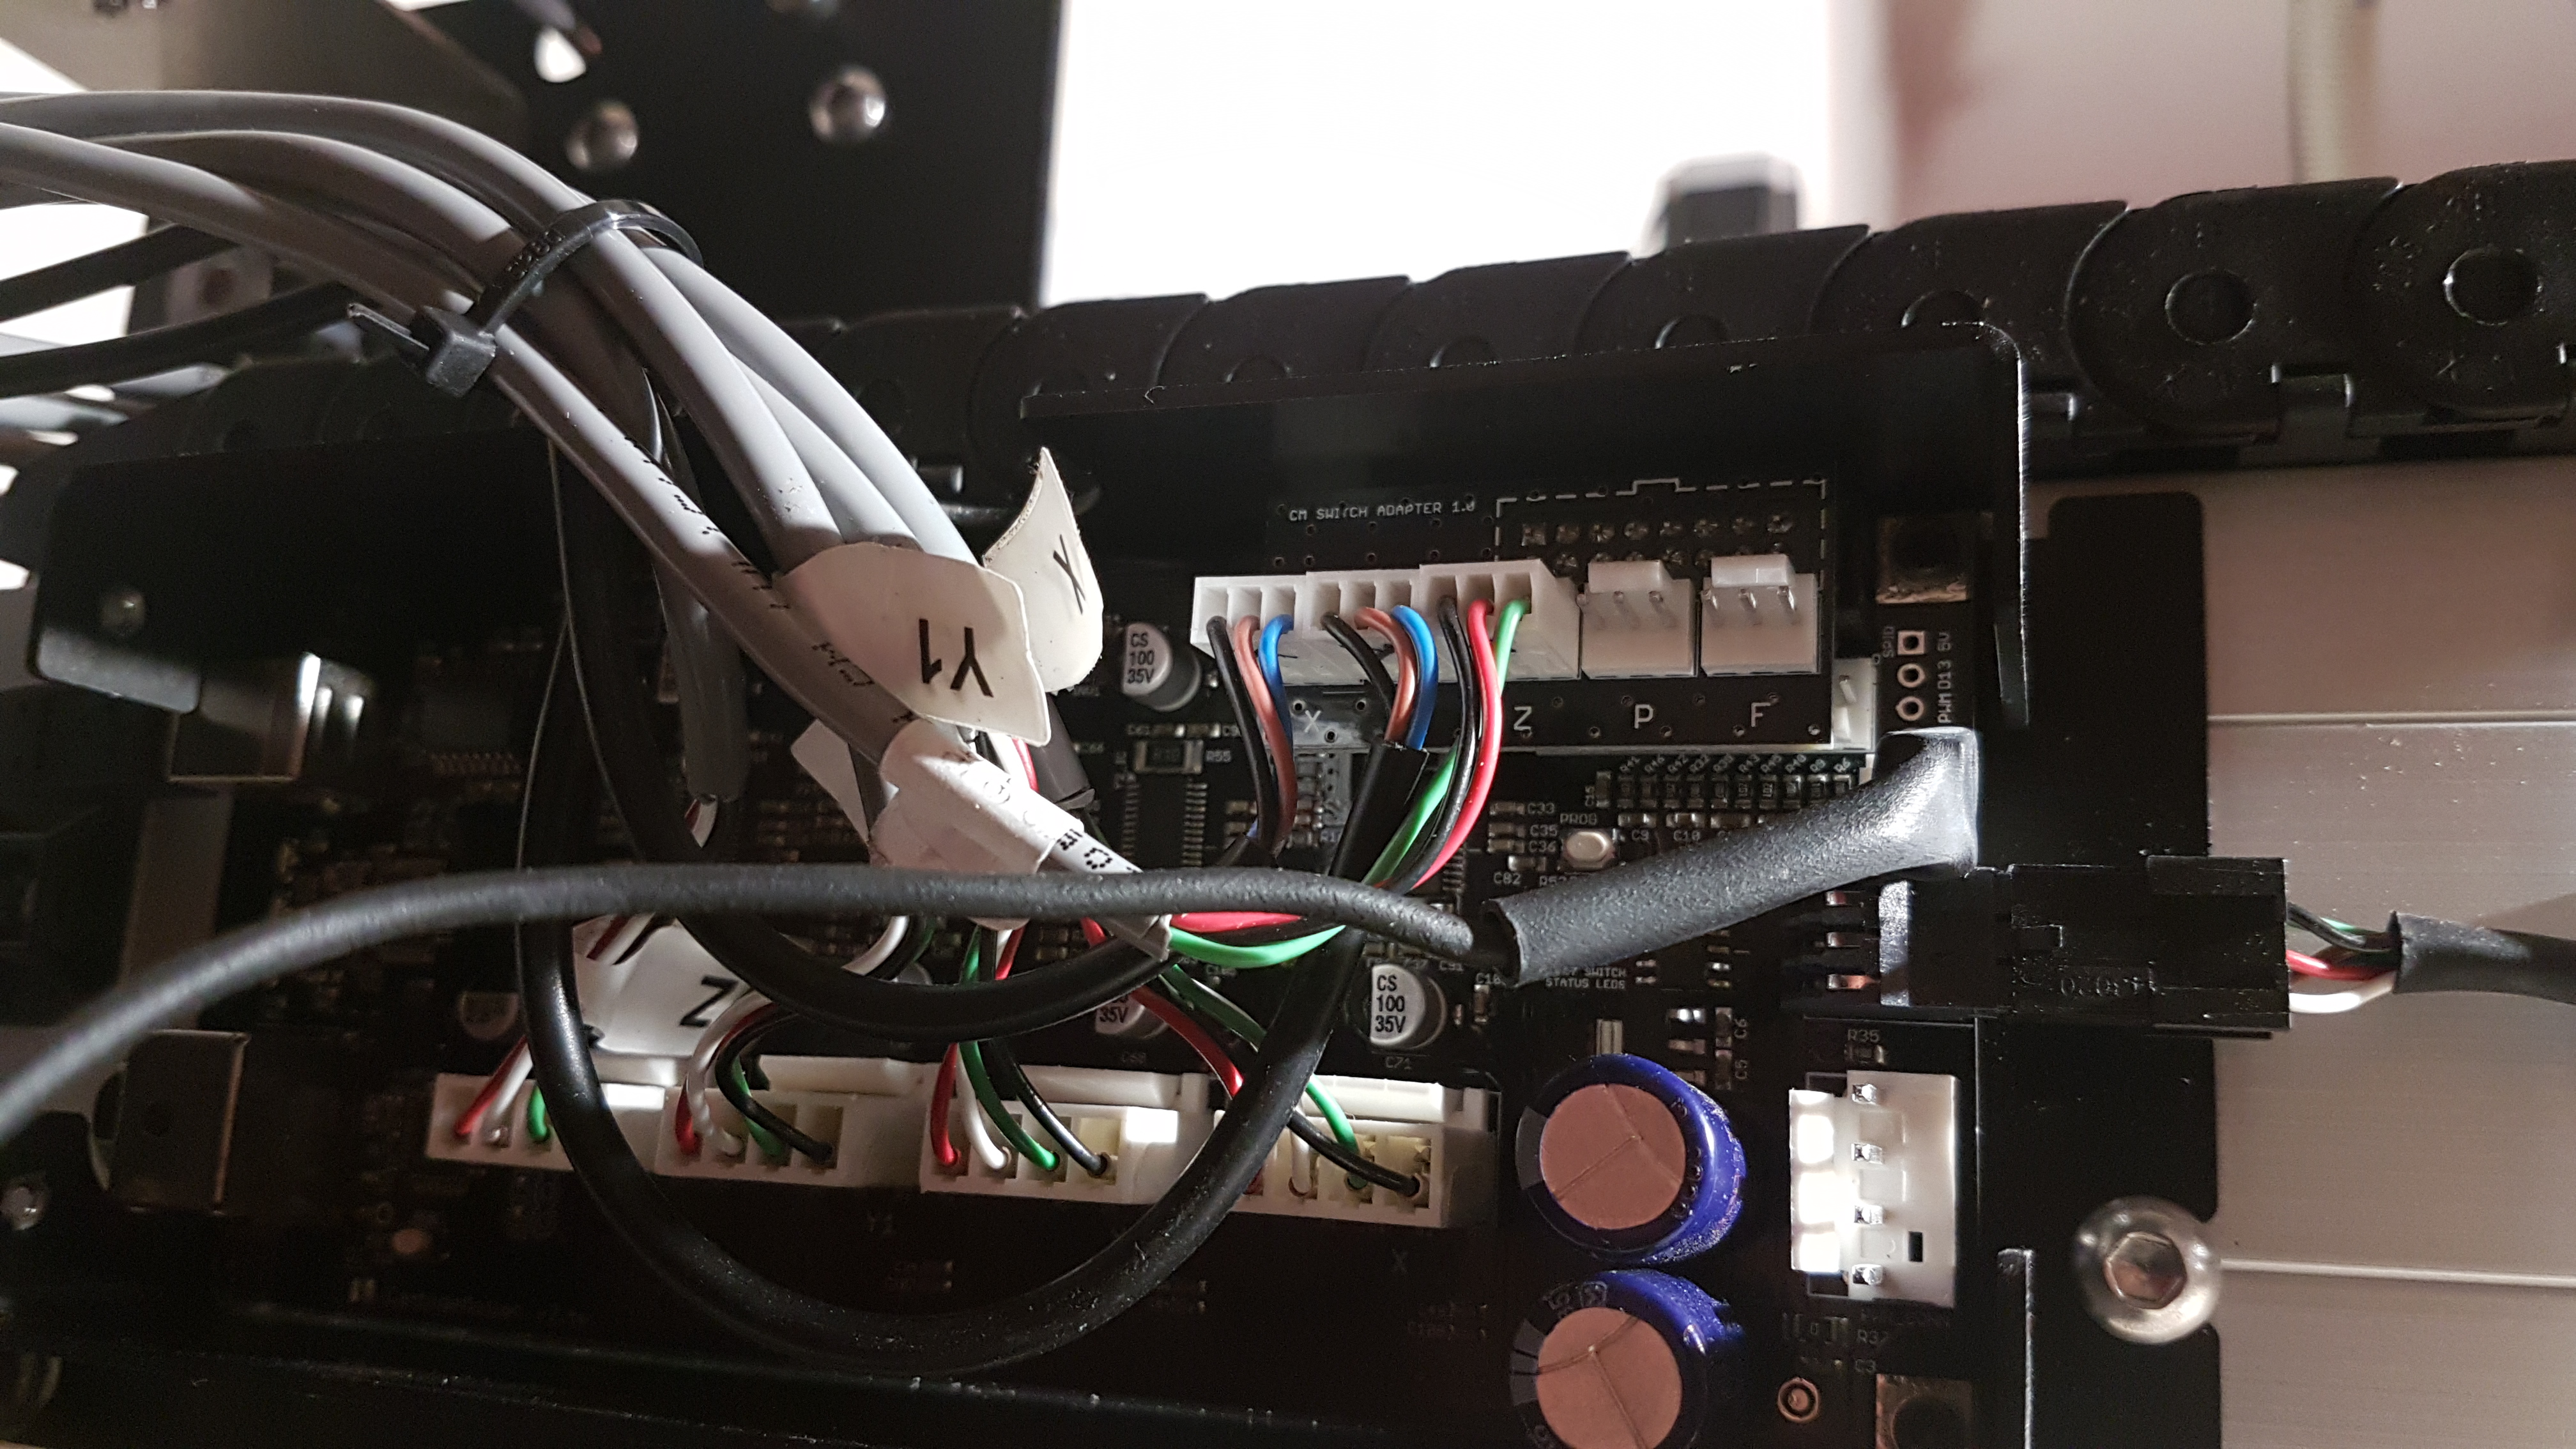
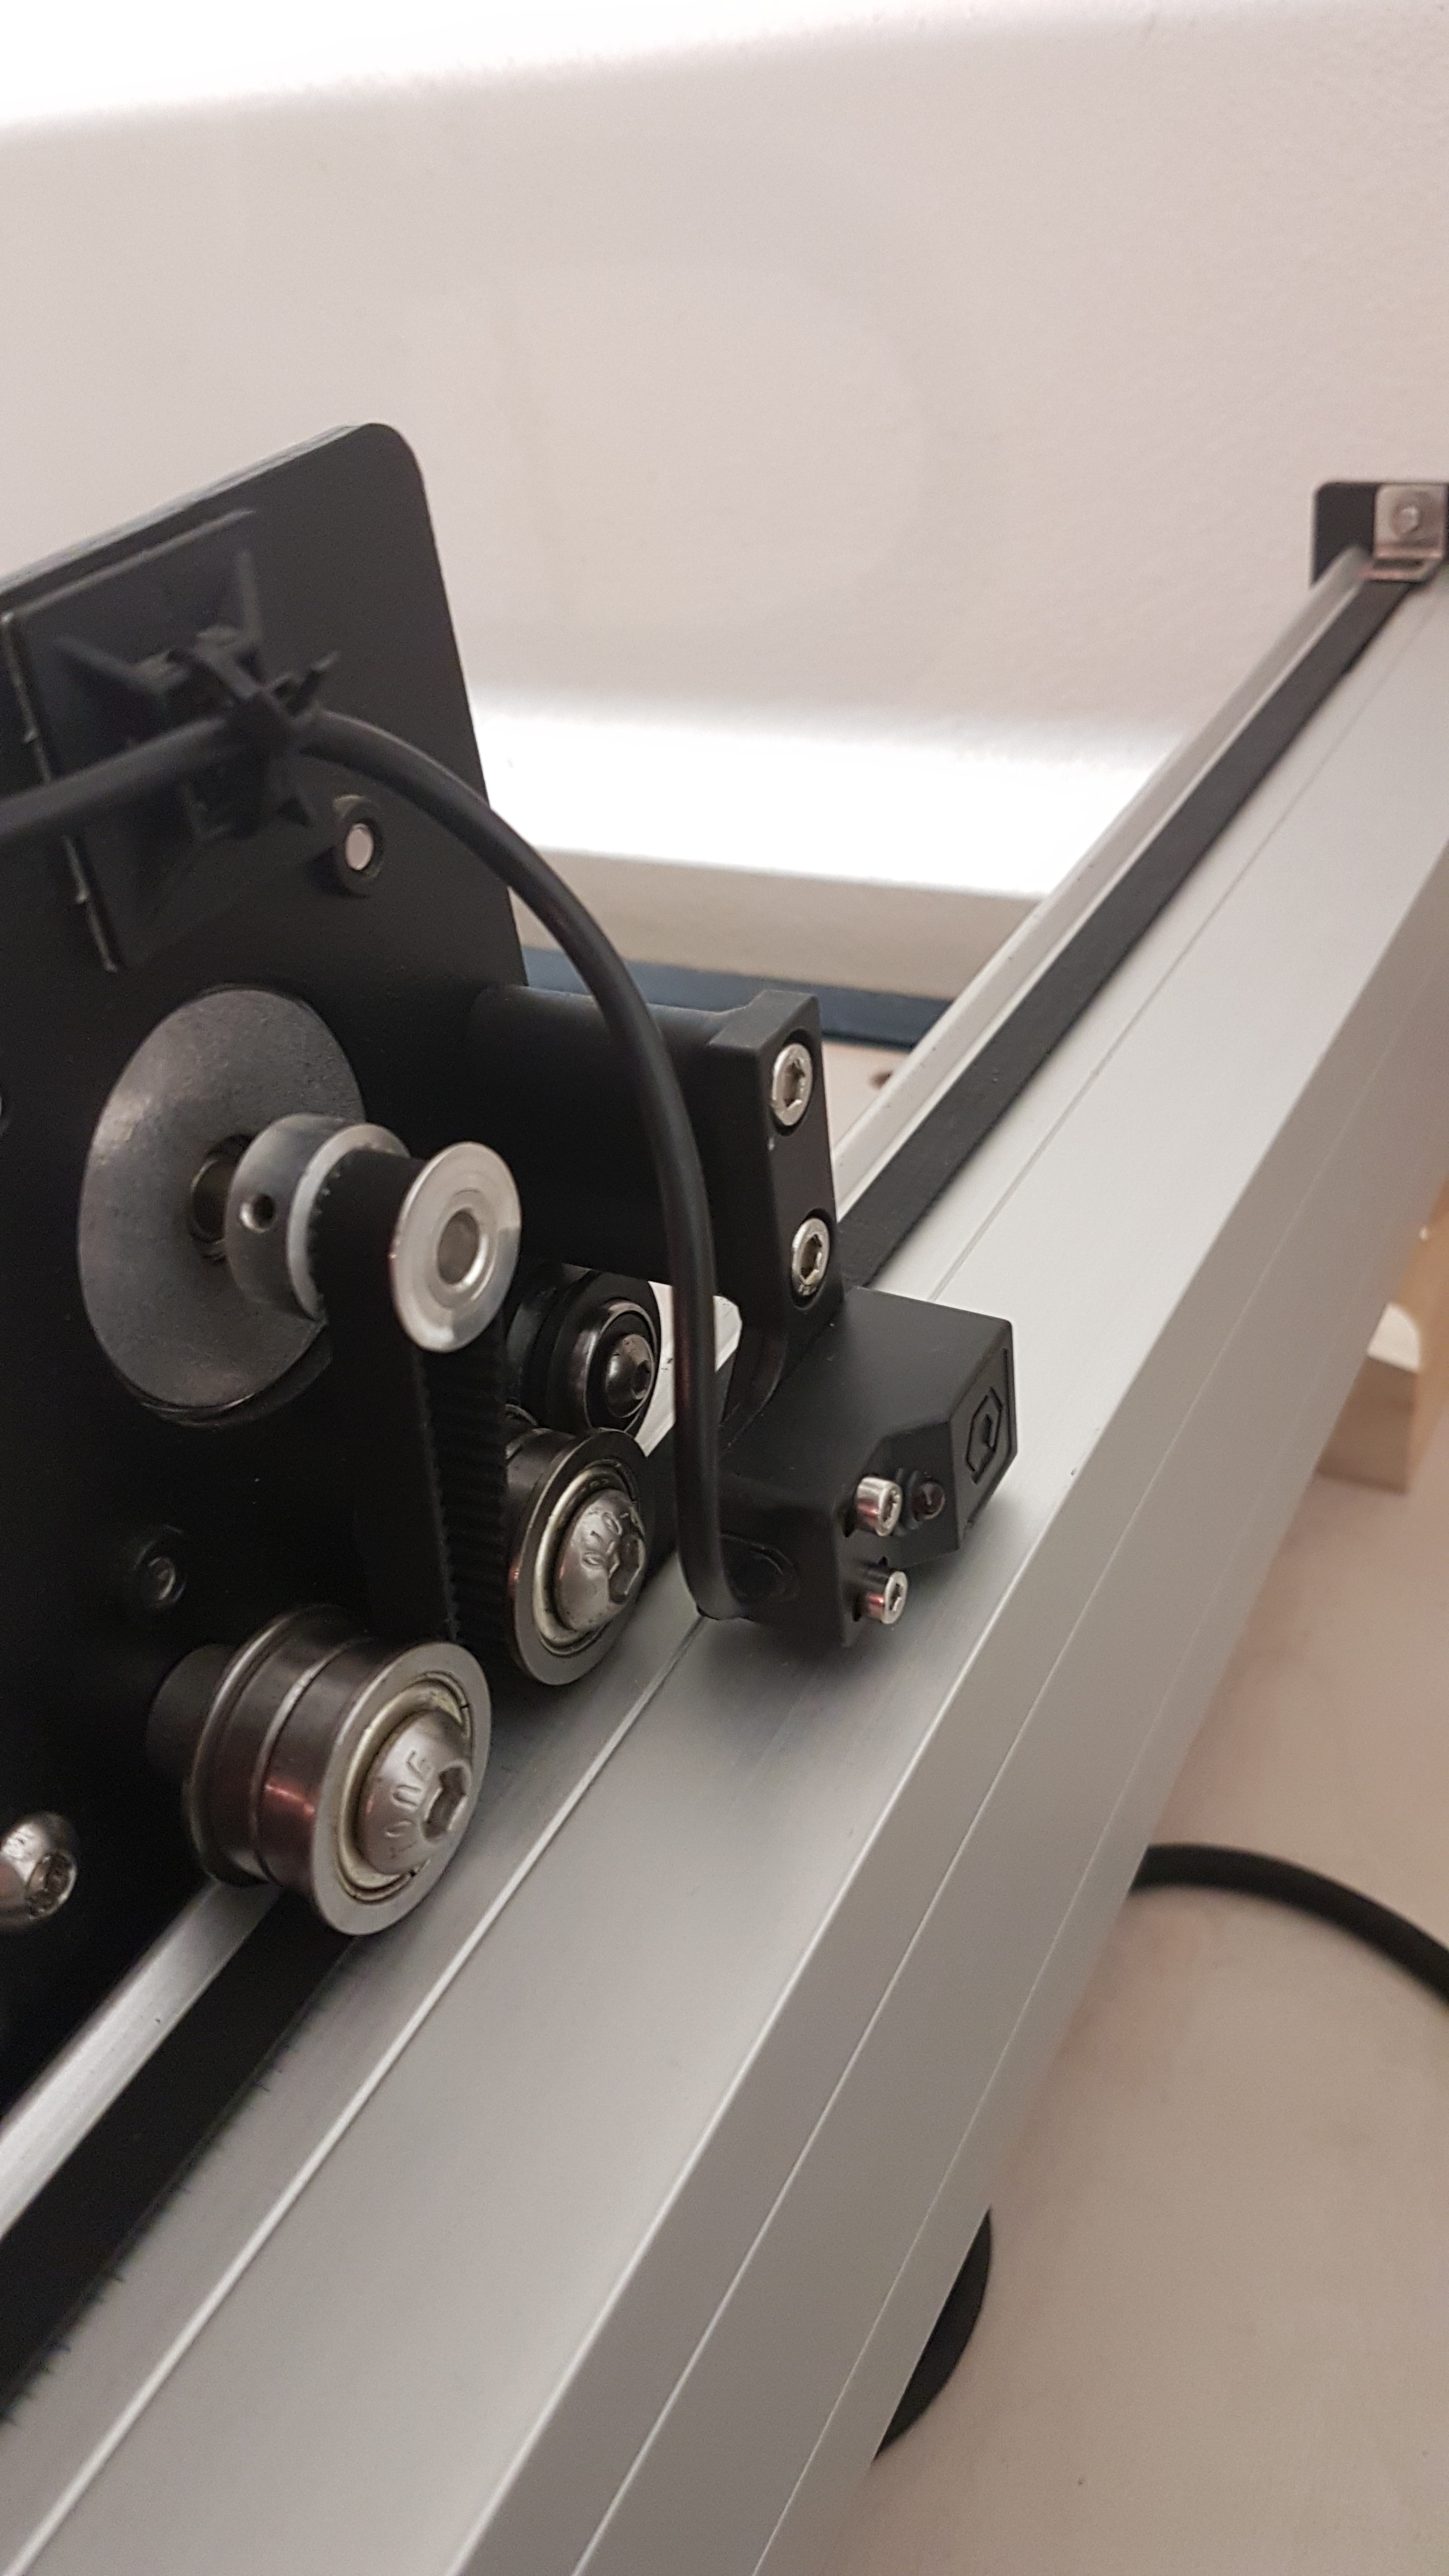
for the Inductive Homing Switch, you can follow the pdf of the z-plus. the bindings are the same. help yourself a lot with the pictures. and look good for the little switch on the control card, zoom on the picture to see the meaning. you have no choice anyway. i can send you better pictures if you want.
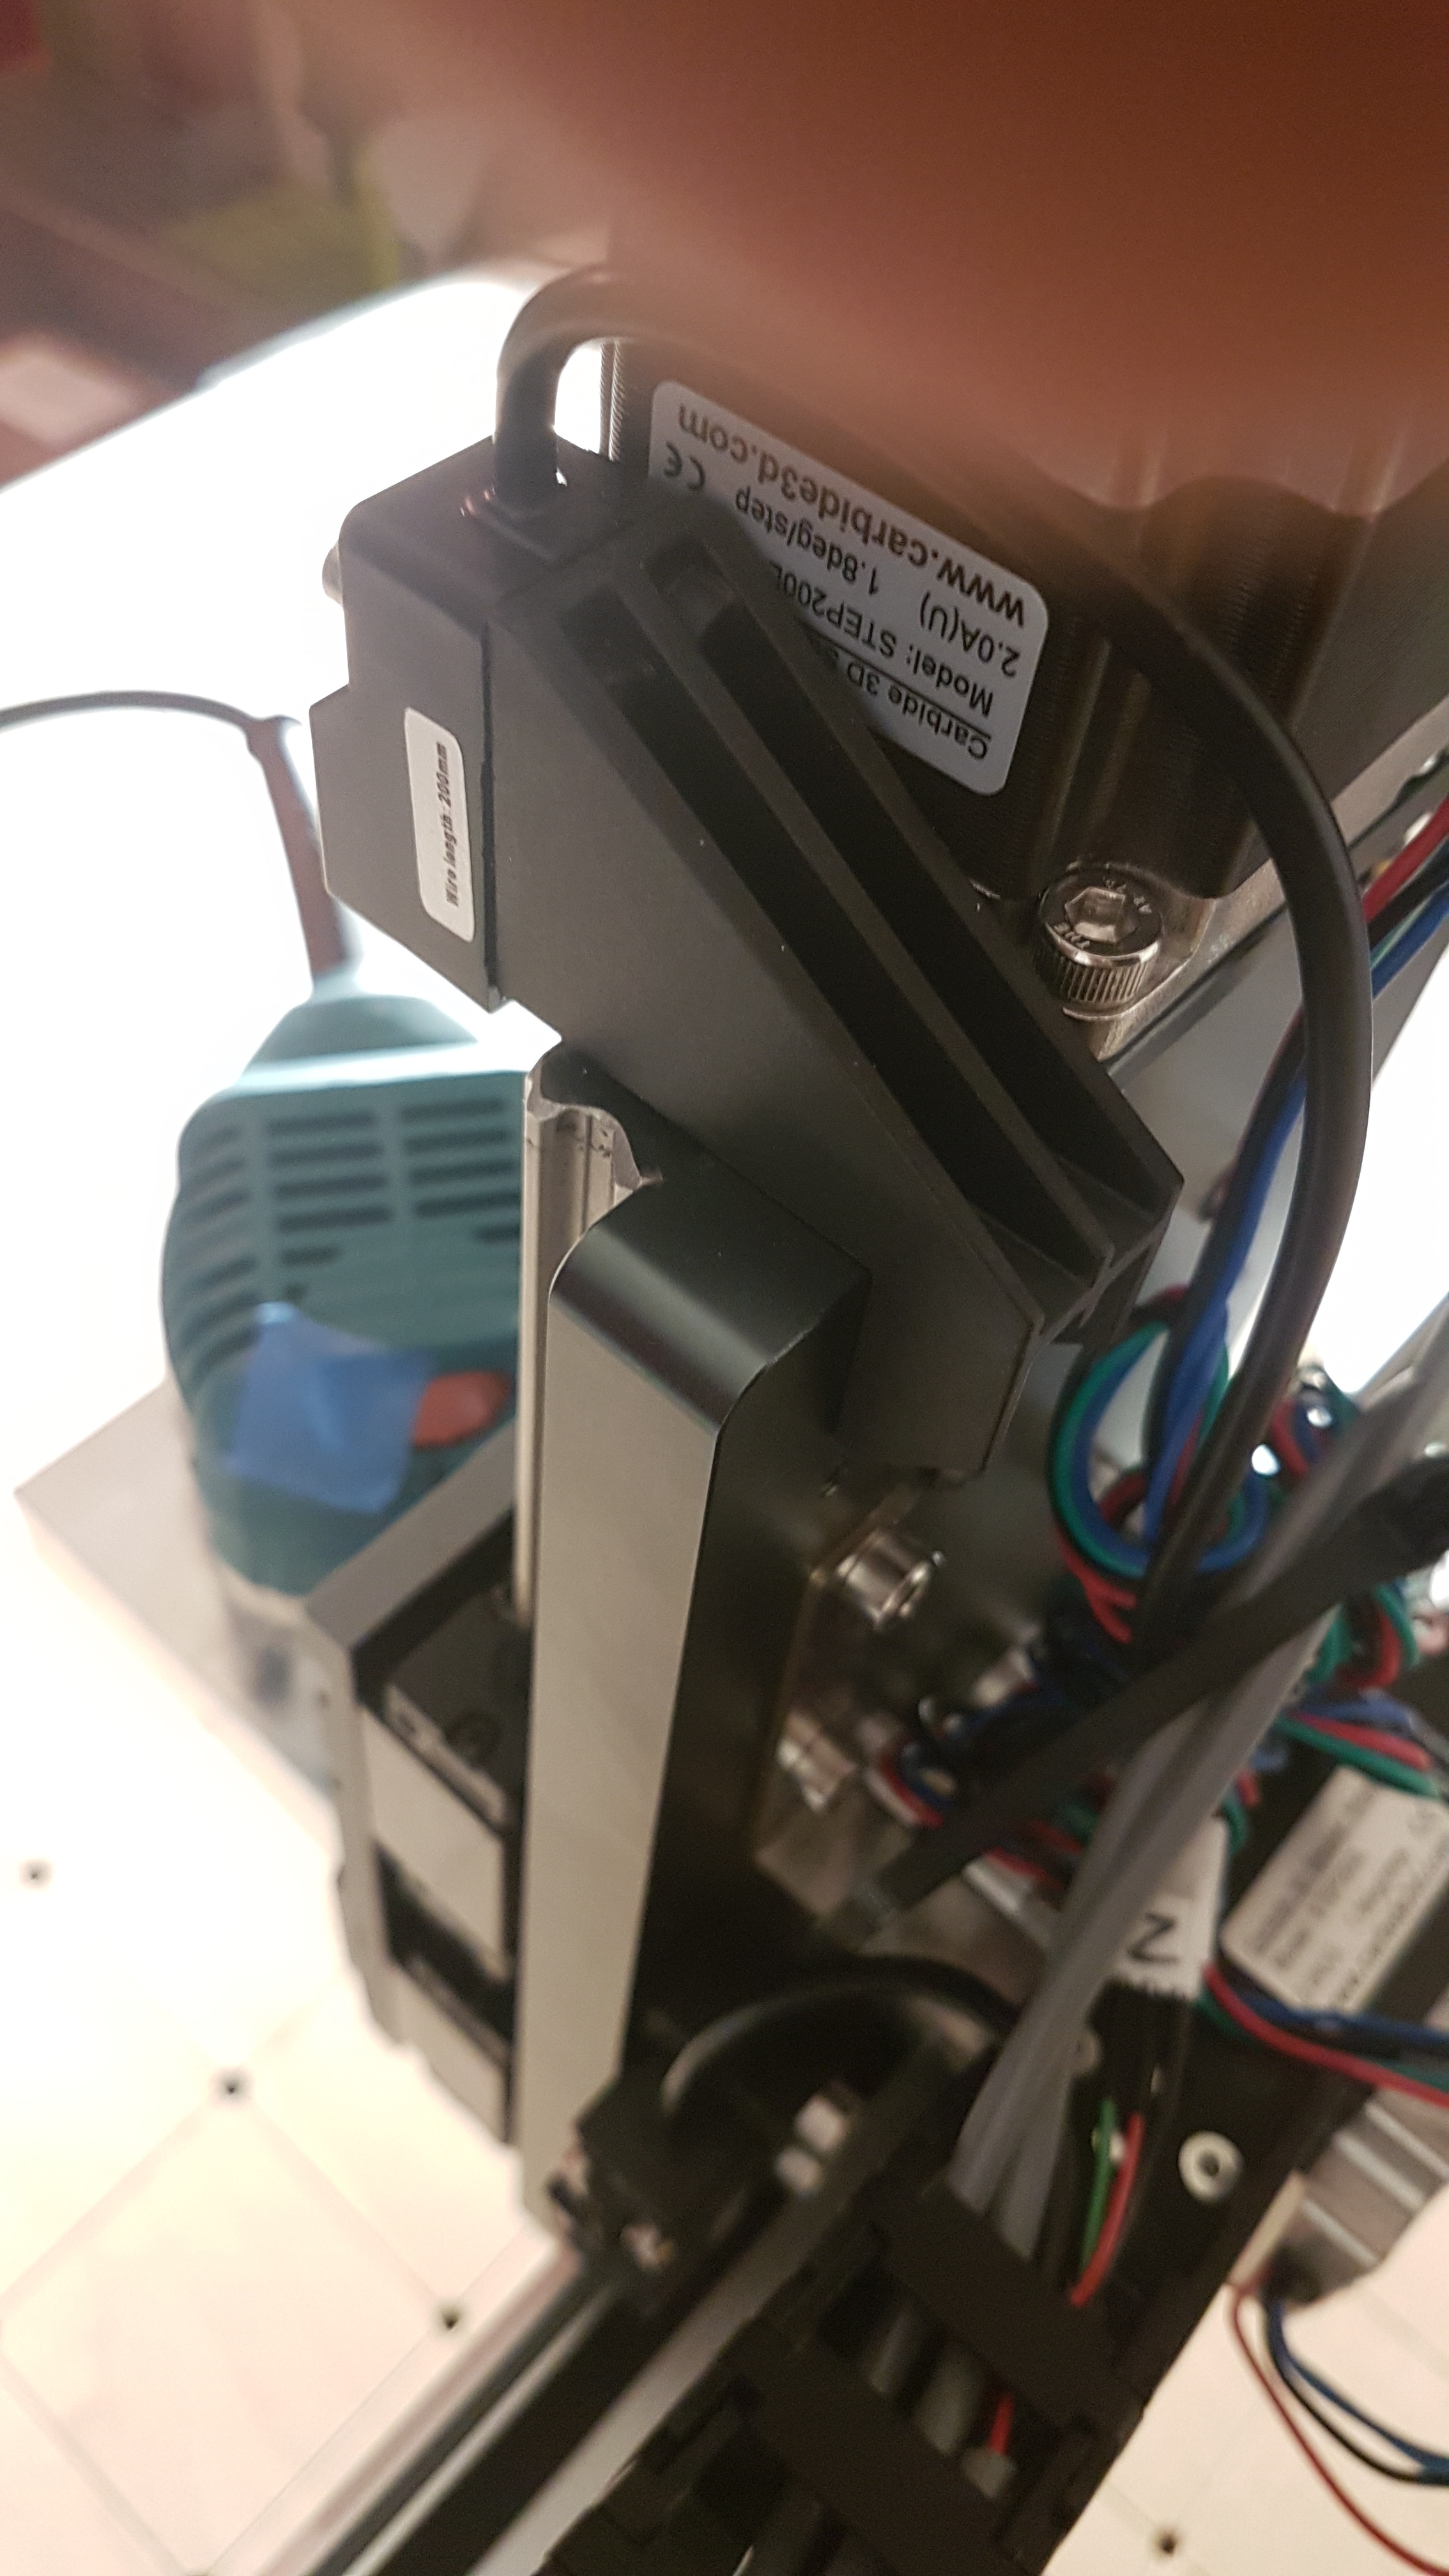
Anyone from Carbide, can you provide the length of the new proximity sensors for the appropriate axis? Each of my sensors have different lengths written on the sides, but no indication of what axis they are intended for.
QUESTION: The ZPlus upgrade documentation specifies that you need to turn off the BitSetter (in CM) and reset the location after the first homing. The HDZ documentation does not mention the BitSetter. I have the HDZ and the BitSetter…Do I need to follow the procedure to turn off the BitSetter (and re-establish location later) for the HDZ as well?
@WillAdams Sorry Will…this is the actual question…
I would say yes since the X/Y coordinates of the BitSetter may have changed a bit due to the different geometry of the different Z axes. Disable BitSetter temporarily just to be sure it won’t try and probe in the wrong place during the first homing, then re-enable it using the correct/new X/Y coords.