My plan was to cut names/shapes out of 1/2 inch MDF and attach them to a round plywood base. had problems with the base but this group helped me out and it’s done.
the problem I’m having is cutting the MDF with my 1/8 inch endmill
.
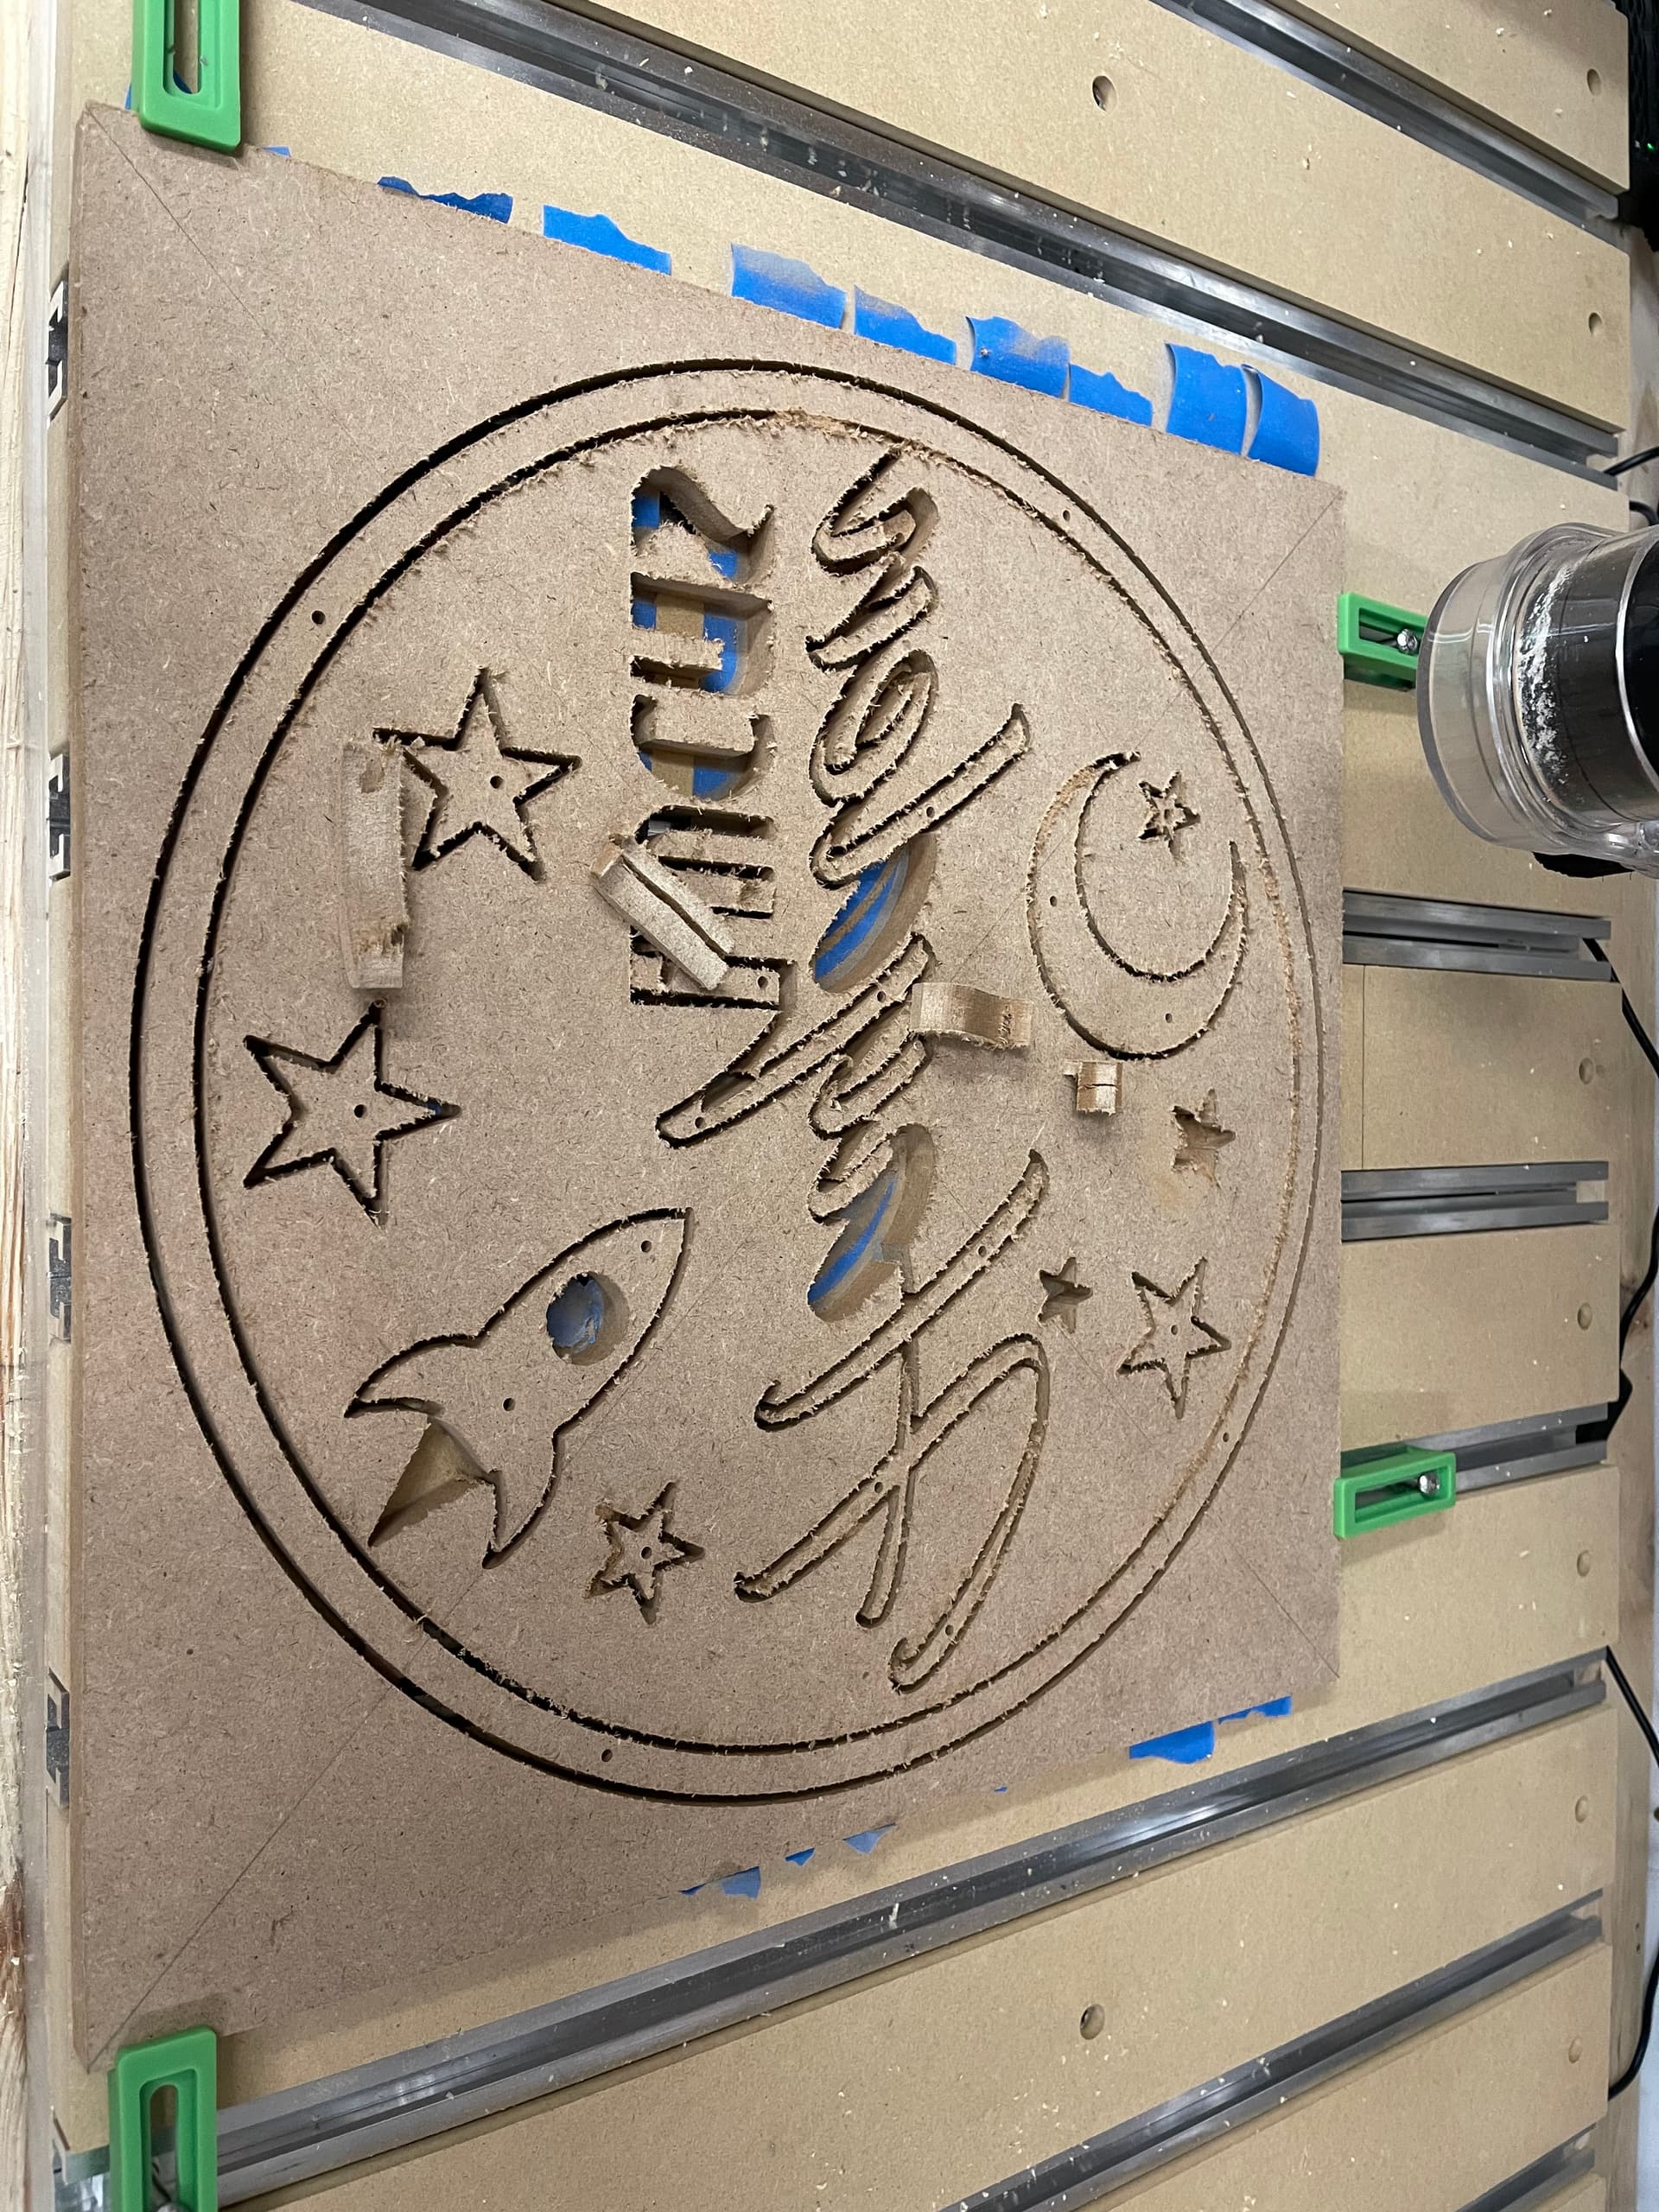
I made my design carbide_design.jpg
used painters tape along the back of the mdf sheet (didnt work out great) and fastened the material down with the green clamps.
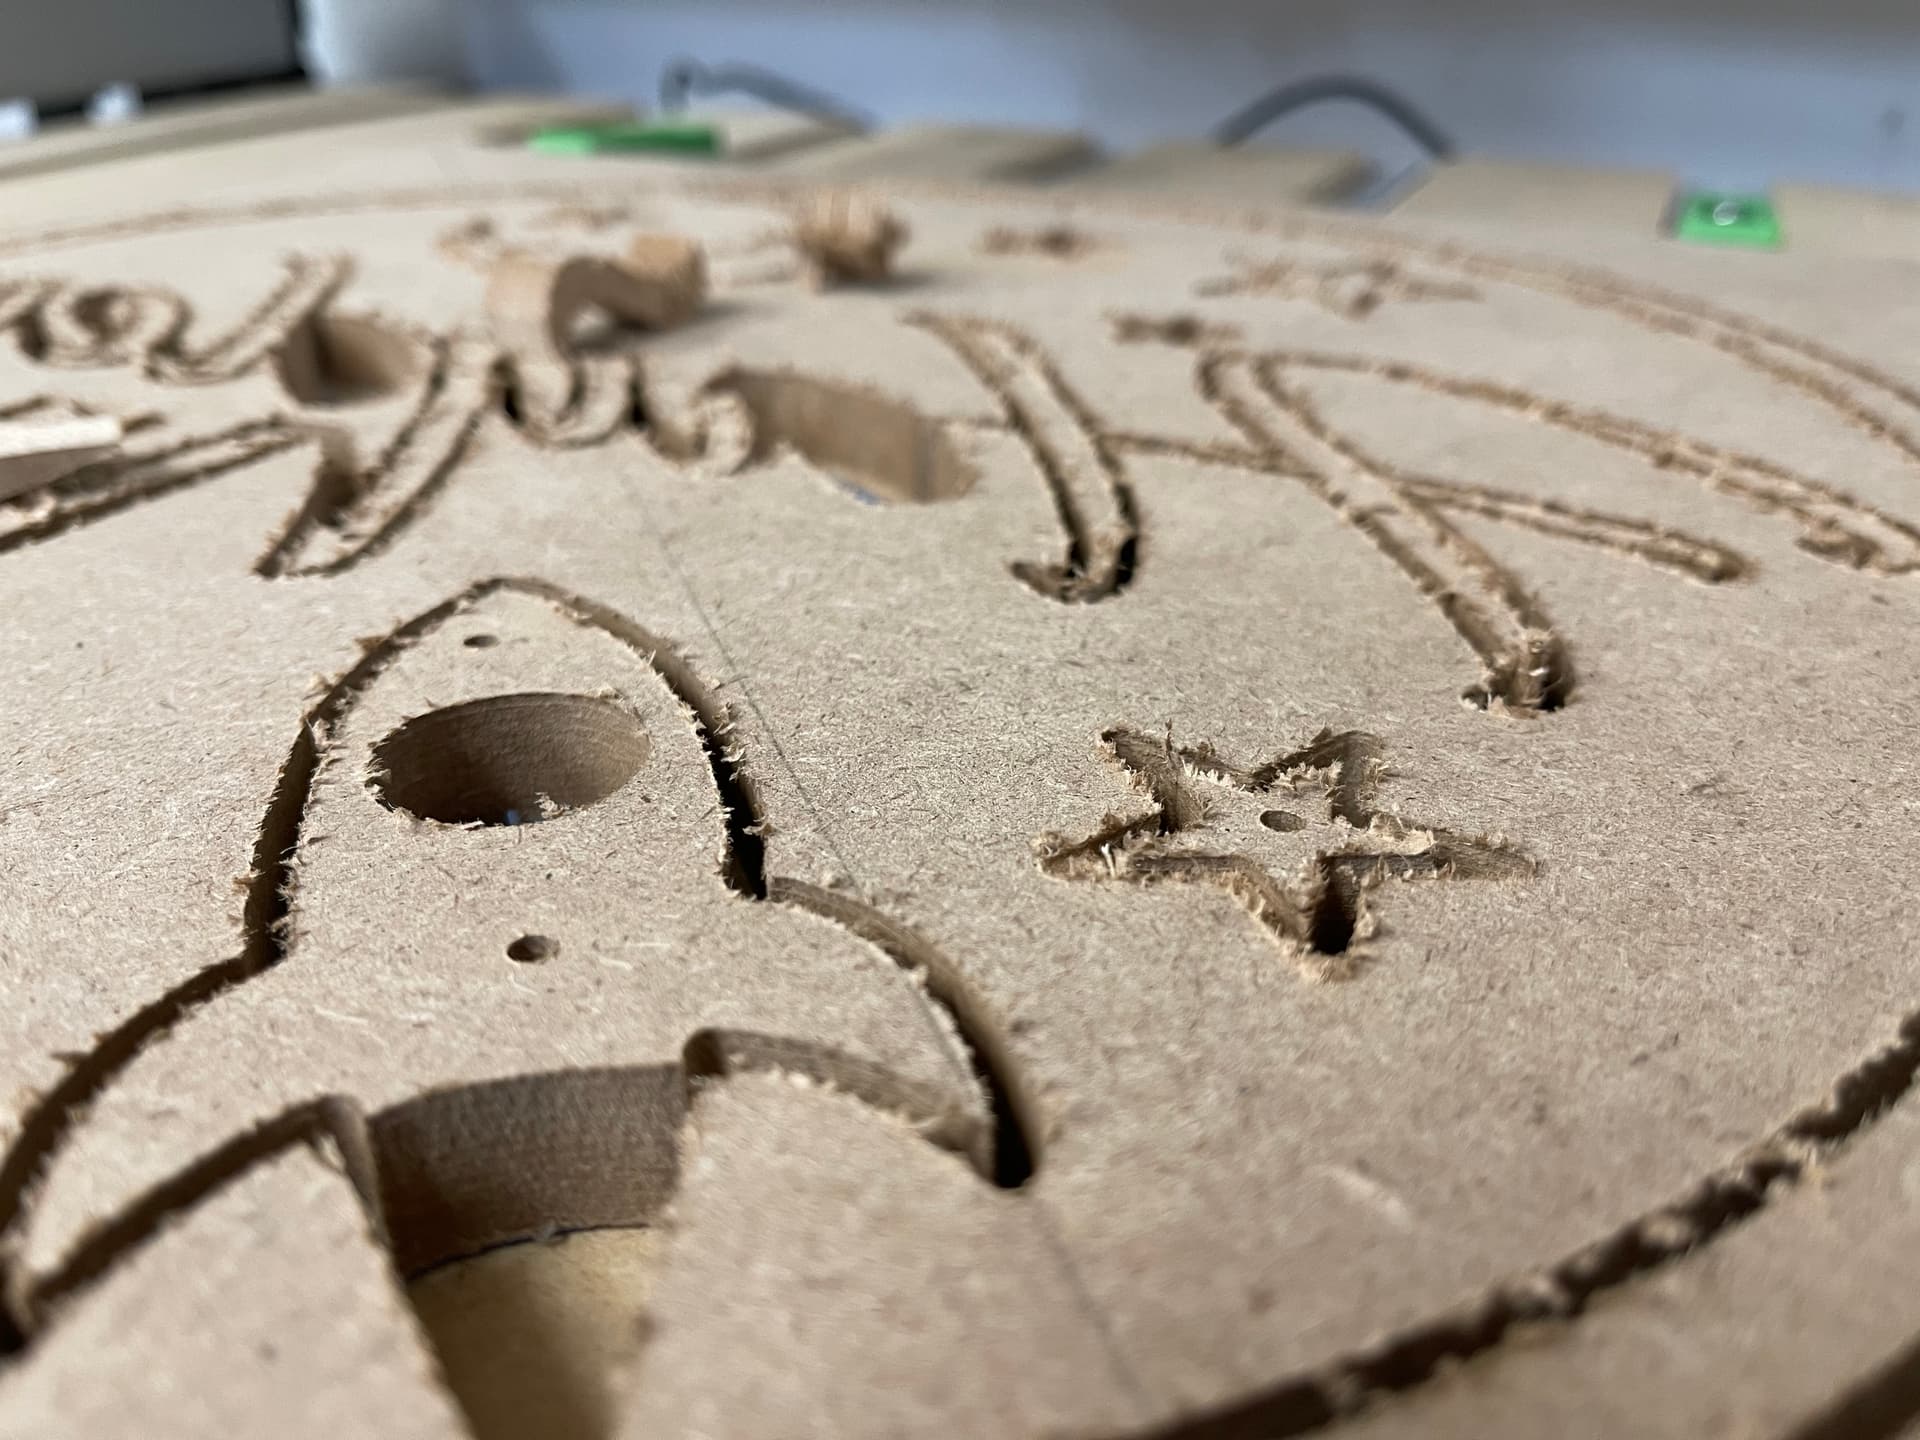
Not only did letters start getting sucked up into the vacuum but the cuts didnt look great. I used the contour toolpath with no offset
this is still my first project so please be kind ;-). I’m making it for a friend so i’m not afraid to put in the work and learn as i go.
I’m open to suggestions and looking for some guidance. end results and project attached
Should i use thinner MDF? back to wood?
thanks in advance
If you want elements of specific sizes which match the drawn geometry you’ll need to do either inside or outside contour toolpaths, or to use V carving — a no offset contour necessarily removes radius to either side, which depending on how large the design is relative to the endmill distorts things.
For a first project, the best things is to start w/ something simple — a single piece of stock, and a single part w/ set of toolpaths w/ just one tool.
I’m also very new to this, but have some thoughts about how I might approach this project. (Also good to see another Long Islander!)
The depth of 1/2” feels pretty heavy for the style you’re going for. You may be happier with the result using 1/4” thick MDF. Plus easier to cut. I feel like the shadow lines that the 1/2” would give could be in conflict with the final design.
If it’s an option, scaling up the overall design a little might make the whole project a bit easier to cut and finish. You may also be able to incorporate small tabs that would help keep the letters in place. They can easily be trimmed with a utility knife or xacto at that size.
It may also be worth considering a bit of a different approach to the final product. The “Hayden Lucas” and the thin outer rim might look cool and cleaner as a v-carve instead… Especially due to the fine lines of the text. A combination of the vcarve and applied pieces might give it interesting depth?
You might also v-carve outline all the pieces and just use those lines as a paint guide? Much simpler project overall that way but maybe that’s a good place to start?
If you’re using a two-flute straight bit, you may get cleaner cuts and less tear out by using an upcut bit on MDF.
I’m sure others will have more “pro” advice than me, but sometimes a brainstorm is as good as a how-to…
Best of luck with the project! Looking forward to seeing the final results!
If you’re set on the overall project size, I’d agree with @ProfessorEcks on moving to a thinner material.
Are you set on fonts too? If so, you can outset the font a bit to give the same feel without the super thin parts.
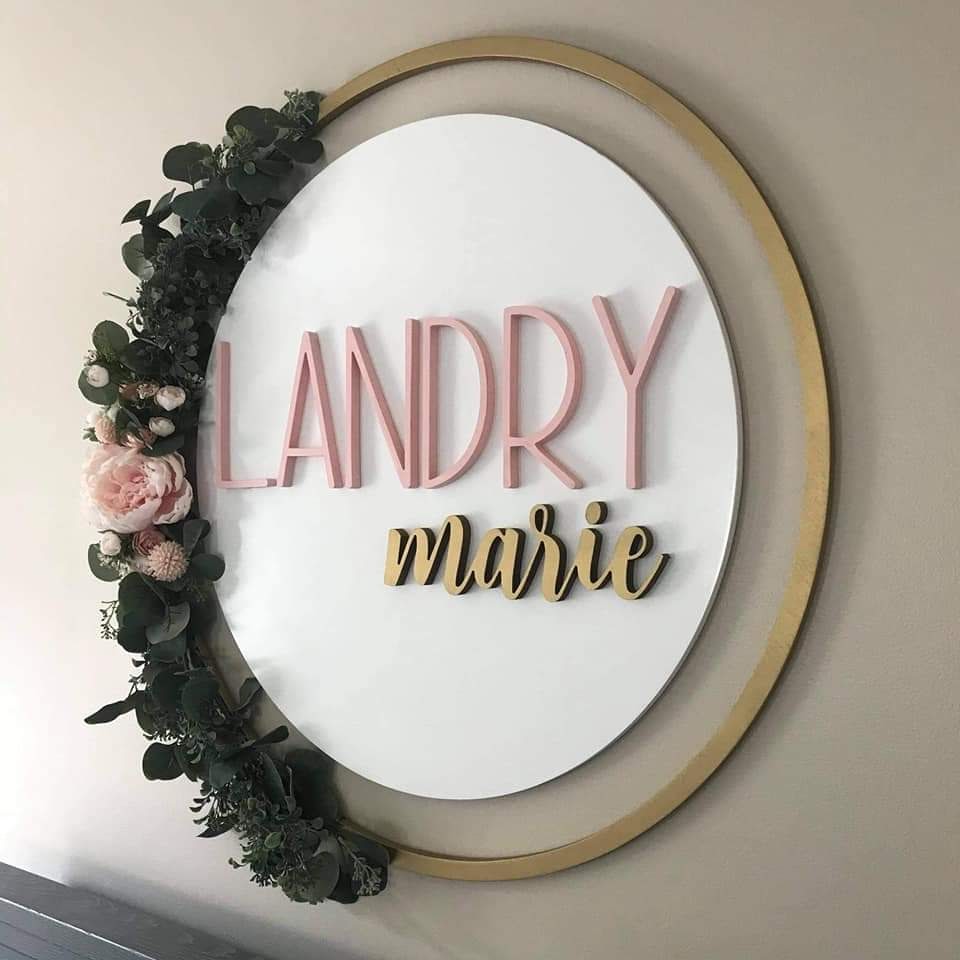
I use a 1/16" bit on half inch MDF when I need to keep detail… It’s a two flute upcut from Amana. I think the cut height is right at 1/2". It wasn’t cheap, but it does a great job.
These have 1/2" MDF, but the overall size is bigger.
It isn’t easy to see in your first photo, but you might want to review the blue-tape-glue method and compare that with how you applied your blue tape. It takes a good deal of pressure to get that to work well, and that’s harder to do on a large project. The CA glue bond works better with a super thin layer obtained via pressure. The method does work if applied correctly.
I use PVC board for a lot of my projects. It cuts very clean and is easy to work with. I use mostly 3/4 inch boards but Home depot has it in 1/4 sheets. Price is very reasonable.
I did, along with others that are similar…thanks!
They are bigger, between 32" and 36". The circles (1/2" ply) were cut with a palm router.
That’s the endmill. It was about $35 on Amazon when I got it.
One other note on tearout which I don’t think was mentioned; I seem to get the best cutting results on throughcuts by using both a downcut and upcut bit. I place my workpiece on sacrificial board (normally corrugated cardboard). I start with the downcut bit for the first couple tenths of an inch, then switch out to the upcut bit to work down through the board. This provides clean entry on the top and exit on the bottom.