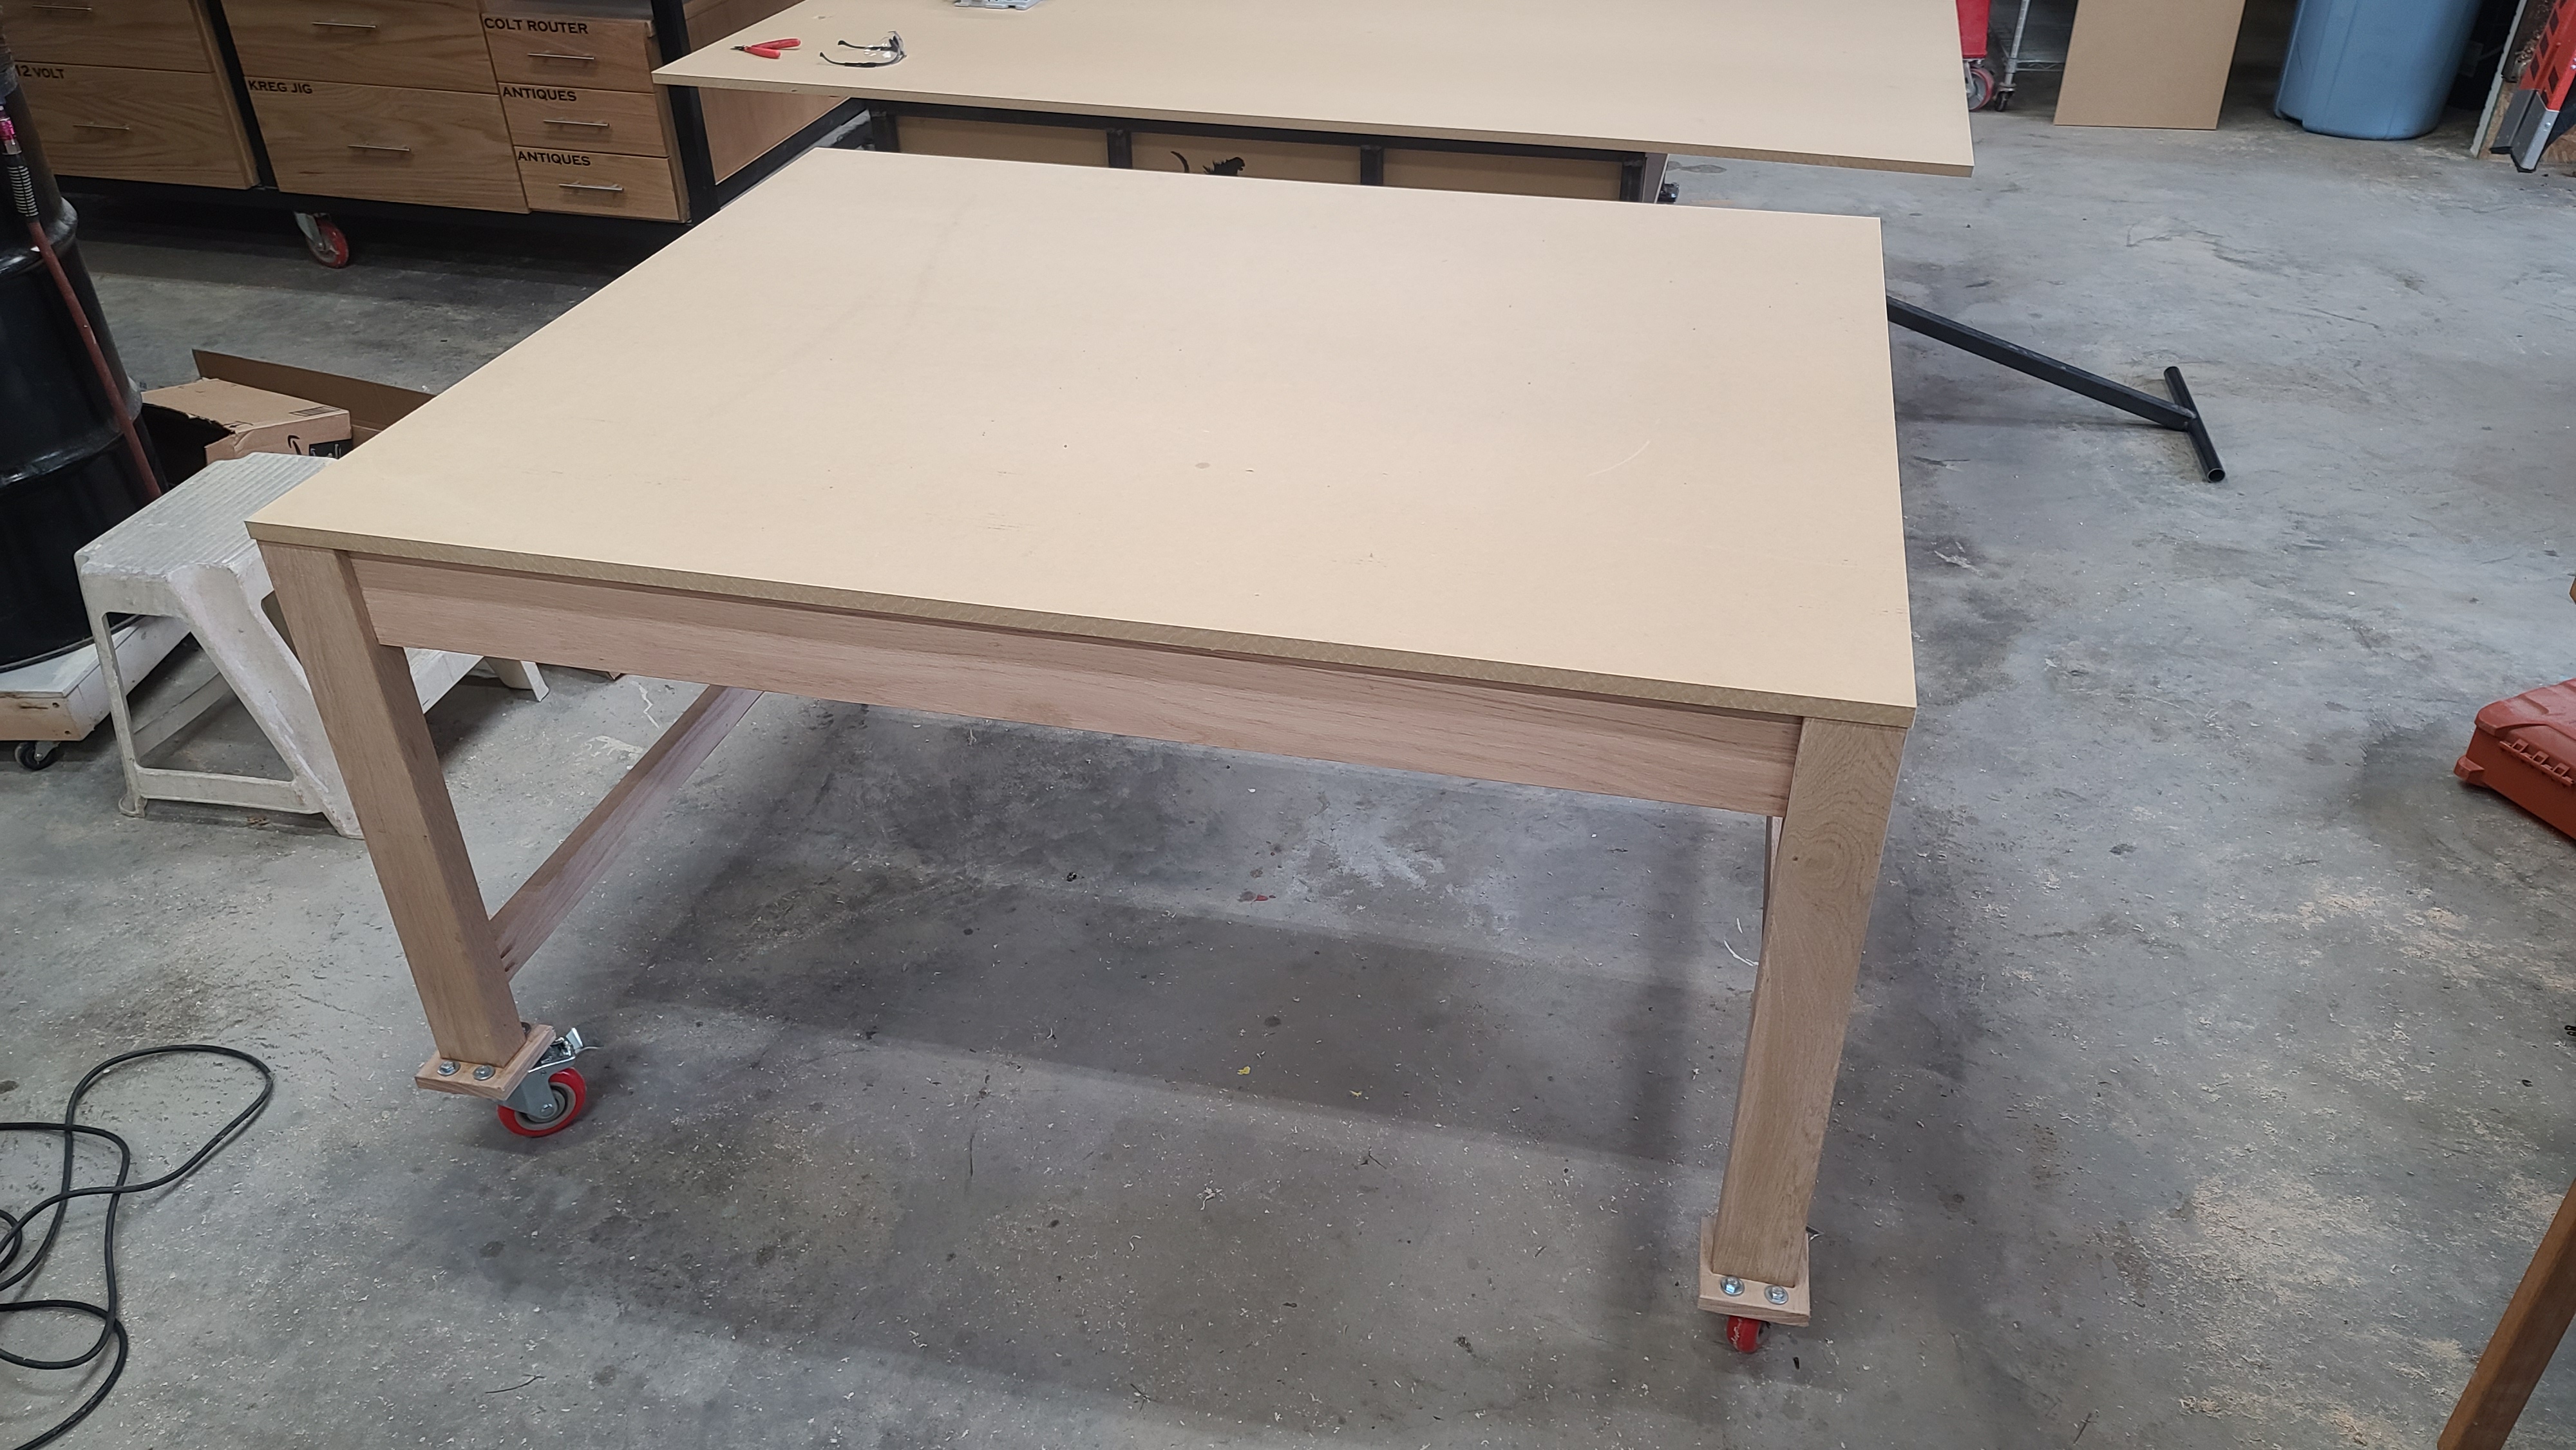
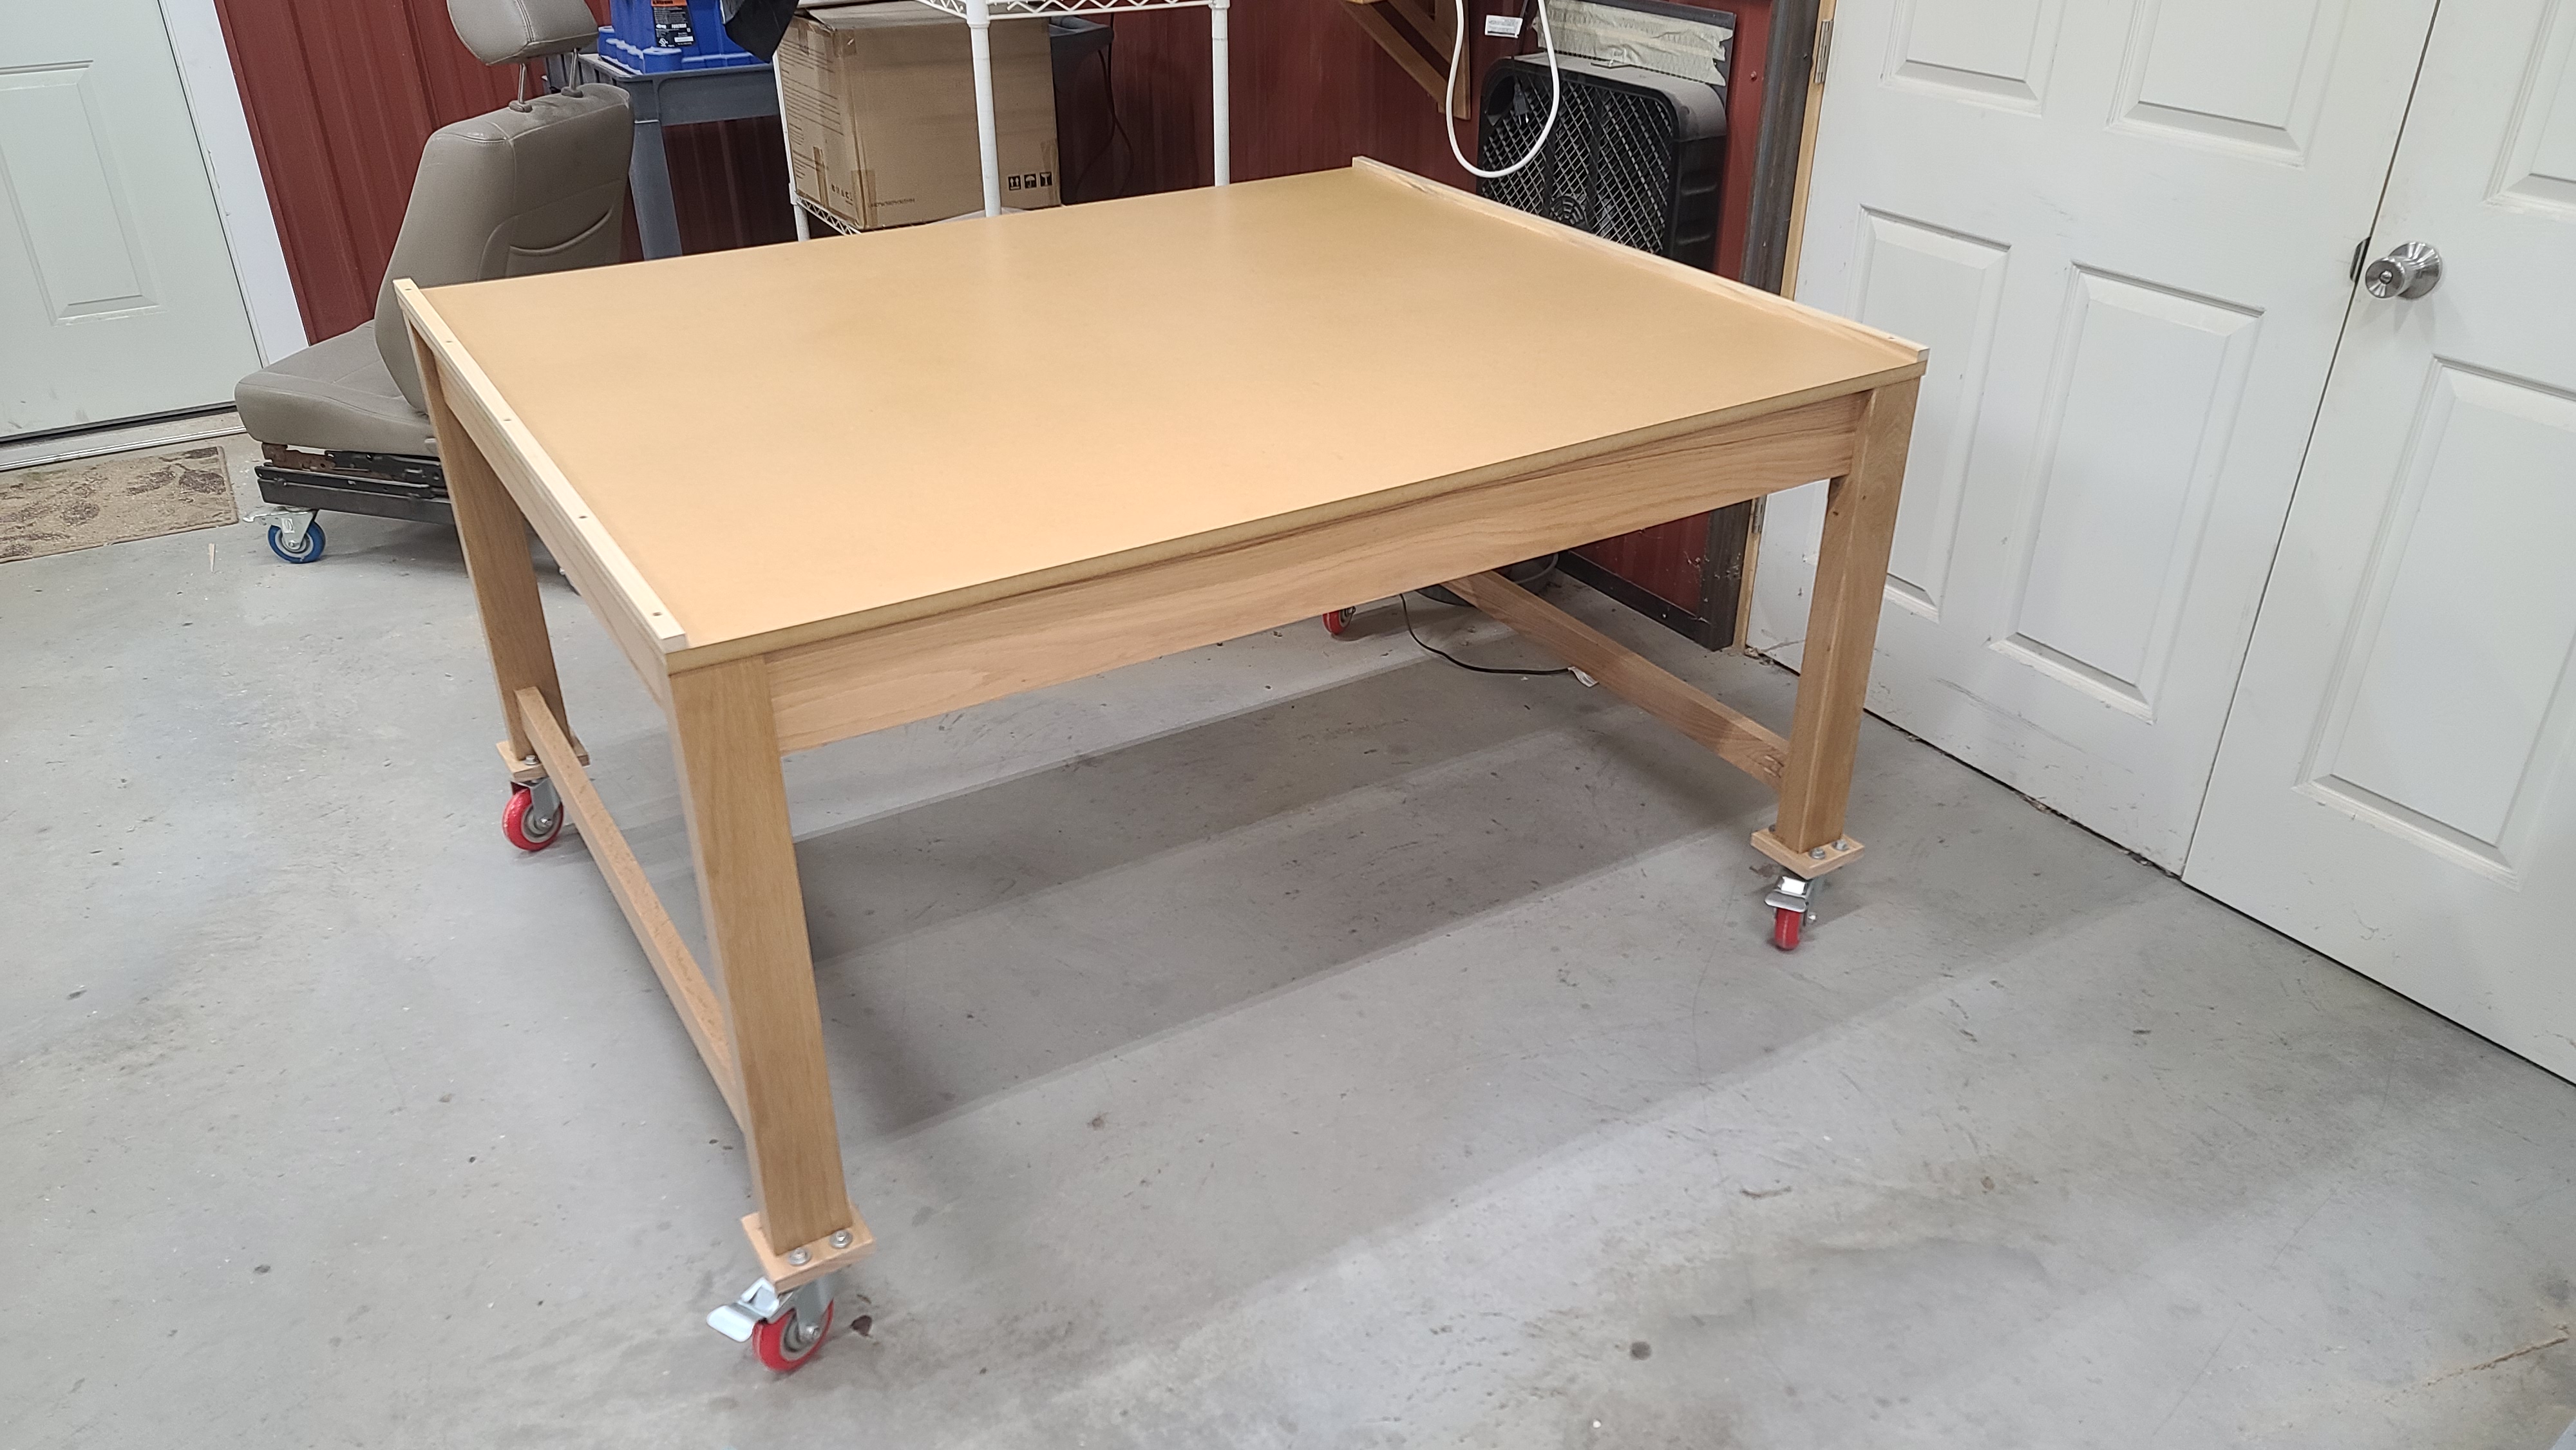
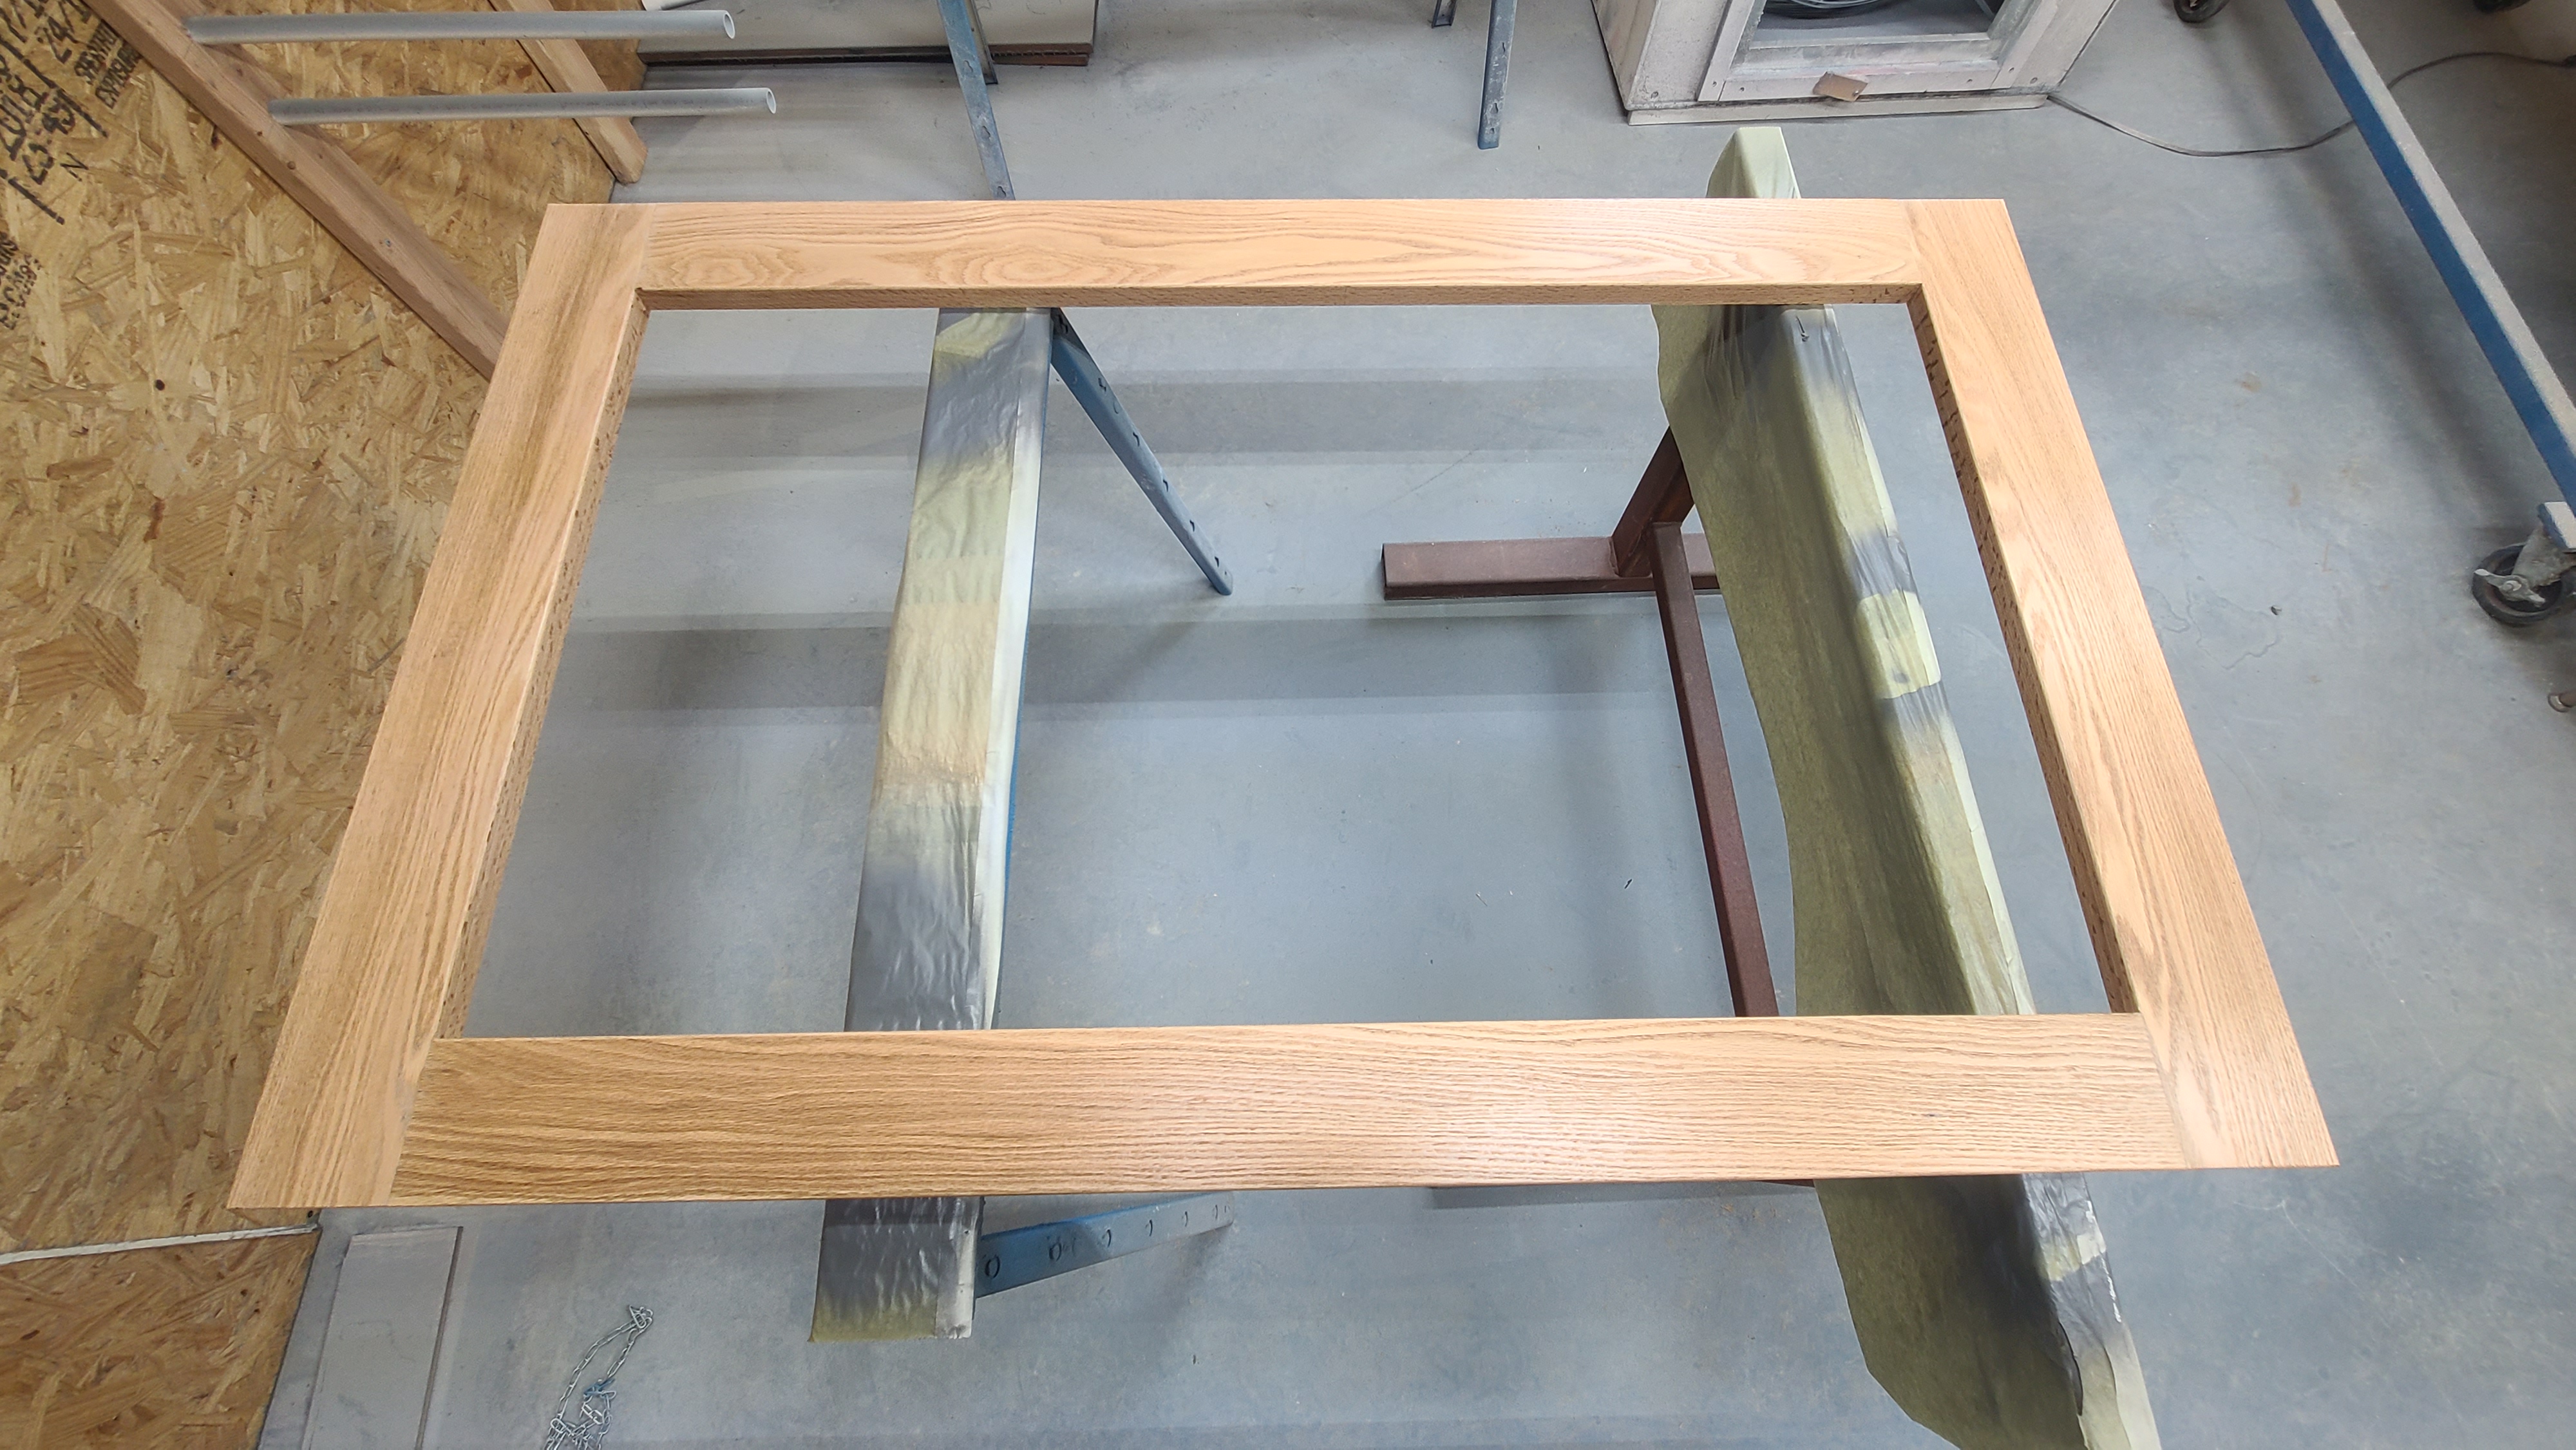
My table frame is made from 5/4 red oak with 2"x3" solid red oak legs.It’s 34" to the top of the table with the casters on. It should be sturdy enough for the machine. I’m am going to build a simple enclosure that measures 58" wide and 49" deep and 36" tall. It’ll all be constructed with 3/4" MDF. The front door frame, which will span the 58" width x 36" height will be made from red oak also. The front door will hinge at the top of the cabinet and be supported by gas struts.
I’m going to have 3 viewing windows in it. the 51" x 28" front plexiglass, and 2 side window openings measuring 28 x 18. All 1/4" Plexiglass. I plan for the enclosure to be able to slide to the back of the table and onto my tablesaw outfeed table if i need to service the Shapeoko. Will have more pics to come as the build progresses.
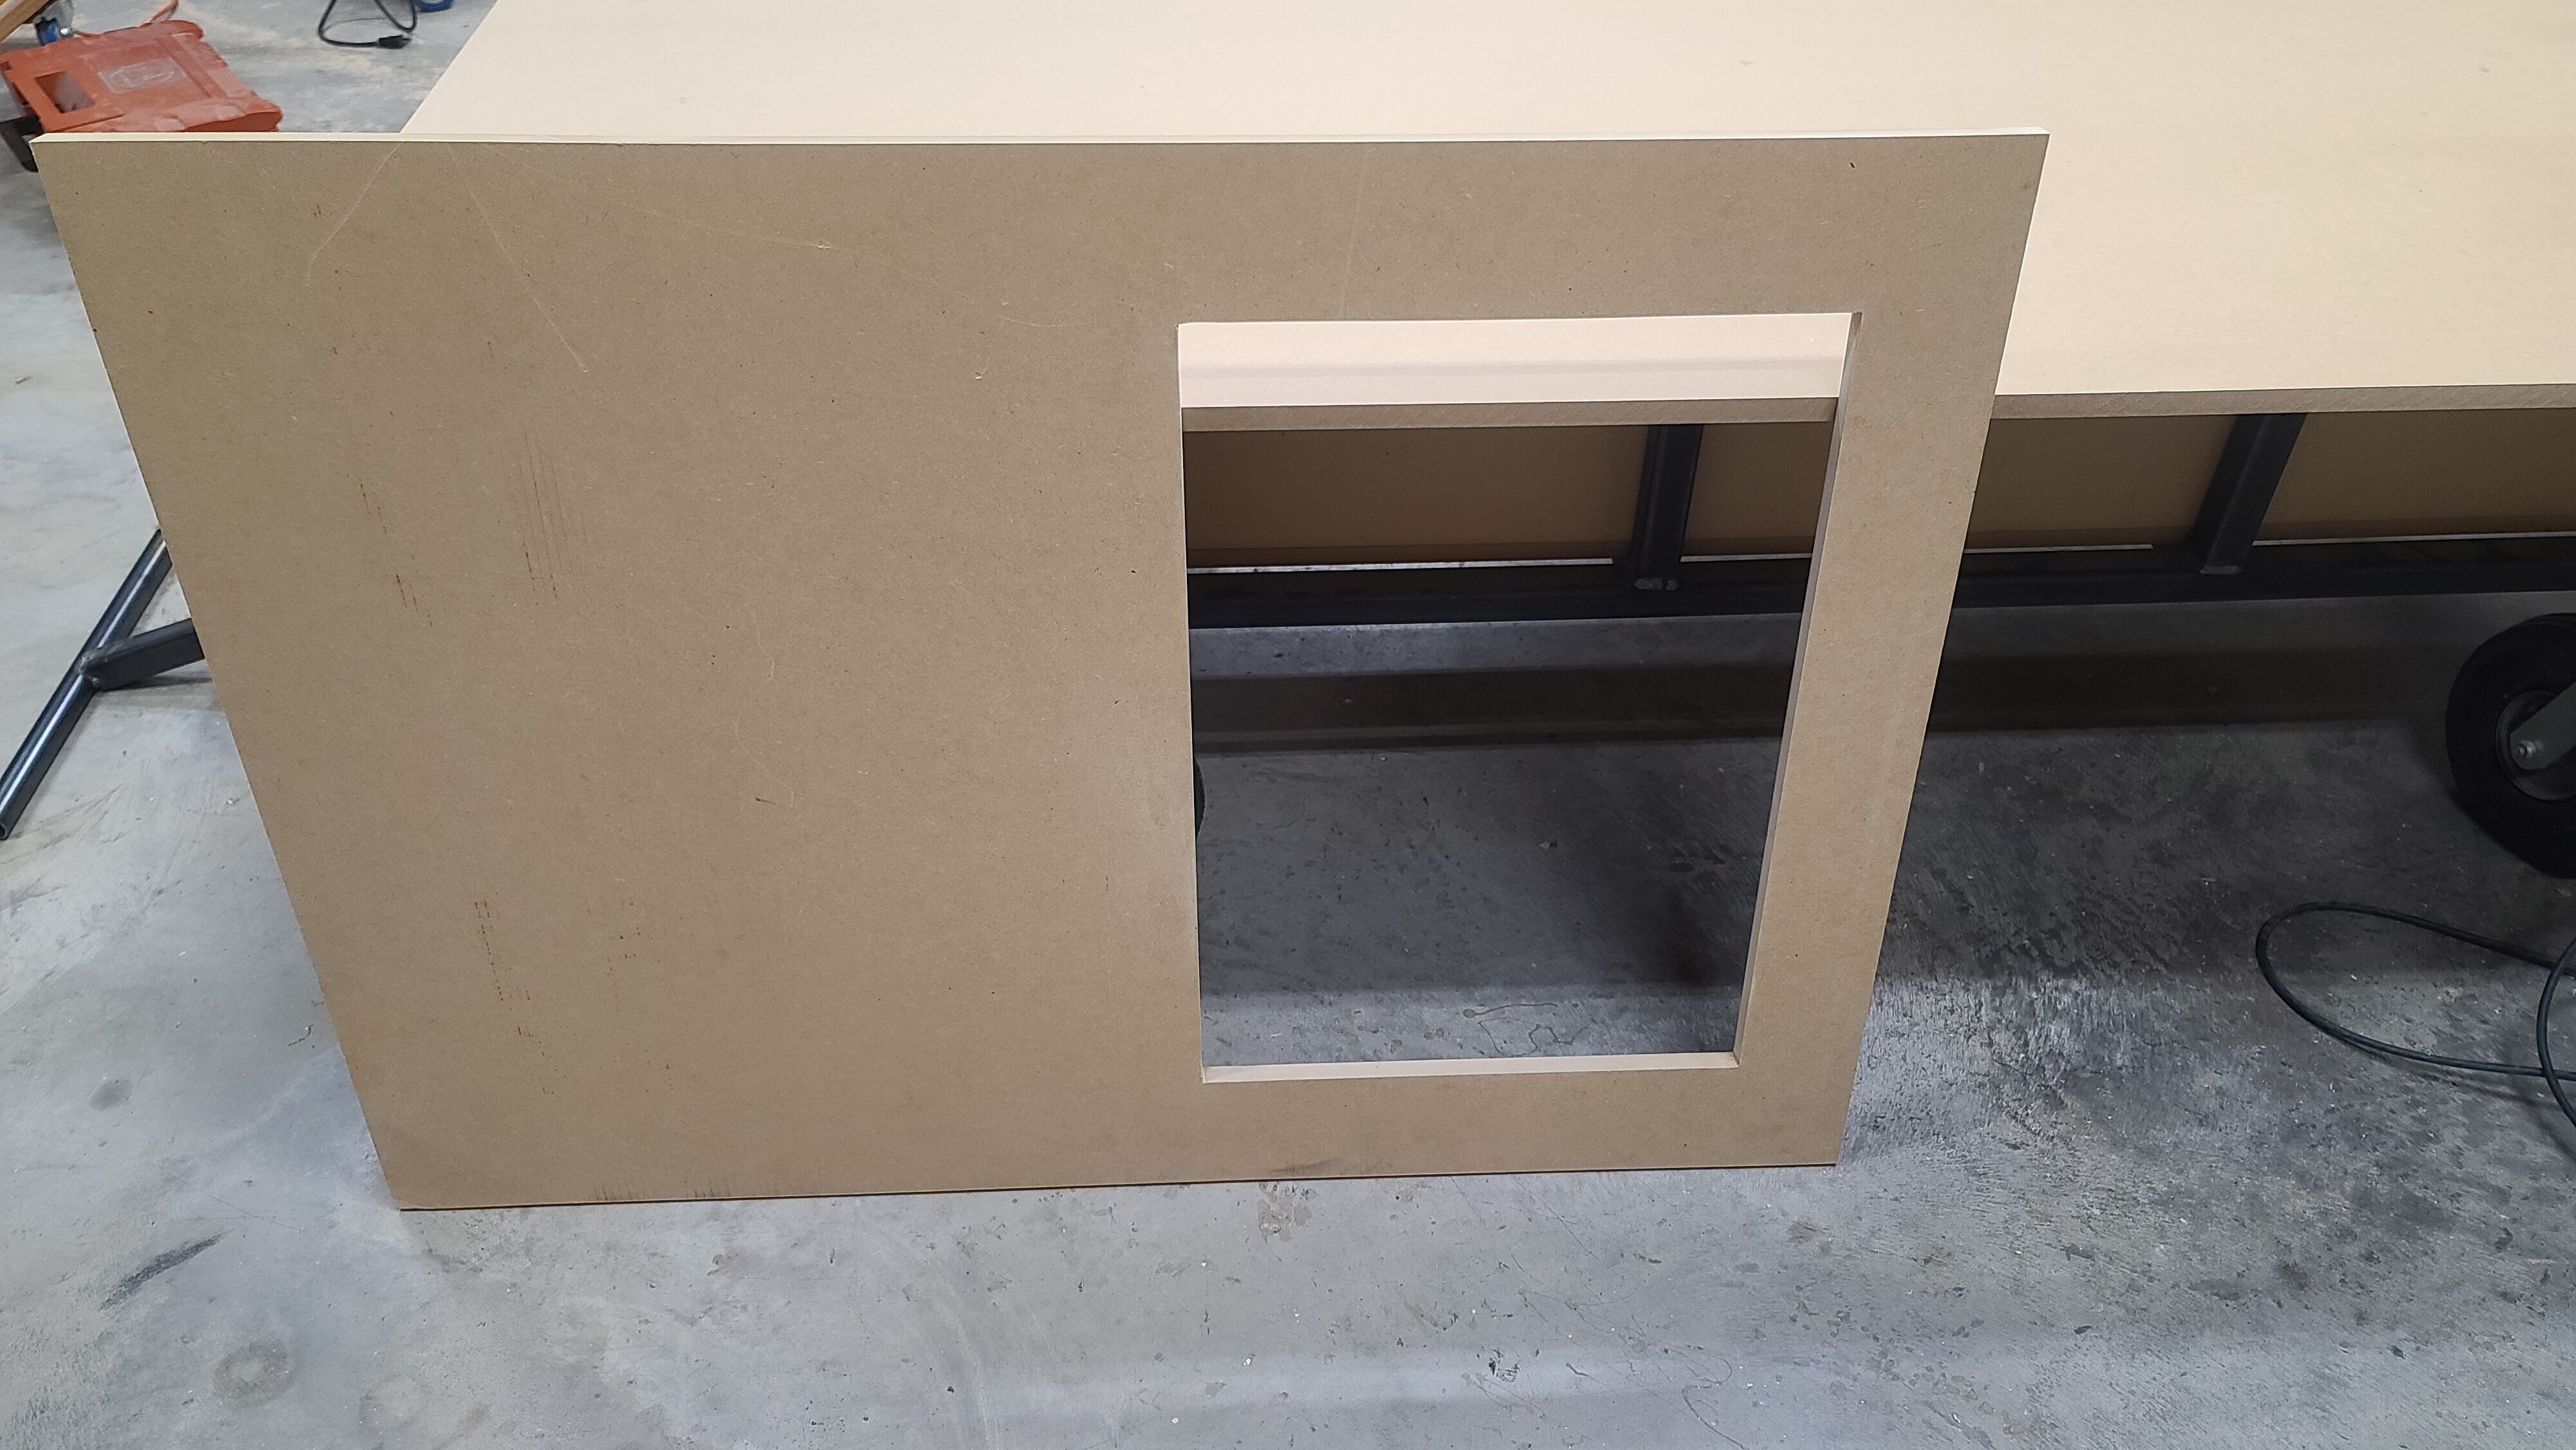
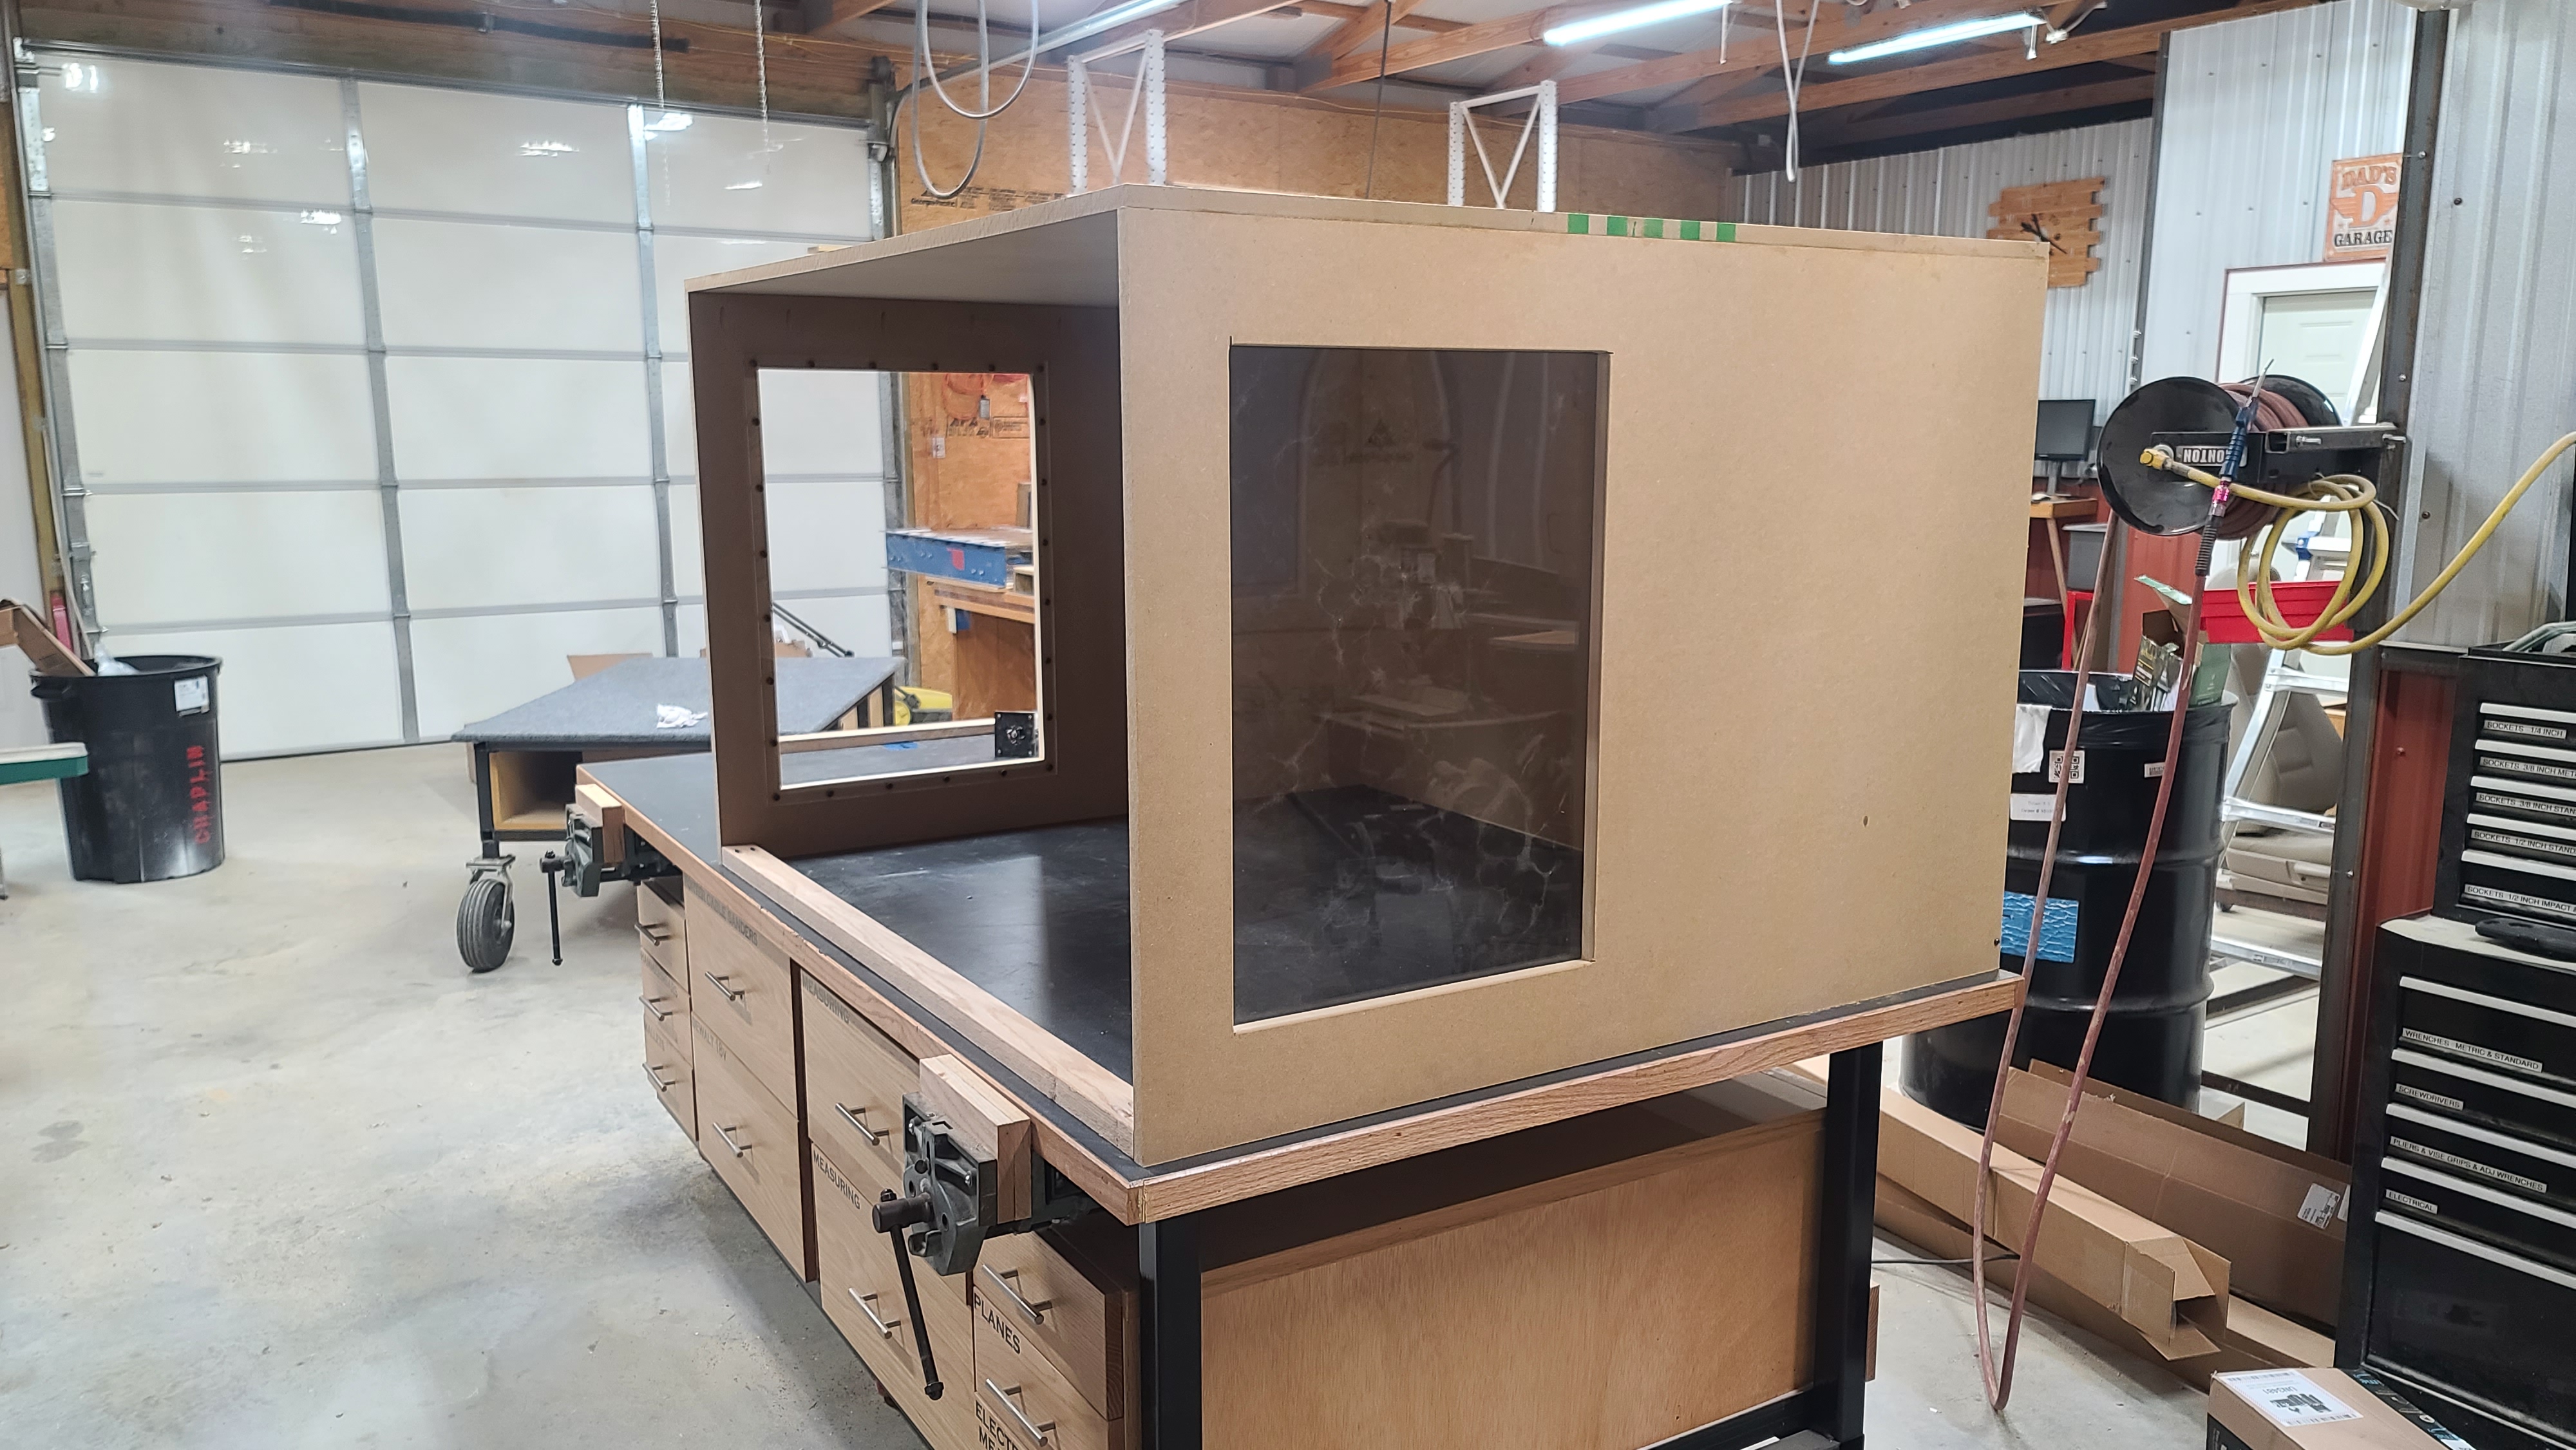
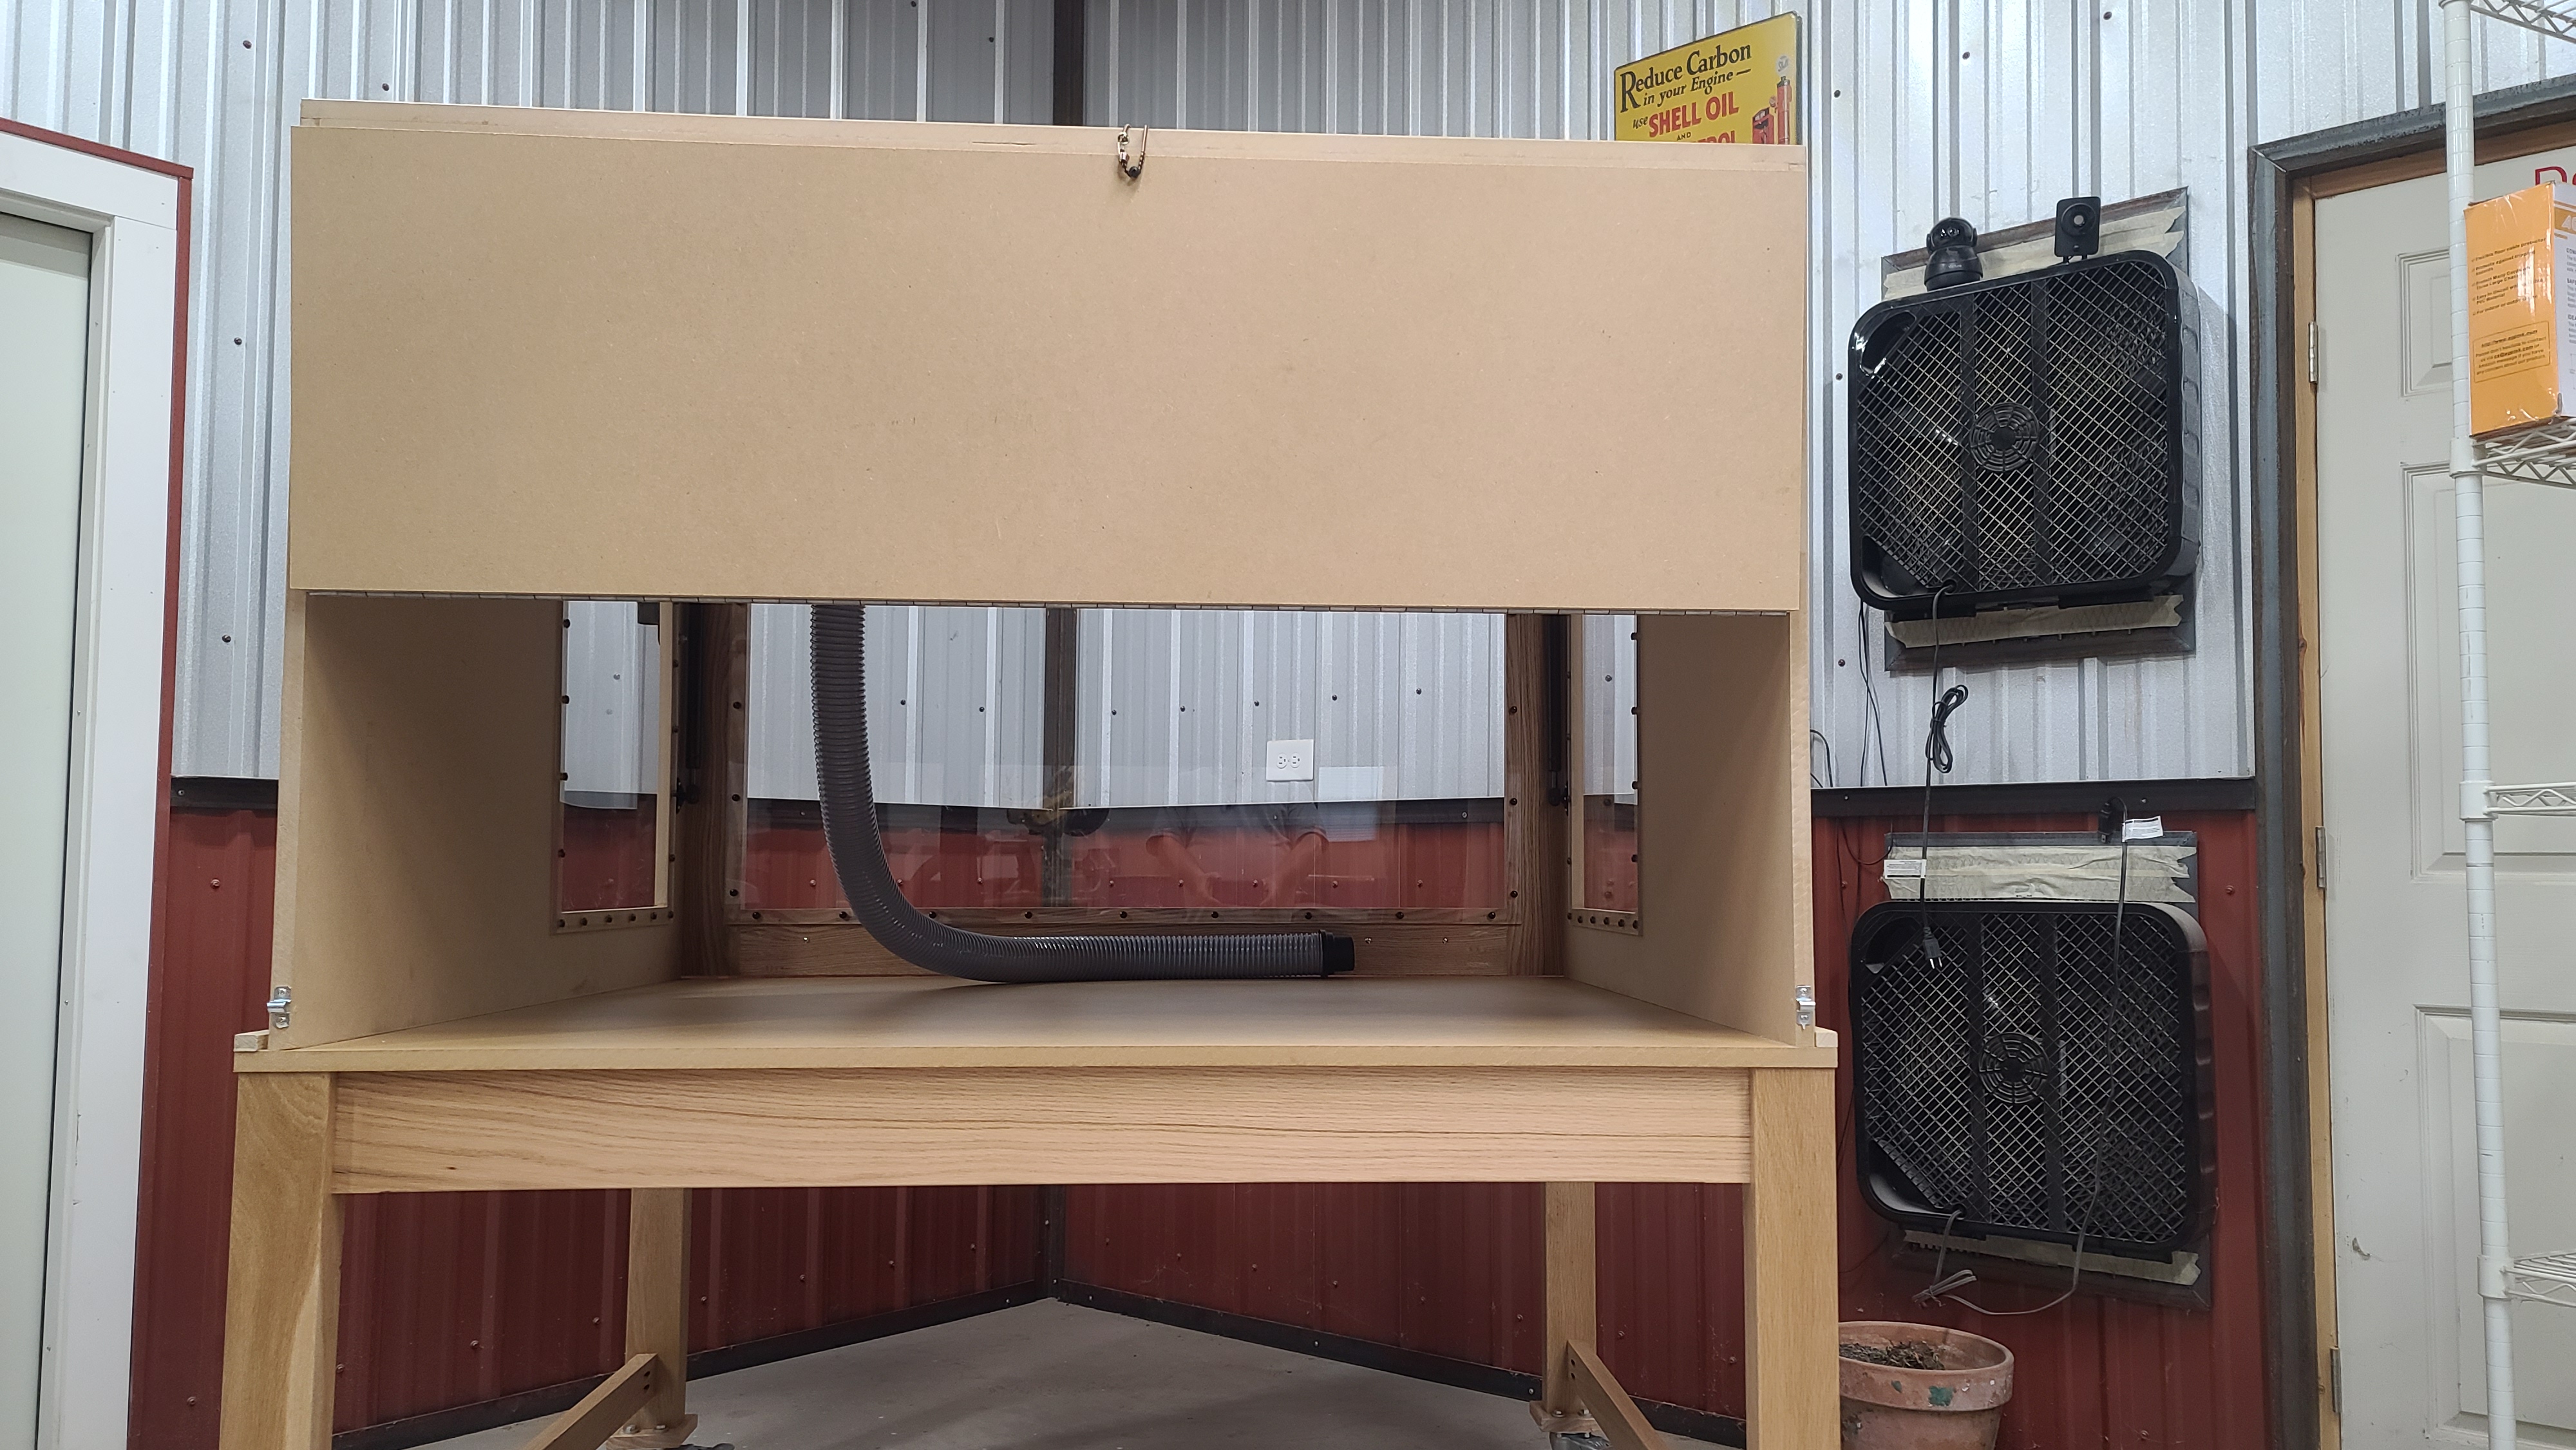
Did a bit more work on the enclosure today. Attached the sides to the top and the upper back piece. There will be a lower back piece that is hinged and able to be opened to accommodate longer stock. The enclosure is sitting upside down in the pictures.
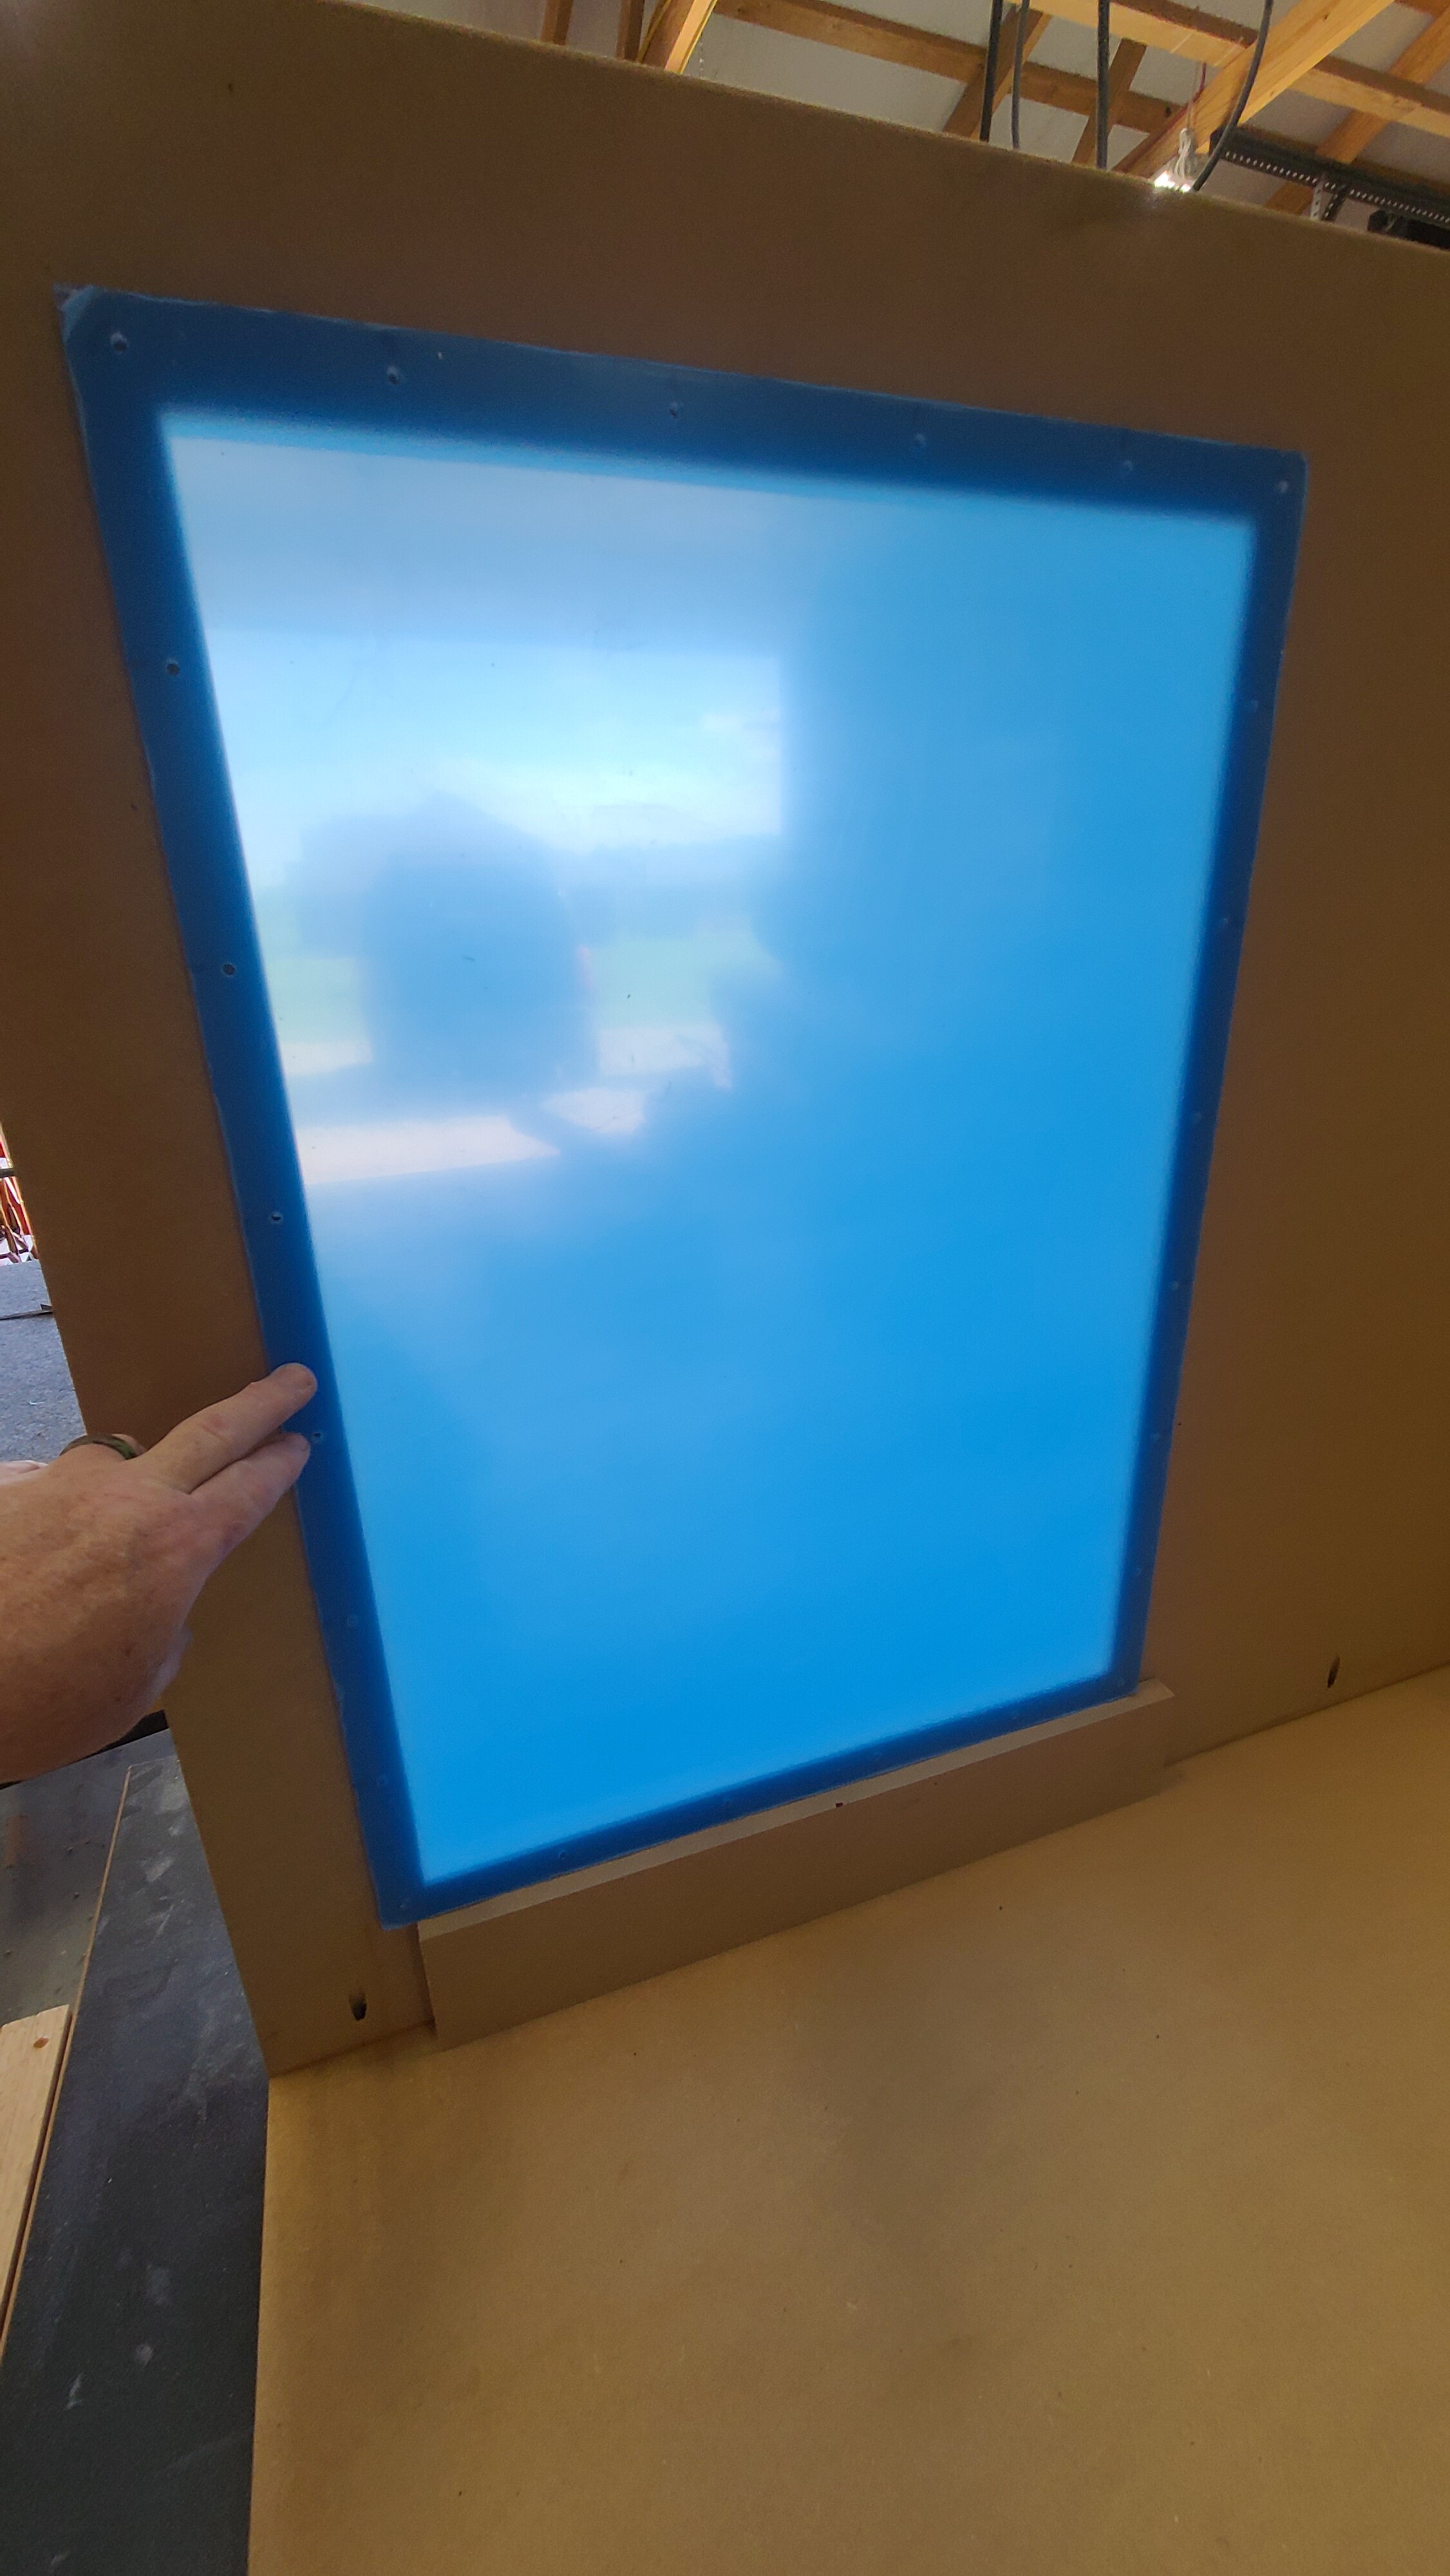
I also picked up the pre cut plexiglass pieces from my plastics guy and drilled mounting holes. I am going to attach them on the inside of the enclosure. The plexiglass has a 1 inch overlap on each window opening.
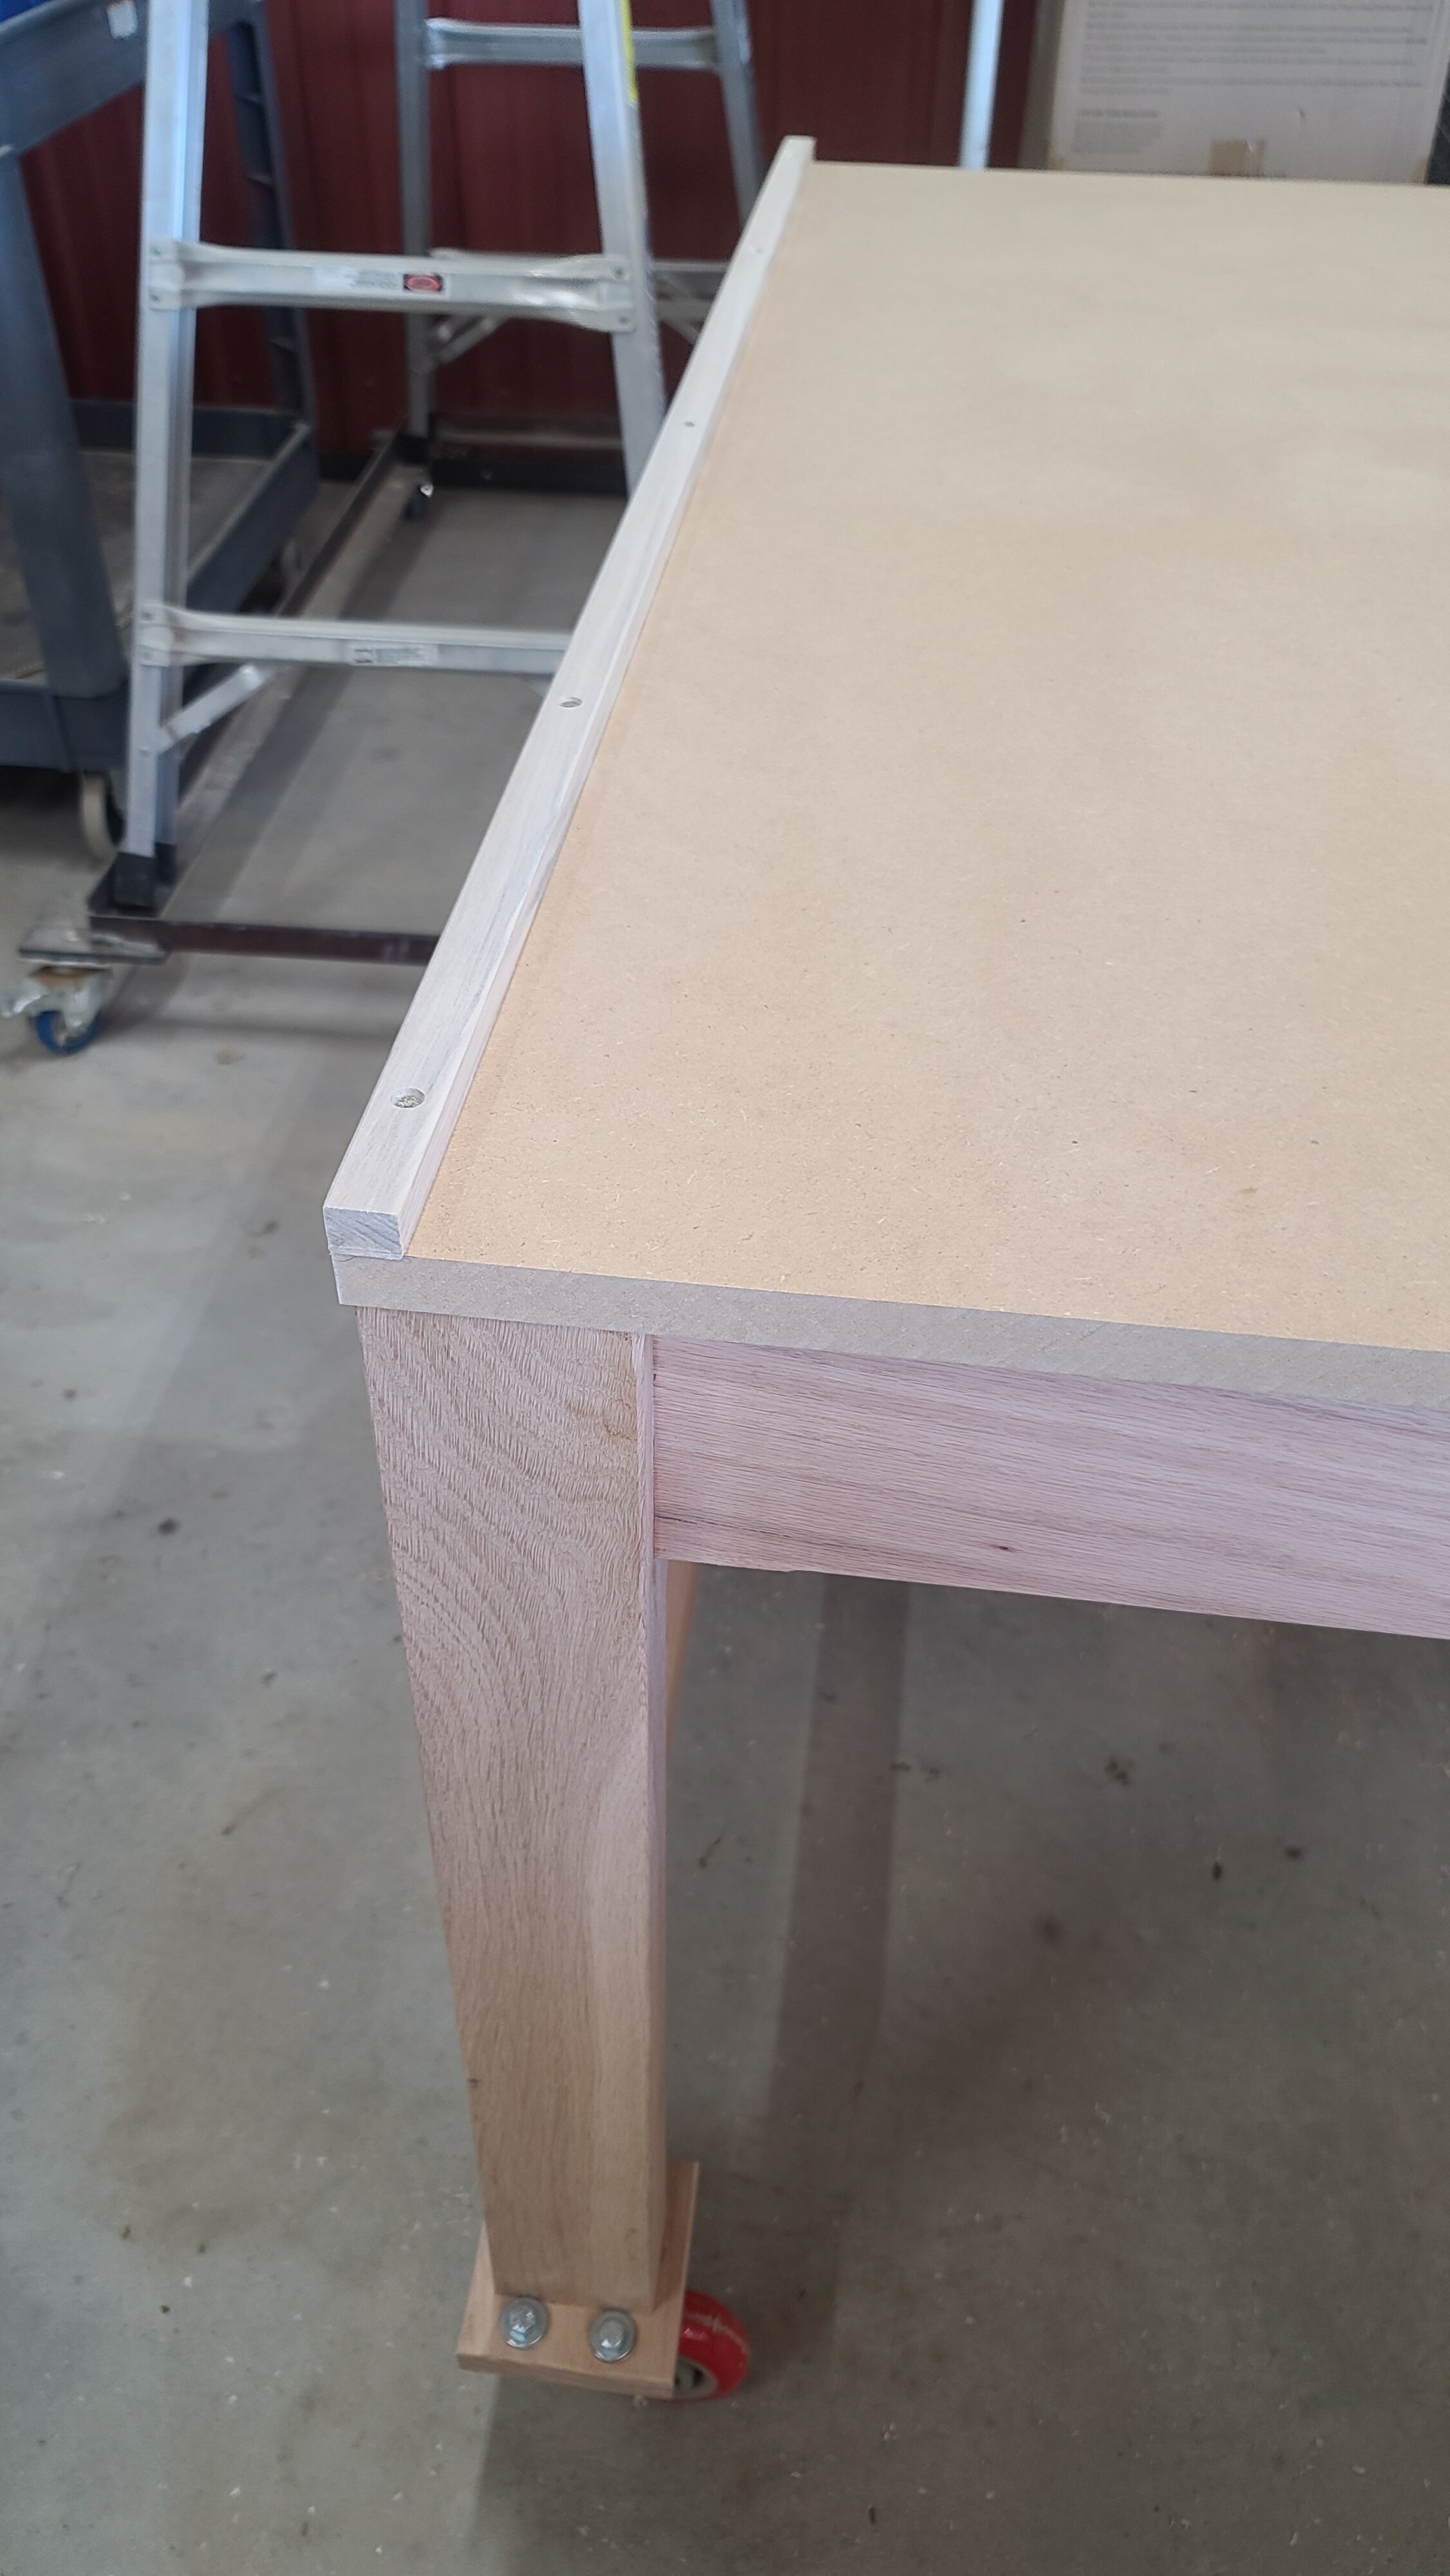
In an effort to keep the enclosure from slipping off the sides of the table, I made two “keyways” and attached to the top. The enclosure will be able to slide to the back or taken off the table if necessary to fix or adjust issues on the sides of the machine.
That’s it for now, this weekend I hope to be able to start on the front door, which will be made from 5/4 red oak and a large piece of 1/4" Plexiglass.
Jeff - this is one beautiful table! Nice design. Let us know how it works out once you have your Shapeoko in place and running. Ii just received my Shapeoko Pro XXL yesterday and sat down to design a work table for it and saw you post - inspirational! Thanks.
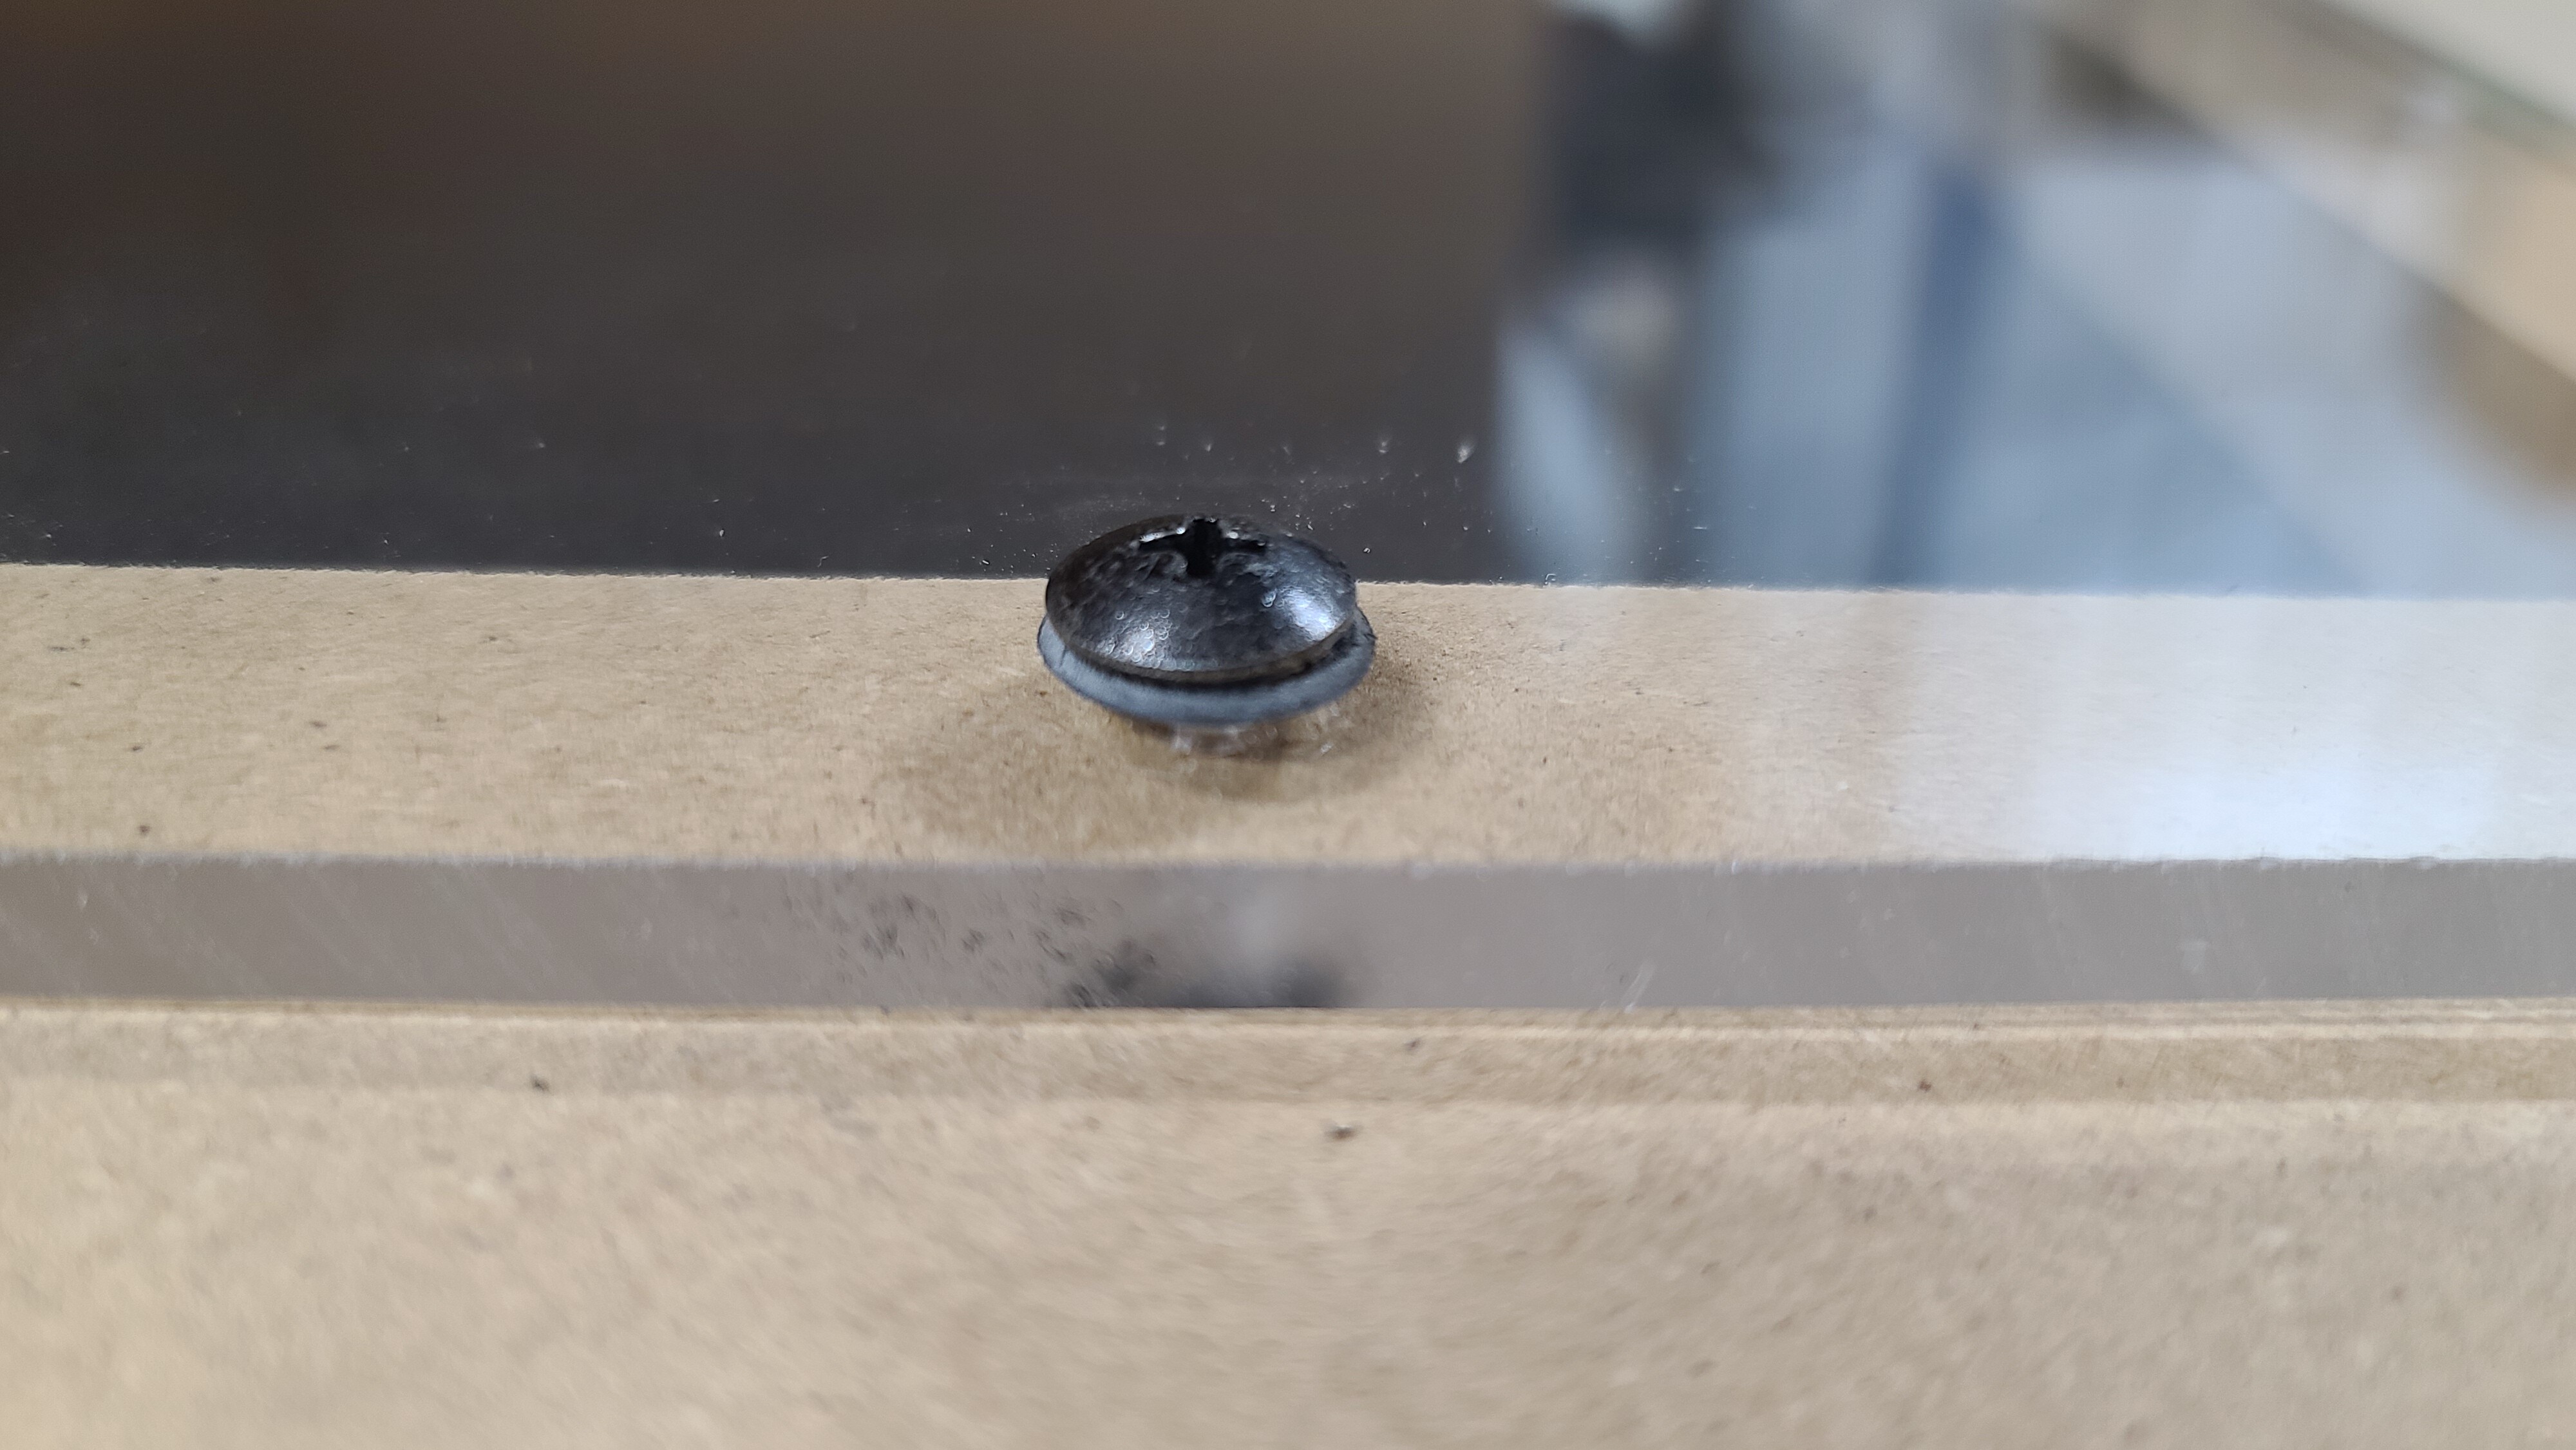
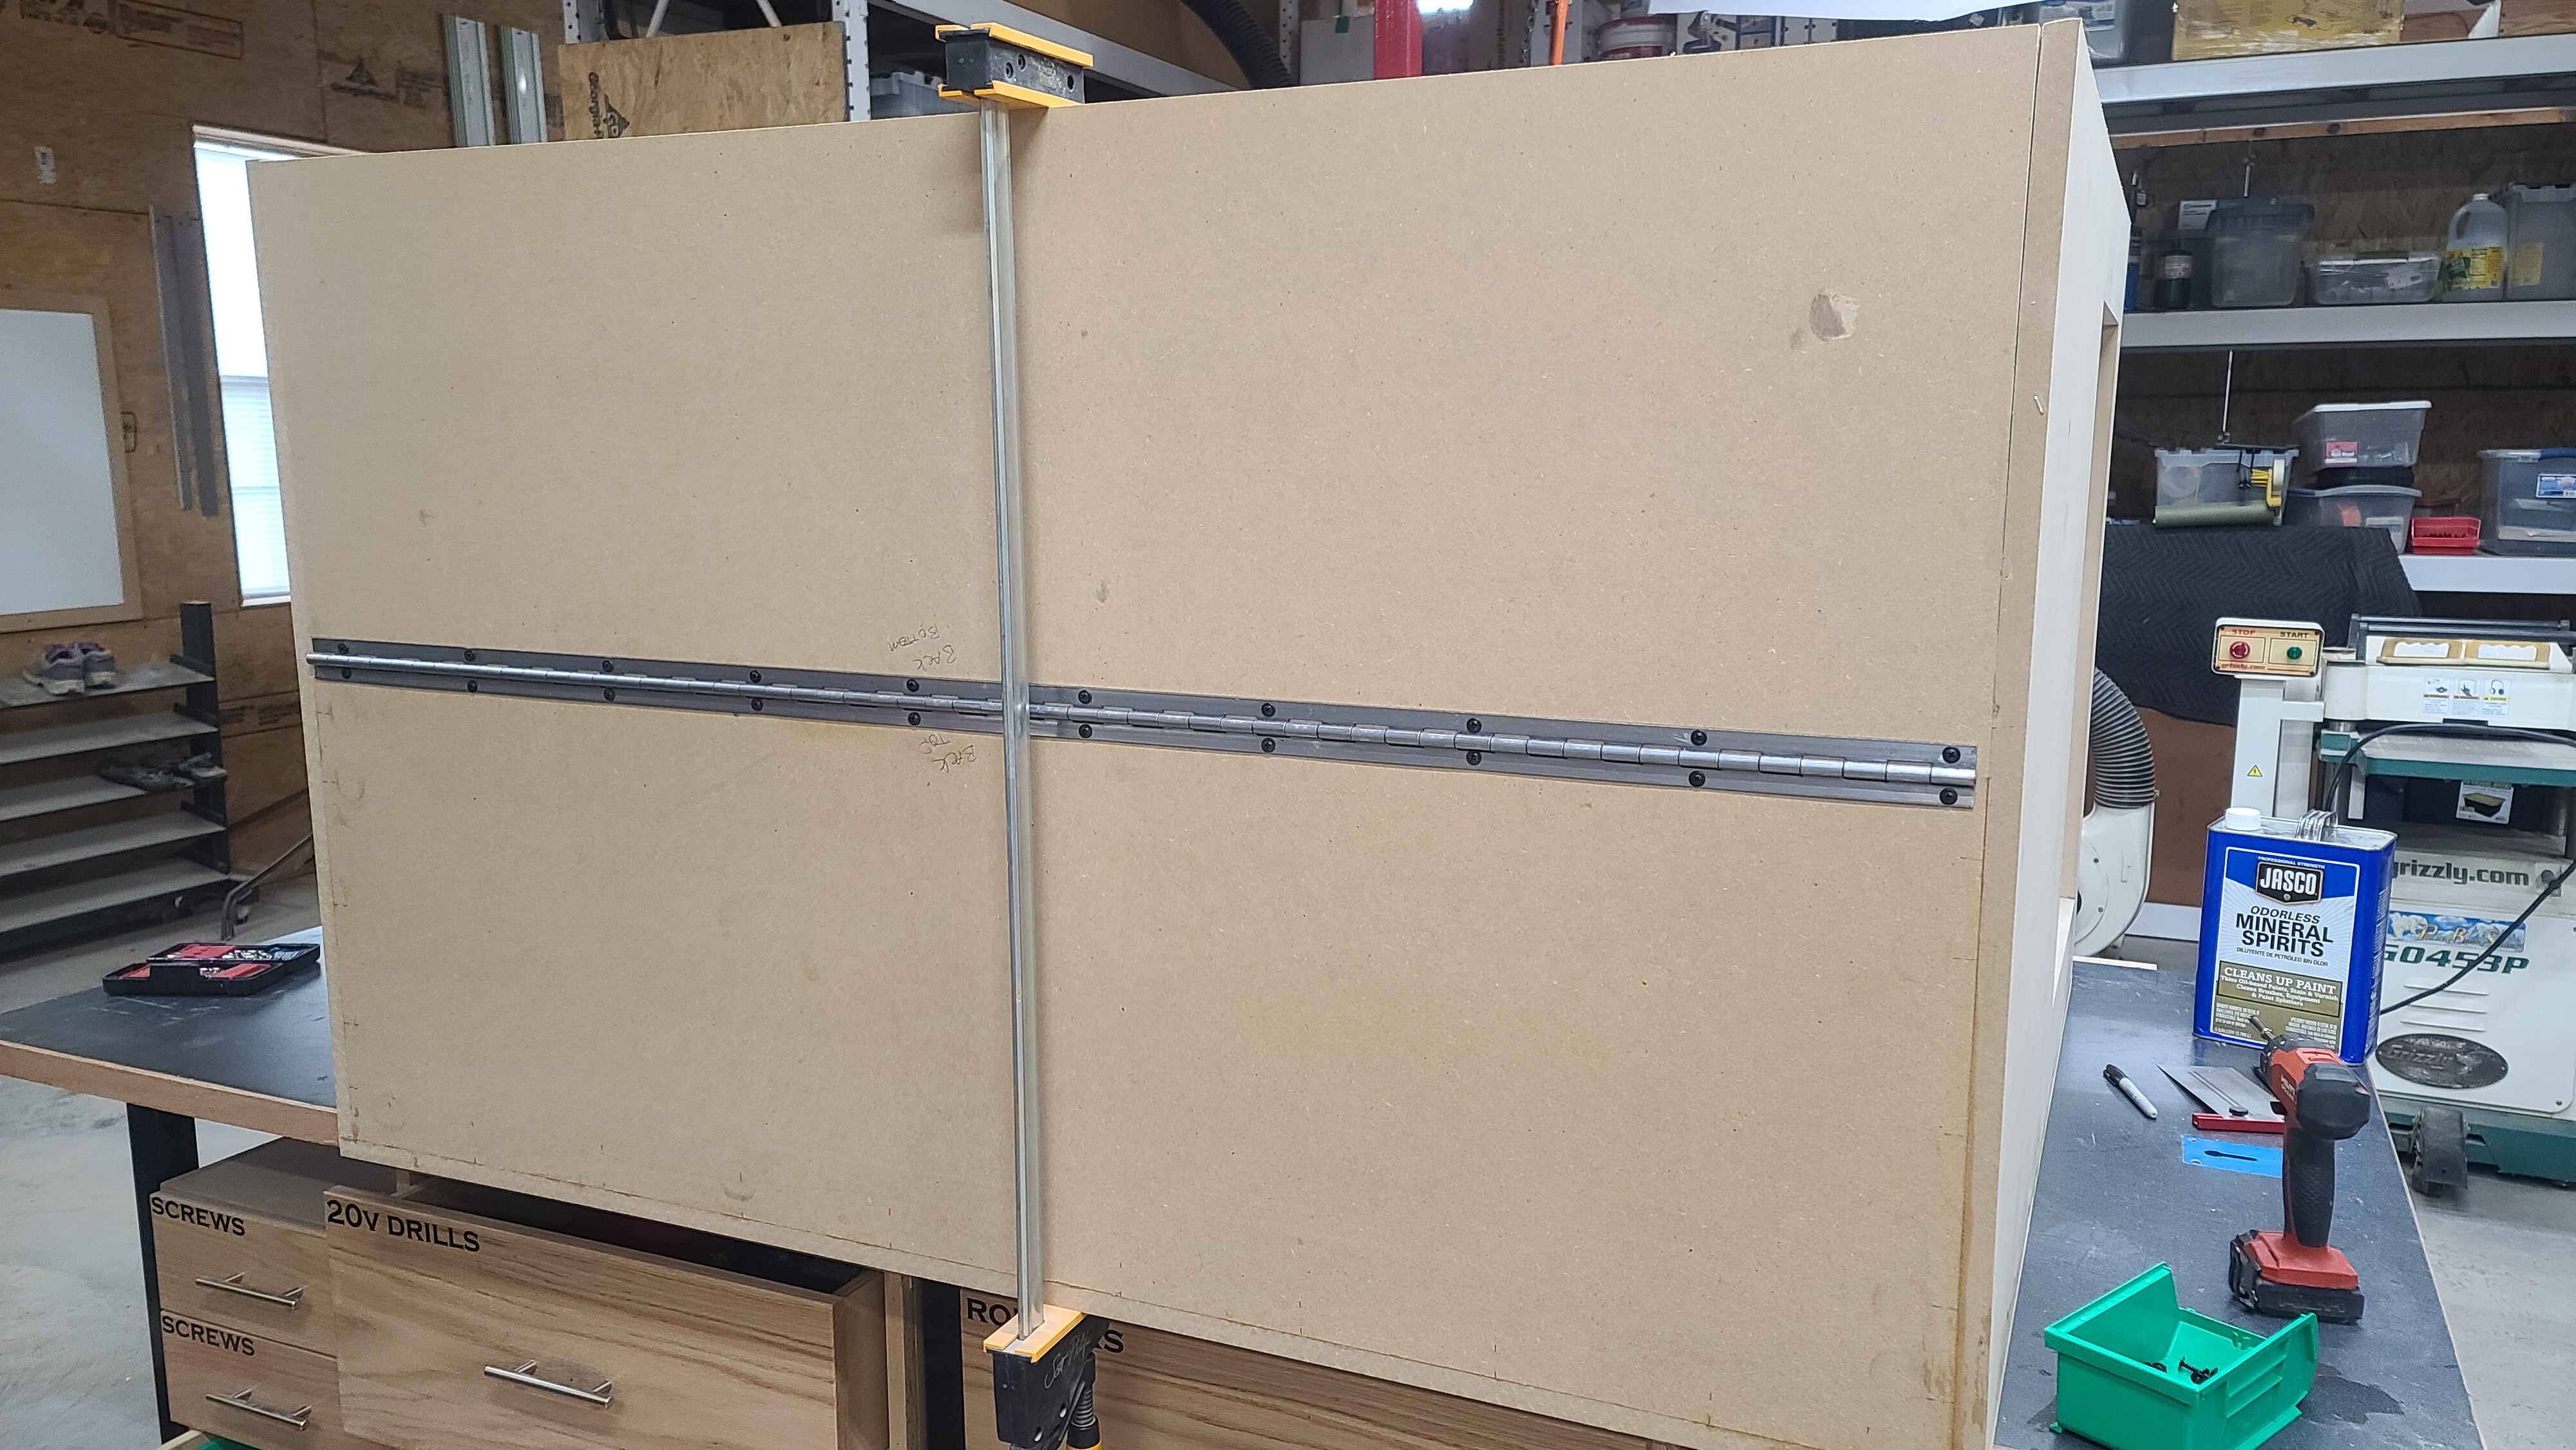
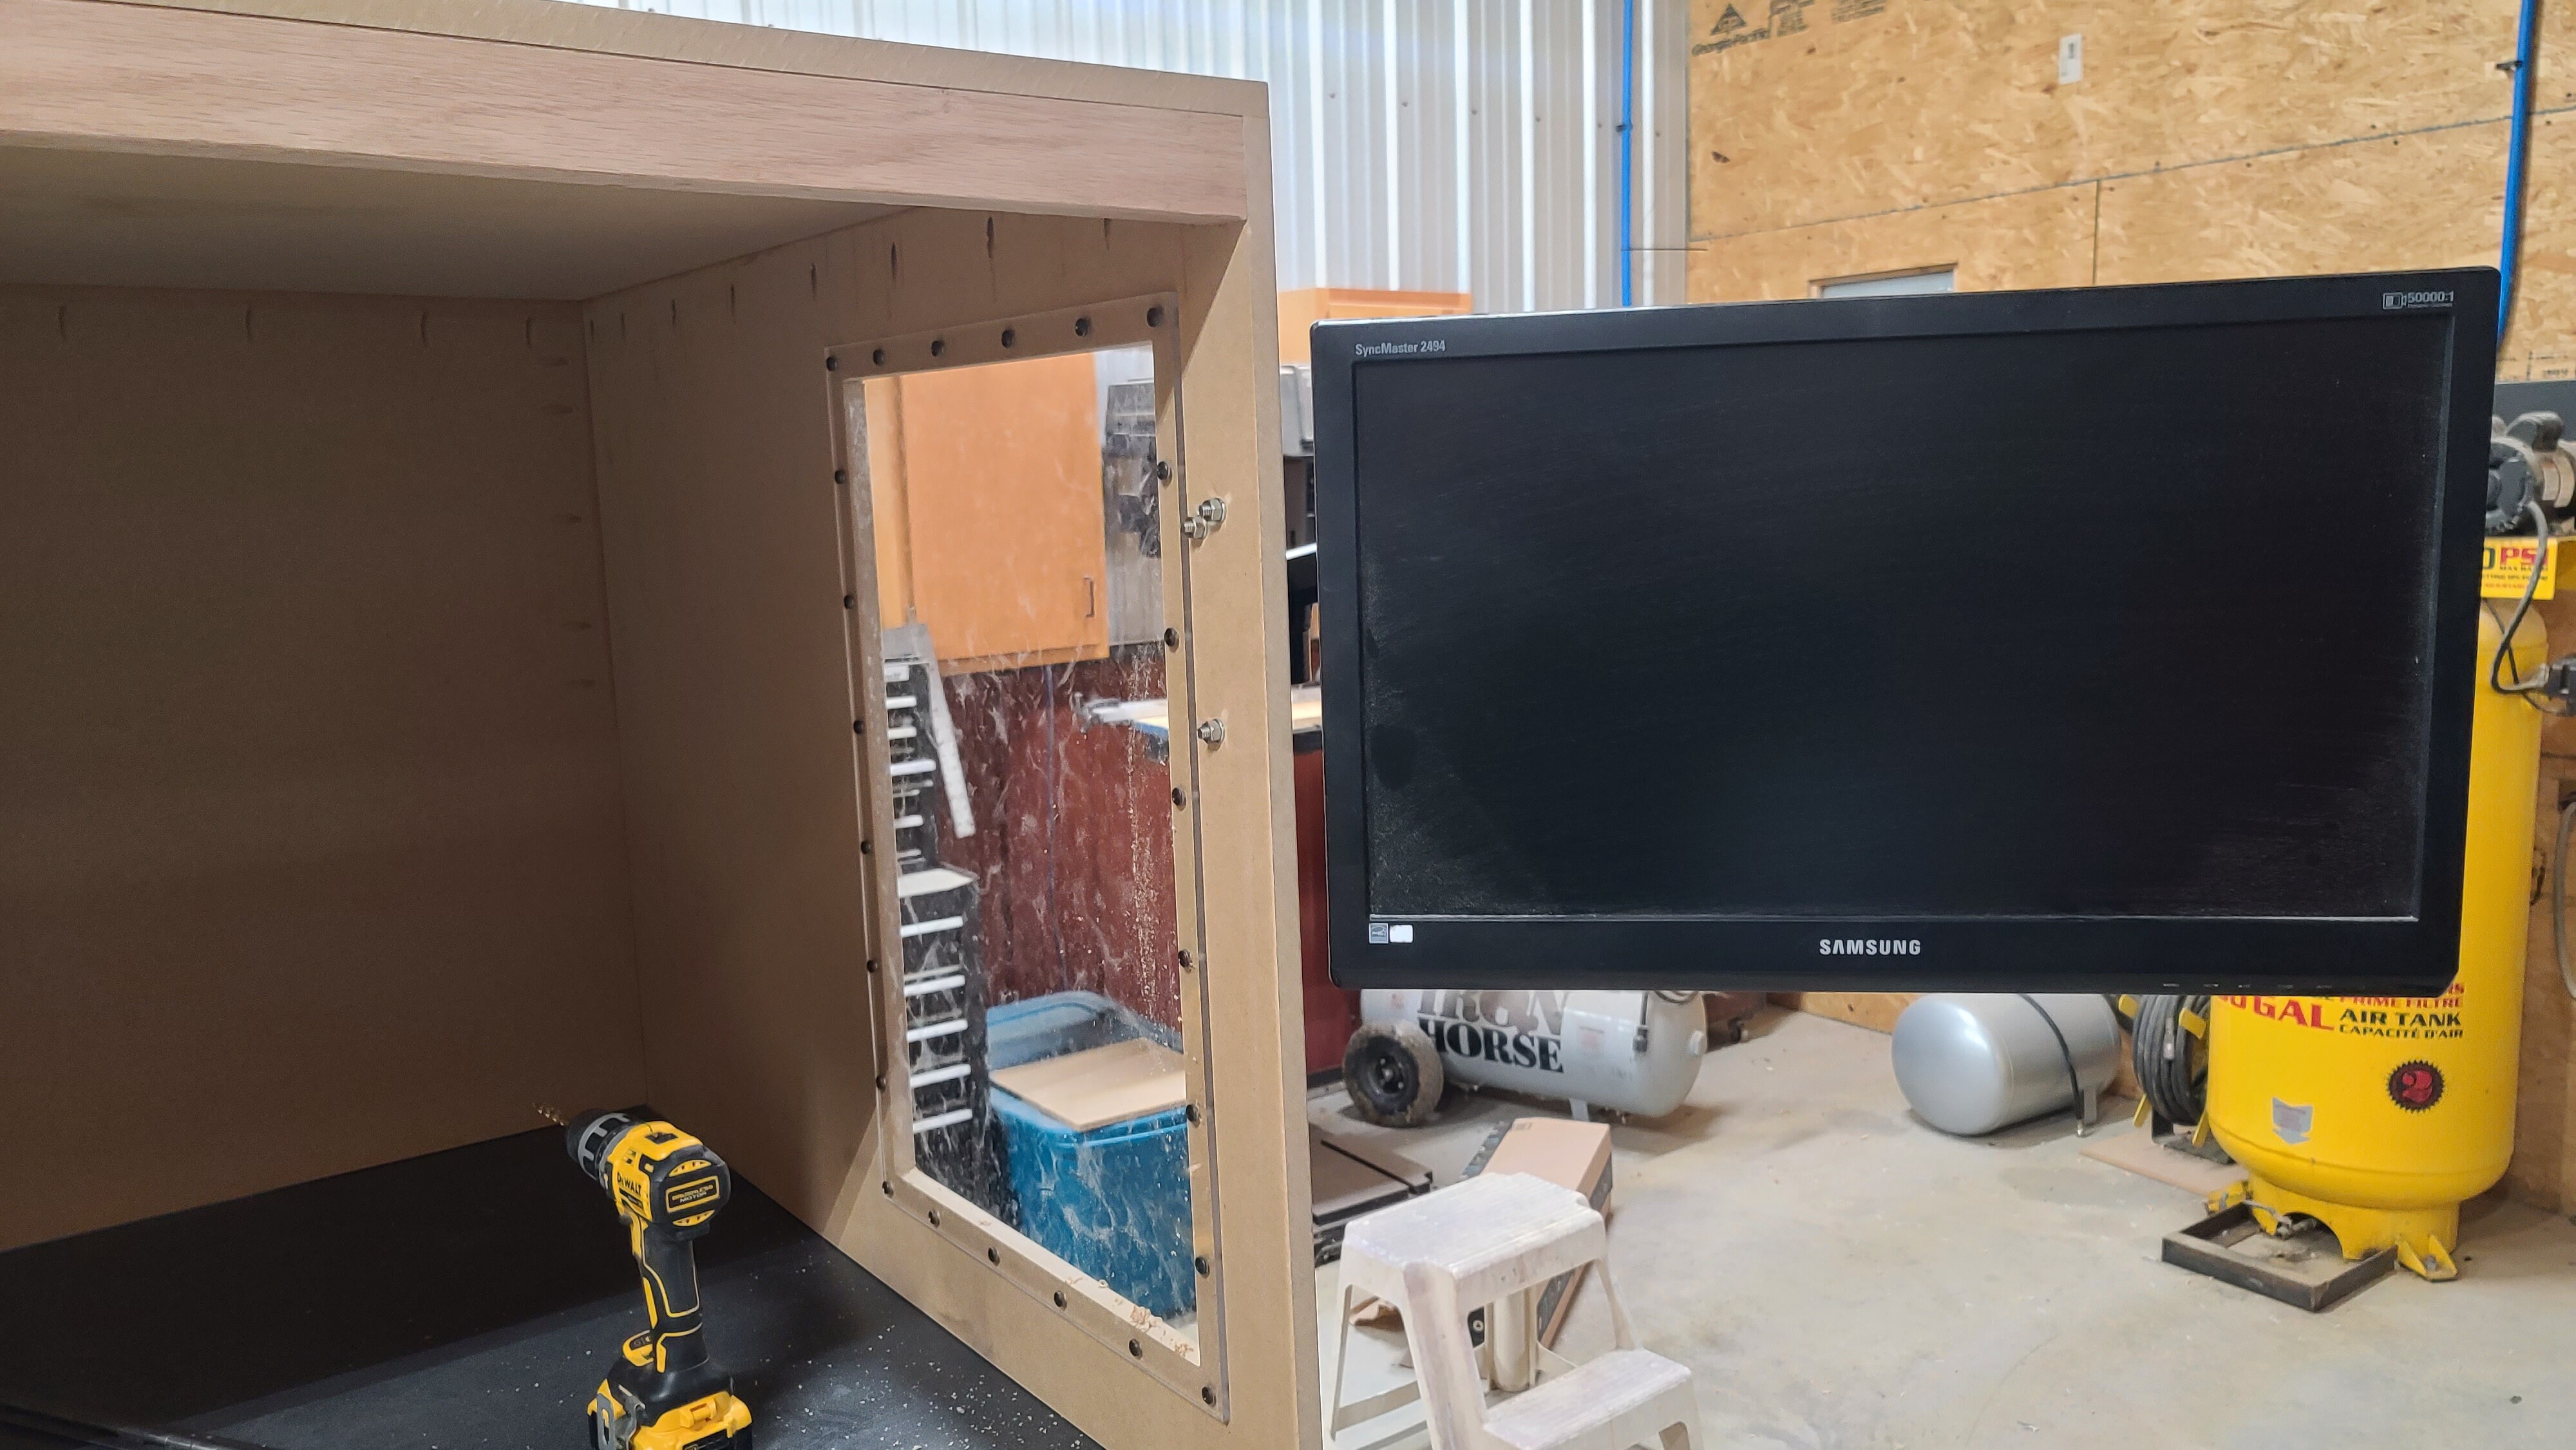
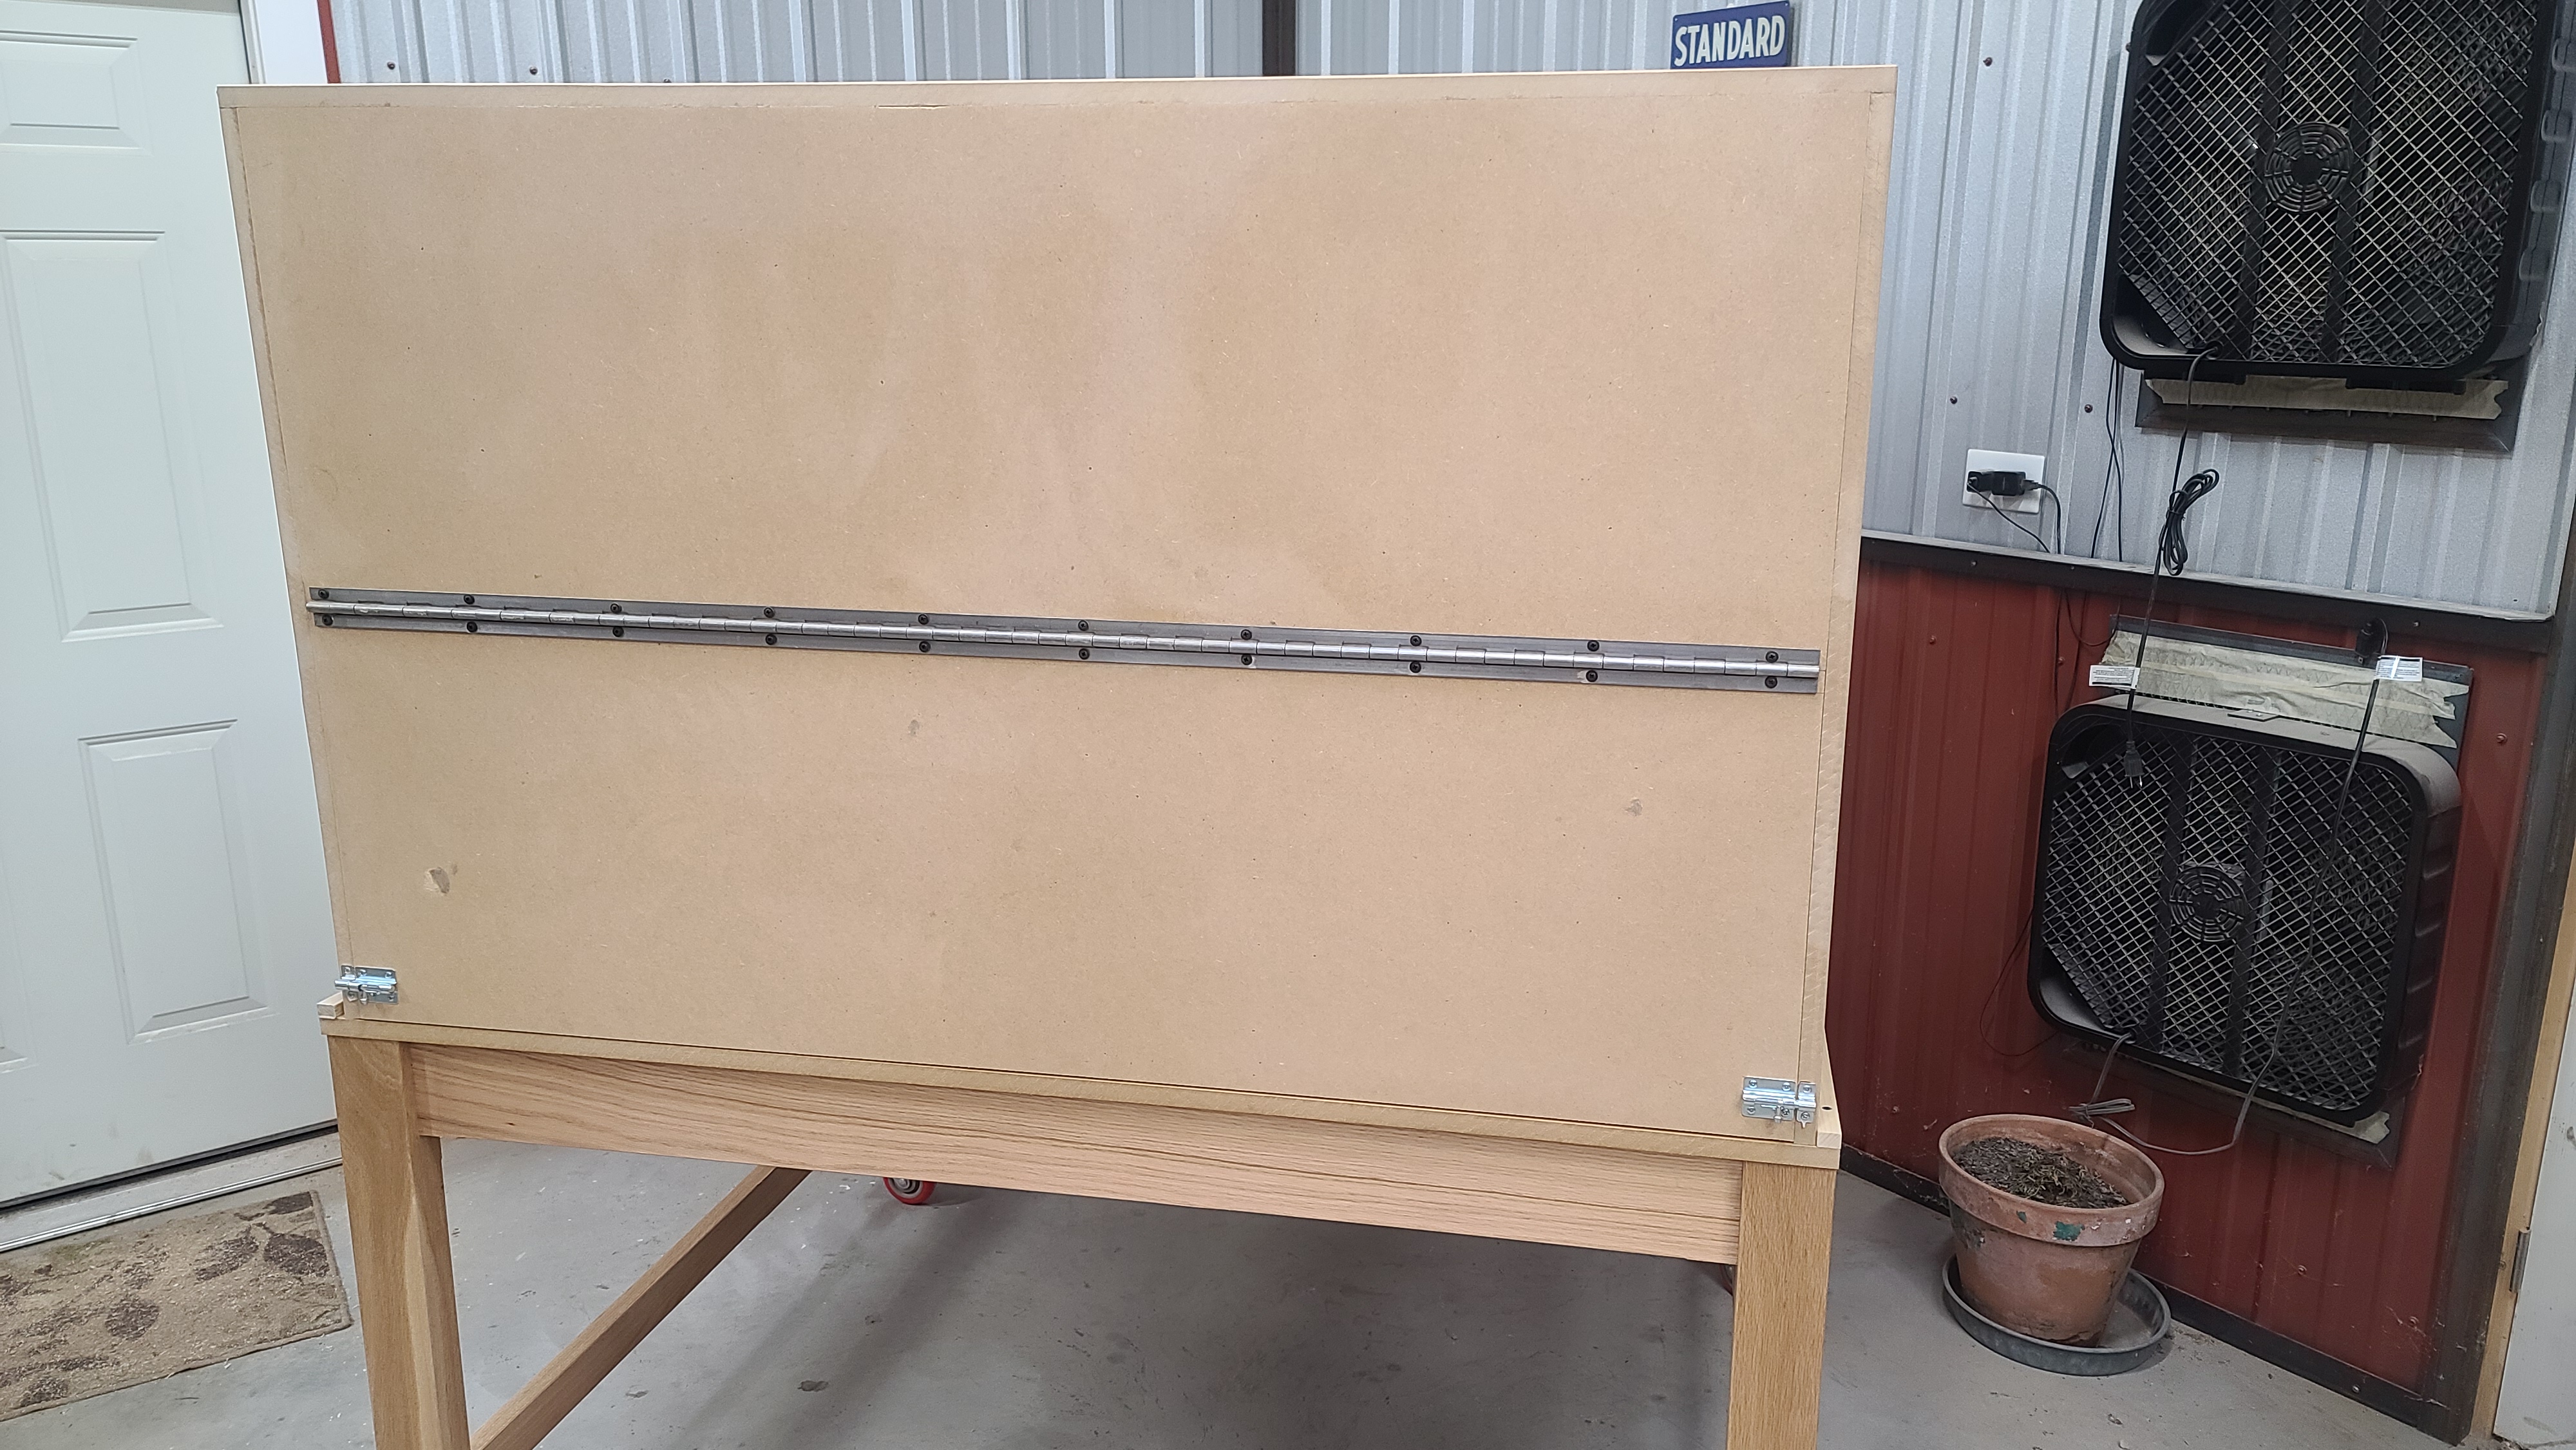
Made some more progress in the enclosure yesterday. I installed the side windows and the rear door.
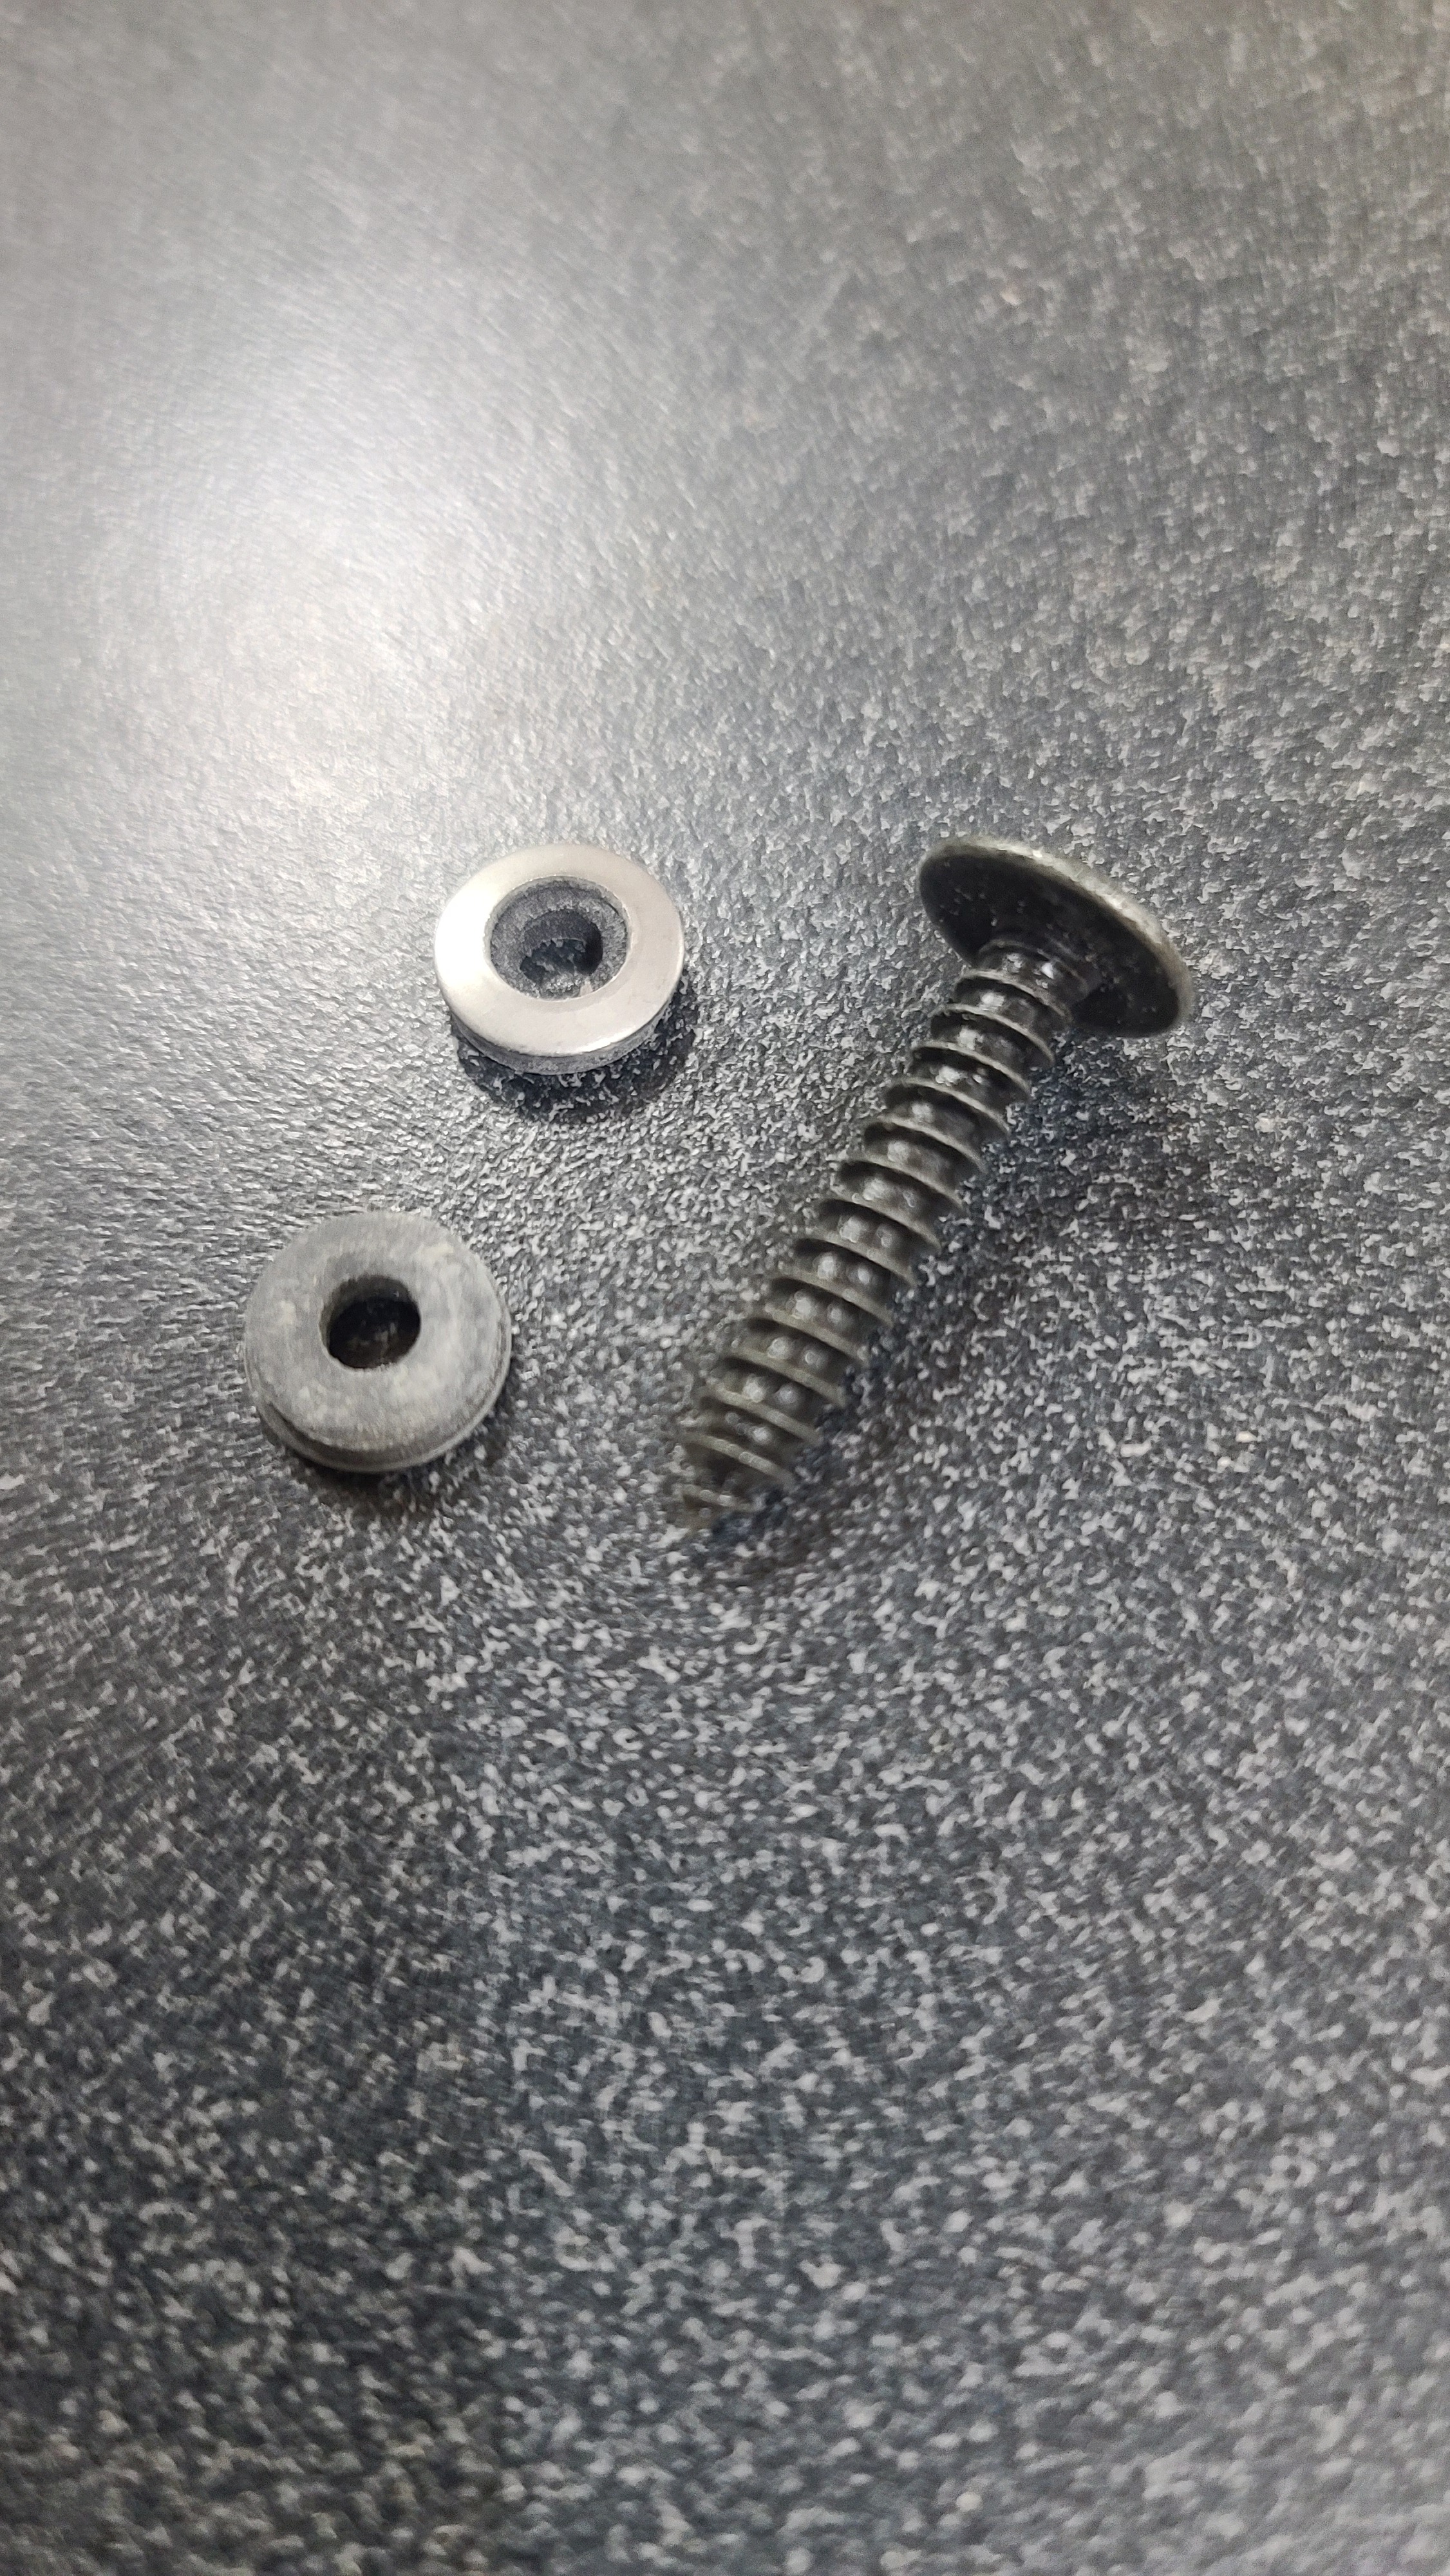
I used 1" screws with a neoprene washer that’s bonded to a steel washer. My thought here was that the washer would protect the acrylic from possible overtightening of the screws.
I also built the front door out of 5/4 red oak and glued and clamped it. I didn’t get a picture of it, but I’m going to spray a clear coat on it today as well as the table, so I’ll get pictures for an update tomorrow.
Thanks for following along. Please feel free to comment or ask any questions you may have.
I was able to spray a clear water based finish on the table today to seal it up. I also sprayed the front door of the enclosure and will be installing the plexiglass in it tomorrow morning and hopefully hanging it.
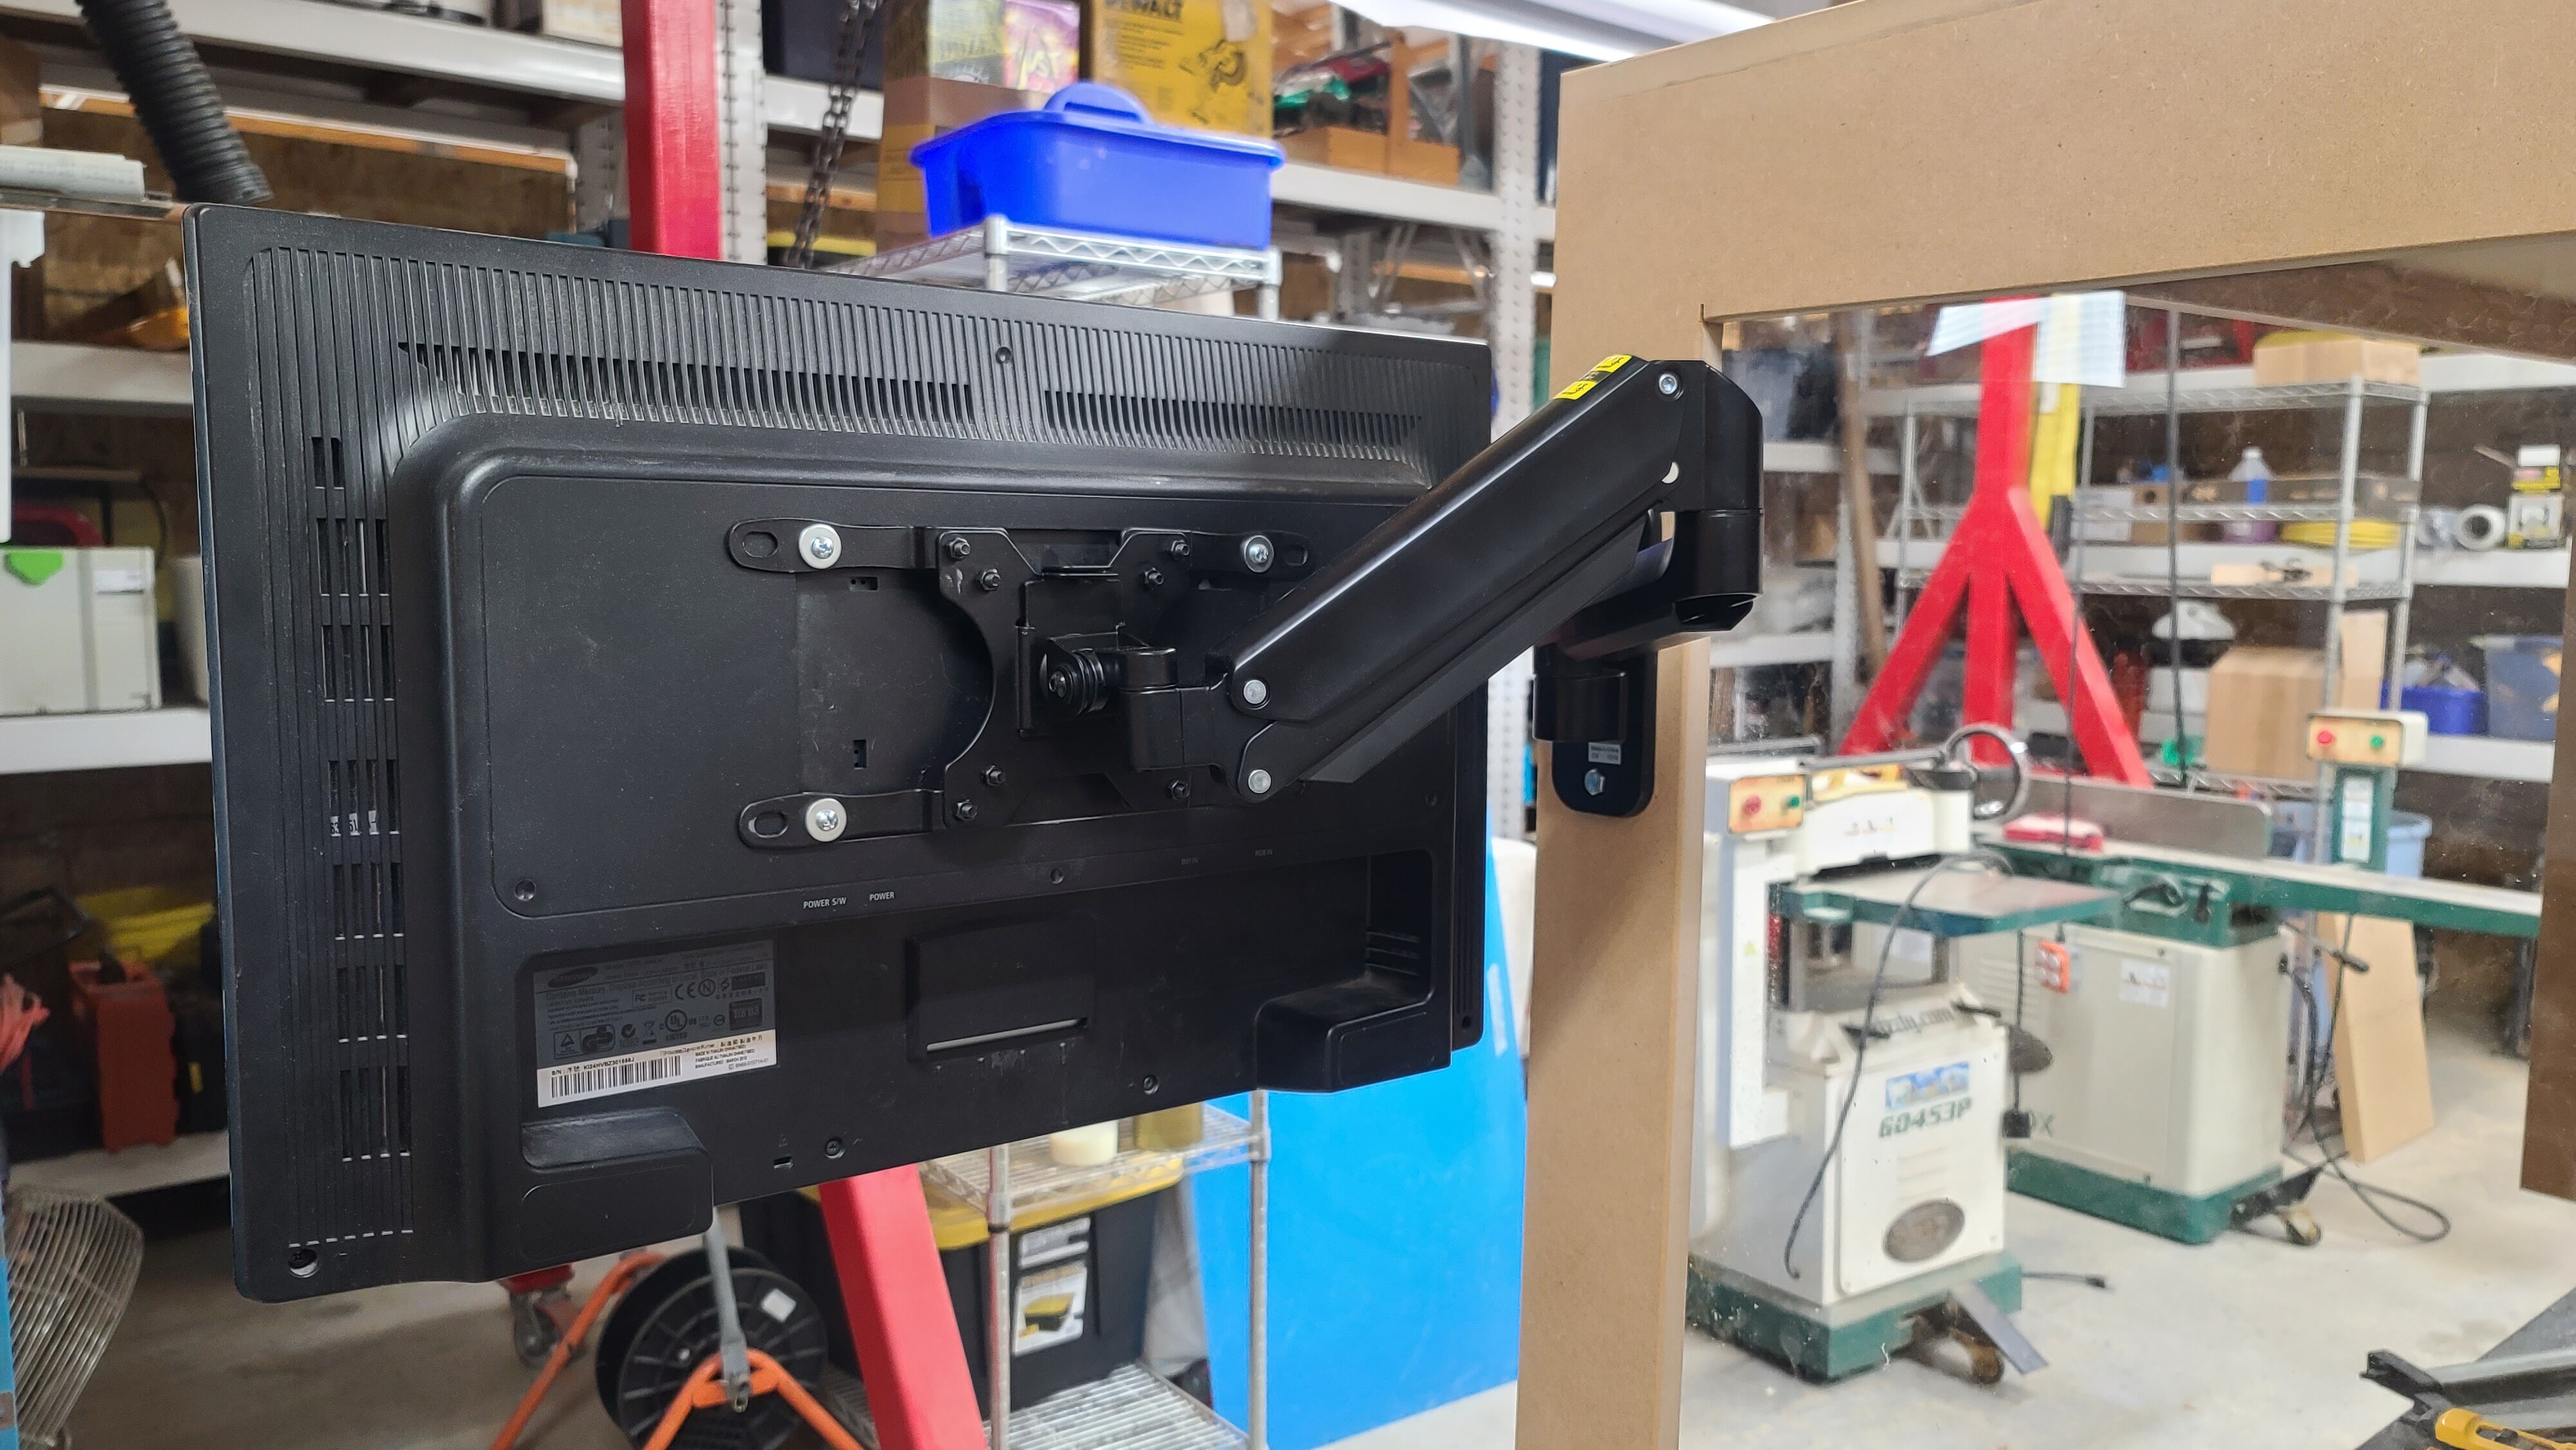
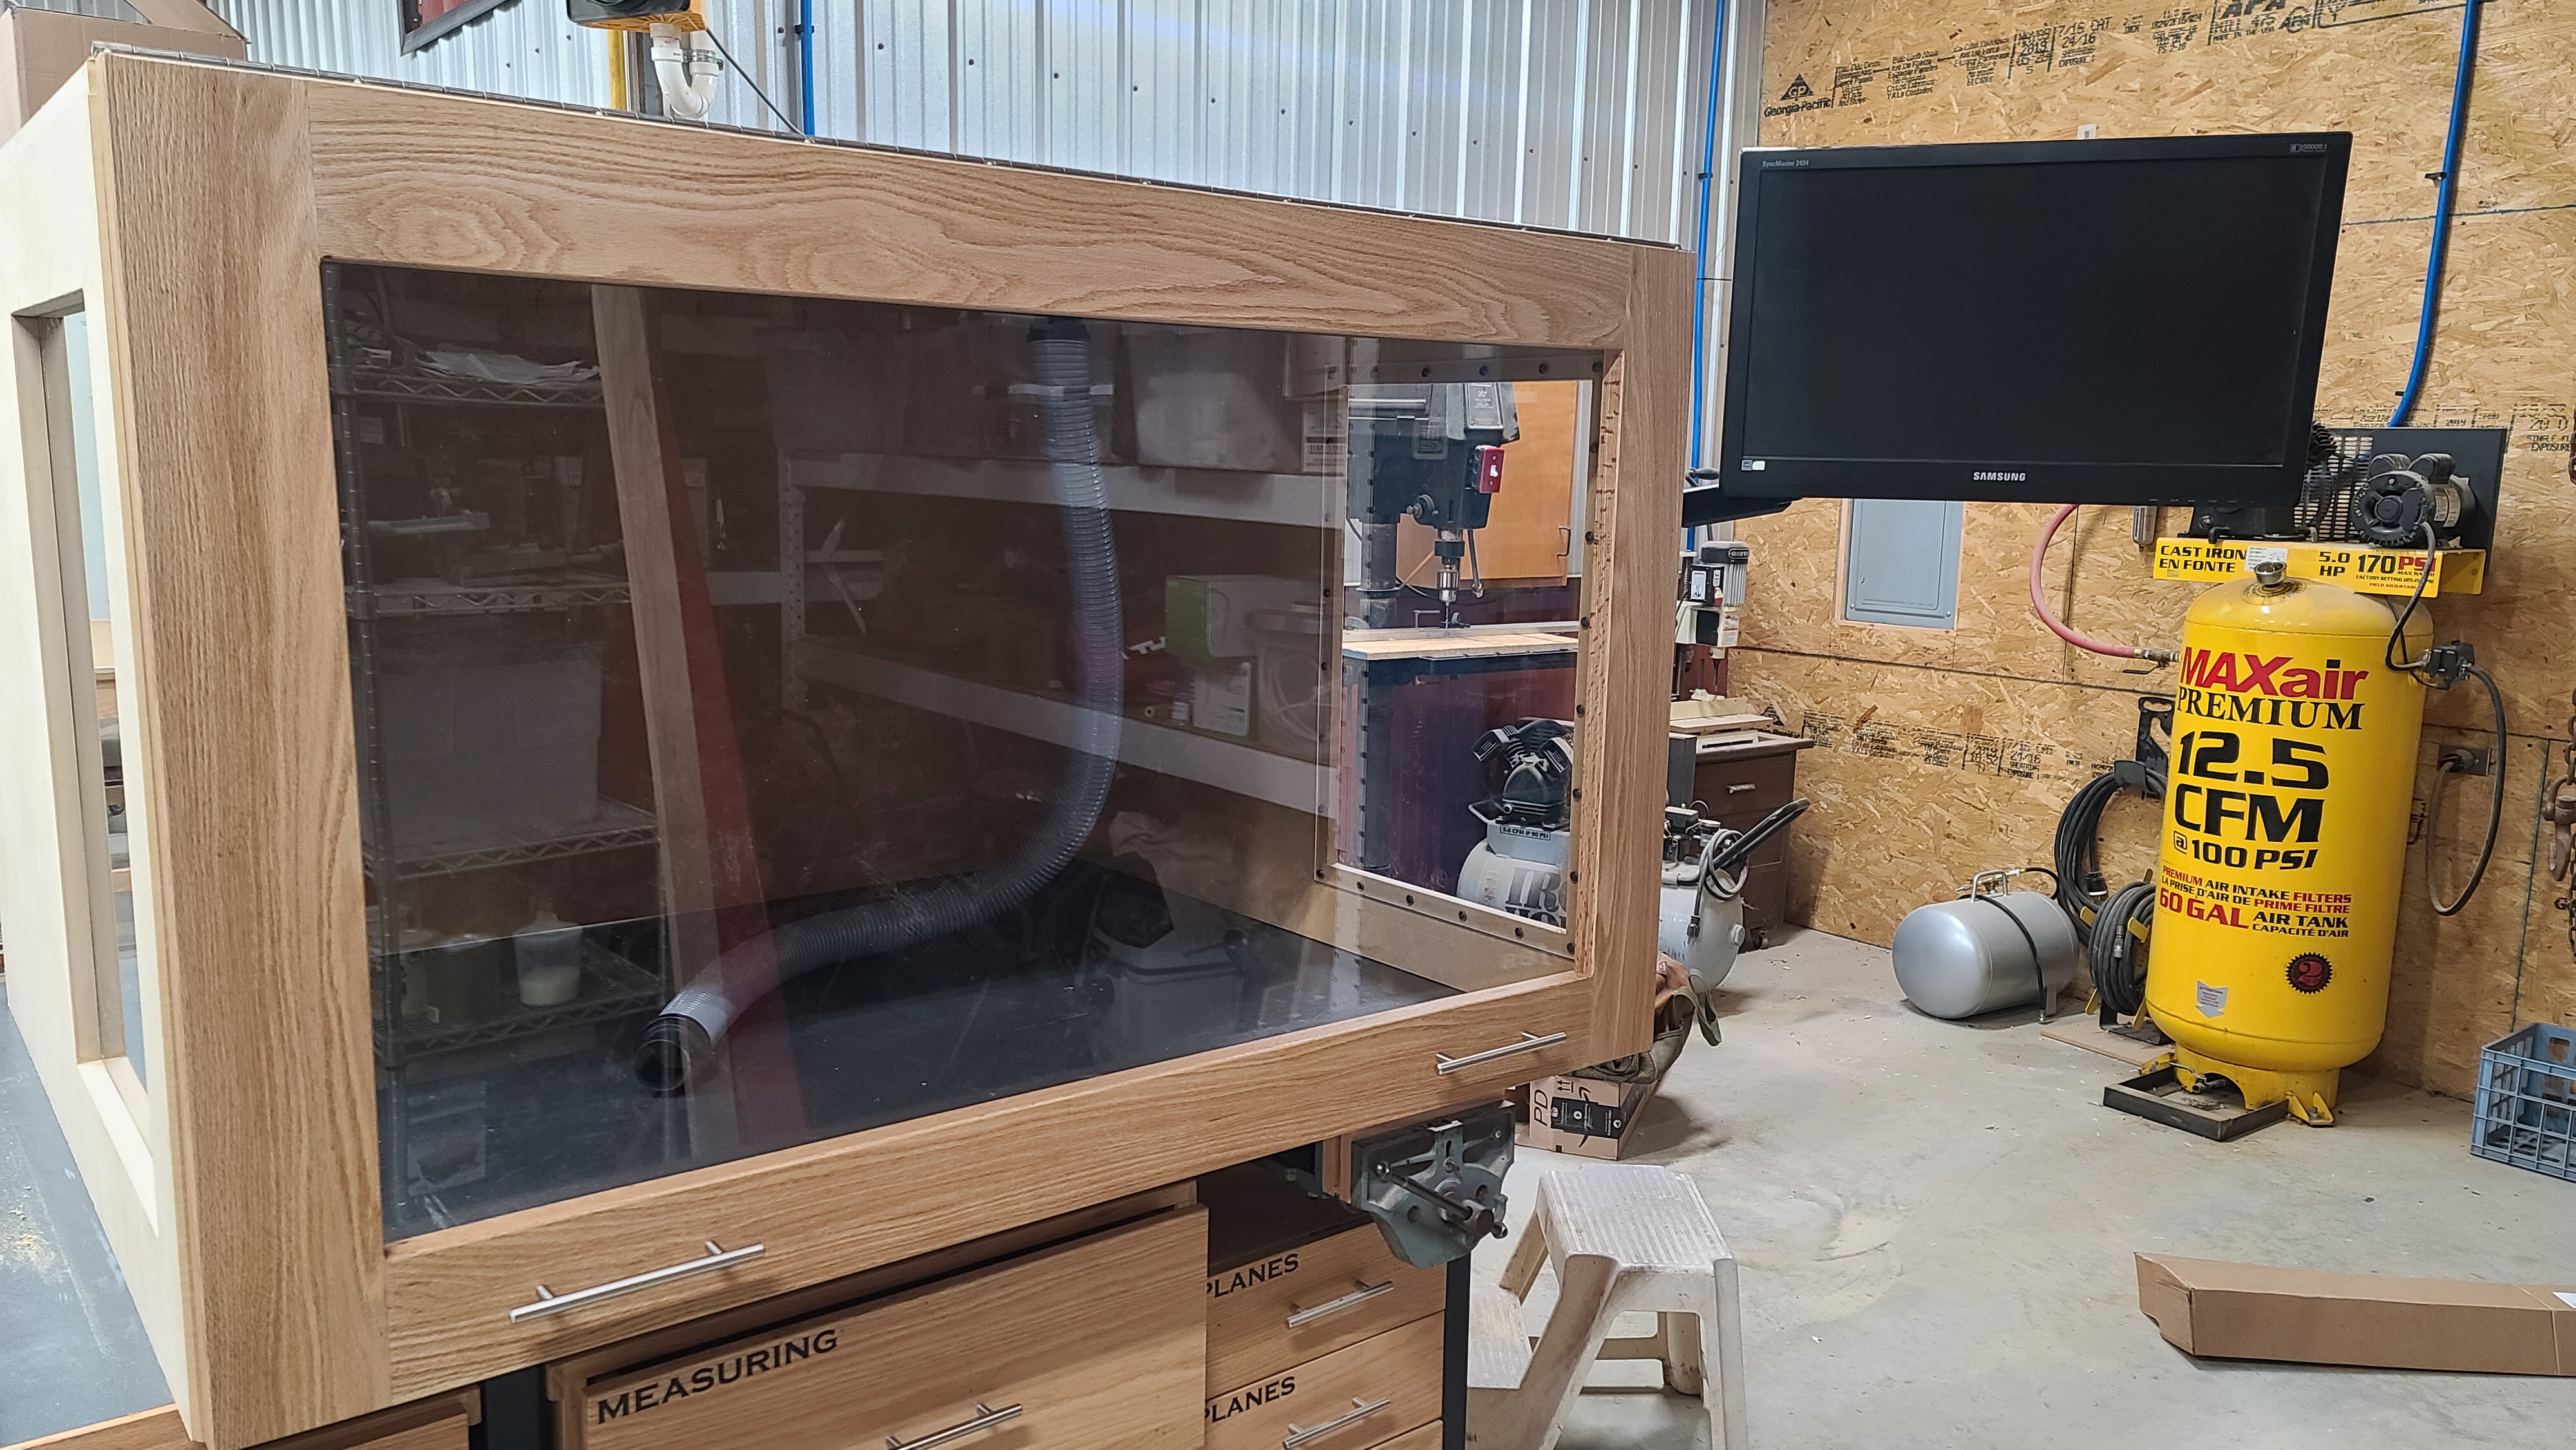
I’ve got a computer that’s going to sit out next to the Shapeoko. I decided to buy a cheap monitor wall mount and hang it off the side of the enclosure at about eye level. This way I can keep an eye on things while the machine is cutting and while standing at the front of the machine, I can move the monitor to where I can see it.
Hopefully this next weekend I’ll be able to marry the enclosure to the table and build my Shapeoko. I’m still waiting on some LED lighting and need to cut a hole in the enclosure for the dust collection.
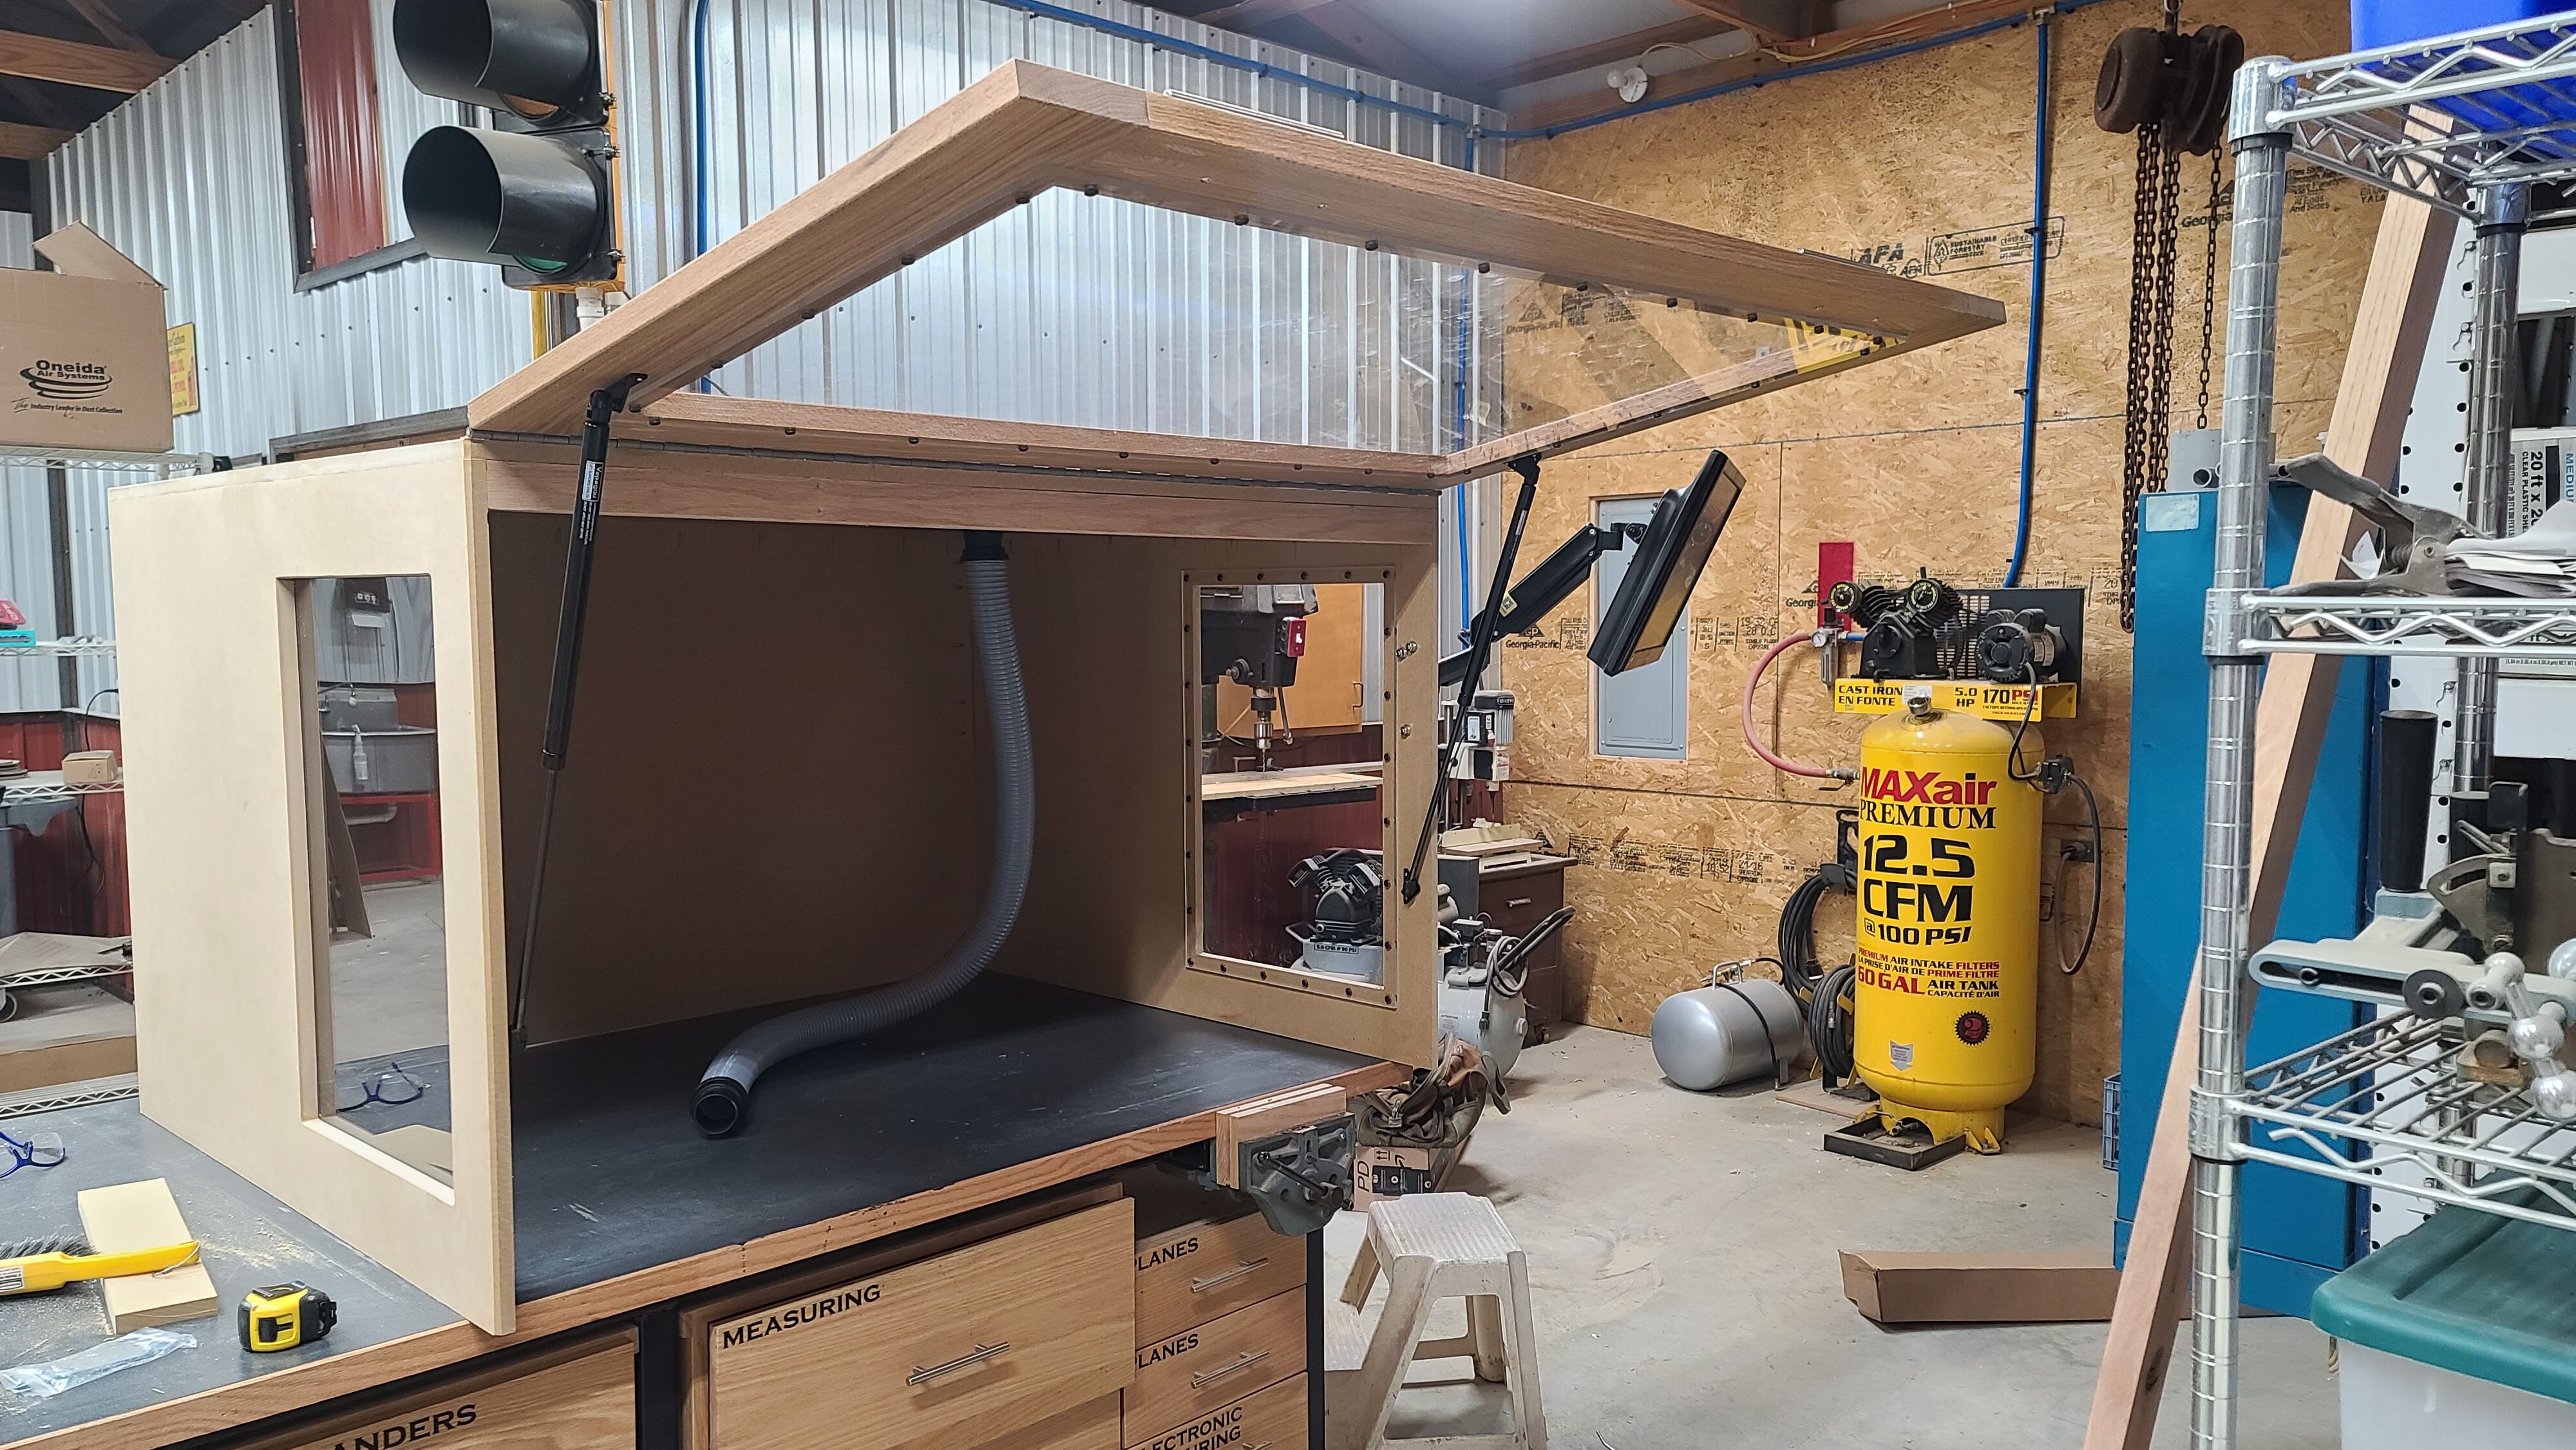
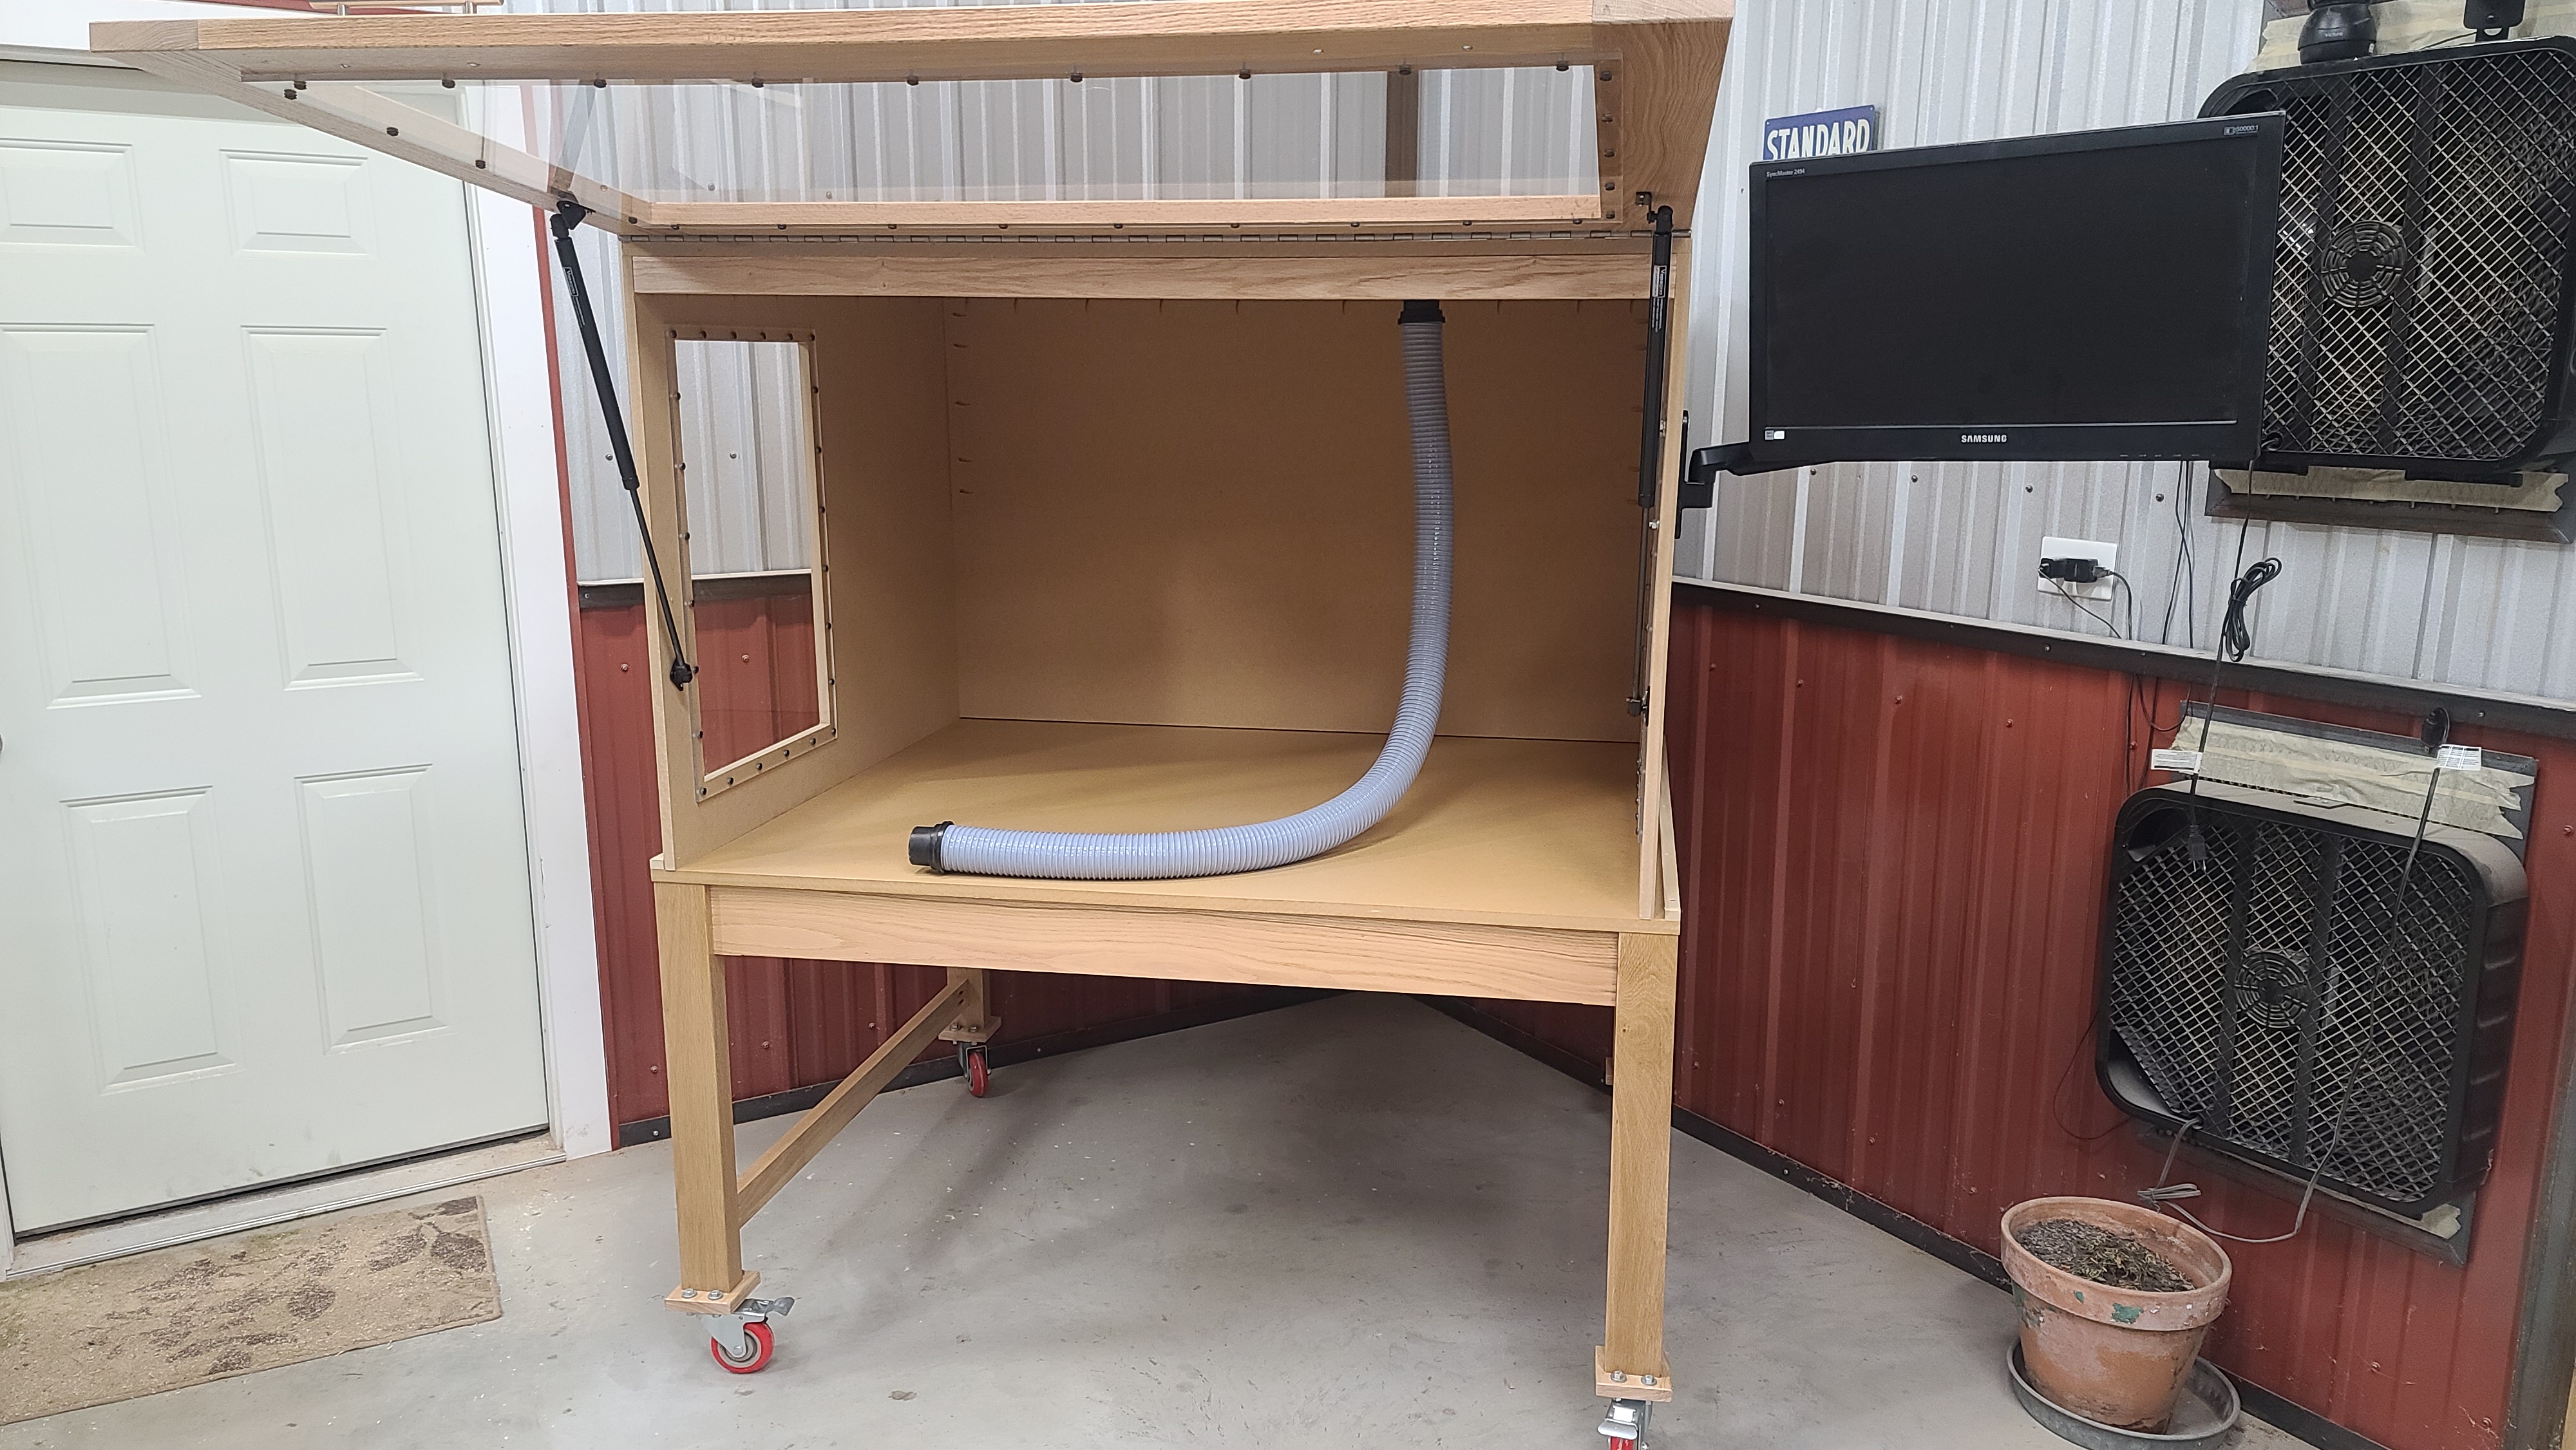
I was able to hang the front door and attach the gas struts to the enclosure this morning. It doesn’t open quite as far as I wanted, but it opens enough for me with about 3 inches of headroom. I could re-arrange the mounting points, but the struts are performing how i want them to as far as ease of opening and lifting the door.
I also inserted a 2 1/2" vacuum hose coupler in the top of the enclosure. It has a 5 1/2 ft anti static hose that will attach to sweepy. I’ll hang some of the slack using mini bungee cords suspended from the top. I got my hoses from Oneida Air Systems along with an anti static dust deputy that will be in line between the enclosure and my Festool CT36, which completes the dust collection.
I still have lights to install in the enclosure, but wanted to see how easy it would be for me to move it off the workbench and onto the table so I did so. It was relatively easy to do this by myself and it mated up nicely with the table. The corner you see it placed in will be its permanent home.
Also added a couple barrel bolts to the back trap door. I’ll have to pull it out from the wall when working on longer pieces, but shouldn’t be a problem.
This weekend I hope to start building the machine, I’ll take the enclosure off to give myself more room, but that should be good practice for any future maintenance that requires it.
Thanks for following along. Feel free to comment or question.
Completed the build on the enclosure and the Shapeoko Pro XXL today. Fired up the machine and jogged it around the table to check clearance for the dust collection hose. Made a quick video for those on my Facebook that have never seen a CNC. I won’t be cutting my first job for a while, I’ll be out of town on business the next week or so. Something to look forward to when I return. Here’s the video:
Do you think the MDF sill eventually sag in the middle of the top if no support is added? Perhaps a lateral cross brace could be added? I know MDF tends to sag in places it is not supported
Wow!
I’m new to CNC, and was thinking that it would be good to set up an enclosure - something basic… Looking at this build, I think I’m going to have to step up my game! Thanks for posting.