I am working on 4 jewelry boxes for a craft show coming up in November. I have been to the Holiday in the Pines before and there are men but mostly women attending. I made 3 of the jewelry boxes to appeal to women and one to appeal to a woman buying for a man.
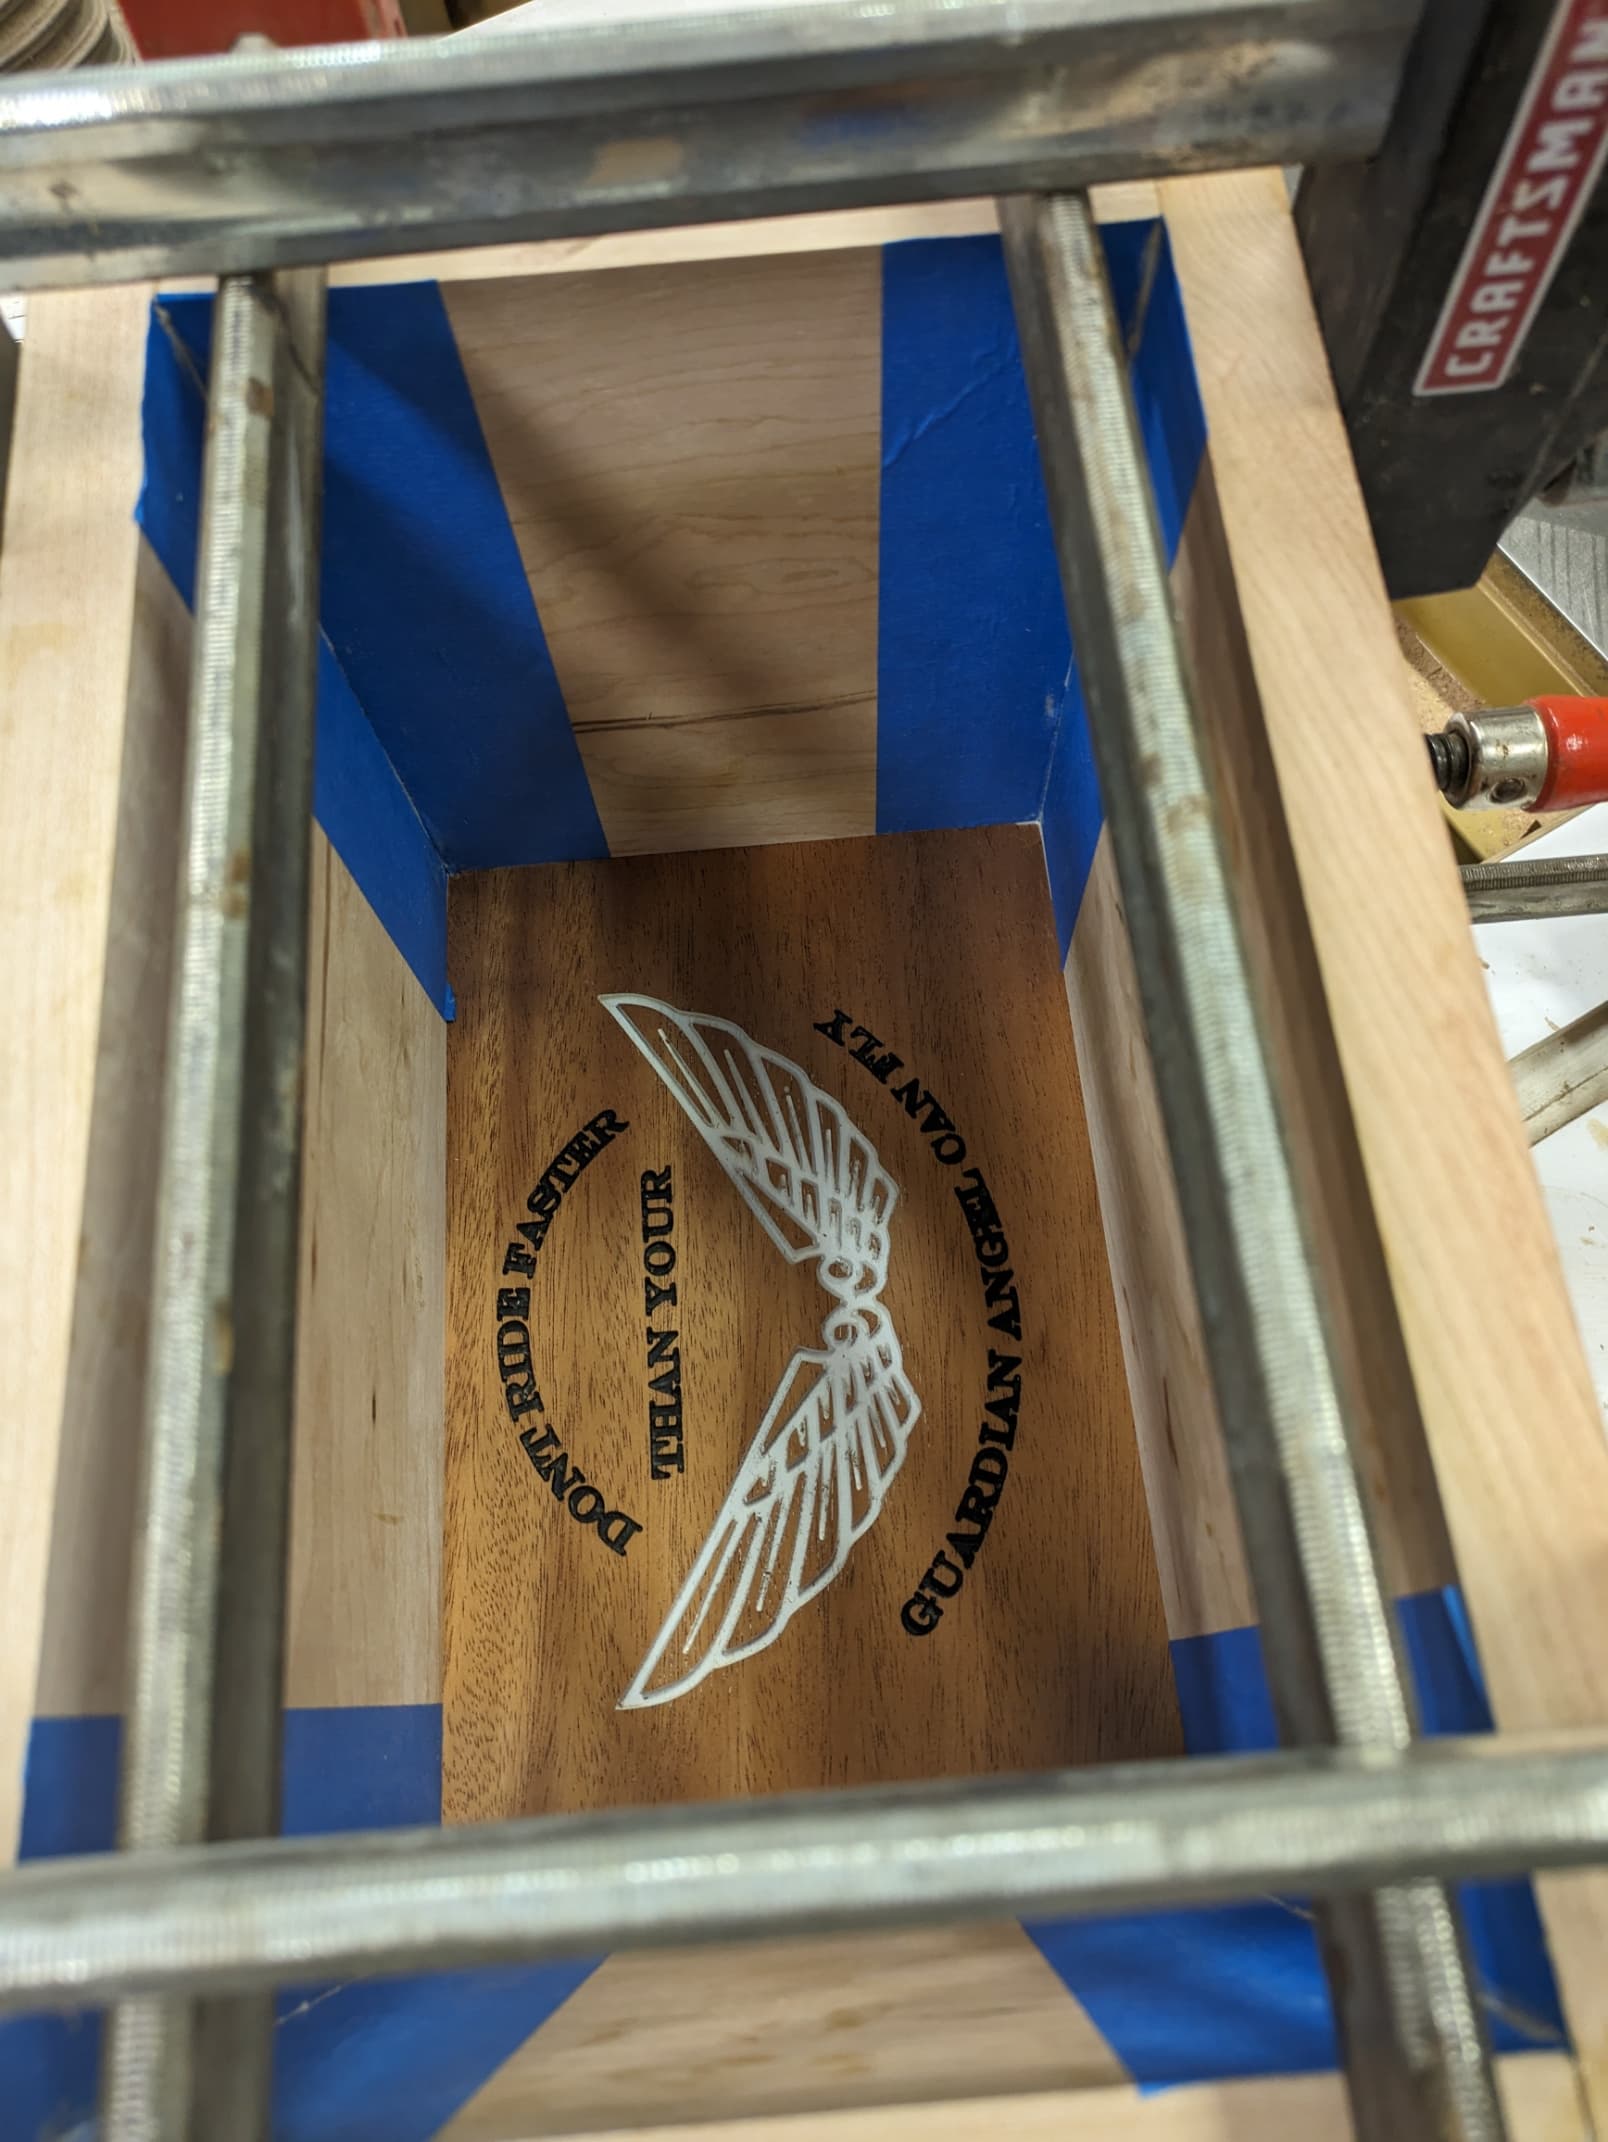
This one is a Harley-Davidson themed box. I carved the Harley graphic on the front and on the lid when you open the box I put another graphic.
I have not priced the box that is made of cherry with a mahagoney top. The box is about 12" w X 8" deep and about 8" tall. The box joint will have a captured lid (above) and will be glued together and about 1/2" cut out when I cut the top off. By gluing the box up as a hole I ensure the top matches the box. If you make the lid and box in two pieces you can have alignment issued. In the next few days I will be prefinishing the 4 box lids before gluing up the boxes. This ensures that there will be no unfinished lines appearing if the box top shrinks due to seasonal changes. I just put painters tape on the box top to keep glue off it. Additionally I do not do a captured bottom. Instead I rabbet the box out with a 1/2" wide and 1/4" deep and cut a plywood bottom and round off the edges to match the rabbet bit bearing with a Rockler jig for rounding off the corners with a router bit with a bearing. I number the boxes and bottoms and drill and countersink #6 3/4" screws. Numbering and referencing will ensure the holes line up when I secure the bottom. Additionally it makes applying a tooled leather lining on the box and it is easier than trying to put in a lining after glue up. with the bottom of the box open during glue up I can wipe off excess glue.
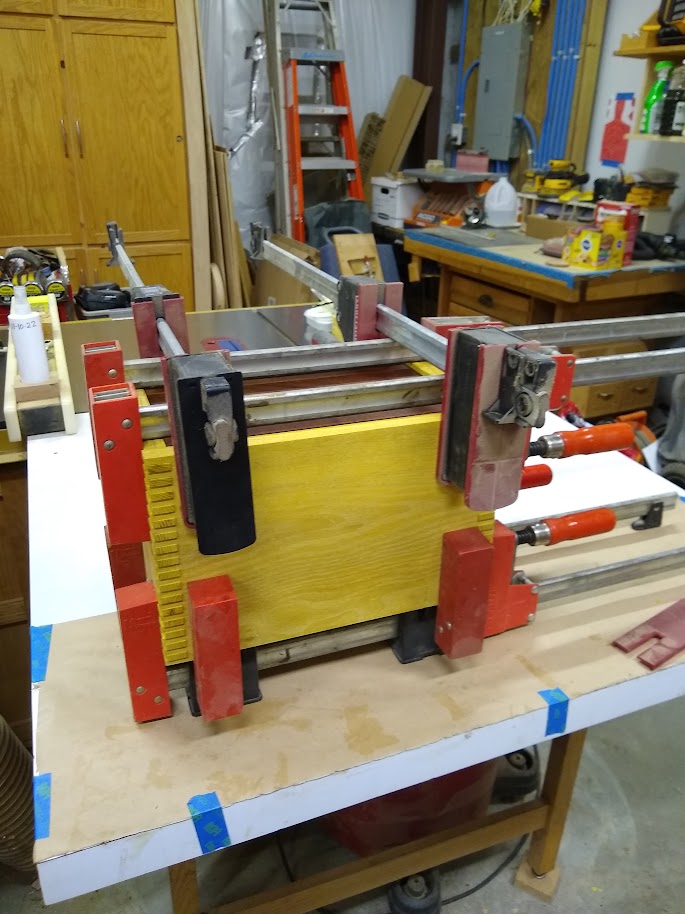
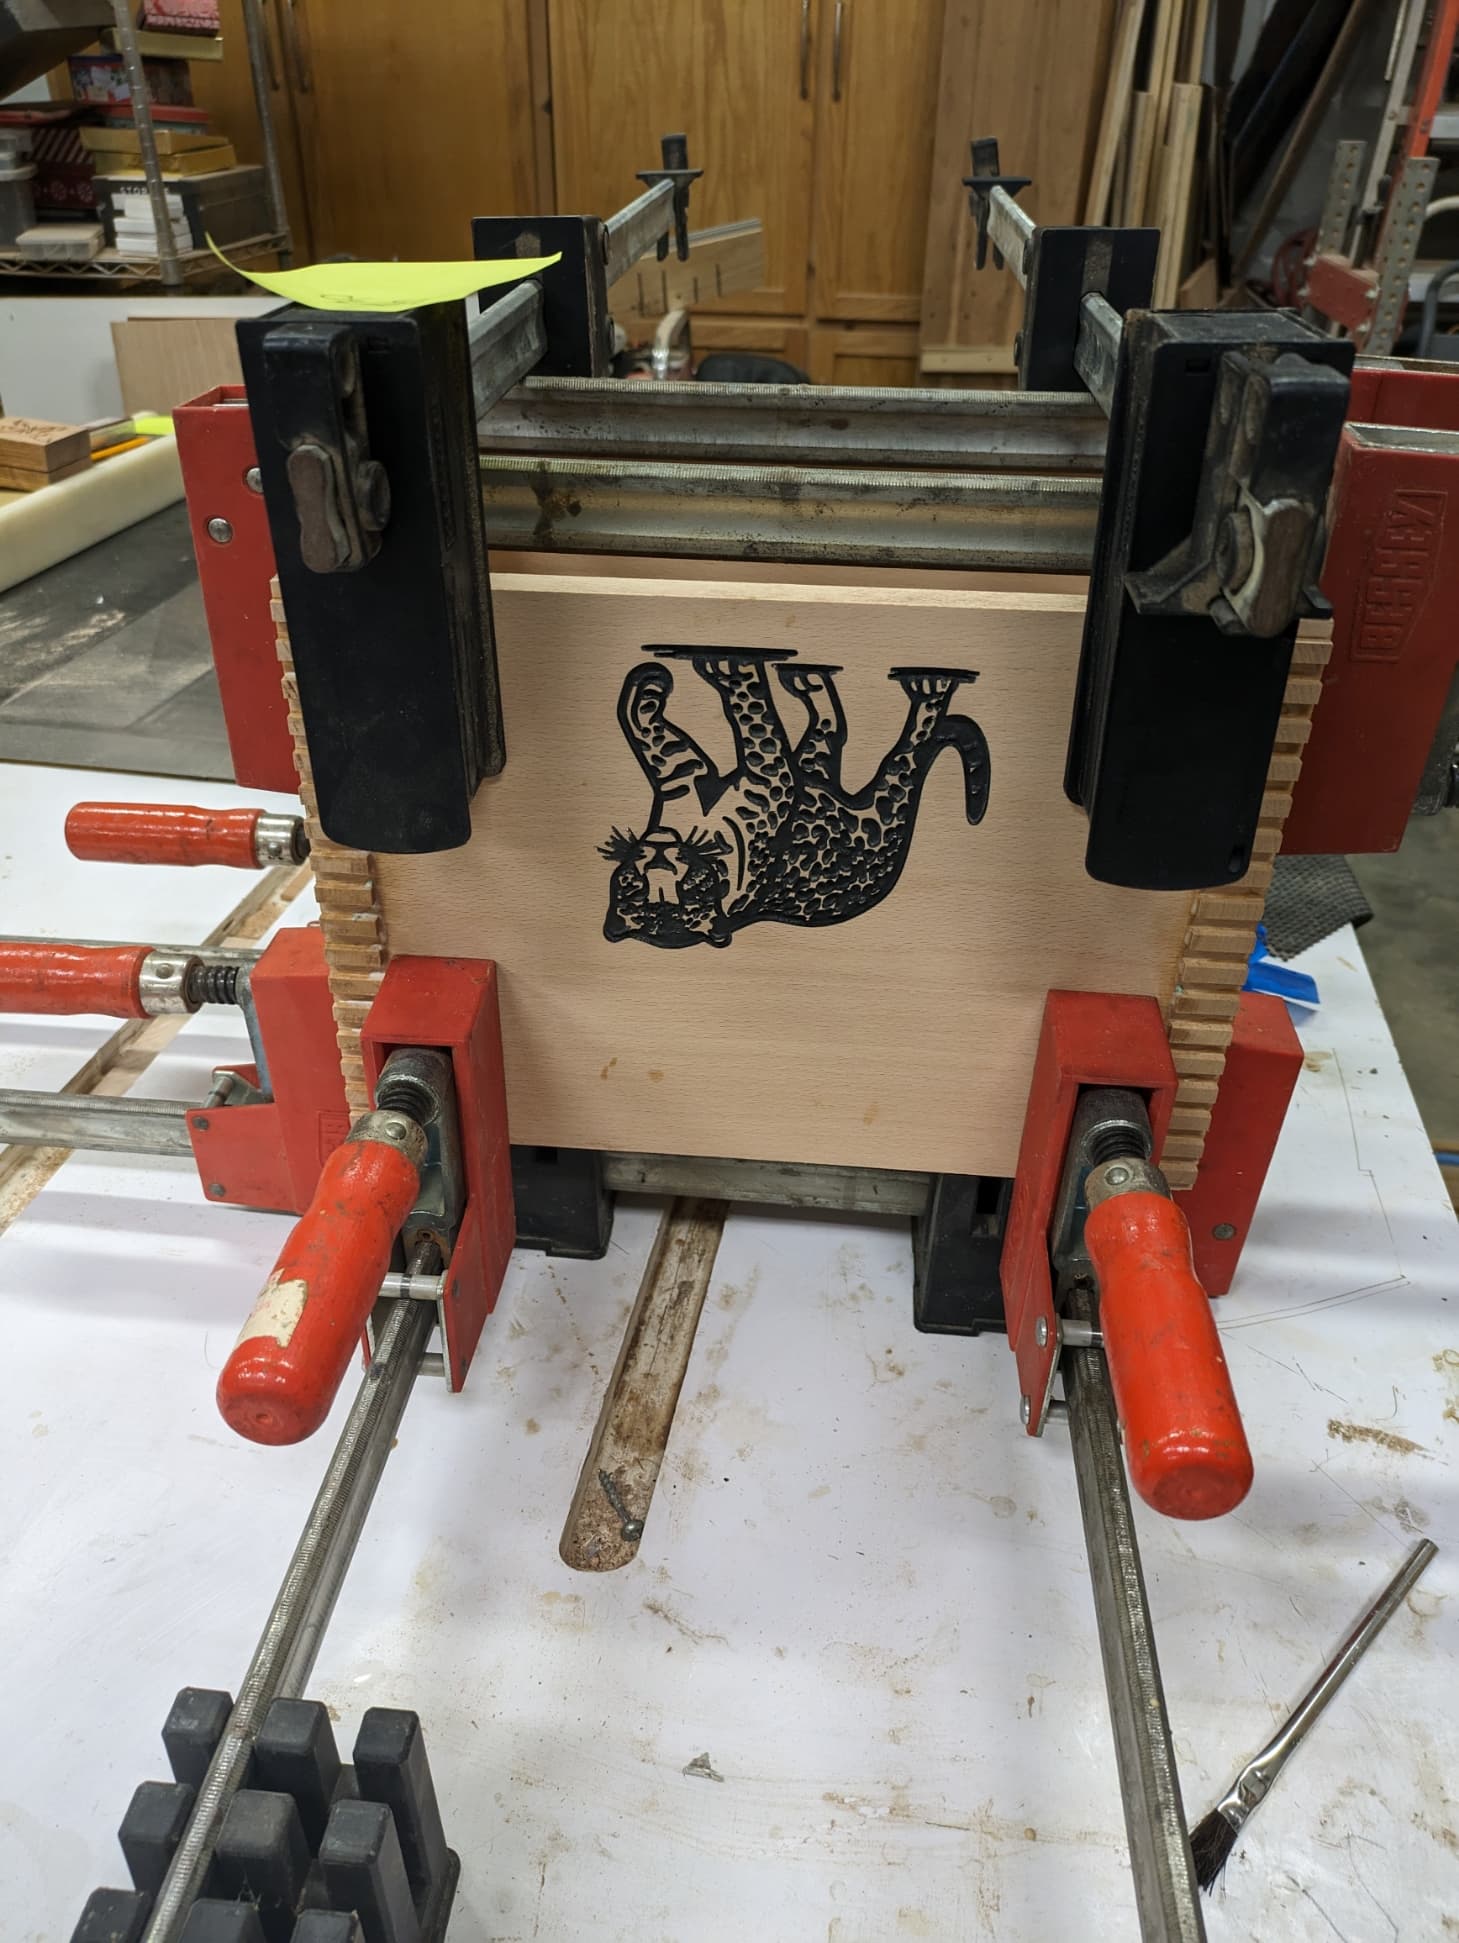
Here is an example of the box glue up. This is a box I made about a year ago.
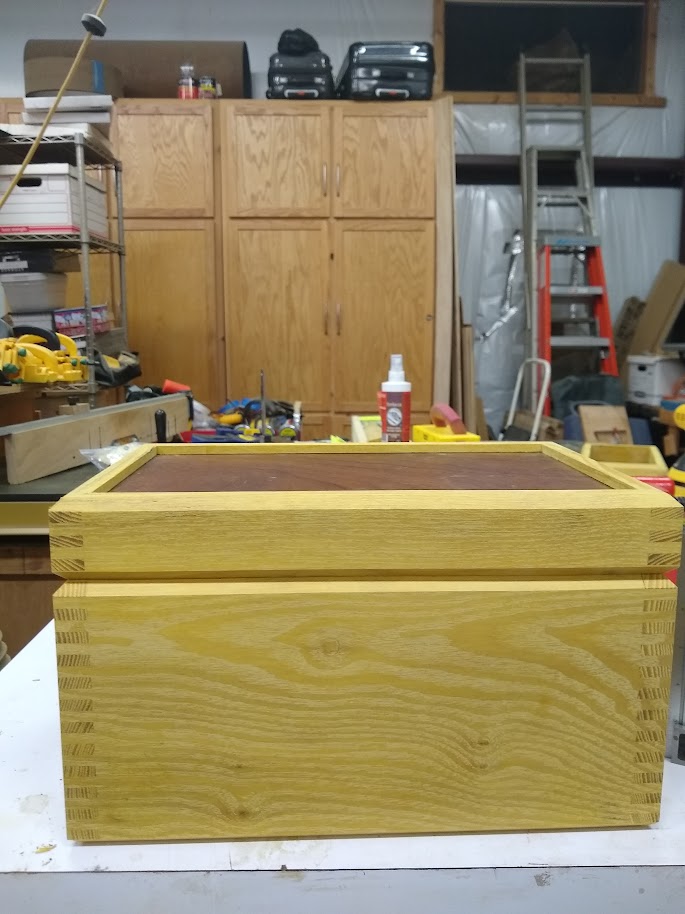
Here is an example of the box shown above after finishing. I champher the edges to create a shadow line to hide any imperfections when the lid closes. I also make the back slightly higher than the front to have the front completely close.
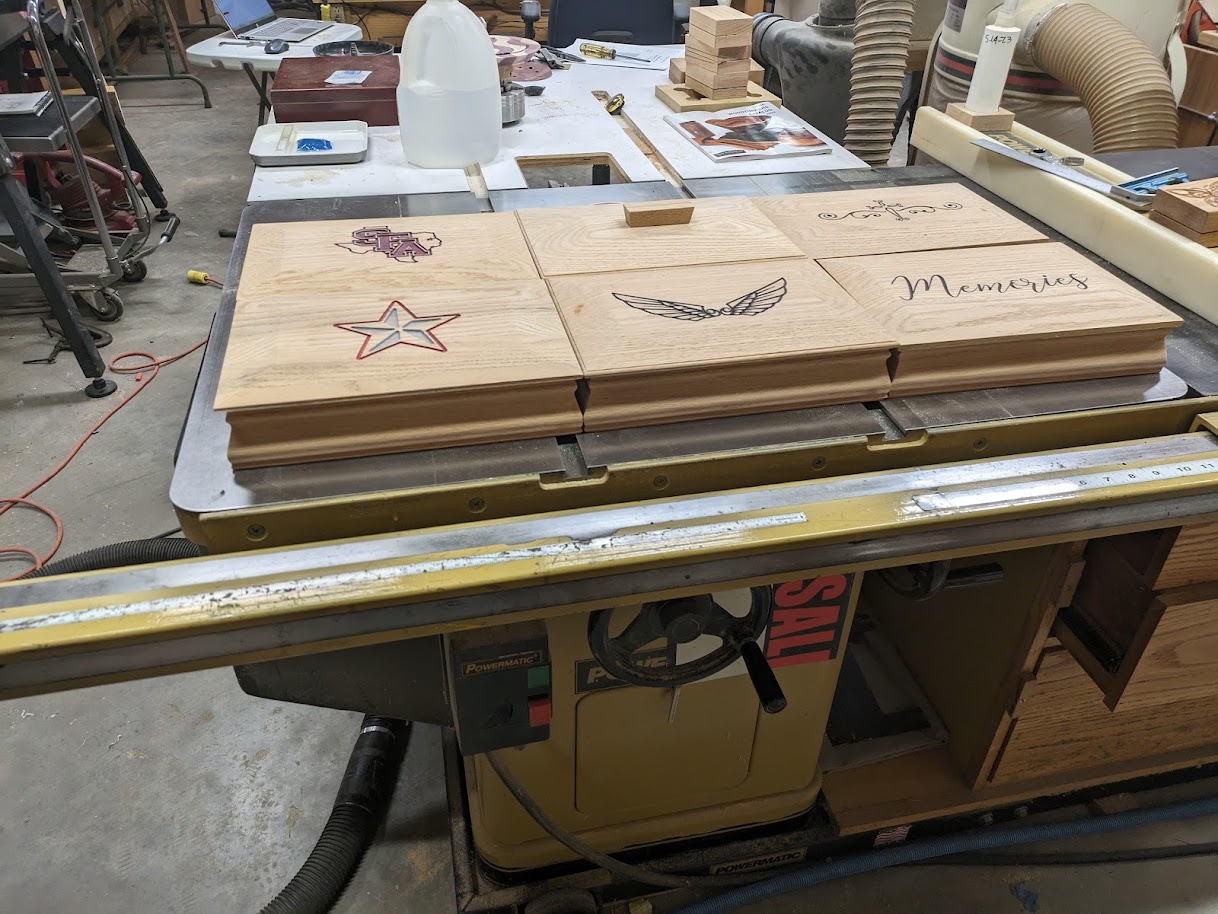
The keepsake boxes are not yet finished. When I get the jewelry boxes finished I will spray all of them and the keepsake boxes with my Earlex HVLP with polyurethane.
Got some more products ready for my craft show. The pieces are not finished but are carved and painted.
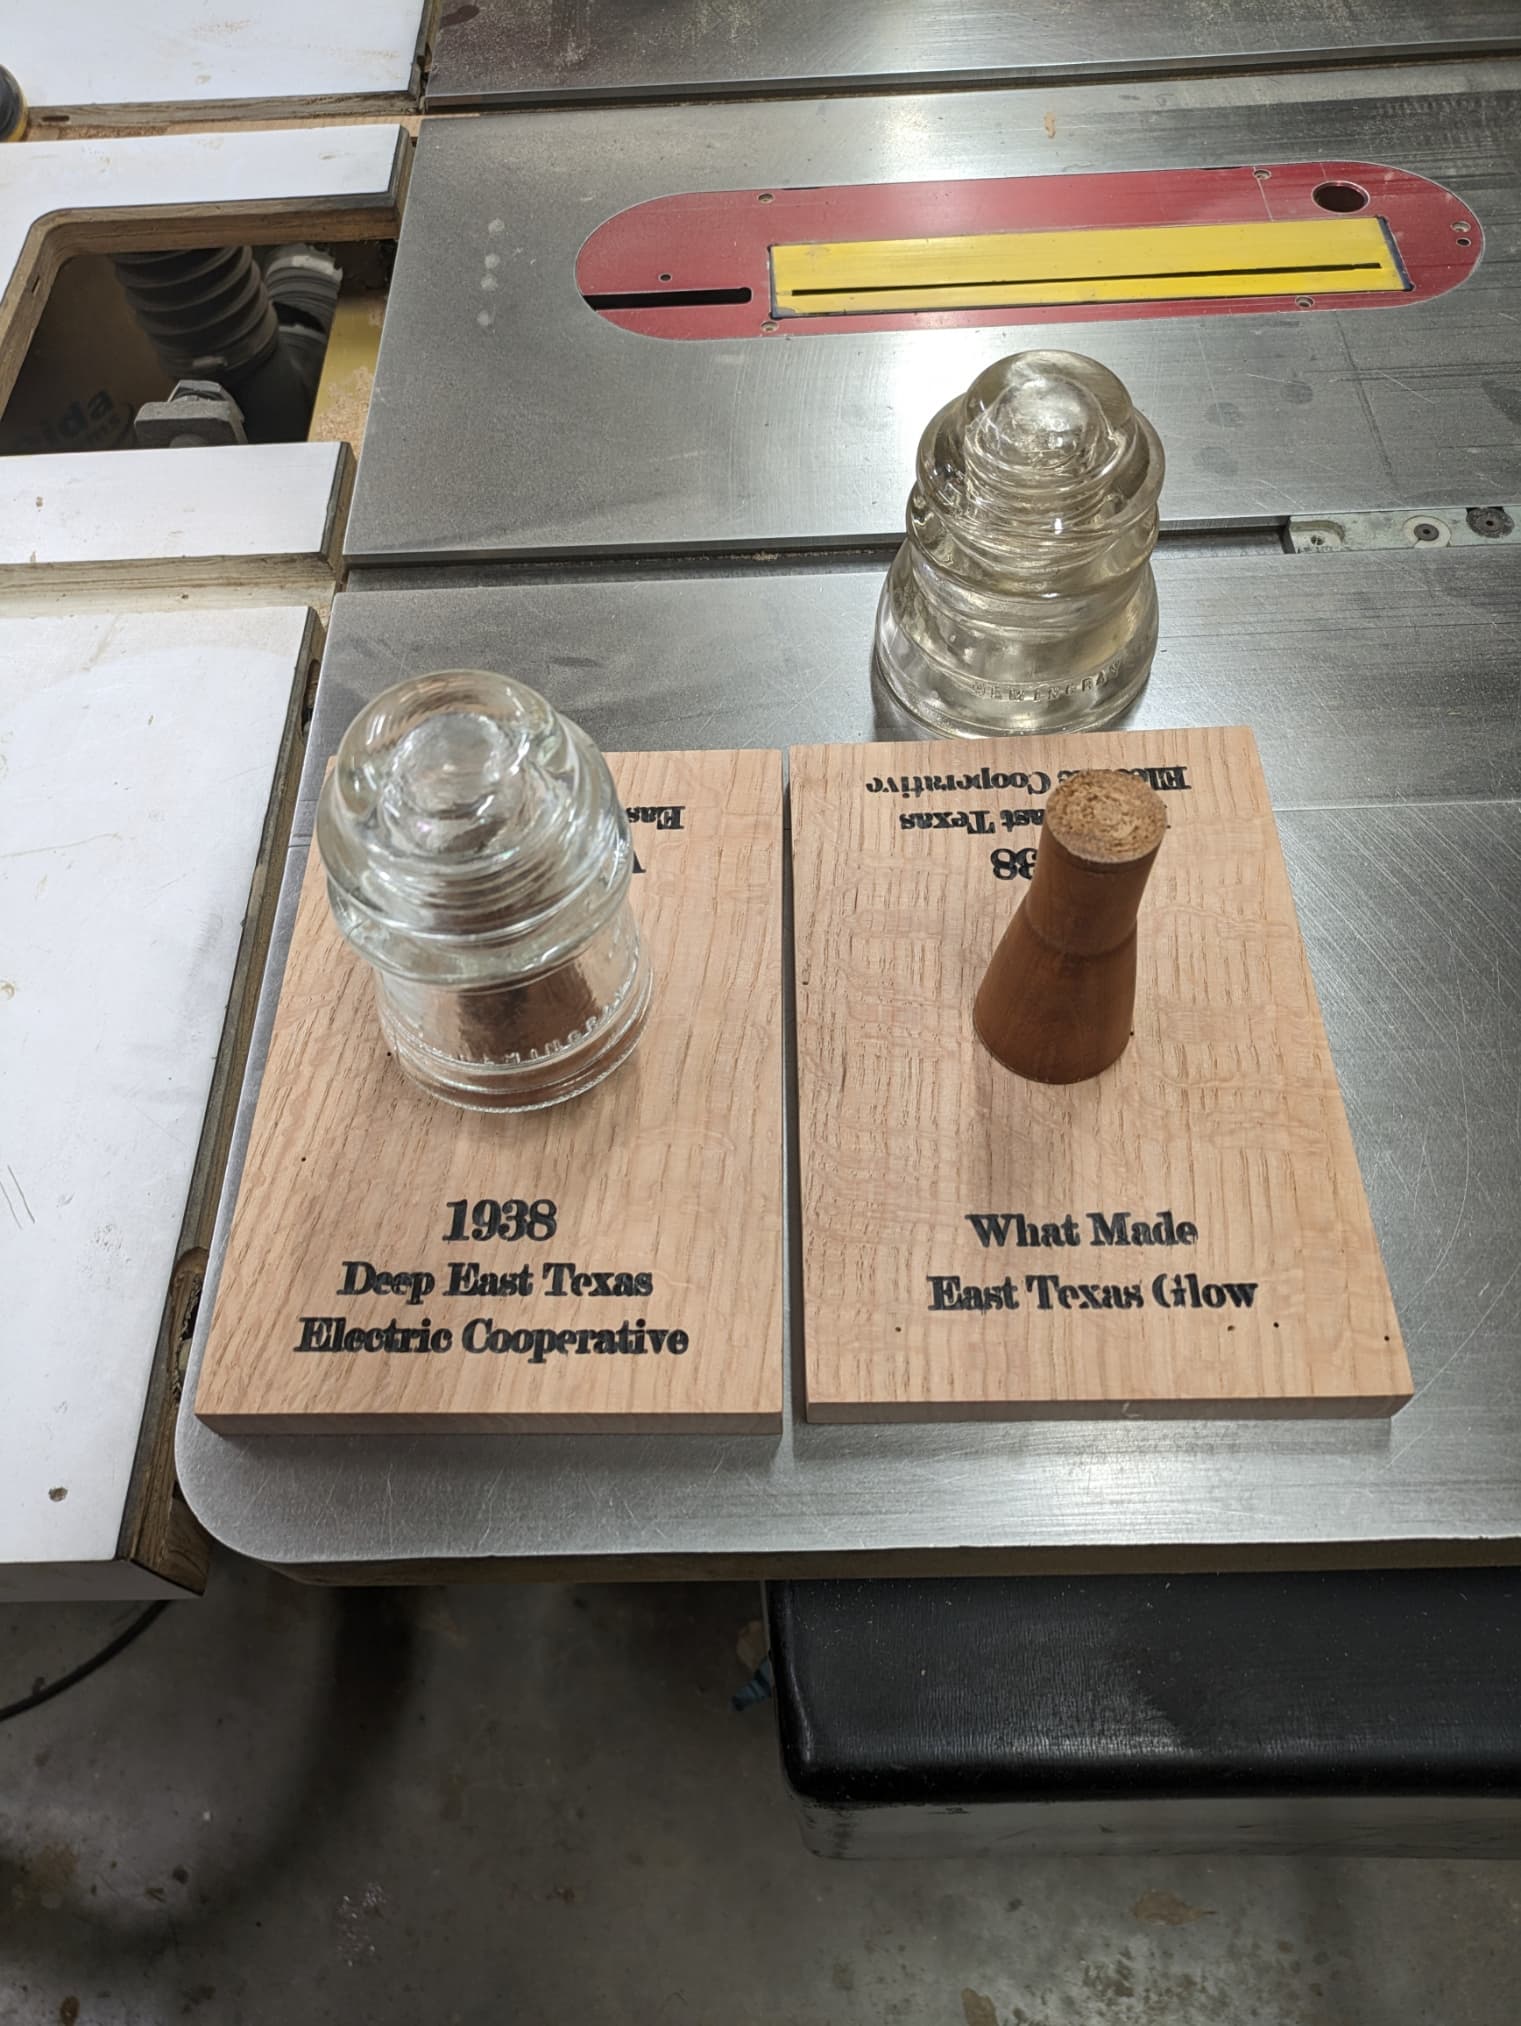
This was a find in a resale store. The glass electrical insulators have a 45 that I think mean they were made in 1945. However in 1938 the Rural Electrification Administration. was formed and in 1938 the first project in East Texas was formed called the Deep East Texas Electric Cooperative. They ran lines to 5 counties one of which I live in and still have DETEC for my electric provider.
I turned the cherry pieces to fit up into the threaded inside of the glass insulators. I had some figured oak and carved the lettering in. I drilled a hole in the center and drilled out a pilot hole for the cherry. The Holiday in the Pines in in Nacgdoches and was one of the 5 counties that was electrified.
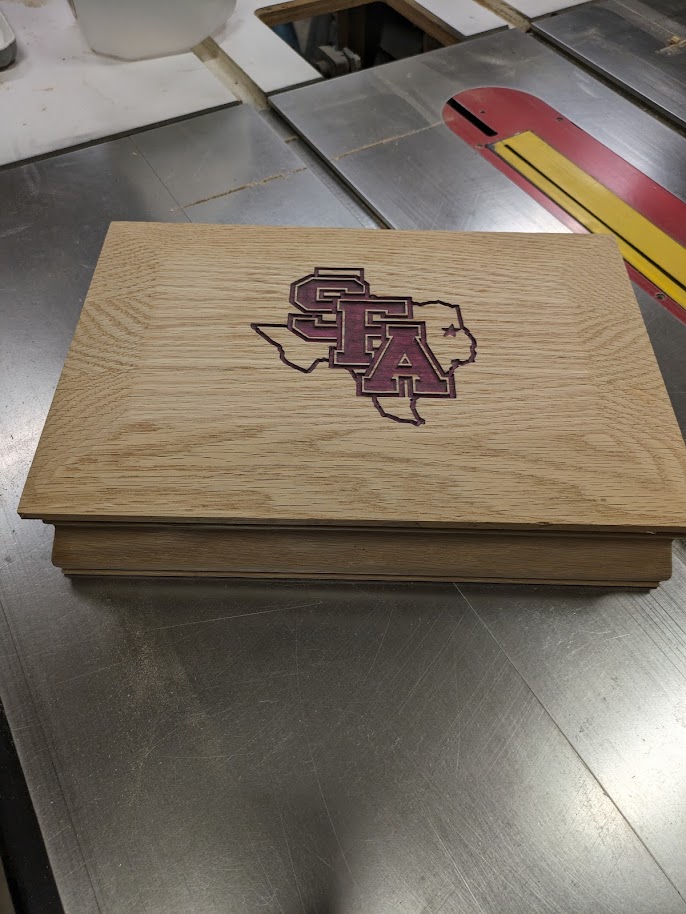
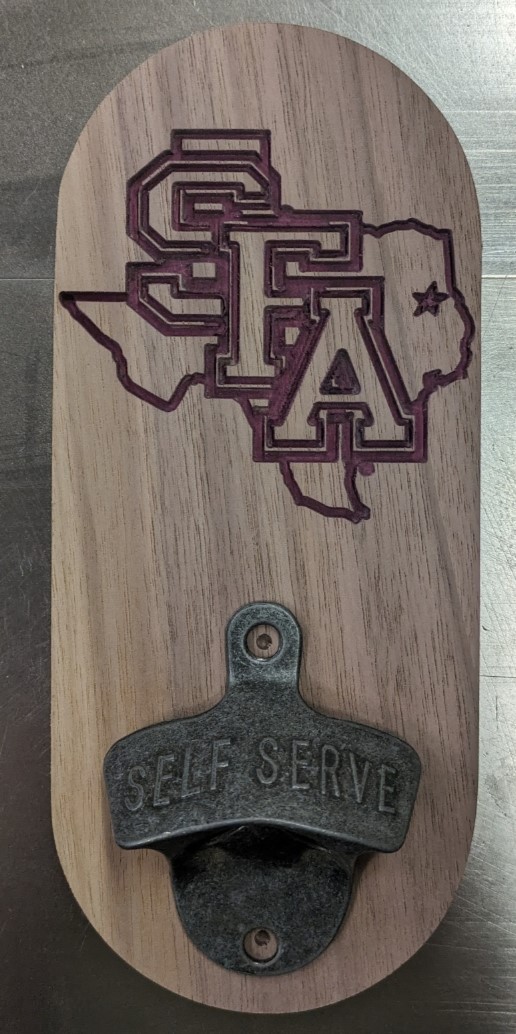
The next one is a one of. I bought a bottle opener on clearance at Tractor Supply. SFA University is in Nacgodoches and there are a lot of students ad alumni there.
The material is walnut which was just an off cut laying around. I need to drill for the bottle opener and likely to put Watco Danish Oil Natural Finish. I will put a keyhole on the back side.
Got my first jewelry box glued up. I prefinished the captured tops for all 4 boxes. This one I had to be sure to put it in the right way. When you lift the lid the carving will show.
I leave the bottom of the box open and later put a 1/2" x 1/4" dado in the bottom and screw on a plywood bottom. I put painters tape on the inside of the box in the corners to capture glue squeeze out. There are a lot of finger joints to put glue on and you have to be ready with everything or you glue starts to dry. I use TiteBond III because it has a longer open time. I sanded the box inside and out before assembly. I will put wax on the inside of the box because polyurethane stinks forever when you open the box.
I used a putty knife to scrape off the glue that drips down on the box top. That is the advantage of having the open box bottom to get inside. Tomorrow I will glue 1 or 2 more of the boxes. The captured tops on them have no carving. I have two tiger maple and one hickory box top already prefinished.
When I get all 4 boxes glued up and dry I will cut the tops off the boxes and do the other machining like a dado across the back for the piano hinge. Lots of work but the end is in sight with these boxes.
Got 2 more boxes glued up today. I might get the 4th one glued up tonight before bed but likely tomorrow. When you get tired you should exit the shop because mistakes are made and dangerous things happen when you just ONE more thing to do.
From this point forward it is simply rinse, repeat and I will do everything needed to all 4 boxes at the same time. Setting up to cut the lid off is simpler if I do all 4 at once. Likewise cutting the dado for the piano hinge is only set up once. Same for the champher on the top and bottom of top and bottom. I like to set up once.
One thing I always do is leave a tool set up from the last use in case I need to go back. I dont break down any setup until another setup needs to be done. This saves a lot of time if you only have modify your settings instead of a complete retooling and setup. I do clean up but leave my tablesaw fence set, my router table and bit setup and so on and on.