The parts will be of various heights. .5 and .4 ultimate thickness. To complete the cuts, do I tell CC to start at .4 on the thinner parts? Or should I zero off bottom and live with the extra .1 cut on the thicker parts? ( Cedar )
Can I import CC designs I have made previously into my Jig design? For instance, the jig is set up for Boxes. Side, Bottom, Faces. Can I import new Faces that I have previously designed?
If not, are there any suggestions on how I might do that without a complete redesign? As you can see I have four faces that I would include for each box, and about 36 designs saved up.
First of all Stole is a very Grey area. one could say a scale, Greyscale. Ha.
Not speaking down to you in this comment. Not sure of your working level.
So you have a nice jig. Can you get your depth per pass to .2 save you a bunch of cut time.
Do you have CC Pro?
If I understand, precut rectangle parts are put in jig to hold them and planned to the correct thickness? Your jig depth is .4. Some parts will be .4 thick and some will be .5 thick. How thick is material your putting in jig. .75?
My thoughts
-set xy zero to where you have it on jig.
-Set Z zero to heights material height in jig, not jig height.
-Make two part cut toolpaths
-one for .5 depth parts.
-one for .4 depth parts.
2 You can cut / import image on top of the part anything you like.
Use Jig as part of your design drawing to insure parts are located correctly.
Account for Part material thickness in job setup. (.75-.4)jig +.75(material)=1.1(Job setup) check my numbers
I did not clarify properly, heck I know what I am thinking, sometimes, well maybe no. No talking down here, I need the crayon description.
The Jig is to hold the pieces so that I can lay it out and hopefully set the job up once to cut all of them, reload and cut another set. I made the Jig .4 deep to support the pieces while cutting.
I will plane four to .4 as well as others to .5. So the zero point would be .5 in my mind, top of the thickest piece. Then correct the tool paths that will be cutting the .4.
Four of the pieces will have an image cut to the bottom. Like the Halloween lanterns.
“Account for Part material thickness in job setup. (.75-.4)jig +.75(material)=1.1(Job setup) check my numbers”
This is where I got lost. I can use .5 in place of the .75. Setup would be for the part I am ultimately going to cut, then -.1 for the thinner parts on my tool paths.
If you have pieces of varying heights then make a tool path for each part. Set the Z for the tallest piece and then on the smaller pieces just start the cut at their height and what ever depth you want. They all have the same bottom height, the spoilboard. For simplicity you could select them all and start the height with the tallest one but the shorter ones will cut air for a while. That would be a time waster. So I would select object one at a time and make a tool path with the starting depth what the height of the individual piece is.
I have many jigs to hold round and box tops but sometimes the jig is slightly larger than the part so I use printer paper cut into strips to put in the jig so the edges are squeezed between the paper and the side of the jig. You dont want your parts moving around. You may need to cut several pieces of paper depending on how accurately the jig was sized and cut. If you get the parts really jammed in you can remove your jig and if the bottom of the parts are exposed then push them out. If the jig does not show the bottom cut a hole in each compartment while making the jig so you can push the parts out without damaging them by digging them out.
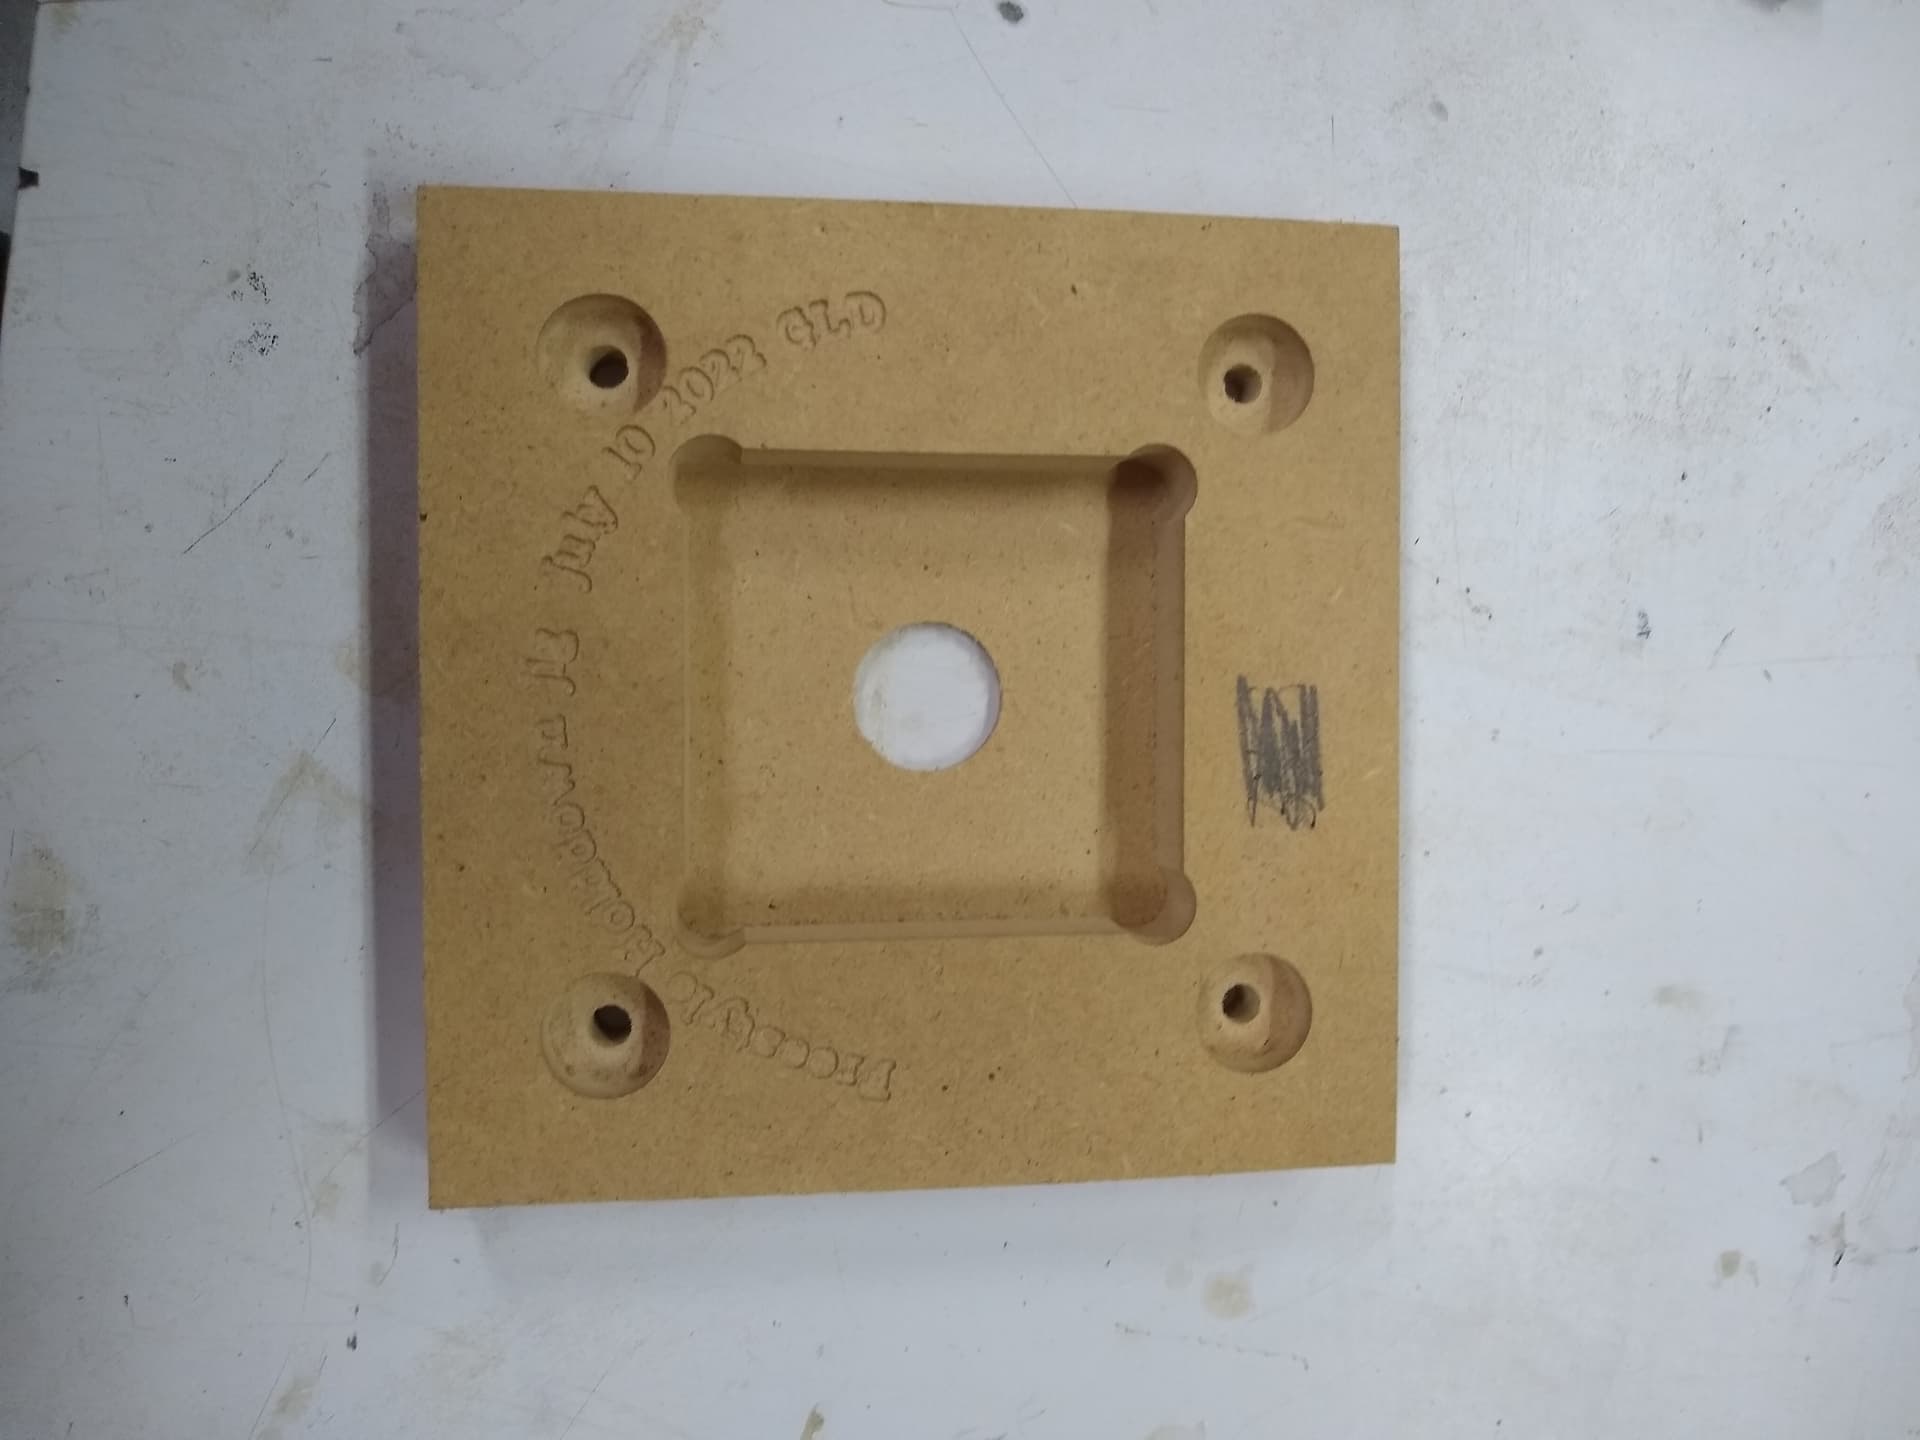
Here is a jig I made to carve a little box top. I have a 2" spacing on my spoilboard so I made the jig big enough to get 4 bolts into the tee nuts. If you have a hybrid table make the jig big enough to bolt down the the t-tracks.
Your killing me, you guys are milking all my secrets I will have none left. OK here is one of my jig. looks just like your. I put a bolt in side to pull blank up tight. Makes its own threads in wood when I put it in.
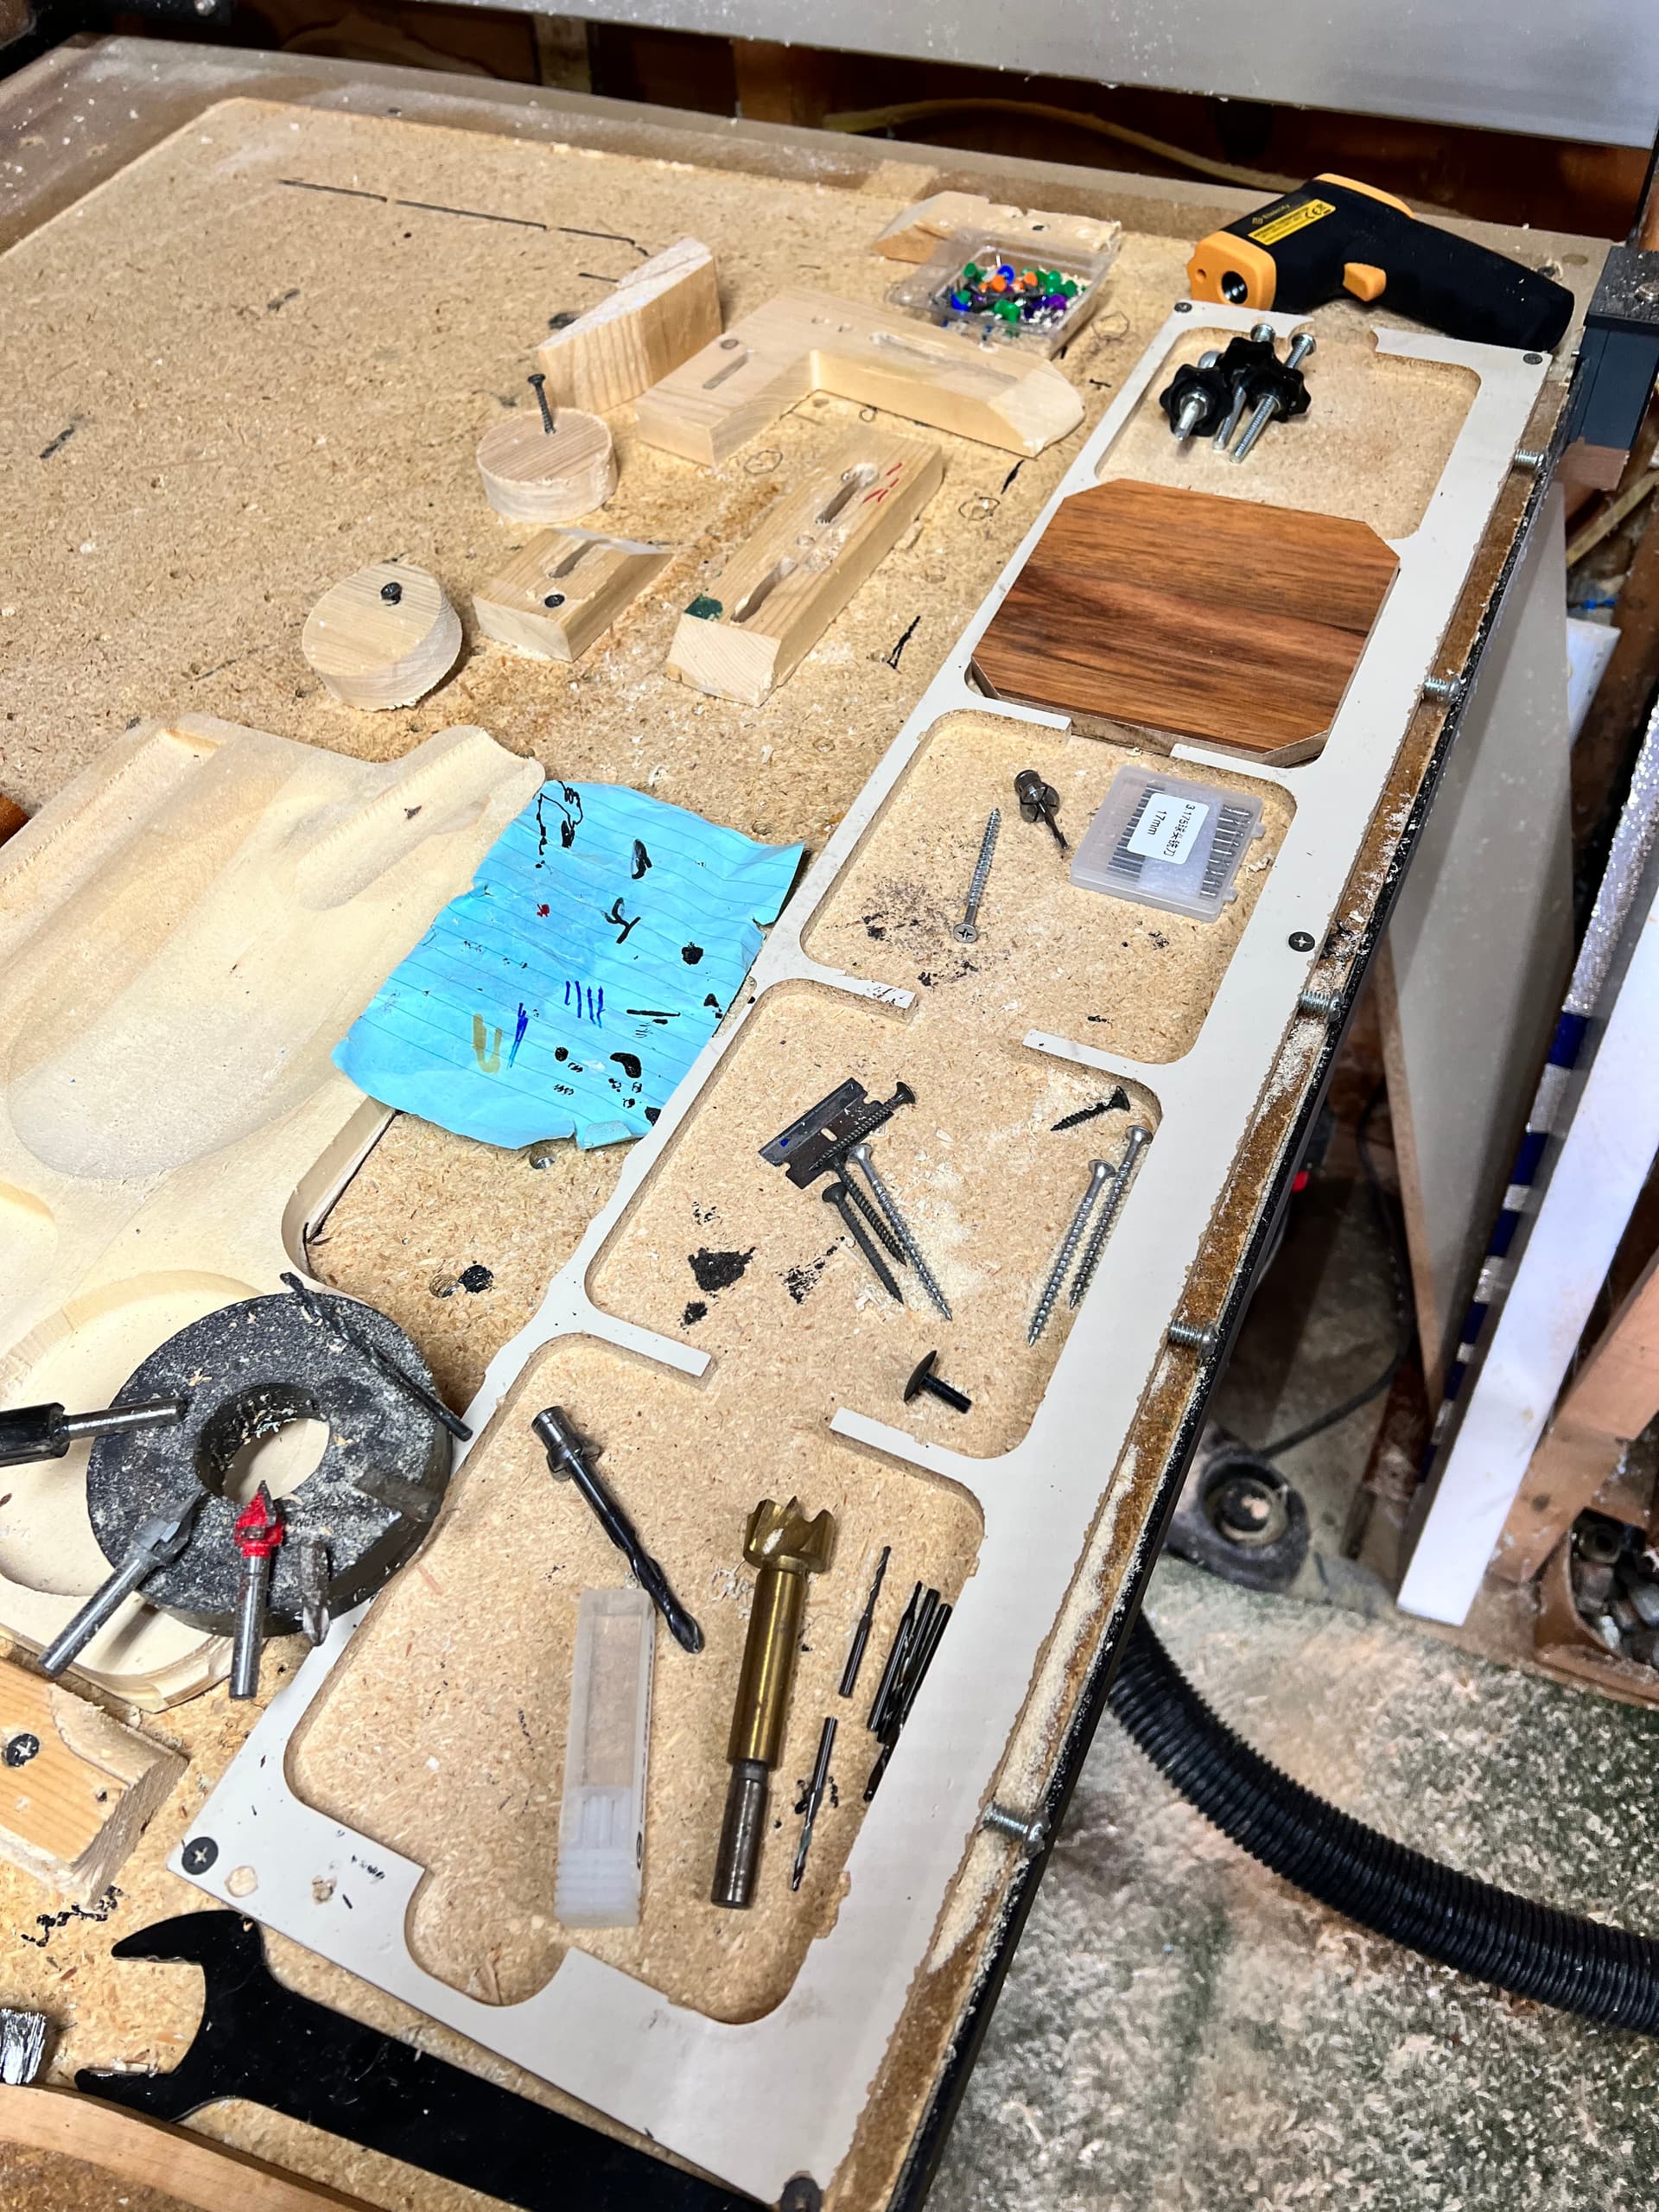
Black and yellow tool is temperature Lasor. Tells me if bits or router are getting hot. Helps me cut a little faster.
The blank is wood flooring. I get broke packs from Lowes, ~75% off $8 bucks, or find it on the side of rood after someone redoes their floor. Its a bit hard on V bits but cheep.
Magnet helps a lot. Hold bits and collets and finds stuff in dust.
My 2 year old blue PAPERsetter, my best tool. Do have a real bitsetter, like it too.
On topic
Zman I have a planer come over anytime. Titusville FL. See rocket launch. Make some saw dust.
Air cutting not good. nice catch.
You could also cut your .5 JIGs pockets .1 deeper and only have one tool path, faster.