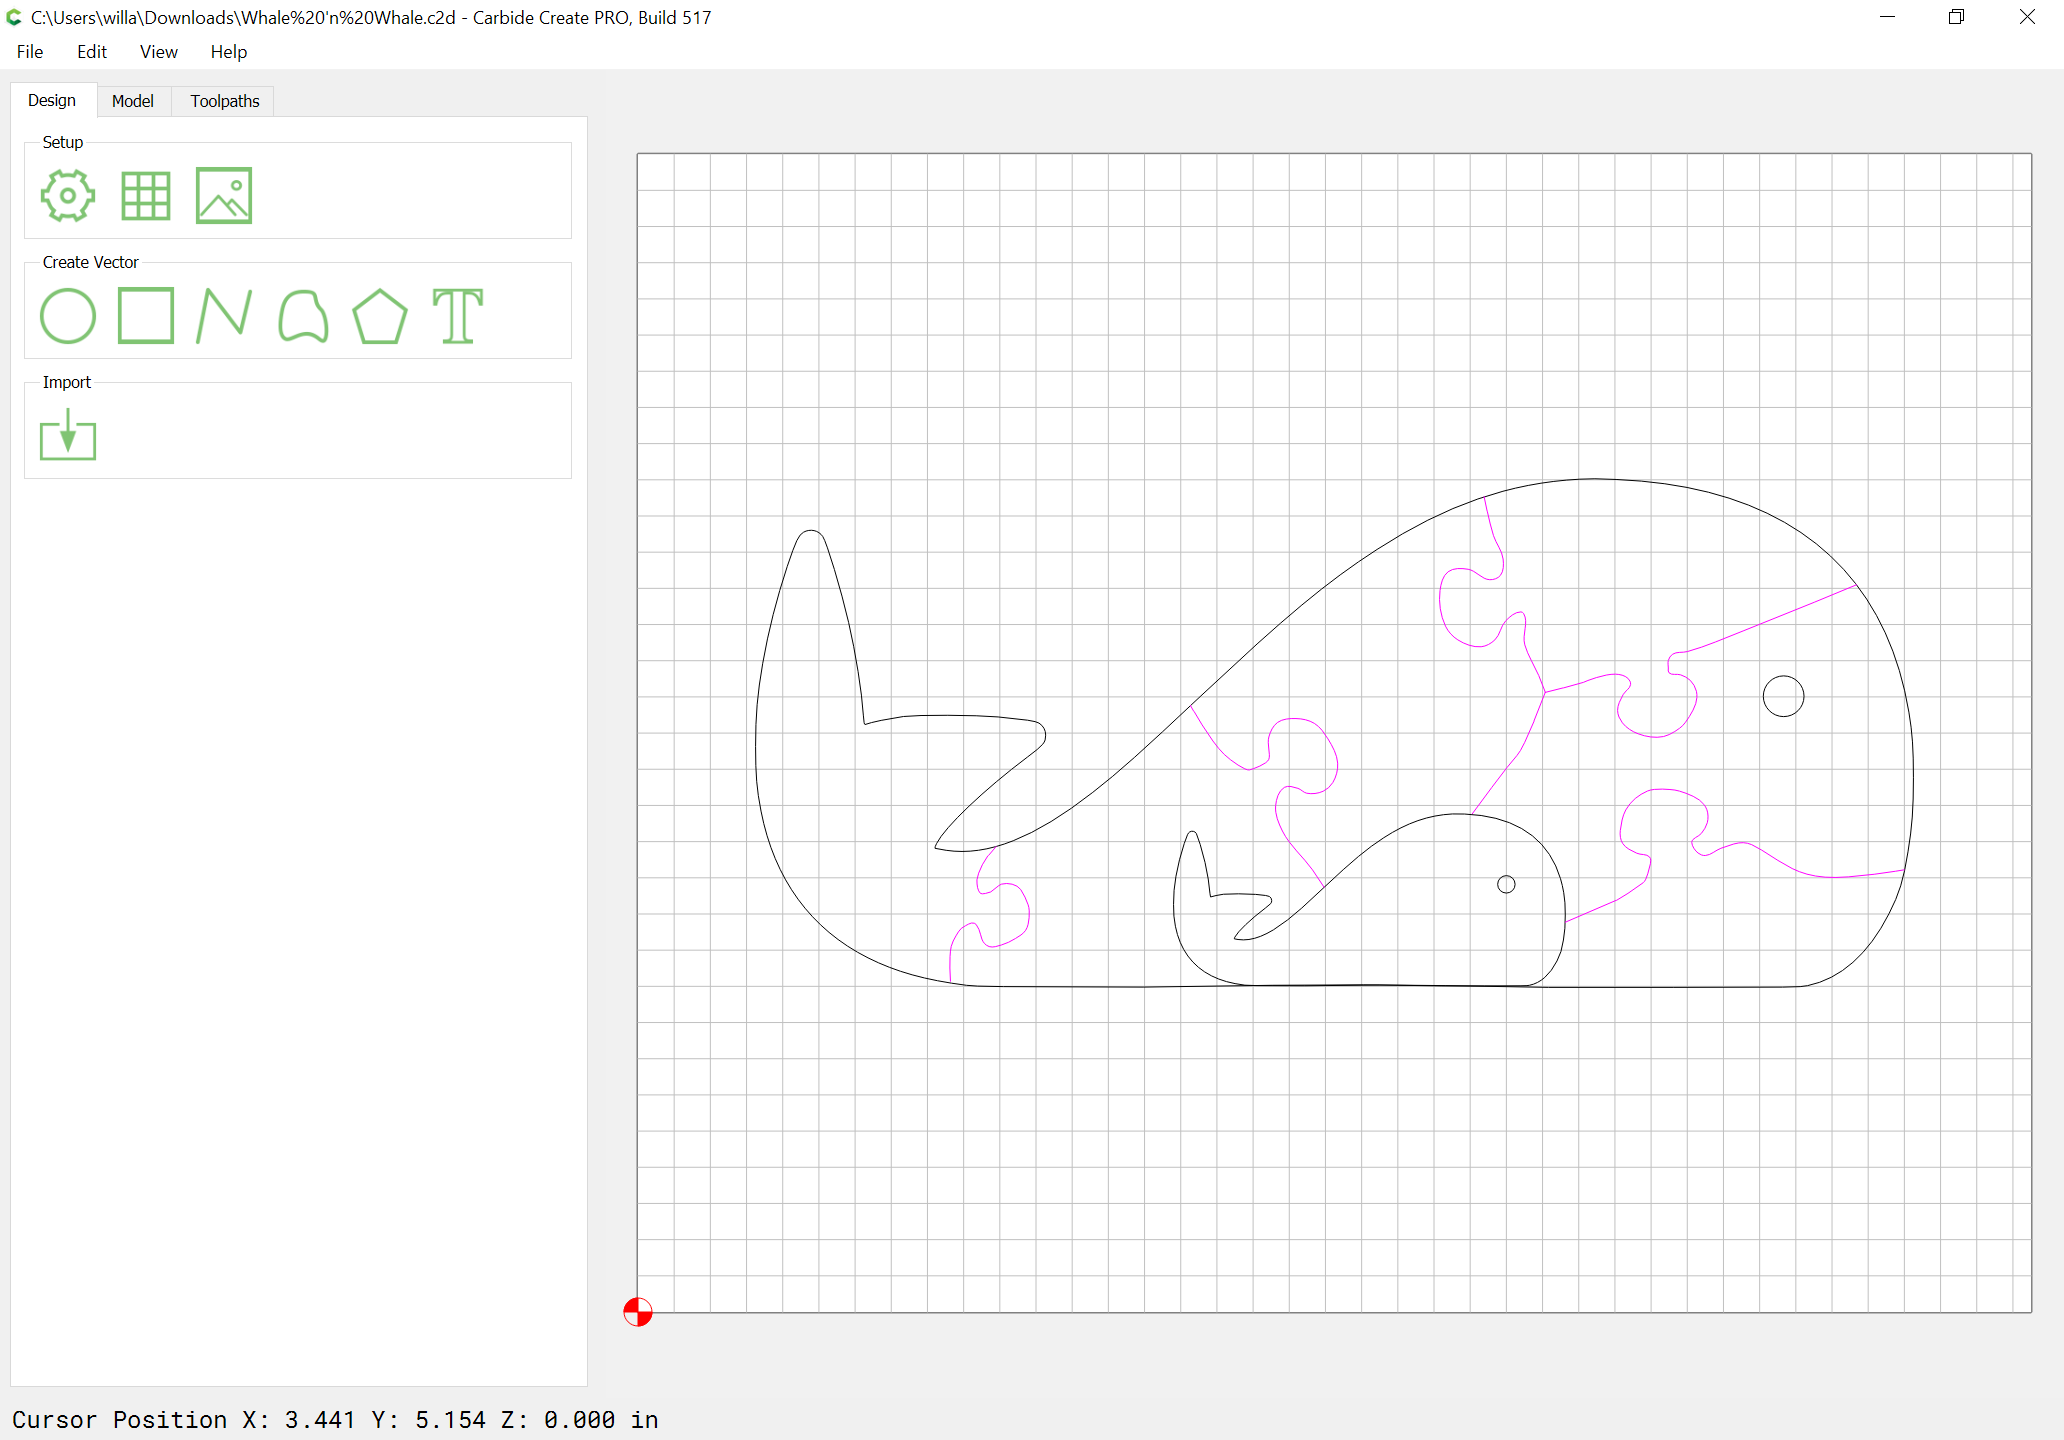
The problem is you have open geometry (indicated by being magenta) where you need one discrete closed path for each part:
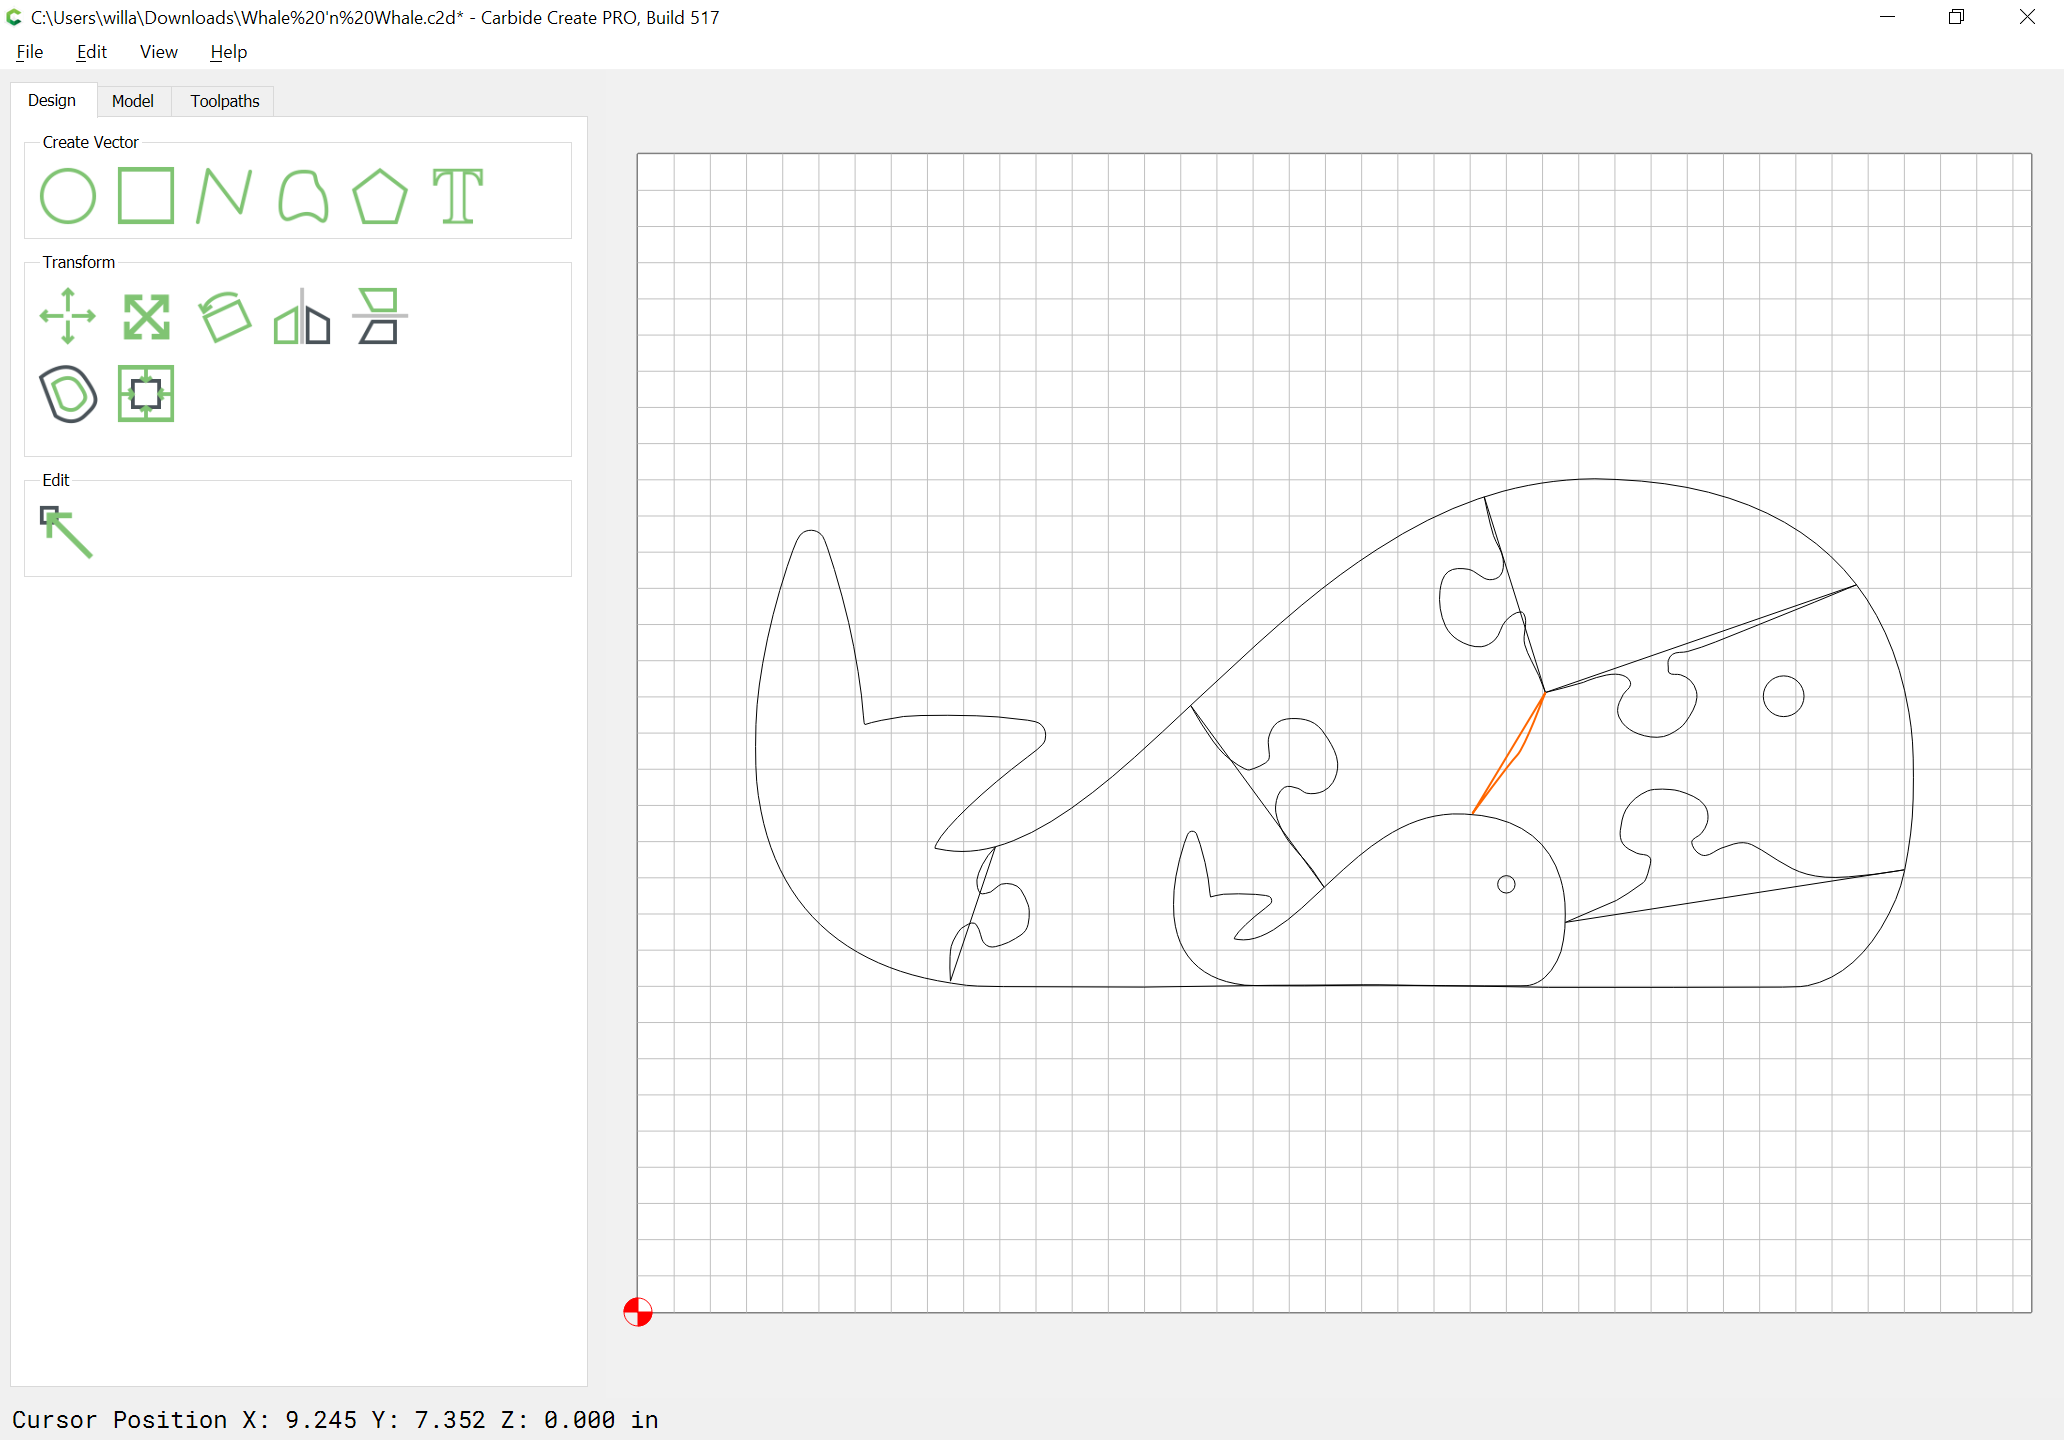
Select each set of opened paths:

and join each so that they are closed:

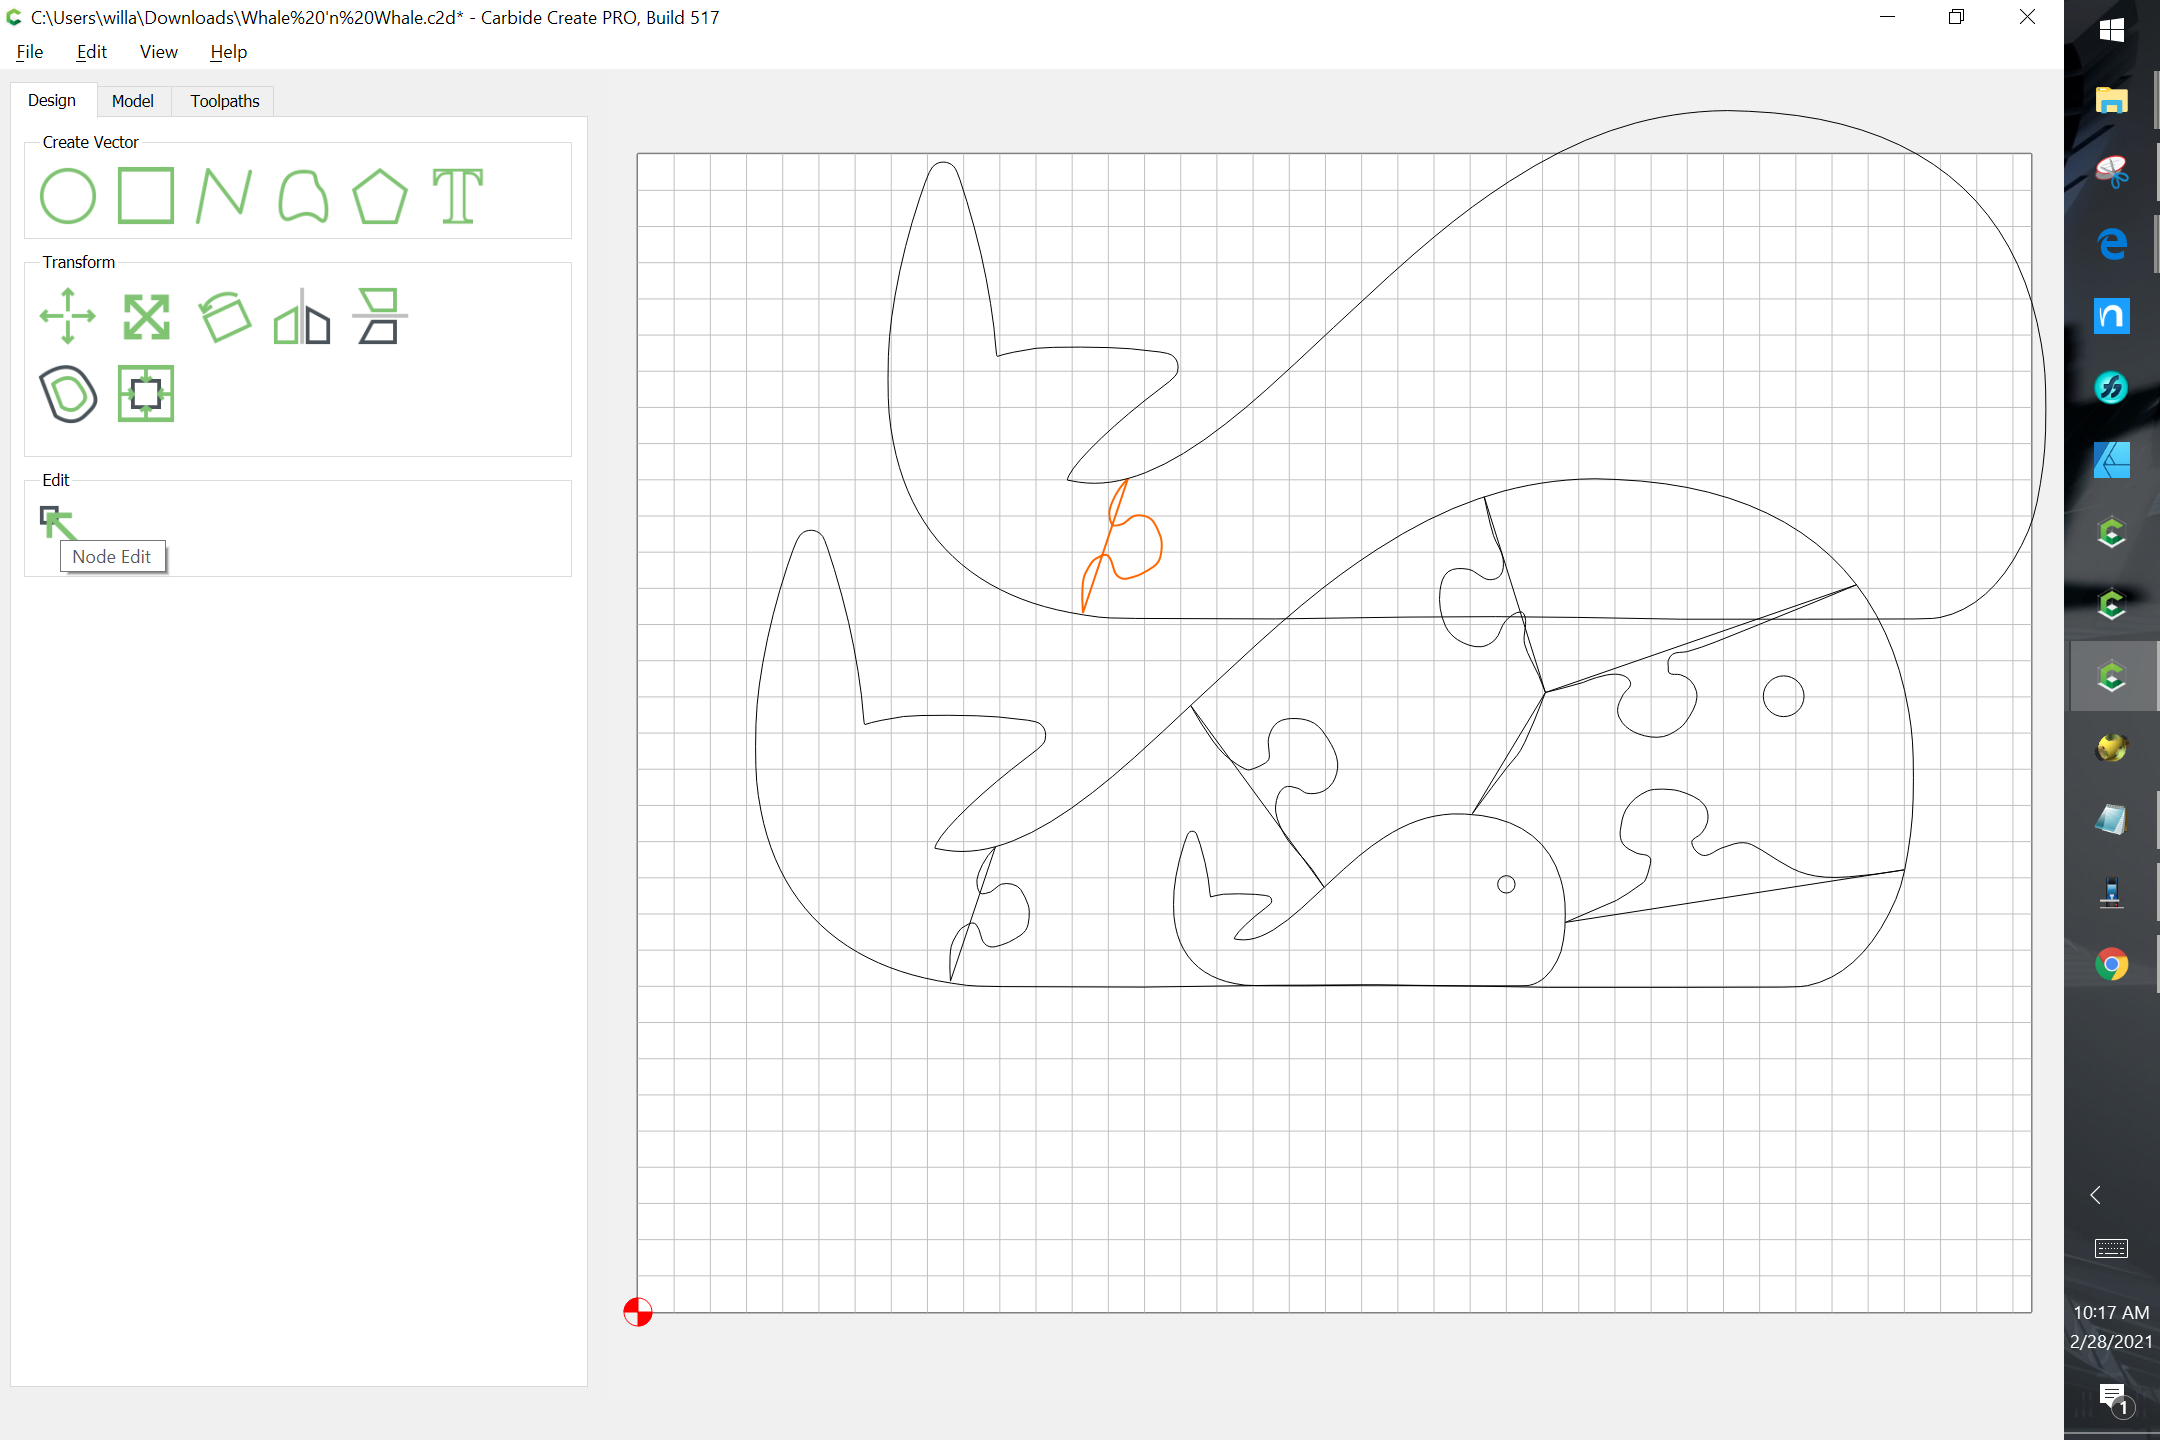
Then select the outline and the necessary geometry for a given part and duplicate it (control/command c):

Drag the parts out of the way to where you can work on them:

Then select the puzzle part and go into Node Edit mode:
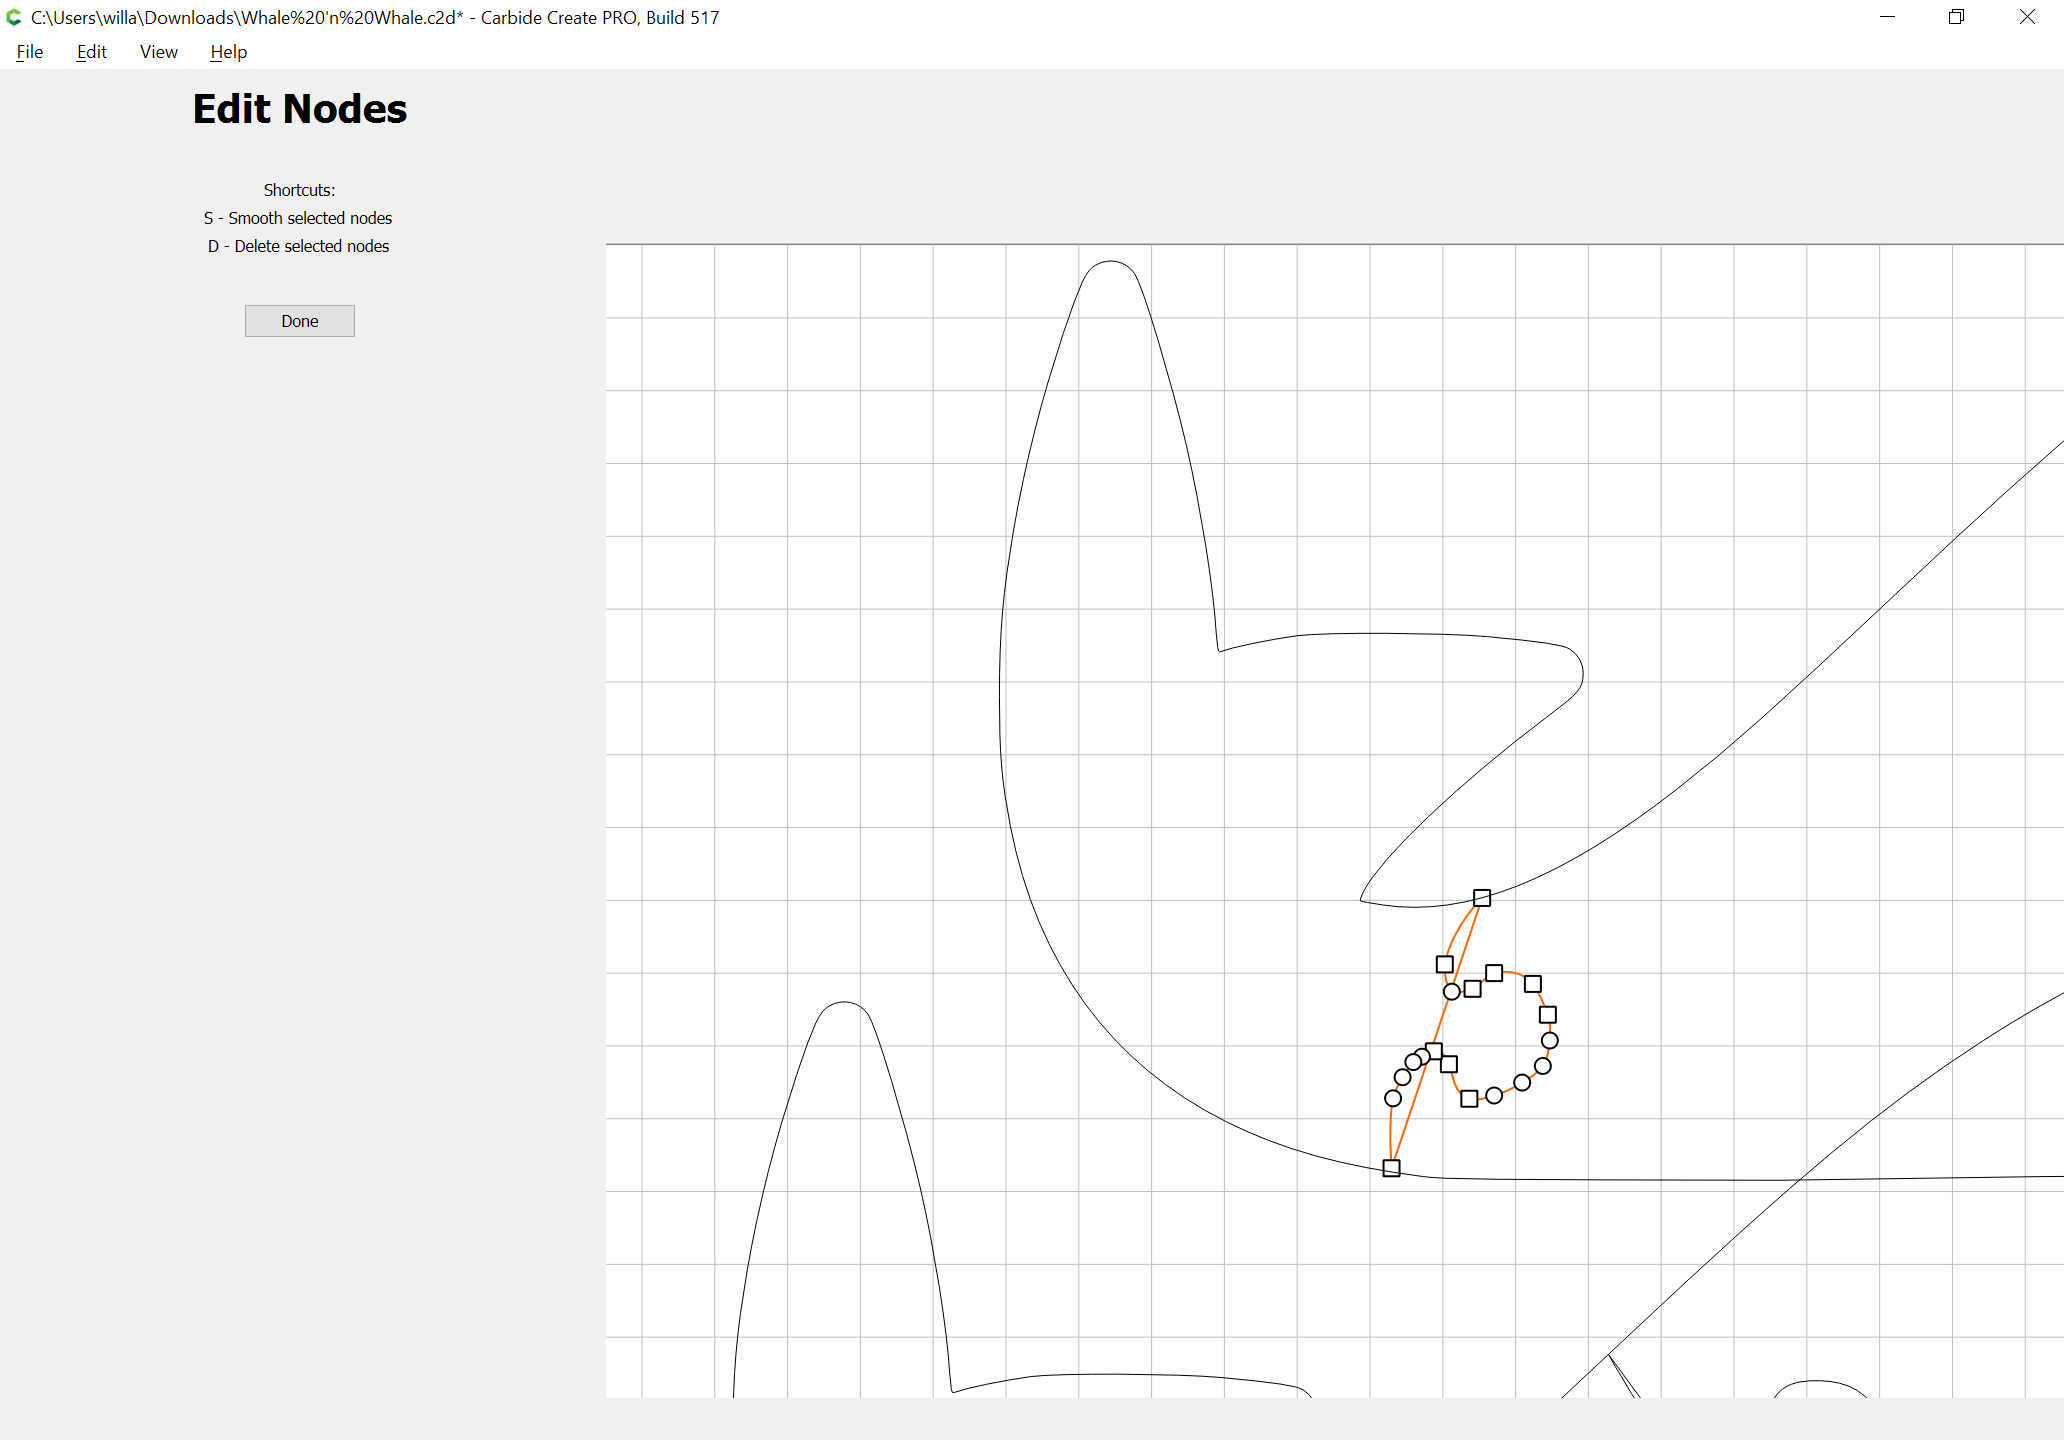
and edit it so that it encompasses the area for the part:
right-click:
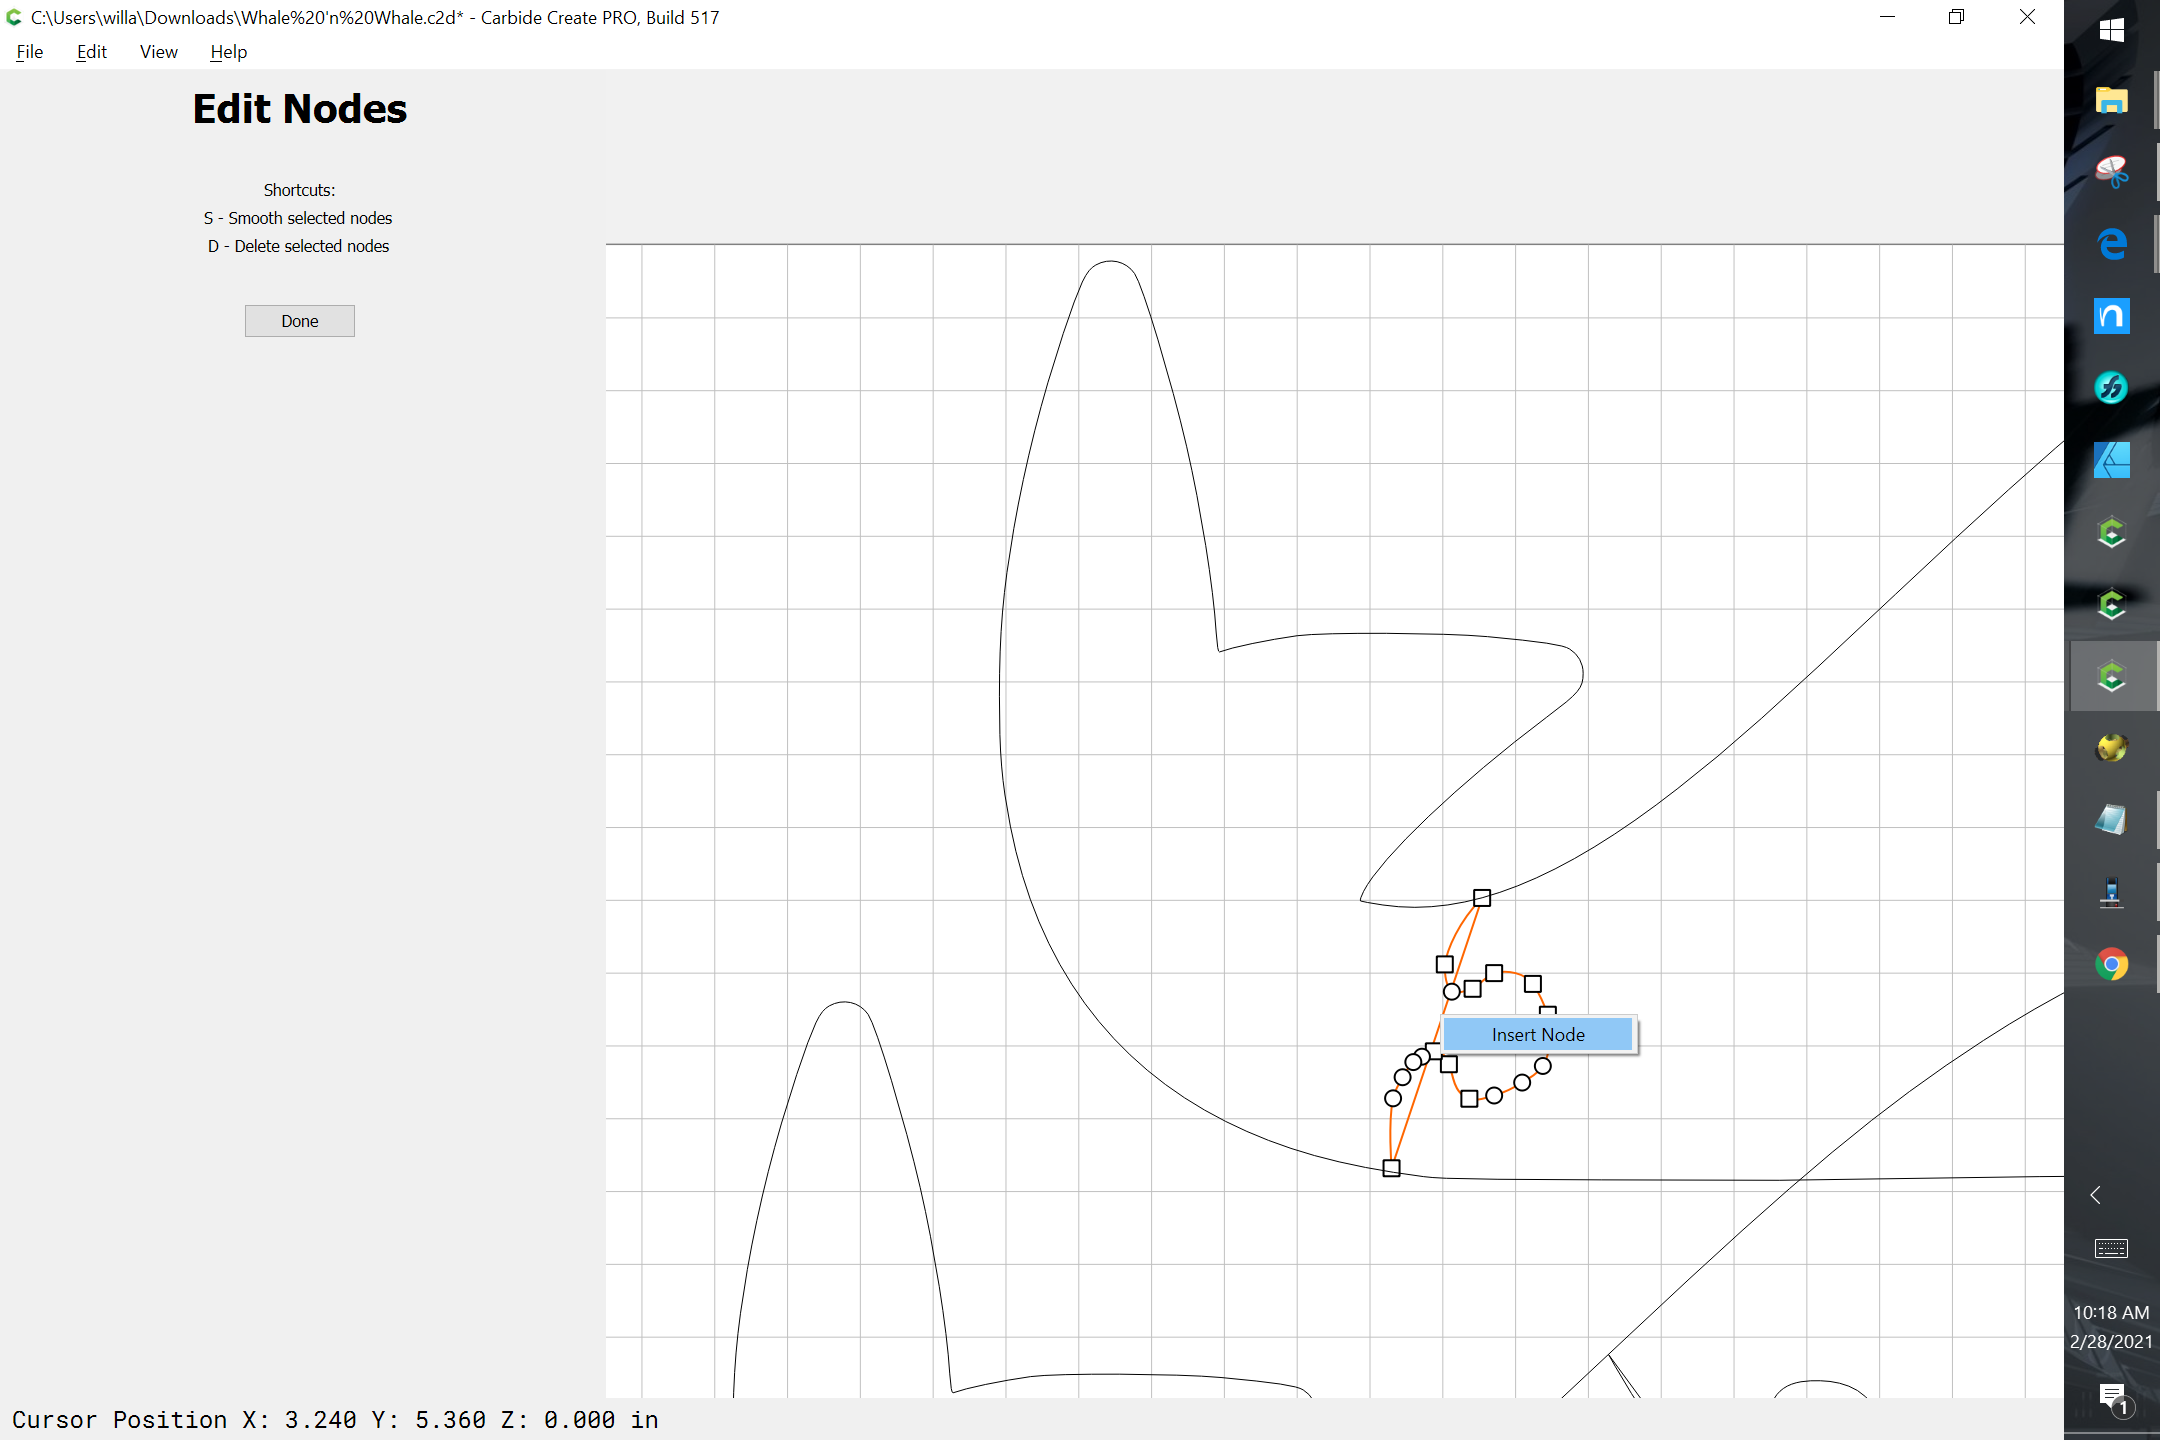

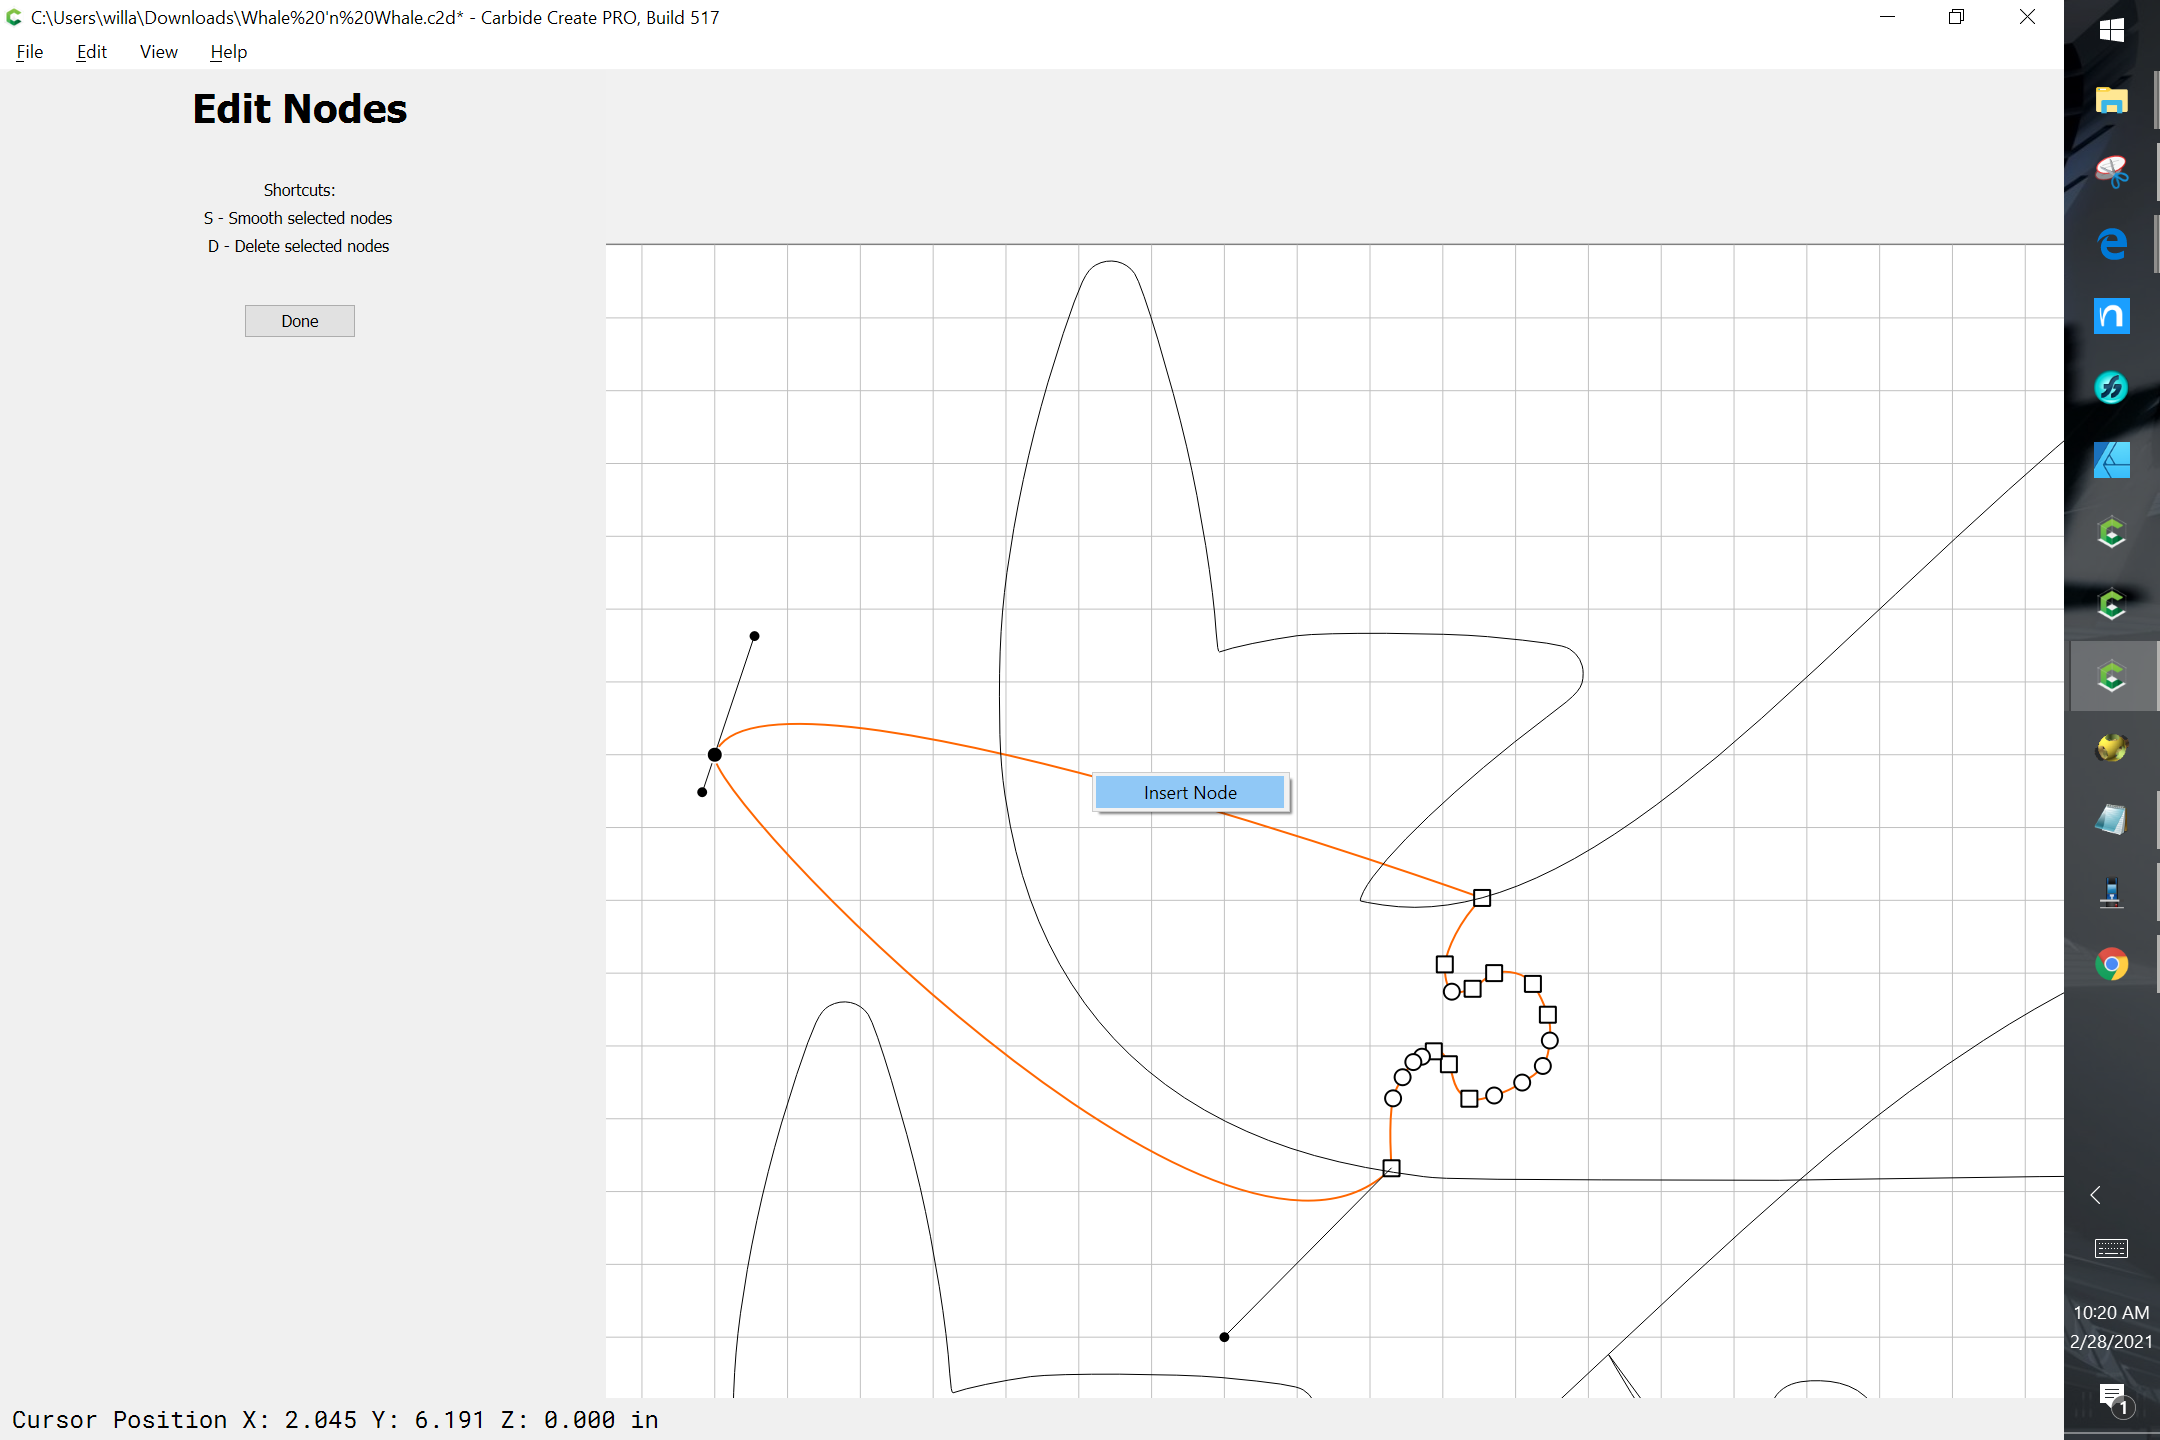
drag the new node:

Adjust the various nodes and if need be insert more:

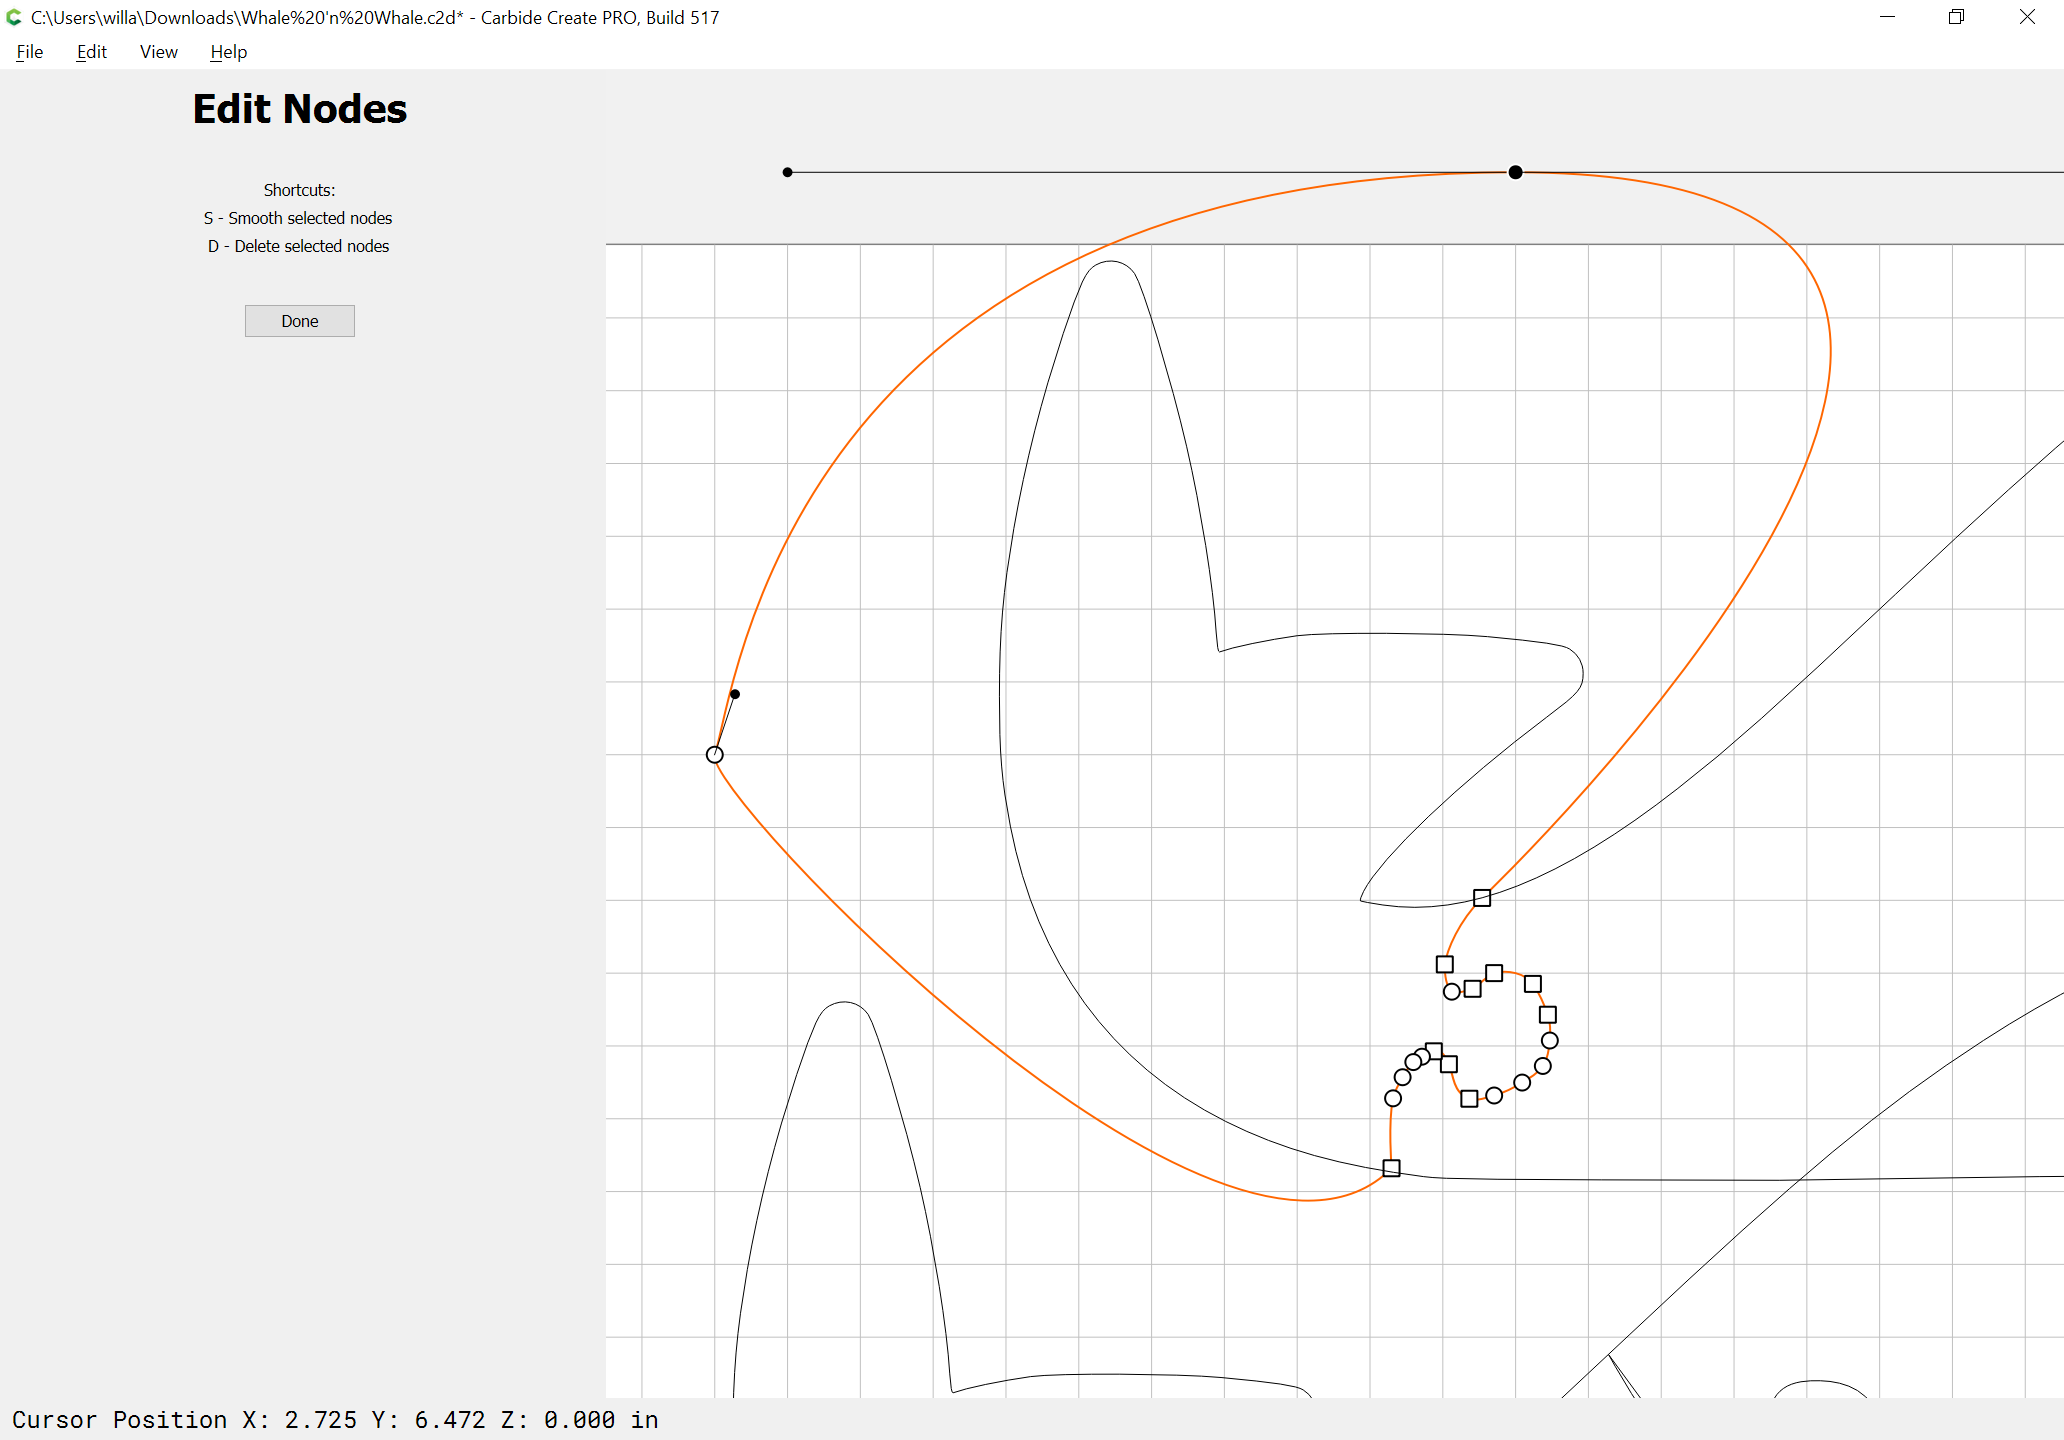
Done
Duplicate and drag the modified geometry into alignment with the original and delete the original:

Select the modified duplicate and the duplicate of the original outline and do Boolean intersection:
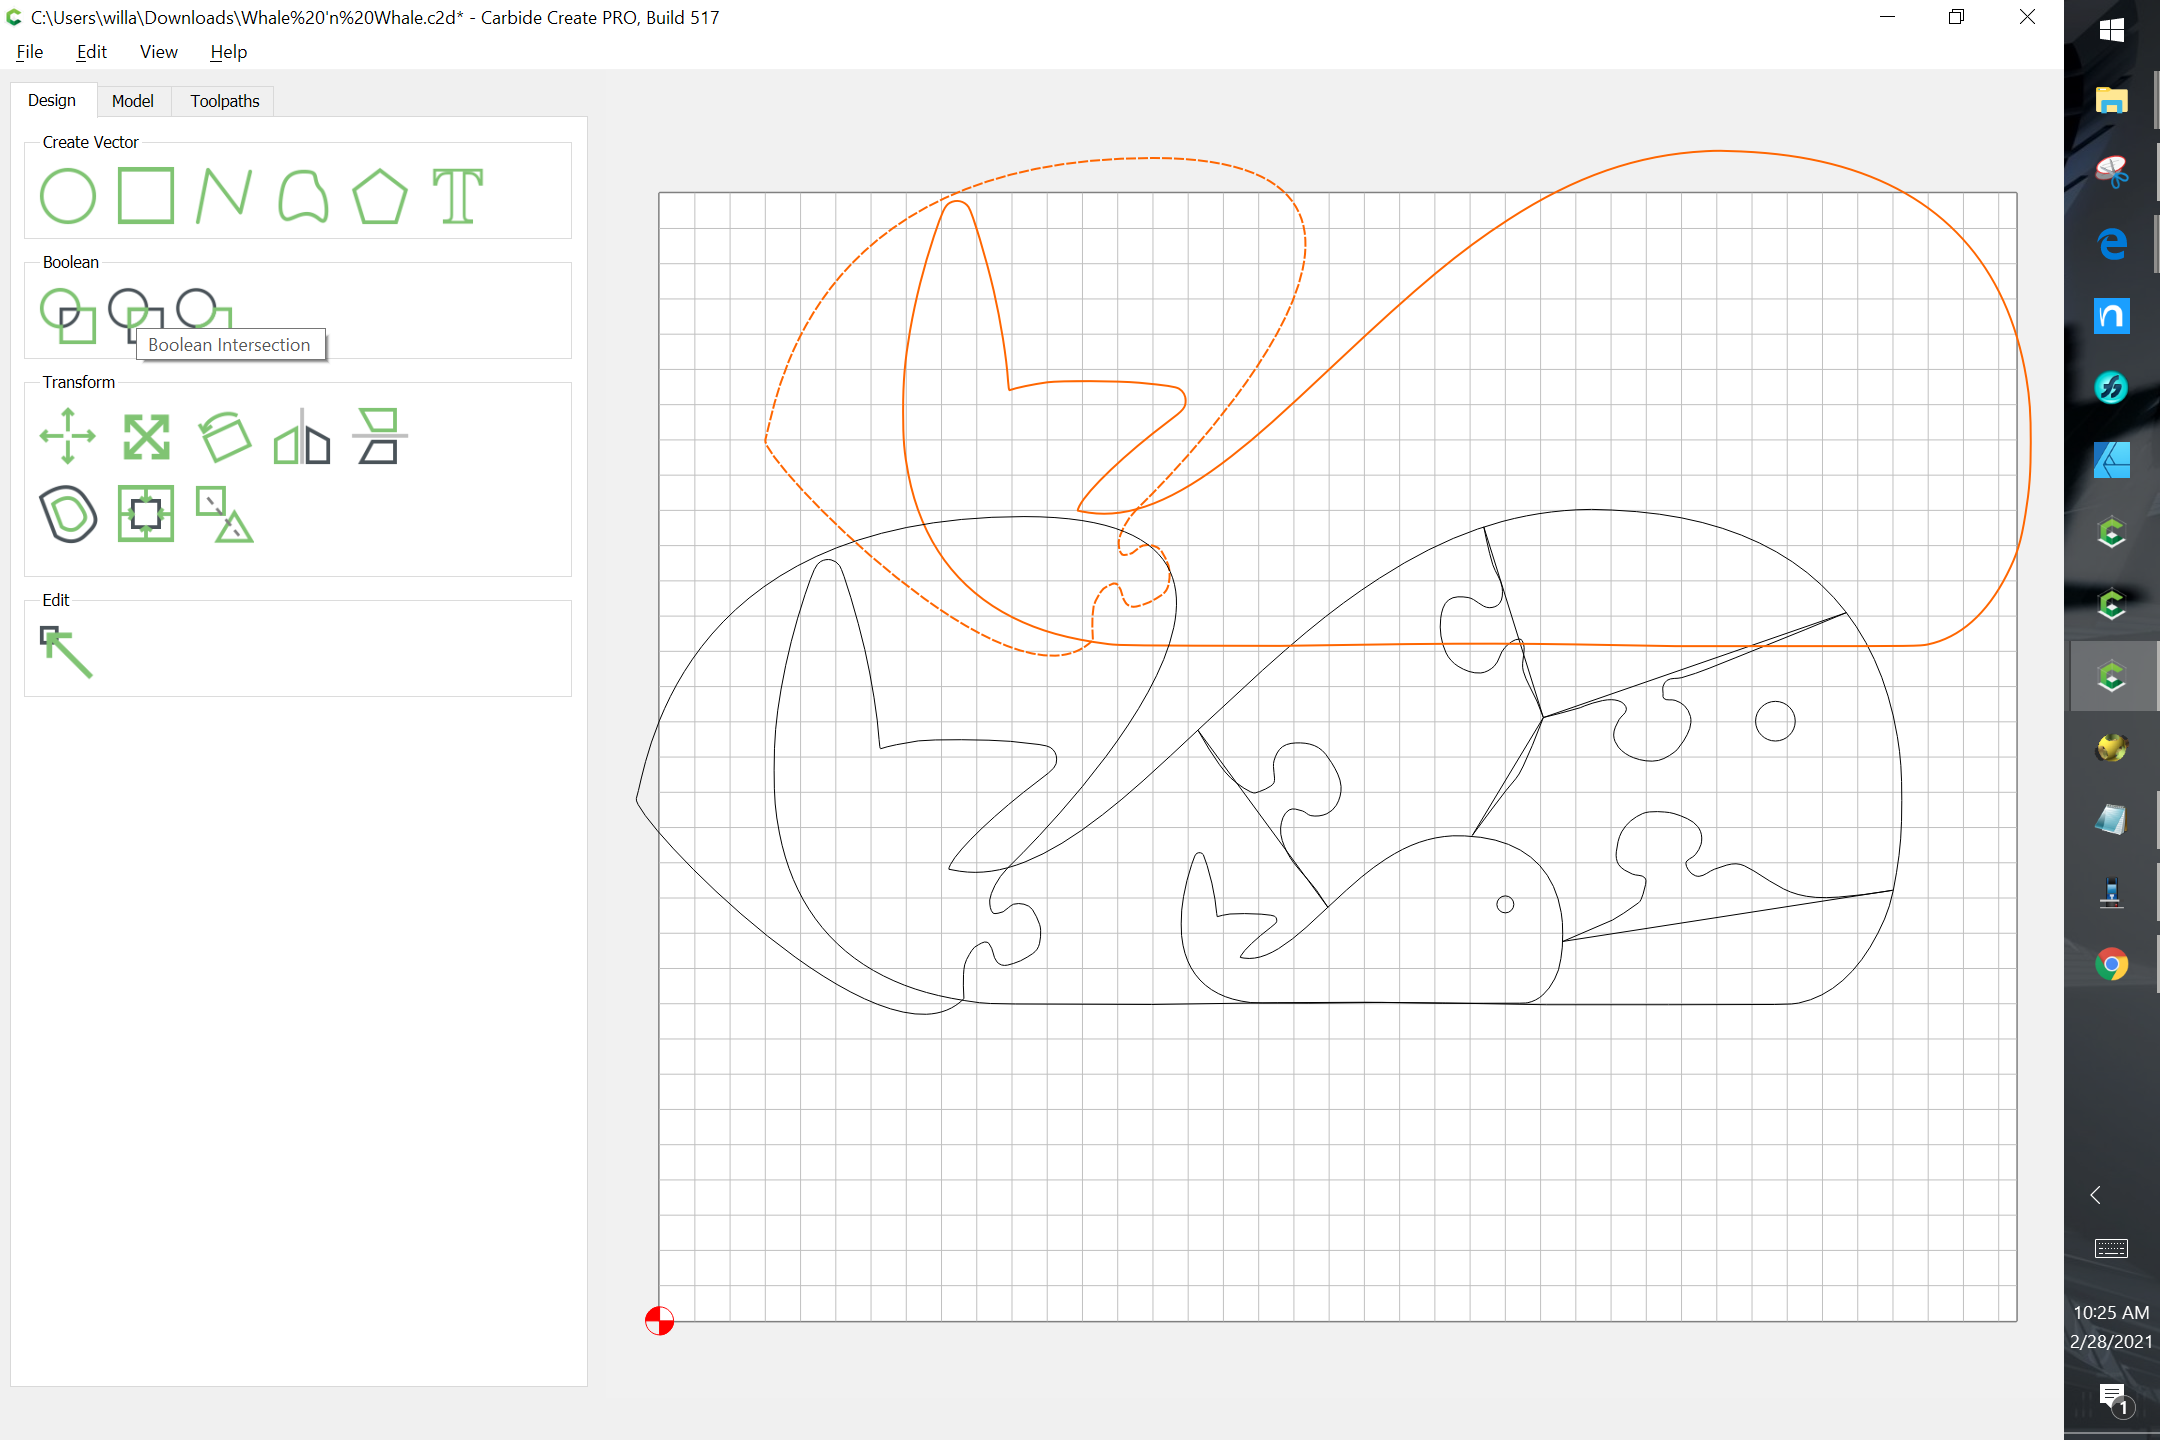

Set that aside for the nonce.
Repeat for the other parts.