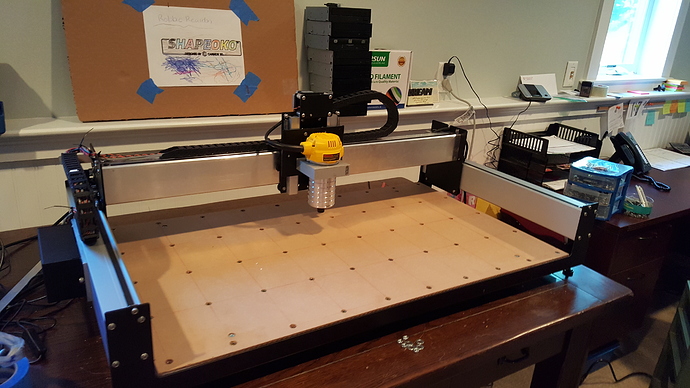
Here she is. My XL, just built, has not cut anything but I’ve run the Hello World with a sharpie (My son wanted to color it in).
I mounted a new 3/4" waste board to the included waste board with 4x 1/4" pan head machine screws. I used a regular countersink drill bit to drop the screw heads down below the surface of the MDF. Used a washer and nut to secure each screw to the bottom of the included MDF.
I bought 50 threaded inserts on amazon and made a 5x10 grid. I had to experiment on some scrap MDF with different bits, depths, countersinks before I came up with something that worked well. I’m going to 3D print some clamps out of PETG tonight.
It took me about 2 days, 4 hours each day to build the machine. I really took my time and didn’t rush anything. I ran into a few problems but was able to solve ALMOST everything.
-
First mistake was that I installed the Y axis extrusions on the wrong sides. So the electronics box was on the right side. That set me back about an hour after I was done cursing.
-
The right hand Y axis stepper motor cable did not reach the electronics box after removing “12” links from the drag chain. I ended up removing around 16-18 links to get the cord to reach. This still gave the drag chain plenty of slack.
-
When attaching the included sharpie to the router mount (for hello world), you have to lower the Z axis way way way down to touch the paper. The belts slipped a few times and I had to re-tighten it. When you actually install the router it doesn’t put nearly the strain on the belts/springs because the router is about 2x the length of the sharpie. I feel like I almost had to over-tighten the Z axis belt just to run hello world.
-
My only problem. My homing switches are not being detected at all. I enter $22=1 and have looked at everything for quite awhile. When I hit “info” it the software it says I don’t have homing switches installed. Any ideas?
