I’ve just finished setting up my Shapeoko 5 Pro and would guess that there are others out there, who thought that the Kreg 64"x64" table looked great, but didn’t really spend a lot of time thinking about how to make an appropriate tabletop. After assembling the steel frame, I looked around the internet for some ideas, but there wasn’t anything that looked simple and sturdy. I thought I’d share what I did then, as there may well be others in the same boat.
Supplies: one twelve foot 2x4 (or two 8 foot 2x4s - you’ll just end up with more waste) and two 4’ by 8’ sheets of 3/4" plywood. You’ll want to strike your own balance here between price and quality. I used something my lumberyard called aeroply, which is cheaper than baltic birch, but much nicer than your big box lumberyard construction plywood.
You’ll want to make two cuts (and order is important as you’ll see later on). First, cut the sheet to 66" (this will give you 1" of overhang on all sides - adjust overhang as you see fit), then cut the sheet to 33" by 66" (again, assuming you want 1" overhang). You’ll also want to cut your 2x4 into 43 and 3/4" sections.
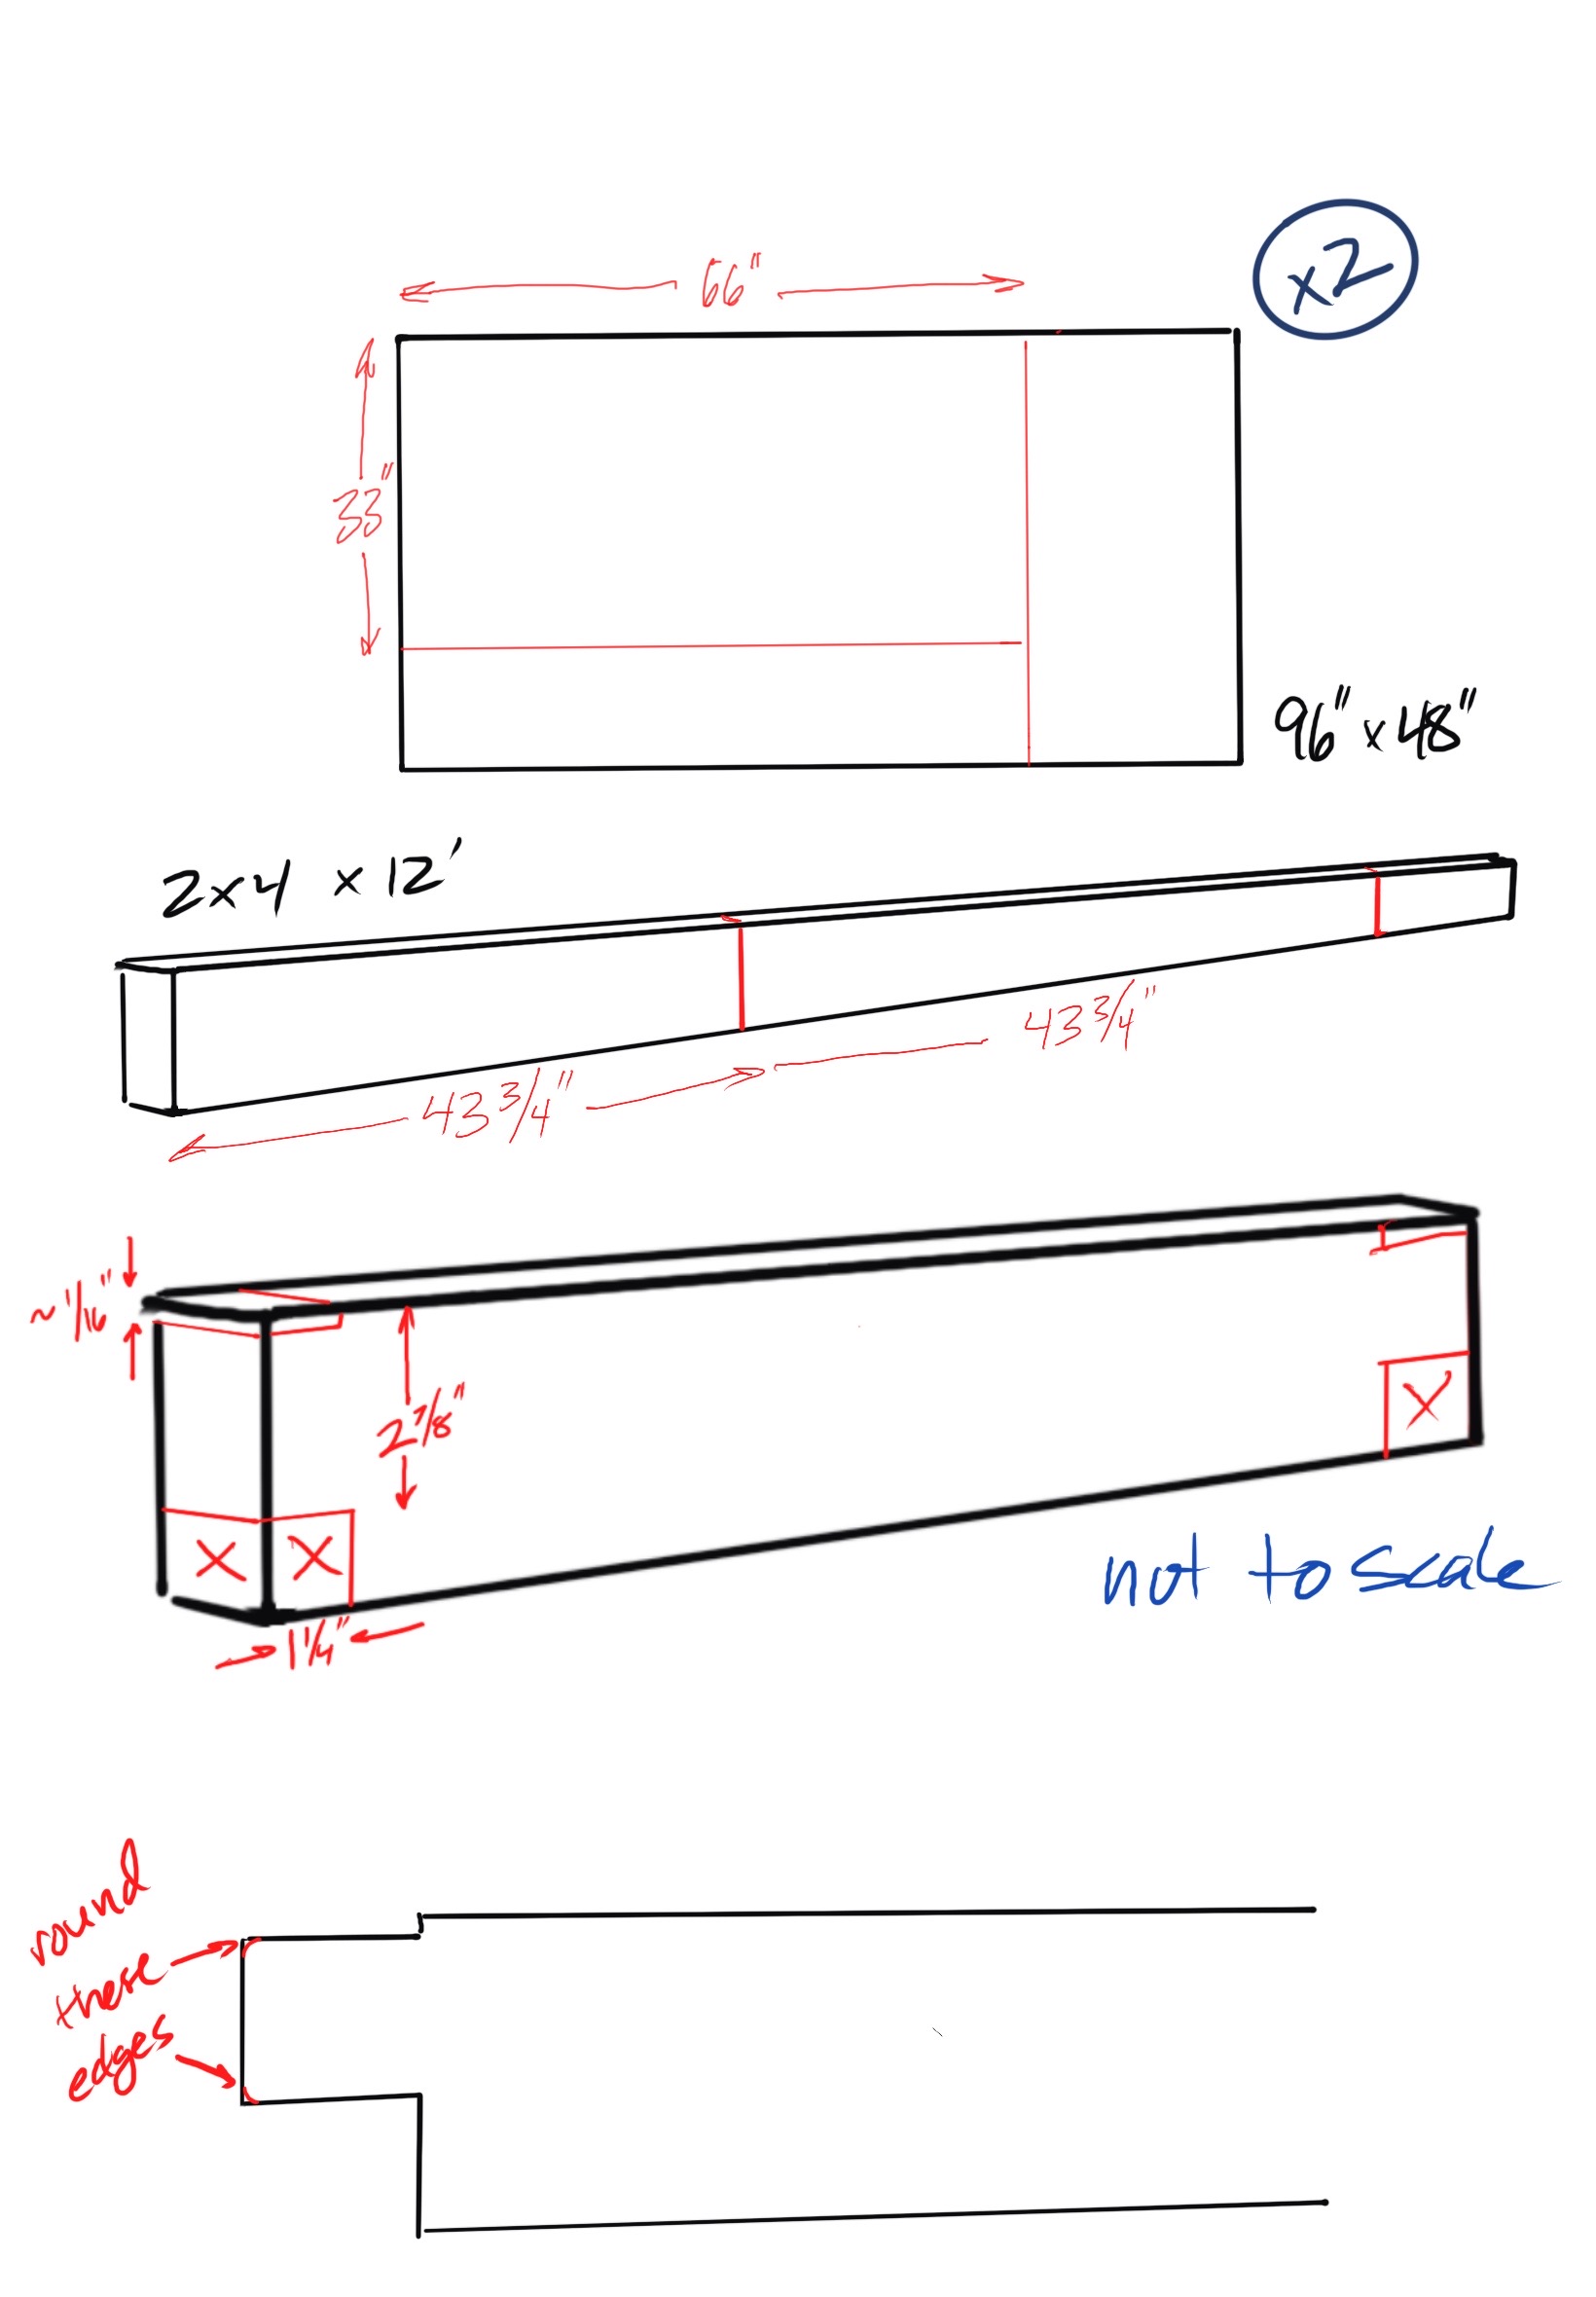
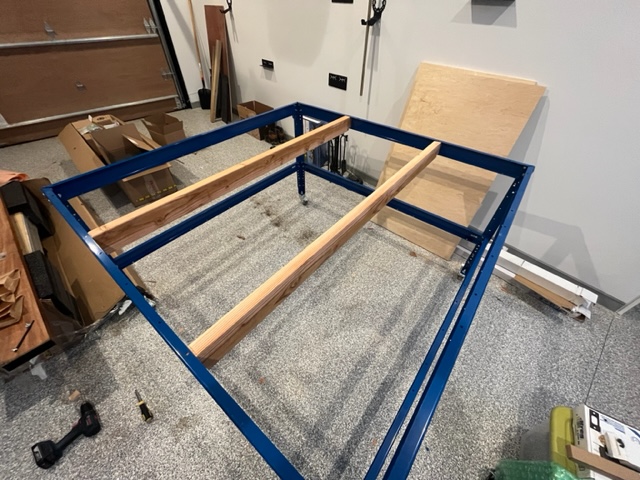
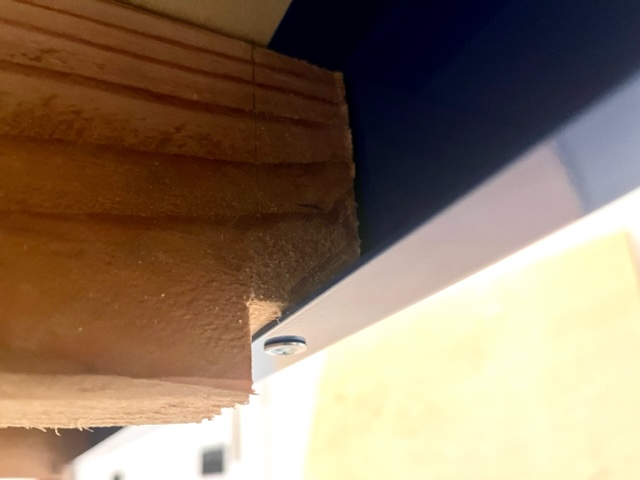
Now you want to cut the ends of the 2x4 so that they will fit in the steel frame of your table. This can be done many different ways - I used a chisel to remove the 1/16" sections at the top and sawed out the lower chunk on both ends. Note the 2x4s are supposed to be 3 1/2", but they really vary a lot. Make sure that you are measuring 2 7/8" from the top before you remove the sliver of material at the top. It’s not critical that the fit to the steel frame is really precise, but if it’s too loose, you’ll lose some of your ability to stabilize the tabletop. Finally, round the indicated edges on the shaped 2x4 - if you don’t, it will be too long to fit nicely into the steel frame. You should be able to fit them snugly without warping the steel frame (look down the length to make sure that you’re not bowing out the sides). There were convenient holes in the top frame to place the cross pieces at positions approximately 1/3 of the way across. I used the screws Kreg provided to put a single screw into each 2x4 from the bottom. This is what it looks like, and the second photo shows the screw securing the 2x4.
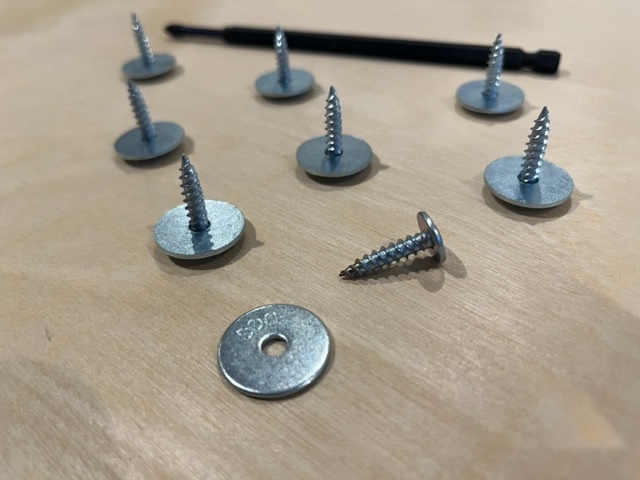
I then installed my two halves of the top so that the seam between the halves ran at 90 degrees to my crosspieces. Again, using the 3/4" screws Kreg provides, I attached the top to the frame, making sure there was an even overhang on all sides. Note that you have 3/4" plywood and the screws are 3/4", so you will go right through your nice top because 3/4" plywood is less than 3/4" thick. I used washers to make sure this didn’t happen and predrilled the holes carefully with a drill stop to make sure I didn’t break through. Note that in this picture I’ve also included a 6" long hex driver bit, which you will need to ensure that your evening isn’t miserable - the length will allow you to tighten them through a second hole in the steel girder.
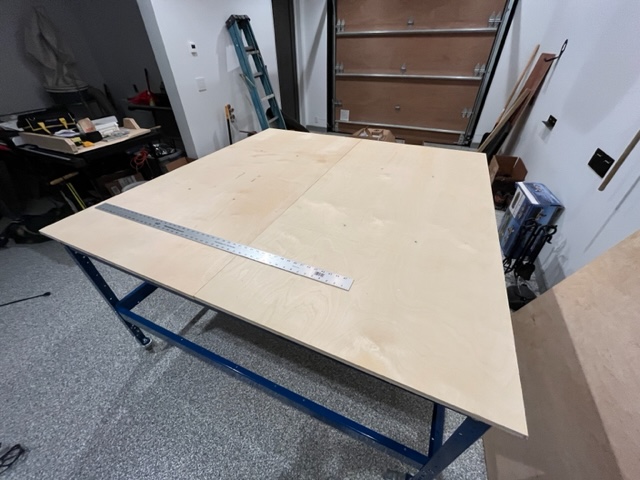
The final touch is to carefully transfer the position of the 2x4 to the top surface of the tabletop. I did this by using a carpenter’s square to mark the position on the tabletop above each screw holding the 2x4 in place. Connect those two lines and then mark out positions (I used a total of eight) where you’d like to secure the tabletop to the 2x4s. I then used countersunk screws to attach the top to the 2x4s and i was done.
One final note: I found the plywood panel that I had leftover (about 66" x 15") was just about perfect for making a panel to mount your controller box on - you just have to trim it down a bit to fit inside the steel frame.