I’m trying to laser some images onto a picture frame. I’m using pine. I have two issues. The first one is that
the lasered image at the top left looked OK. With the execption that it seems some grain didn’t get burnt.
The other issue is that the bottom left image was very light. Not sure if this is becasue the X Axis is not parallel to the waste board. Or some other reason. I think that the thickness of the frame is all the same.
What machine are you running? What laser? What software to create your files? What software to drive your machine? What speed/power settings? Need a bit more information before someone can help.
Dan
Shapeoko 3D J-tech 2.8W inkscape carbide motion 350mm or 400mm at 70%.
First thing, don’t use Carbide Motion to run your laser. There’s a bit about this on the JTech website, I don’t have a link handy, but something about the way it handles PWM to spin a spindle up doesn’t jive for a laser. Try UGCS or if you want something laser specific for a few $$ try Lightburn (I use it myself for a JTech as well as my CO2 laser, it’s pretty good and only $40 after a 30 day trial). If that by itself doesn’t help I’d also look at not just bed flatness, but material flatness also. My experience has been that certain materials (wood specifically) will warp as it’s being lasered. If it’s not flat, then it’s not in focus consistently and you’ll get all sorts of unevenness. I clamp all mine down at the corners, and sometimes in the middle if it’s bowed badly. On the CO2 laser I have a steel honeycomb bed and use magnets to hold it down, on my SO3 I use regular clamps, but I put spacers underneath the material to let it breathe. Try those things first and see how it goes. Report your findings here and we’ll see what else may be up.
Dan
1 Like
Sorry wasn’t thinking straight. I use lightburn not carbide motion for the laser.
You might try slowing it down a little. Flat material is a must though. Do you have a picture of what it’s doing? Harder to say without seeing it.
Dan
1 Like
I think I have it working now. I think for one that my drum sander created some snipe. I ran the picture frame thru my drum sander. It was not completely flat. The back edge is thinner than the front edge. So I did some testing with a piece of pine. It worked better. I was using 1/4 inch material to test my design before using the final material.
I wish that there was a probe to adjust the Z axis of the laser. Not sure that I was getting the correct height. I was trying to set the laser at 1/8 inch above the material.
I believe the JTech lasers come with focus set at 1/8” below the shroud. Best way to ensure proper Z is to use a 1/8” piece of stock and lower Z till it touches. If you want a slightly different focal length, or just want to make sure you’re in focus, you can either do burns at slightly different heights and shoot for the thinnest line, or if you have a way to look at the dot (like a usb camera, not your bare eyeballs) you can set the laser to around 3% and jog till the dot is smallest. I think JTech has an article about this on their website. Adjusting the lens can be finicky.
Dan
1 Like
One thing to remember about pine is it can very hard and the next growth ring can very soft. Pine grain has alternating rings of summer and winter. In the summer the pine grows very fast and is soft. In the winter months it grows slowly making it very hard. The cycles of weather also affect the hardness of a particular ring of a pine tree. Since the grain varies in hardness from ring to ring it might be affecting your burn from the laser.
2 Likes
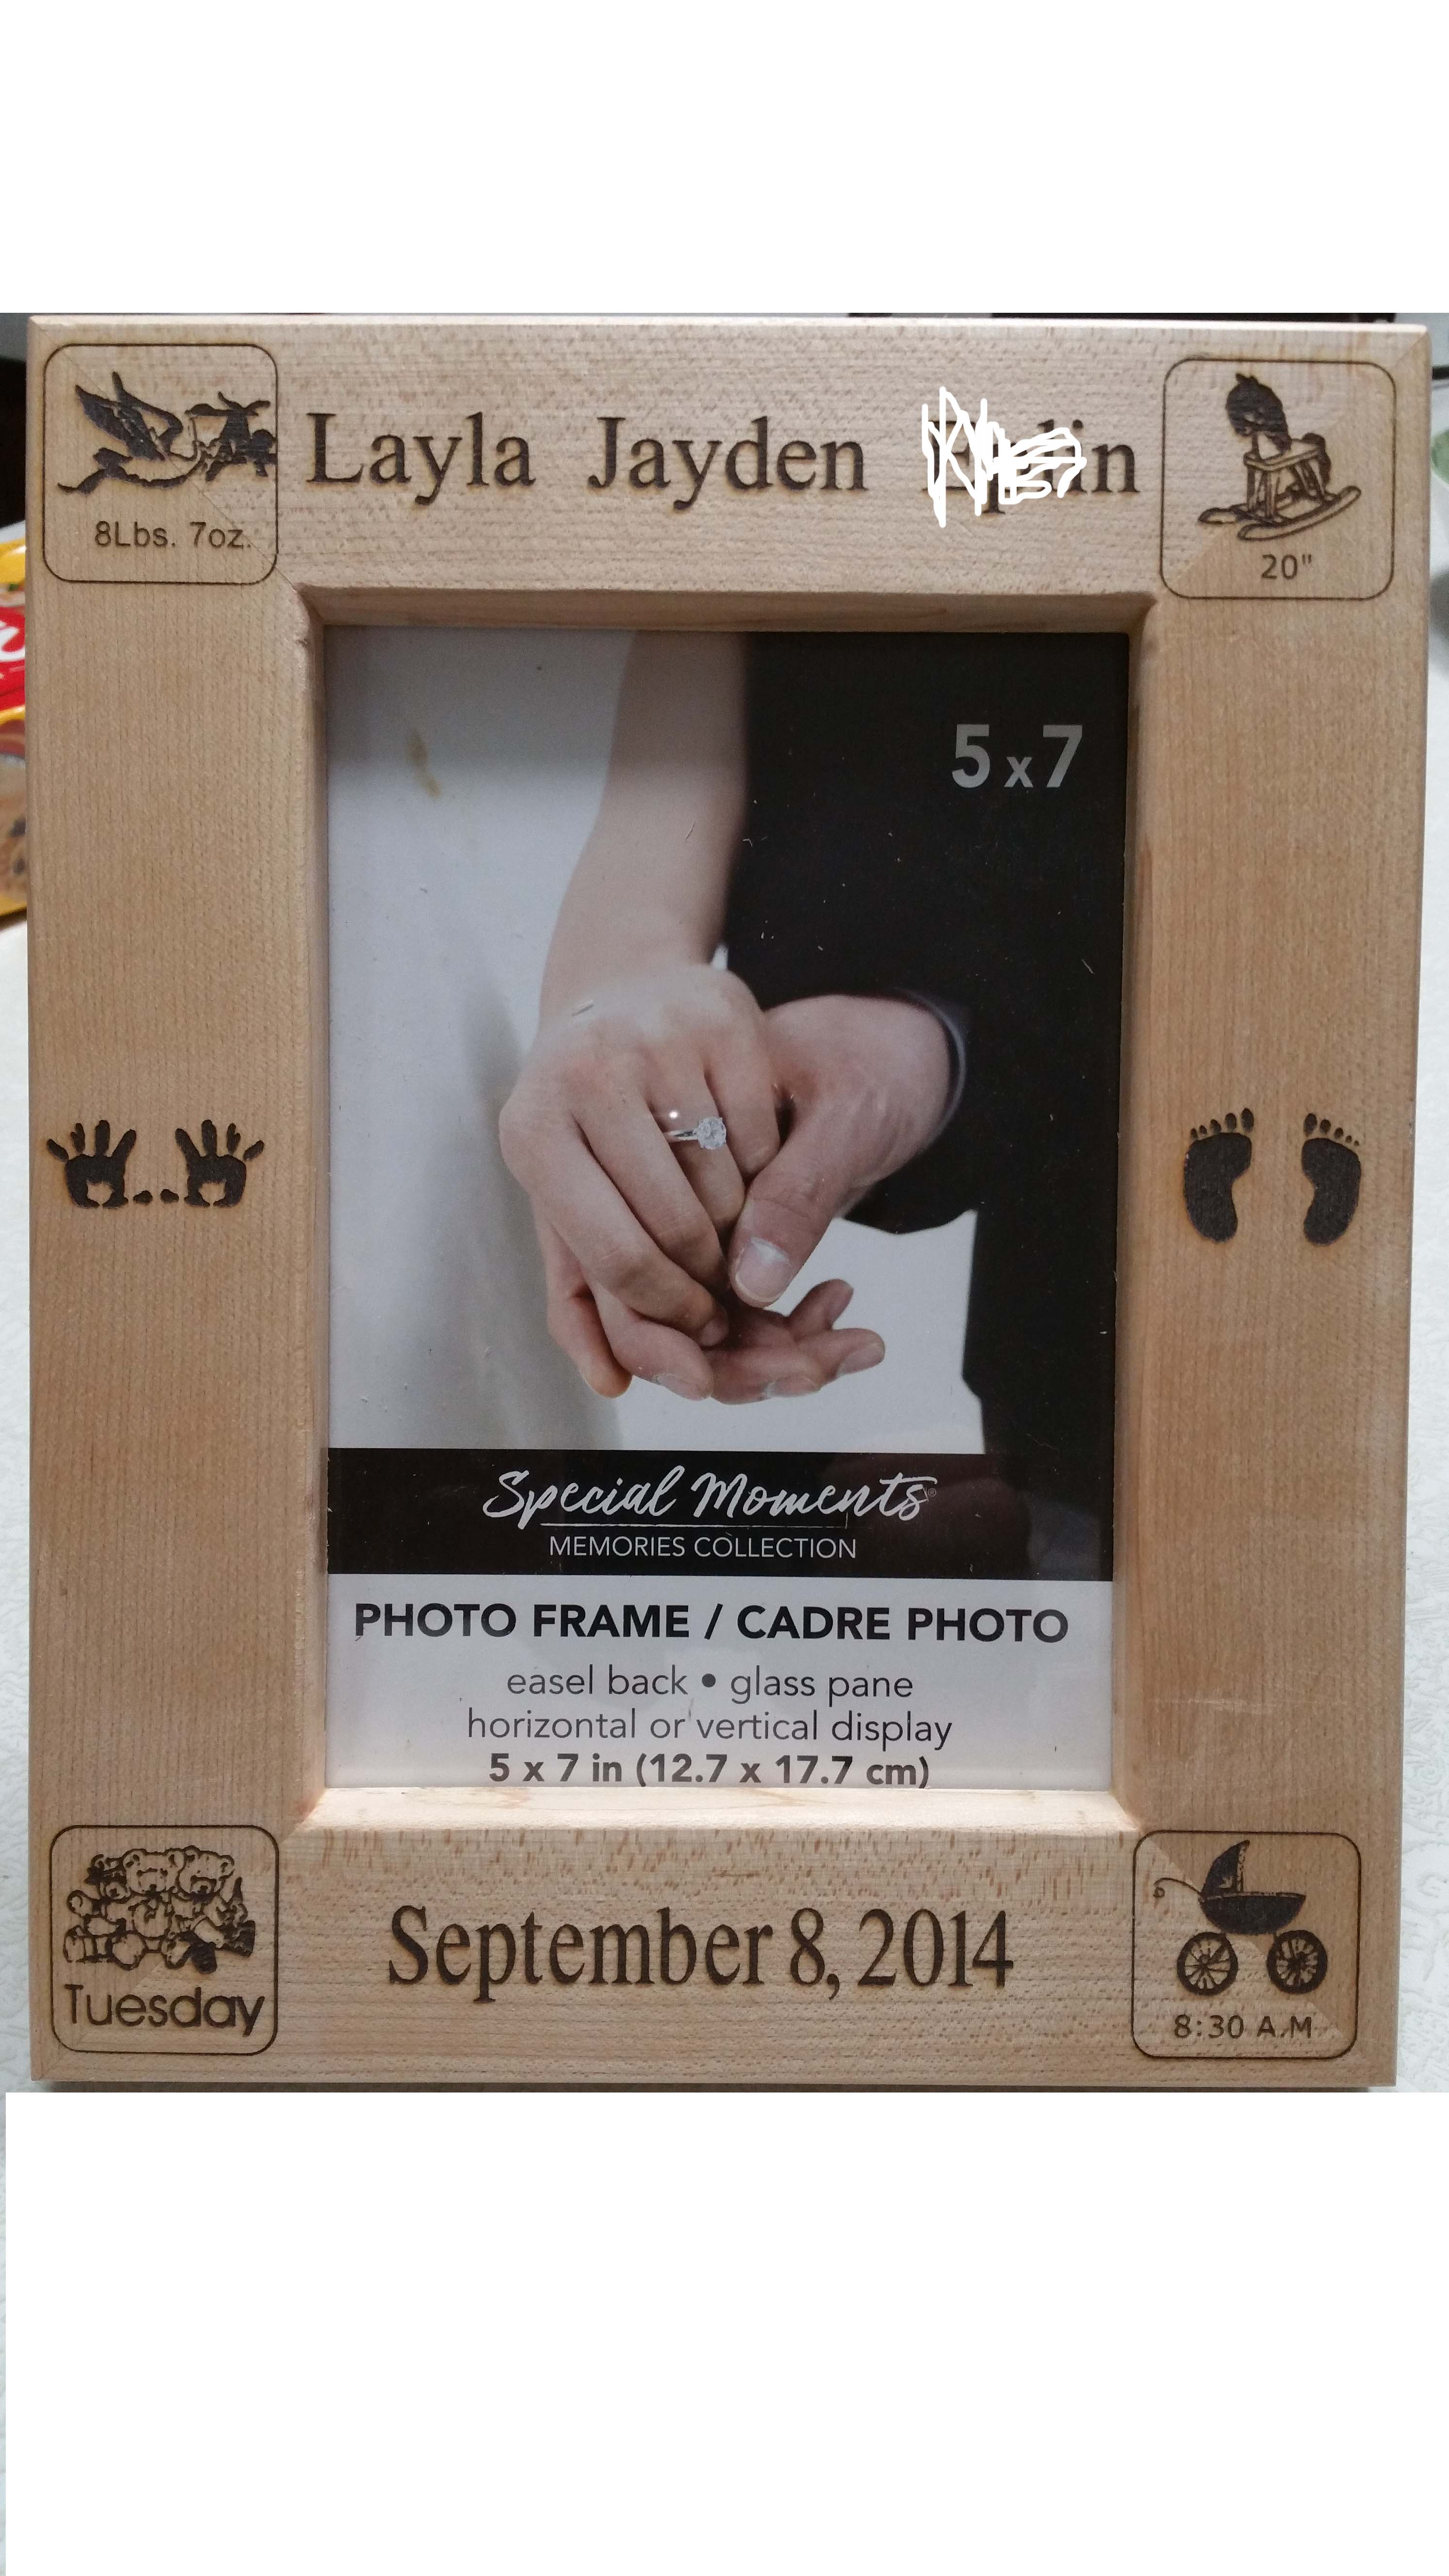
Thanks. I had suspected that might be part of the problem. I switched to maple. This is my first project.
2 Likes
That is a cute frame for a baby. Nice work.
This topic was automatically closed 30 days after the last reply. New replies are no longer allowed.