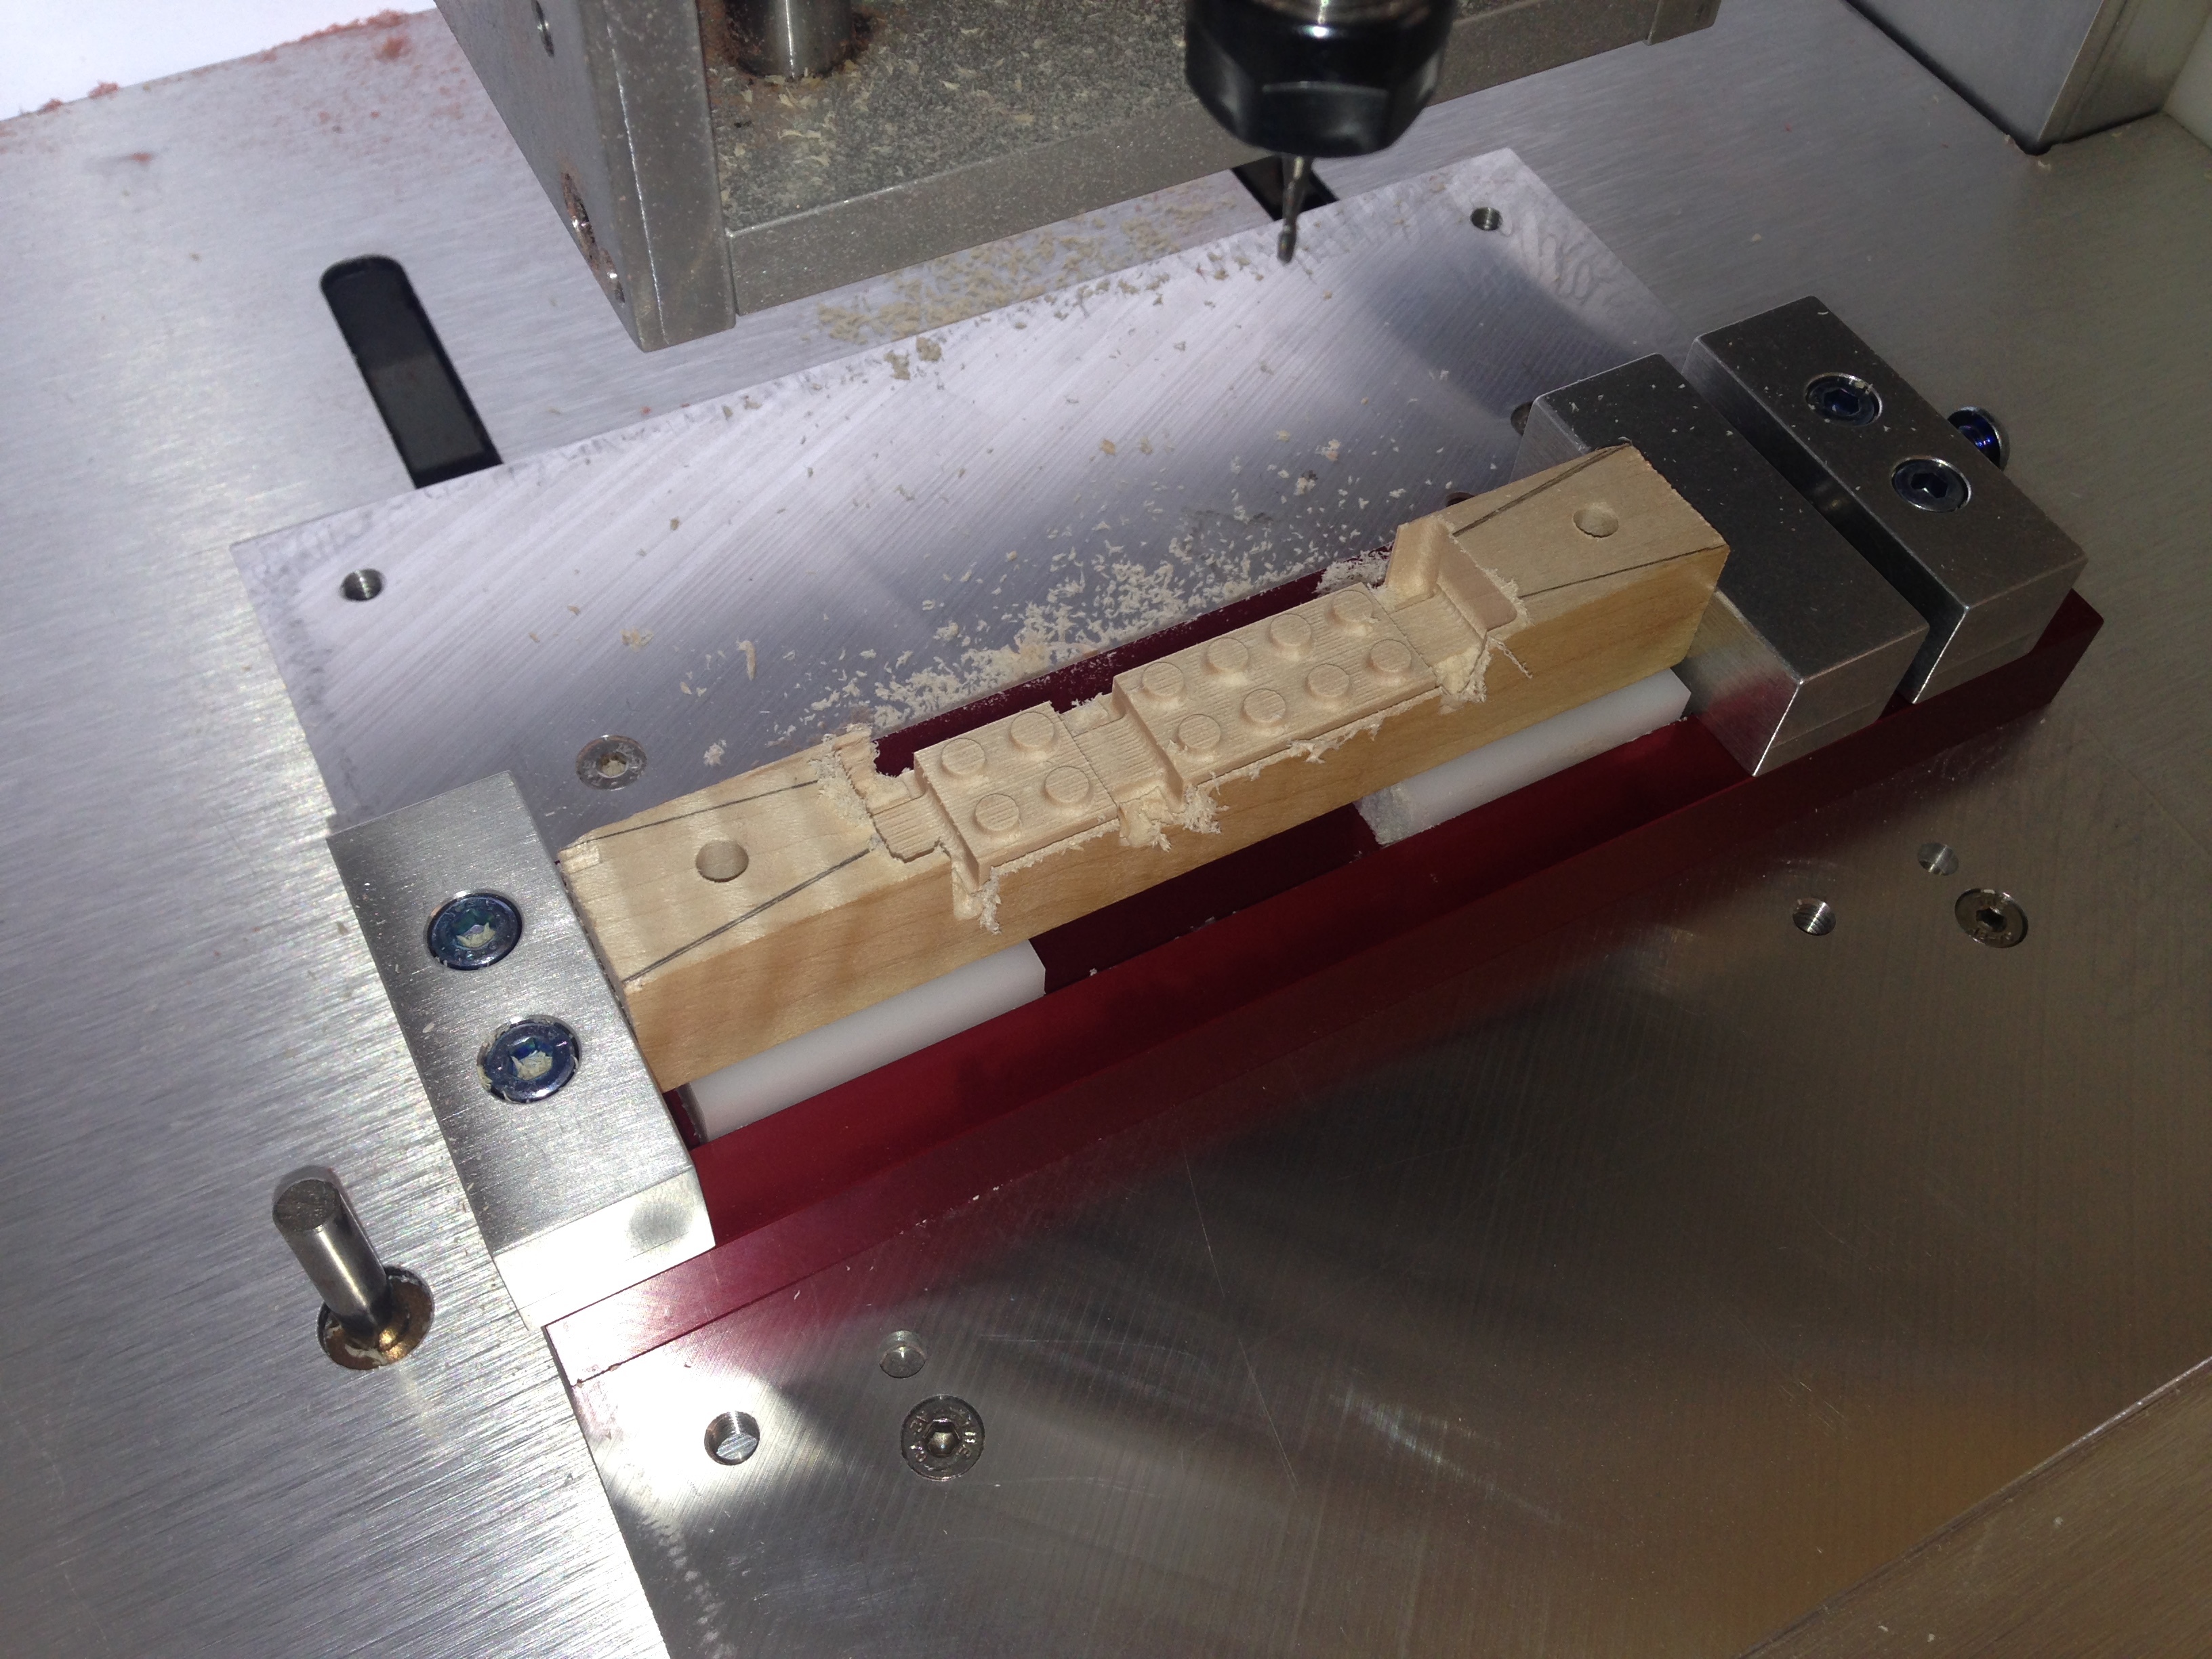
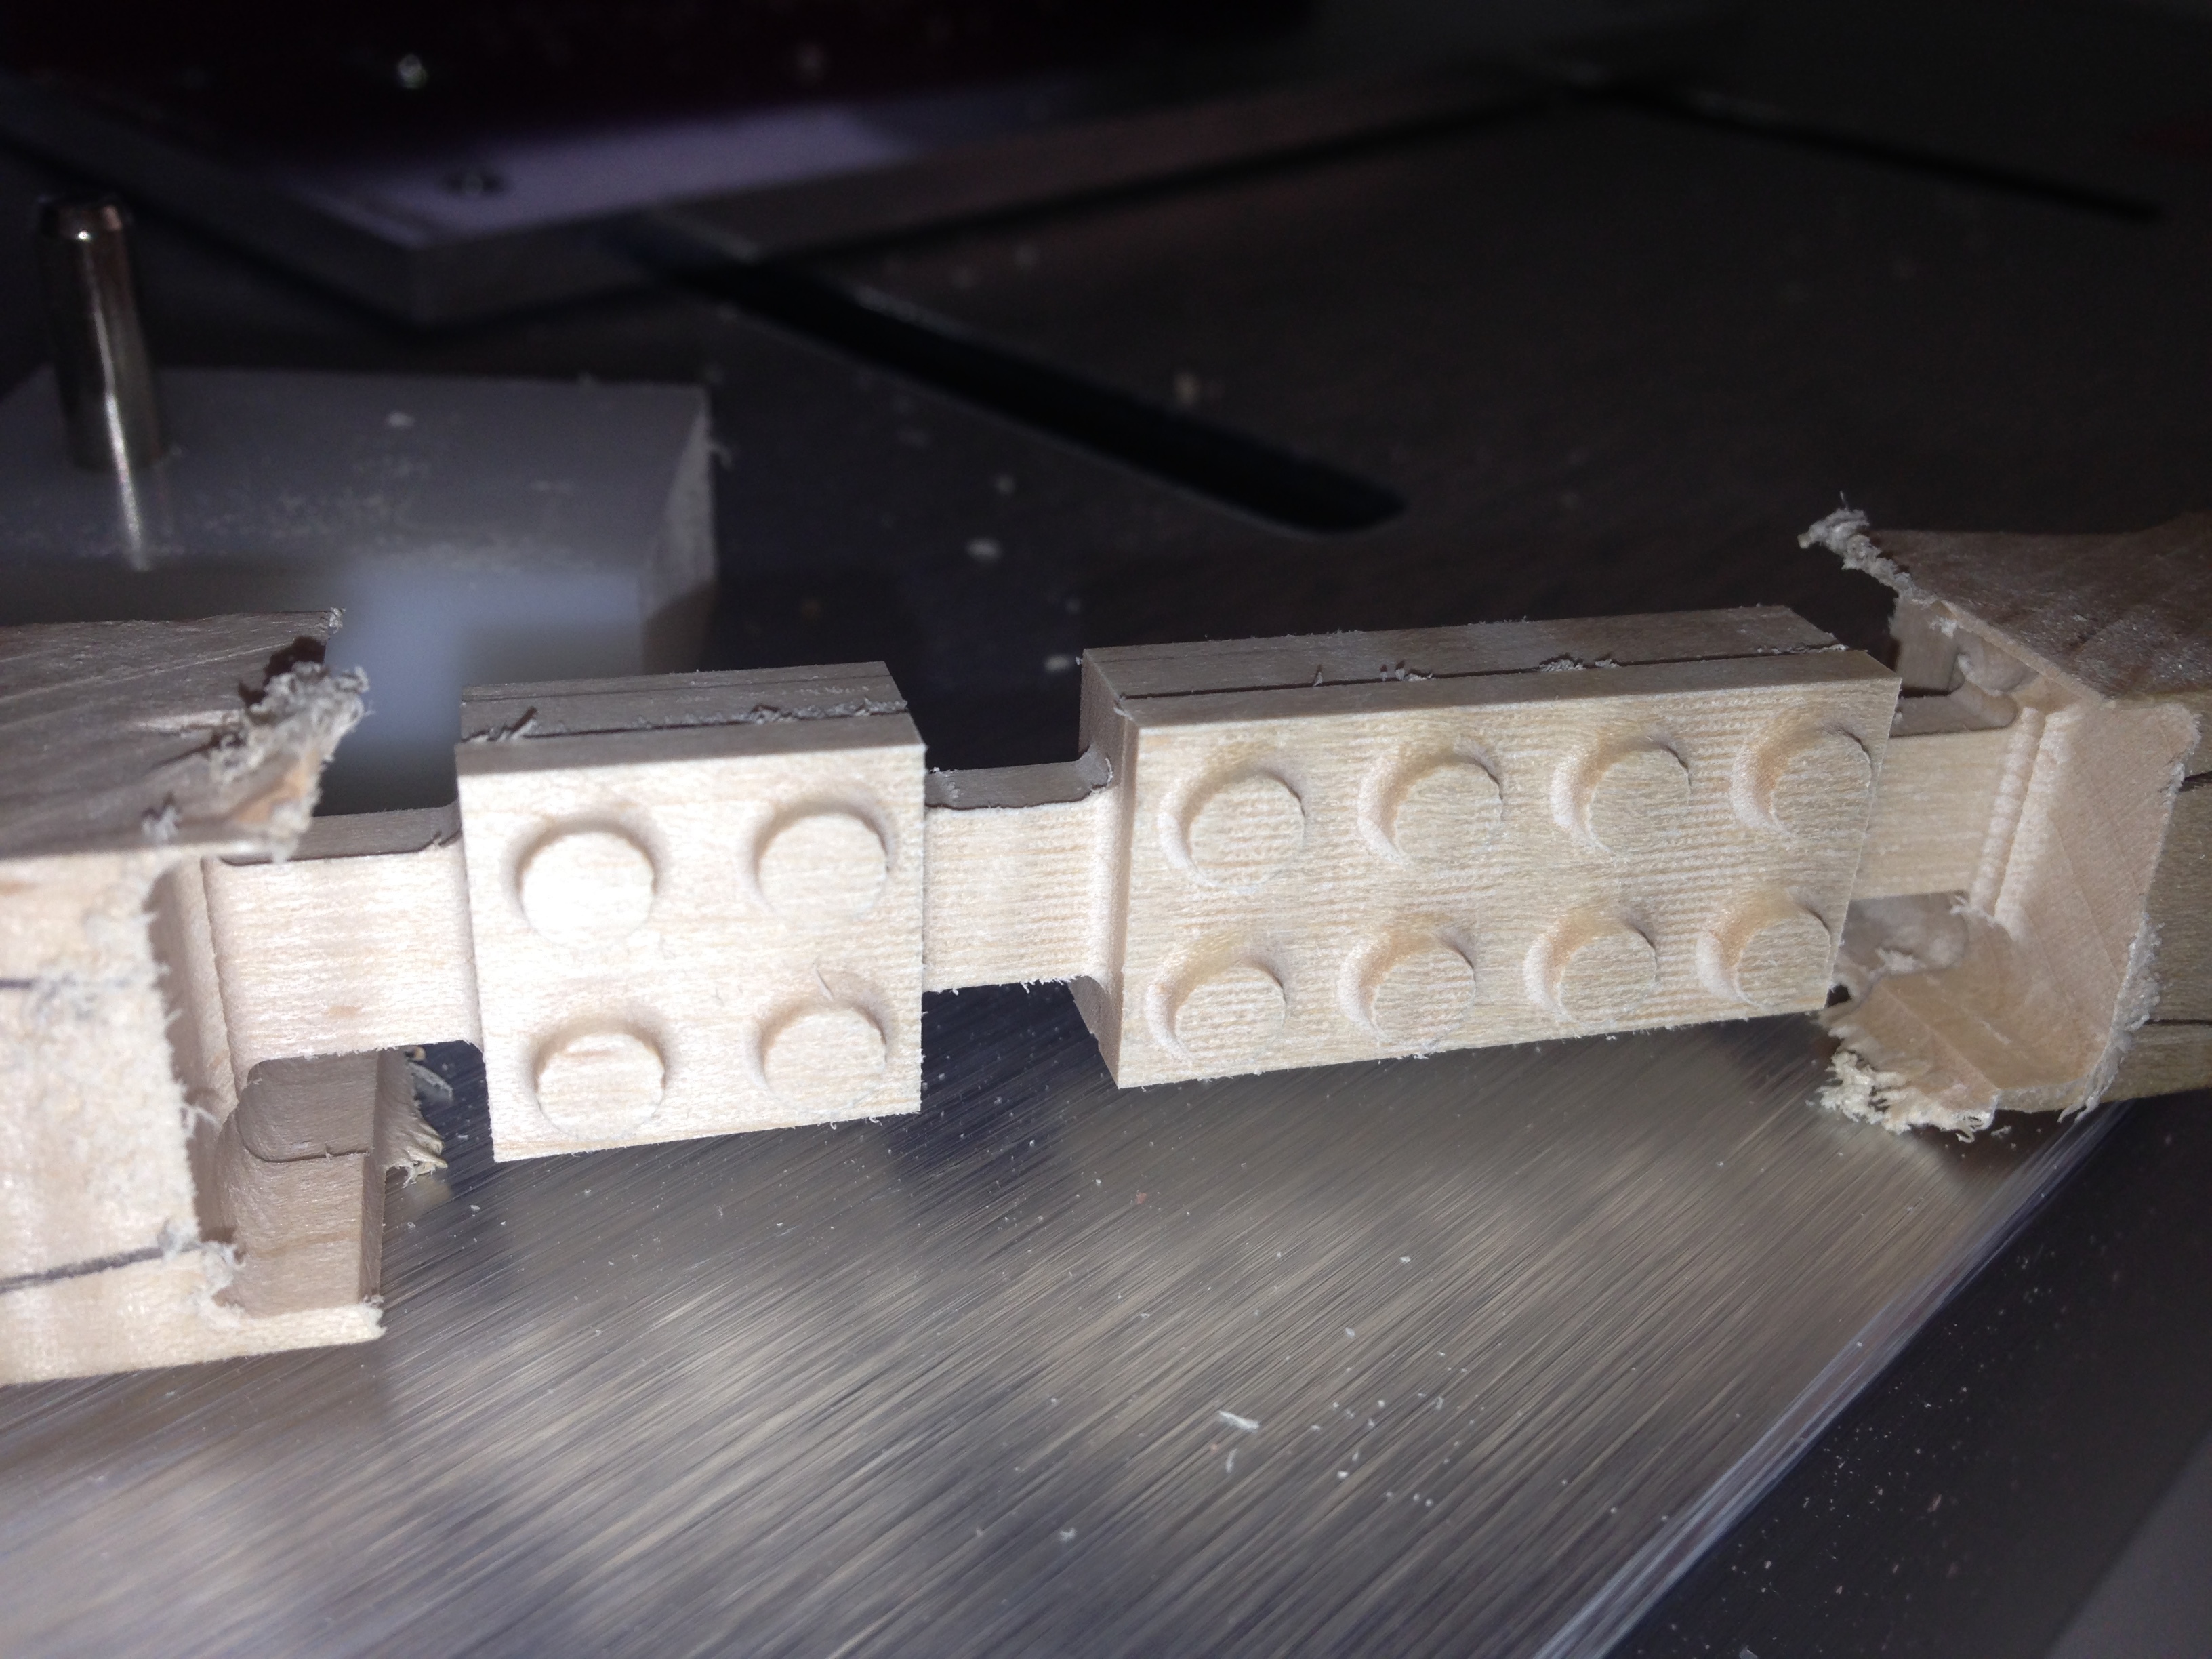
I was inspired by one of the Carbide 3D YouTube videos (https://www.youtube.com/watch?v=t89ZrclySZo) to try my own hand at making wooden Legos. I’m pretty happy with the results of my first attempt. It was a fun exercise and I’ve learned and picked up a few things about I have a few questions/observations.
- MeshCam will only make supports between the geometry and the stock,
so to make the support between the lego pieces I had to add the
supports to the model. - There are two different roughing options, 3D and parallel path. I
chose 3D, but for this model I would probably use parallel path like
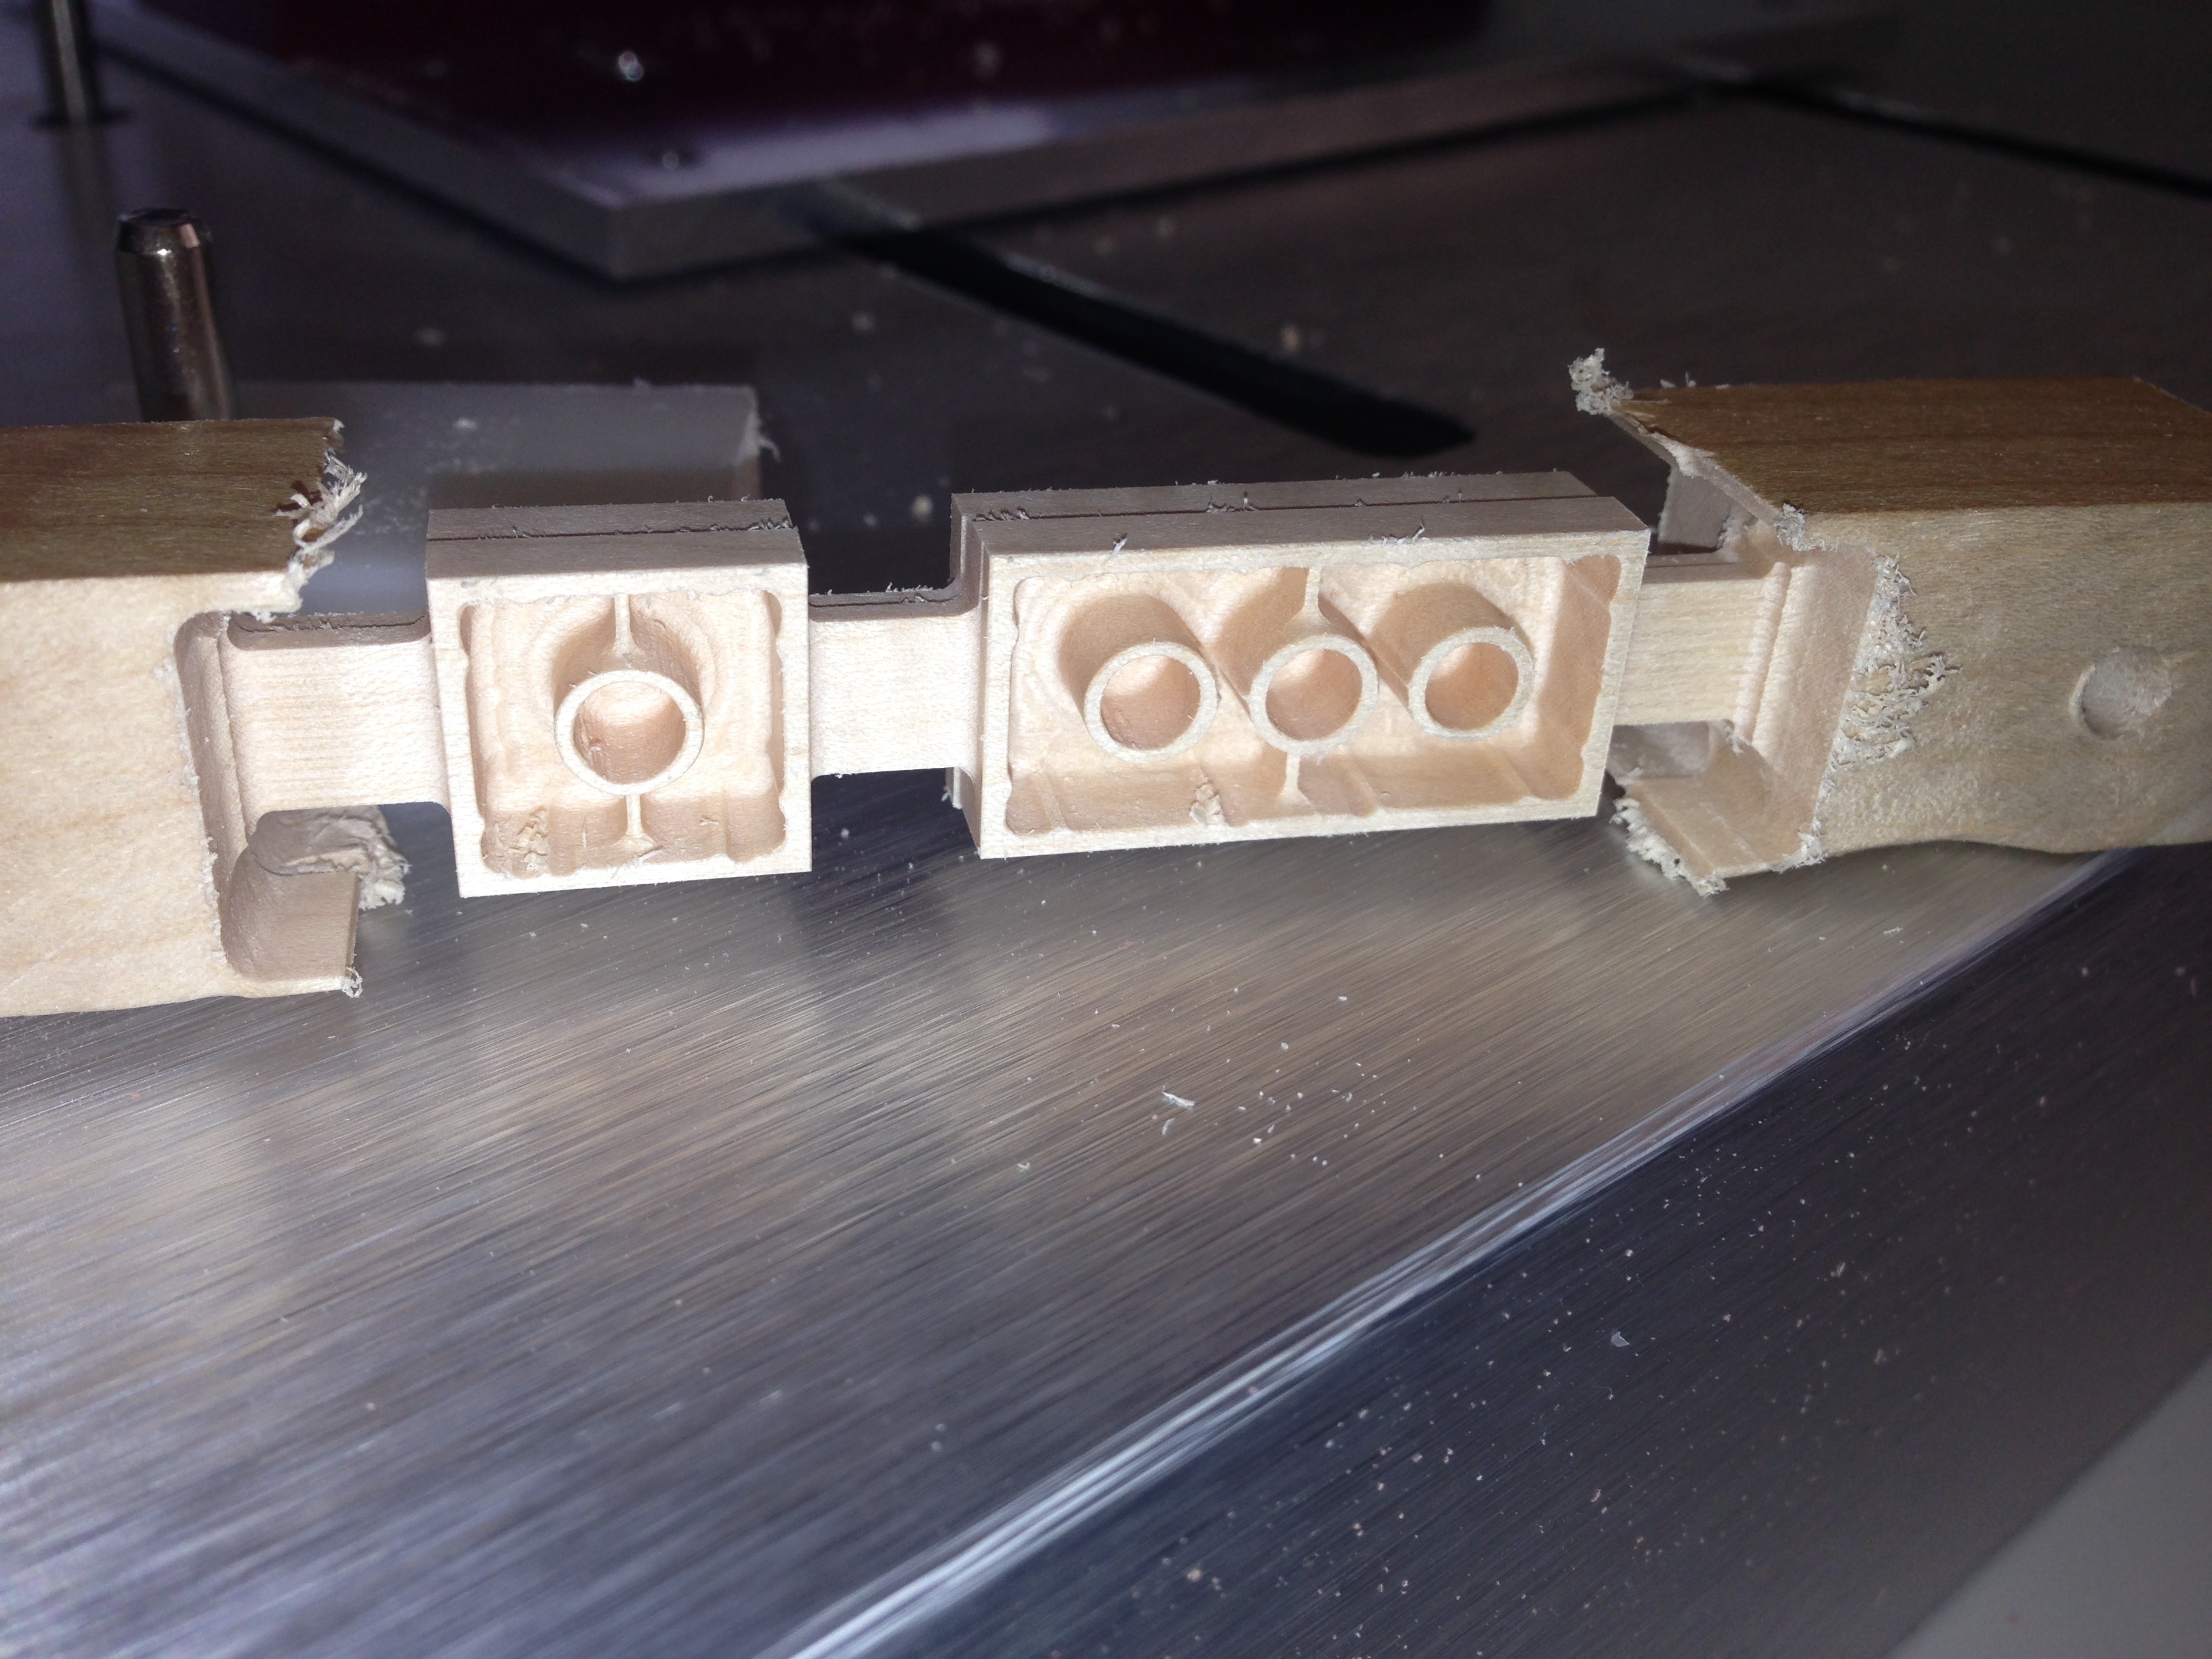
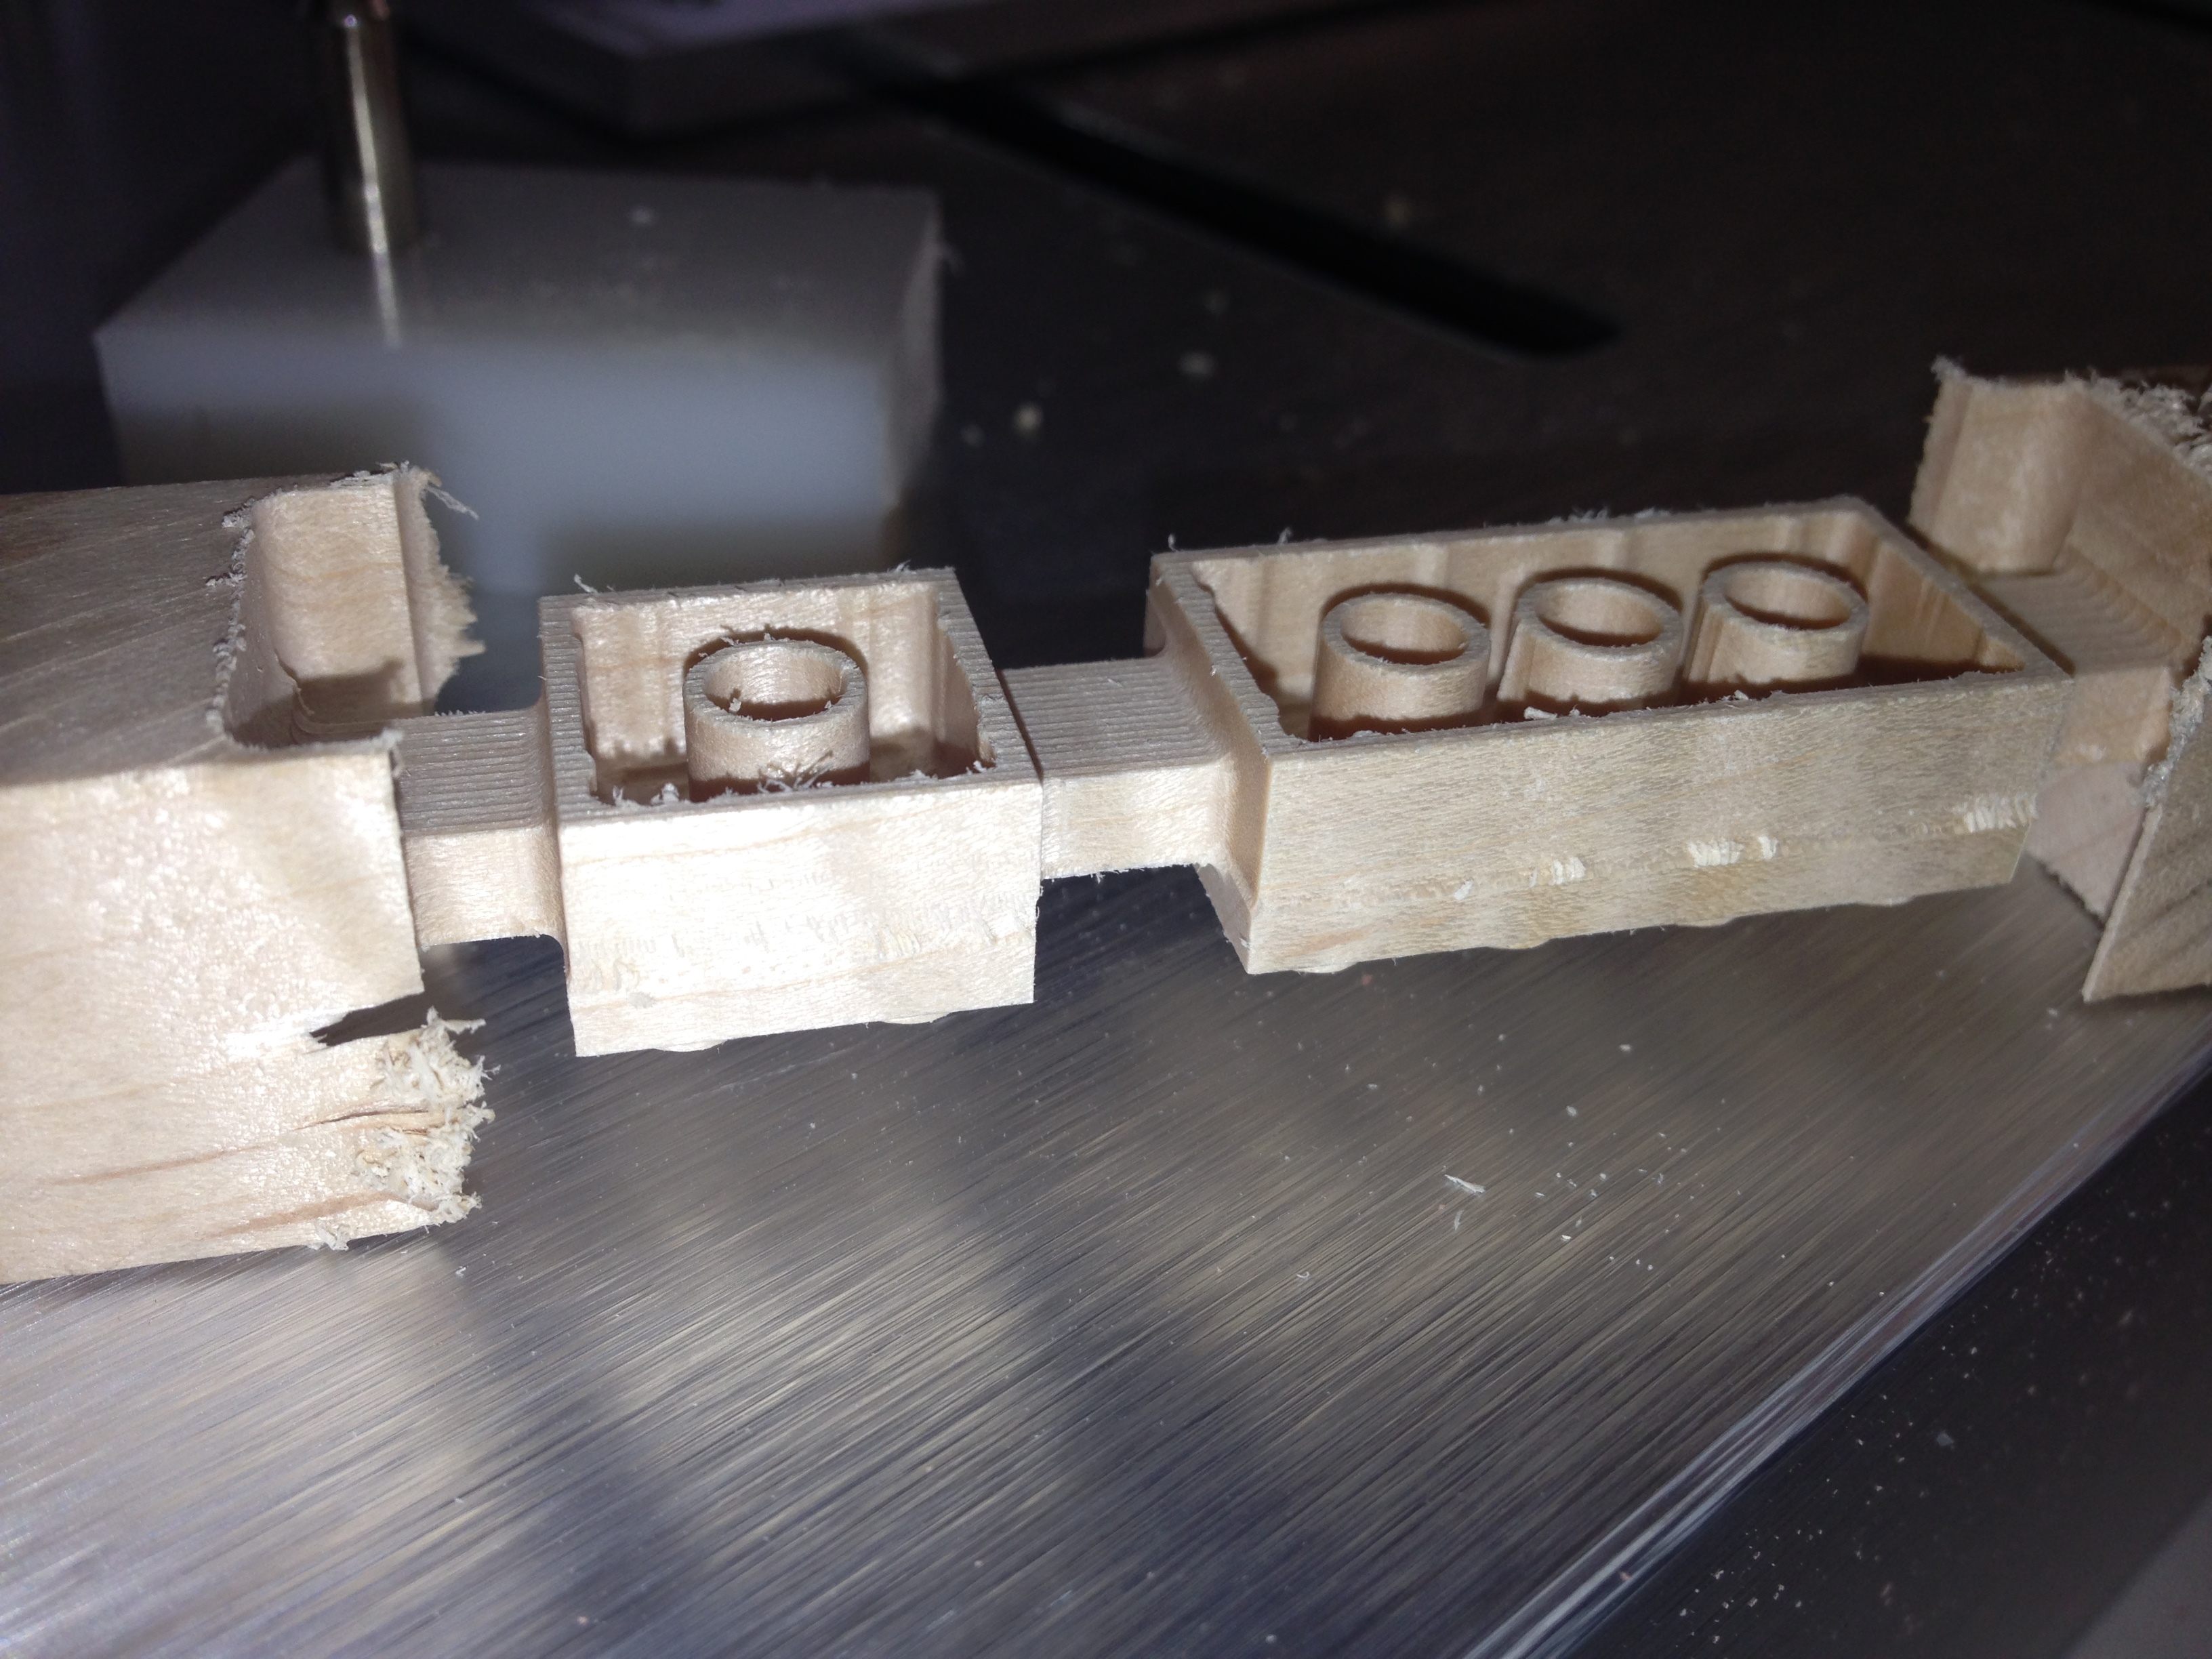
the Carbide 3D video. - My roughing pass on the underside of the Legos never entered the
interior of the Lego. I used an 1/8 inch bullnose bit for
roughing. I assumed there was enough clearance inside the Lego to
do the roughing pass and looking at the Carbide 3D it roughed out
the interior. The end result was the finishing pass (1/6 inch
bullnose bit) took out some rather large chucks of wood towards the
end of the job. - Figuring out the feeds and speeds was a challenge. I’m a novice, so
I tried to use the MeshCAM auto toolpath feature, but jobs it
produced would have taken days, so I downloaded a trial version of
GWizard. GWizard already has the Nomad in it’s machine database
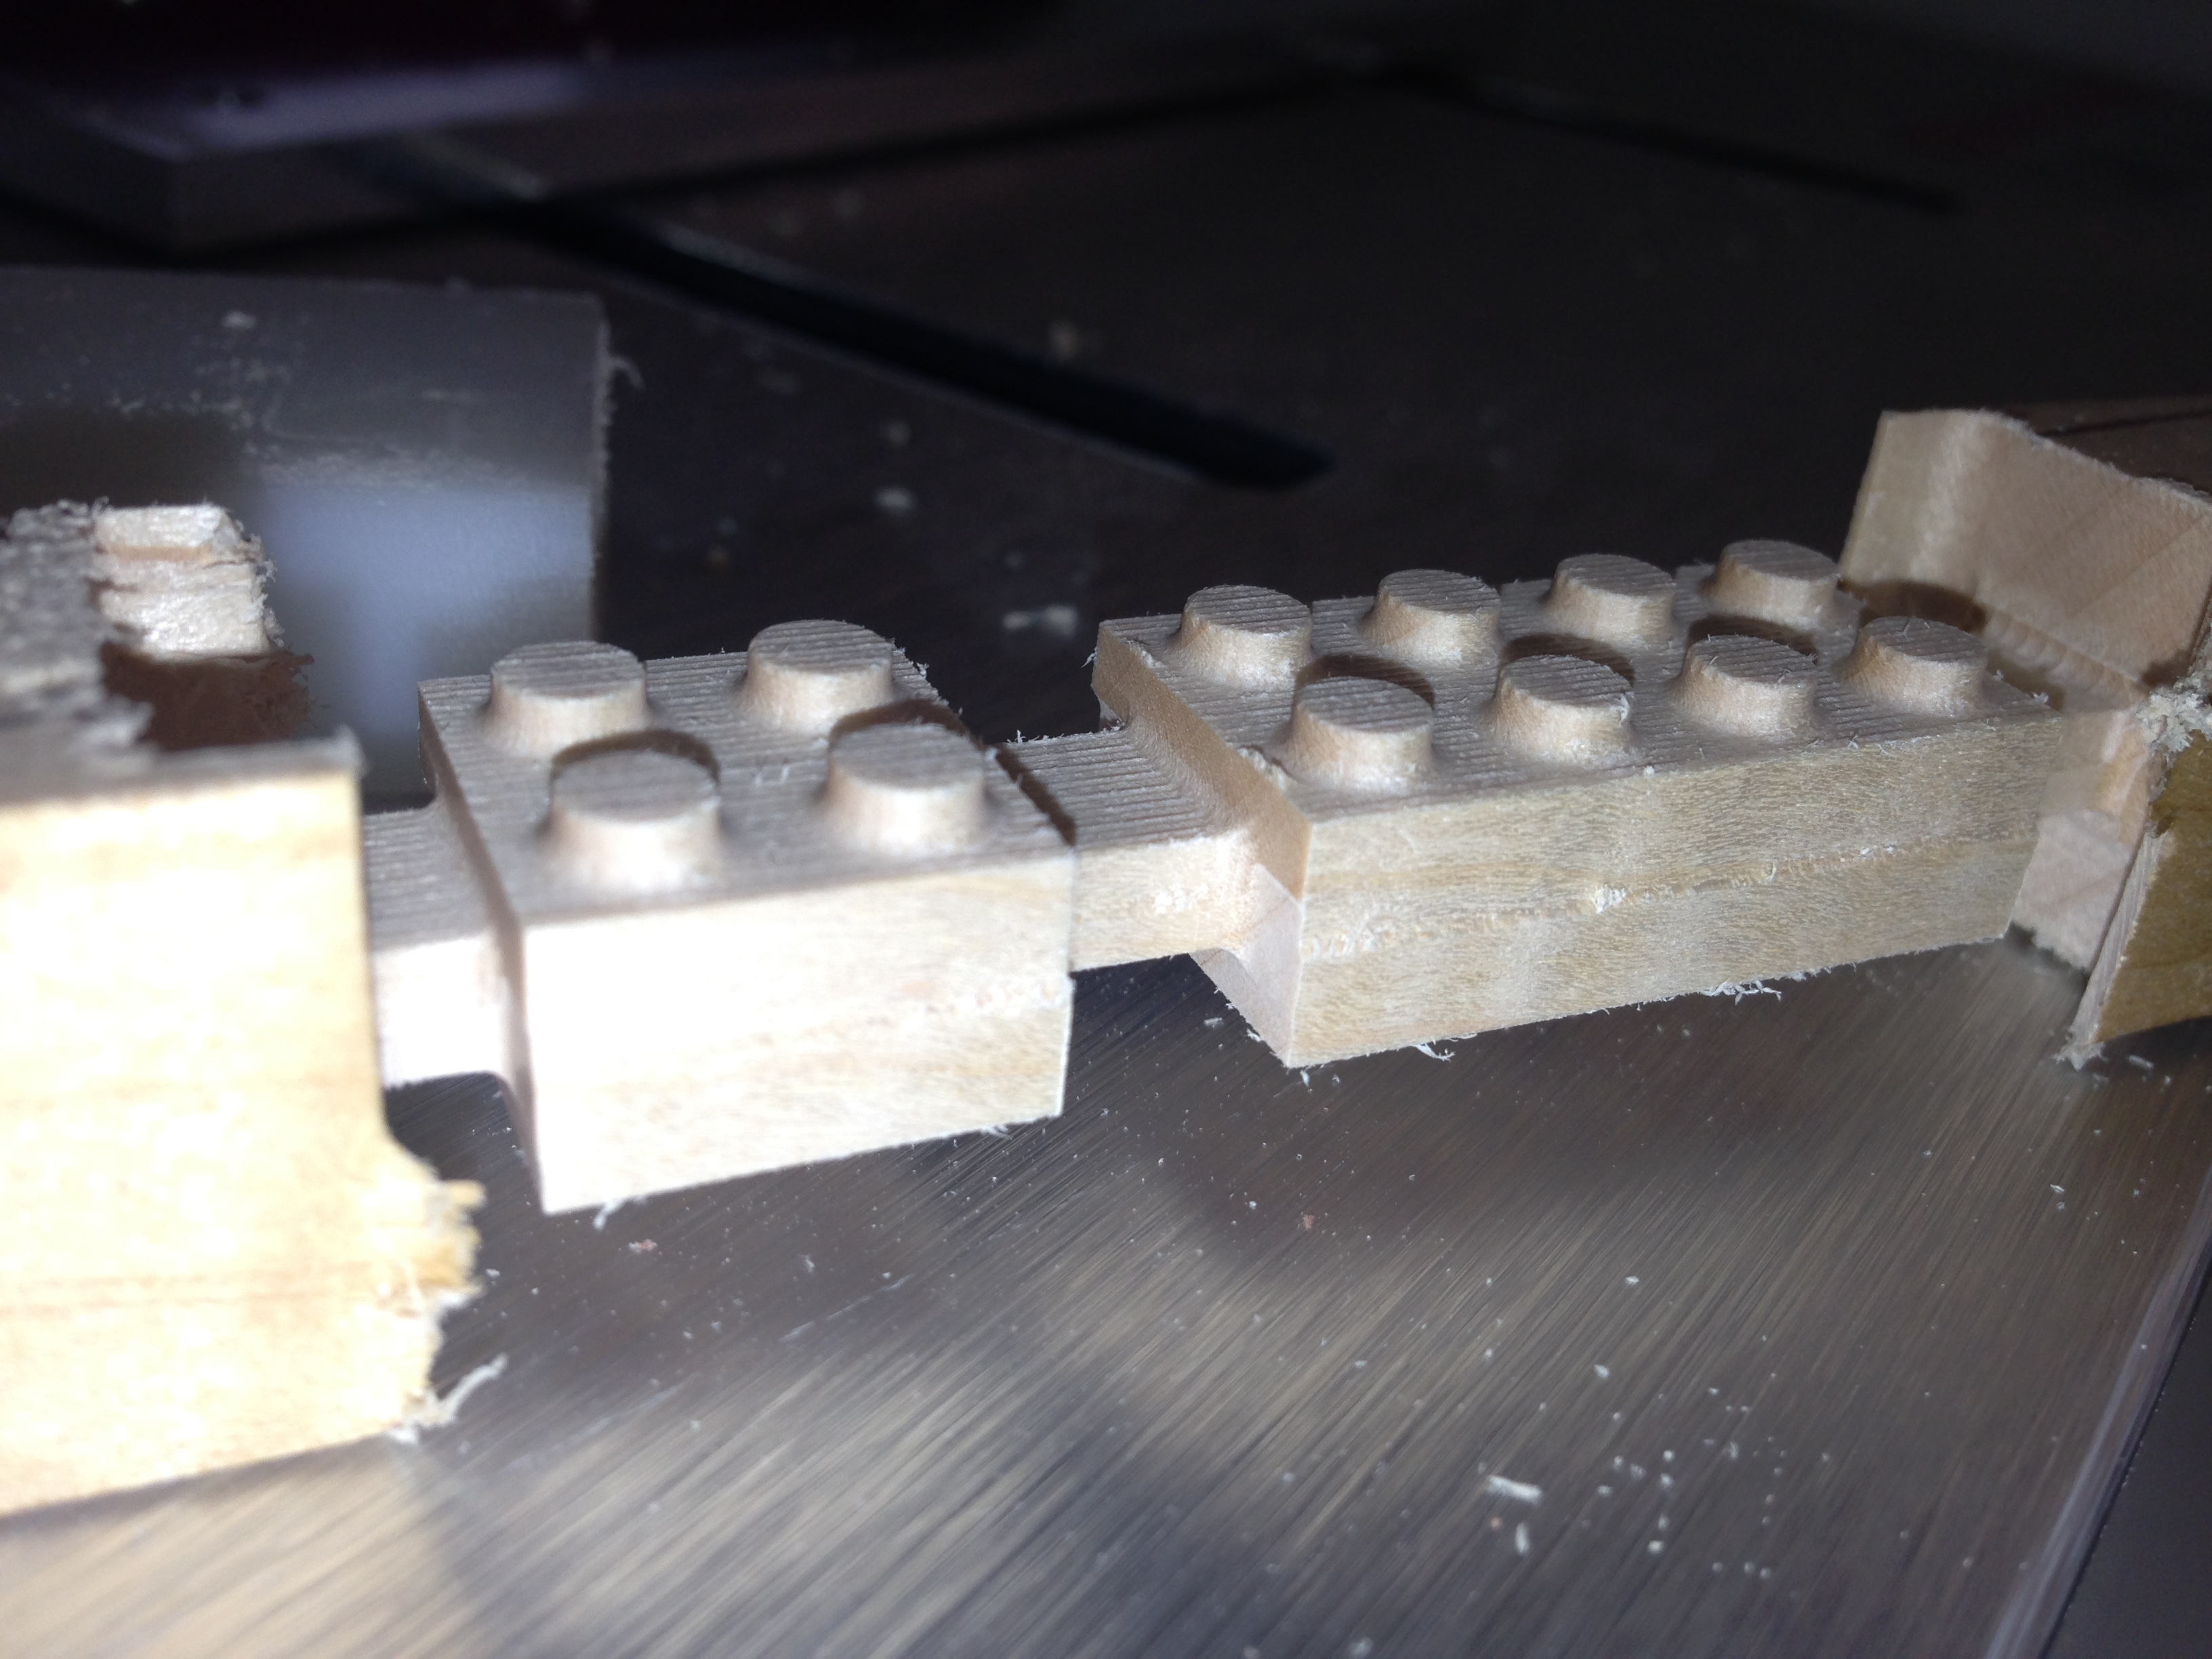
which was a great help. I still have a lot to learn about stepover
and plunge rates and feed rates, but I think it kept me out of the
woods. I would tweak a value here and there and play with spindle
speeds and GWizard would tell me if I was going to overload the
motor or do something else bad. I think my stepover was somewhere
around 30% so I believe that’s why there are scallops in the finish.
I thought about making the stepover smaller, but as it was the top
side took around 40 minutes to machine and the bottom side took
around an hour. 80% of that was the finishing pass. I’d be curious
to see what the Carbide guy’s used for their setting. Also, MeshCAM
is supposed to have GWizard integration, but the copy and pasted
didn’t work. Is that a feature of MeshCAM Pro? - It looks like I didn’t get the registration holes straight down the
middle of the stock. I think that’s why there is a slight shift in
the Y-axis when I did the flip.