I need to create this in a cutting board with epoxy. How can I carve out the M and epoxy blue, then carve out the outline and pour in yellow? How do I get my cnc to line up perfectly? If I leave it on my table and don’t move it, then zero in the same, will that work?

1 Like
That will work to the extent that the homing process is reproducible. Limit switches may trigger at slightly different positions. It’s not a big difference - on some projects it would be irrelevant, on others noticeable.
I dislike having to keep things on the machine, so instead I set up a fence for the project, then re-zero at the bottom left corner. The fence ensure the material is in exactly the same position, and the re-zeroing makes the homing process inaccuracies irrelevant.
4 Likes
I agree with @mhotchin about using fence. In my case I use a long L bracket.
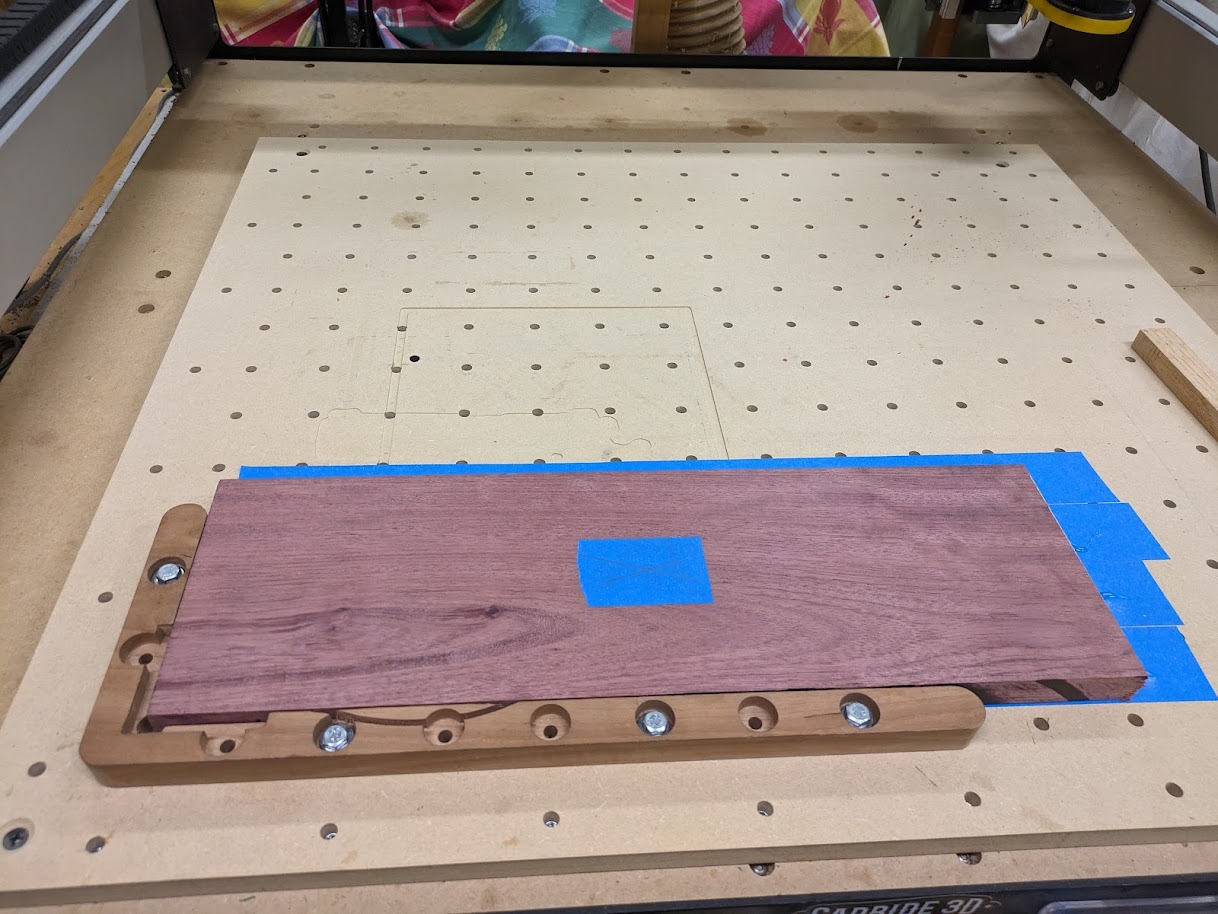
I have an SO3 with a 2" spacing using Tee Nuts. The newer machines with the hybrid tables you can still use an L bracket just locate the holes for your bolts to line up with your L bracket. Below is my long L bracket c2d file. Just modify it for the spacing you want.
long_L_bracket.c2d (296 KB)
When I put the L bracket on the spoilboard I tighten up the bolts lightly and use a bit in the router to line it up perfectly parallel to the router by touching one end with the bit and jogging to the other end and tighten up the bolts and then jog back to the other to make sure it is still lined up. The bracket can move slightly when tightening up the bolts.
Tod(1d) had suggested after getting the L bracket square you drill some dowel holes through the bracket and spoilboard and insert dowel so it is always perfectly lined up when replacing it after removing it.
In the picture above I use the L bracket to square up the material. If I am going to cut near the L bracket after getting the material secured I remove the L bracket.
4 Likes
We’ve learned that many (maybe most) users set their zero one time, and then never set it again.
If you’re concerned about repeatability, you could cut a test square, shut down, restart and cut it again without resetting the zero to see if anything shifted in a big way. My money is on the repeatability being pretty good.
4 Likes
I actually operate mostly that way. I set up my fence so the corner of it is right at the “South-West” rapid position.
Most of the time, after init I just rapid to the SW position, and call that (0,0) - no measuring. I only occasionally need to be any more accurate than that, when I do out comes the BitZero.
1 Like
I have an SO3 with proximity switches and have never found my zeros off after power cycle. Maybe I am just lucky but my SO3 has never let me down. My SO3 is also very accurate. My only complaint about the SO3 is it is slow. I may someday upgrade but after all this is a hobby an production is not an issue. If production was an issue I would upgrade to the SO5.
I am a member of several other CNC forums and this community is why I would stick with C3D. I started out with a Shark and their forums are dead as a door nail. The Inventables is active but not as helpful as this forum is. C3D has invested a lot in the forum and customer service reported here is exceptional. I was a field engineer for over 40 years and I know what good service is. I worked for 20 years for Eastman Kodak and another 17 years for Sun Microsystems and know what good service was. After Oracle bought Sun I go the experience of bad service from Oracle that basically said take it or leave it and everything was about money and no caring for customer experience. All companies occasional have bad customer experiences and C3D has had some reported here on the forum. However in the final analysis from my perspective that is the exception and not the norm. I would expect that in analysis of the bad experiences the customer has a lot to do with that bad experience not being cooperative 2 cents from me. This forum gets direct input from the officers of the company and I have not seen that on other forums. @robgrz
2 Likes
Yeah, like literally! ![]()
The XY-zero for each of my Workspaces are always set at the same places. I even use my laser attachment to burn that in and draw a line down the X & Y planes. Any “fences” or fixtures that I use to hold my parts to those positions are adjusted (or verified) to those zero positions. The XY-zero positions will rarely change. (I use a macro to set those XY coordinates after every Homing operation.)
PS. My Shapeoko 3XXL (2019) hasn’t needed an adjustment for as long as I’ve had it.
1 Like
Repeatability of homing being “pretty good” all depends on how good is “pretty good”. I see up to +/- 0.1mm difference in the homing position. Which in some cases (e.g. chamfering a hole cut before flipping the part or finishing a contour partially cut on the first side) can be pretty noticeable. I tend to always rezero everything after a homing cycle.
I keep meaning to play with the speed of the second pass of homing to see if I can get rid of that (at least down a single step of 0.025mm).
1 Like
@Bnturnbo Well…as I was experimenting with tight-threshold Tiling, the need to repeatedly start in EXACTLY the same spot proved to be problematic. I found that I was off by several thousandths , or sometimes even hundredths of an inch after re-initialization.
I remediated the problem (and recommend this when exactly tolerances between runs are needed) by adding a drill step for a 1/32" hole in a waste area of the workpiece as the first step of the job. Then, when I’m re-cutting, I wait for the first step to start to drill that hole and pause it directly above the workpiece (before it cuts). If it’s lining up perfectly, I let it run, if not, I stop the job and “zero” on the hole, determining the exact offset to get the bit to go into the hole precisely. Then, I bring the router to its current zero, adjust the position of the head based on the offset I just calculated, and then re-zero it in the new place. Then I restart the job and the drill lines up perfectly and everything else runs exactly.
- Gary
2 Likes
Hey Brandi, I do a fair amount of multi-layer epoxy. In your case I would make the yellow border overlap the blue “M” by drawing an OFFSET from the outer border INSIDE about .25". Maybe more depending on the blue “M”’s geometry. Pocket the thicker border out using an Advanced V-Carve toolpath to get sharp inner corners. Pour the Yellow.
Once it cures, pocket out the Blue “M” again using Advanced V-Carve toolpath and pour the Blue. Doing it this way you don’t have to worry too much about getting two abutted vectors to align up perfectly or minor discrepancies in X/Y/Z-zero.
A couple of tips:
- After you cut a pocket and before pouring the resin, seal the pocket with “something” to prevent air bubbles from rising through the grain. I say “something” because I’m still trying to figure out what my go-to method is. I’ve had good luck with brushing in a thin coat of resin, but you must wait until it is well on its way to curing before you pour. I’ve also gotten good results with diluted white glue and the wait is relatively short. Some will suggest spray lacquer or poly, but those haven’t worked that well for me so far.
- Overfill the pockets. Resin shrinks when it cures which causes a dip or thinning in the middle creating a convex effect.
Hope this helps.
4 Likes
I do some epoxy inlays as well and I have not had a problem with the accuracy of my Pro XXL. I do have a L fence that I use to make sure my piece is in the exact same place. I have poured the epoxy with the workpiece on the machine and I have removed the workpiece to pour and then repositioned with L fence and I have not had any problems. I have had multiple projects with different epoxy designs going at the same time without any trouble. I DO NOT reset my X/Y zero though. Once it is set to the L fence I don’t change it during any project. I will reset the Z zero when working between multiple projects. I normally do not see a need to rehome my machine as I leave it on most of the time with PC on as well. I did have to disconnect the PC once during a project and then reconnect it and rehome the machine. Again, no issues!
I agree with Geeber, that you need to use V carve if you want sharp corners.
3 Likes

Thank you all so much for your help!
LOL ! 20 Characters.
1 Like

Personally I would never pour acrylic on my Shapoko table. I always pour in a form tray. When I poured the Lake board I made the grave error of running the top and bottom through the joiner to get the board to fit into my pour tray as the board was slightly too big. I only meant to run the top through so as to keep my zero as I had set up a fence. Now my fence was of no use to me. I took measurements from precise locations of the blue lake and changed the size of the board in Create so that my new lower left corner was indeed my new zero and set the board against the existing fence and closed my eyes and hit start. The roads did not cut into the lake anywhere. There is one particular spot that is right next to the lake, but that is exaclty how I drew up the map (this took a long time as there was no good map to pull from, I used a BLM map, it was so pixilated that I spent hours editing nodes). In the end, my measurements and calculations were correct. not only had the machine been shut off, but my laptop had been disconnected. I have never had a problem with returning to zero. I also recommend that anytime you are doing something that is new to you, do a test piece first.
On the second board I learned from my mistake and now make certain that the board fits into the tray before I start cutting, you can see the detail in the eagle and the shield and that neither cuts into the other. I cut and poured the eagle first, then the shield.

5 Likes
Evidently only as long as they dont go near Missouri. Ouch, I’m sorry, I’ll show myself out now.
2 Likes
I just leave the piece in my machine. Maybe not the most efficient but it works
2 Likes
I have used the following trick pretty successfully - when I need to make multiple cuts that I want lined up (usually for an epoxy pour in between - I am in New England and epoxy curing in the barn isn’t so good, so i take it off to bring it inside to fill and cure) I will usually make the first cut, and then remove from the machine. Before making the next cut, I will adjust the design so that the XY zero is somewhere that I can get back to - in your image, I’d use the tip of the bottom of the middle of the “M”. The run the second machining. Works well enough for the work I do. Good luck!
1 Like
Ive tested the machine’s repeatability and it has typically been within 0.001. You’re not going to see any error in your “M”.
1 Like
Hi Brandi,
I’ve done several large 20” designs with epoxy. I leave it on the table for each color poor,
then give it at least a day and a half before cutting into the epoxy. Once done cutting,I use spray shellac to seal the colors so they don’t run together(dried epoxy with fresh epoxy). I like the results I get…

5 Likes