Trying to use PhotoVcarve do a stamp with a picture of my daughter’s cat. Currently using the speedball LInoleum which works well with just letters in Vcarve, but so far no luck with photos. I can get the model to look decent, but I just getting a fuzzy mess after the cut.
Any suggestions for material / tooling / settings to carve a photo on linoleum so it can print the picture when inked?
It would be good to see the photo and/or the model you’re working with. One thing with printing with lino, is you have no grey-scale control, it’s all or nothing.
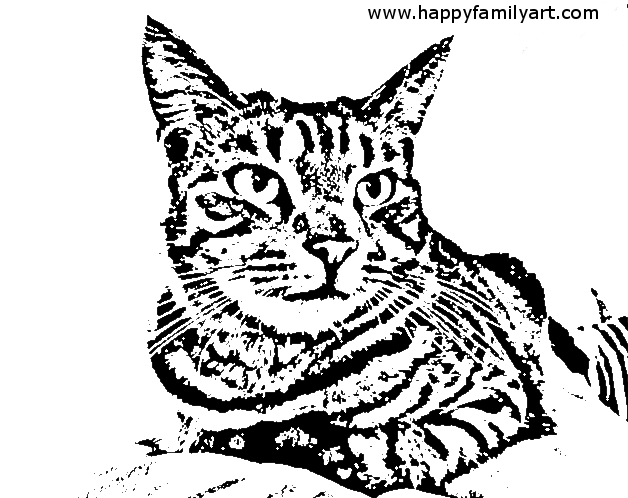
If you do a ‘threshold’ filter on your photo first in your image editor of choice, that will give you an idea of your output Eg: CAT , the machinability of which will depend on the photo.
One thing which can be done is to halftone the photo before machining — Photoshop has options for this, and most other software should, or use a specialized piece of software such as: https://www.shapeoko.com/wiki/index.php/CAM#Images — I’d think that PhotoVcarve would have settings / options to control this though.
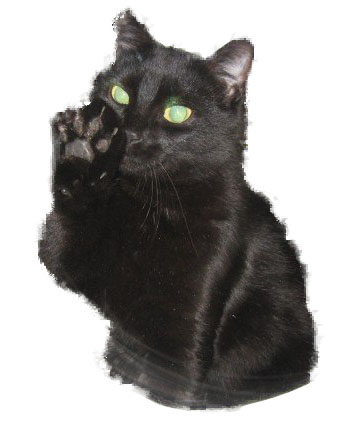
Photo attached. I have done some more experimenting since posting this and learned a few things (I think).
LItho is not stiff enough to hold a fine grain pattern. It turns to mush. I am currently working with poplar but even that has issues with holding a pattern. Machining with a 0.1mm 20 deg. vbit
You can kinda get a pocket around the image by fiddling with the invert setting and transparency but PhotoVCarve is really lacking in control for this pocket which is fairly critical for producing a stamp since it has to float about the surface of the stamp.
I was working at 1xx overlap which machines away too much of the material. I am going down to 80 or so which is going to reduce the definition but I hope will leave enough material behind to serve as a stamp.
For those of you who have never tried it, you have to embed the PhotoVCarve output “as is” in your Vcarve project to combine a picture with text. Again this is a pain because you have a pocket for the text and then a (sorta kinda) pocket for the image which doesn’t overlap. Guessing I will end up with Dremel in hand to finish this assuming I can get the photo settings working.
Yes the photo is a bit challenging but unfortunately black cats are black all over.
I just did a version in Photoshop using bitmap/halftone conversion. Will try it in PhotoVcarve as input but it seems to have its own halftoning so it may end-up being a bit funky.
What about carving into aluminum/brass/acrylic as a mold, and cast with rubber/silicone to create the stamp? You could even use machinable wax. Just thinking loud
Yeah that’s where I am ending up. I ordered some brass/copper sheets to try. Haven’t decided whether or not I need an extra step and cast something or if I can just get the brass so I can ink it directly. I talked to a printing guy and it turns out they have NOT used etched metal for decades much to my surprise.
Just look at the history of book/news paper printing. I think this could work
On the other hand: Building the female part as mold could be much easier and faster.

