Hi all,
I would like to a share project that I did as a gift for my grandmothers.
The goal was to create some form of portrait of their deceased husbands.
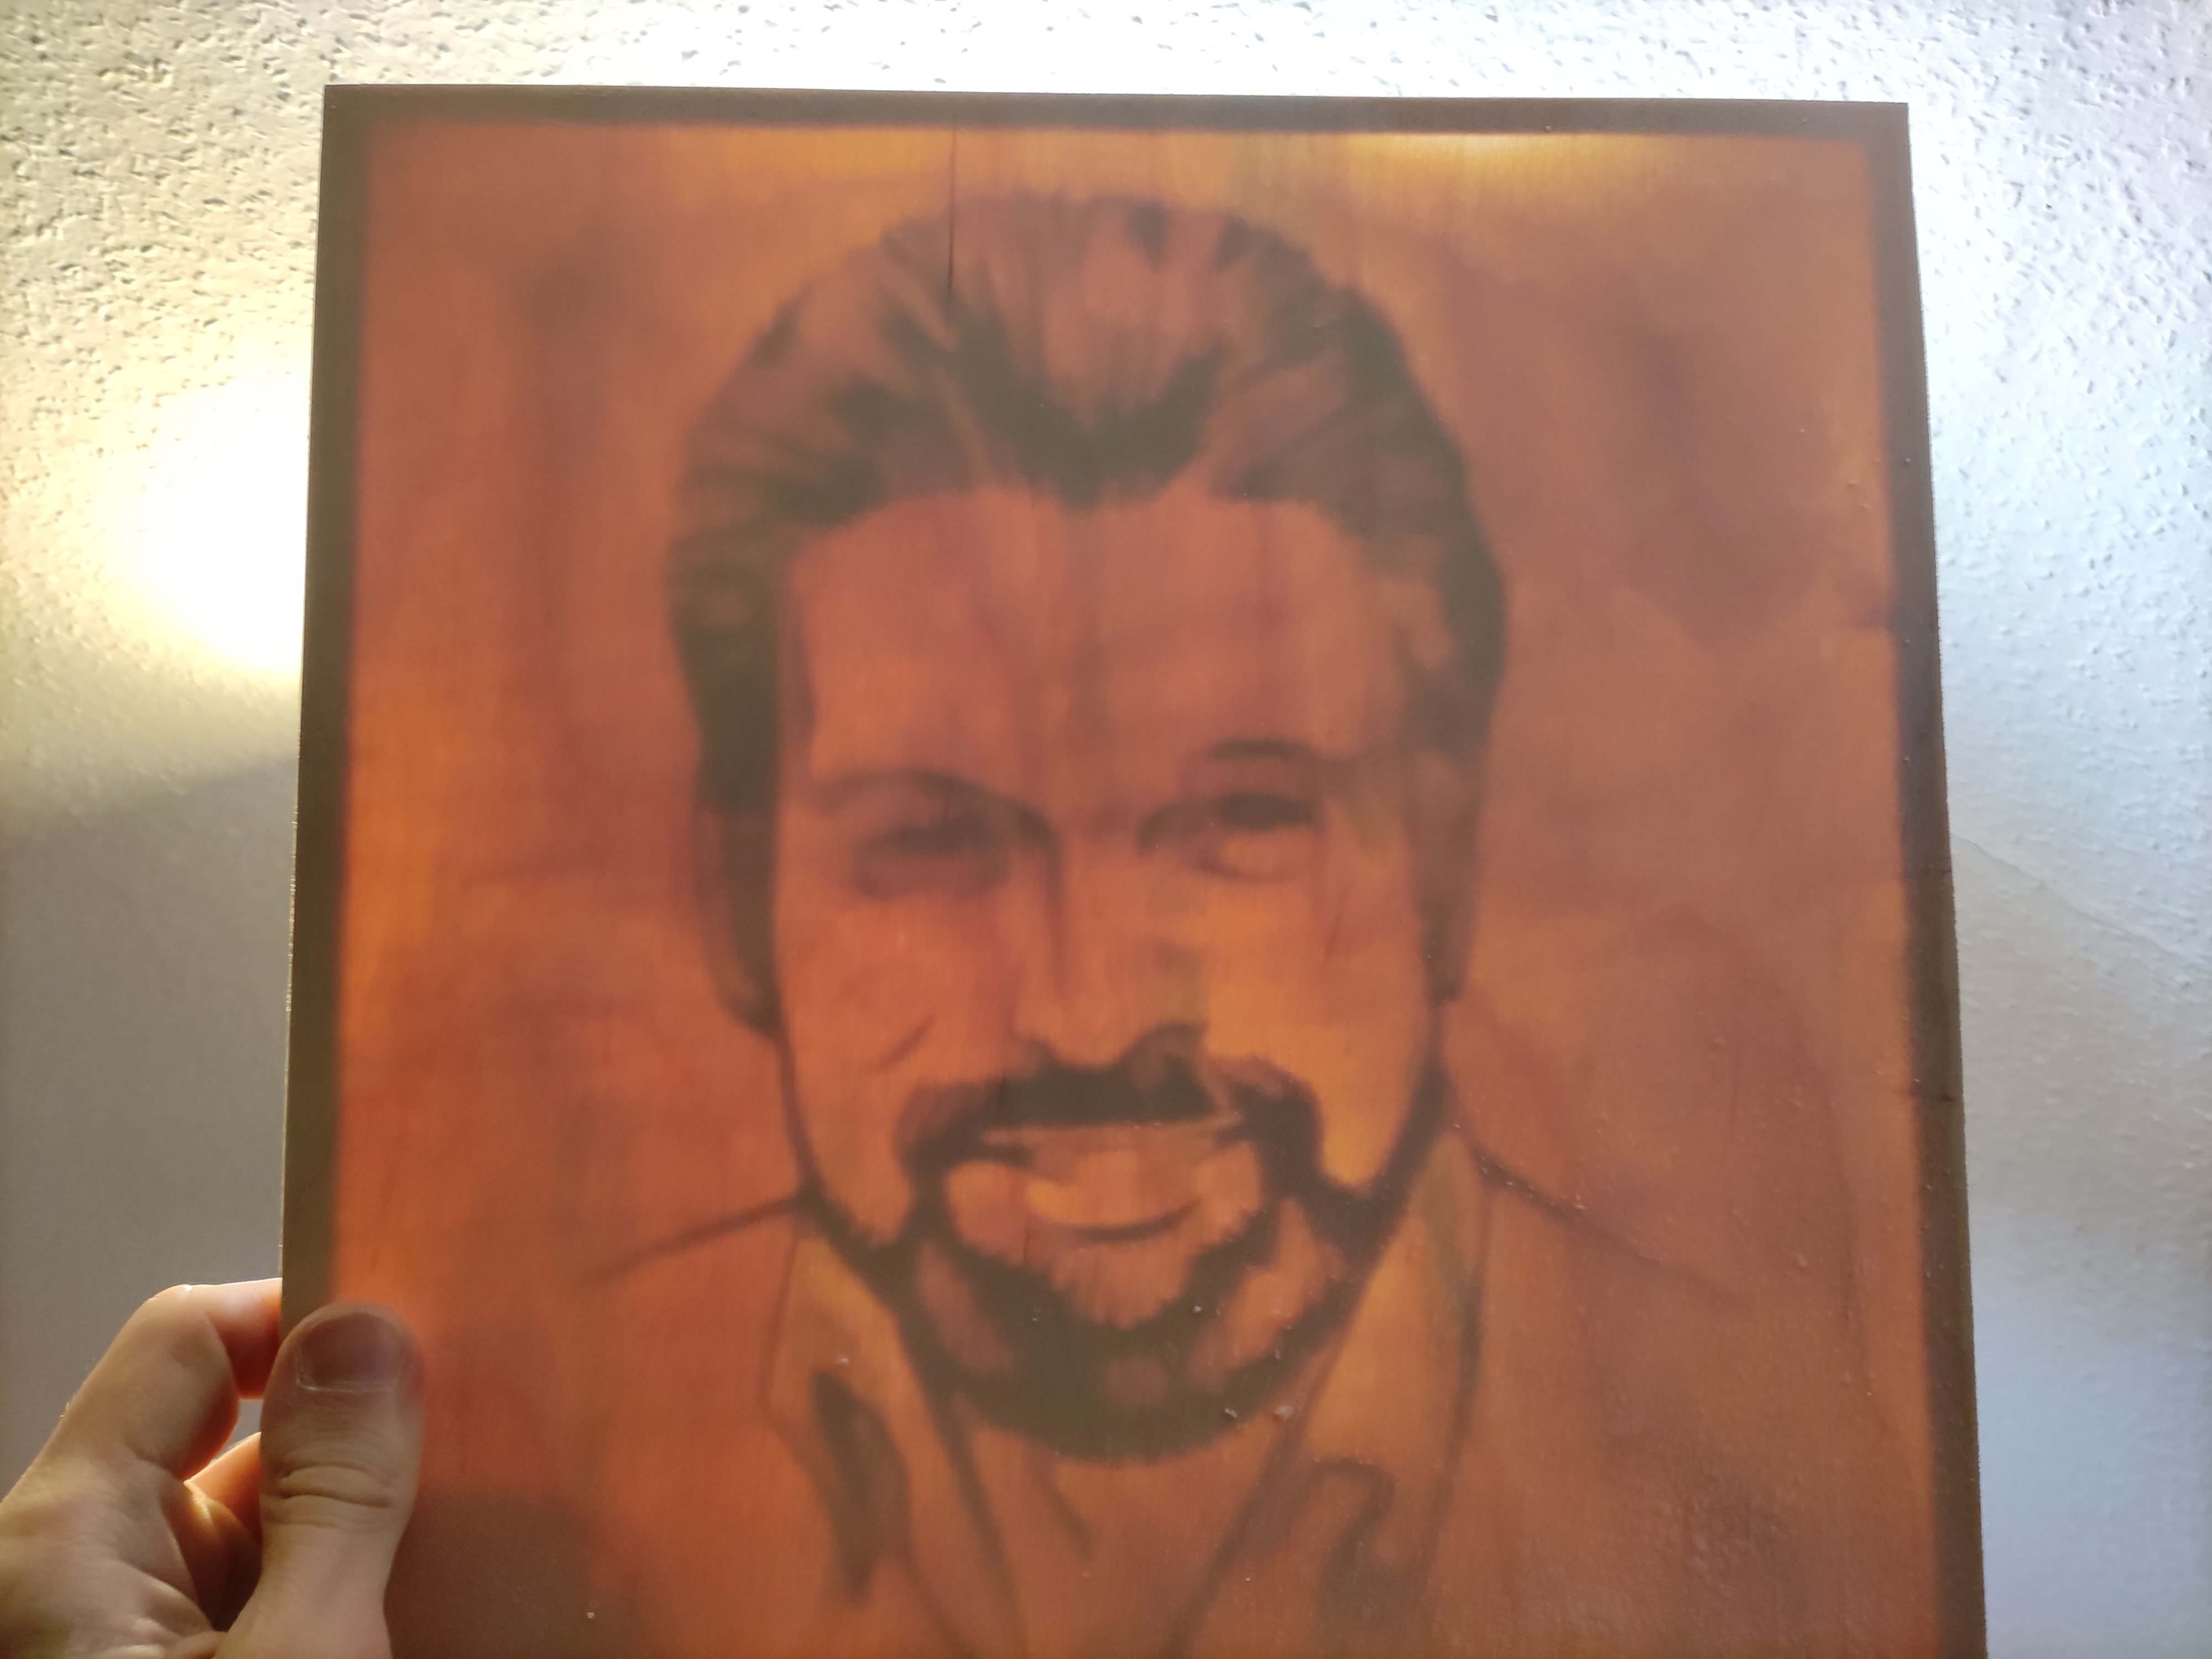
Based on a collection of images an artist, Kathryn Rathke, created these two images for me:


I wanted to do both in a lithophane-like way, but this kept me so busy that I went for a v-inlay for the second one instead.
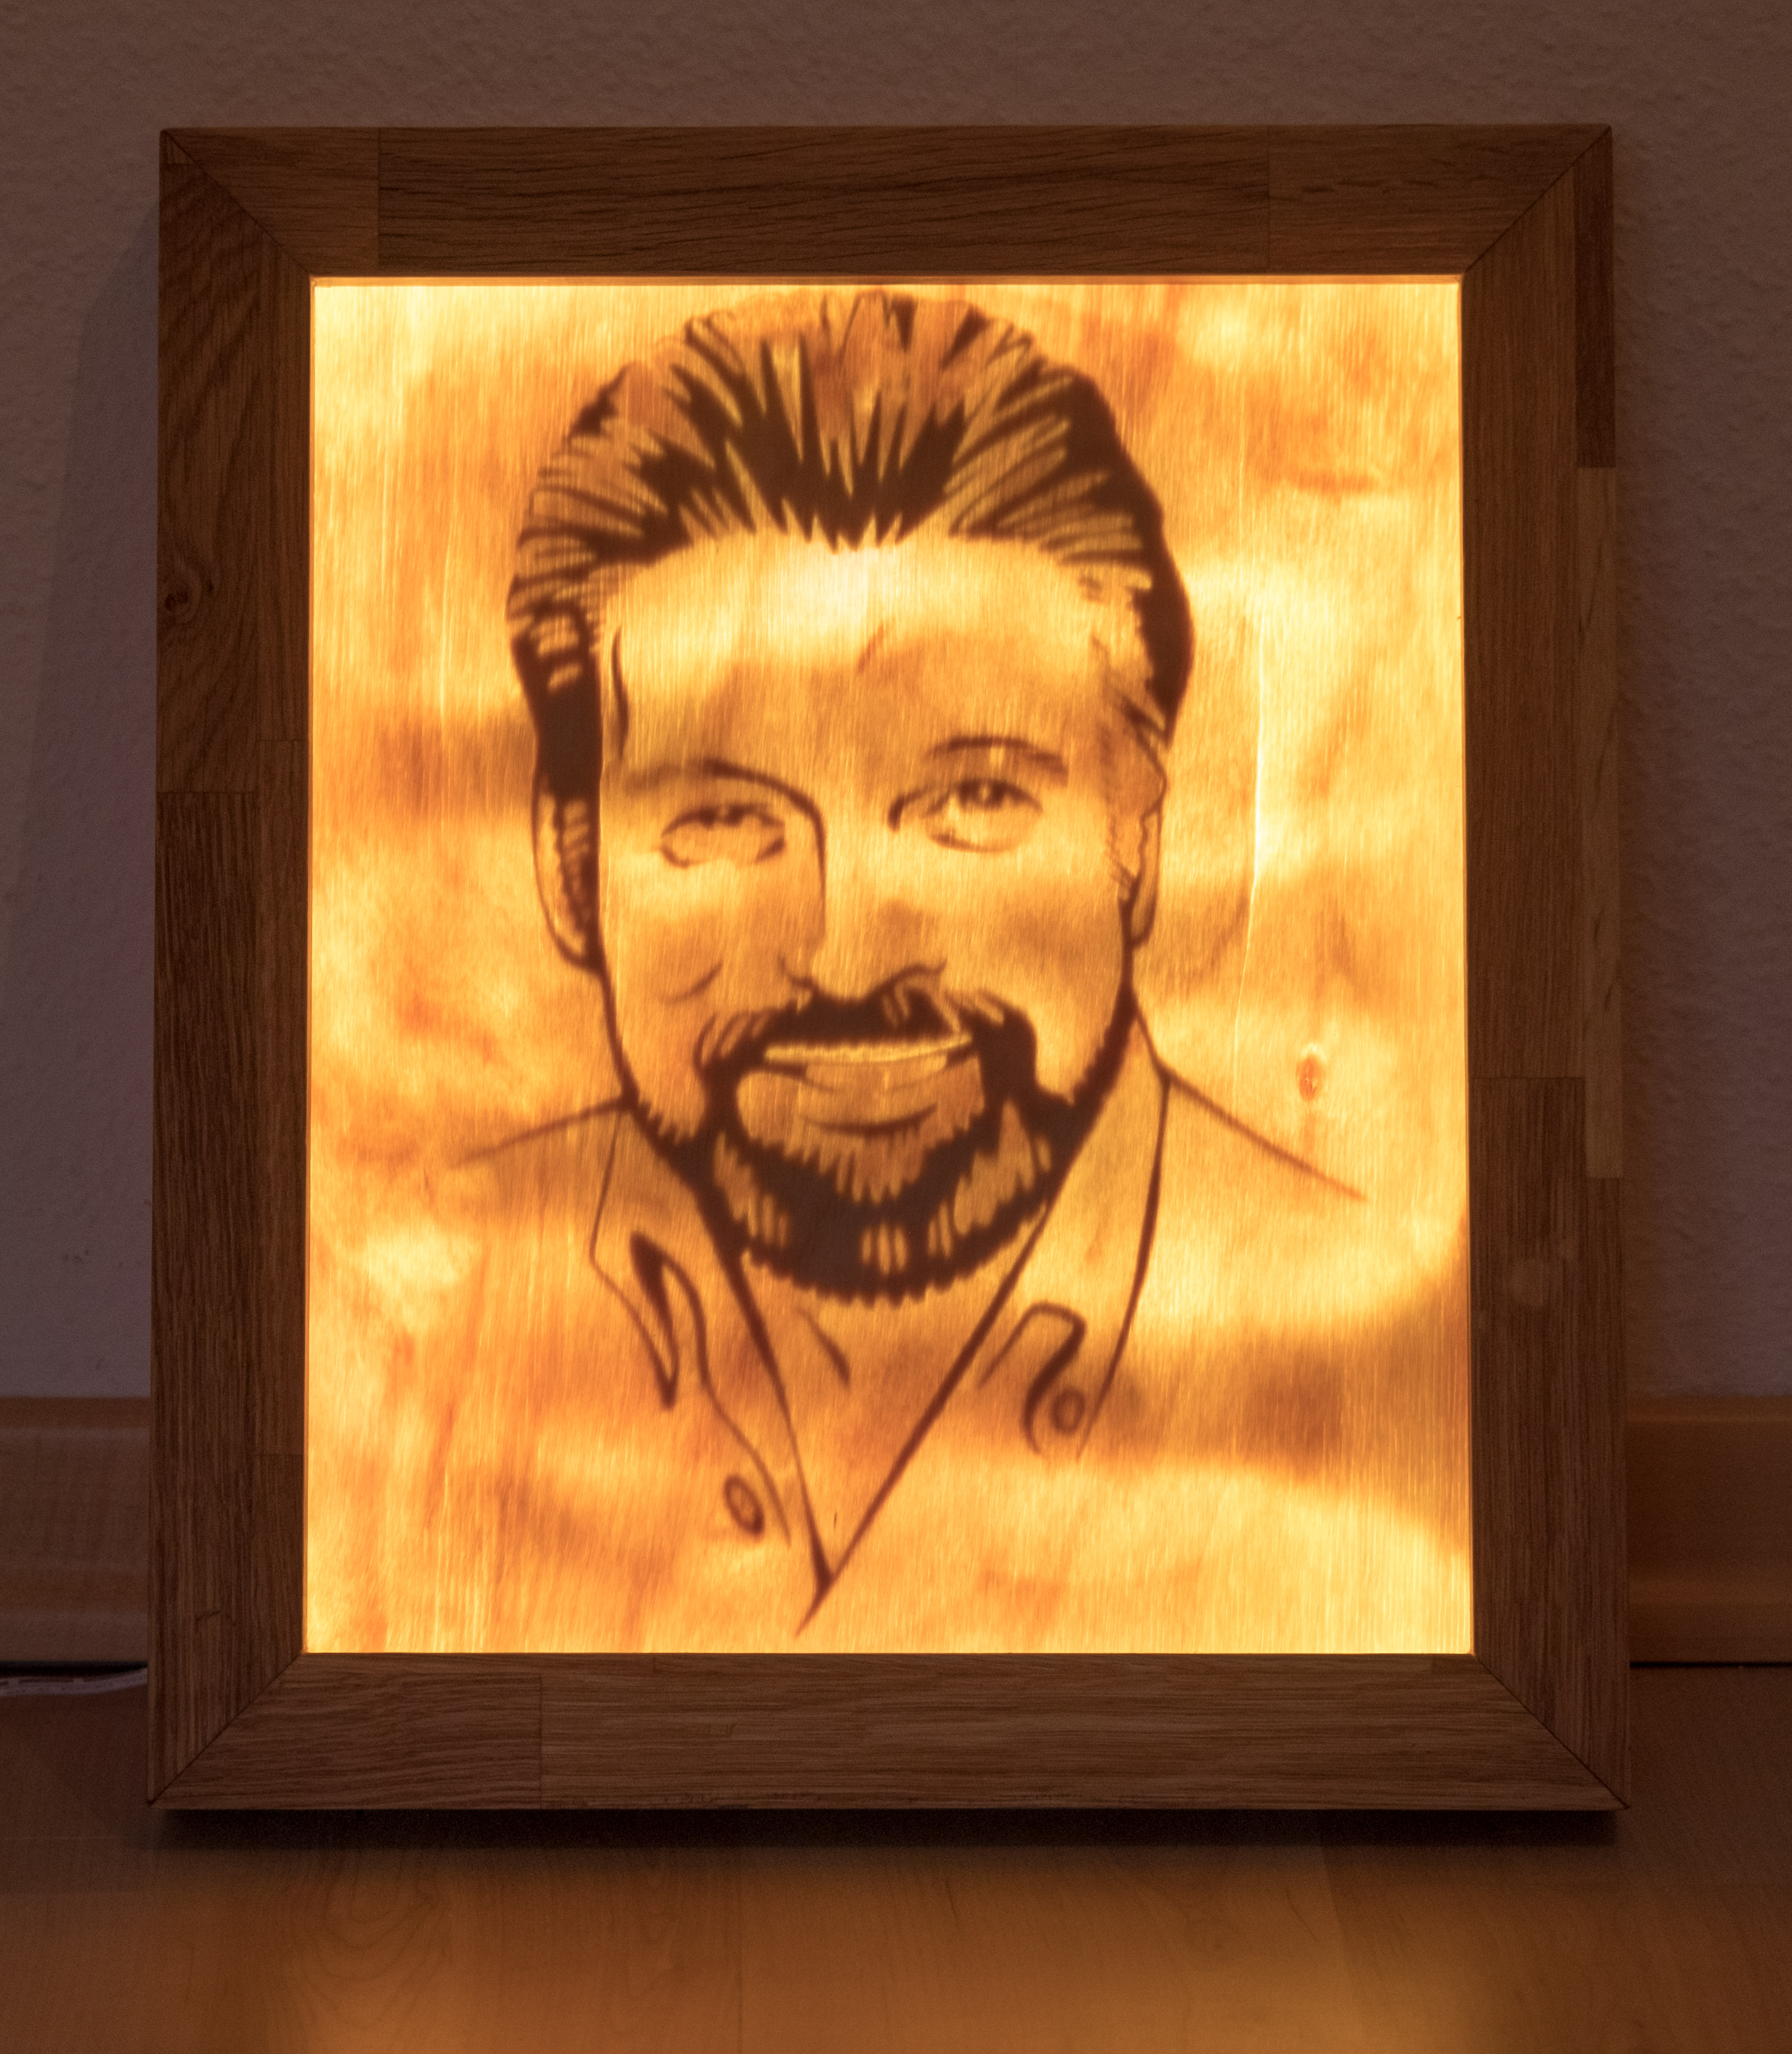
So here’s the lit one:

The frame is oak and the actual image (about 30x35cm) is made from pine plywood.
And the inlay:
Here I used a slice of some fir wood (spruce or pine, I can’t tell, about 40 cm high) and the inlay is amazakoue.
Details
Inlay
I’ll start with the inlay, because this was more straight forward.
The amazakoue can be machined so well, I was actually suprised that all the details survived.
Some close-ups:
This was cut with a 30° Amantools bit at 1mm depth per pass (down to 4mm) and 500mm/m feedrate at 18k RPM. I did this in two Andvanced VCarve passes, one from 0-2mm and then 2-4mm, to get the contour 2mm into the material.
I had another go at this with walnut and the same parameters, but here, some of the details broke off. So +1 for that african wood!
(binary) Lithophane
This one gave me some headache.
The process was as follows:
-
create a pocket so that about 2mm of the stock remains and spray black. This thickness is for the dark areas of the portrait.
-
Start an Advanced VCarve so that about 1mm of the stock remains for the light areas. I learned that a downcut end-mill is crucial for the pocketing if the stock gets this thin.
-
The stock is now very vulnerable, so fill the pocket with epoxy to restore stability.
-
Figure out that 1mm of stock still cancels too much light
-
Repeat step 1.-4. and adjust remaining stock hight until enough light goes through without the stock breaking apart when removing it from the machine.

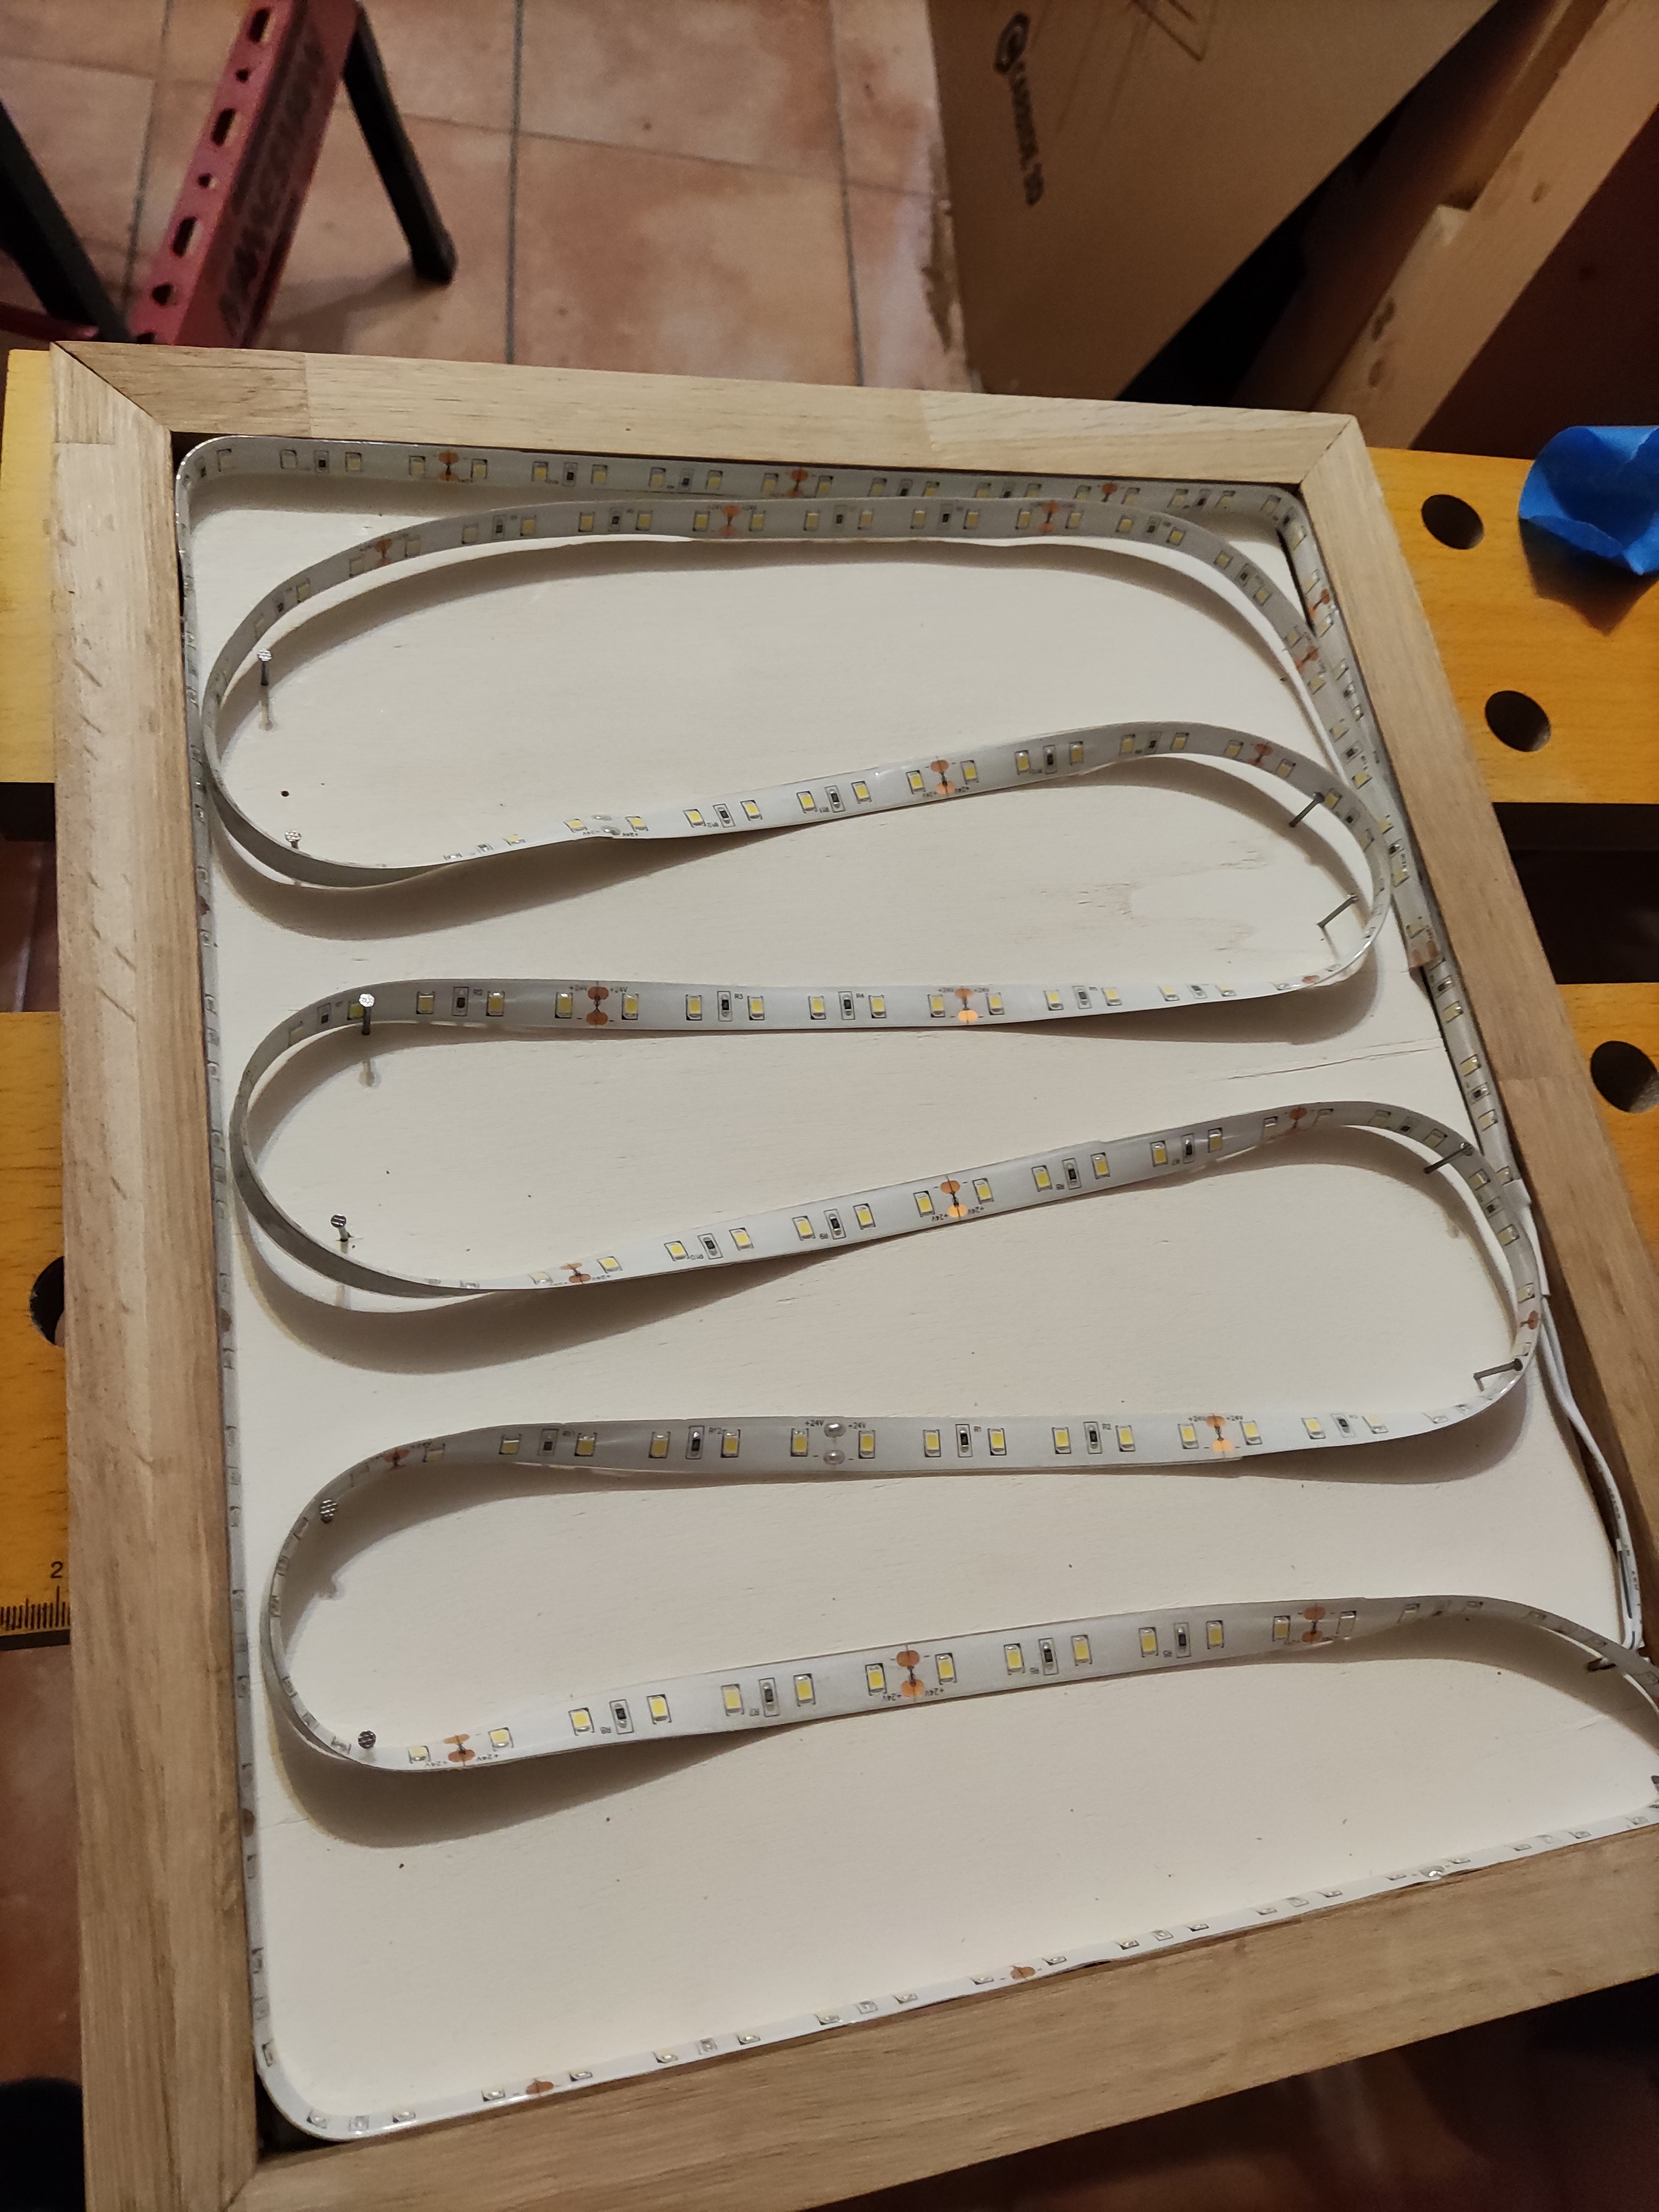
Meanwhile, build a frame

and add light
Right before christmas, I finally got a satisfying result
I might redo this one and then try to leave just the last layer of the plywood. This will likely be too thick, but the rest can then be sanded off, so that hopefully, an image with more contrast appears.
Another big issue I faced was the Advanced VCarve itself. I’m using a BitSetter but I couldn’t get the pocketed areas done by the end-mill and the pocketed areas done by the v-bit to get to the same hight. You can see this in the hair and beard, where the light areas are not as light as the rest. Only in rare occansions there was no hight difference between the areas done by the different bits.
But anyway, the time was well spent. My grandmas were both very happy with their christmas gifts and that was the whole point!
Regards
Nils