A year into playing around with CNC, my biggest aggravation is x-y rotational alignment. This is a key problem in two sided milling. If you could align perfectly, you wouldn’t have a problem with it. I adapted (and maybe simplified) the lock-and-key technique I saw in @DennisVanHoof youtube video when he carved the scroll for a violin in this video:

Great video, but if you just want to see his lock-and-key index in about 14:50.
The Problem
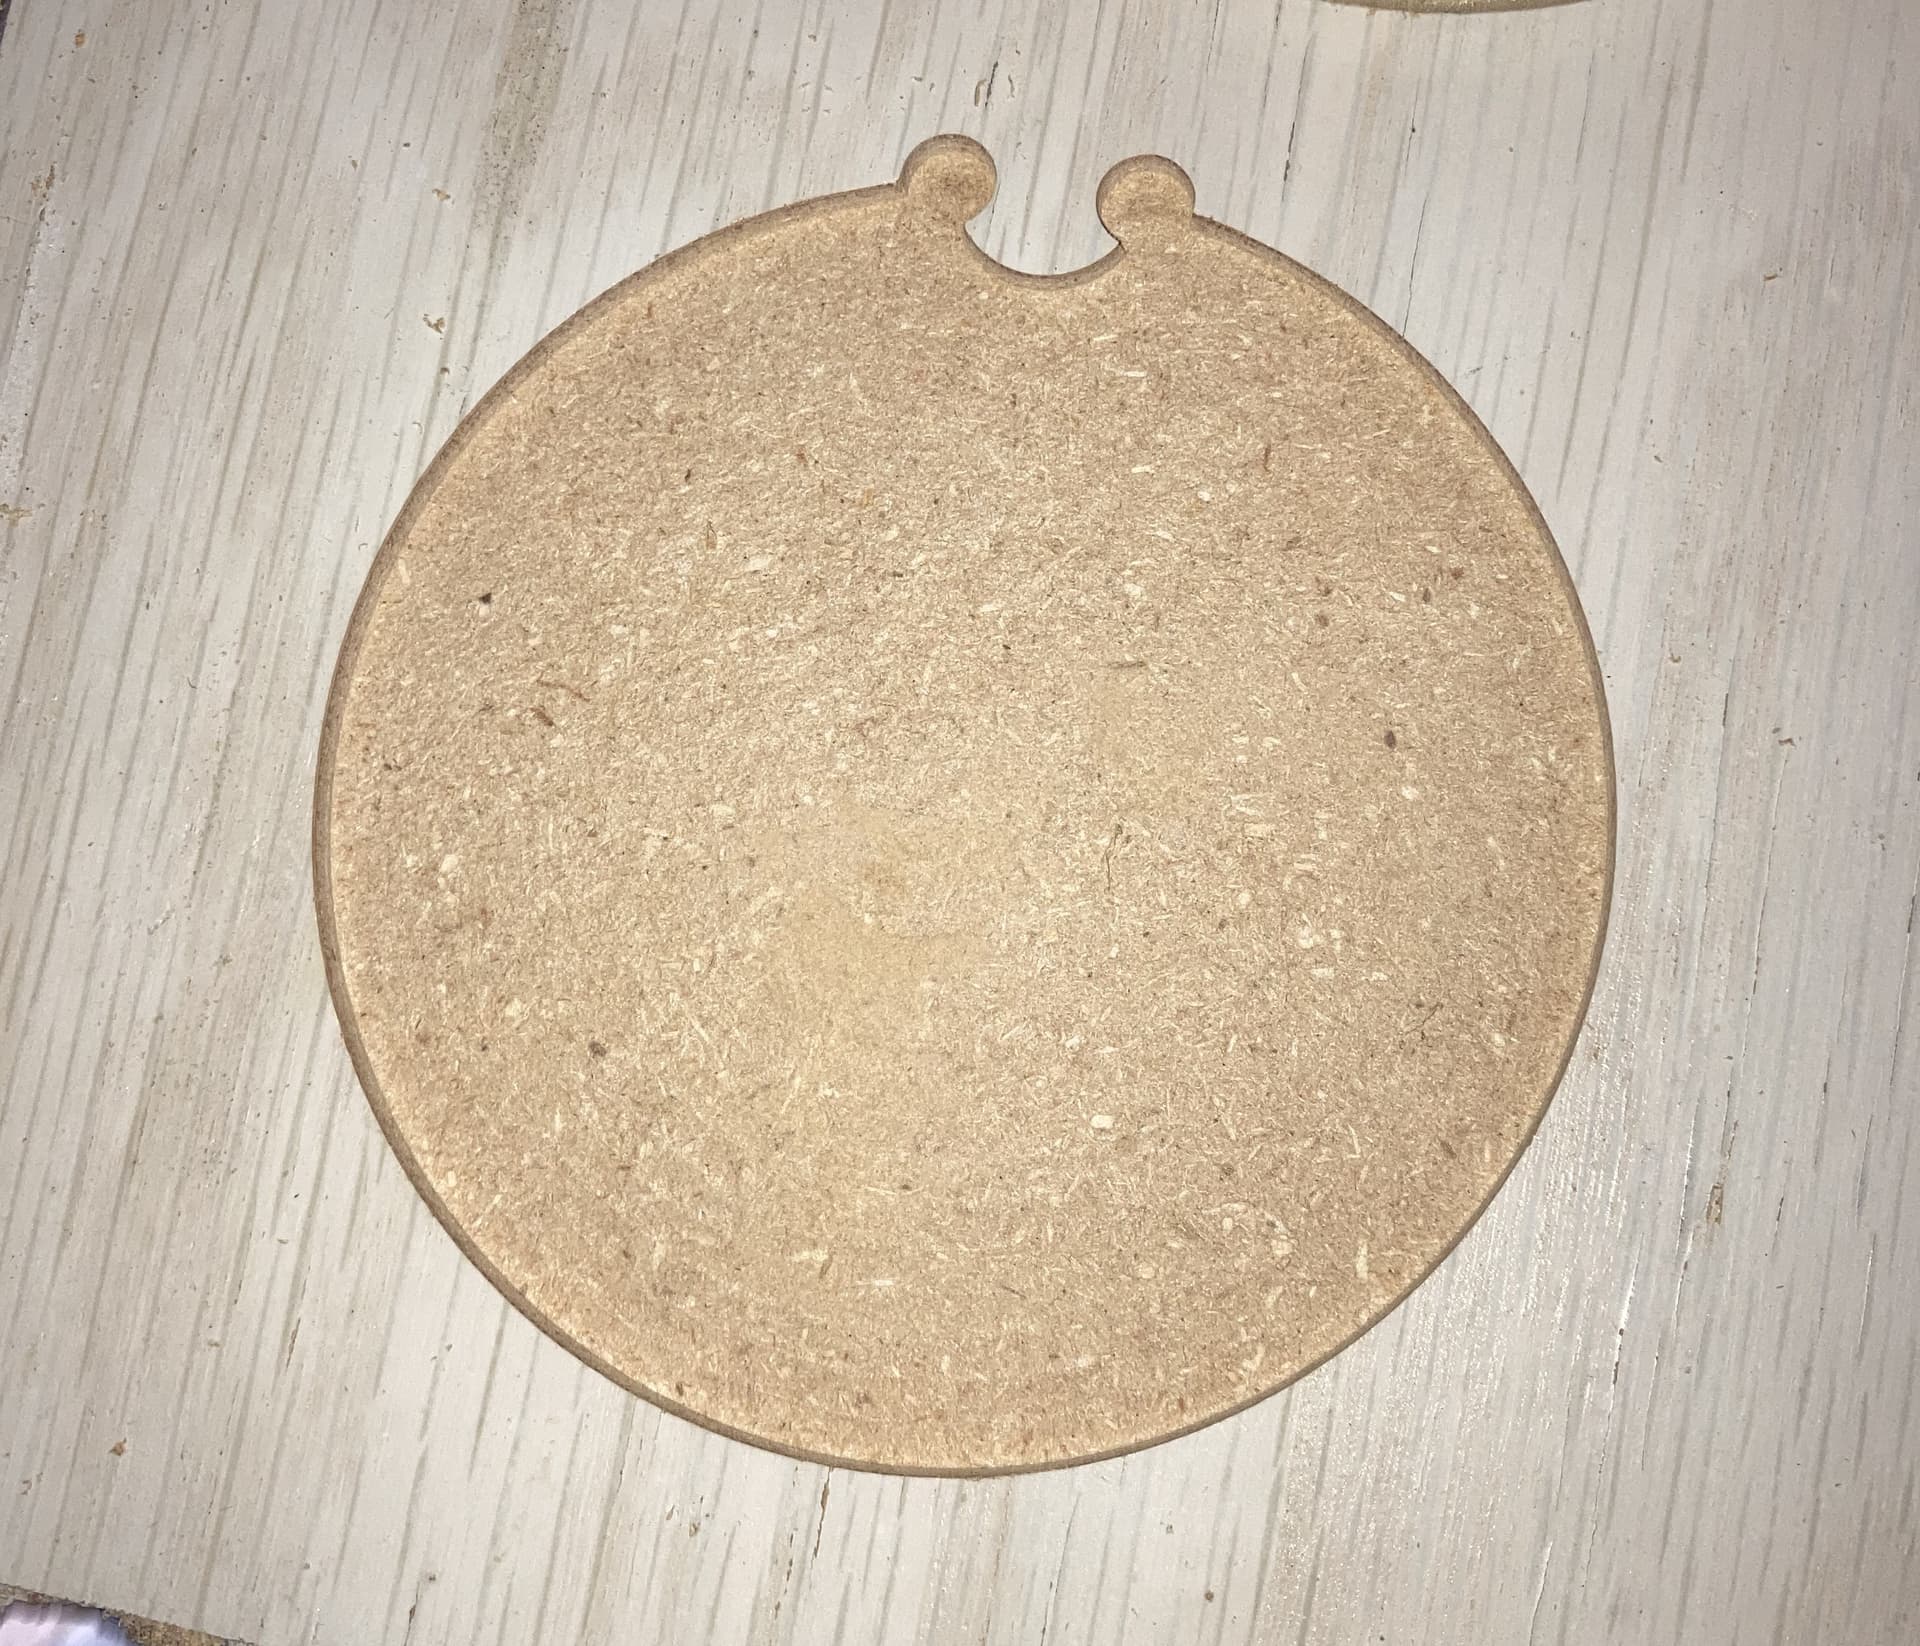
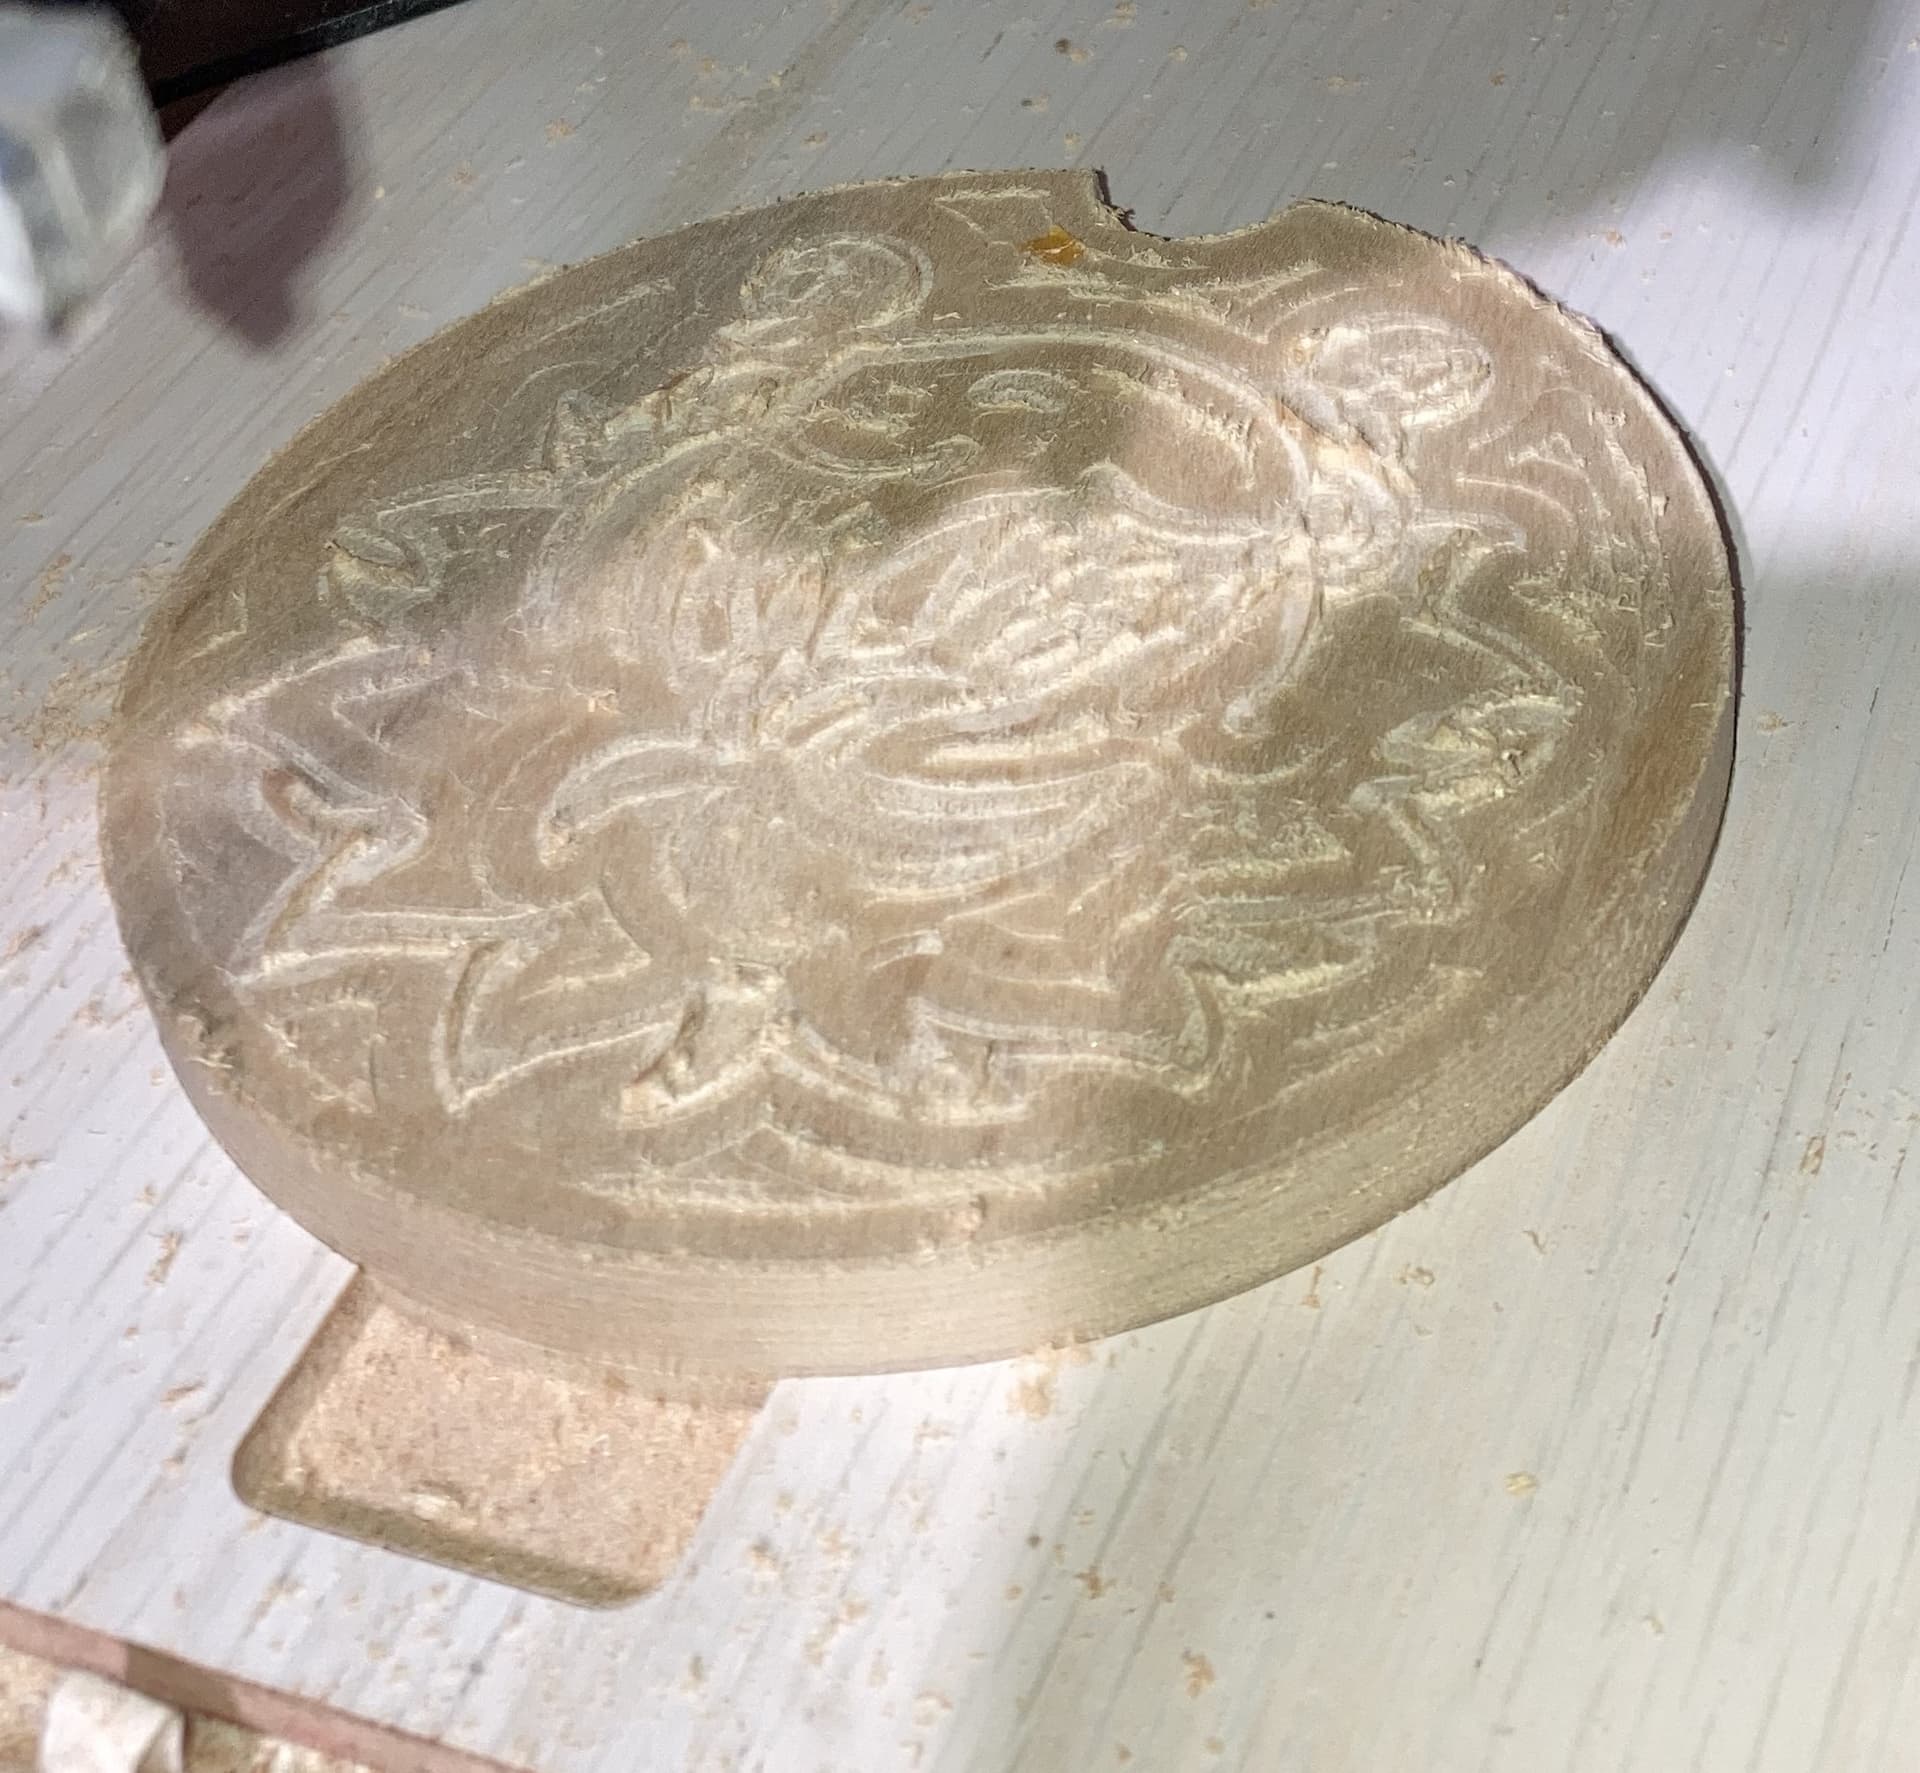
I made these anime cup lids with a notch for a spoon. (My daughter saw something similar in a Japanese market and I told her, maybe foolishly, that I could make a custom one). Unfortunately, the detail was too fine for the wood and bits started to chip off.
Many of you might simply throw it away try something else, but I’m very frugal with material and don’t want to throw it away if I can reuse it. So my plan is to cut off the carving and just put an inset in so the lid stays on the cup.
Unfortunately, this was many CNC jobs ago and any reference to alignment is long gone. Fortunately, I still have the Carbide Create file and in particular the outline. Then using my version of lock-and-key. I will rehabilitate this work.
Carving a key
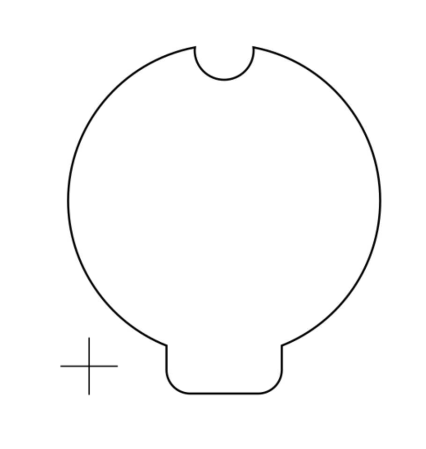
In this CC design, the original outside for my cup lid is highlighted.
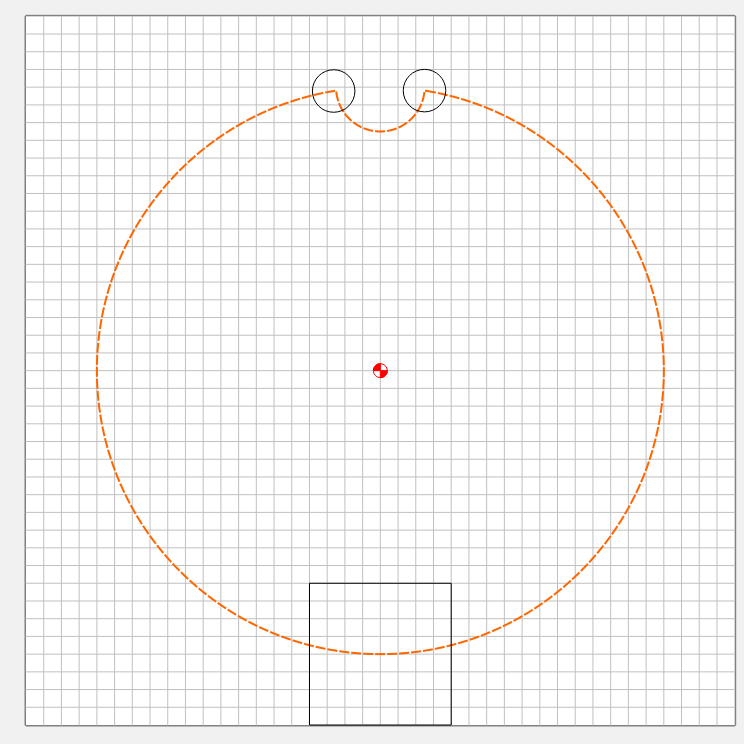
Because of the pointy edges near the spoon openings, I added 2 .3" circles. The circles just need to be a little bigger than my bits.
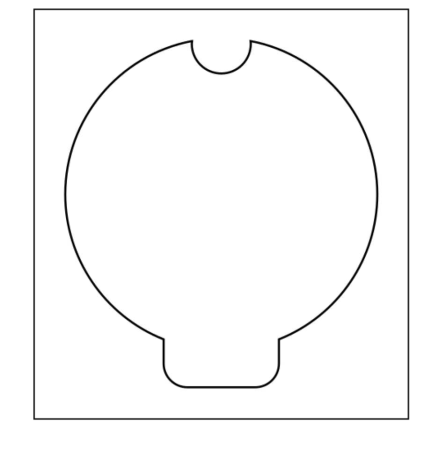
During this project, I realized I need to add a square at the bottom as I’ll explain later.
So with this design, I pocketed the outline with the circles to a depth of 1/8" into a sacrificial stock. (It can be your wasteboard or you could affix some scrap stock to it). The depth should be deep enough to hold your stock. The square should be a little deeper than the rest of the key. I’ll coin this square as the “release”.
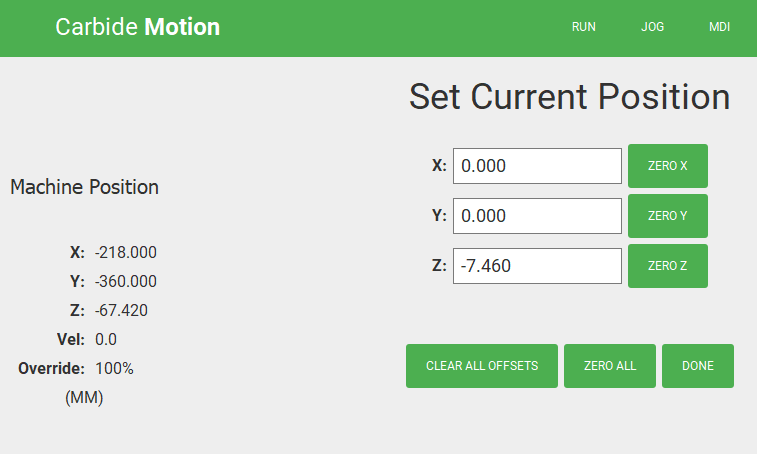
Since the position of the key in the sacrificial stock is arbitrary. I picked a spot and chose a machine position that was rounded to a mm and recorded it. This would enable me to find the center of the key should something happen to the positioning.
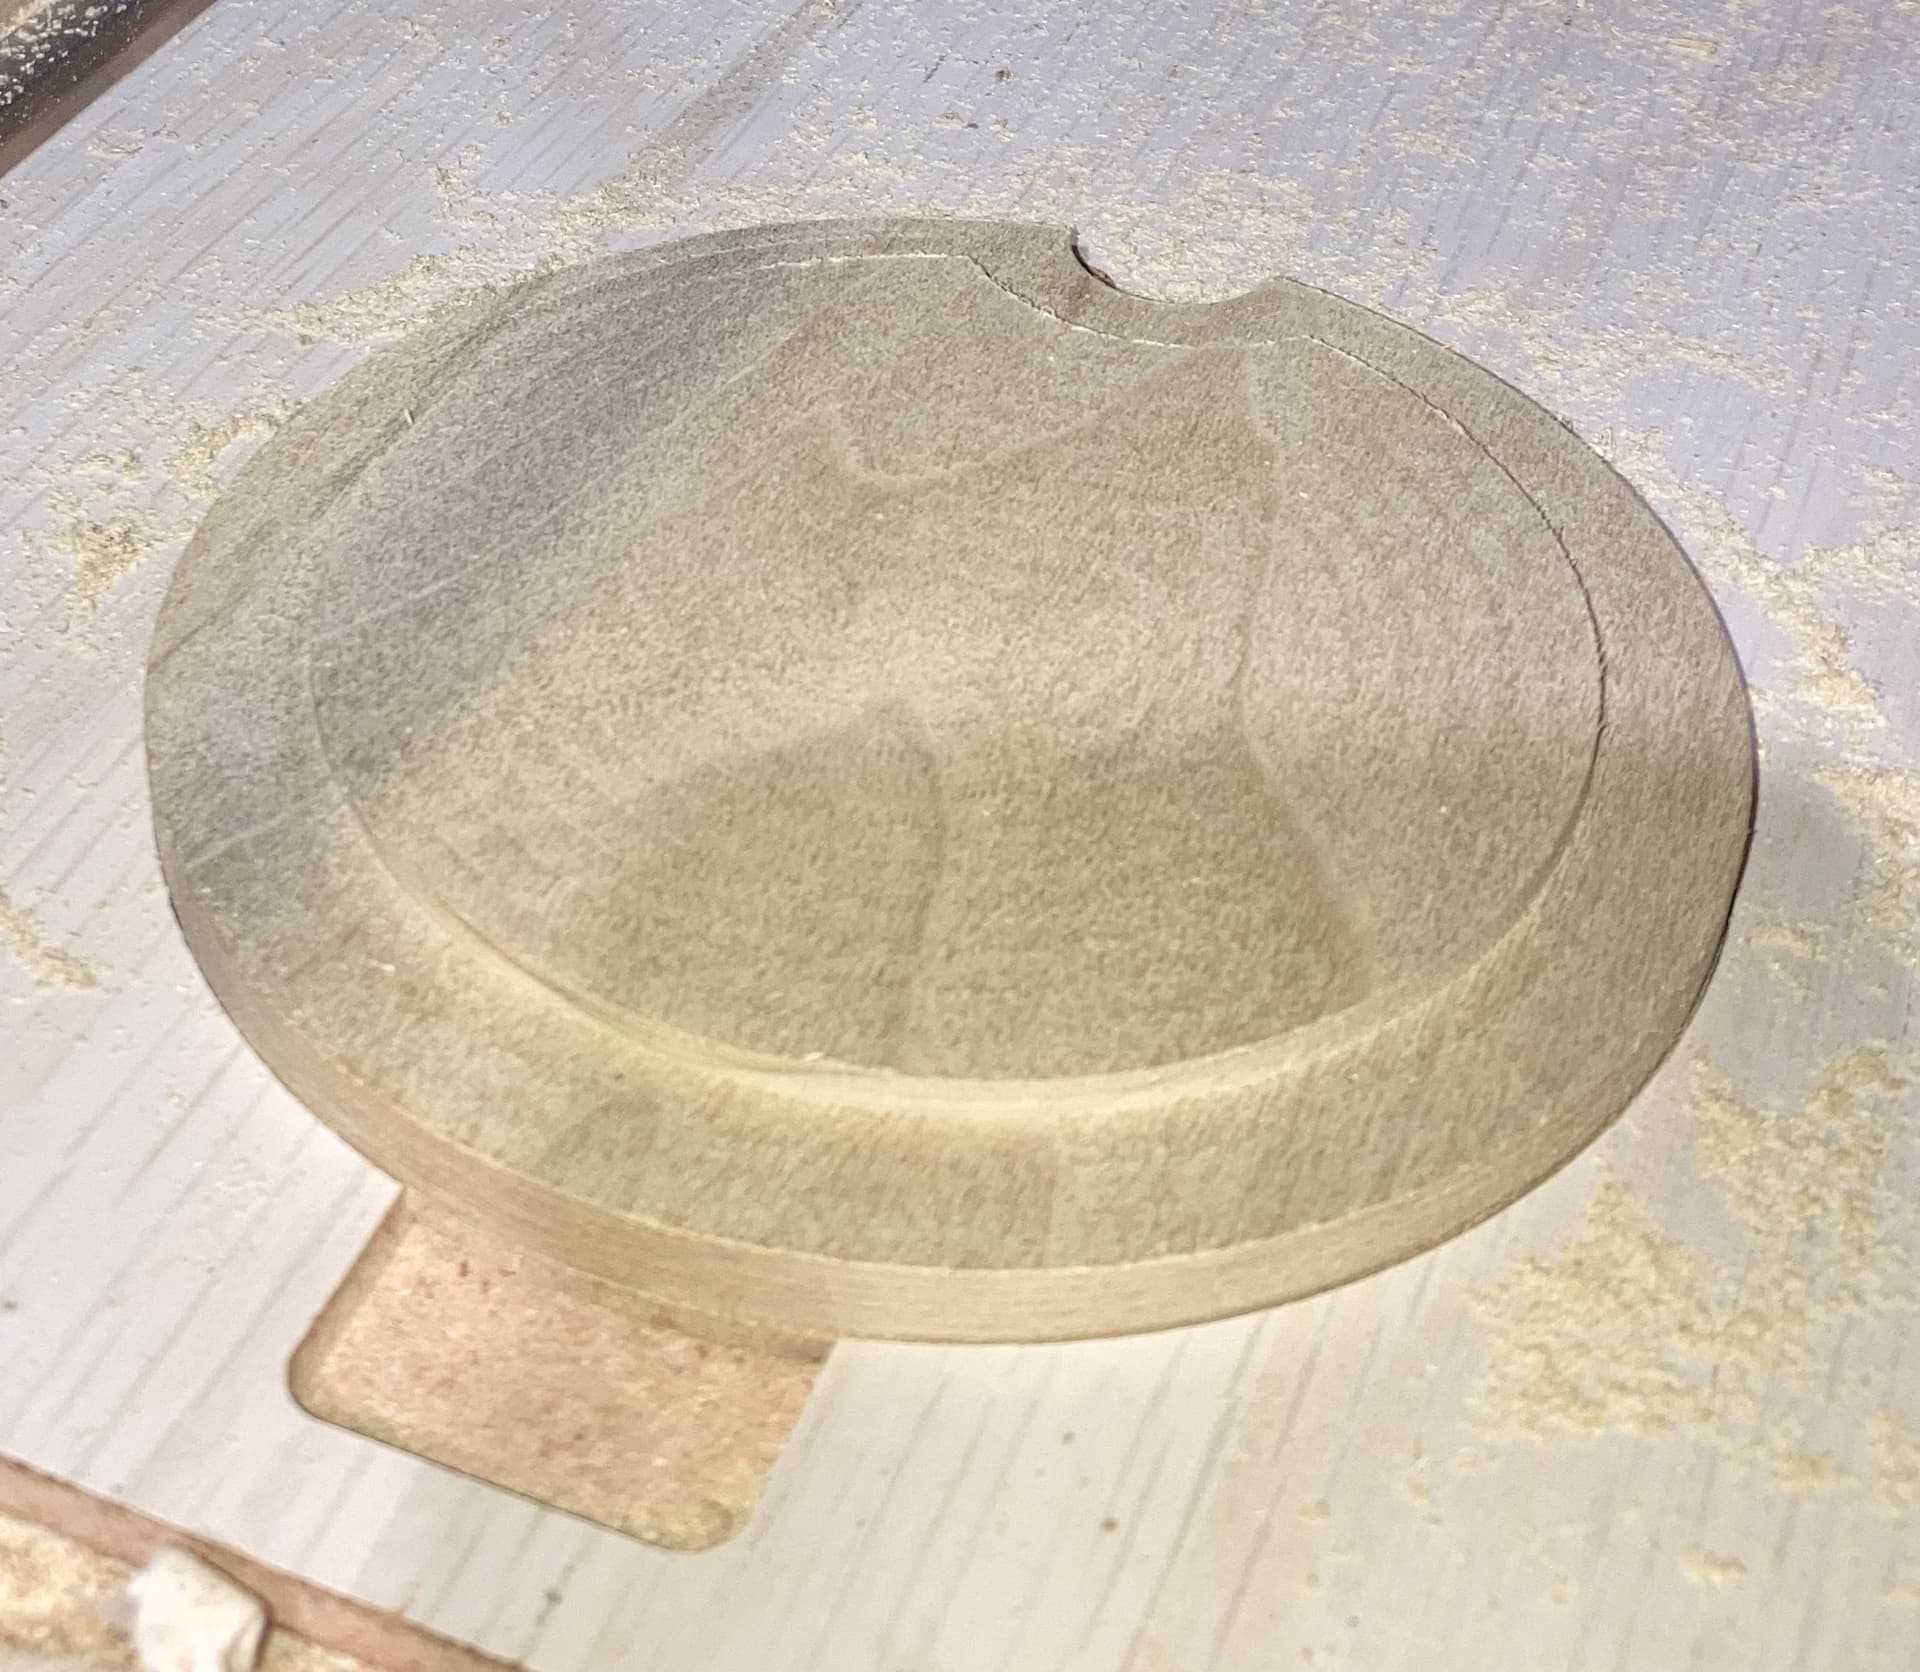
Here is the completed key in my sacrificial stock.
You may notice this doesn’t have a release carved in it. When I first attempted this, I did not have a release and my workpiece fit so snugly, it was very difficult to get the piece out of the key. That’s when I cut a release into the key. It needs to be deeper so you can access the bottom of your workpiece where you can use something to pry it off if necessary.
Workholding
Since I was first going to plane off the carving, the only workhold option was something underneath so I used the old tape and glue technique.
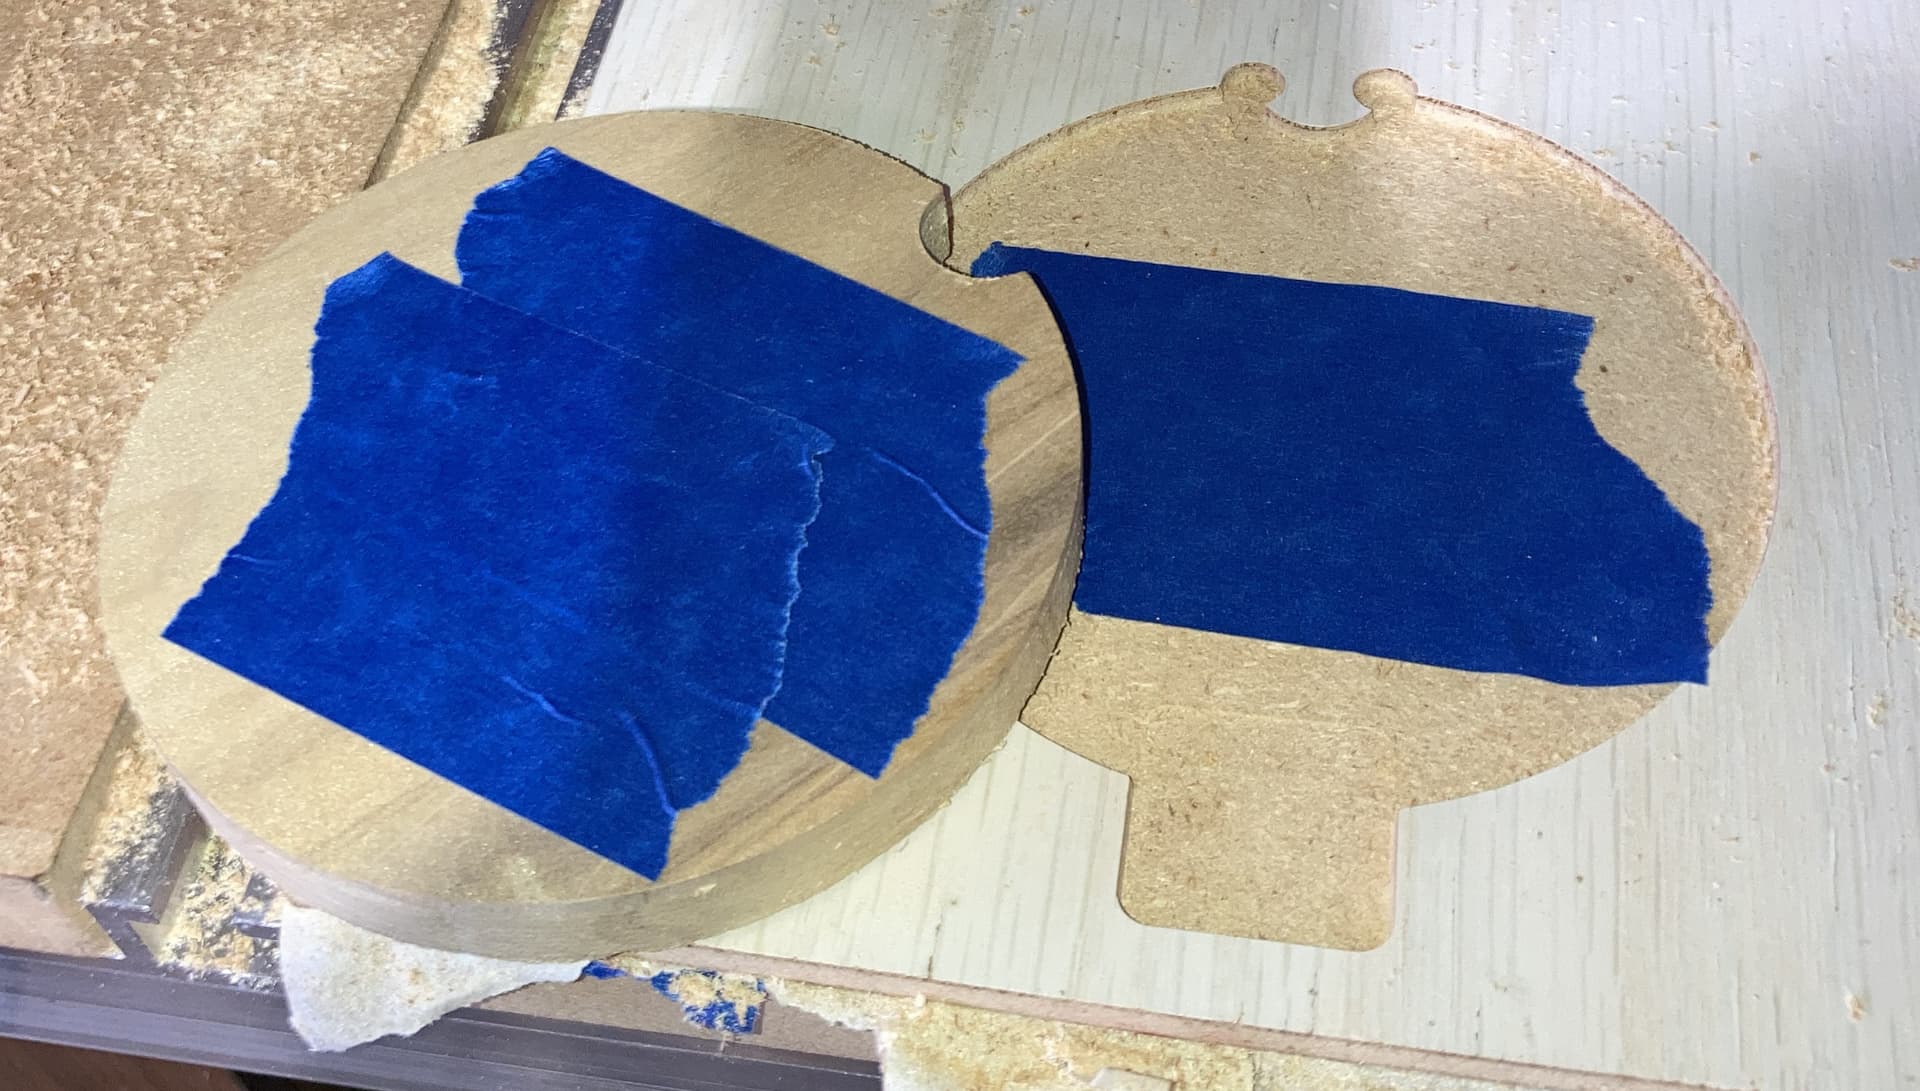
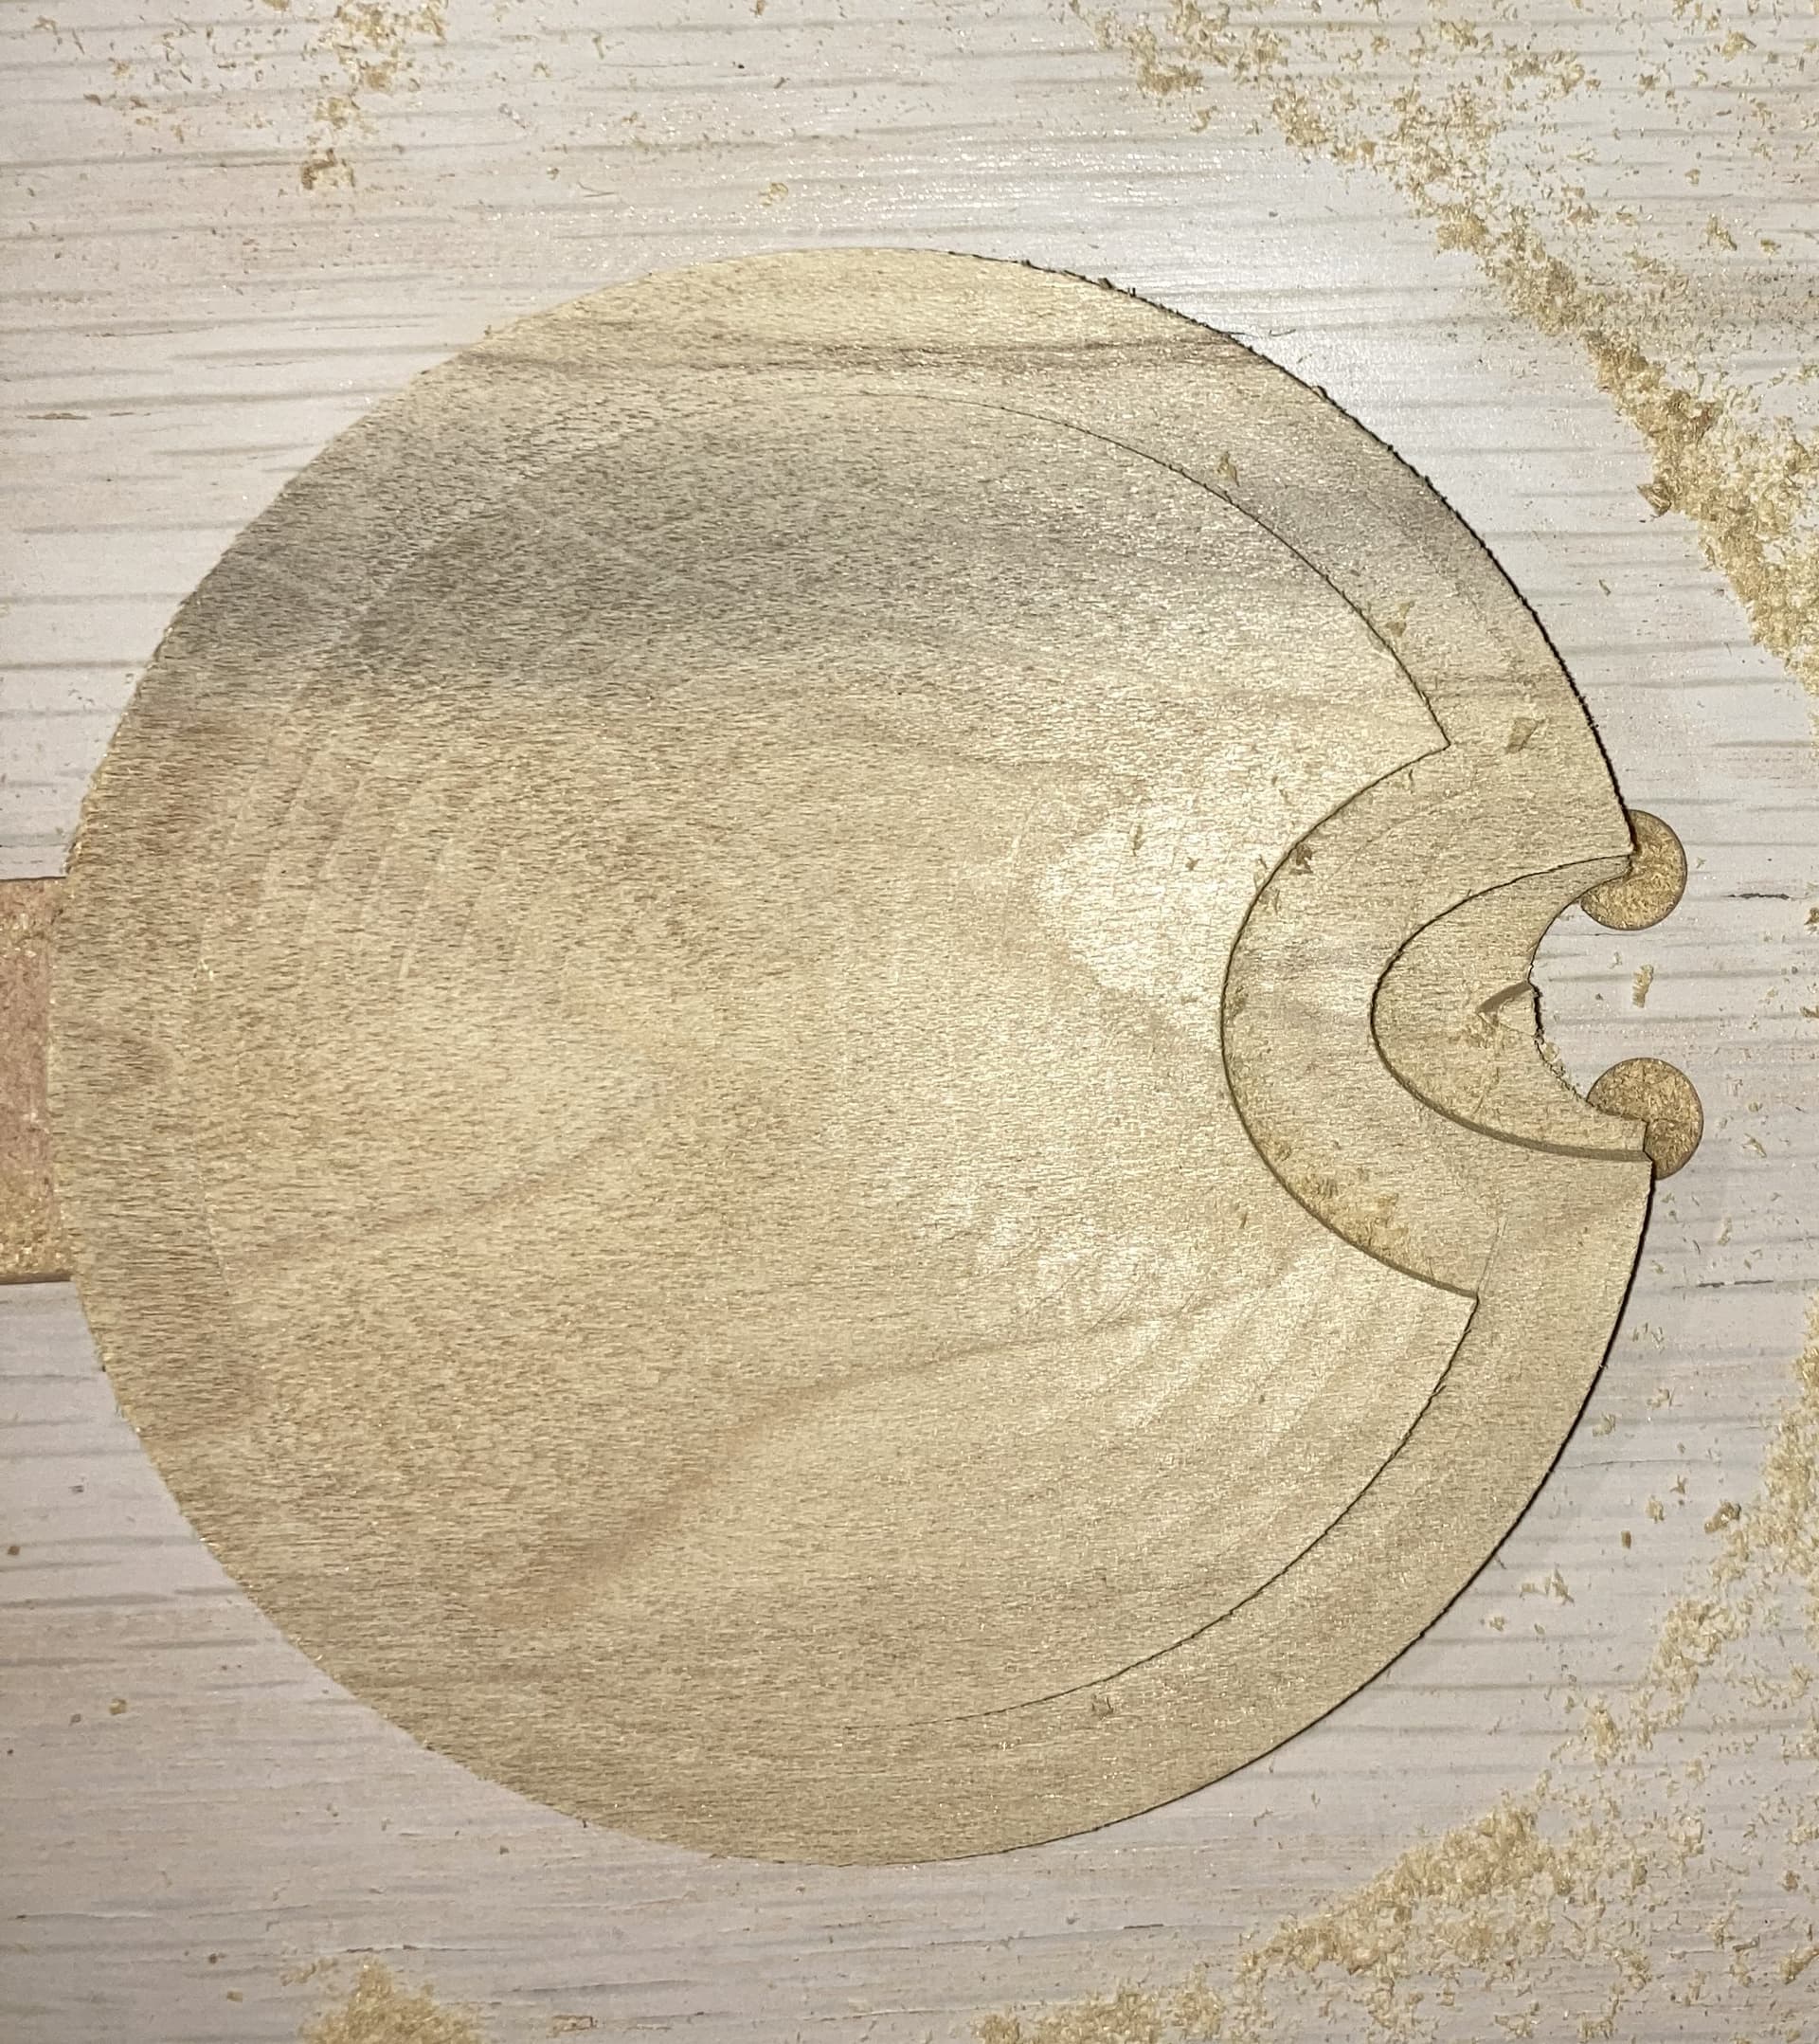
After fitting into the key, (release is now present)
As it turns out the tape was unnecessary my lid fit so snugly into the key it was sufficient. However, if you aren’t sure I’d recommend using the tape.
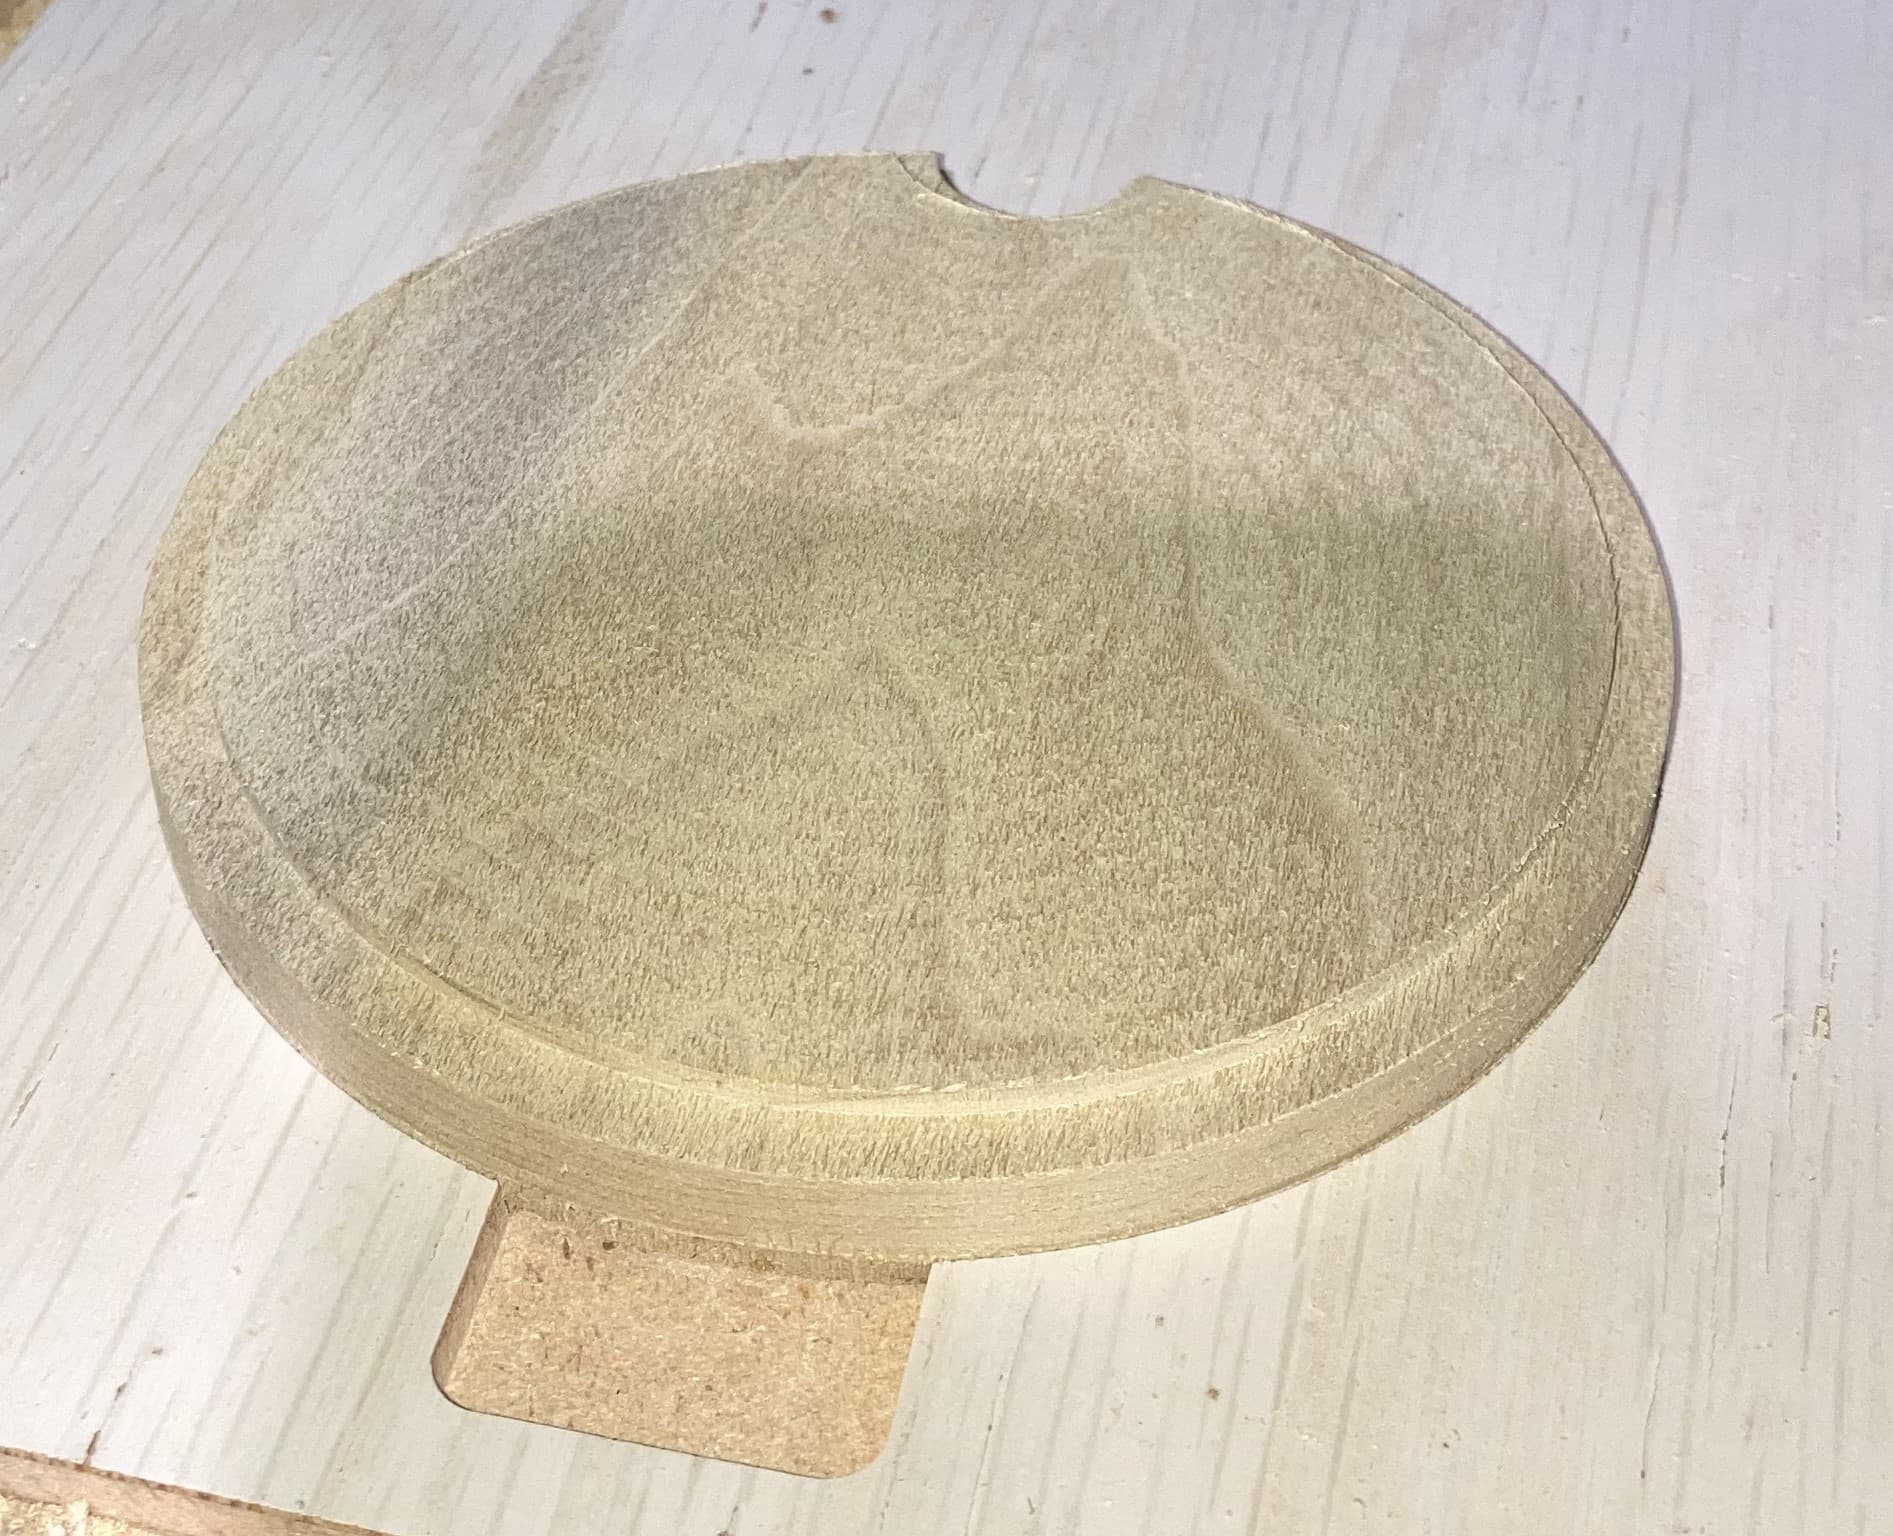
Carving
I planed the surface and carved a rim on the lid.
Improvisation
I took the lid out of the key and tested the fit on my mug and guess what… It didn’t fit… The nice thing is with the key and the SO4 still centered on the key. I could pop the lid back in and carve a larger rim.
Took it out again and tested it. It fit, but… now the spoon opening wasn’t big enough. So redesign and put it back in.
Since I didn’t want to cut into the key because I was going to use it on a second lid, I left about .15" of the opening which I cleaned up with a flush trim router bit on a router table.
Here is the end result
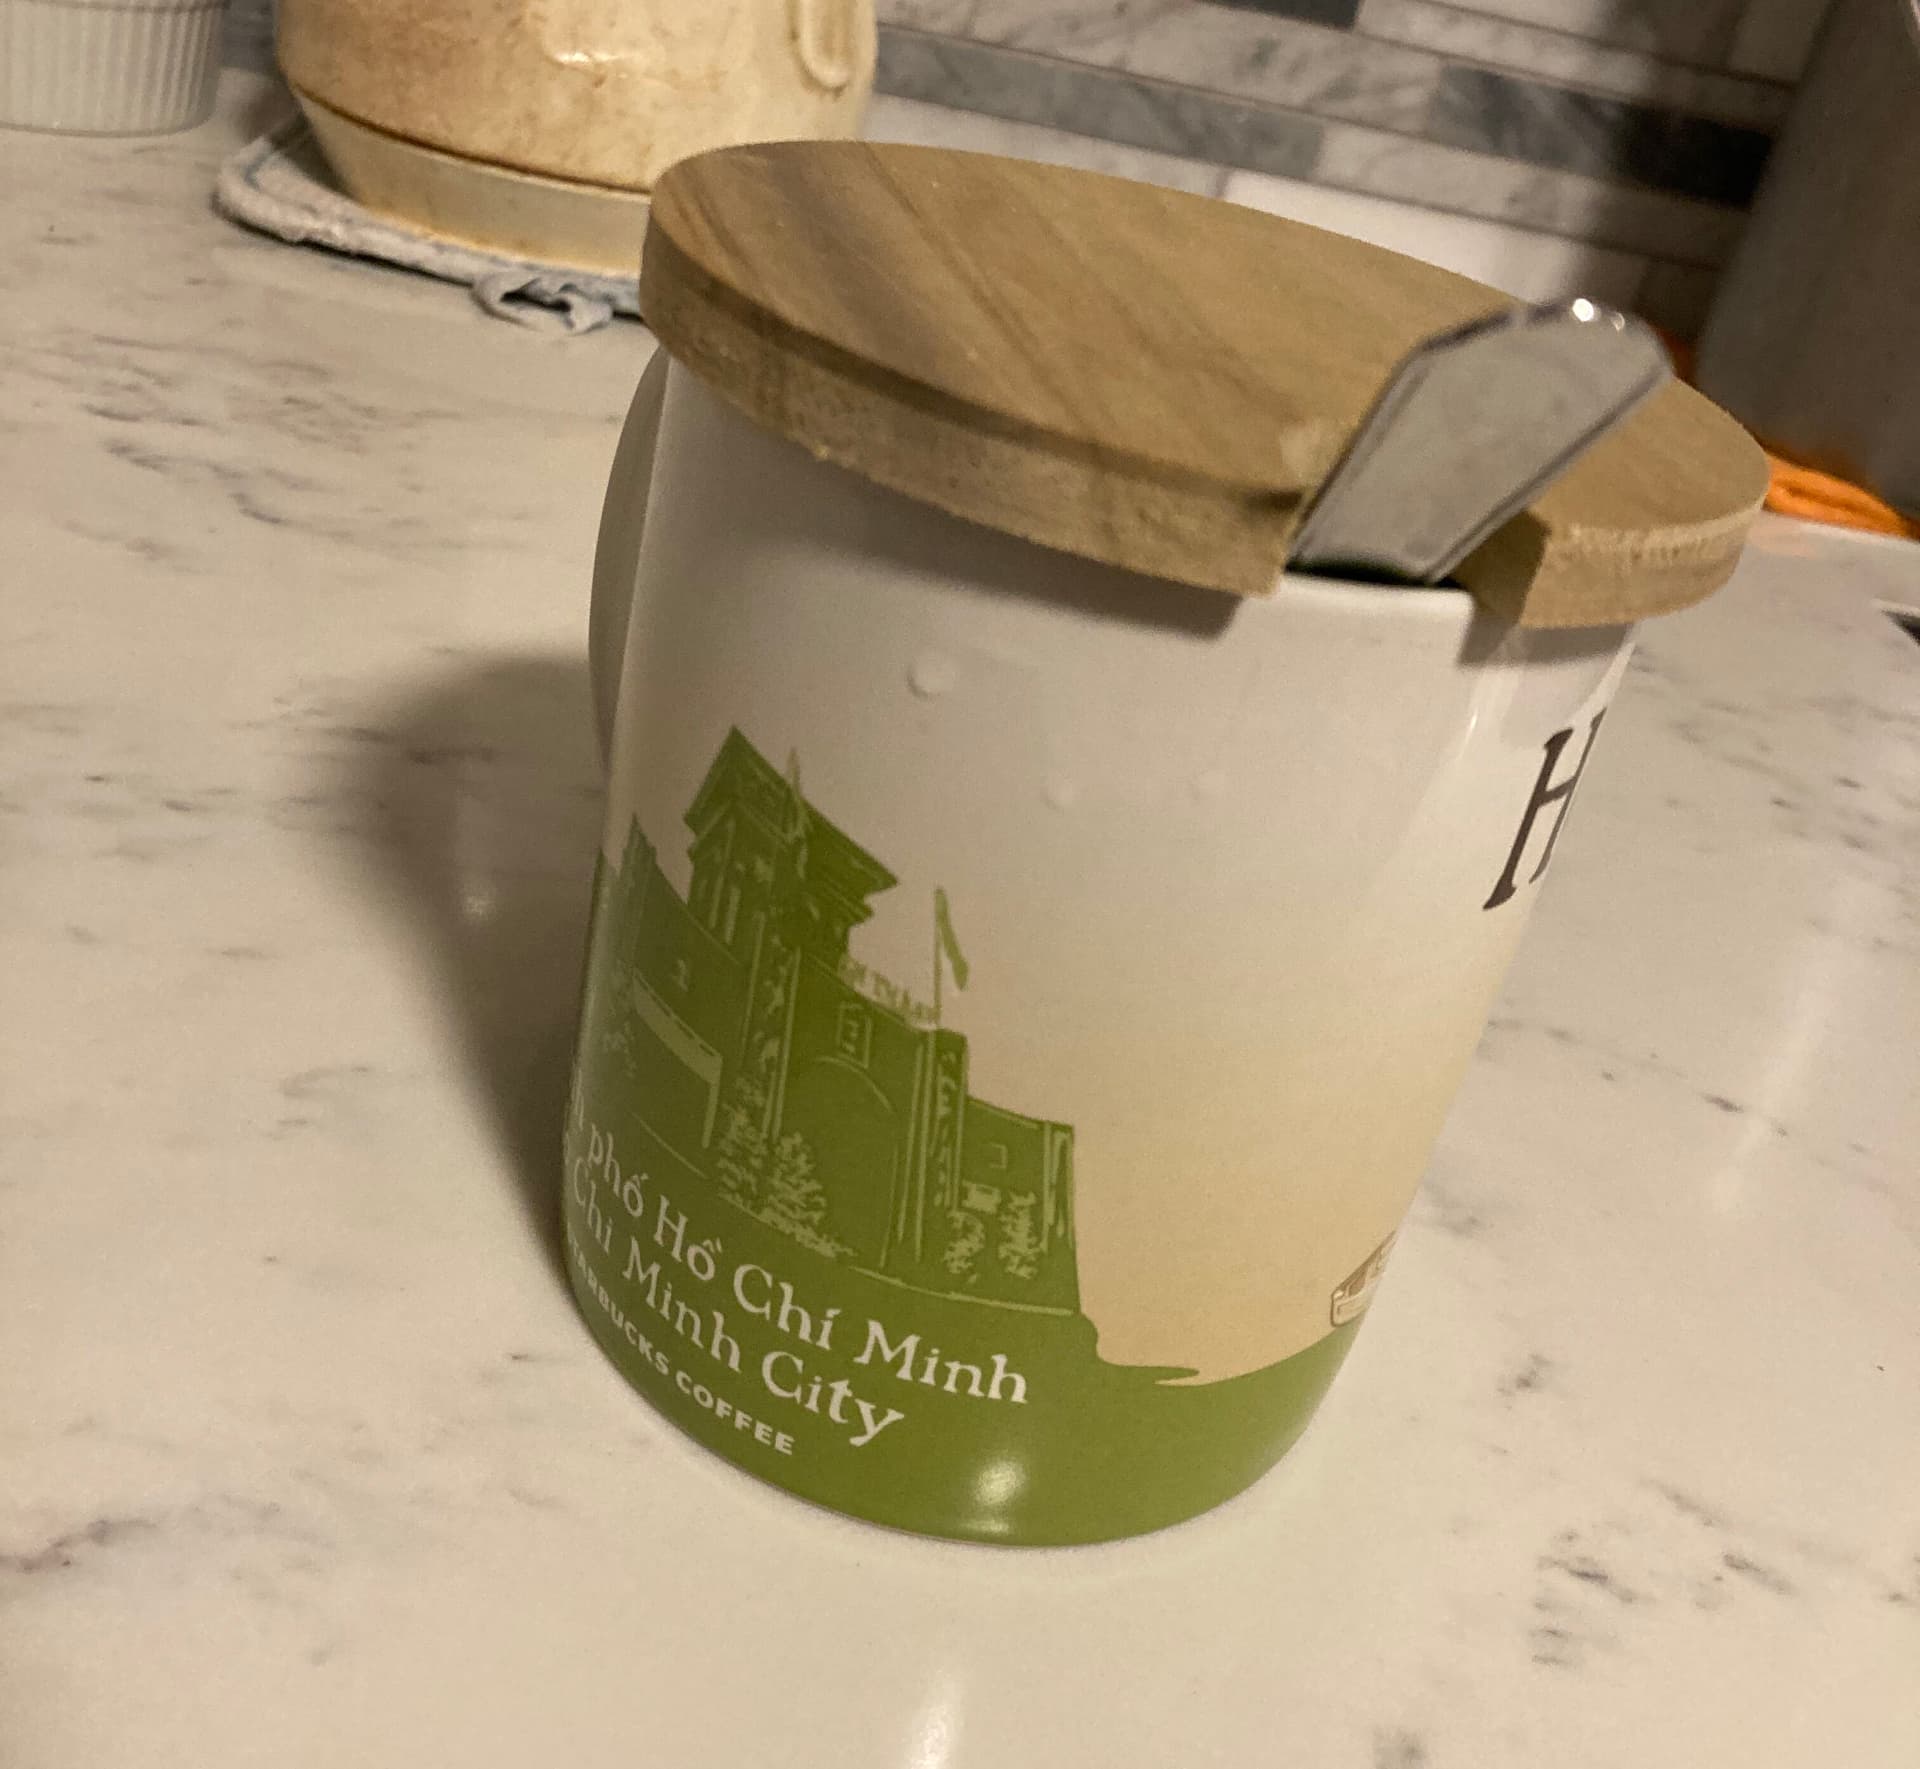
This technique allows me to easily realign to an old workpiece.
What does this have to do with 2-sided milling?
If the anime design wasn’t so delicate, I could have flipped the lid over and vcarved it. (With the rim, it would have made sense to vcarve, then flip it over to cut the rim.)
I’ll follow up with a post giving a two sided v-carve later in this topic.
This simplified lock and key technique (basically milling a complementary pattern into sacrificial stock) can be a very powerful one.