I am new to the CNC world (Except for being certified in 1996 for Industrial use CNCs) and I inherited my Shapeoko 4 XXL from my Father-In-Law who lived in South Carolina. We packed the machine into an enclosed U-haul trailer where it was strapped down on the floor until moving it to NW Florida. (expected minor movements during the drive). The machine was disconnected from all peripherals, but the main table was not disassembled.
I finally rebuilt a table for the machine, connected the original PC with the Carbide software installed and powered everything on. While I was attempting to Initialize the machine, the bit would go to the Bitsetter, but when it moved in Z- (I believe) over the plunger, it kept pressing down and making a loud “gear” noise. I immediately hit Stop.
I was wondering if anyone would be willing to volunteer their time to help me get this up and running again. We could maybe use FB Messenger with Video or some other video app. I’m generally free most weeknights after 4PM CST and weekends (all depends on Grandson’s schedules).
support@carbide3d.com should be able to assist with this, and there is of course the documentation:
If desired, training sessions may be purchased:
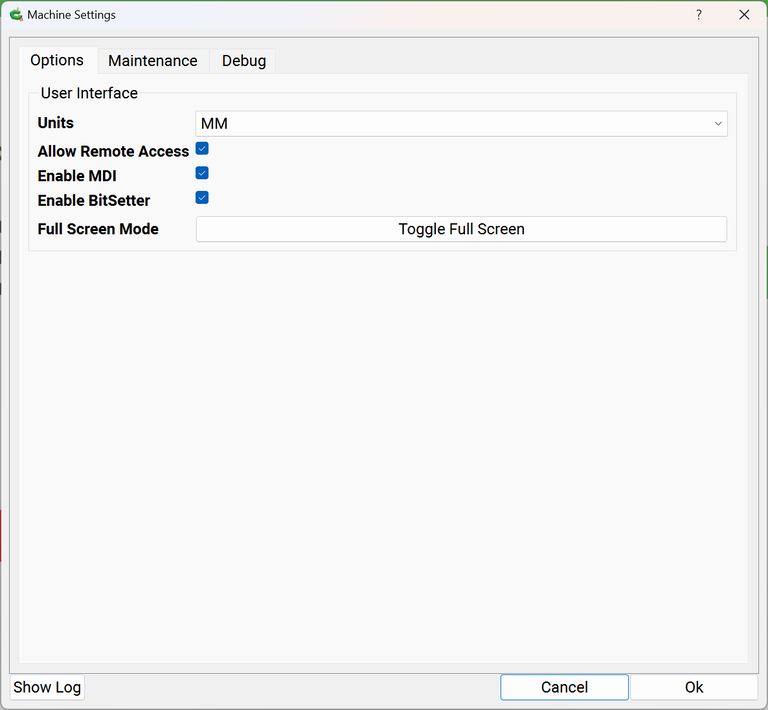
For the BitSetter, check it by powering up, connecting, then going to Settings | Debug and checking to see if it lights/indicates as expected when the button is pushed.
Note that the BitSetter and BitZero share the same probe input, so make sure that the ground lead isn’t touching the BitZero causing a false positive.
Thank you for the above information. I certainly appreciate it. I’ve tried a couple of online videos for resetting the unit, but with no luck. I’ll go over the Carbide 3D guides.
With the machine powered on push the BitSetter button down and it should turn red.
Power on the machine and connect but do not initialize. Go to the debug and you can test each sensor on the machine and see if they change state. Each homing switch, BitSetter, BitZero are all testable and you will see the state change. If the state does not change check connections first. The BitSetter and BitZero are interconnected. Make sure the magnet/clip on the BitZero is not grounded because if it is the BitSetter will malfunction.
If the BitSetter signal is not received the system will eventually time out. In the mean time the stepper motor will try to keep driving the Z down. Same for all the homing switches. If they do not activate they will time out and you get a homing error.
If the small red LED on the BitSetter doesn’t light up when the button is depressed it’s likely a disconnect between the Shapeoko PCB and the BitSetter. Check the wiring carefully from the BitSetter to the PCB for spots where it may have been damaged in transport or from cable ties that were to tight. Also, check the connection at the PCB.
Do you have a BitZero? Will the LED on it go red when you touch the ground lead to it?
You cannot move the gantry from the debug screen, only from the Jog screen when connected to Carbide Motion. The radio buttons are just indicators as to the state of the switches they monitor.
The Input Pin widgets are State indicators not pressable buttons.
If the BitSetter isn’t turning red when pressed verify the wiring and connectors — if there isn’t anything obvious to address, then replace the switch:
I have disabled the bitsetter because I was attempting to manually move the spindle over the bitsetter to test the table squareness. My bit doesn’t fully center on the plunger.
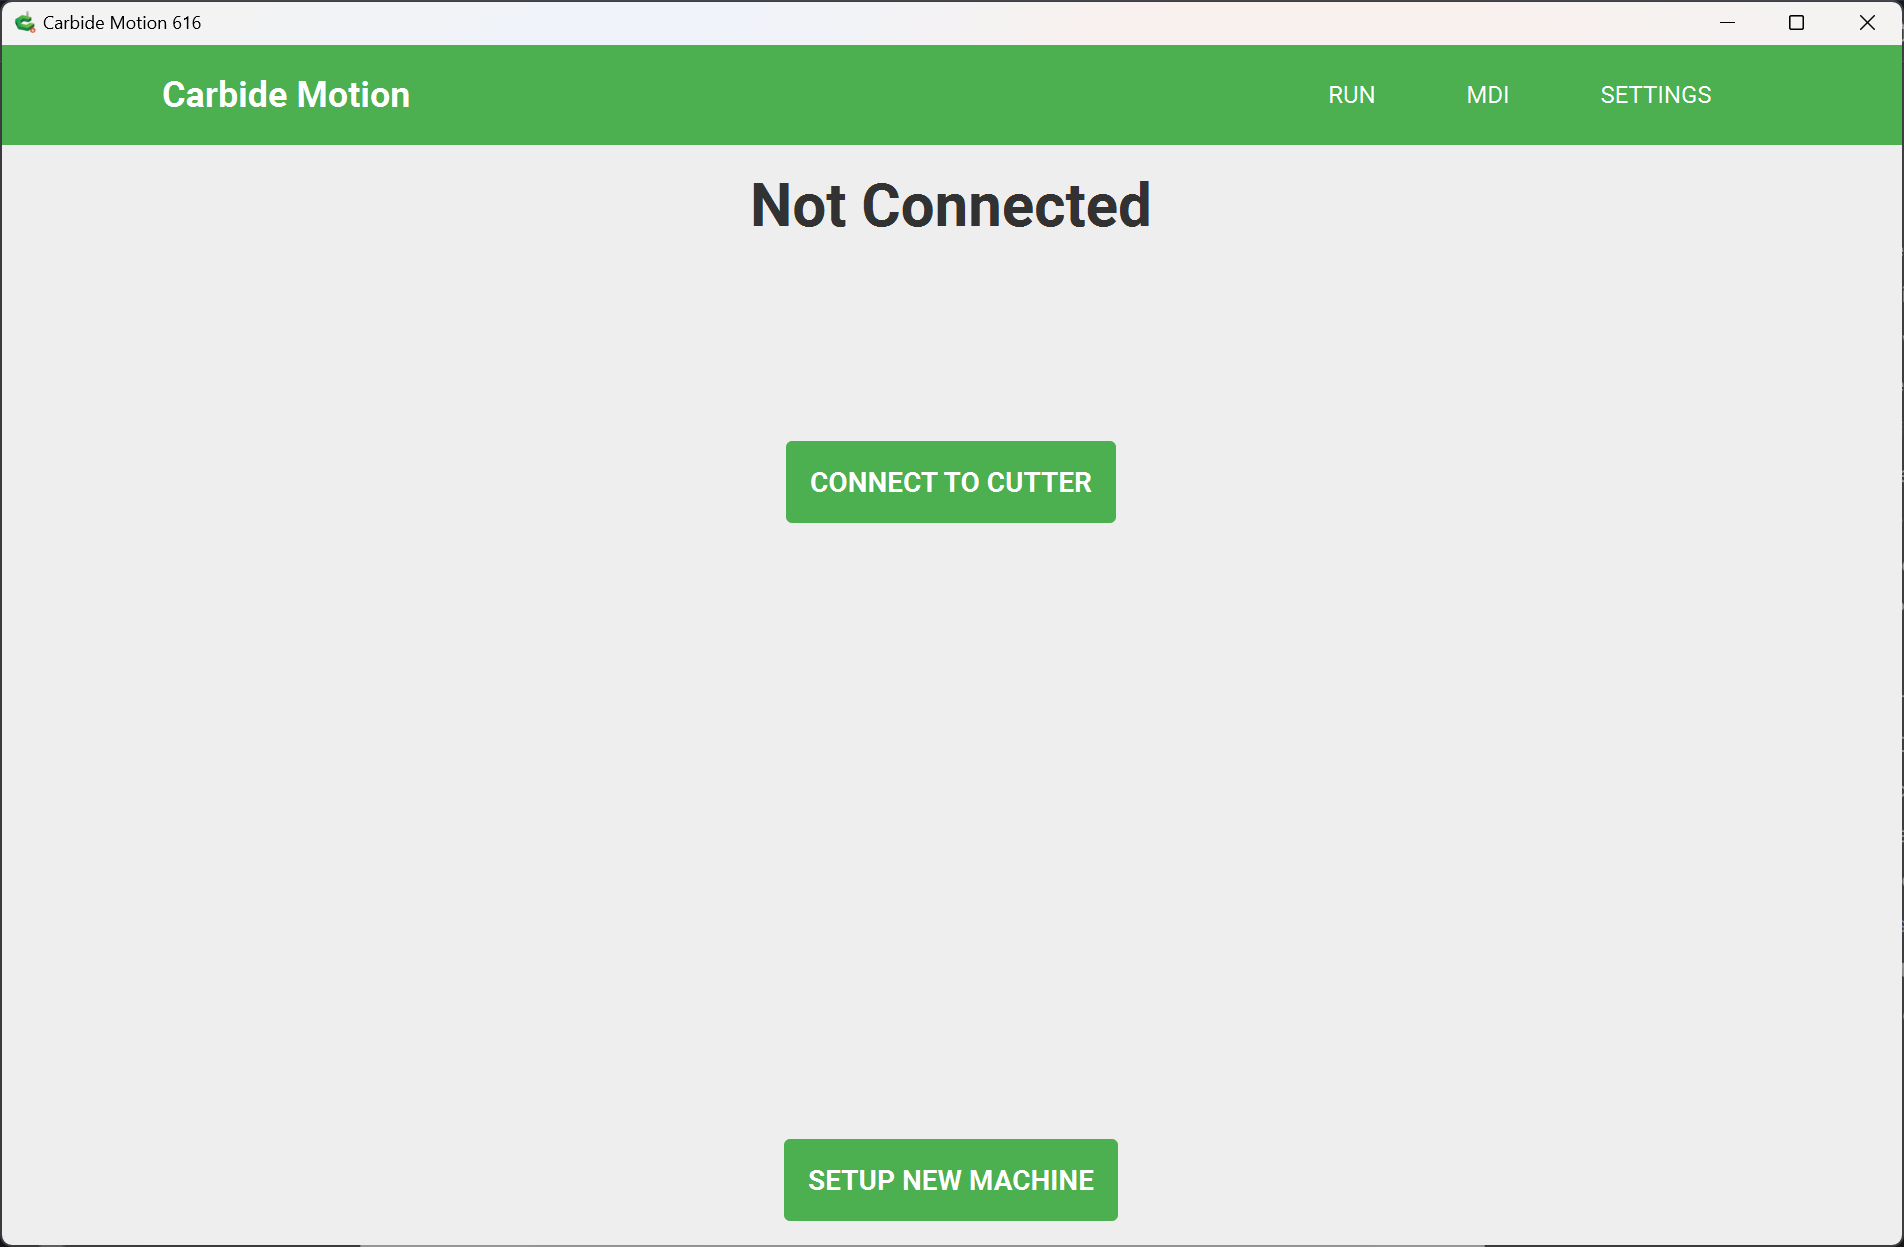
I will grab screenshots if this forum allows them. I’m only seeing “Run” and “Settings” in the upper right-hand corner of Carbide Motion. I’m going to order the switch you mentioned, even if it doesn’t turn out the be the issue, at this price, it’ll be good to have it on hand.
You can change the bit setter location using the machine setup wizard.
But pull find that if you use any bits larger than 1/2” you’re better off not having the bit centered. This way you can measure other bits by aligning the cutter with the bit setter.
Since I’m just getting this setup, I haven’t changed the bit from when we moved it from my F-I-L’s house. A 1/4" end mill is still chucked in the Makita spindle.
It is however necessary to position it so that at least one cutting flute edge will consistently touch the surface — for folks who are using single flute tooling the position needs to be a bit more than the radius of the largest single flute tool which one plans on using.