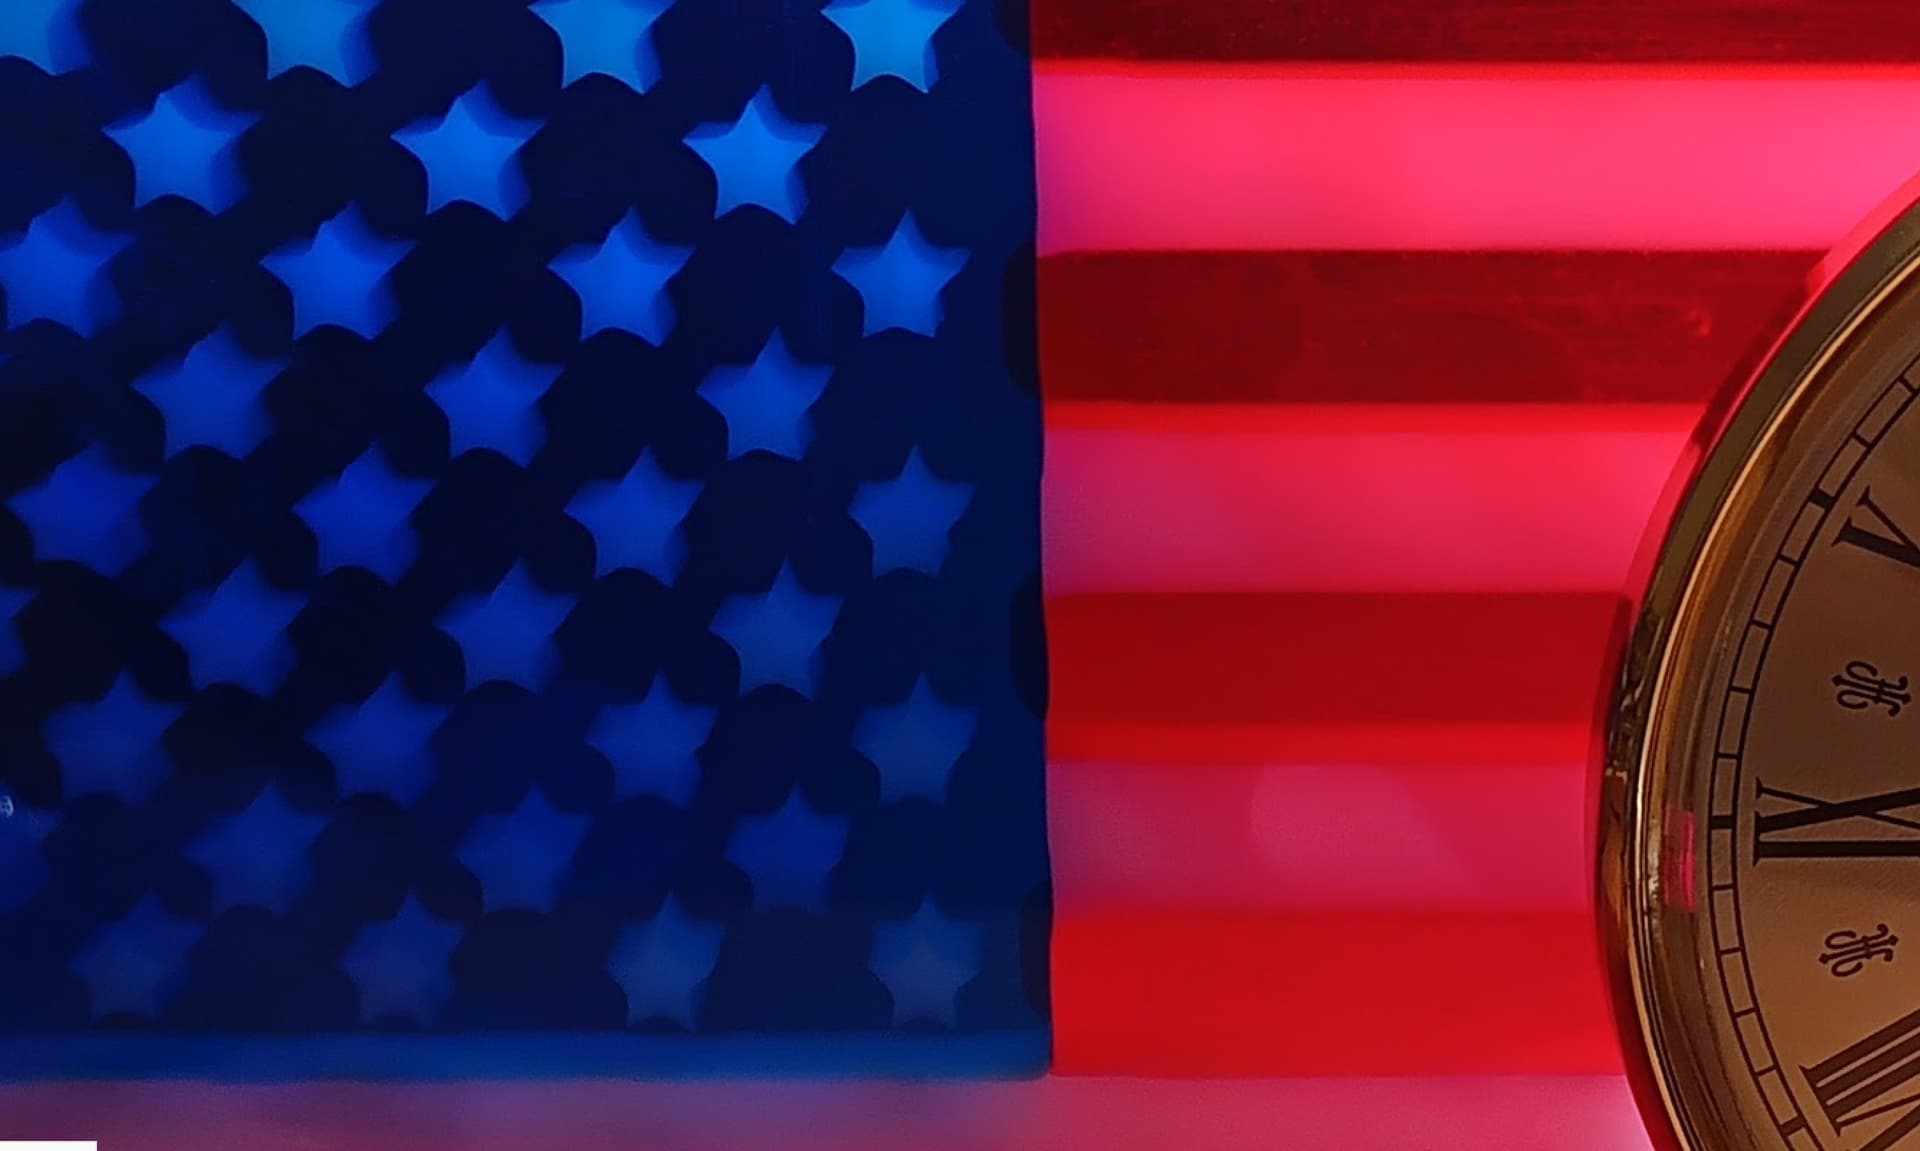
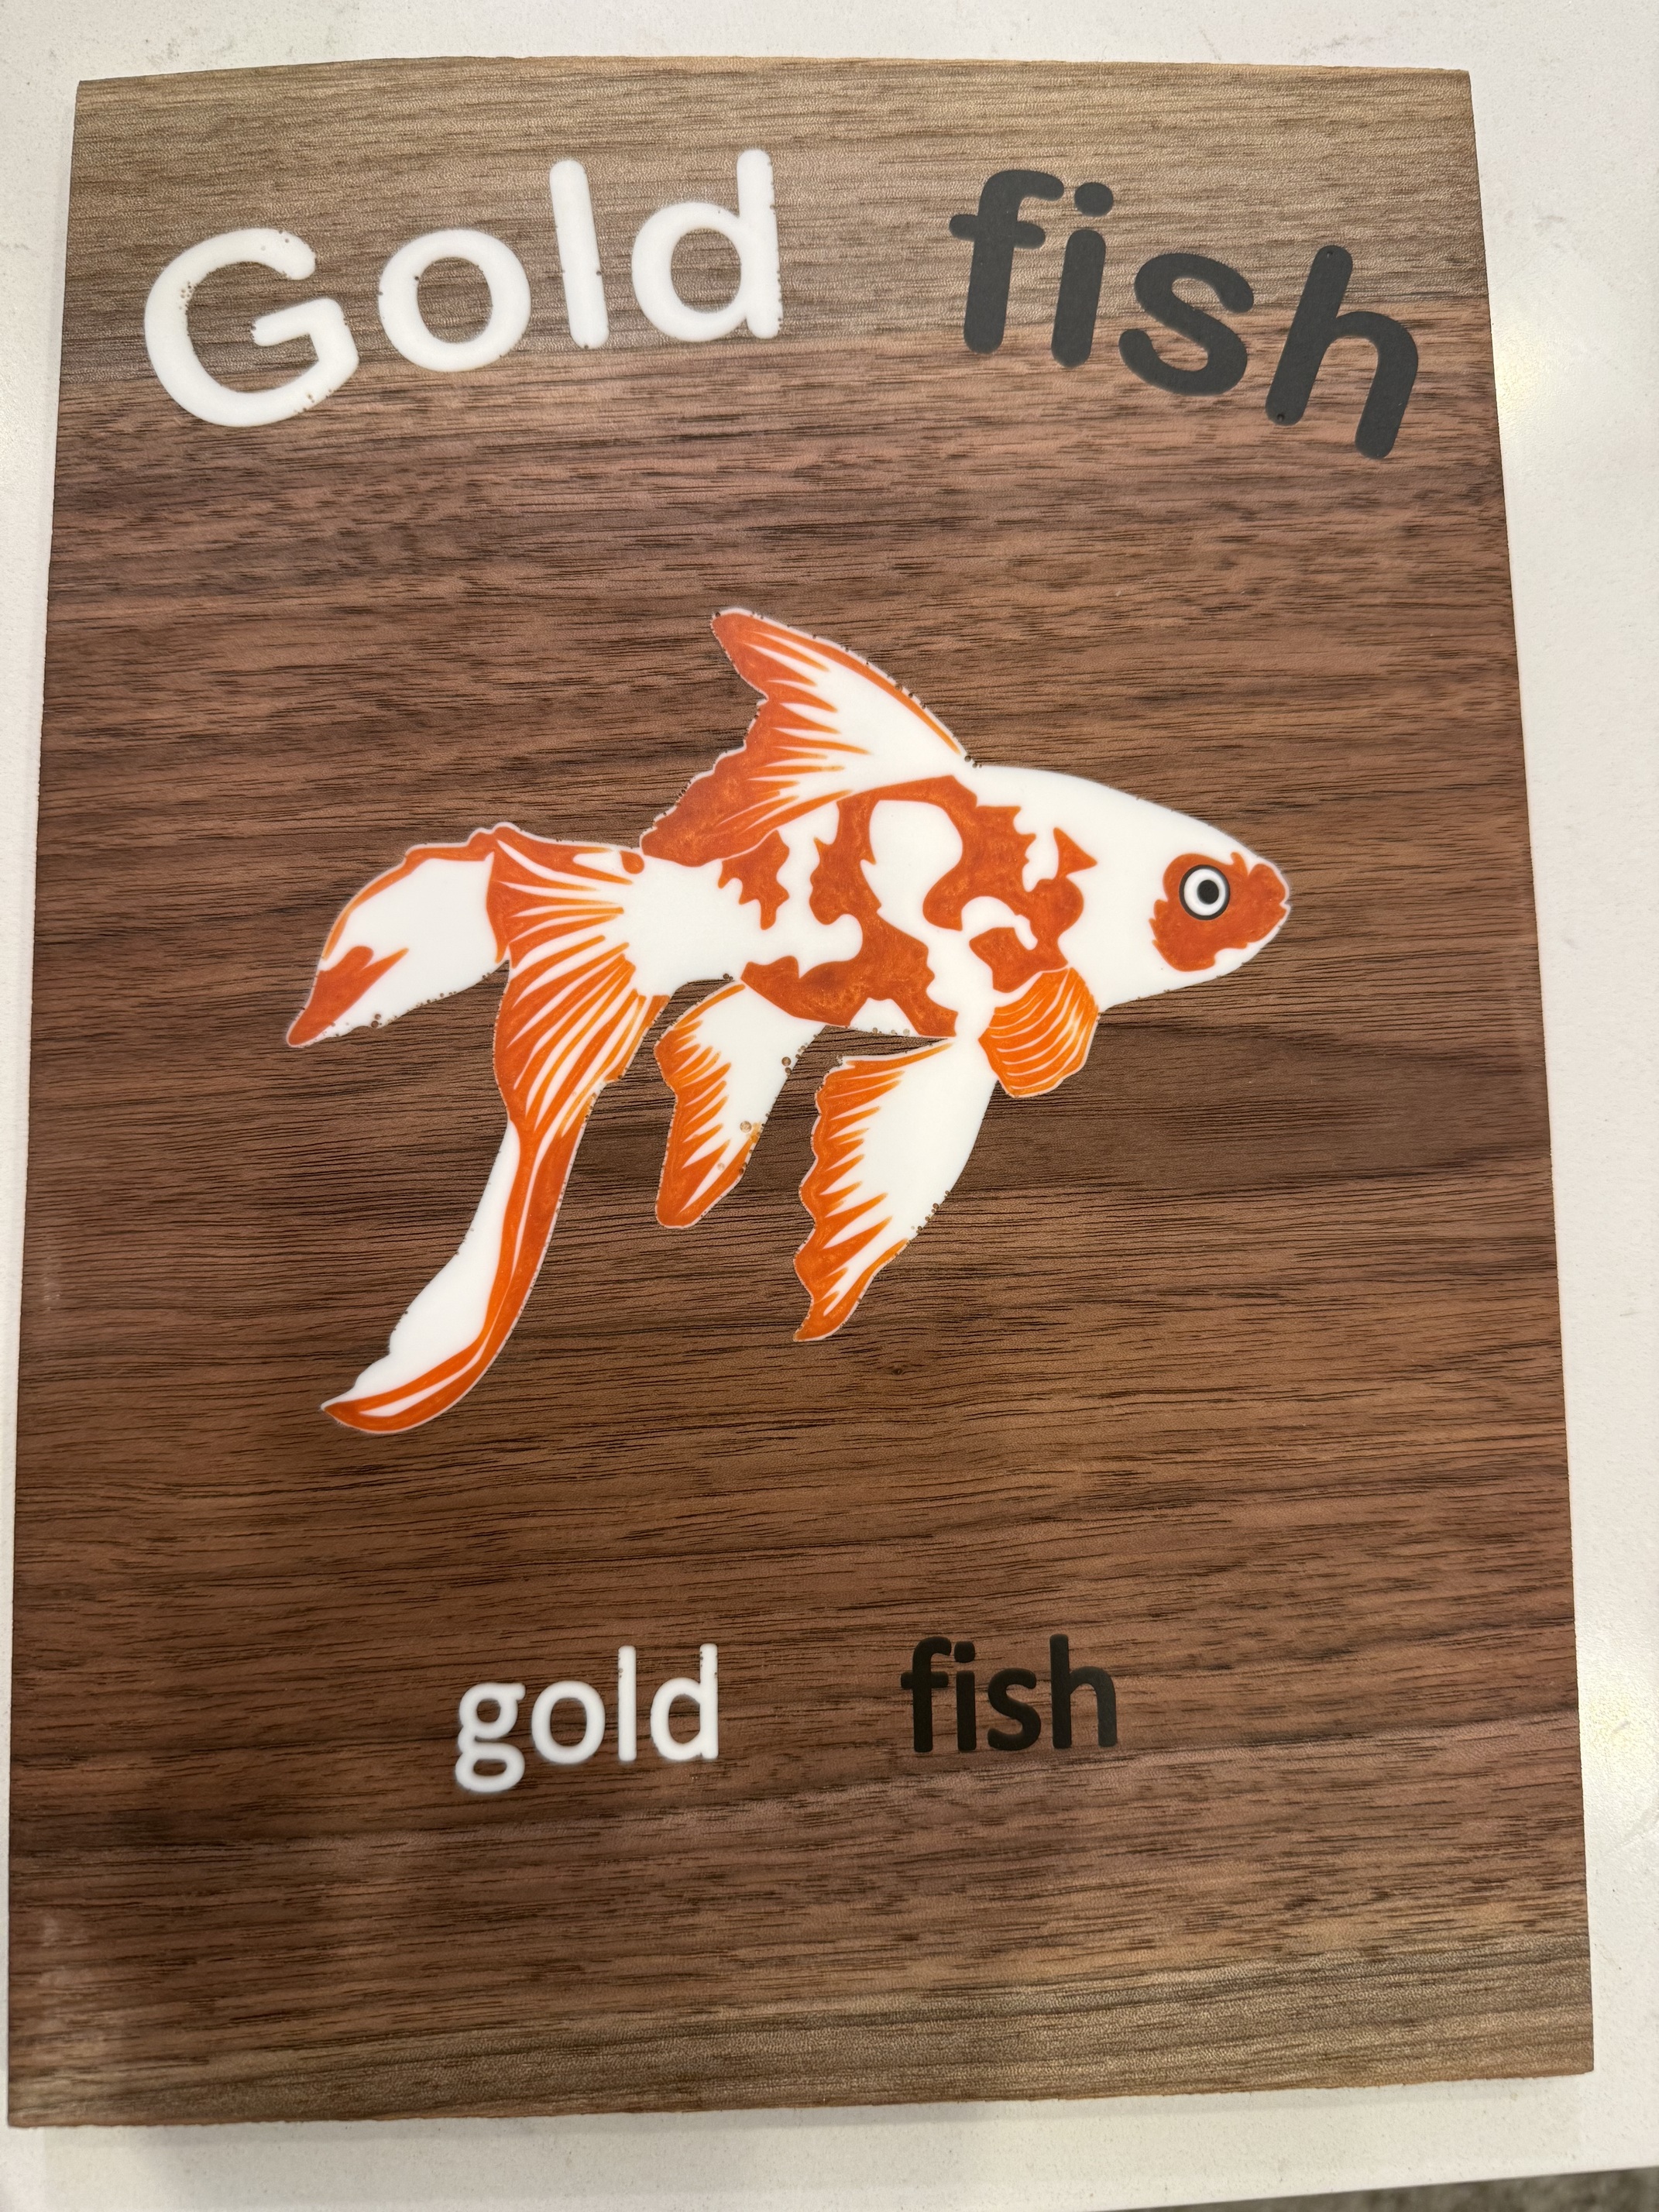
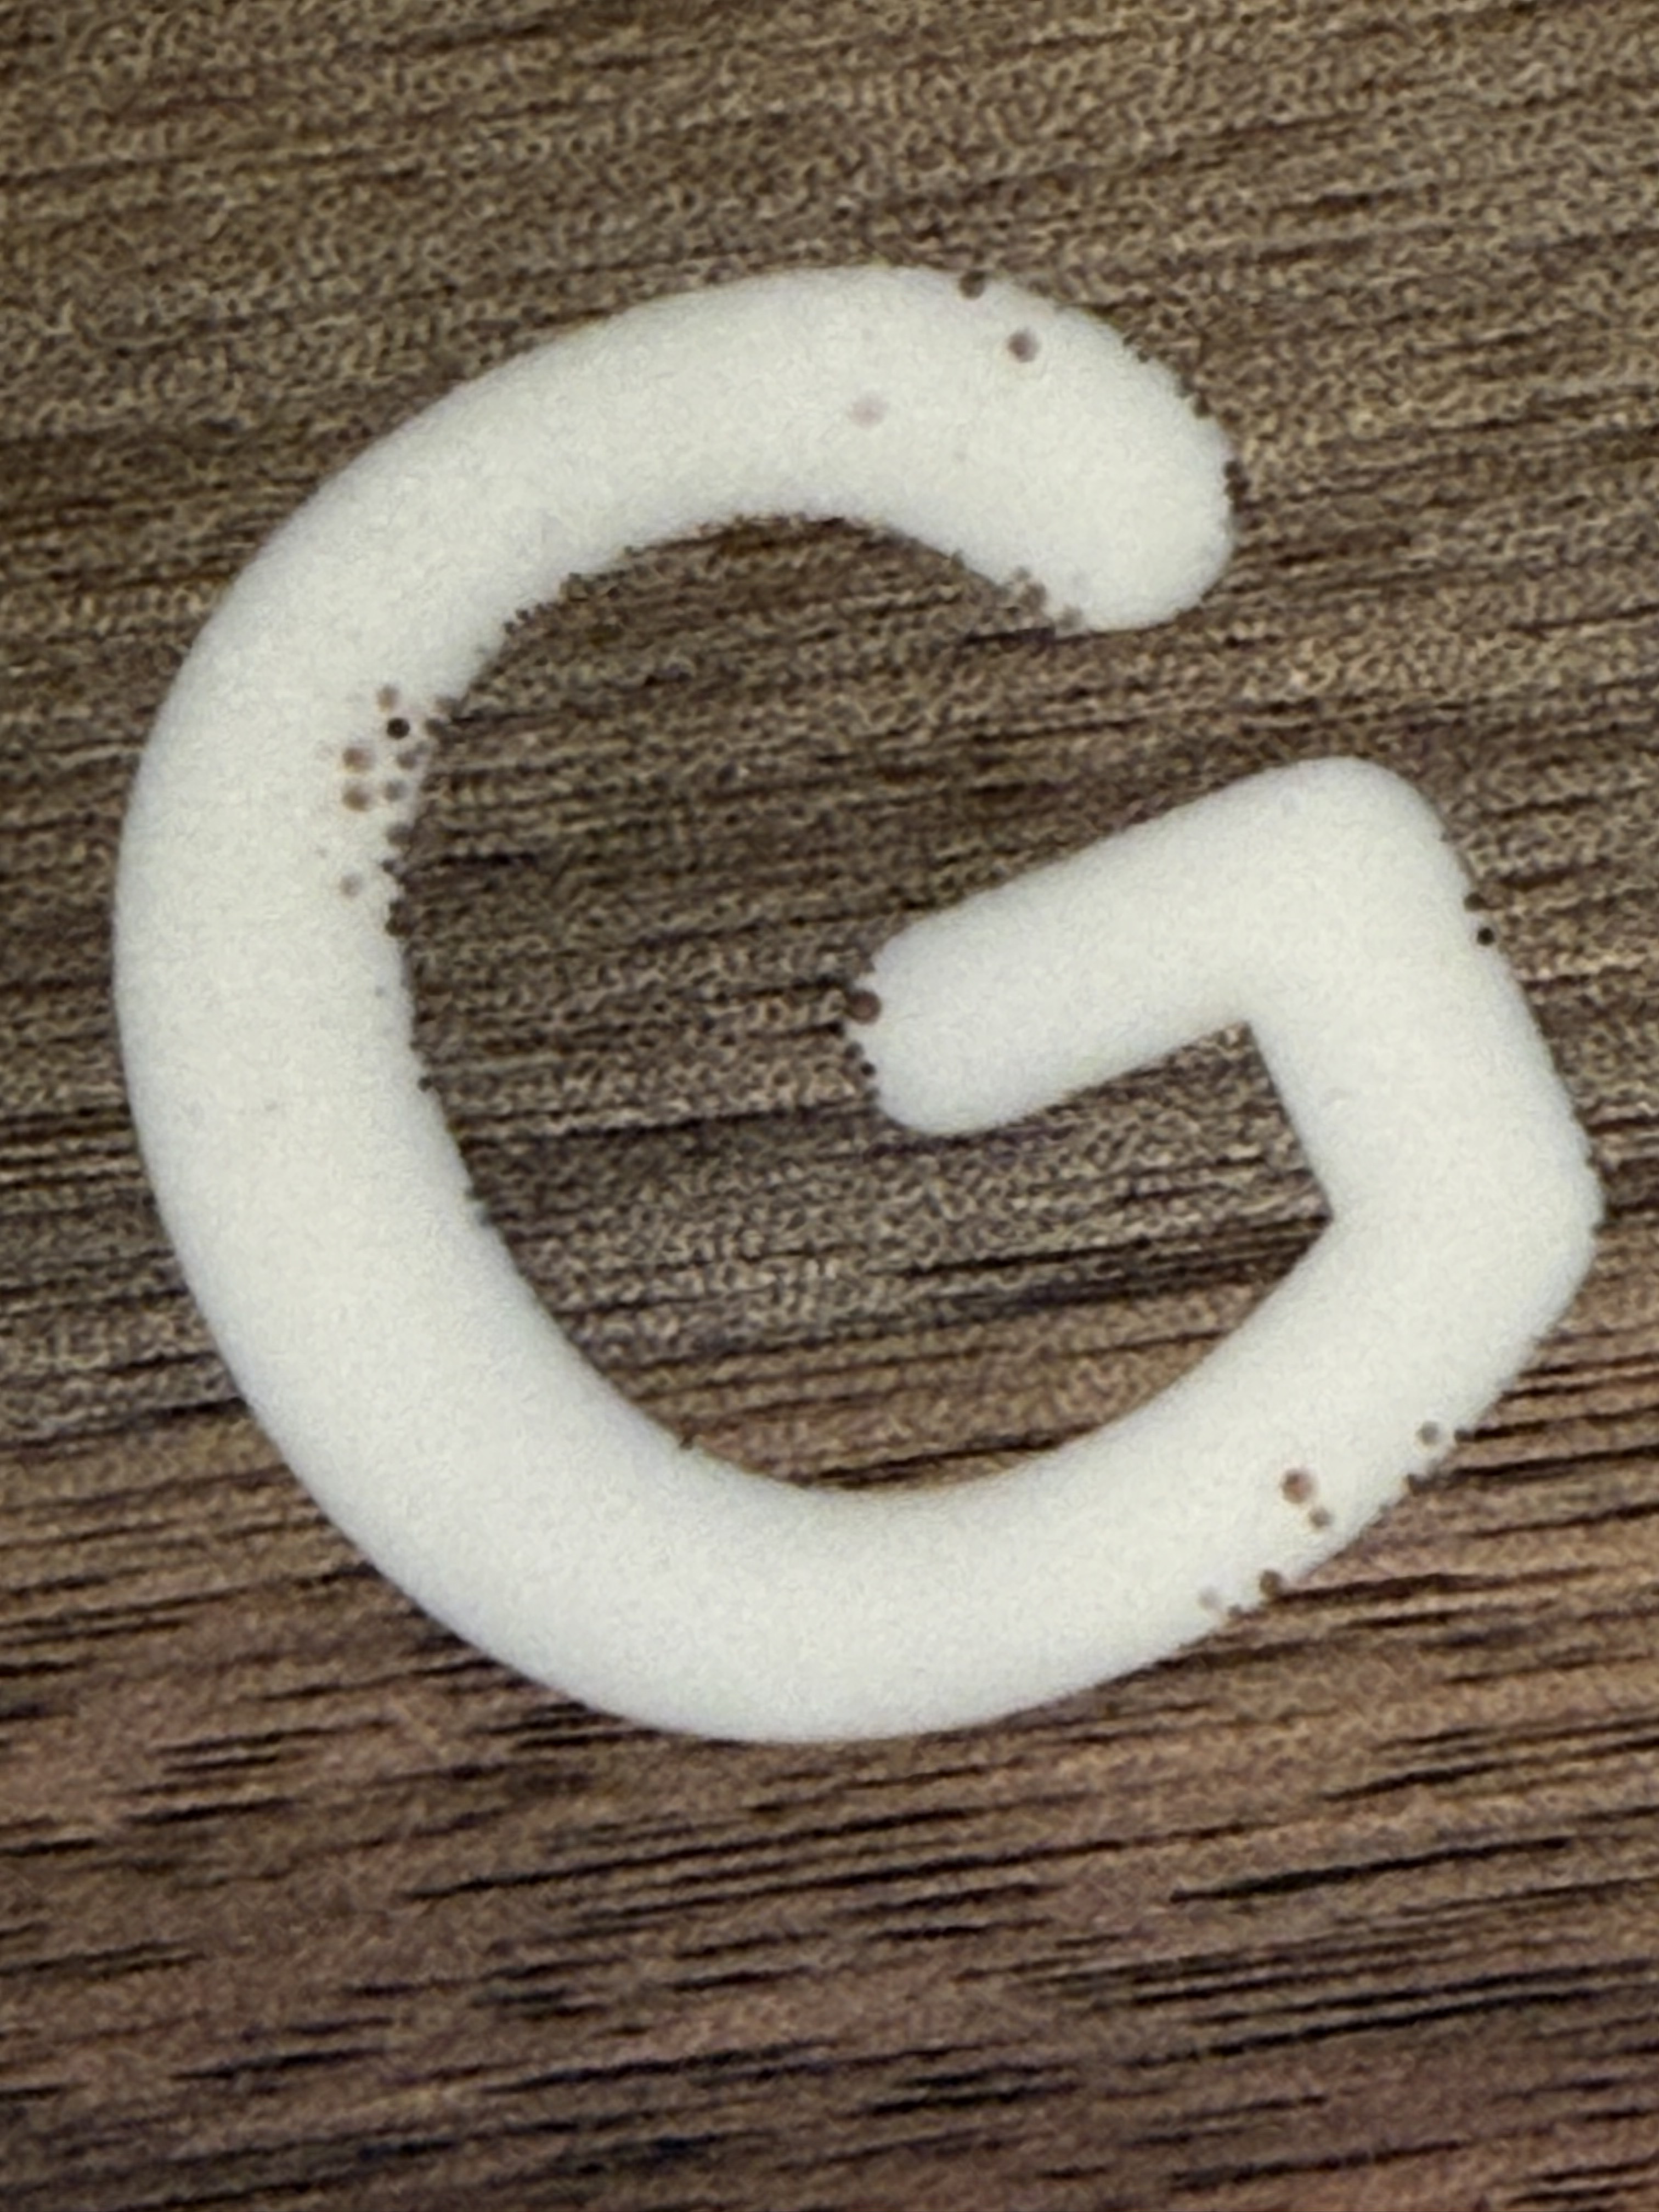
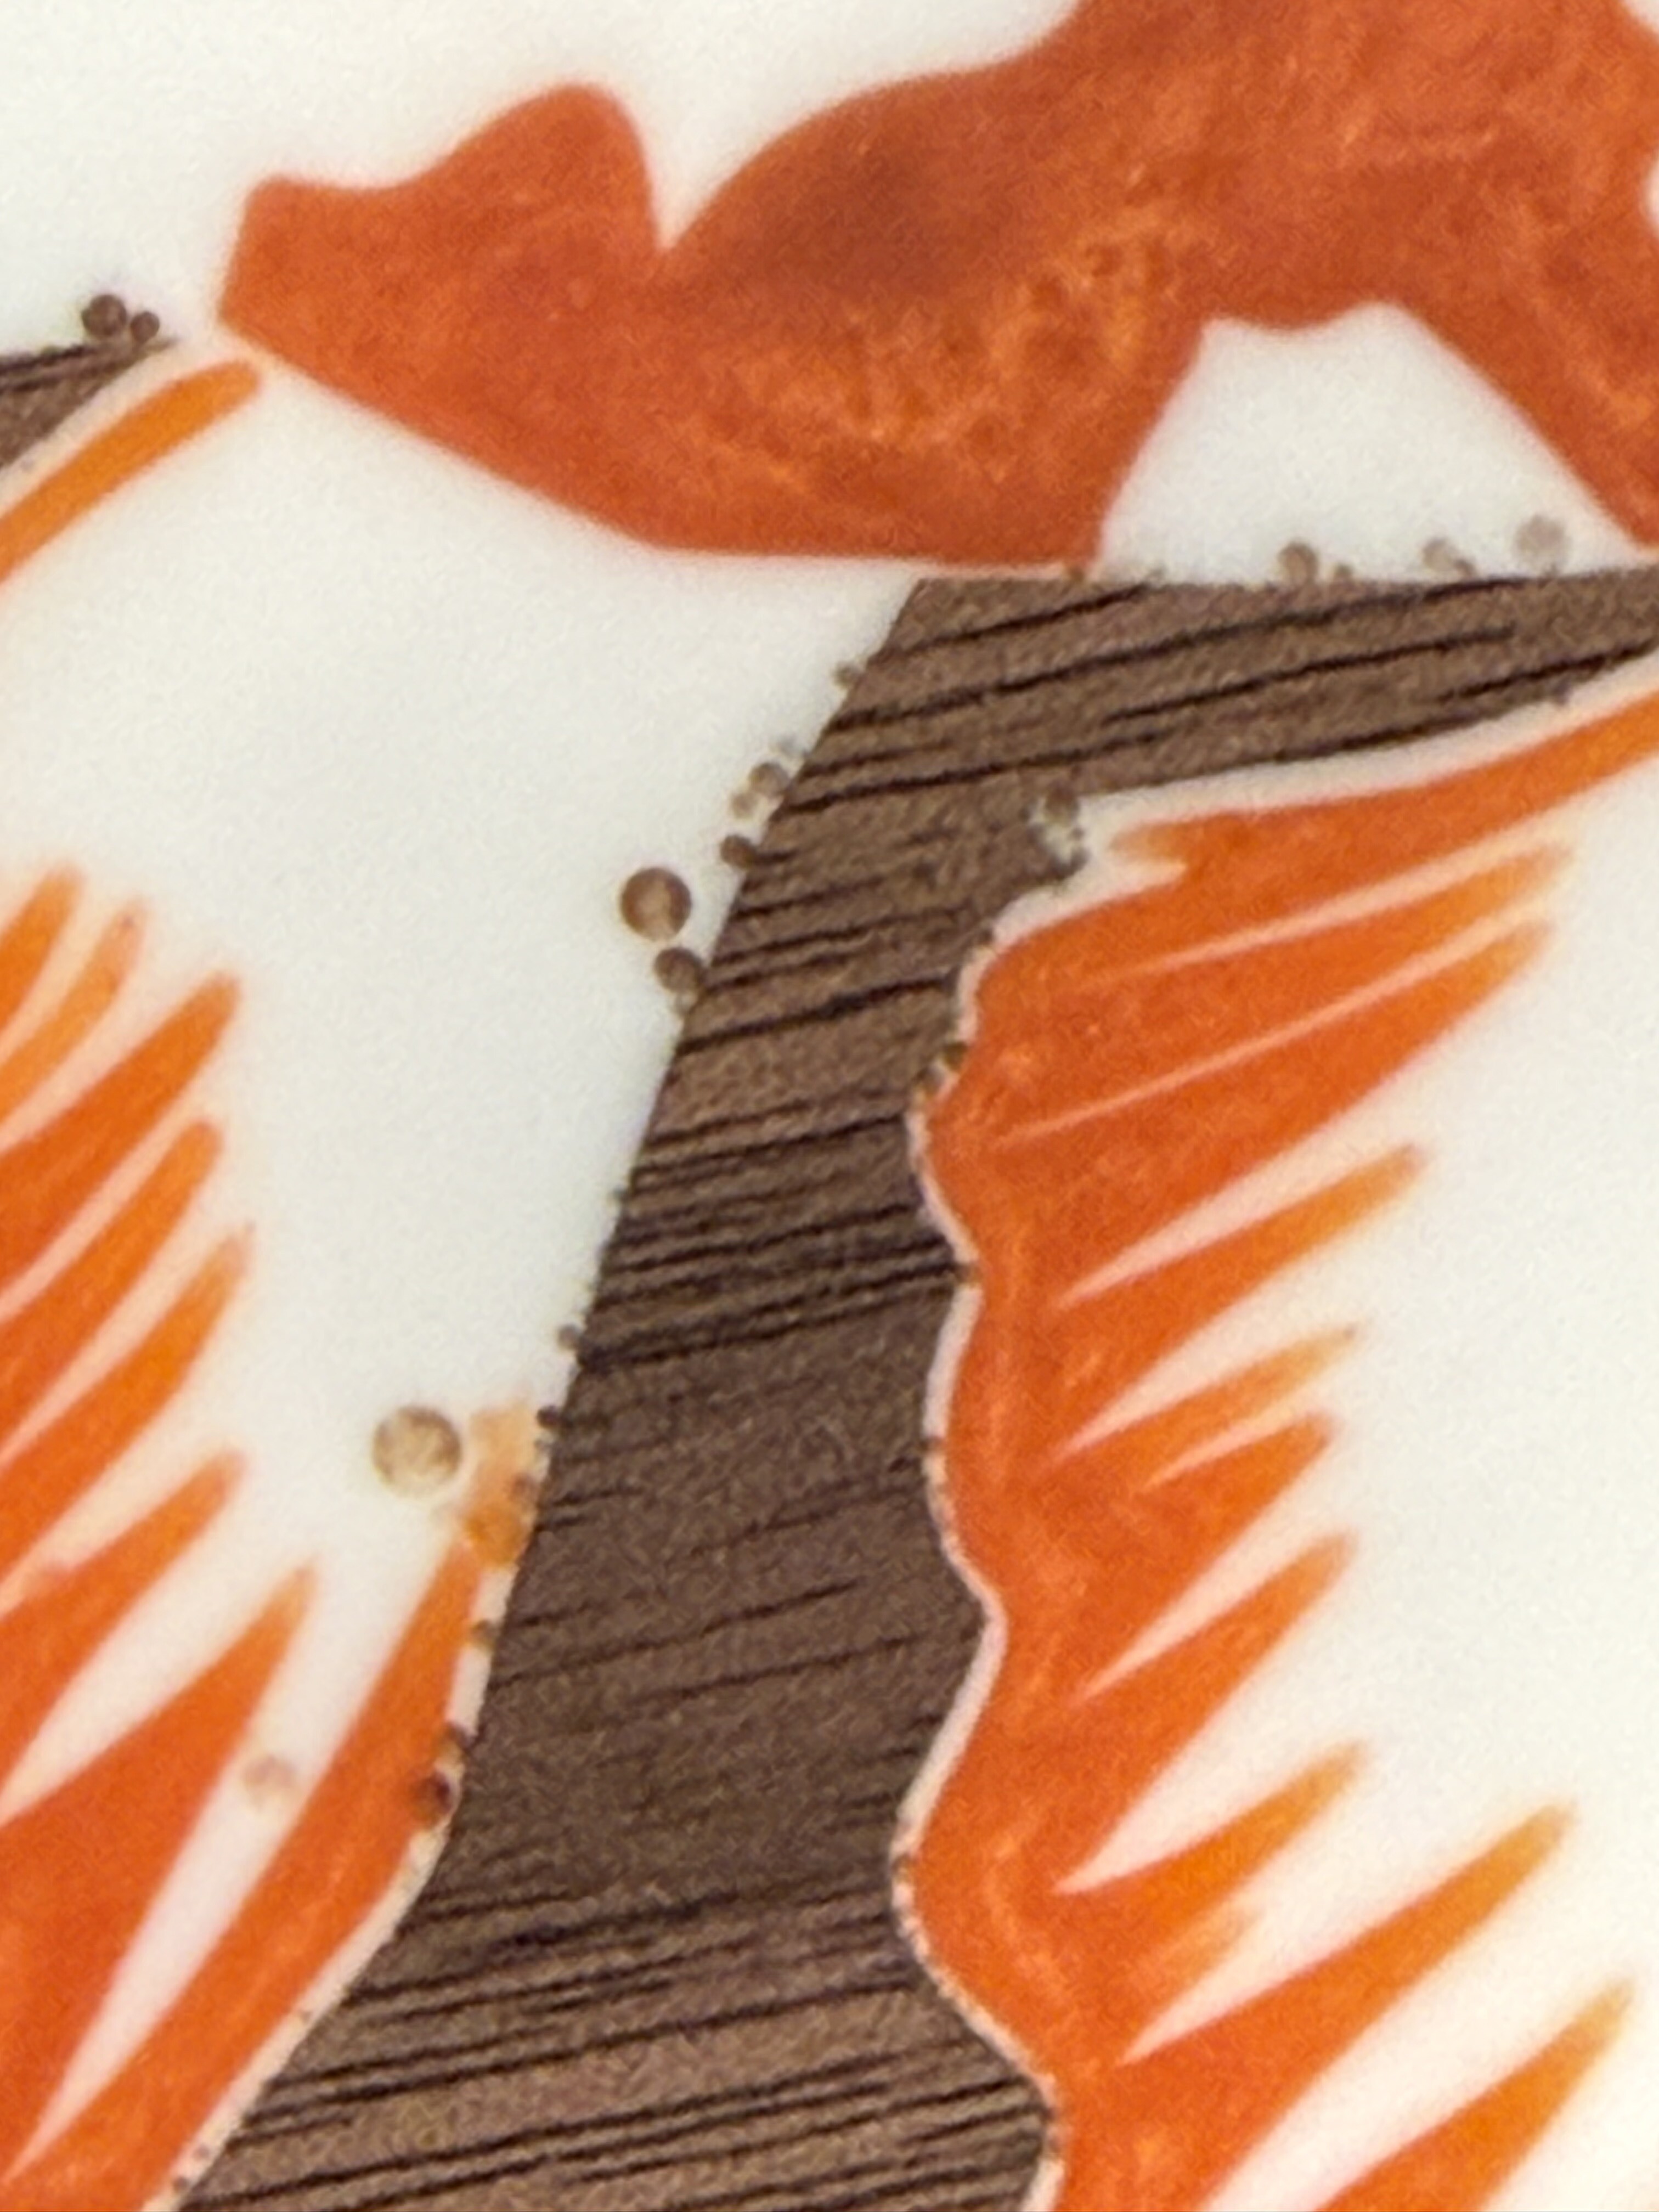
This is my first time dipping my toes into the epoxy world. I have done a few practice pieces on plywood that turned out good and then I did a practice piece on walnut which will be the wood for this project. But I got a lot of micro bubbles around the edges in the white (and not any other colors). Looking for advice on what might be the root cause so I can fix in on the final project.
Other useful info:
-I sealed all the engraving with spray varnish so I am not getting any bleeding.
-Using table top epoxy.
-I used a heat gun to pop visible bubbles. (the bubbles in the pics are appeared after surfacing and sanding.
-waited 24 hours after each pour to do a different color (white was the first color poured.)
You might research and try a different epoxy especially with longer handling times. Mine specifies having the components warm before mixing, plus having a warm substrate, I do my work on a heated mat. It’s important to mix gently in such a way as to not introduce bubbles to begin with. Most of my work has been small enough to put in a pressure tank overnight which also helps but is not essential for relatively flat work.
You’ll get more responses here from folks who do a lot more of this.
thanks @bpedit I live in Vegas so I don’t think heat is an issue, unless it is too much , but I do appreciate the response. I was stirring slowly and let it set for over 5 minutes before I poured it. I did the same thing on the other colors which is why it is strange to me that the bubbles are only on the white color.
I have used heat guns and they just do not cut it. I bought a Benzomatic Propane torch. That makes the bubbles rise up quick. Do not directly set the flame on the epoxy but a few inches above it. You can cause issues by burning the epoxy if you get too close. I have also learned to put a clear seal coat on before applying any colored epoxy. That helps reduce air bubbles coming out of the wood.
When you mix your epoxy let it set a few minutes before you pour. You will be surprised how many bubbles come up. I have seen videos where people put their epoxy inside a vacuum chamber to reduce air bubbles. If your container is big enough hold the torch or heat gun over the mixed epoxy. Be careful not to melt a plastic mixing container. Just pass the flame over it a few times not holding it in place more than a few seconds.
Depending on the size of the project you could use plastic applicator syringes to apply the epoxy. I saw a video where the guy used them to do a small (ish) multiple color epoxy project.
thanks @gdon_2003, I have a torch, I will try that on the next pour. I did let the epoxy set after stirring for 5 minutes, but maybe I need to go a little longer.
thanks @Jeffish, I did use a syringe on the letters and the orange portion of the fish
I have a vac container also, I will probably try degassing the epoxy before the next pour to see if that helps as well.
Given the location of the bubbles, this is almost certainly not bubbles in the epoxy from mixing and pouring. If they were, they would be evenly distributed, and in fact should be concentrated more to the center of the epoxy where it is deepest.
This is almost certainly air coming out of the pores of the wood where the endgrain has been exposed.
I expect that the only good solution is a proper seal coat of epoxy before the colored fill.
Thanks @mhotchin, that is what I have been leaning toward, since as you pointed out, they are almost exclusively along the edges, it just puzzled me that it didn’t happen to the black letters and they were treated the same as the white. I was experimenting with the white and black to see which I liked better for my application. Wife and I like the white best, so now I need to get this bubble issue resolved. I will work on a better sealing method as recommended.
Brush (as in a small artist brush) a thin coat of epoxy the same color to seal the surface. let it cure completely then apply the final coat. This will seal the material. If you use heat to disperse bubbles in the second pour do not over heat the material as the added heat will force air into the new epoxy. Depending on the cure time of the epoxy you can wait after the second pour brings bubbles to the surface and the use the heat to disperse the bubbles. All you are doing is using enough heat to break the surface tension of the bubbles.
John, I watched someYoutube videos where people use pressure chambers to avoid bubbles to form: high pressure does not allow these bubbles to form, some use the same to put the piece under vacuum to suck out bubbles. All applies for deeper resin depths. since these deeper bubbles raising during the cure cannot be reached with the torch/heat gun.
For thin layers the heat treatment may help.
However also the brand of resin may make a difference. I made some clocks from resin and did not have bubble issues in the depth
Thanks for all the responses. I decided to switch to the Zinsser Sealcoat shellac instead of the varnish I used on the practice pieces to pre-seal the wood. And I am going to use two coats instead of just one. Will see if that solves my bubble problem as I feel that the issue was bubbles developing from the wood, not the epoxy itself. I used the same epoxy brand for all pours and treated each section the same after the pours, so based on the response here, AI responses and YouTube watching, I (hopefully) have narrowed the source of the issue. Will report back once completed. Keeping fingers crossed.
 , but I do appreciate the response. I was stirring slowly and let it set for over 5 minutes before I poured it. I did the same thing on the other colors which is why it is strange to me that the bubbles are only on the white color.