Any recommendations on a 1/64 diameter bit for acrylic (extruded high-impact acrylic)
The top color layer (min. depth need to get through is 0.005 in), I have typically gone 0.02 in depth on this. Have used 1/32 bits that have worked well but need some more detail on something.
And will take any speeds and feeds you have found to work well with it
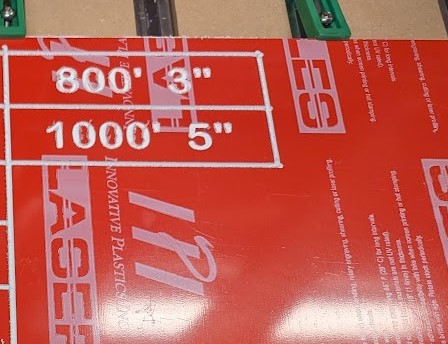
picture of the material I am working with
or you may just tell me that small of a bit is not practical… snap!
Using an engraving tool like the #501 might be good. Just pretend it’s a 0.01" ball nose.
Otherwise, I’ve used small tools before from Kodiak cutting tools. And at that size, Datron single flute’s are actually pretty cost competitive too. Single Flute End Mills - DATRON CNC Milling Tools
But on a Shapeoko you’ll want to double check your runout to make sure you’re not over-stressing the tools.
I’ll second the #501 recommendation. A tapered cutter will be a lot stronger than a normal 1/64" cutter if you don’t need to go deep enough for the taper to matter.
My Amana 1/64th bit lasted .00001 seconds in soft pine with pretty conservative settings… A pretty disappointing result. I am not sure how much more I should have dialed it down. I second the idea of an engraver or a tapered bit.
That type of acrylic cuts like butter.
I agree with the engraving bit, but I have a Niagara stub length that is only 0.005" in diameter. The cut depth is small, but I use it for engraving aluminum and PCBs. Should have no issue in that stuff. I’ll look for a link.
We have users that run .01” cutters in a Nomad, and I have no idea how they last at all. In my experience, anything under around .02” is waiting to break if you look at it wrong.
Just did a similar forum topic on “what did you cut on your Shapeoko today entery # 1963 to 1979, Stephen cox. Cut 120 room number signs for a church. Material was 1.2mm thick and cut away .0055 deep using 1/16 down cut end mill. Ended up running pretty fast. 2500+. I gaged feed rate by the size of the chips that were coming off as it cut. My biggest problem was holding the material flat and keeping up from vibrating in the center. There are pictures in the other form topic that show the end result along with mistakes in a bucket of the product.
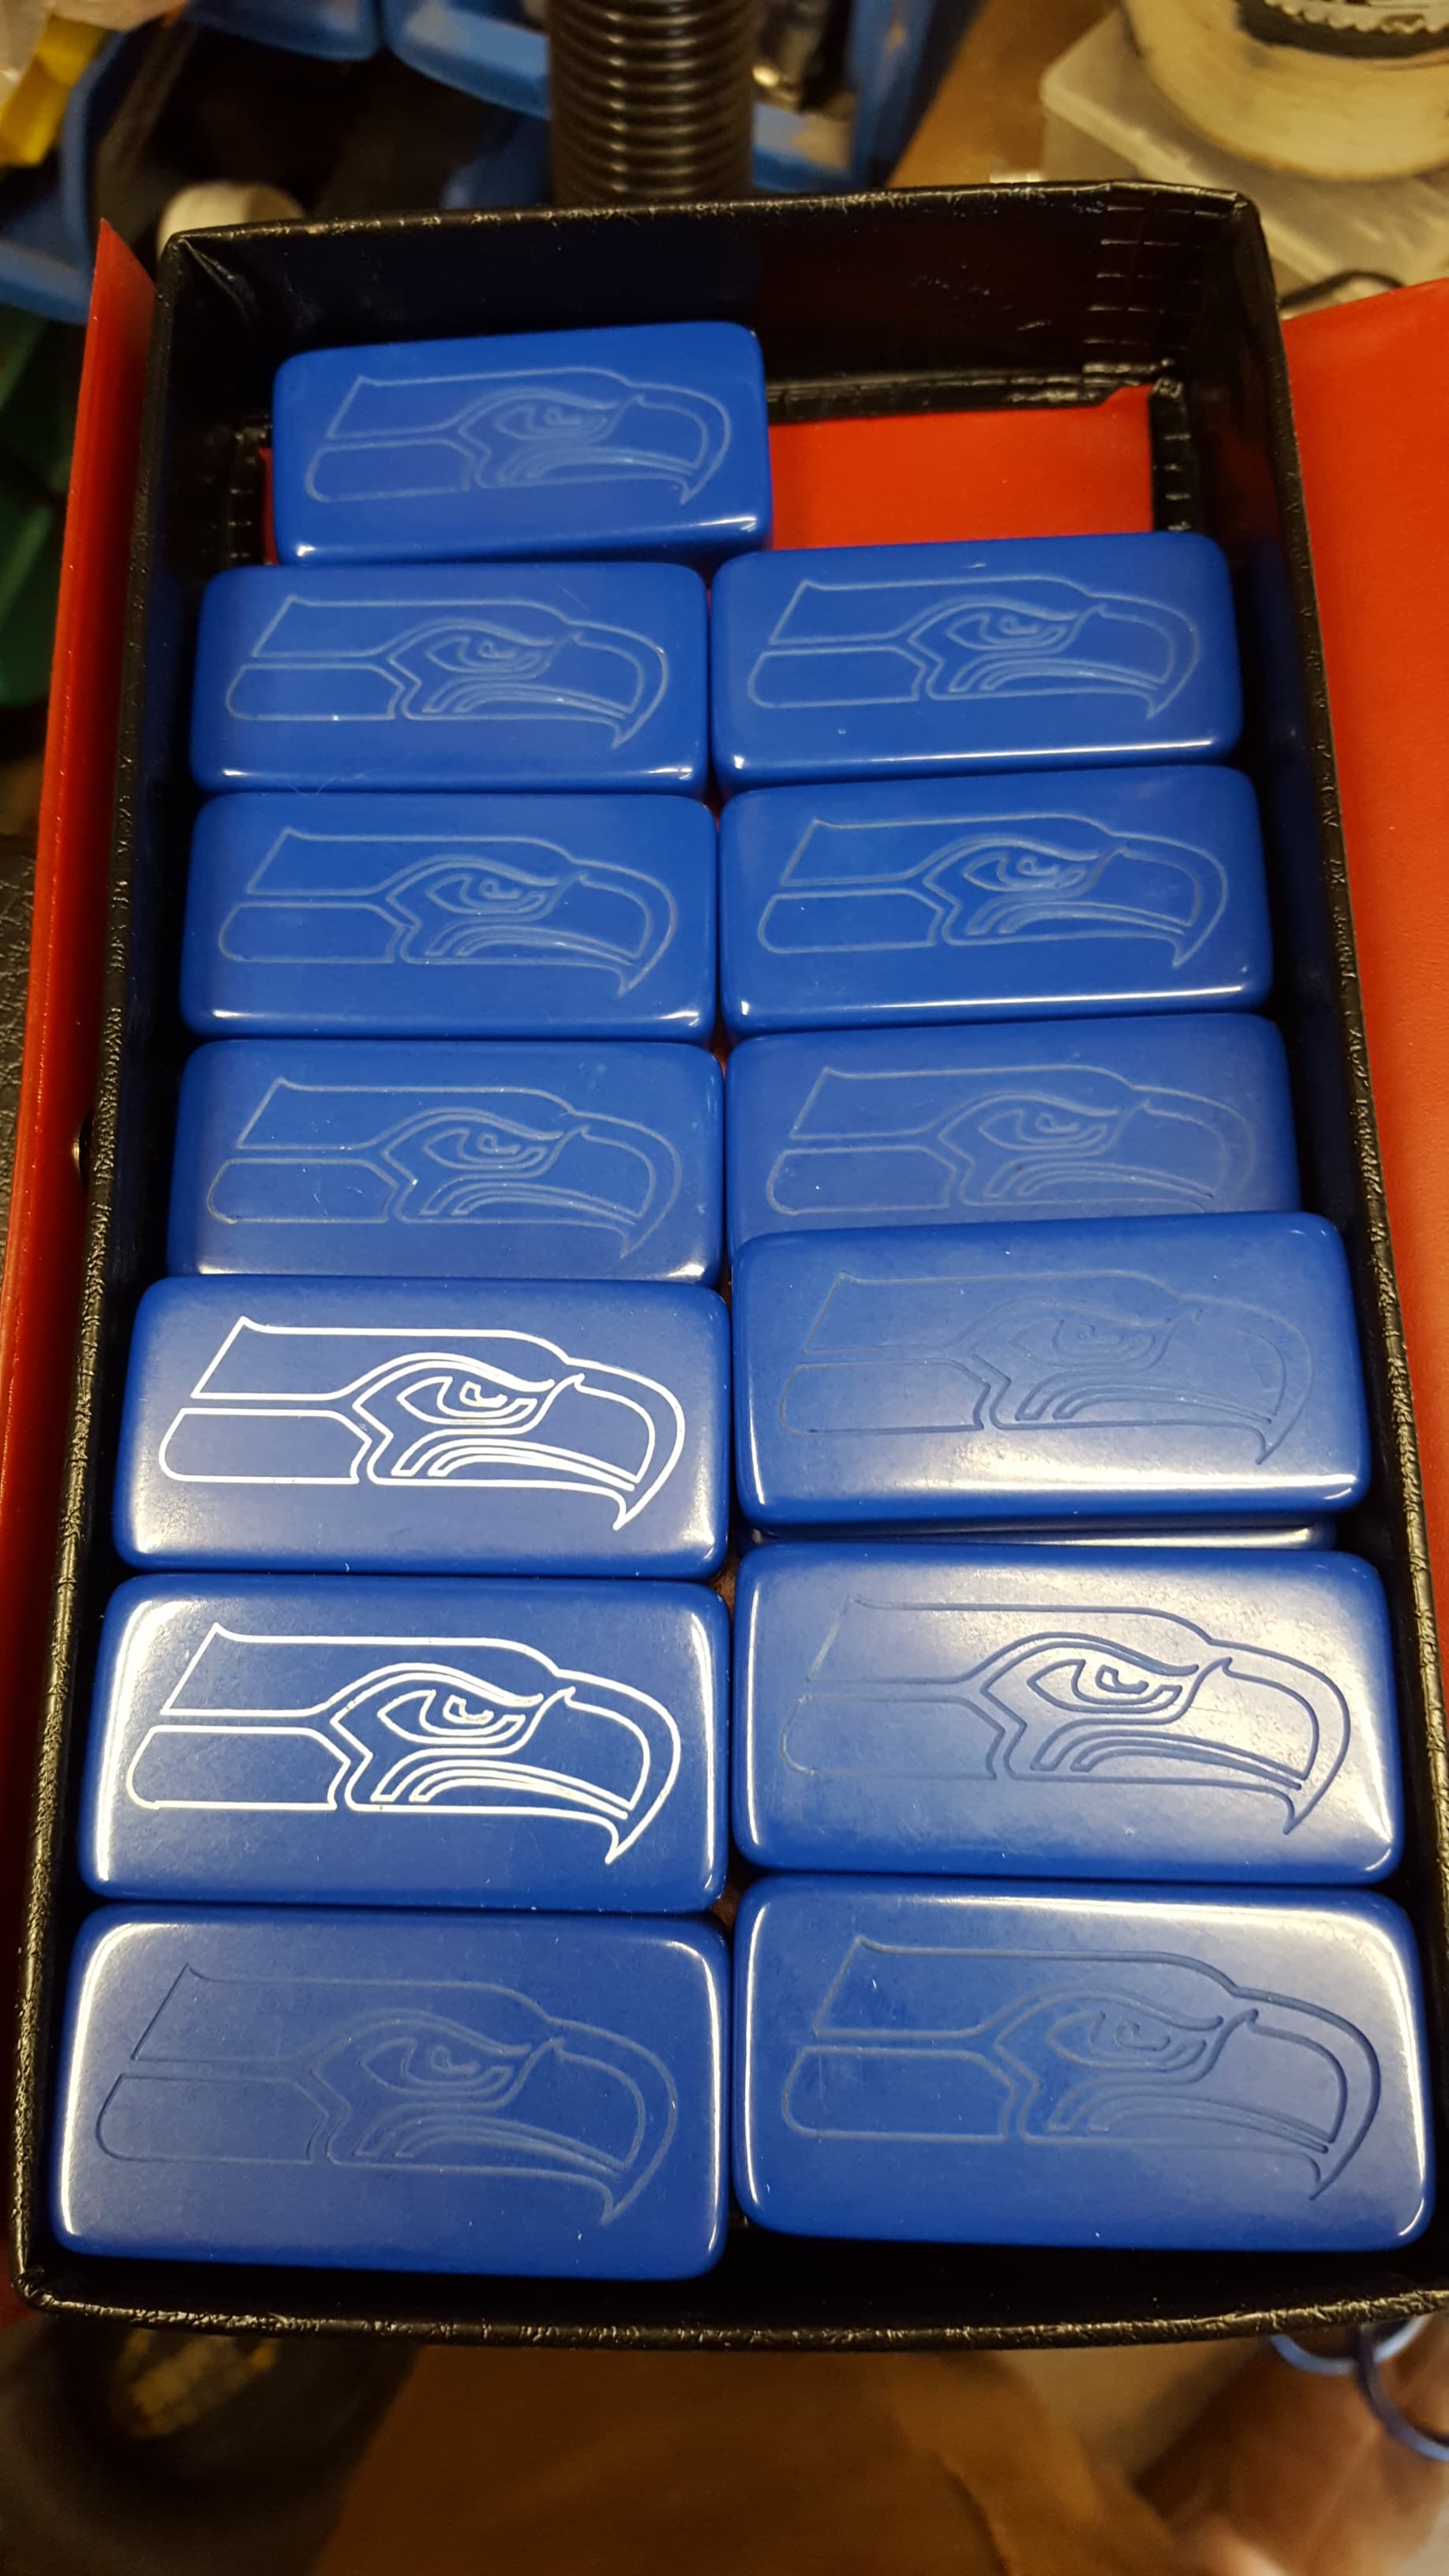
You can definitely cut acrylic with 0.0150" bits. I have made a few edge lit acrylic signs / plaques for friends and family, as well as cut aluminum and wood with them - all on a SO3 XXL.
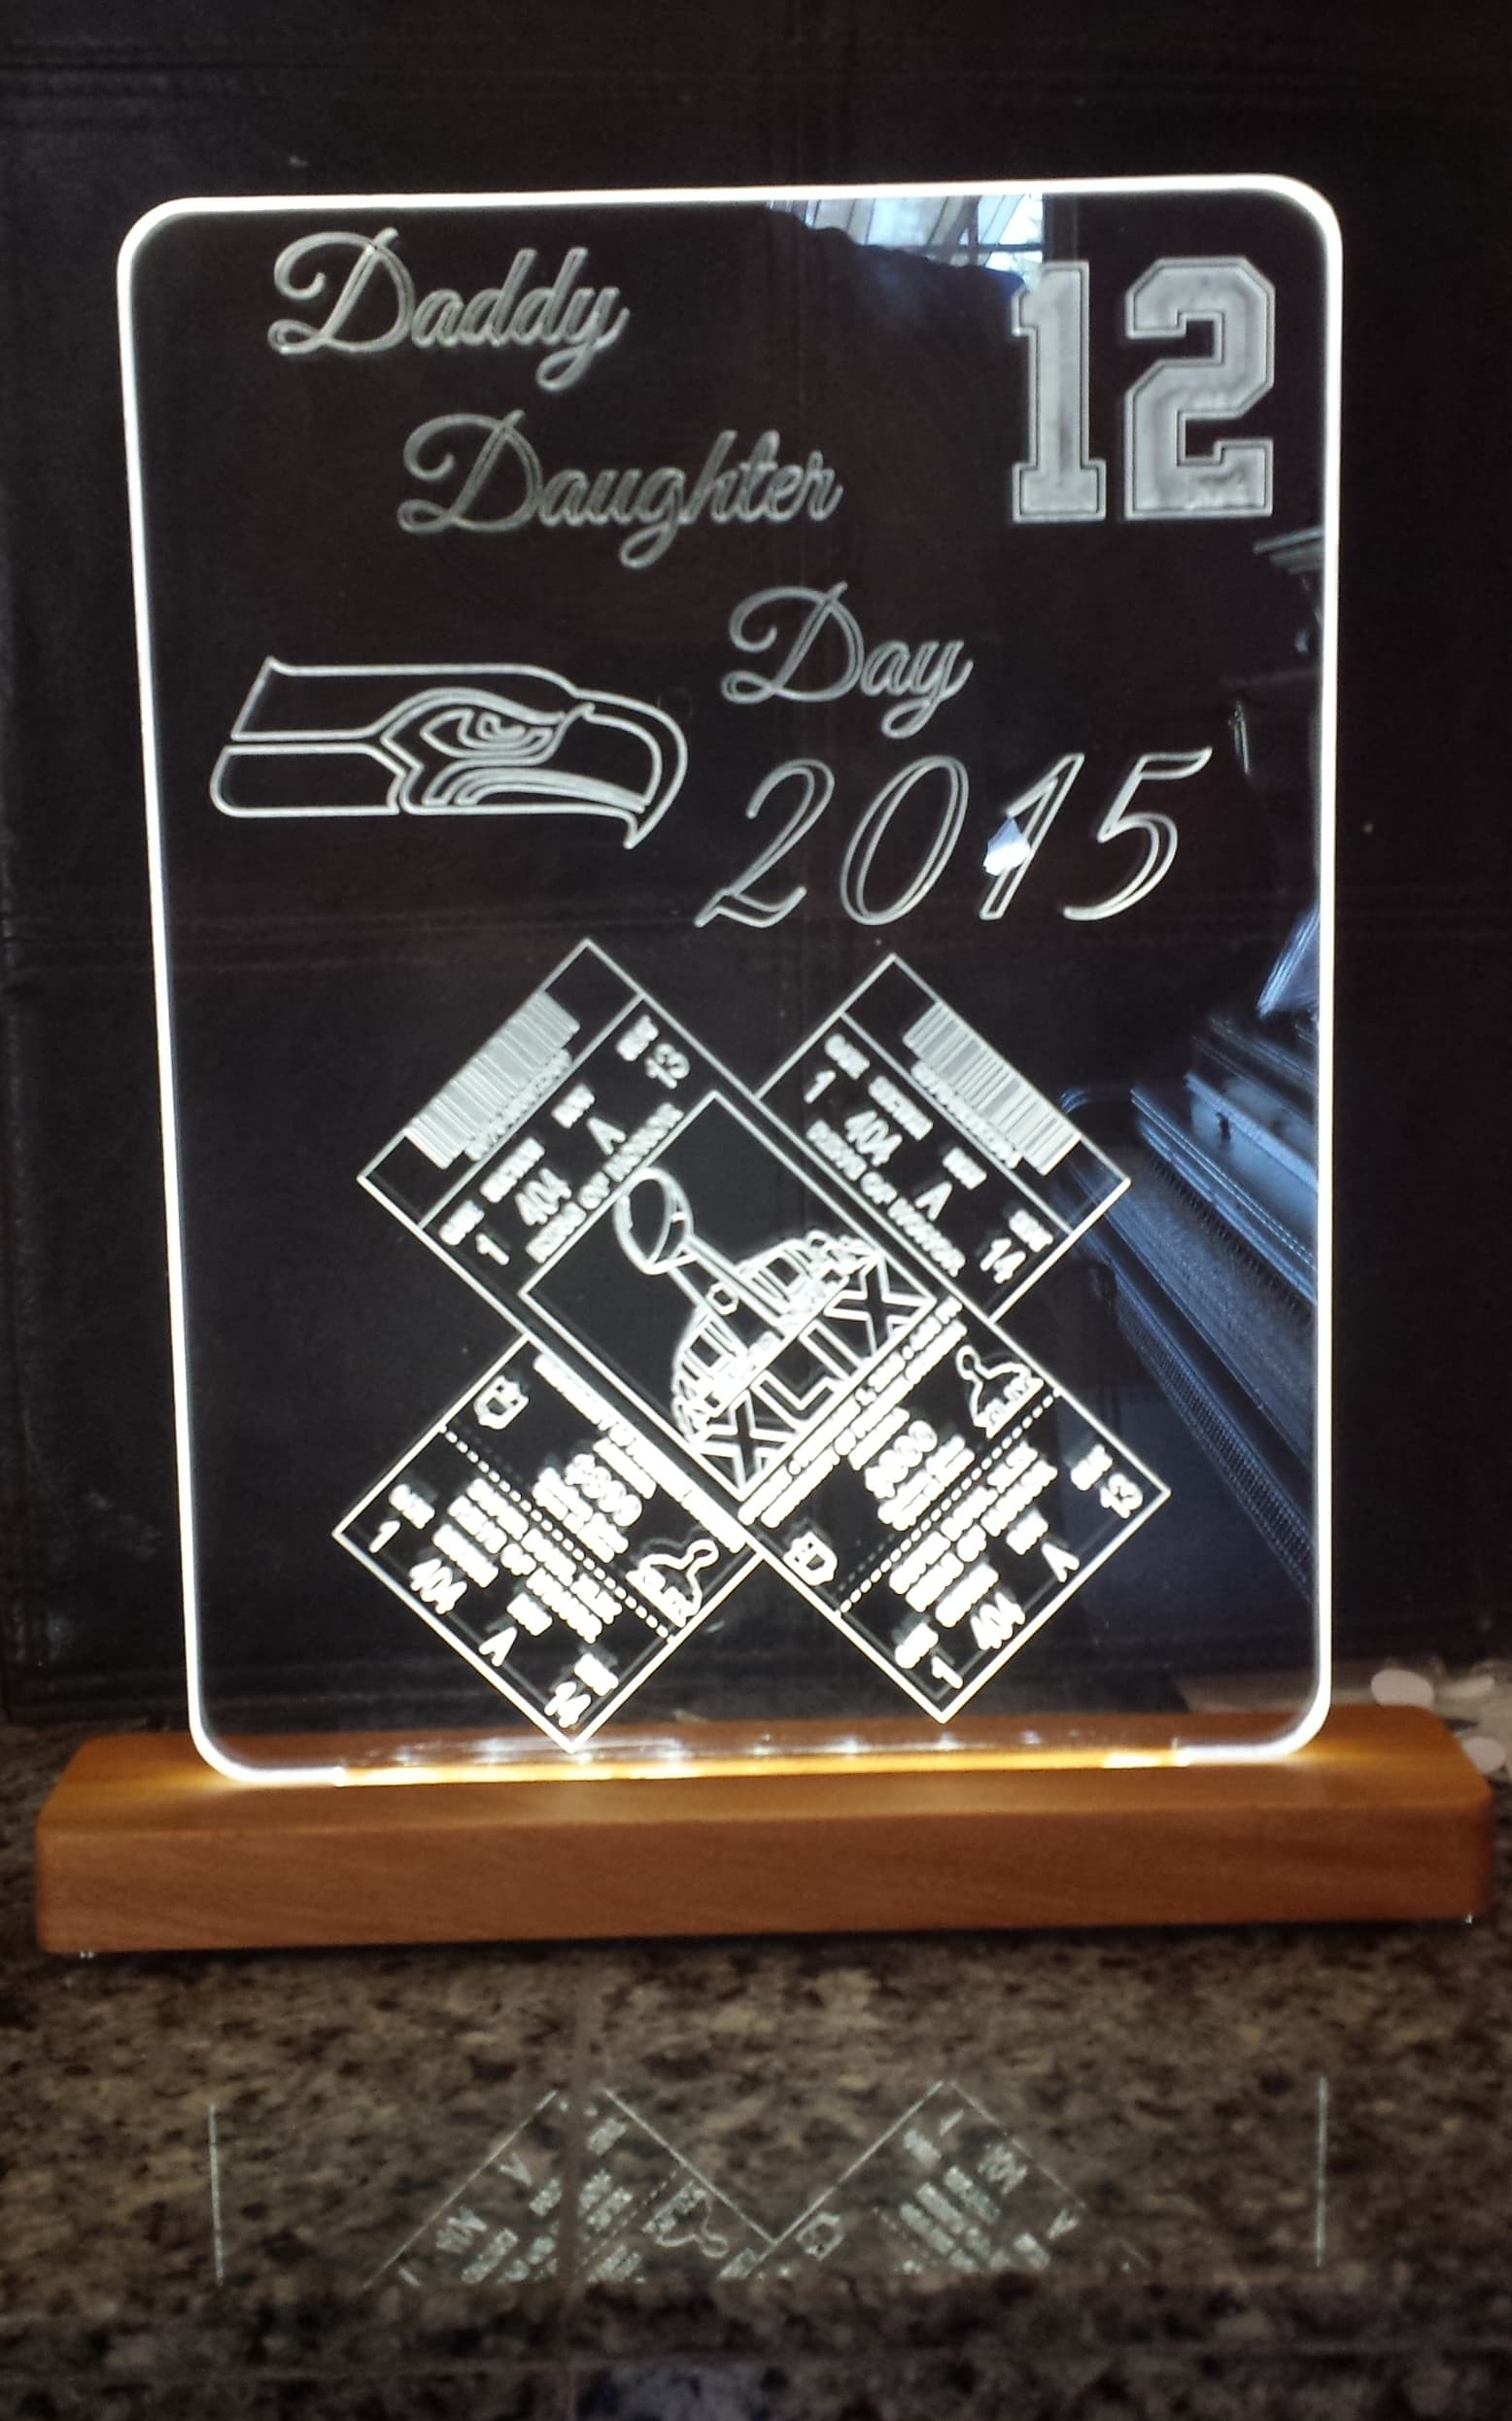
This was a plaque I made for a friend who went to the Superbowl with her dad. All of the engraving was made with an 0.0150" 2 flute bit. Based on the year, this was actually made on my O.G. SO3 [S/N 0054] with floppy Z-axis plate and DeWalt router
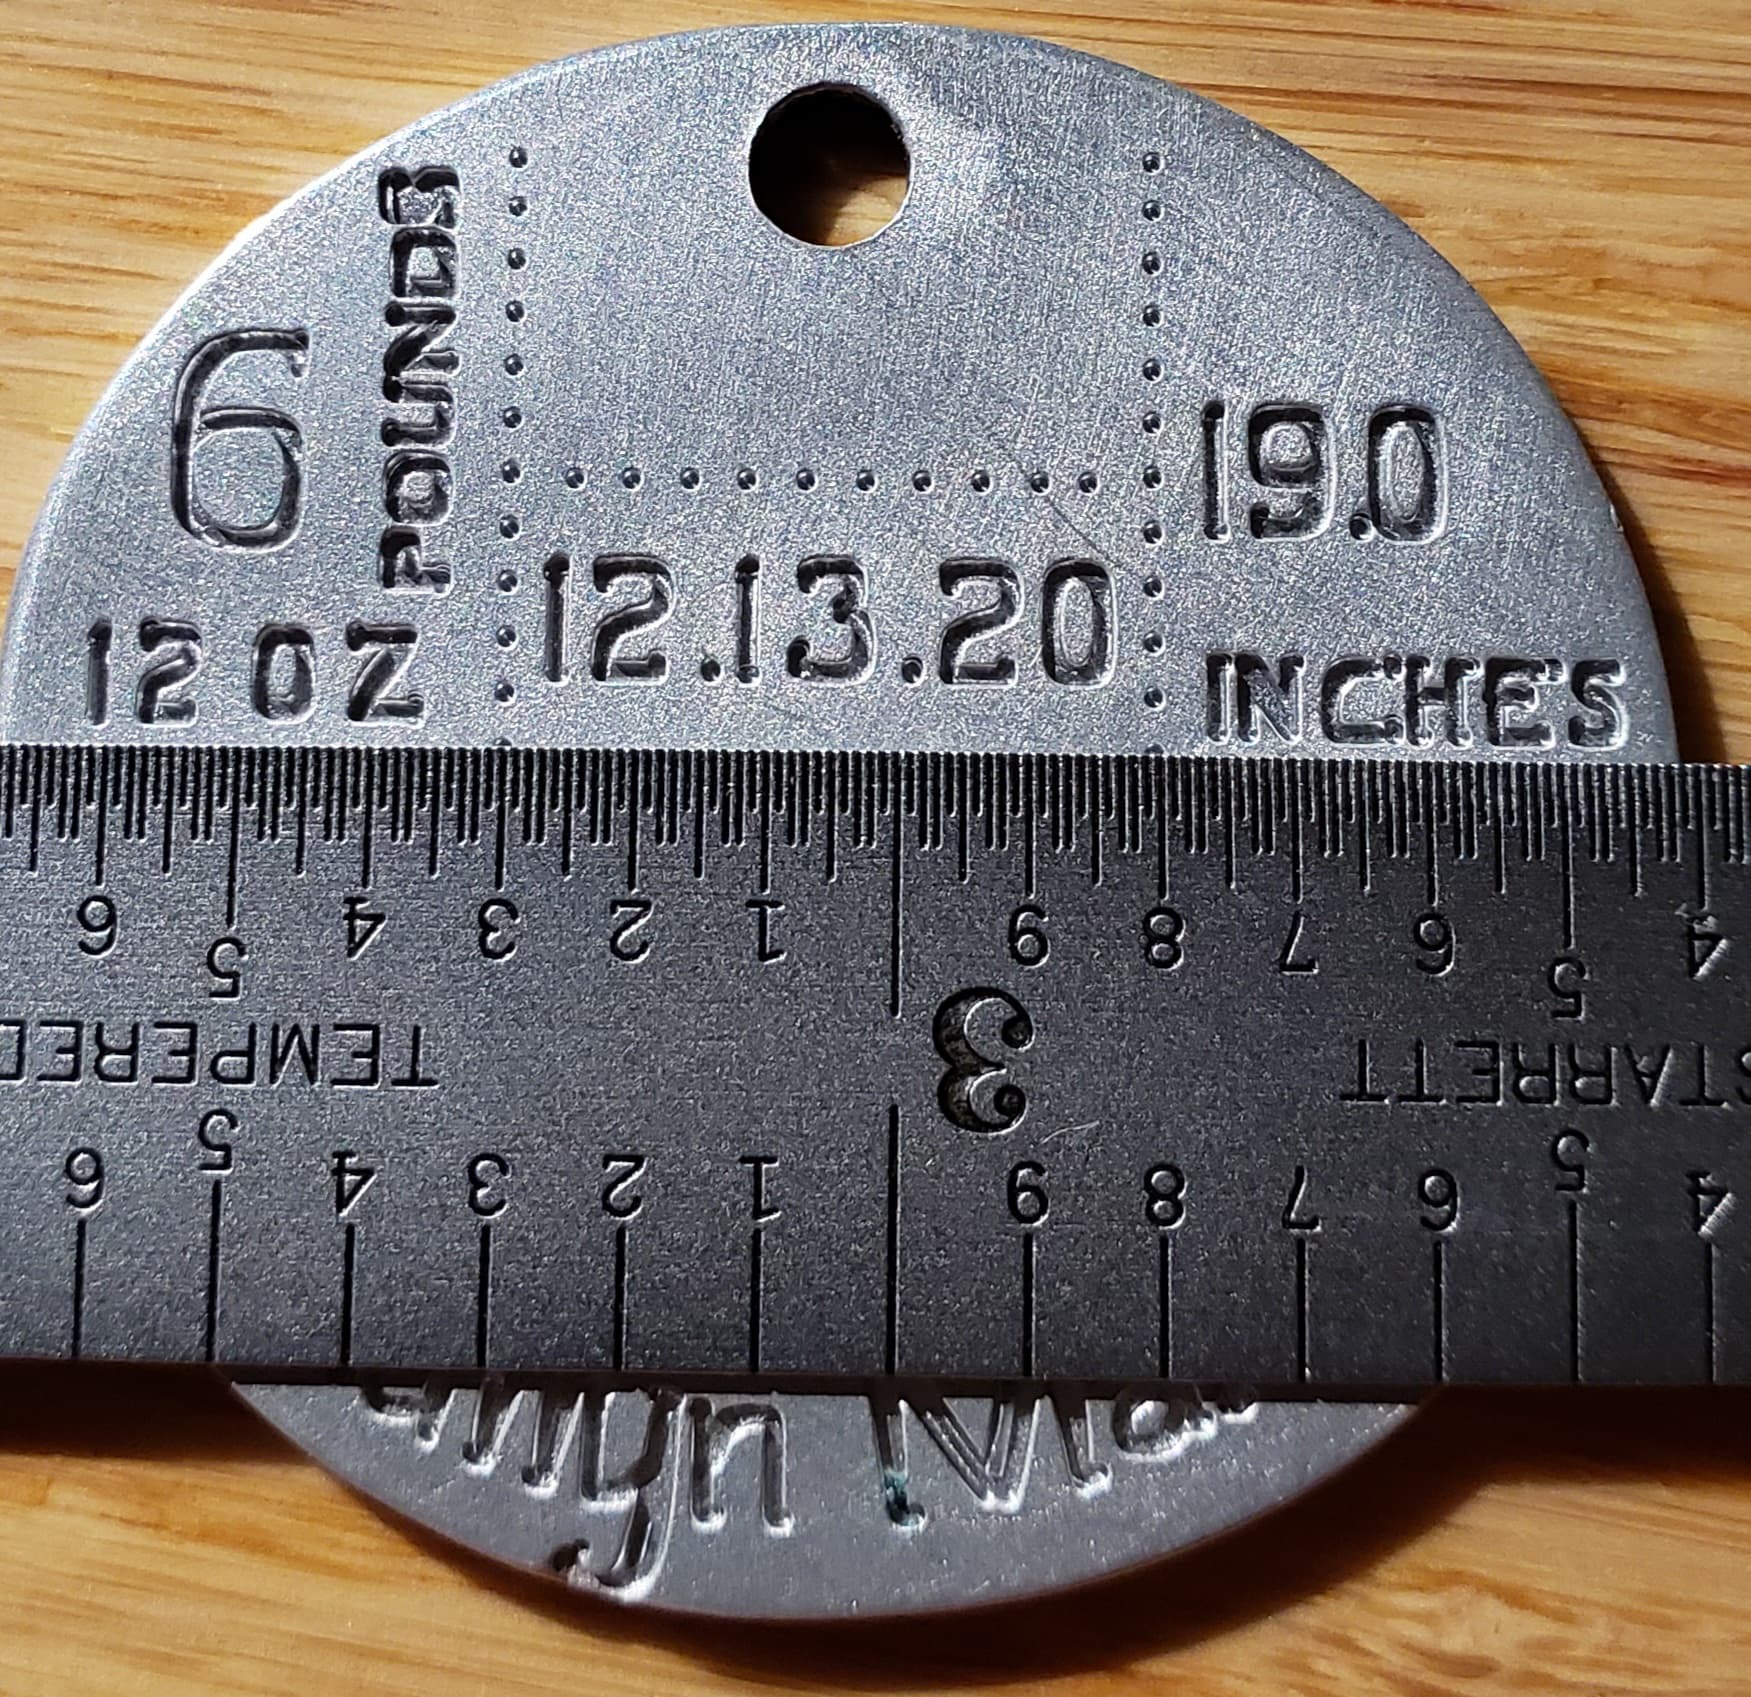
Here is a small keychain I cut with an 0.0120" bit in aluminum. This is what I cut when I found out that I had some slop in my X axis. You can really see it in the s in the top left, and the y and m below the rule.
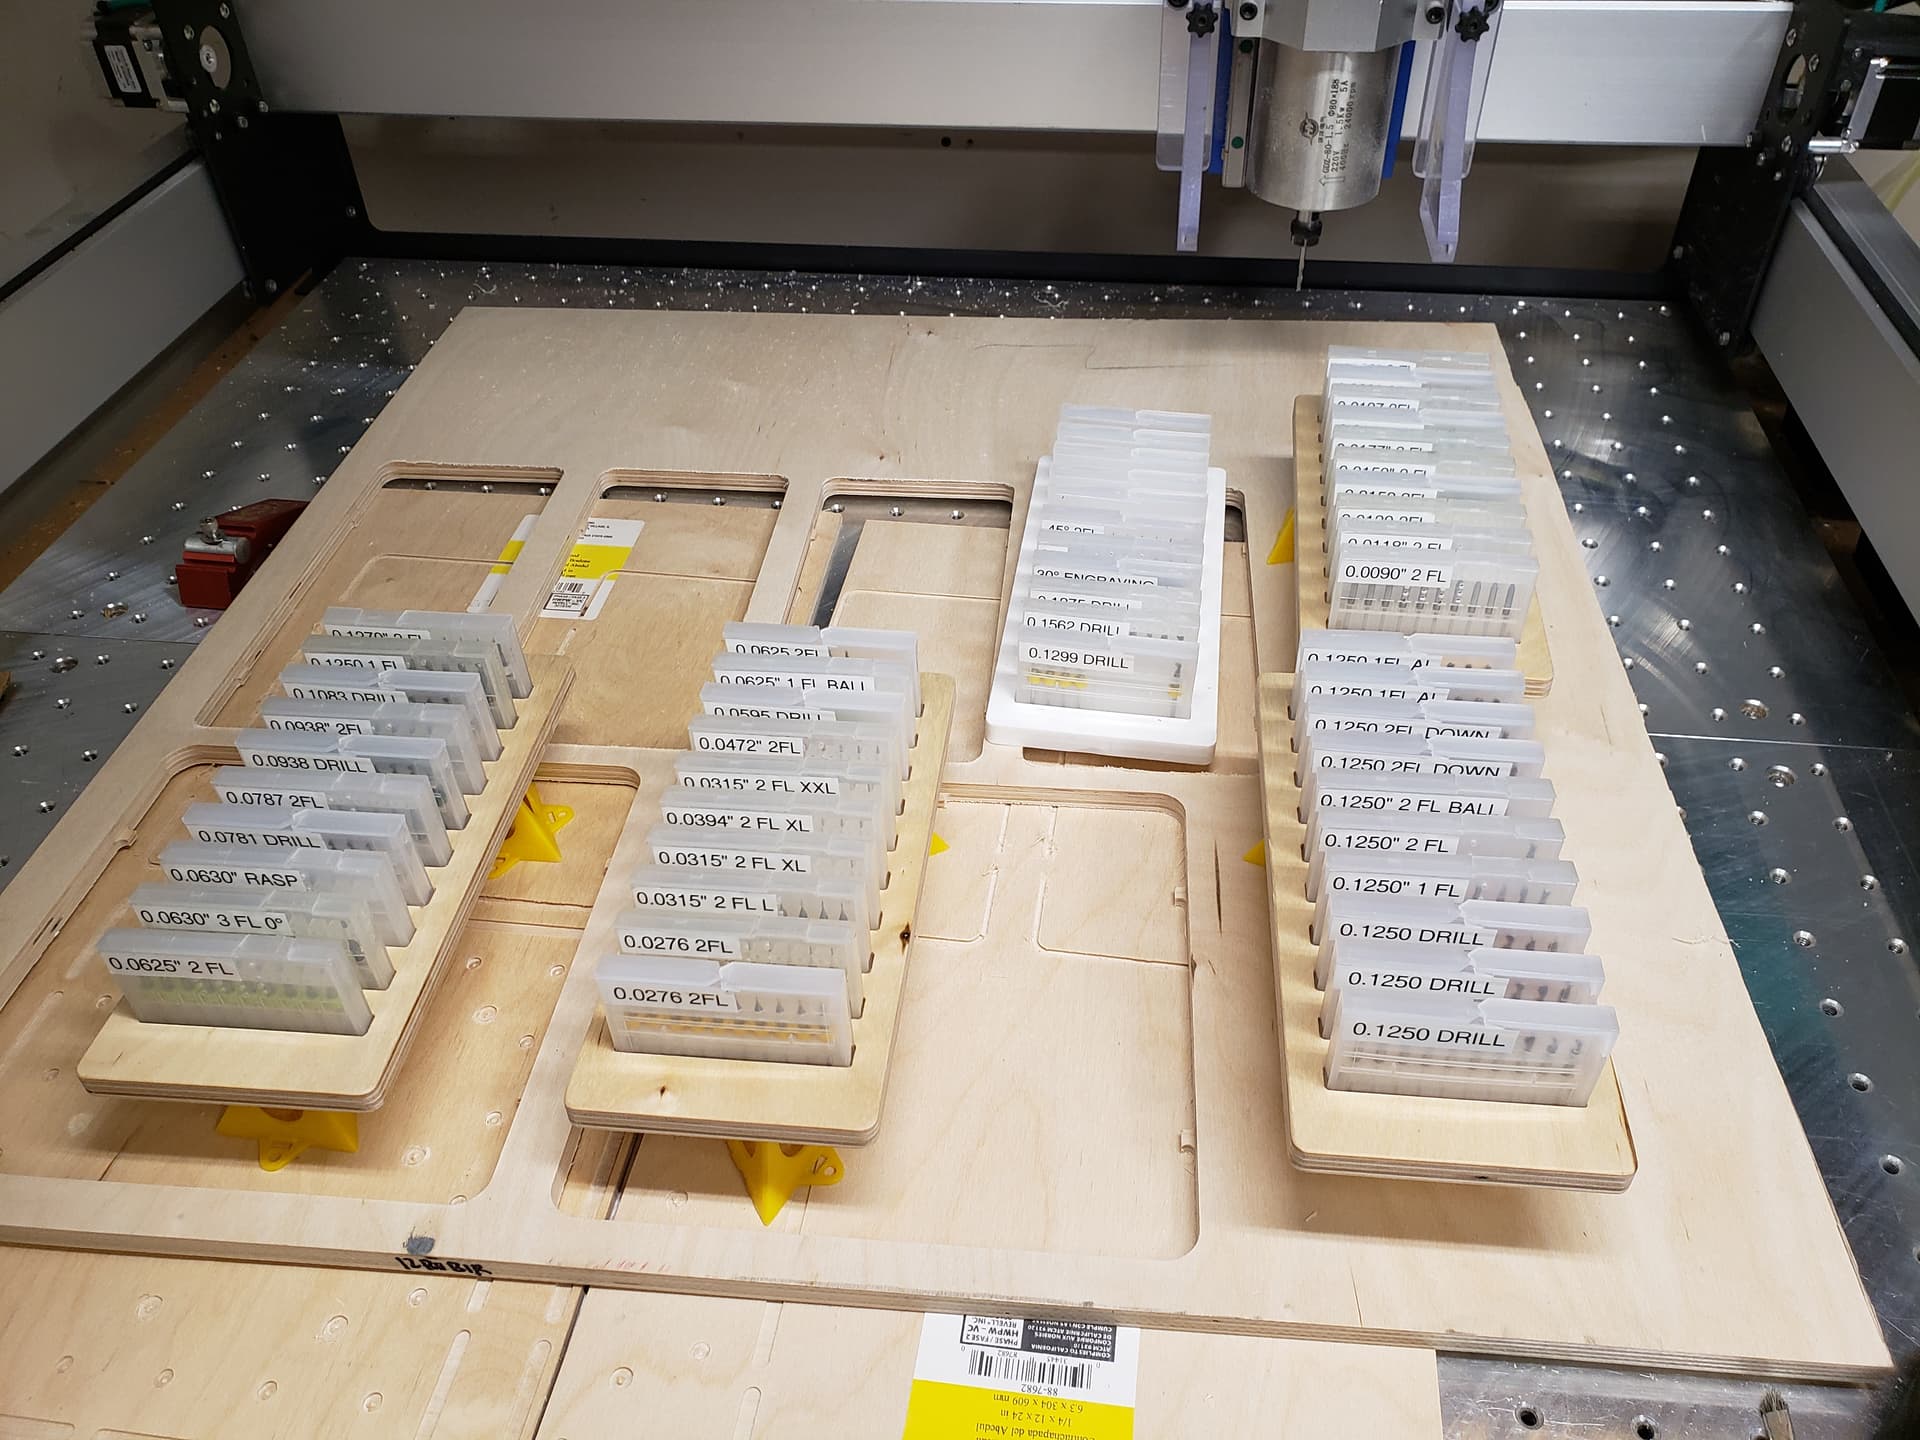
For instance, these 0.0157" bits are only $17.50 for a pack of 5, or $3.50/ea. I usually buy bits 10 at a time and put them in little plastic holders that hold 10.
Depending on what I am cutting I keep my feed in the 10-20 IPM and speed at 24K RPM. For cut depth, it’s 0.005" for aluminum, and no more than 0.01" for plastic or wood. Those are good starting points, and you can increase them until you start snapping bits.
I got the #501 and it worked out. I ended up using advanced vcarve with the #501 and a 1/32 endmill which worked out (image attached). A couple questions. The #501 was recommended a couple times in the thread :
Would there be any difference/advantage with the #501 vs a regular 60 or 20 degree vcarve bit ?
The #502 looks to be a sharper taper angle 20 degrees vs 30 for the #501, is there a disadvantage to that vs the #501 ?
Only disadvantage of the 502 is that it’s less durable. The finer tip is more prone to breakage if you get your initial cut depth or settings wrong, 501 is more forgiving. And if your material isn’t perfectly flat, that’s gonna give you issues. In plastic it’s probably not a big deal. Aluminum or brass are where that’s most likely to lead to a damaged tool/broken tip.