I’m making a few dice boxes for some of our son’s friends and they would like the bottom inside of each box to have a felt lining. I’ve done this before, but I’m not convinced there isn’t an easier or better way to do it.
Previously I cut an 1/8" insert, glued and cut the felt to go around the edges and then glued the whole thing in. It looks fine, but the process was a bit clunky and time-consuming.
I was thinking this time I could glue the felt to the stock and let it dry completely before cutting it, but I have visions of a massive snag and nest winding up and ruining everything.
I also thought of glueing the felt directly to the bottom of the box and then using a sharp edge to cut it out, but I have low confidence in my abilities to get clean edges cut without ripping the whole thing out.
I have done dice boxes and trays prior to having the CNC.
For the boxes I did use flocking. colored glue and then flock the inside.
For the trays I used barge contact cement and leather.
Thank you both! I think I will give the flocking a try. The process seems pretty simple and the gallery projects on their site all look good, as you would expect, but they look like the results I want to get.
Flockit looks interesting… need to look into that more. I’ve used 3M Super 77 for gluing felt into boxes. Cut the felt to size, spray the back of the felt, and then place it in the box. Put a long strip of tape across the front of the felt to make it easy to pick up and align in the box (kind of like putting on a phone screen protector).
I recently tried some adhesive backed felt. I cut the profile with a diode laser (scissors will work - but where is the fun in that). It worked well, especially on “odd” shaped profiles.
I like the suggestion from Dan on using tape to get into place. I will have to try that next time. My eye/hand coordination isn’t what it used to be.
Your dice boxes may be too small for this but I make a lot of boxes. I used to make captured box bottoms and it is very hard to get velvet or felt to fit properly.
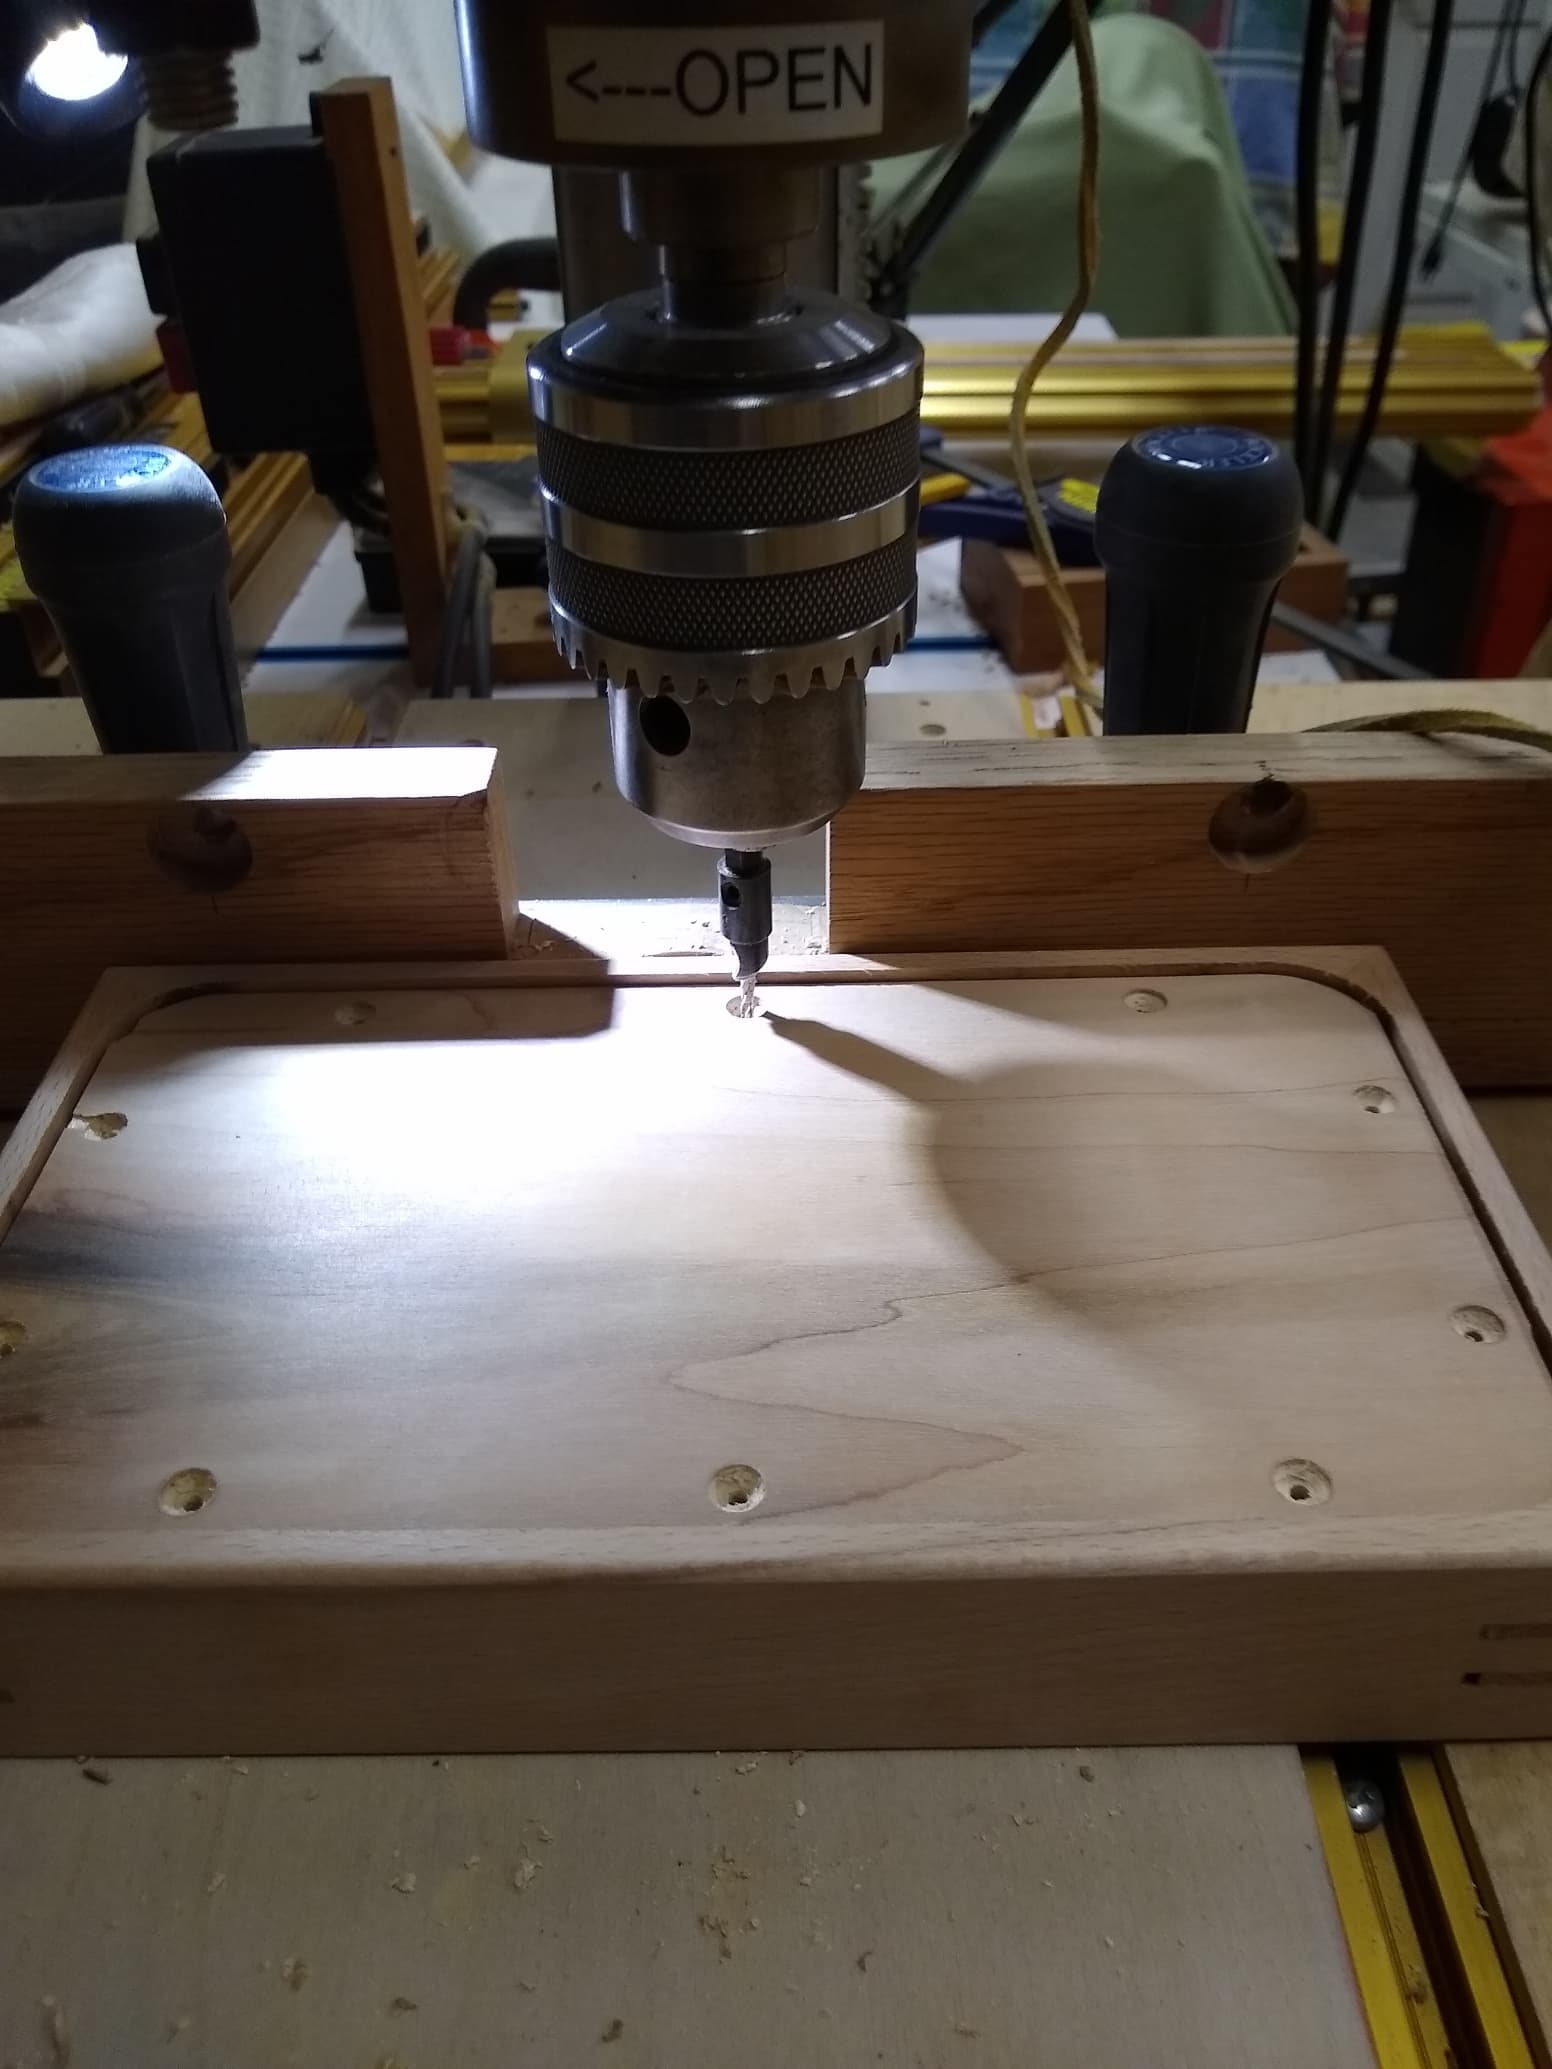
What I do now is to rabbet out the bottom and cut a piece of plywood and put screws that are countersunk. Then I can apply 3M 77 adhesive to the plywood bottom and glue the material in. Then I use a rotary knife or an exacto to cut the fabric to fit the plywood. Then I insert the plywood into the bottom and it makes a very nice fit. The extra benefit is if the fabric every needs replacing you just remove the bottom and replace the fabric.
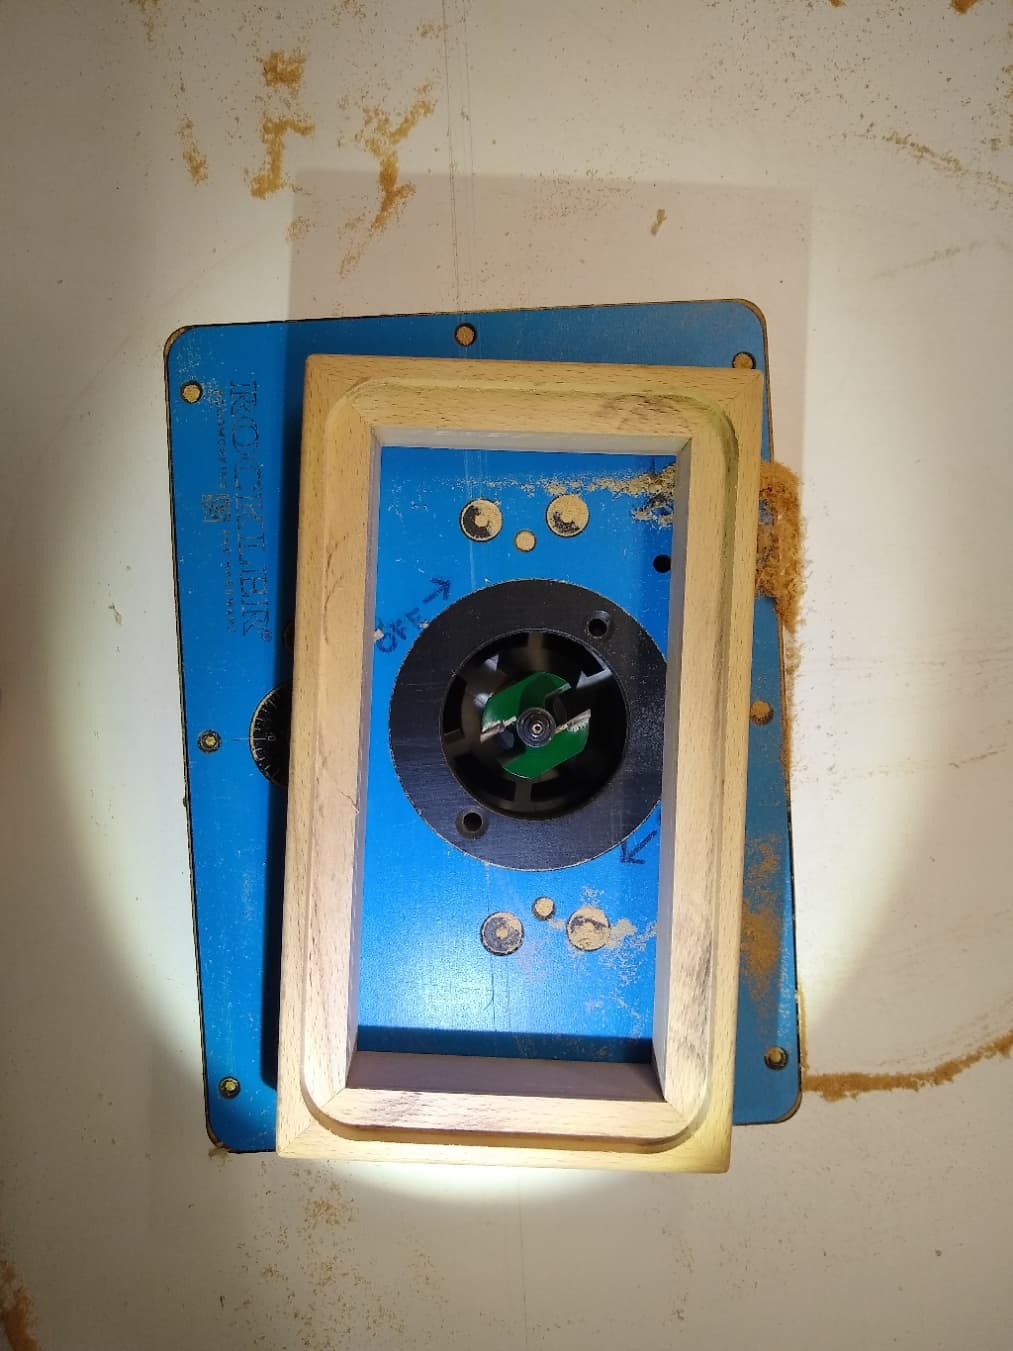
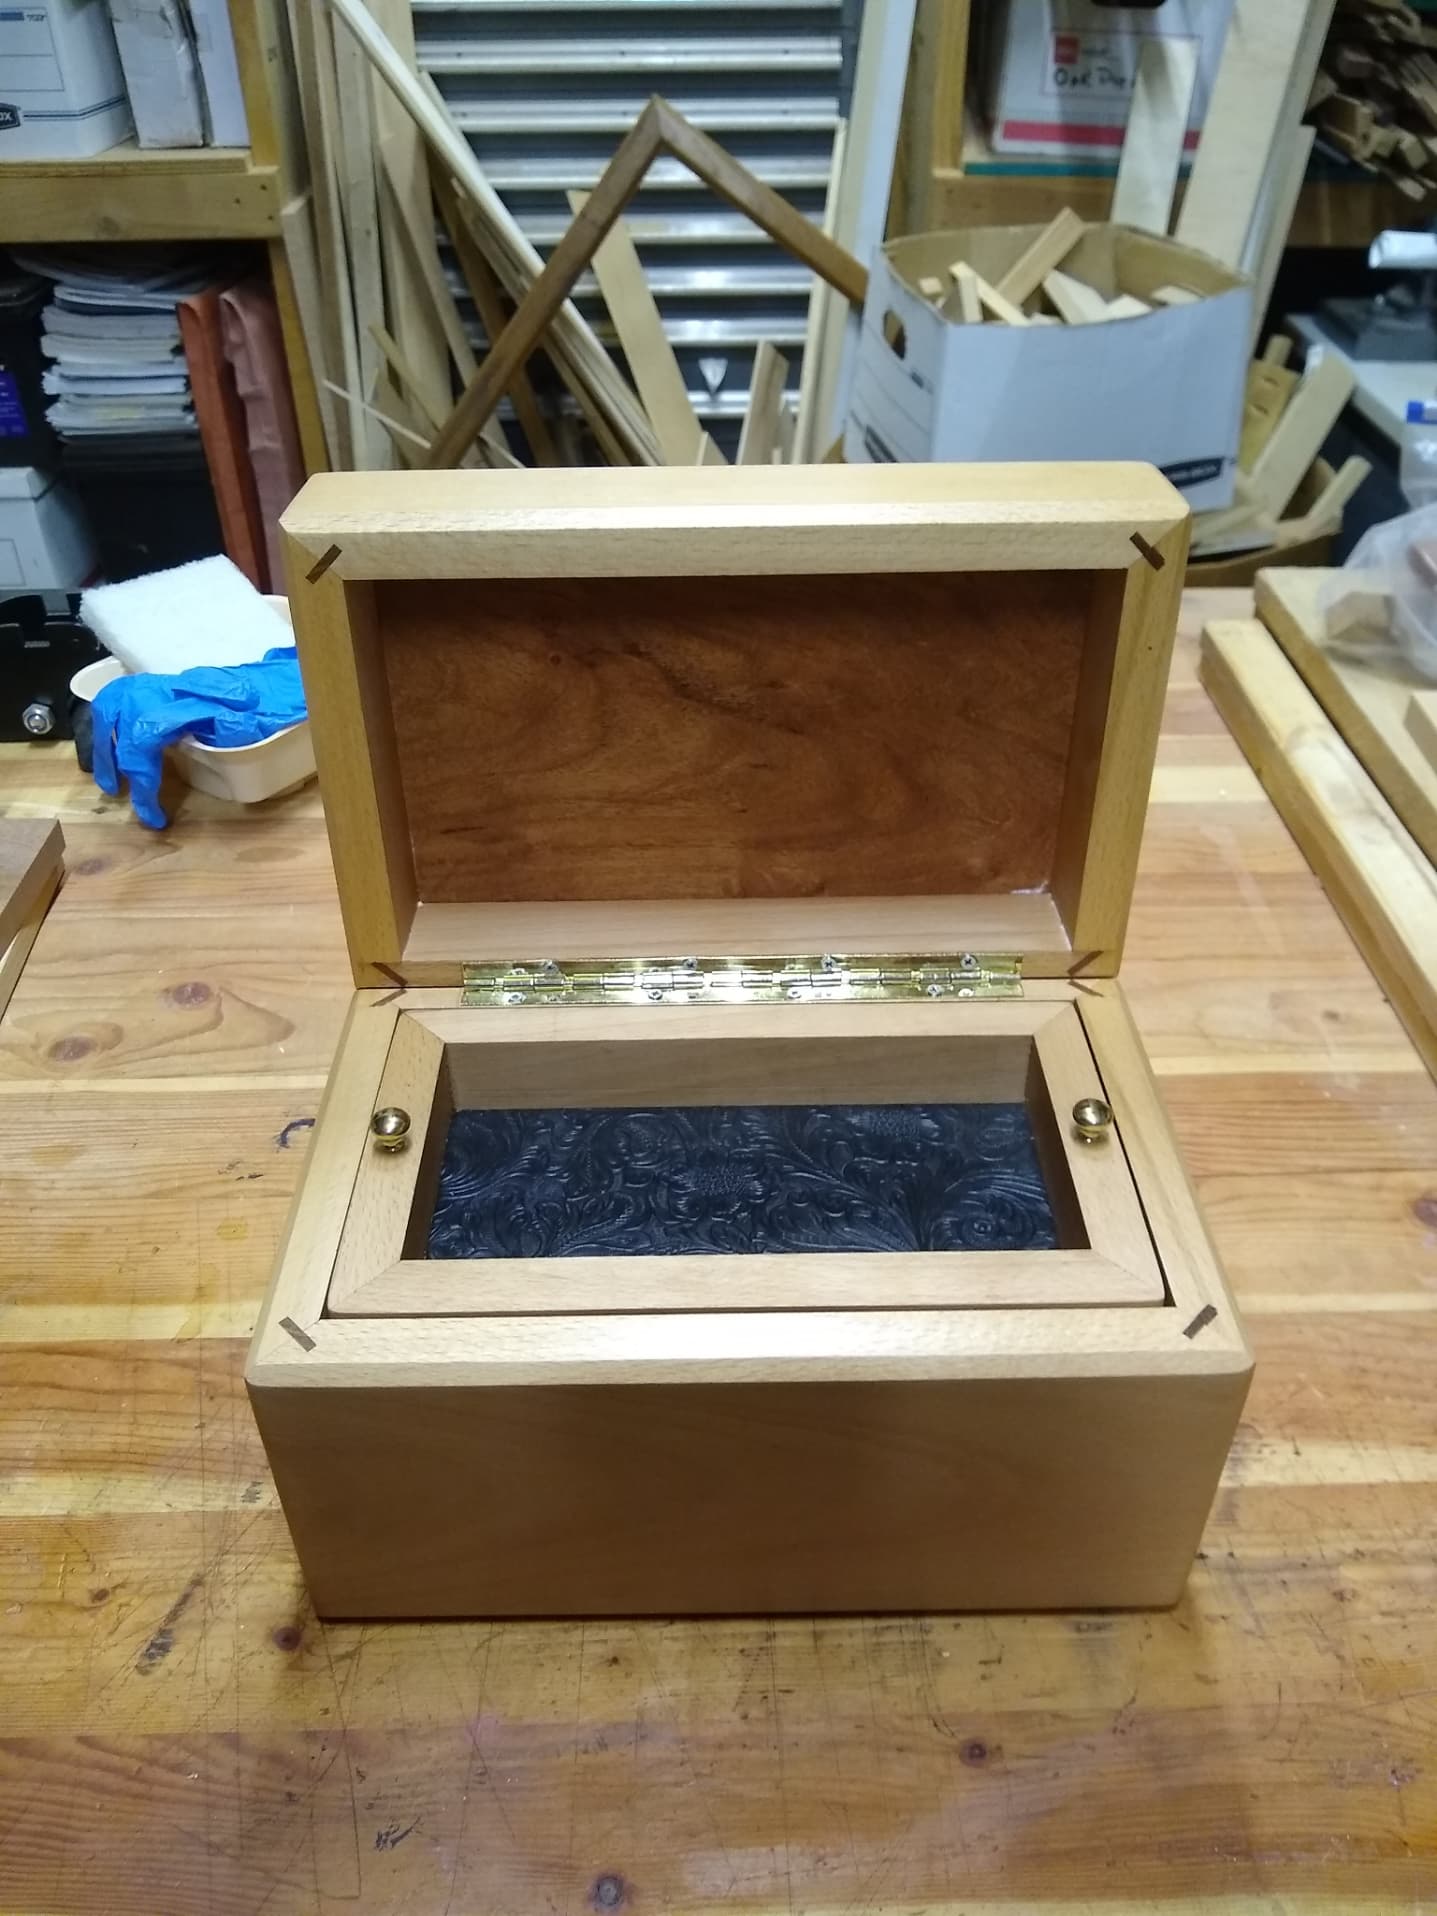
This is an insert for a jewelry box. I make the rabbet .5" wide and .25" deep.
Here is the jewelry box insert with a fake leather on the bottom of the insert. It fits perfectly. Again this may not be practical for a really small box or a box made from a board but keep it in mind.
Alignment tape on the topside of the felt is a great idea. I’ll have to just dream about the laser cutter though, I’m dangerous enough with the router.
Guy, the jewelry box is really nice, but you are right, it would be overkill for my project. I’ll keep that in mind for future projects though.
I think I’ll try flocking to see how it goes. Haven’t decided if I’ll flock an insert for just the bottom (attach with Velcro or magnets so it can be replaced), or put it directly on the box interior covering the walls as well (leaning this way).
Rich, I just picked up an Atomstack X7 and have not regretted it It was $450 all in. The Comgrow 10W was on sale for $280 with a discount code a few weeks ago. The Xtool and Sculpfun are two other machines that get high marks in reviews. Thought about moving up to a 20W or the new 30W diode lasers, but decided the 10W will mark and cut everything I wanted. Got me started at a much better price point.
I have used heavy card stock and cut it so it fits perfectly and then covered that with material for a bottom. Once you get the card stock fitting perfectly and the material stuck on it you can trim it with scissors and then glue that into the bottom of the box. It works but when fitting the card stock is the paper can fit so good it is hard to remove. so add a little tape handle to lift it out with. After it is properly fitted and before you glue it in place cut off the tape handle.
I use self adhesive Baise felt in various colours. I can either stick to the base panel before final glue up, or cut small strips frm the edges of the greasproof paper. then gently nudge into position with tweezers and stick down edges.
If it’s a large open box, remove all the backing. For outside underbase, full stick and burnish press the edges to make sure it doesn’t want to peal off.