I made this as a test cut, but it evolved into a Christmas present.
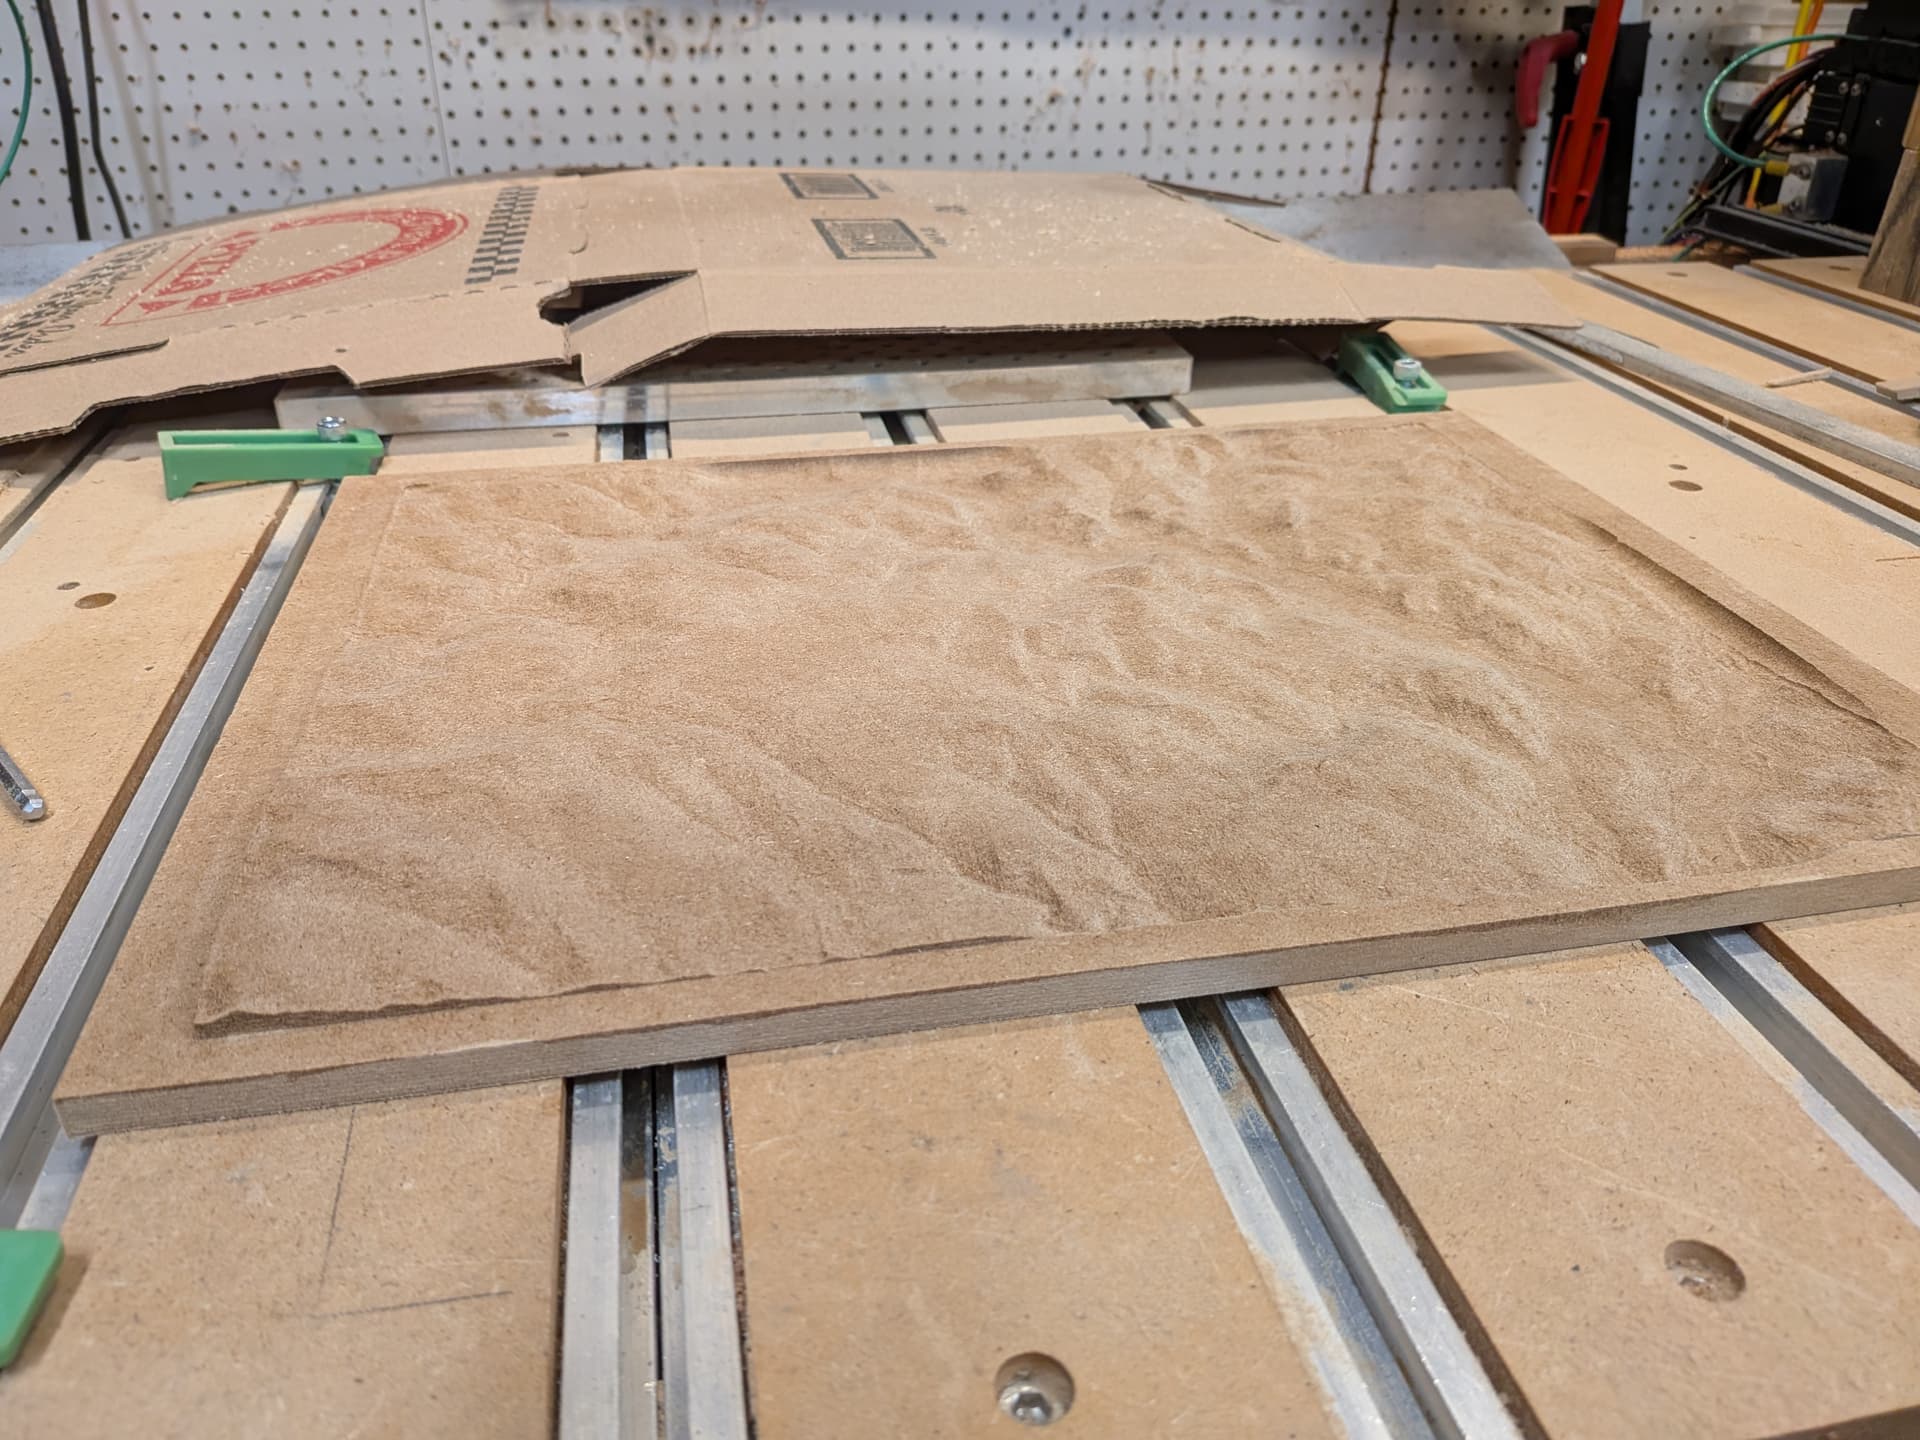
It looks good under a light, but flat when not carefully lit.
What is a good color/finish to use that shows the terrain easily ?
I made this as a test cut, but it evolved into a Christmas present.
It looks good under a light, but flat when not carefully lit.
What is a good color/finish to use that shows the terrain easily ?
I know you would have to machine another piece but it would be best to test a few different finishes to get the desired shading.
I think your best bet is to increase the contrast between high and low spots.
Maybe borrow from the model painters and use a dark wash over the whole thing? A thinned wash will pool in the low spots increasing pigment concentration there. At least when applied at the miniature scale, it’s a very low effort, simple to implement method for popping contrast.
My biggest issue with committing to these sorts of “throw it on and pray” approaches come from the engineer in me. I want it exactly how I want it…that said, I’ve never been disappointed in the results of a dark wash on anything I’ve worked on from mini painting to brass black on metal arts. It just works ![]()
But yeah, anything to increase contrast. Maybe throw a piece of mantle trim on the bottom and put an upwards facing light strip in it? Intentionally throw shadow up the piece.
Certainly a little more involved but it’s well within your capability if you feel like jumping in.
Whatever you end up doing, that’s one hell of a Christmas present. Awesome job ![]()
I am going to cut a few more, and this piece has risen from the ashes ( pre firewood status ).
Contrast is the key. I like the pooling idea ( I am lazy ). I have sanding sealer on it now.
It’s a tough one. In nature hilly terrain looks more dramatic with shadows being cast by a lower sun. High noon, look from above at a snow covered terrain and it won’t look as impressive; needs shadows.
The answer could be a glaze, but sanding sealer won’t be sealed enough for that type of treatment. A glaze sits on top of the finish, and when dry another layer is applied over it. With a glaze you can also “control” the darkened areas.
I was playing with different colors and found a glossy color showed edges better than a matte finish. I think I am going to try some glossy urethane.
On the fly testing …
Interesting, maybe the reflections from the surrounding environment extenuate/highlight the slopes at different angles and different sides catch different surroundings, much like side lighting. I might also give that ago next topo run.
I’d suggest anything higher gloss that will increase reflections. Wash wouldn’t likely work well as you don’t have creases or edges for it to flow into to highlight, and puddles in the bottom wouldn’t look natural. Washes tend to struggle with gradual, larger areas. If you are wanting to spend effort on it you could try to sort of zenithal highlight it, stand it on one edge and spray a light color at a downward angle, stand it on the opposite edge and spray downwards with a darker, might turn out interesting.