I tried my own file in meshcam as a first go, I zeroed the machine as per tutorials but it the measured the tool and started machining 2 mm above the stock. About half way through it did go into the stock a little.
Its screenshot 3 the top Z I have left Z at 3.5mm and also done Z at 0mm but still similar results?
Wherever you set the Program Zero, is where you touch the cutter down in Carbide Motion and set Z=0. In your screenshot, you are just setting program coordinate Z=0 at the top surface of the stock. So when you touch the premeasured cutter there, zero the Z in Carbide Motion and all will be well.
MeshCAM generates is gcode relative to the Program Zero you define.
I like to say MeshCAM defines the stock relative to the geometry, and the gcode relative to the stock. You can verify the Program Zero onscreen by the red/blue/green vector triad.
To help reinforce what @Randy said, I added 3mm on top and placed X/Y/Z zero in the middle (so it is obvious).
With the Z0 in MeshCAM on the top of stock, “touch off” machining Z0 by barely touching the top of stock with your end mill and declare this Z0 in Carbide Motion. Then away you go.
Good job, @timtom1! I see also you have earned the “milled into the fixturing” certificate. It is good that you have dealt with that early. But I see you might have used the visible tooling hole in an earlier attempt, which would have kept the screw head out of harm’s way. I have machined into tooling (including vises and parallels) on occasion, and there is nothing like that to keep me on my toes on later setups…
I see also you have earned the “milled into the fixturing” certificate.
I’m not afraid to say that I have this certificate too.
I also have the “I broke an end mill”, “I ruined a parallel”, “I had to hit the E-Stop”, “I slammed the machine into a boundary stop at full speed”, “I ran the spindle backwards and ground an end mill into the stock”, “I got the feeds and speeds wrong”, “I forgot to turn on the vacuum, milled MDF, opened the enclosure, stuck my head in and landed up coughing for an hour” and other sundry certificates.
Side A perfect, turned the piece over to do side B started off great roughing was fine, added the finishing tool and it got half way through and stopped the tool was still spinning but the machine wouldn’t move.
So I tired to restart it but I ended up cutting through the supports and the piece broke…
Will try again on Saturday.
On meshcam using the two sided option when you save the tool path it pops up to save twice I assume one is top and the other is bottom?
Previous to this i’ve been using the 3 axis option and flipping on the Y axis…


 sorted my mistake out and cut this doesn’t look like much as it was on a scrap piece of wood but it’s side A of a keel piece
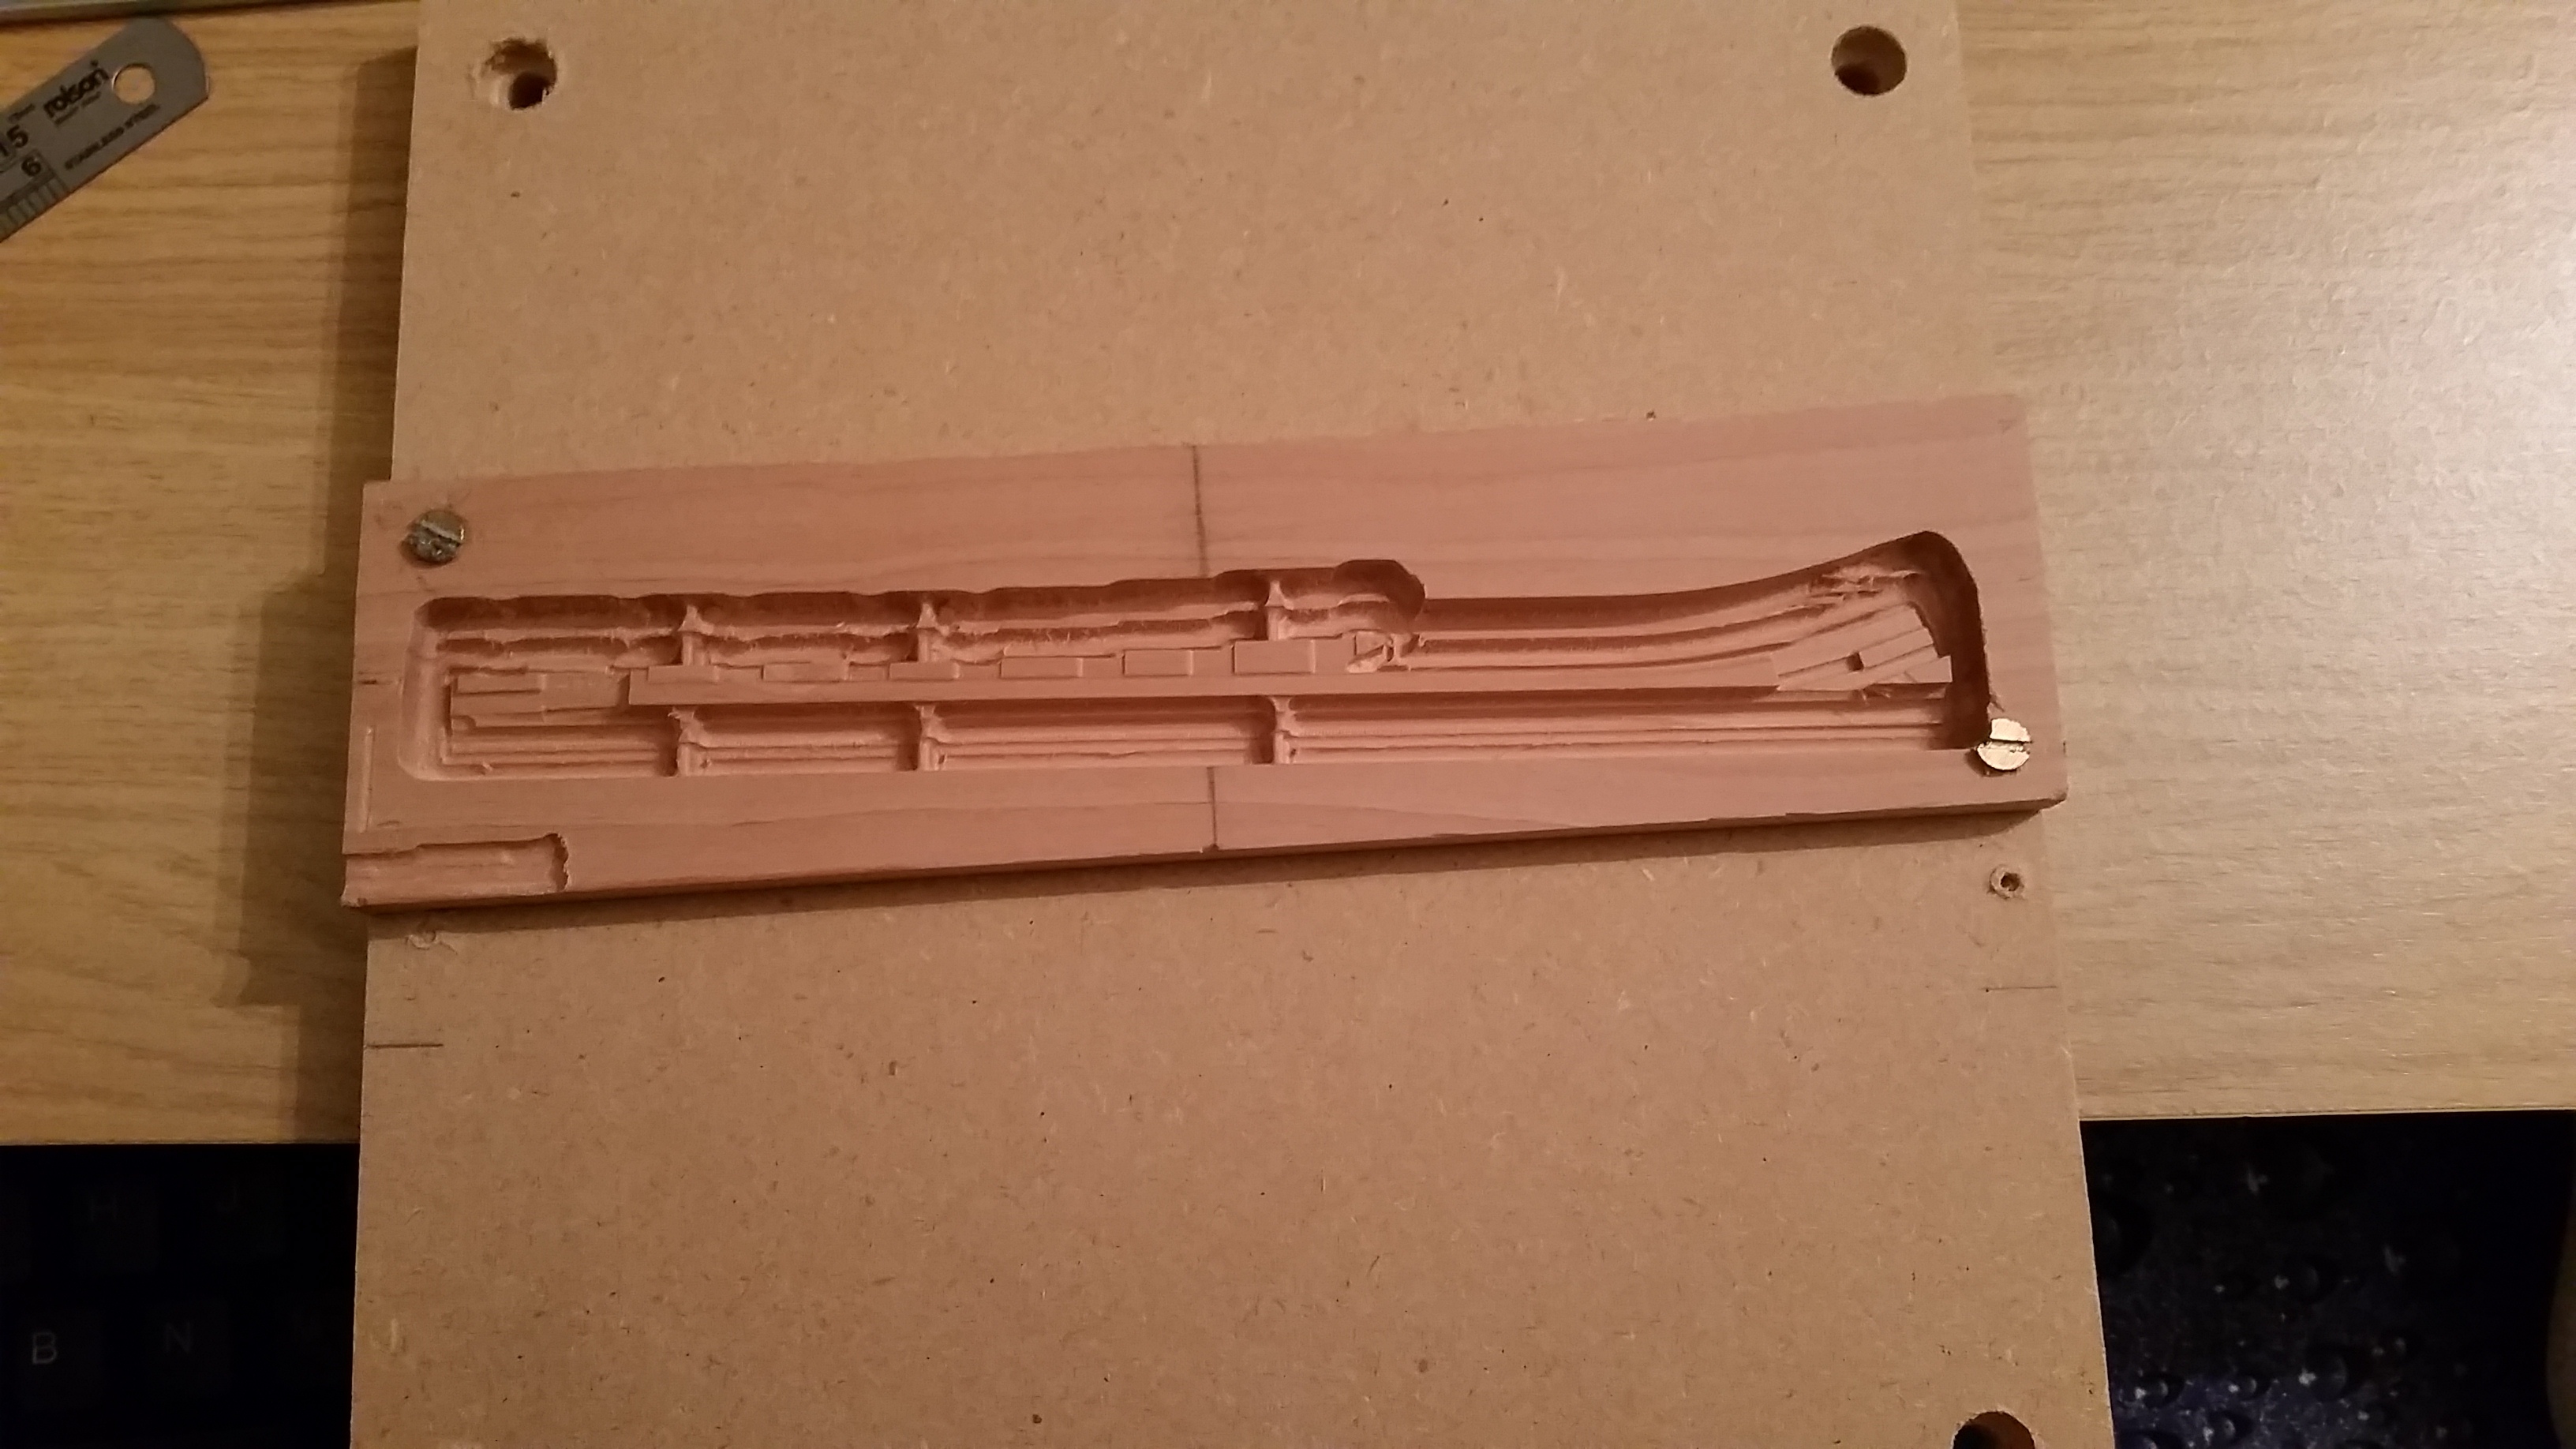
 But I see you might have used the visible tooling hole in an earlier attempt, which would have kept the screw head out of harm’s way. I have machined into tooling (including vises and parallels) on occasion, and there is nothing like that to keep me on my toes on later setups…