Let me start by saying working with Carbon Fiber is hazardous, heres a link that gets to the point quickly;
https://www.monash.edu/ohs/information-and-documents/workshop-safety/carbon-fibre-composites-ohs-information-sheet
Ok, lets continue.
Making Carbon Fiber parts for Drones or photography rigs on the Shapeoko is very tempting,
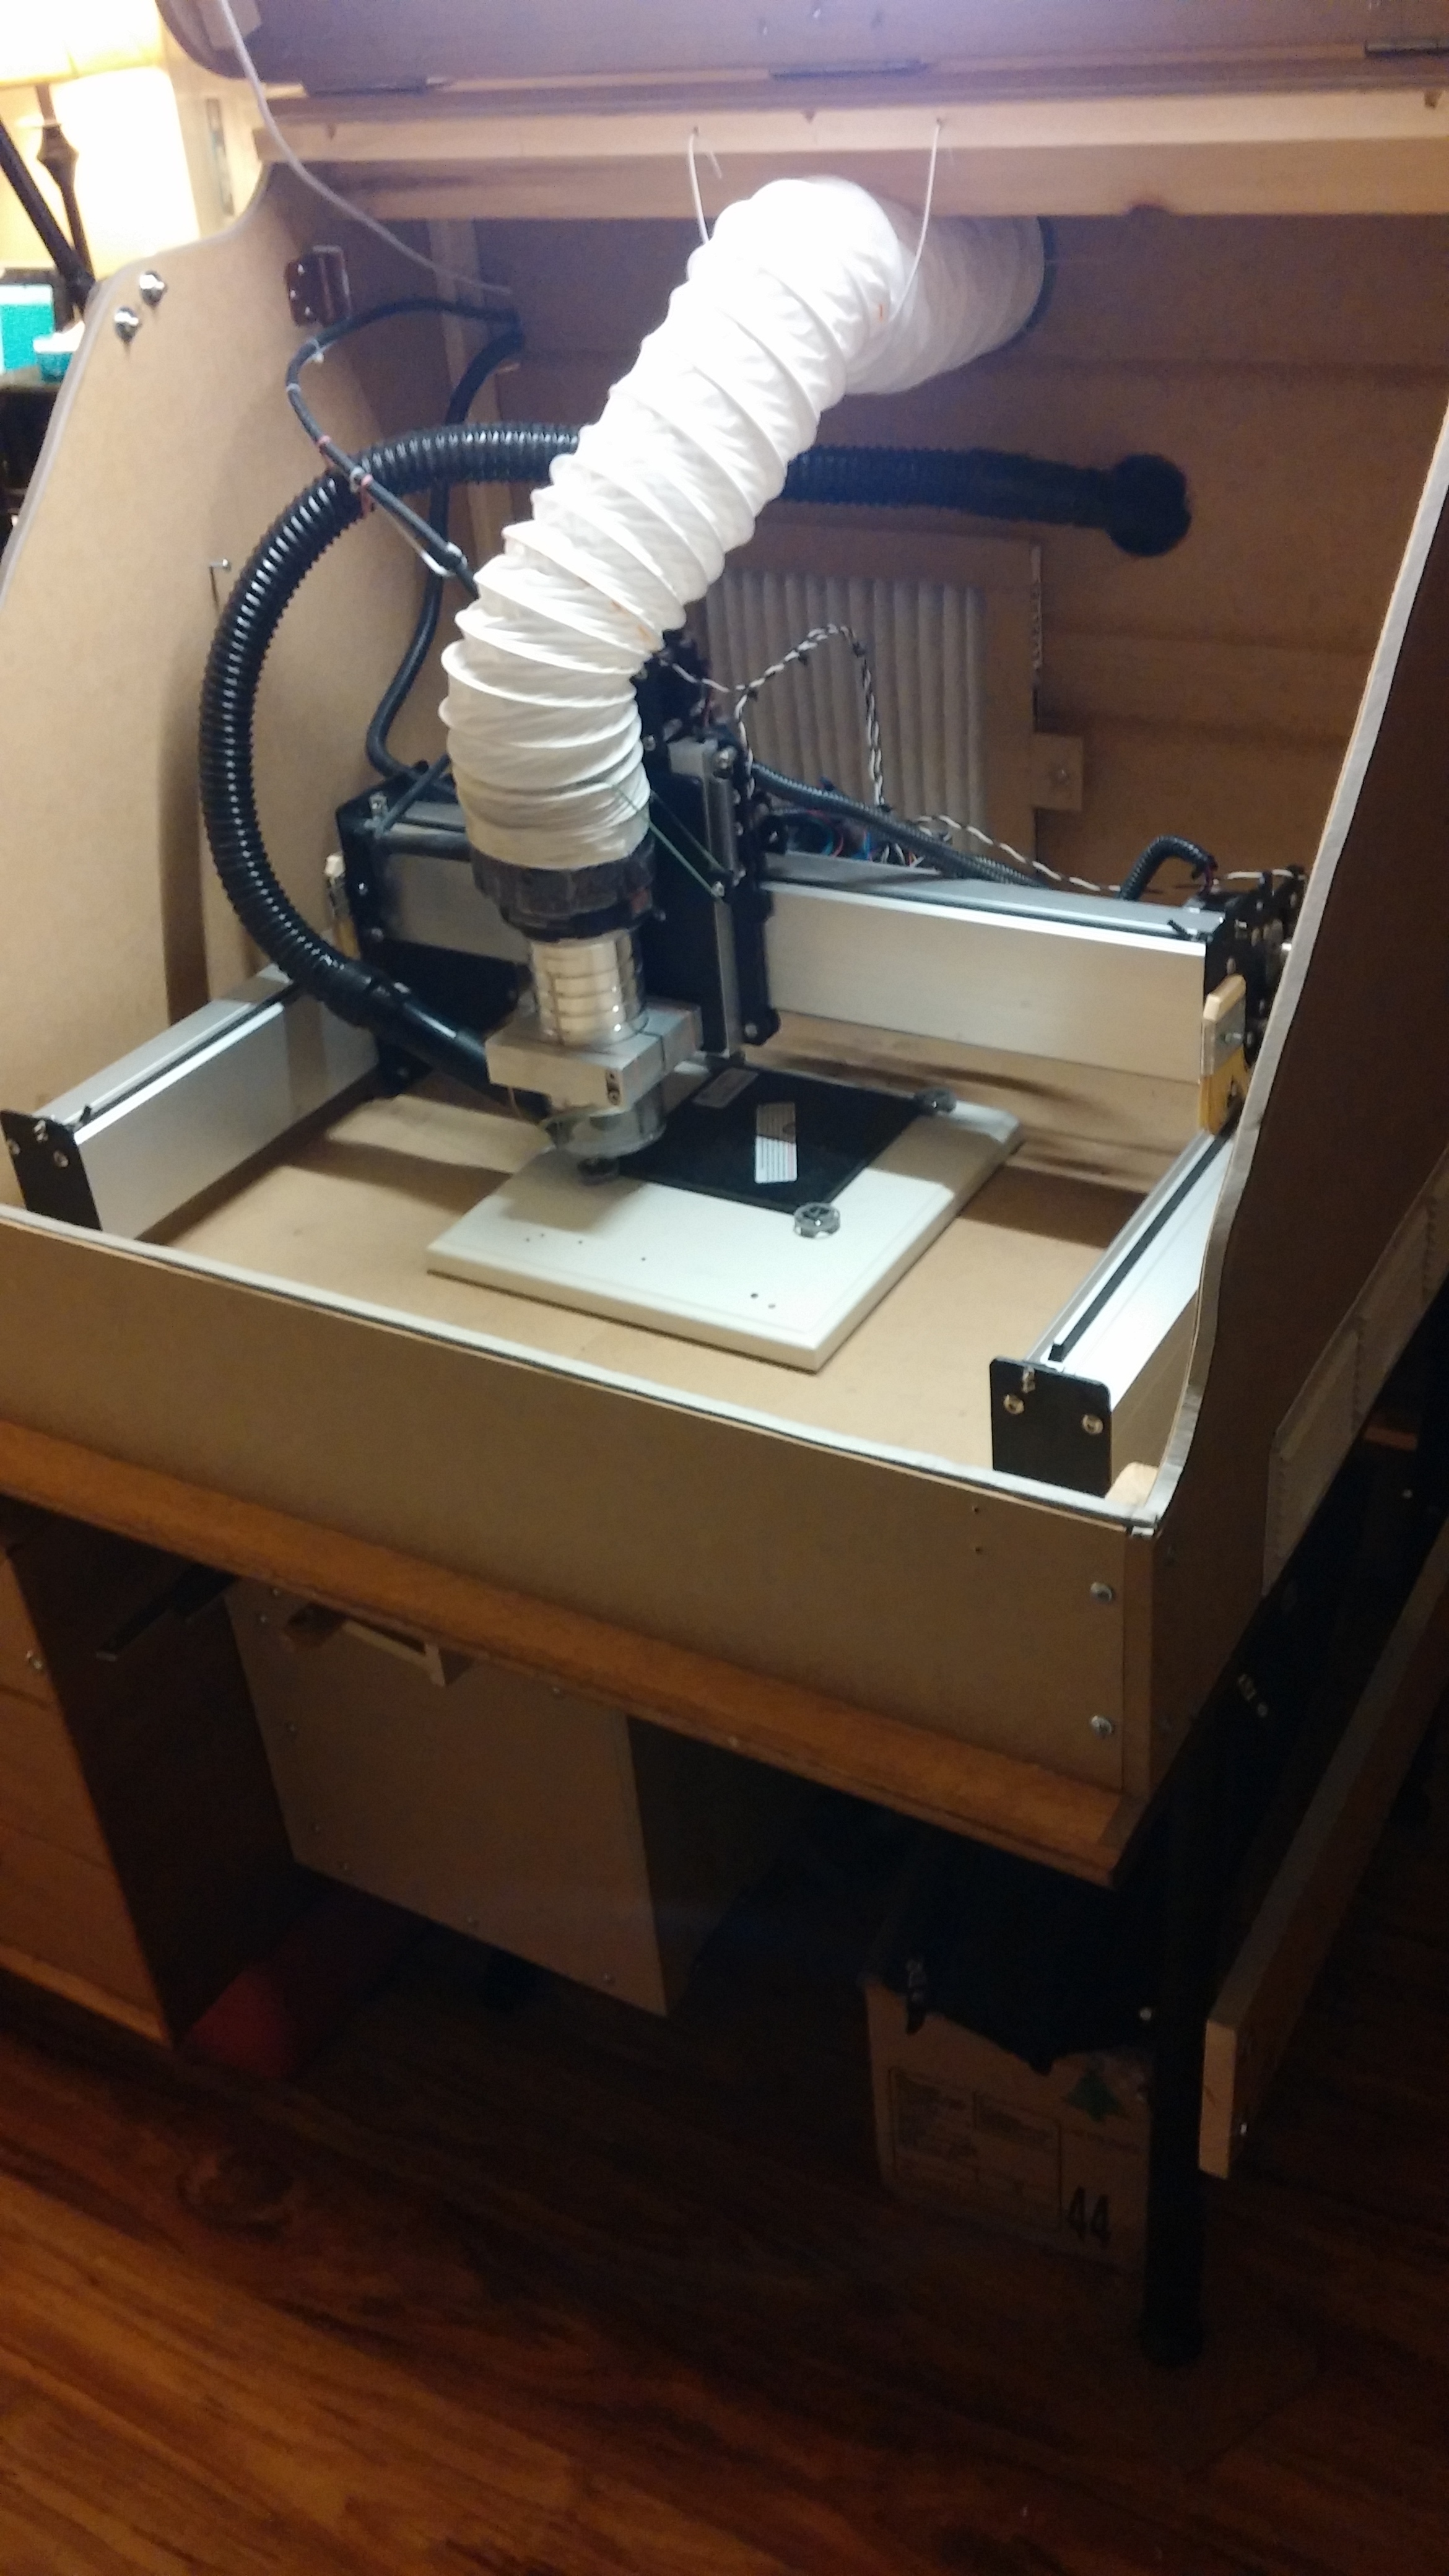
I wanted to test a method to cut CF on the Shapeoko with the Dewalt 611 without building an airtight HEPA flltered air management system.
I tested this method first on the Nomad, which doesnt have the airflow issue due to the brushless spindle, and it worked well enough for me to attempt the same method but on a larger scale with the Shapeoko.
Heres the short Video:
I have no way of measuring if any dust escaped the waterbath and was present in the air during or after cutting the CF sheet, so I cant recommend doing this. But it got done.
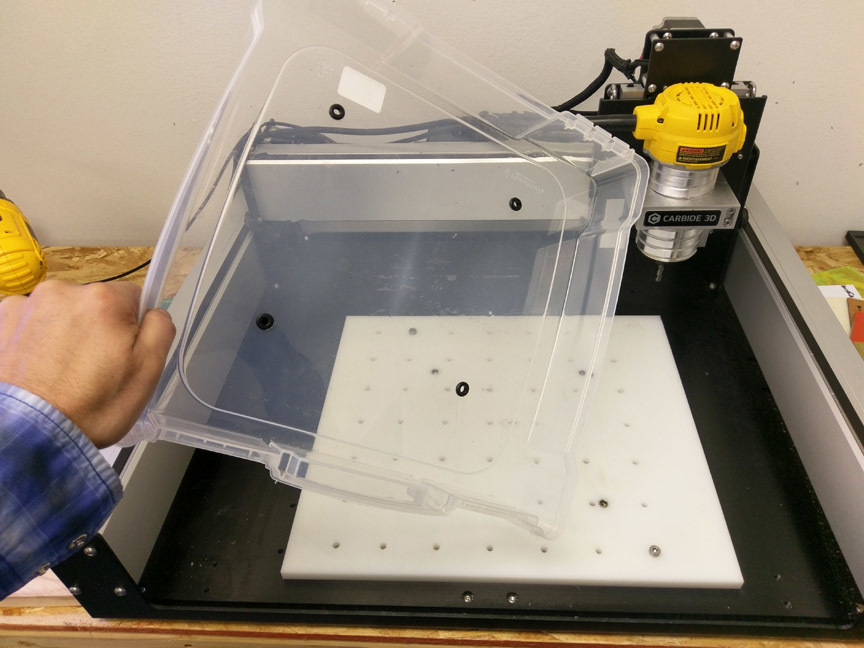
The Idea was to completely submerge the Carbon fiber sheet in water and test if the air from the Router would disturb the water to a point where the part was exposed to the air.
I purchased a plastic artbin tub from amazon:

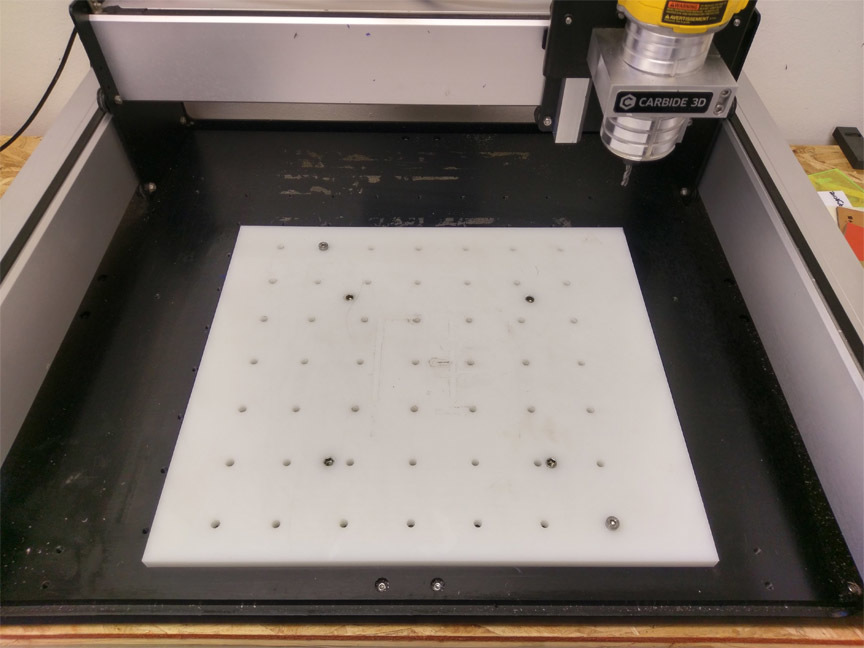
First I drilled and inserted m6 threaded inserts to match the Nomad threaded table mounting locations into my wasteboard:
Using the 7 inch spacing in the Nomad threaded table I drilled holes and inserted grommets into the floor of the plastic tub.
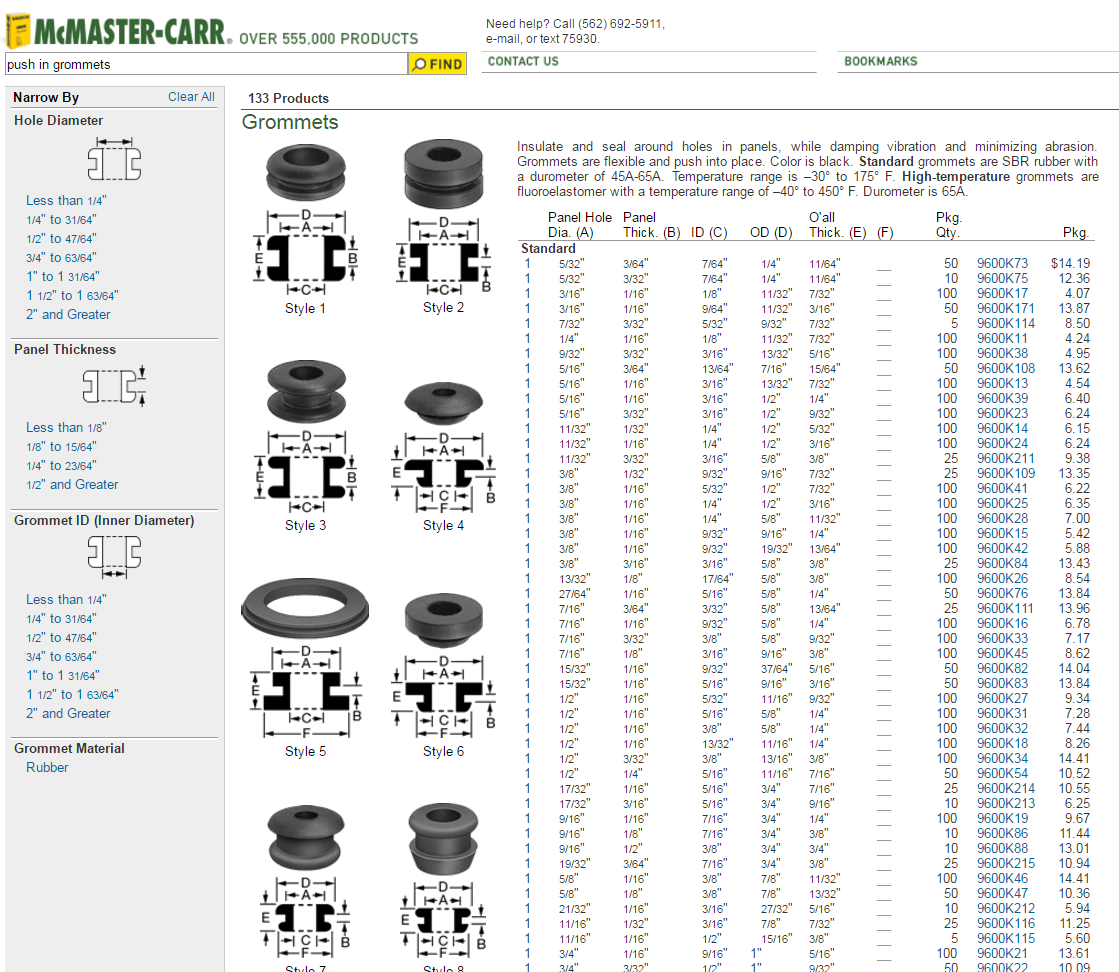
The grommets are from McMaster, but you can probably find these locally as well, basicly something like style 1;
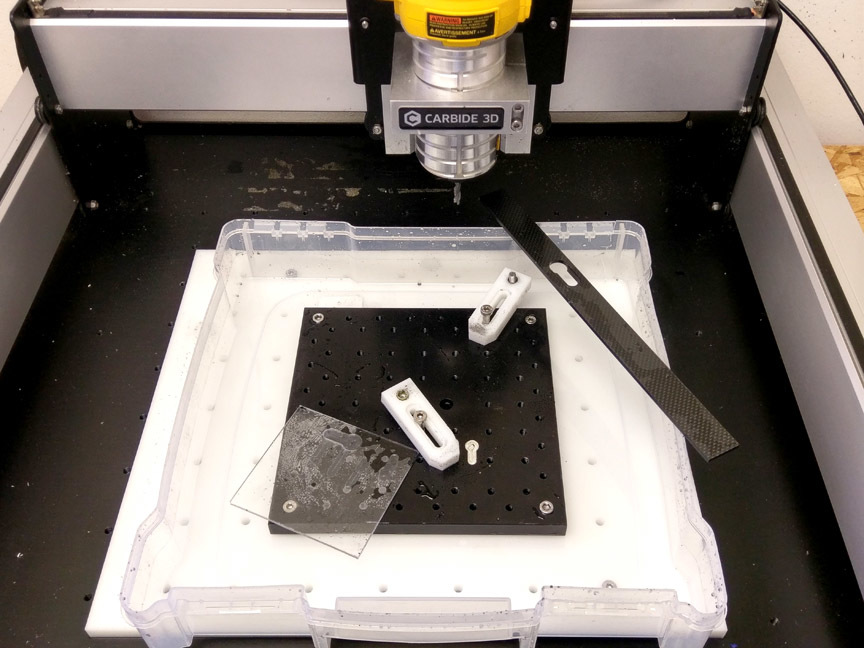
I attached the Nomad table to the Shapeoko bed, sandwiching the plastic tub in between.
I applied even pressure to each of the corner bolts and did a quick test of the levelness of the Nomad table with the cutter in the Dewalt, it was level, and I continued.

Using HDPE clamps to hold the 1/8th Carbon Fiber strip. Note the 1/8th acrylic being used as a spoil board to protect the Nomad threaded table.
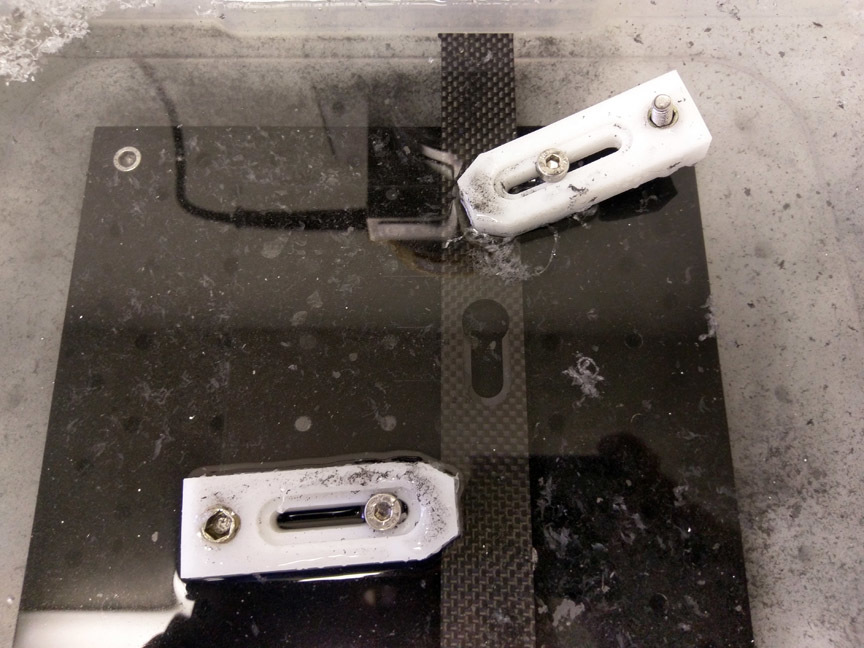
Job done, part still in the water.
Here is the final part and setup taken apart. Note what happens when you go through your spoil board into the table. ouch.
Pro Tip: when you don"t attempt this, reduce your tool retract hieght so the tool does not rise up out of the water.