Whilst waiting on some parts for my Shapeoko I’ve been getting bored, so I decided to make a house for my Shapeoko. I came along this post which looked kinda cool.
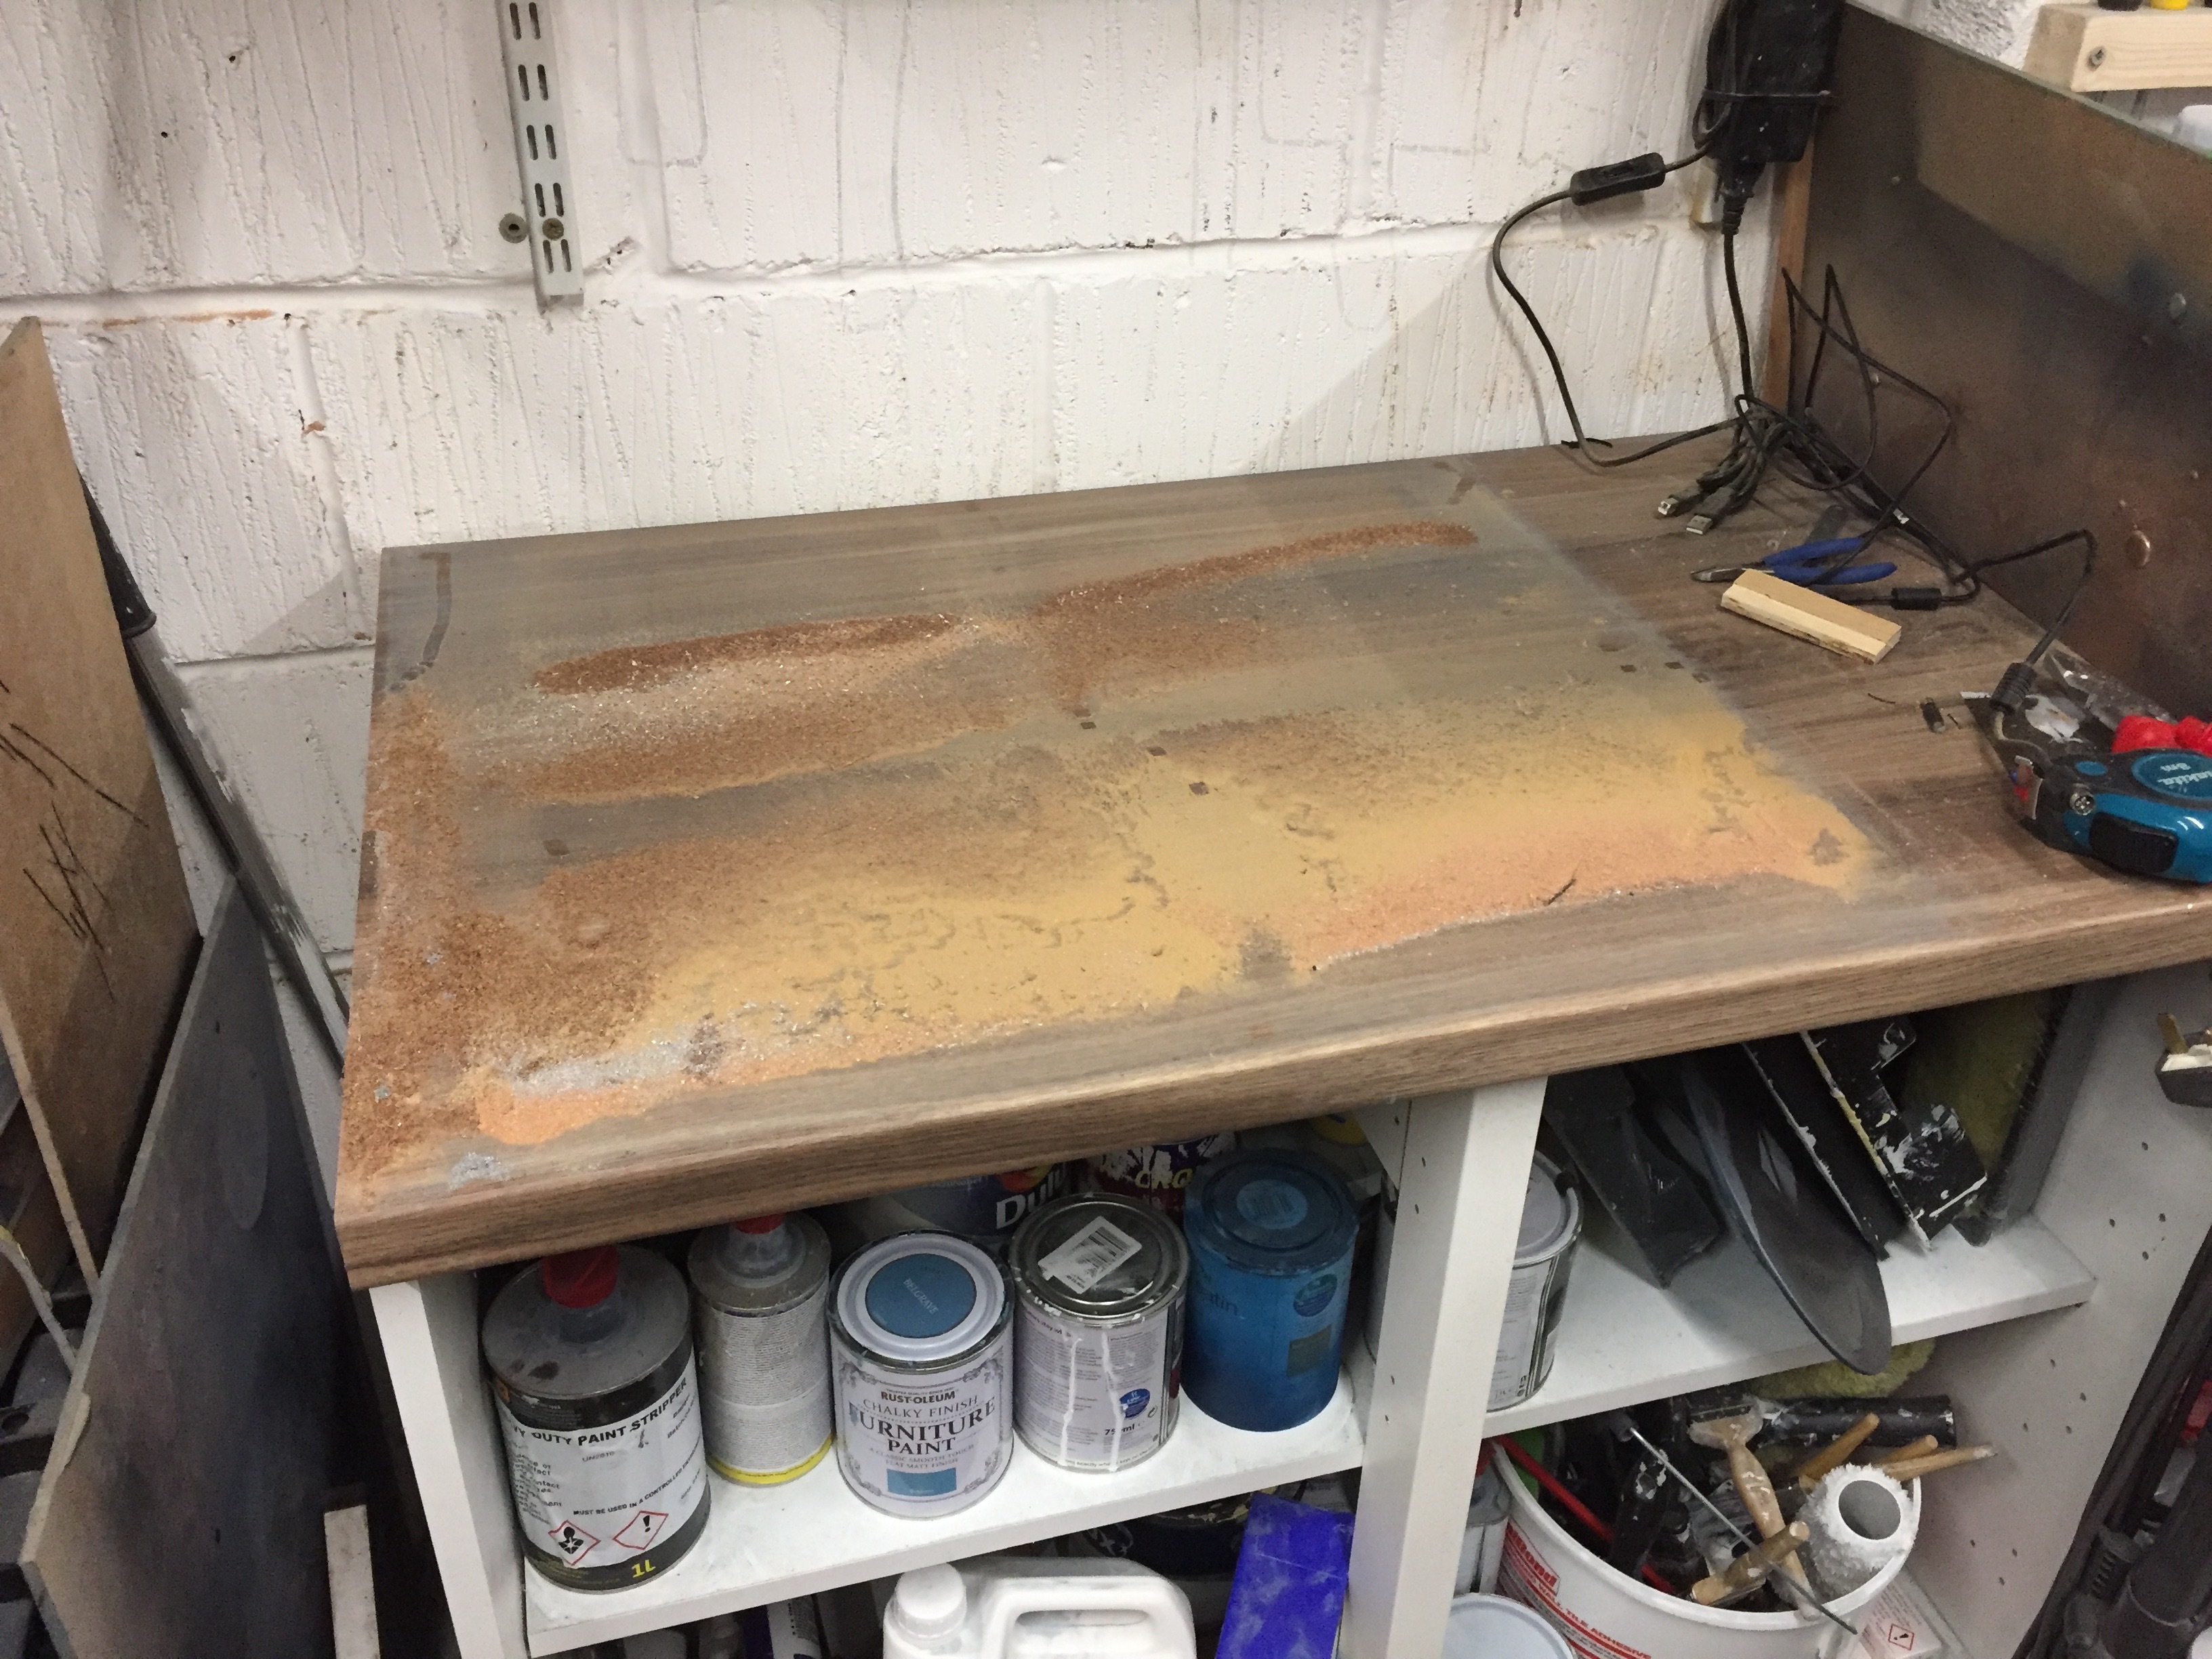
Many might ask why build one - well I have a garage not a workshop which means dust get everywhere - during the project I moved my unit to find this under it -
If it’s not from the shapeoko it’s from something else and I spend too much time cleaning up - dust boot would be good but these things are also very noisy a house will just take that high pitch out.
So I set upon my task. In the above thread it looked like an XL, I have a normal one, so measurements are allot smaller 76 wide, 74.5 front to back and 42 high.
Now I was originally going to put this in it’s existing home which meant I was tight on space - originally I was going to use 18mm ply, but opted for 12 - it’s plenty thick and strong for this. However in the end I made a table for this to sit on and could have used 18 - if I were to do it again I’d have sued 18…
I started off with a big sheet - and our local hardware store (B&Q) will cut wood down for you for free. I mapped out my pieces and took it to them.

Next step was to route some lips:
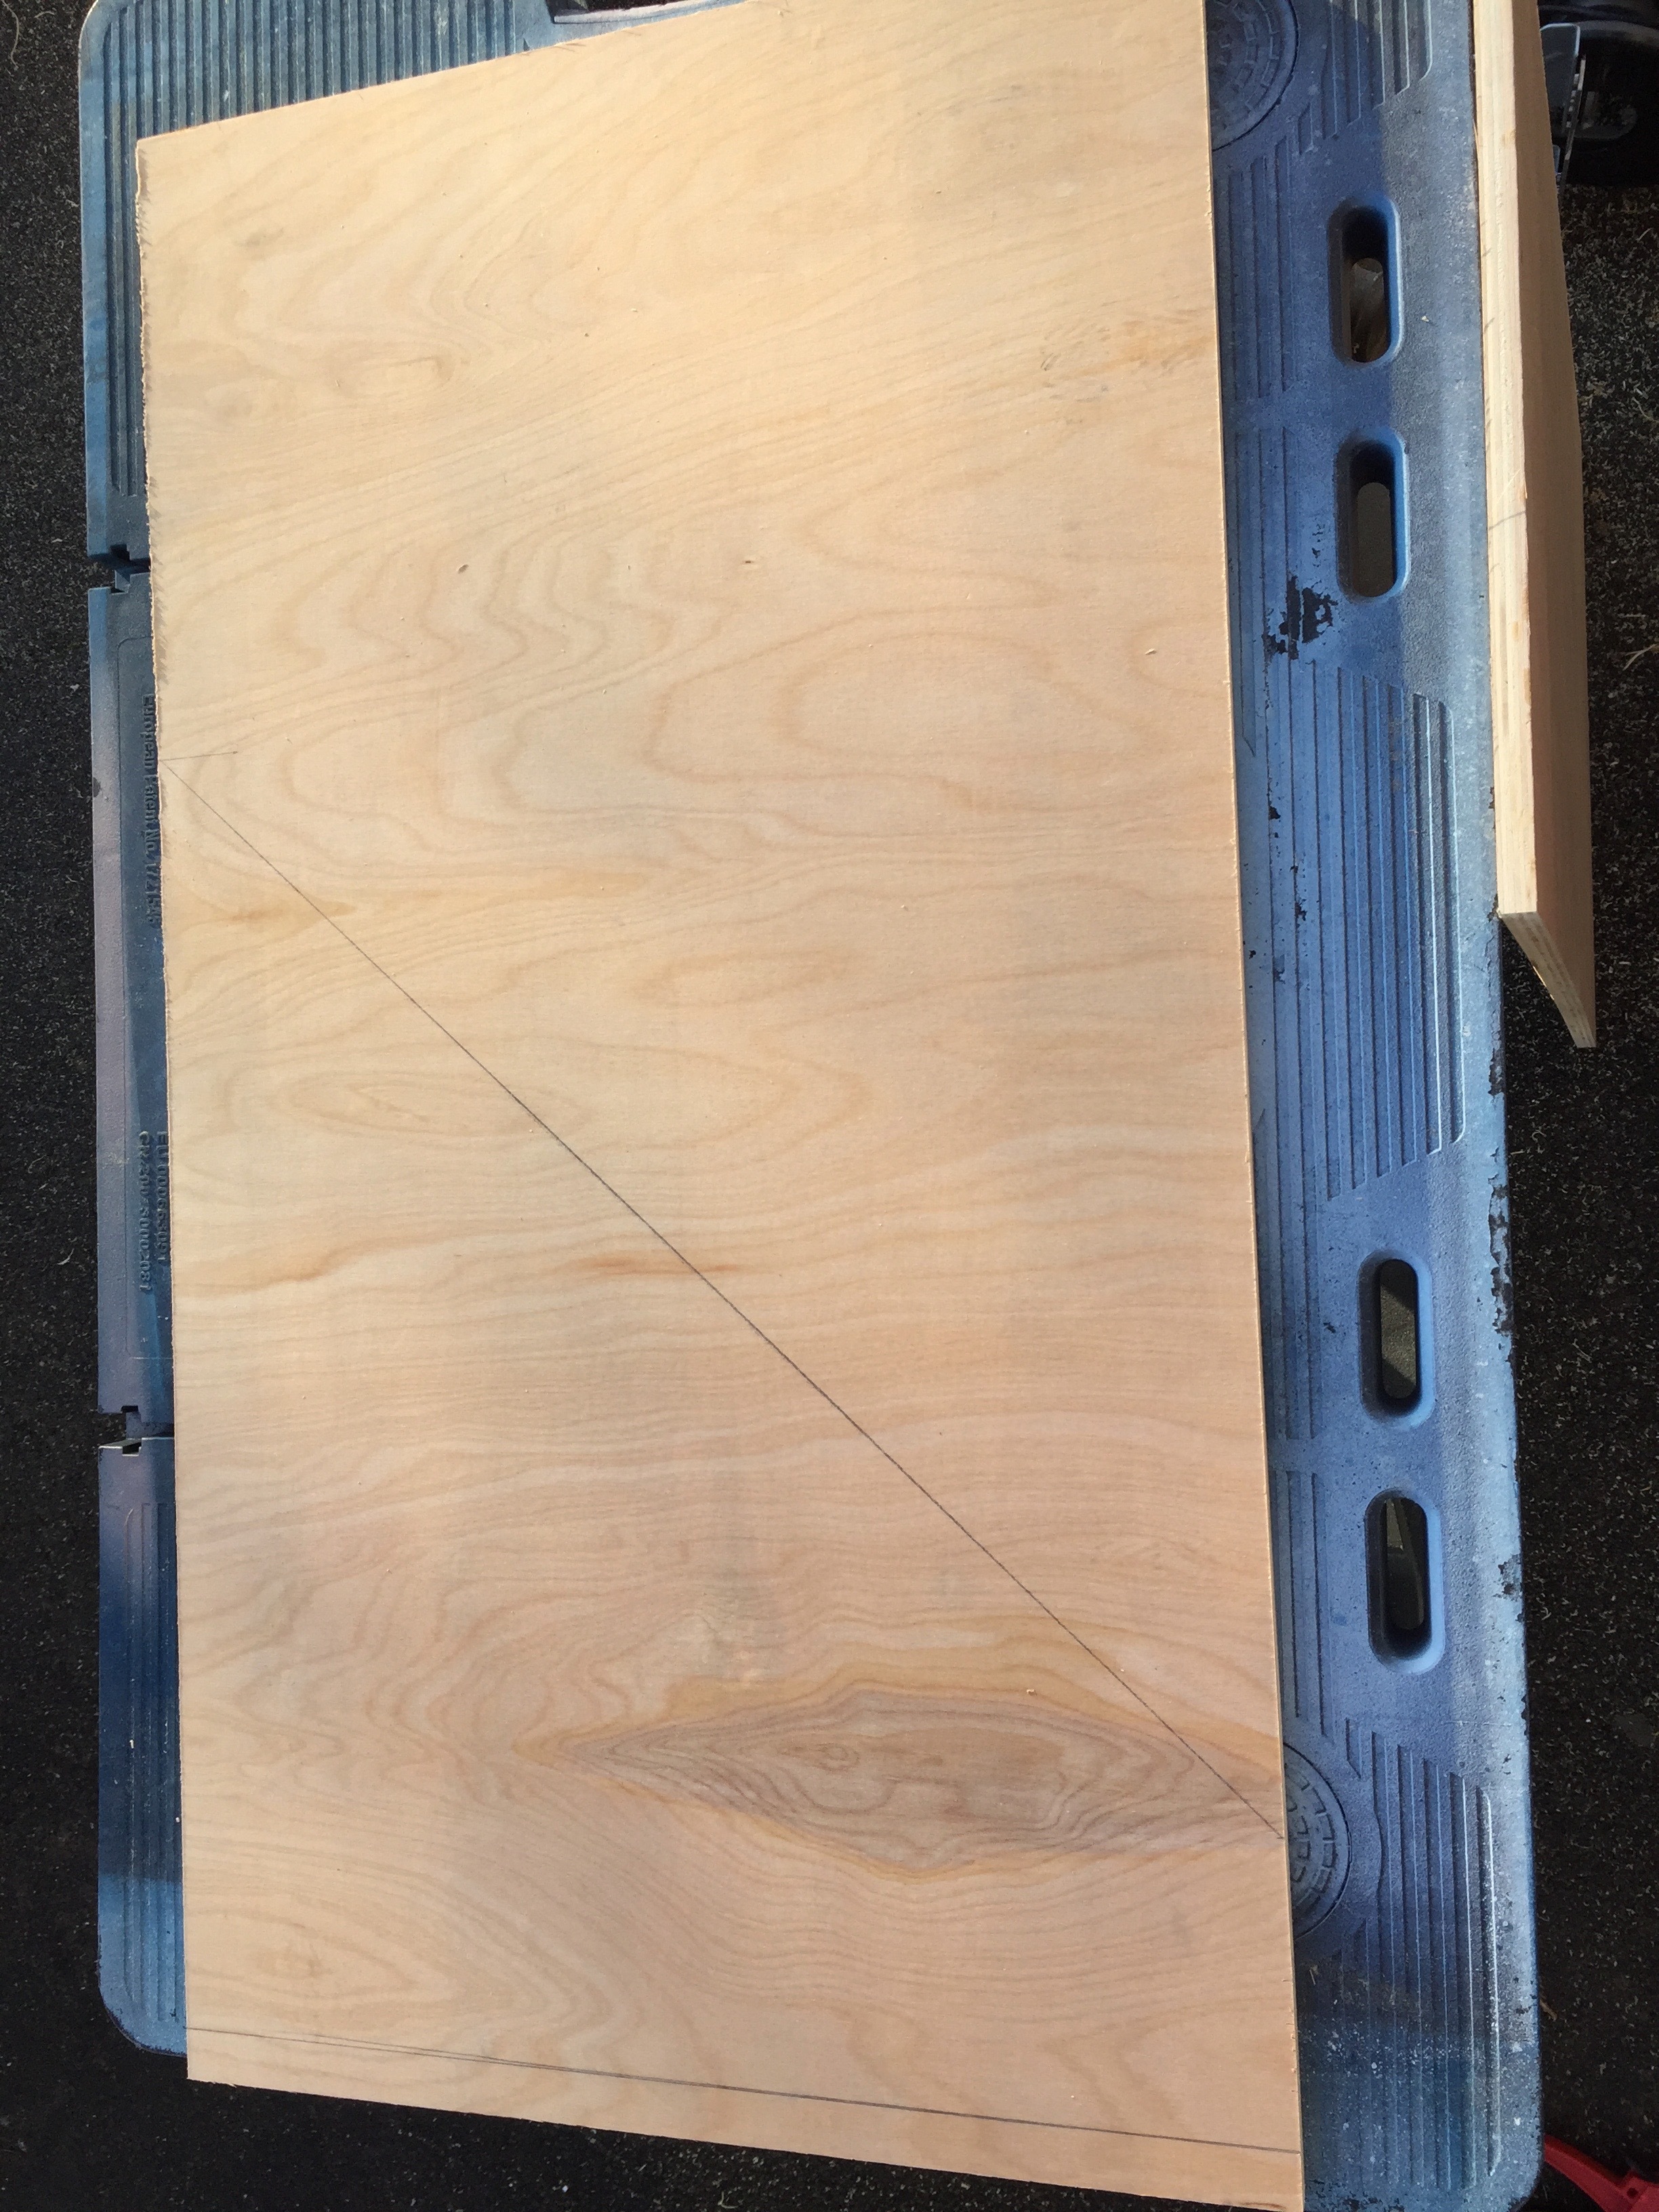
Then mark out the side panels
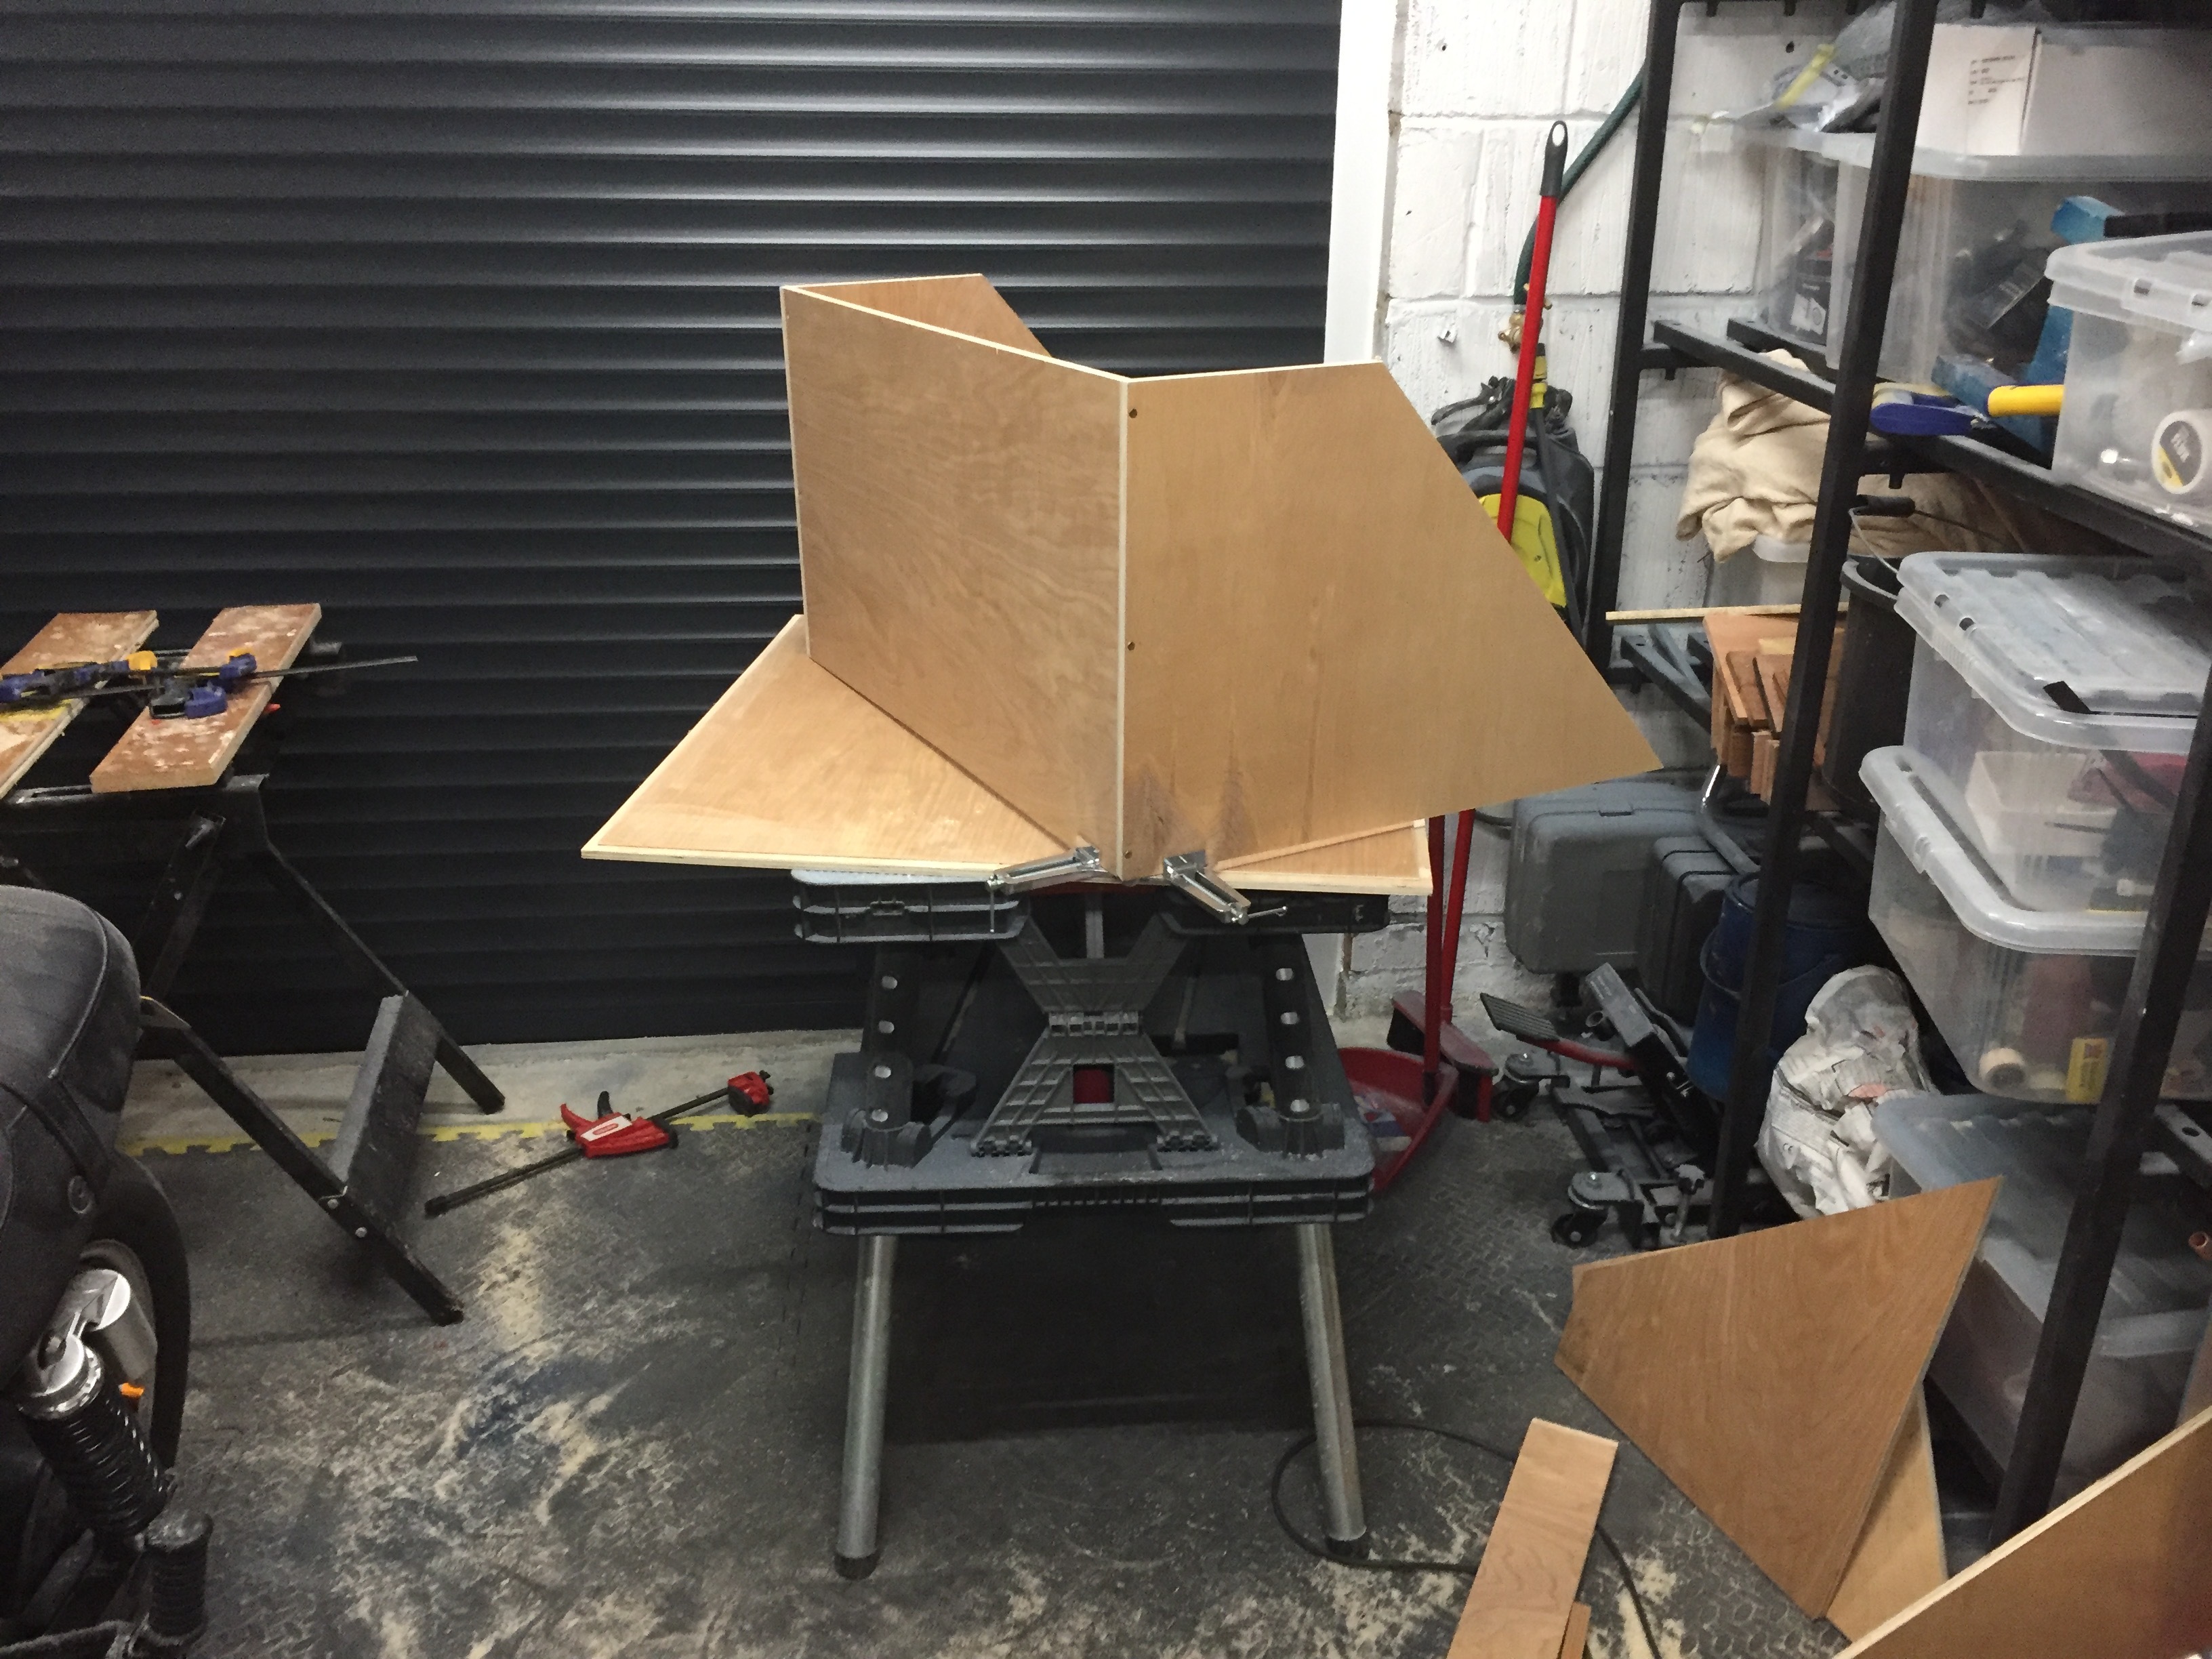
Corner jig time
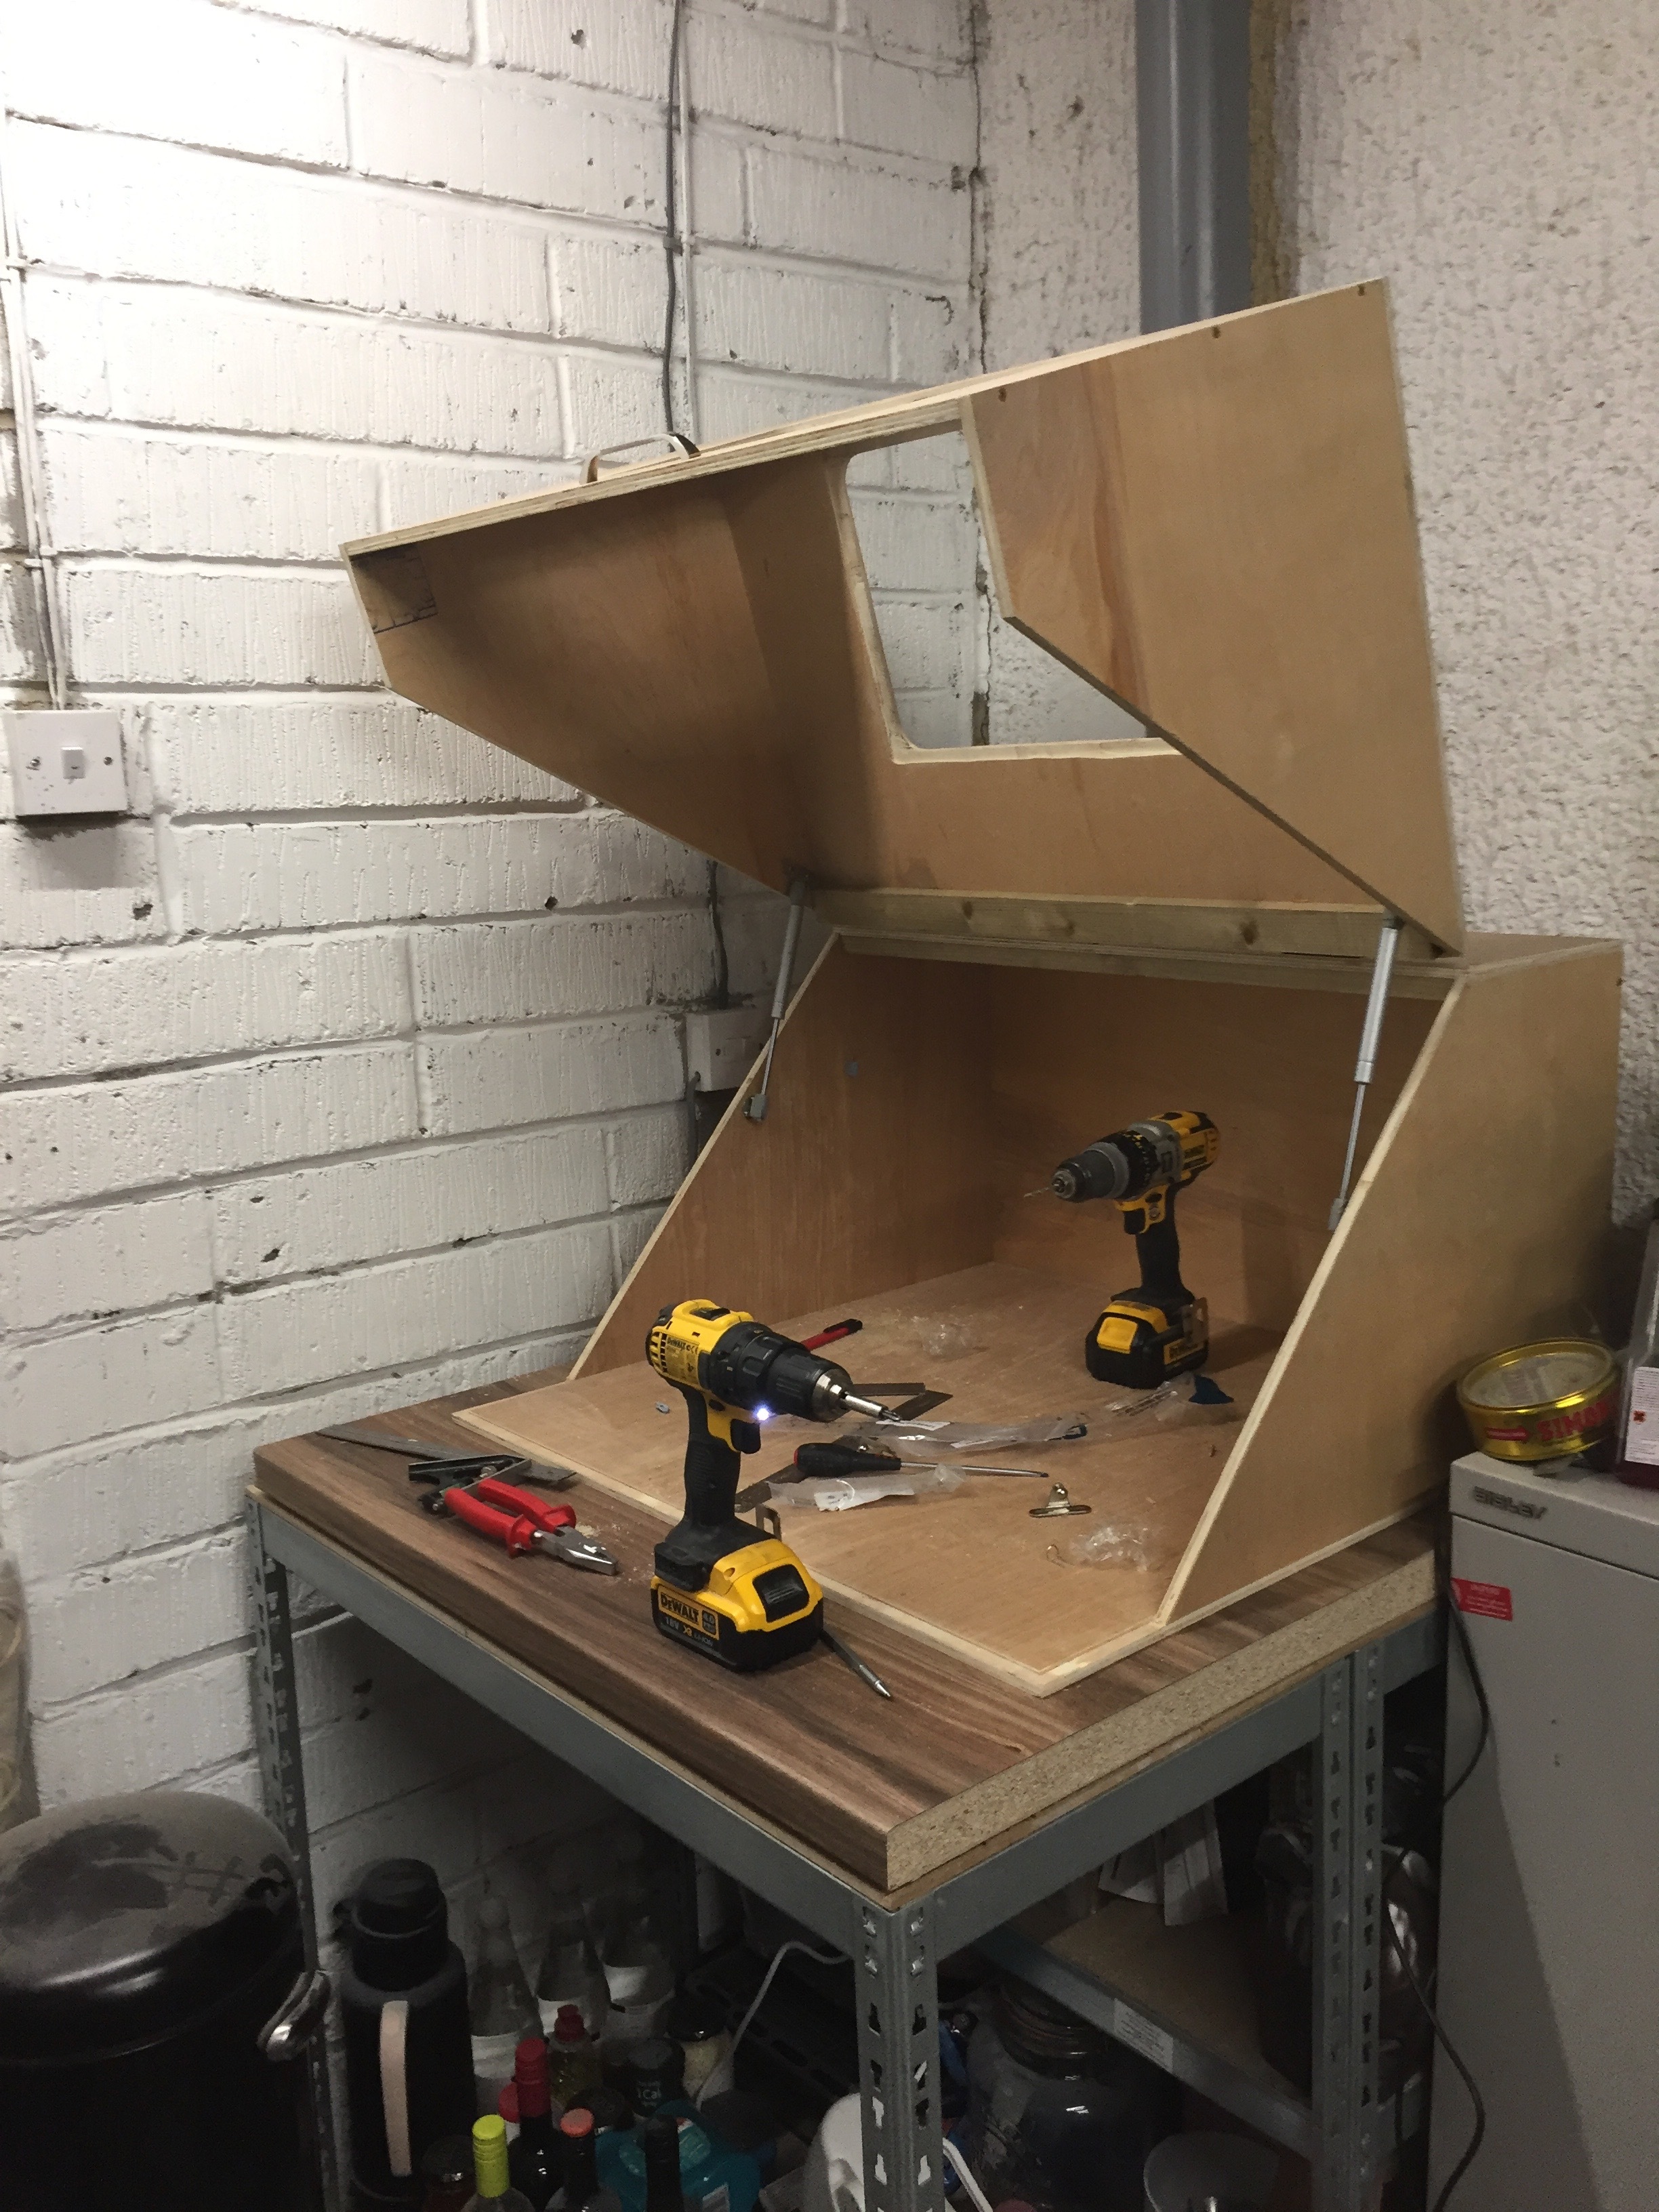
Add a top section

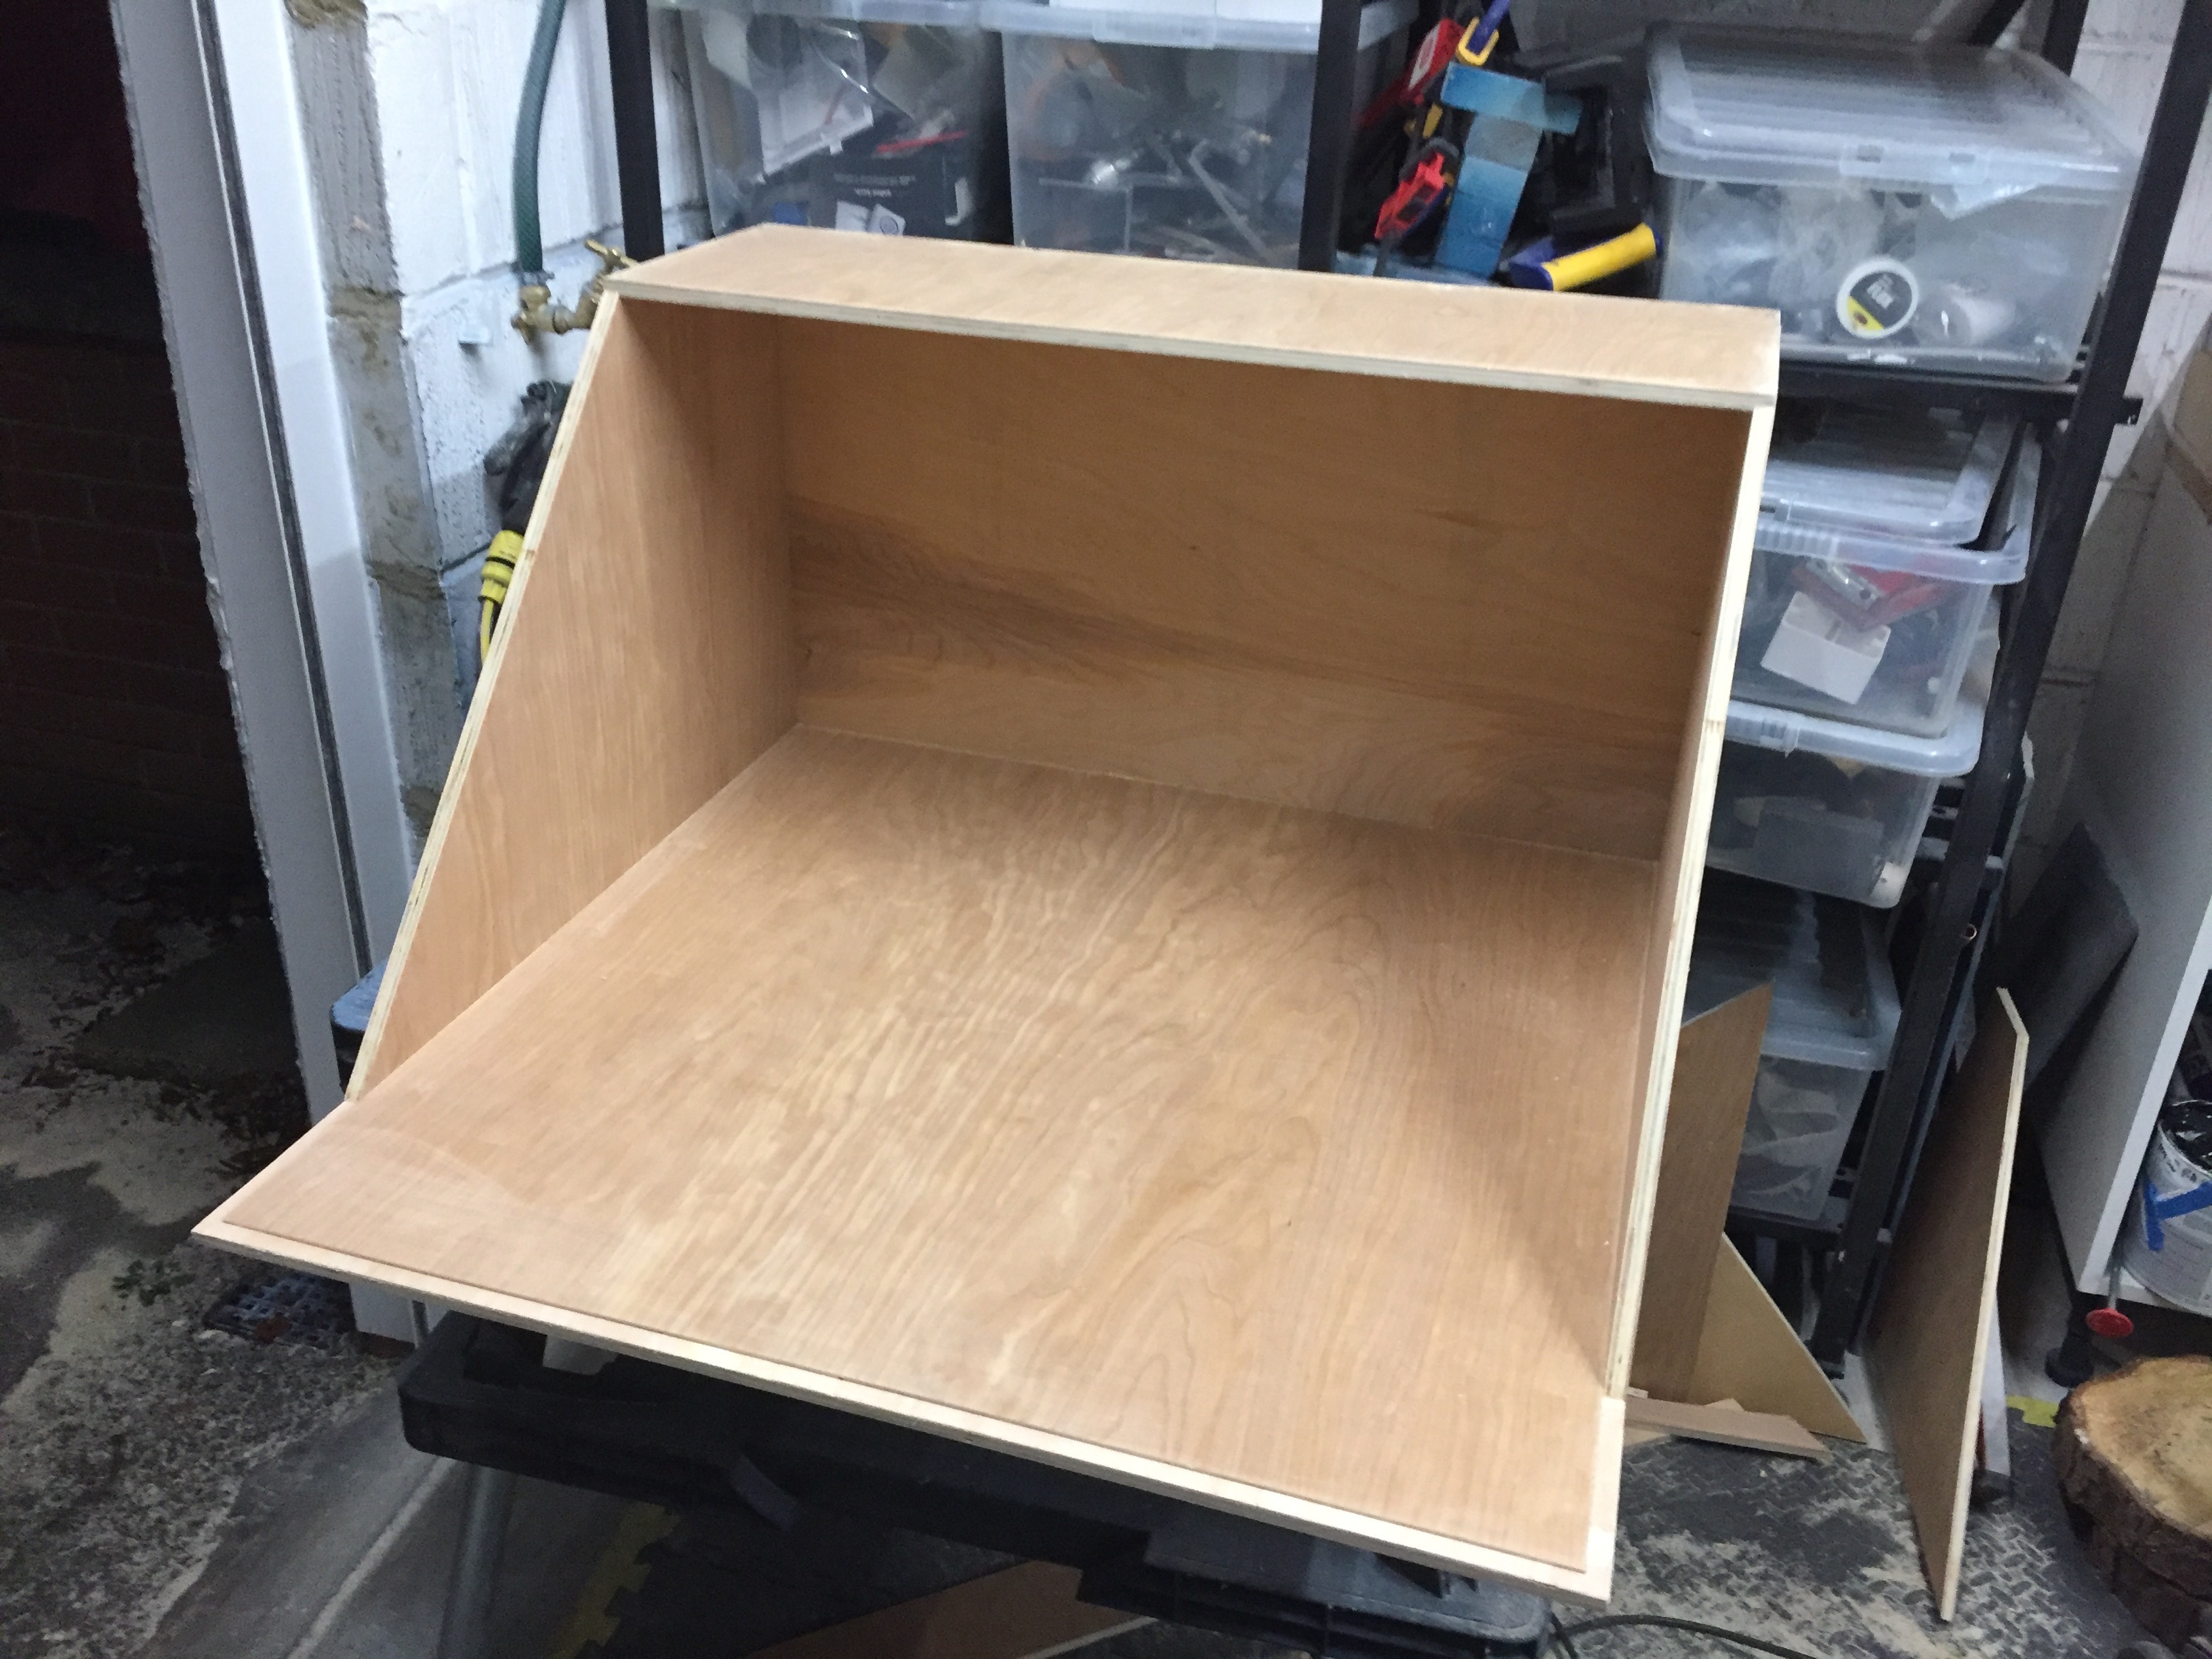
Then do some test fits
<img src=“/uploads/default/original/2X/c/c68b0a9625e6e2762aea69df90e8cda68ca4c6c1.jpg” width=“375” height=“500”

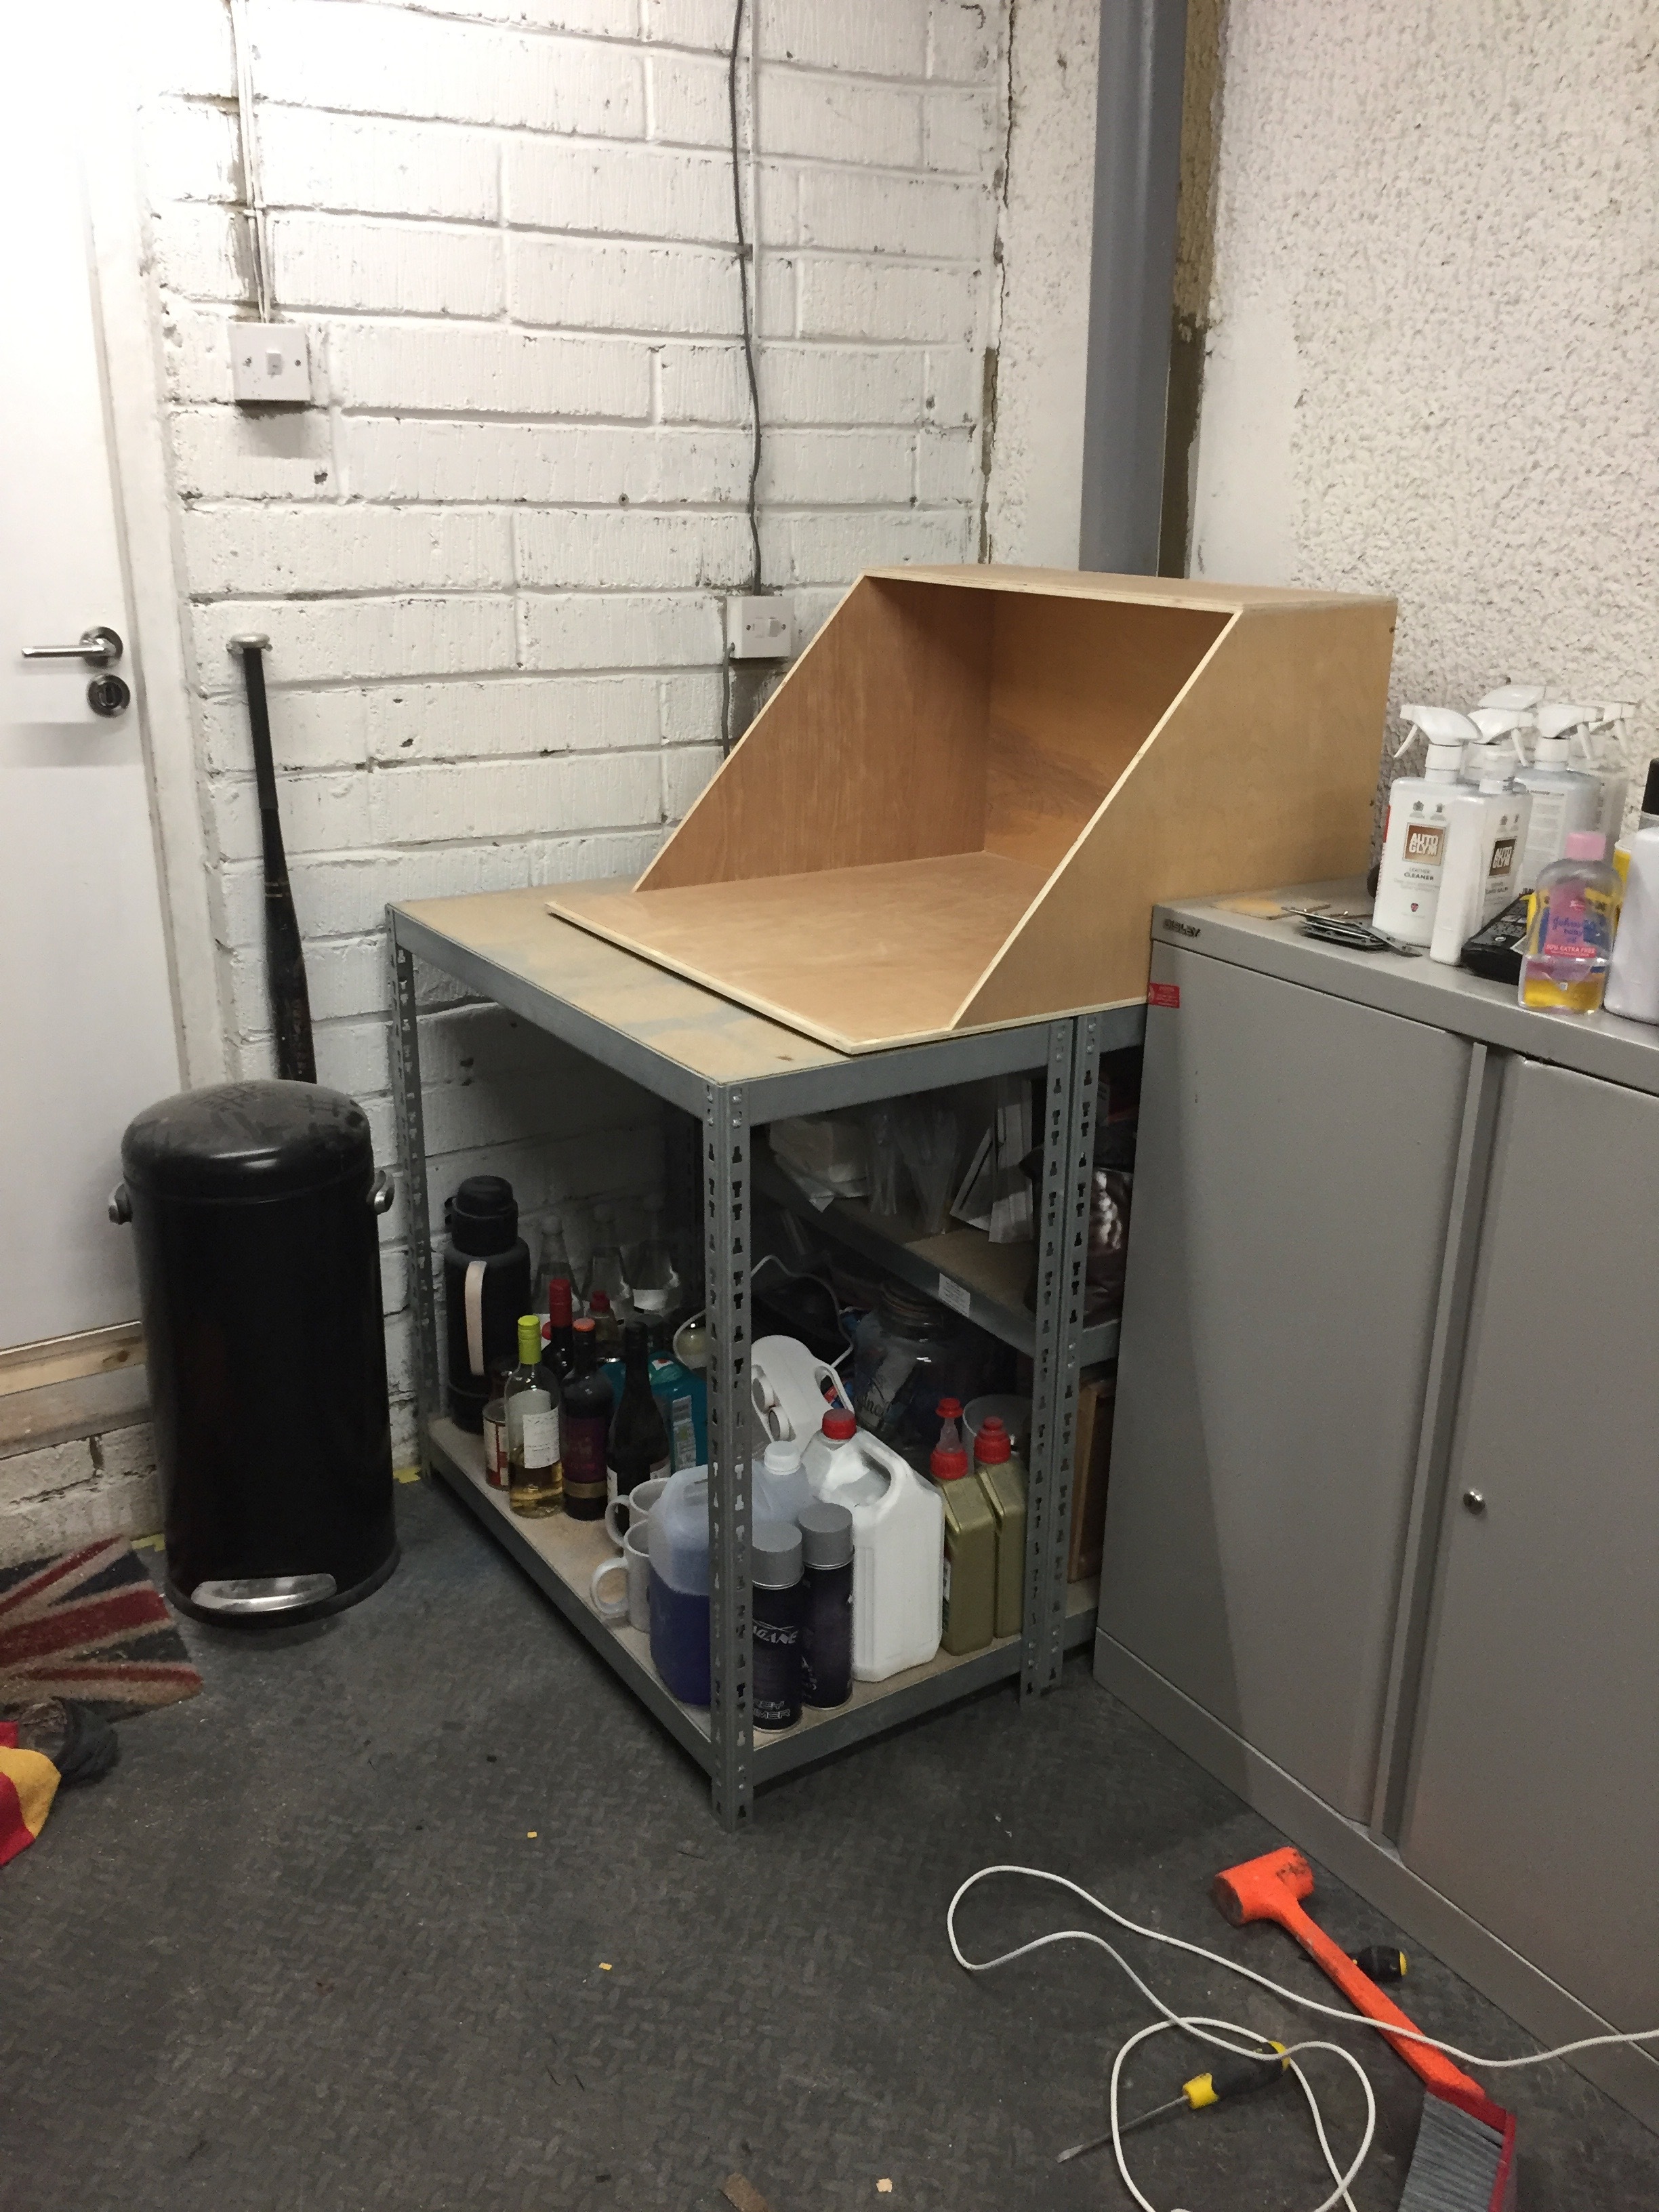
At this point I had to ‘repurpose’ some shelving for a stand, join together, fit to a wall then join some worktop and fit onto.

I forgot to take any photos of the top assembly, and cut outs - but I’m sure if you can use a shapeoko you get the gist.
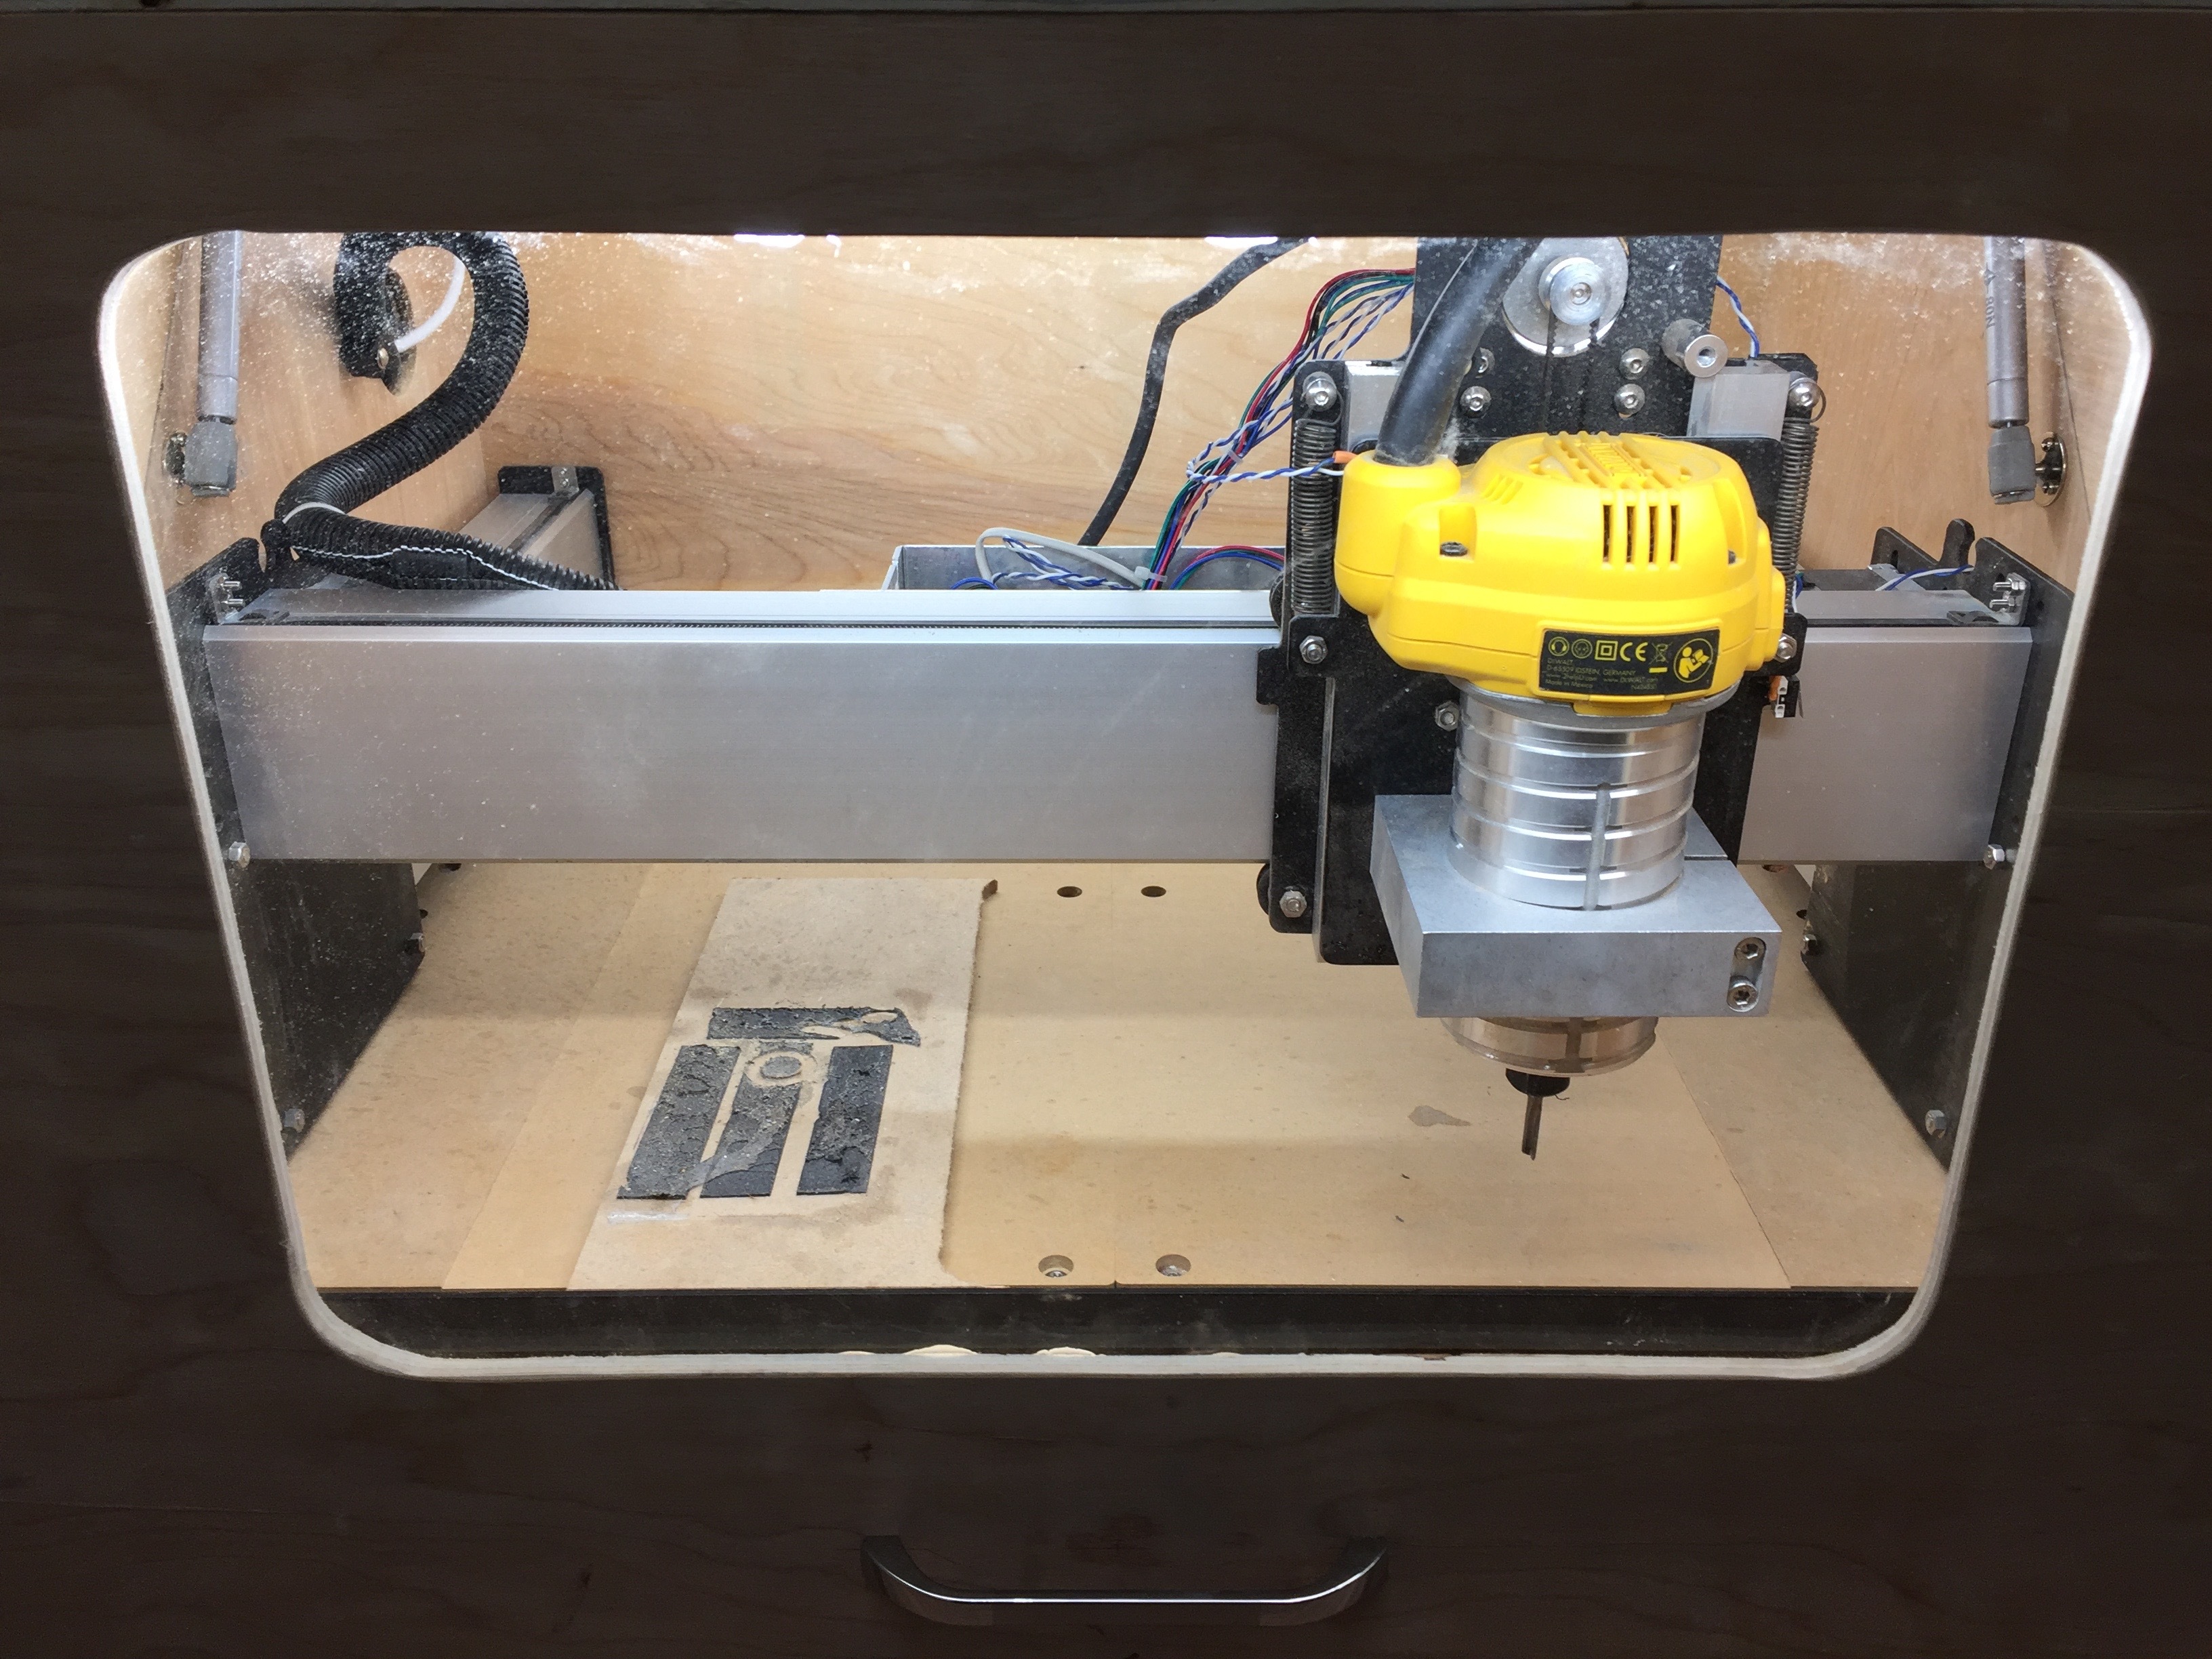
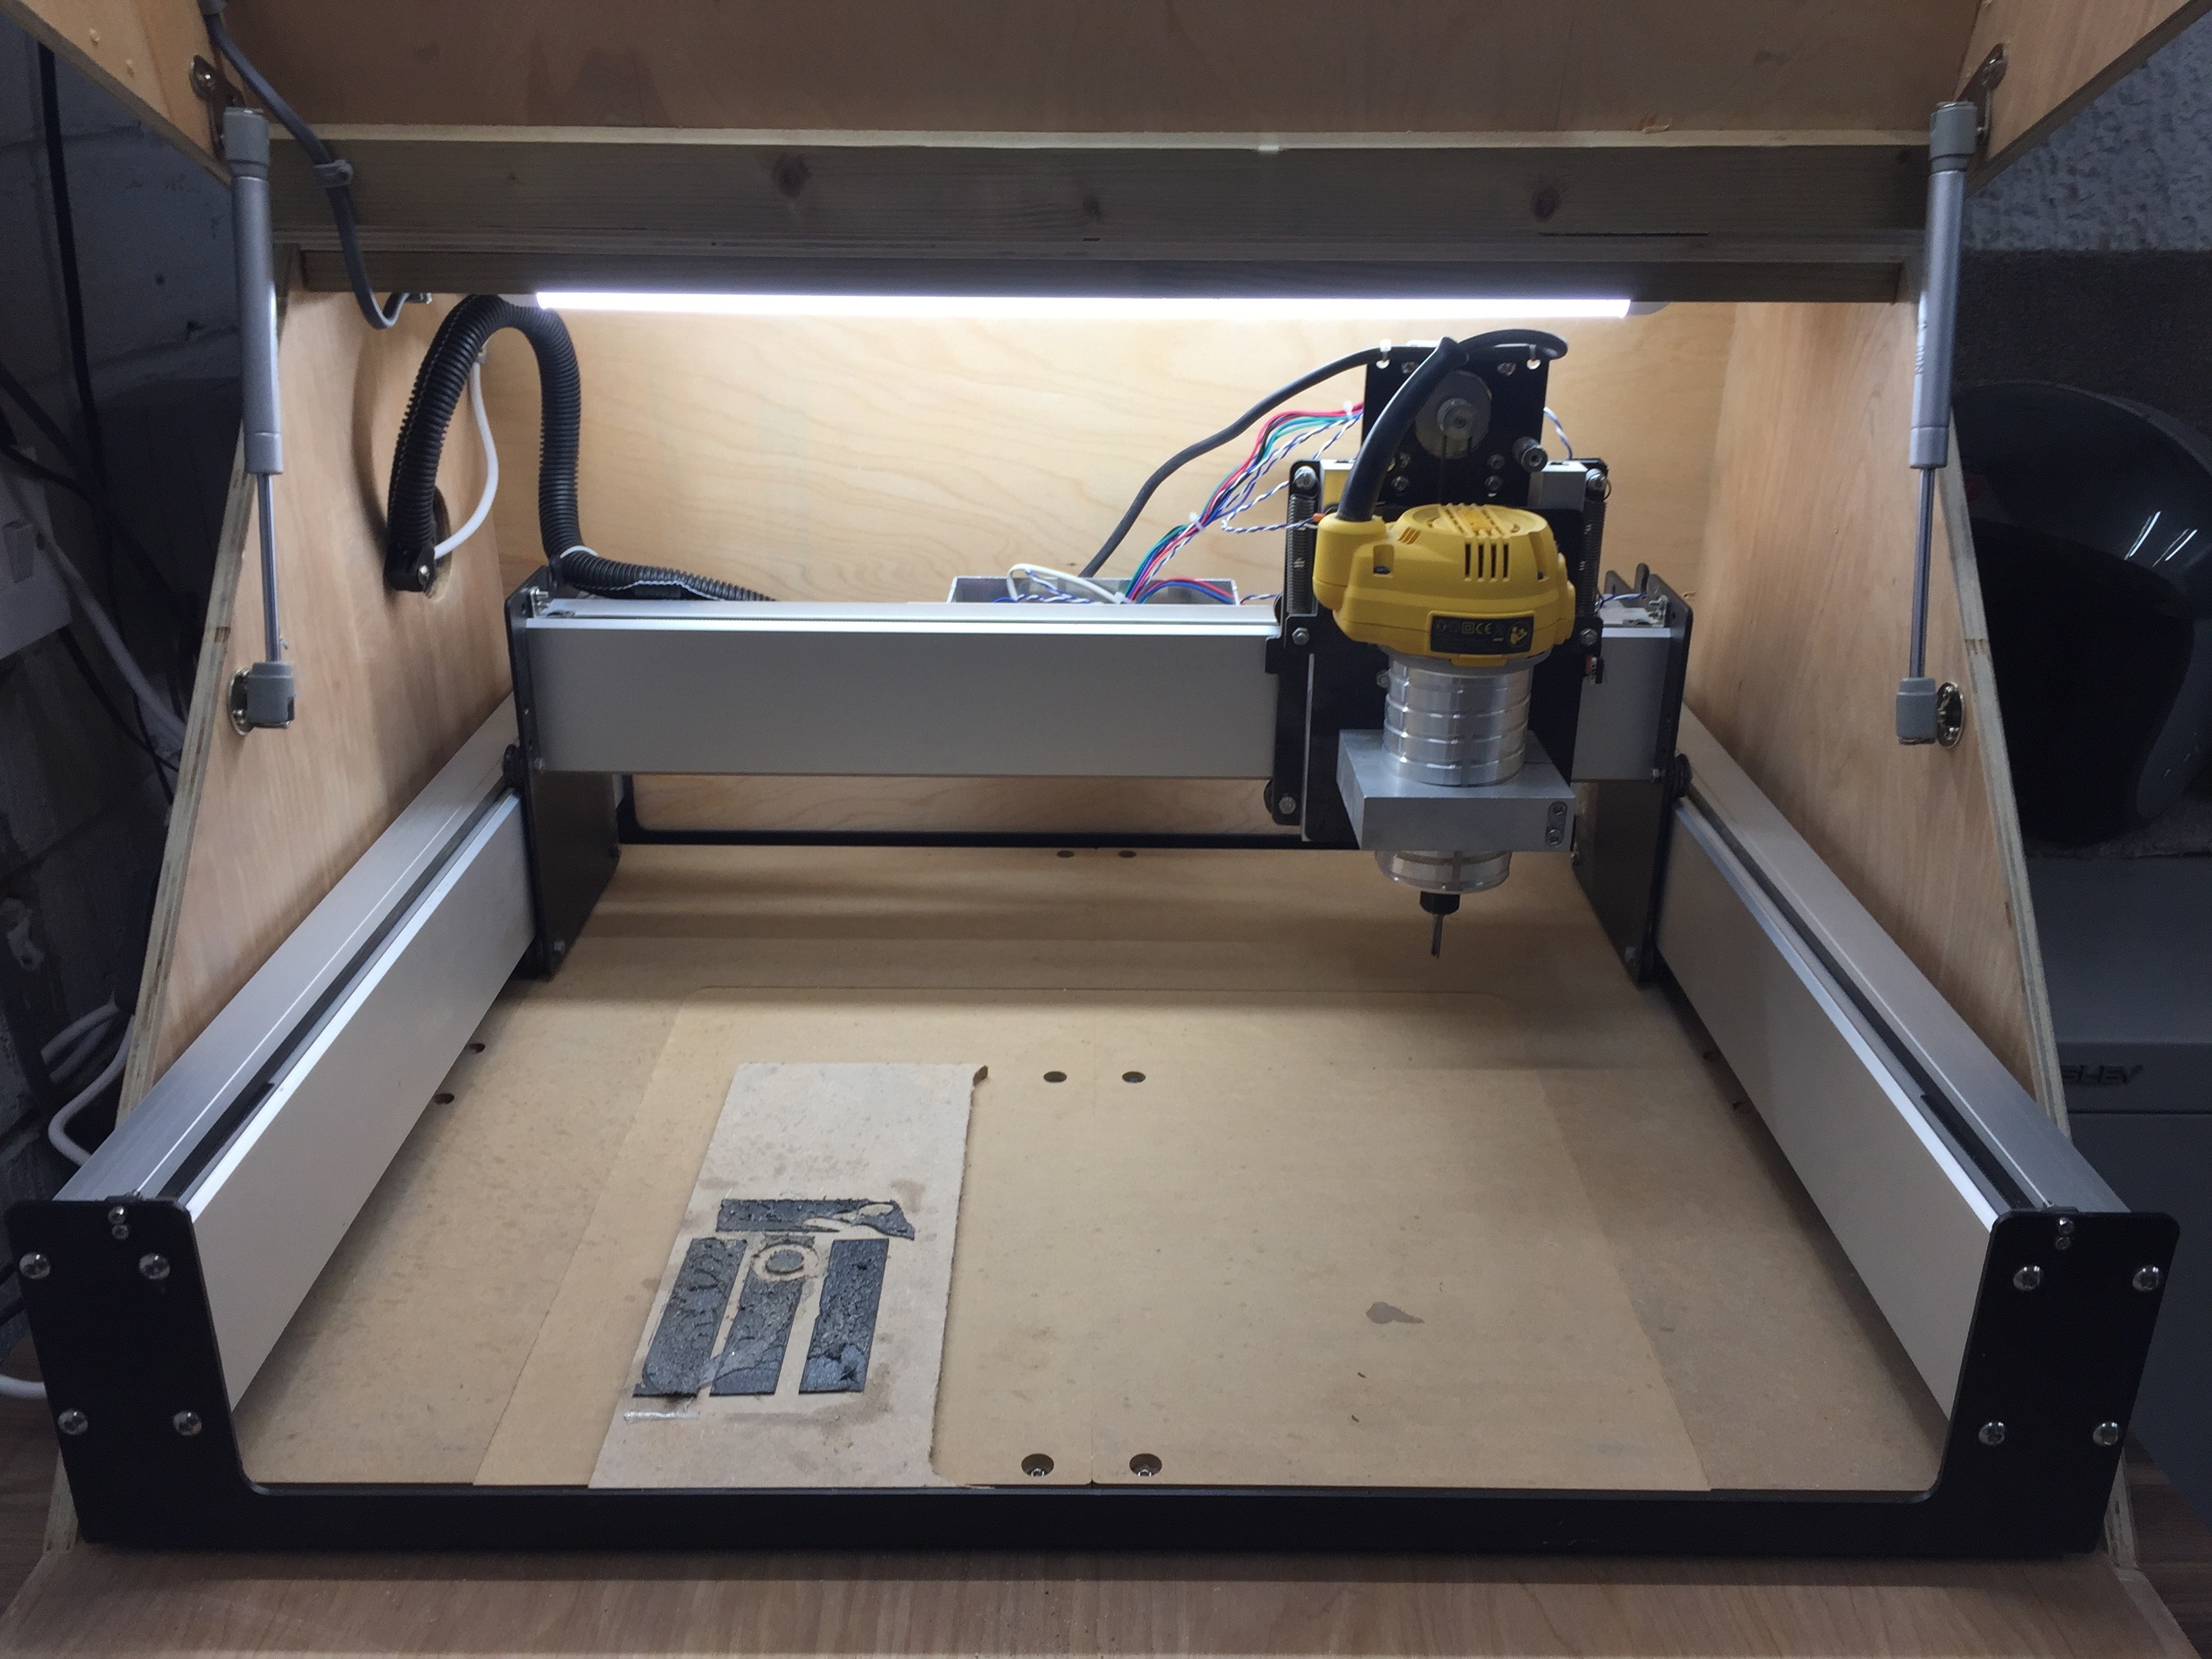
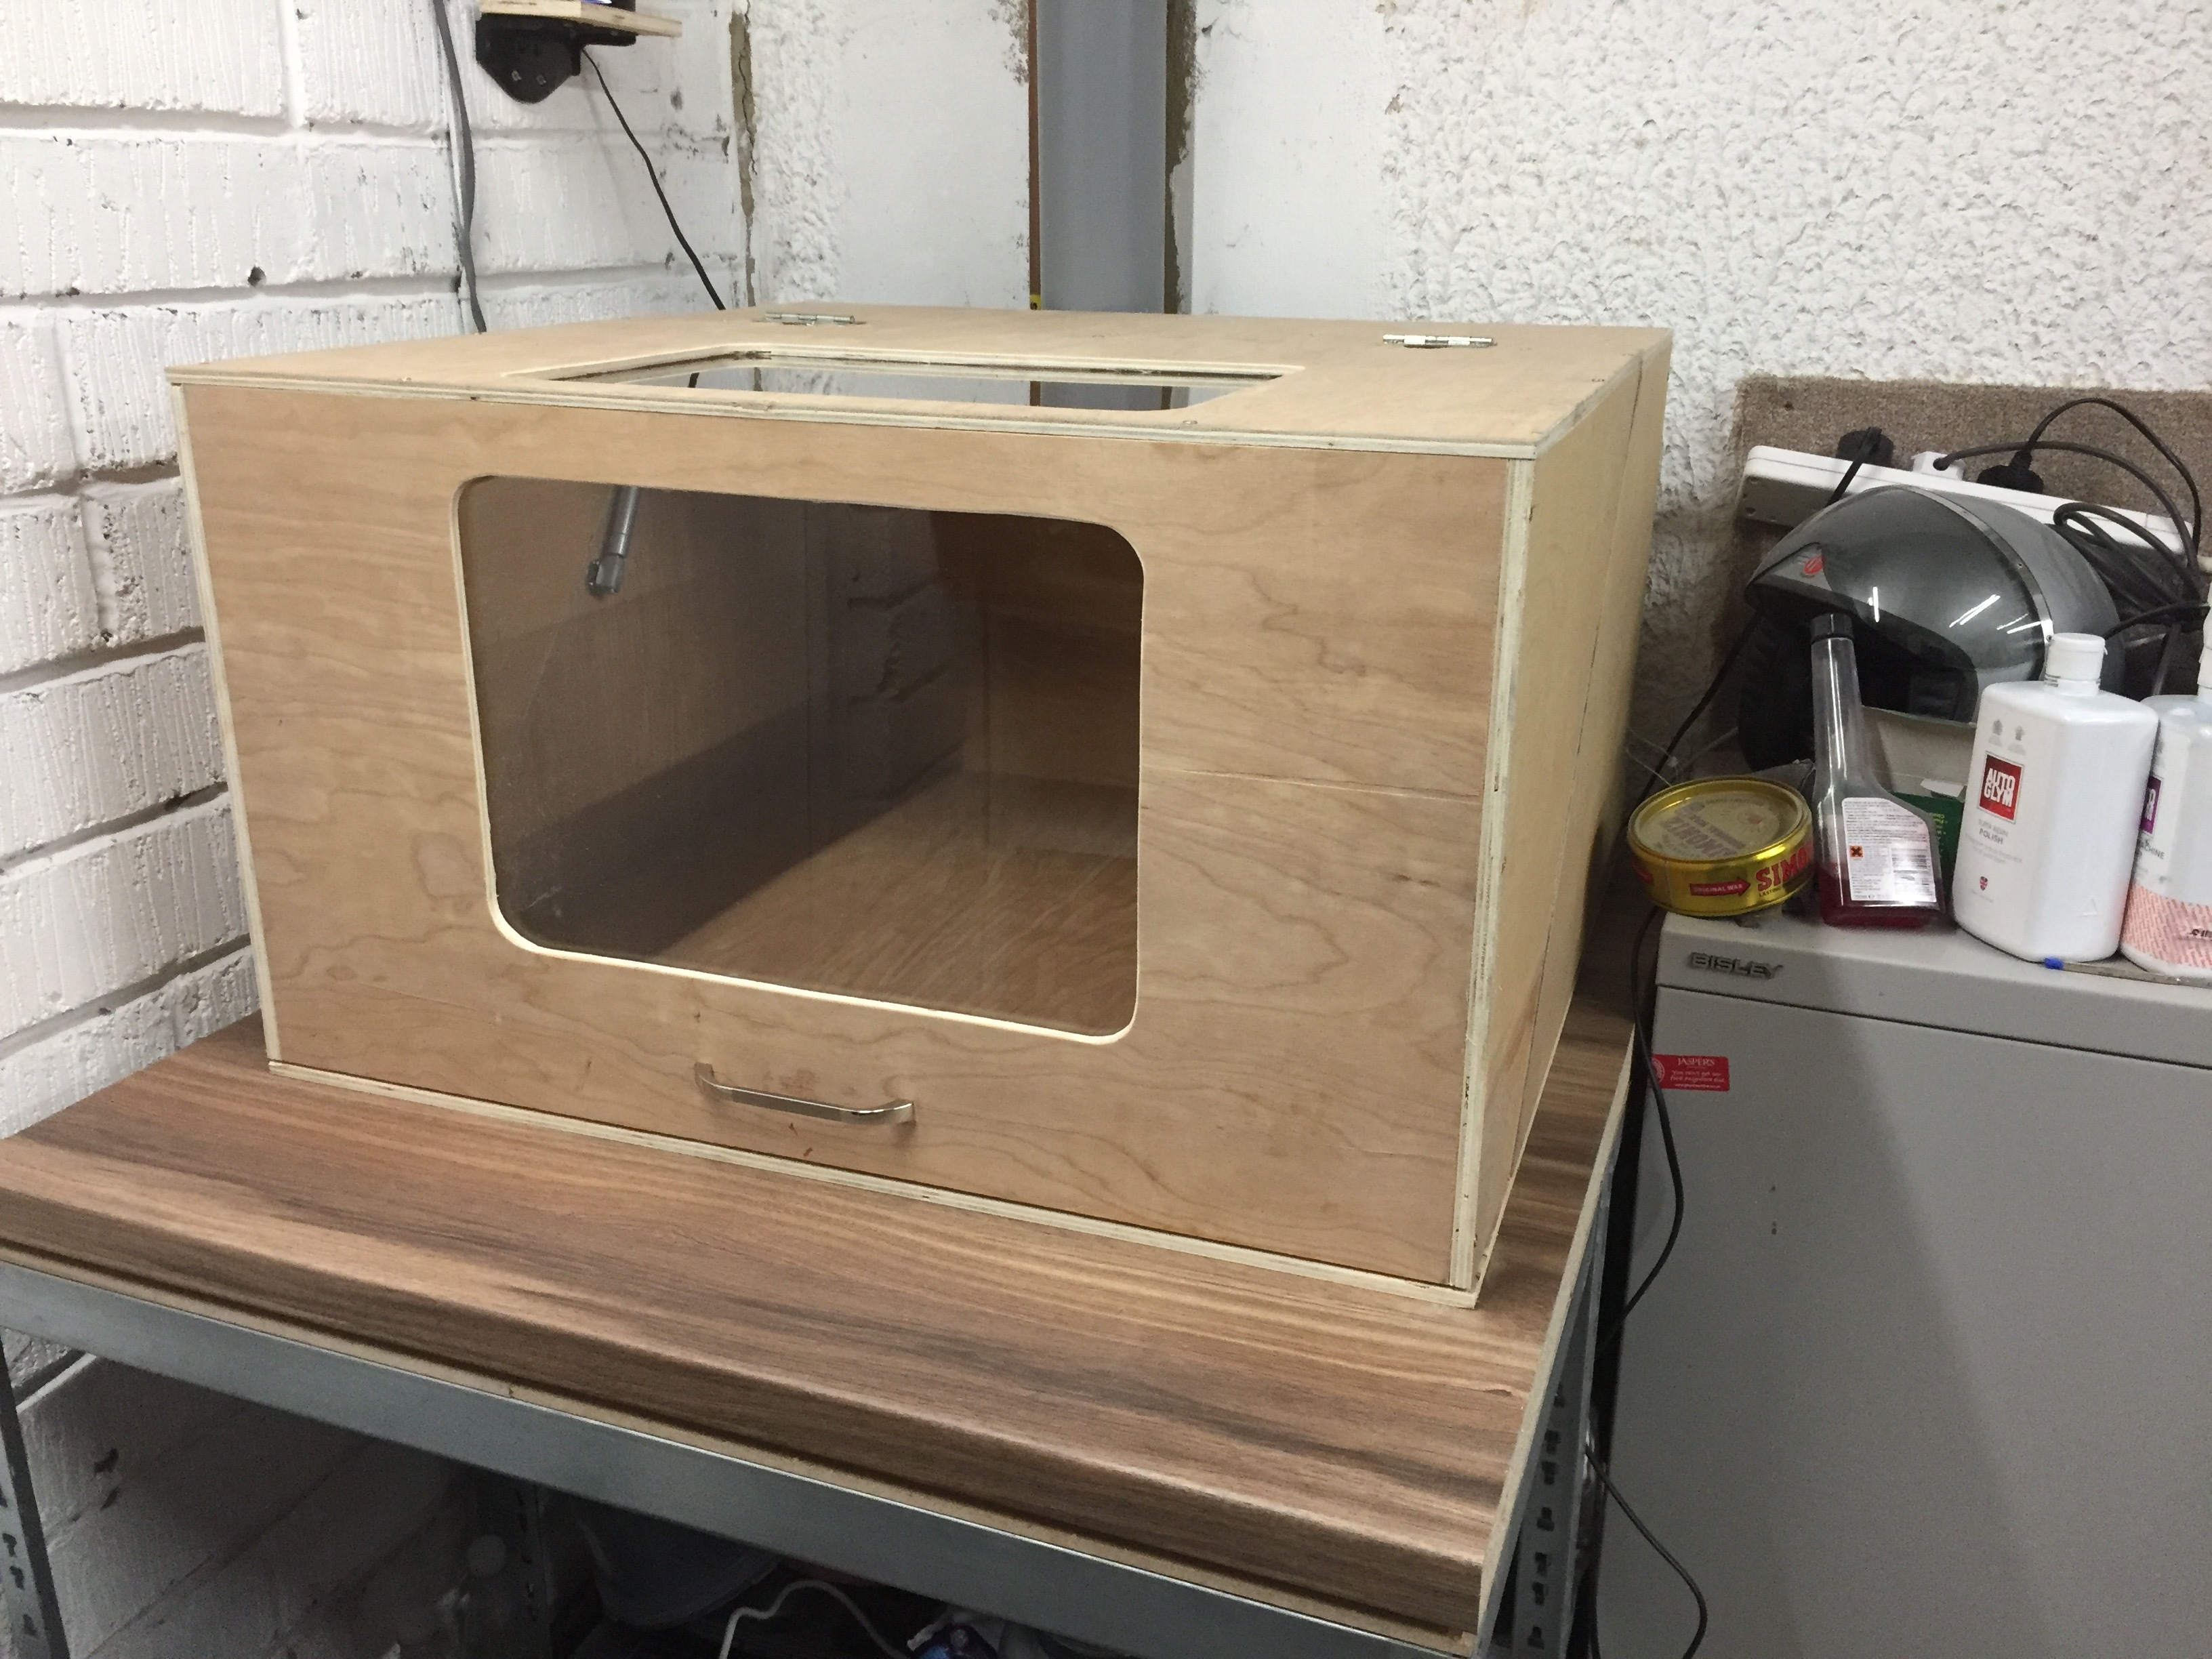
Here it is as it stands.
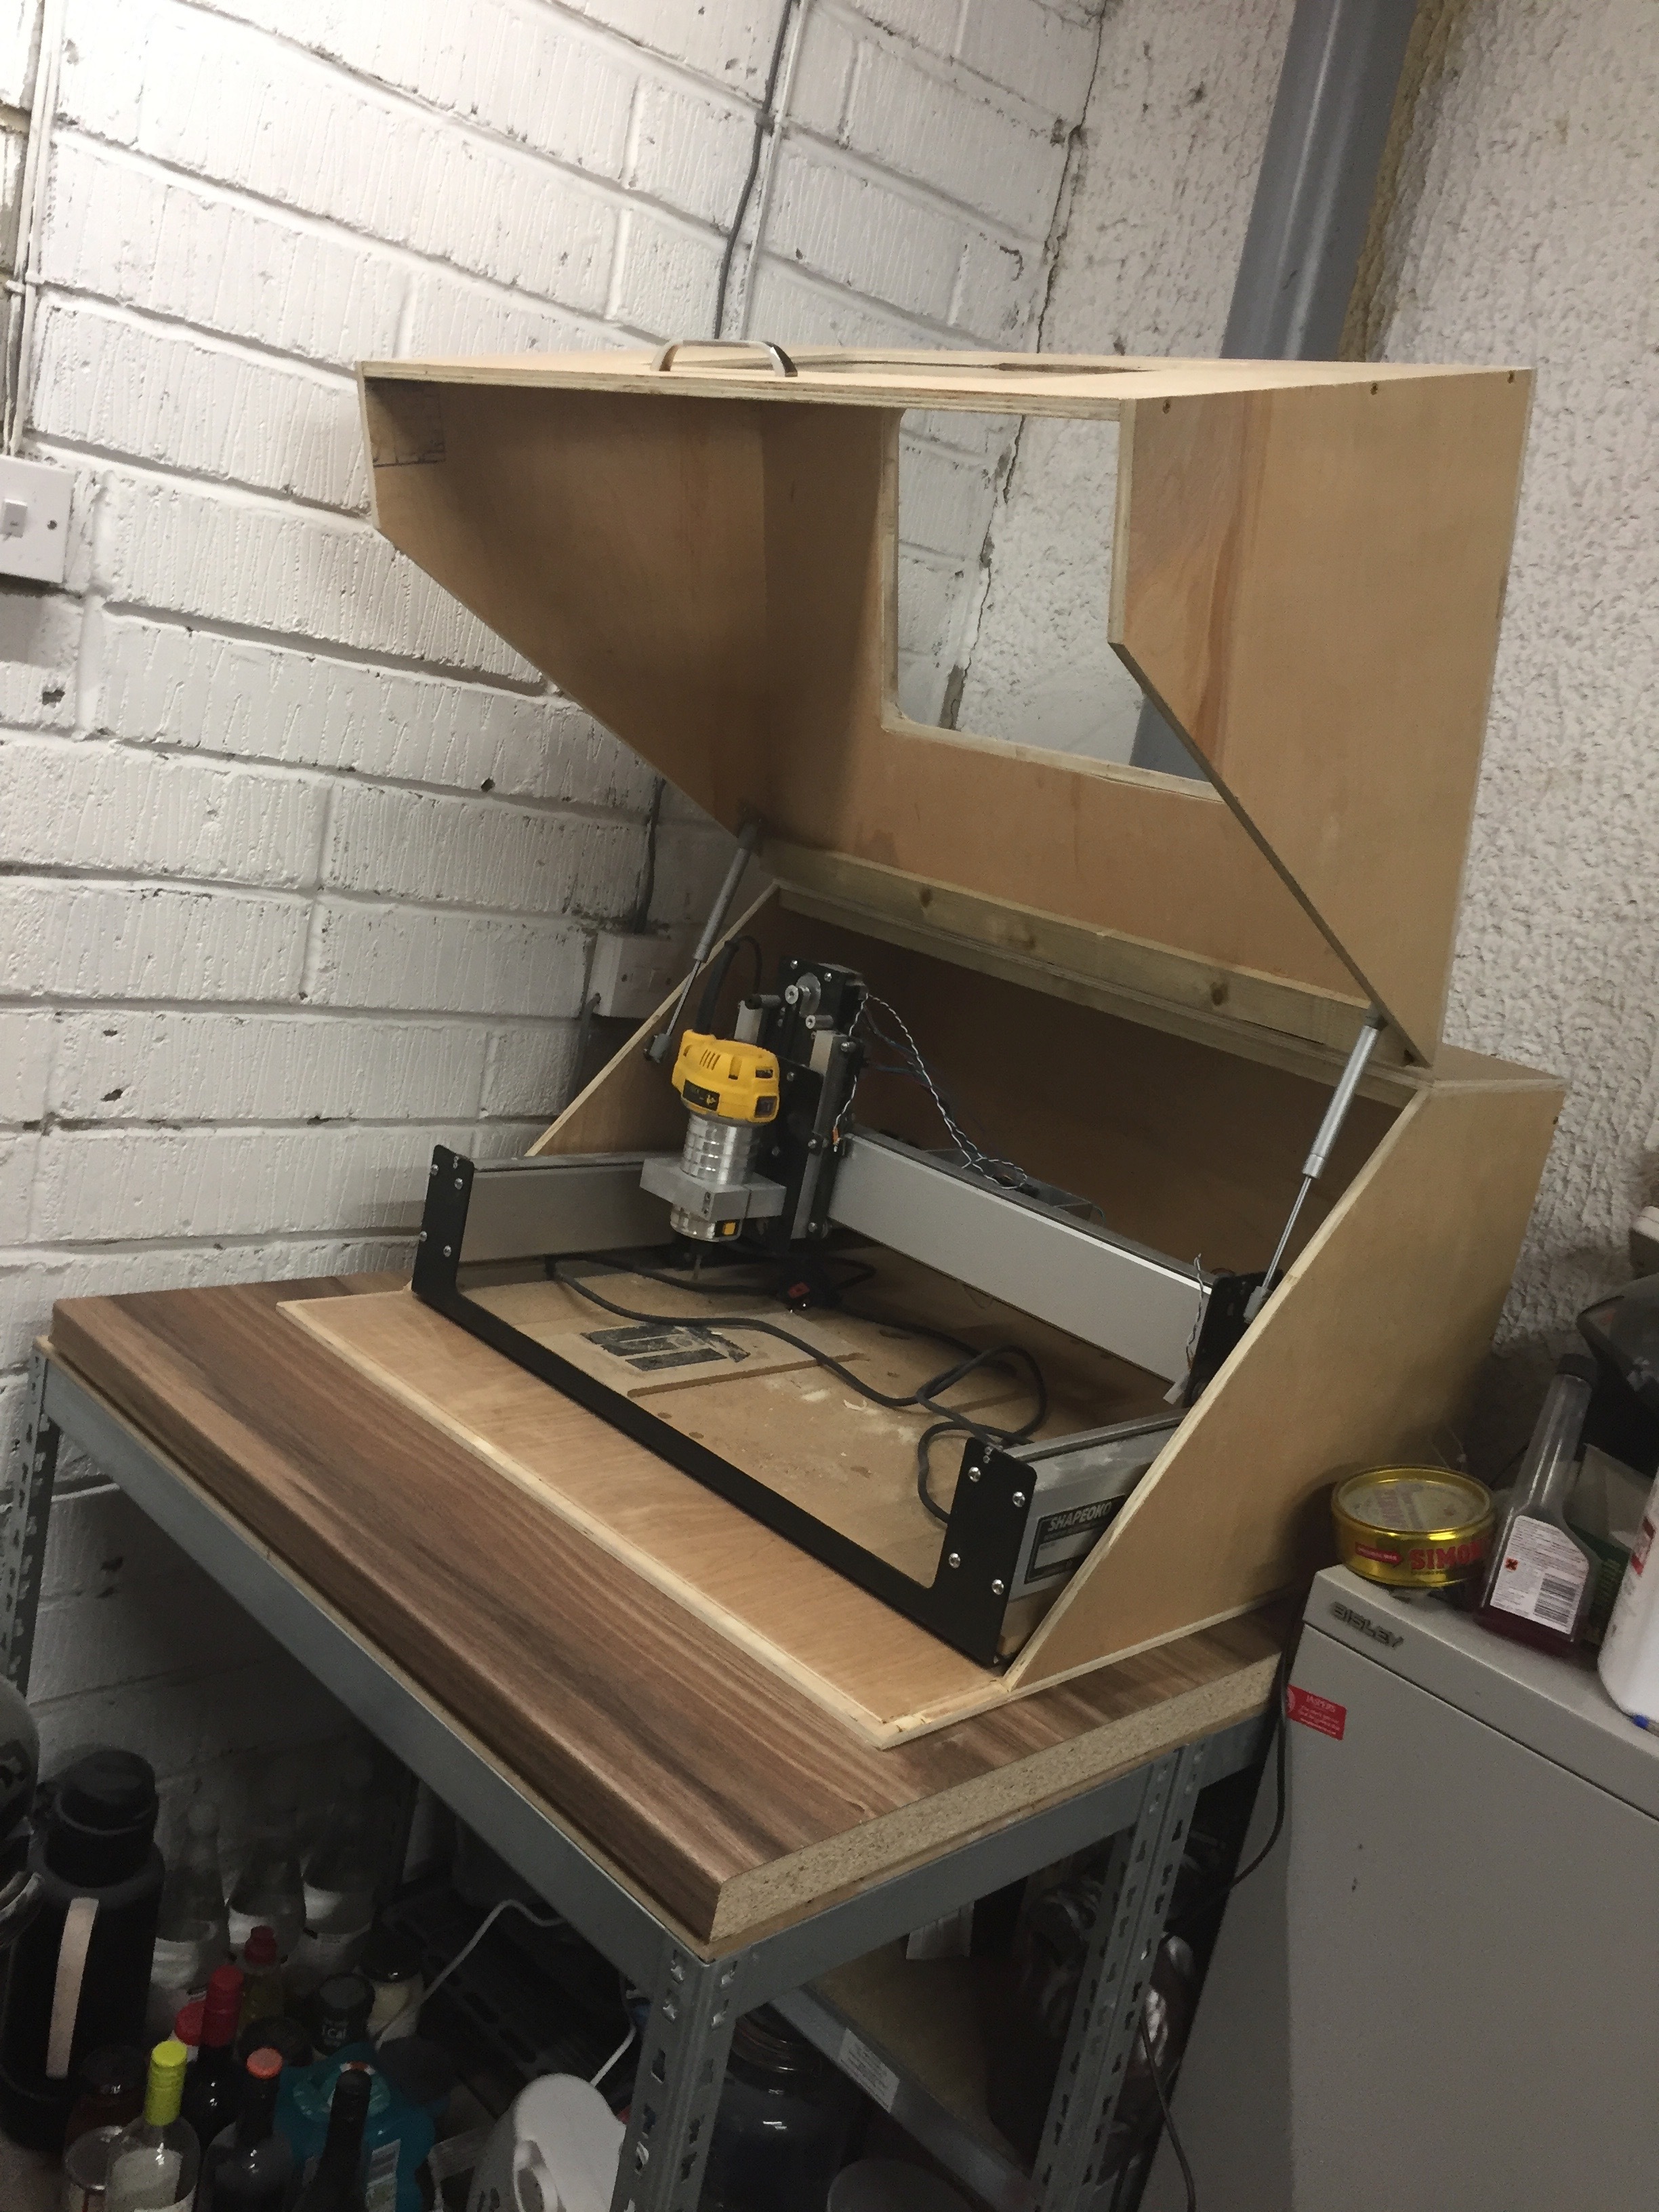
I’ve ordered some LED lights, a power brick and seals to move it forwards. I’m also in the process of extending all the electrics so that the control board will sit outside the unit and the router cable will feed in. This will allow the inside to get extra dusty.
I might fit dust extraction later on, but thats a big maybe.
I’ve spend about £60 to get it this far but had allot of fun doing so.