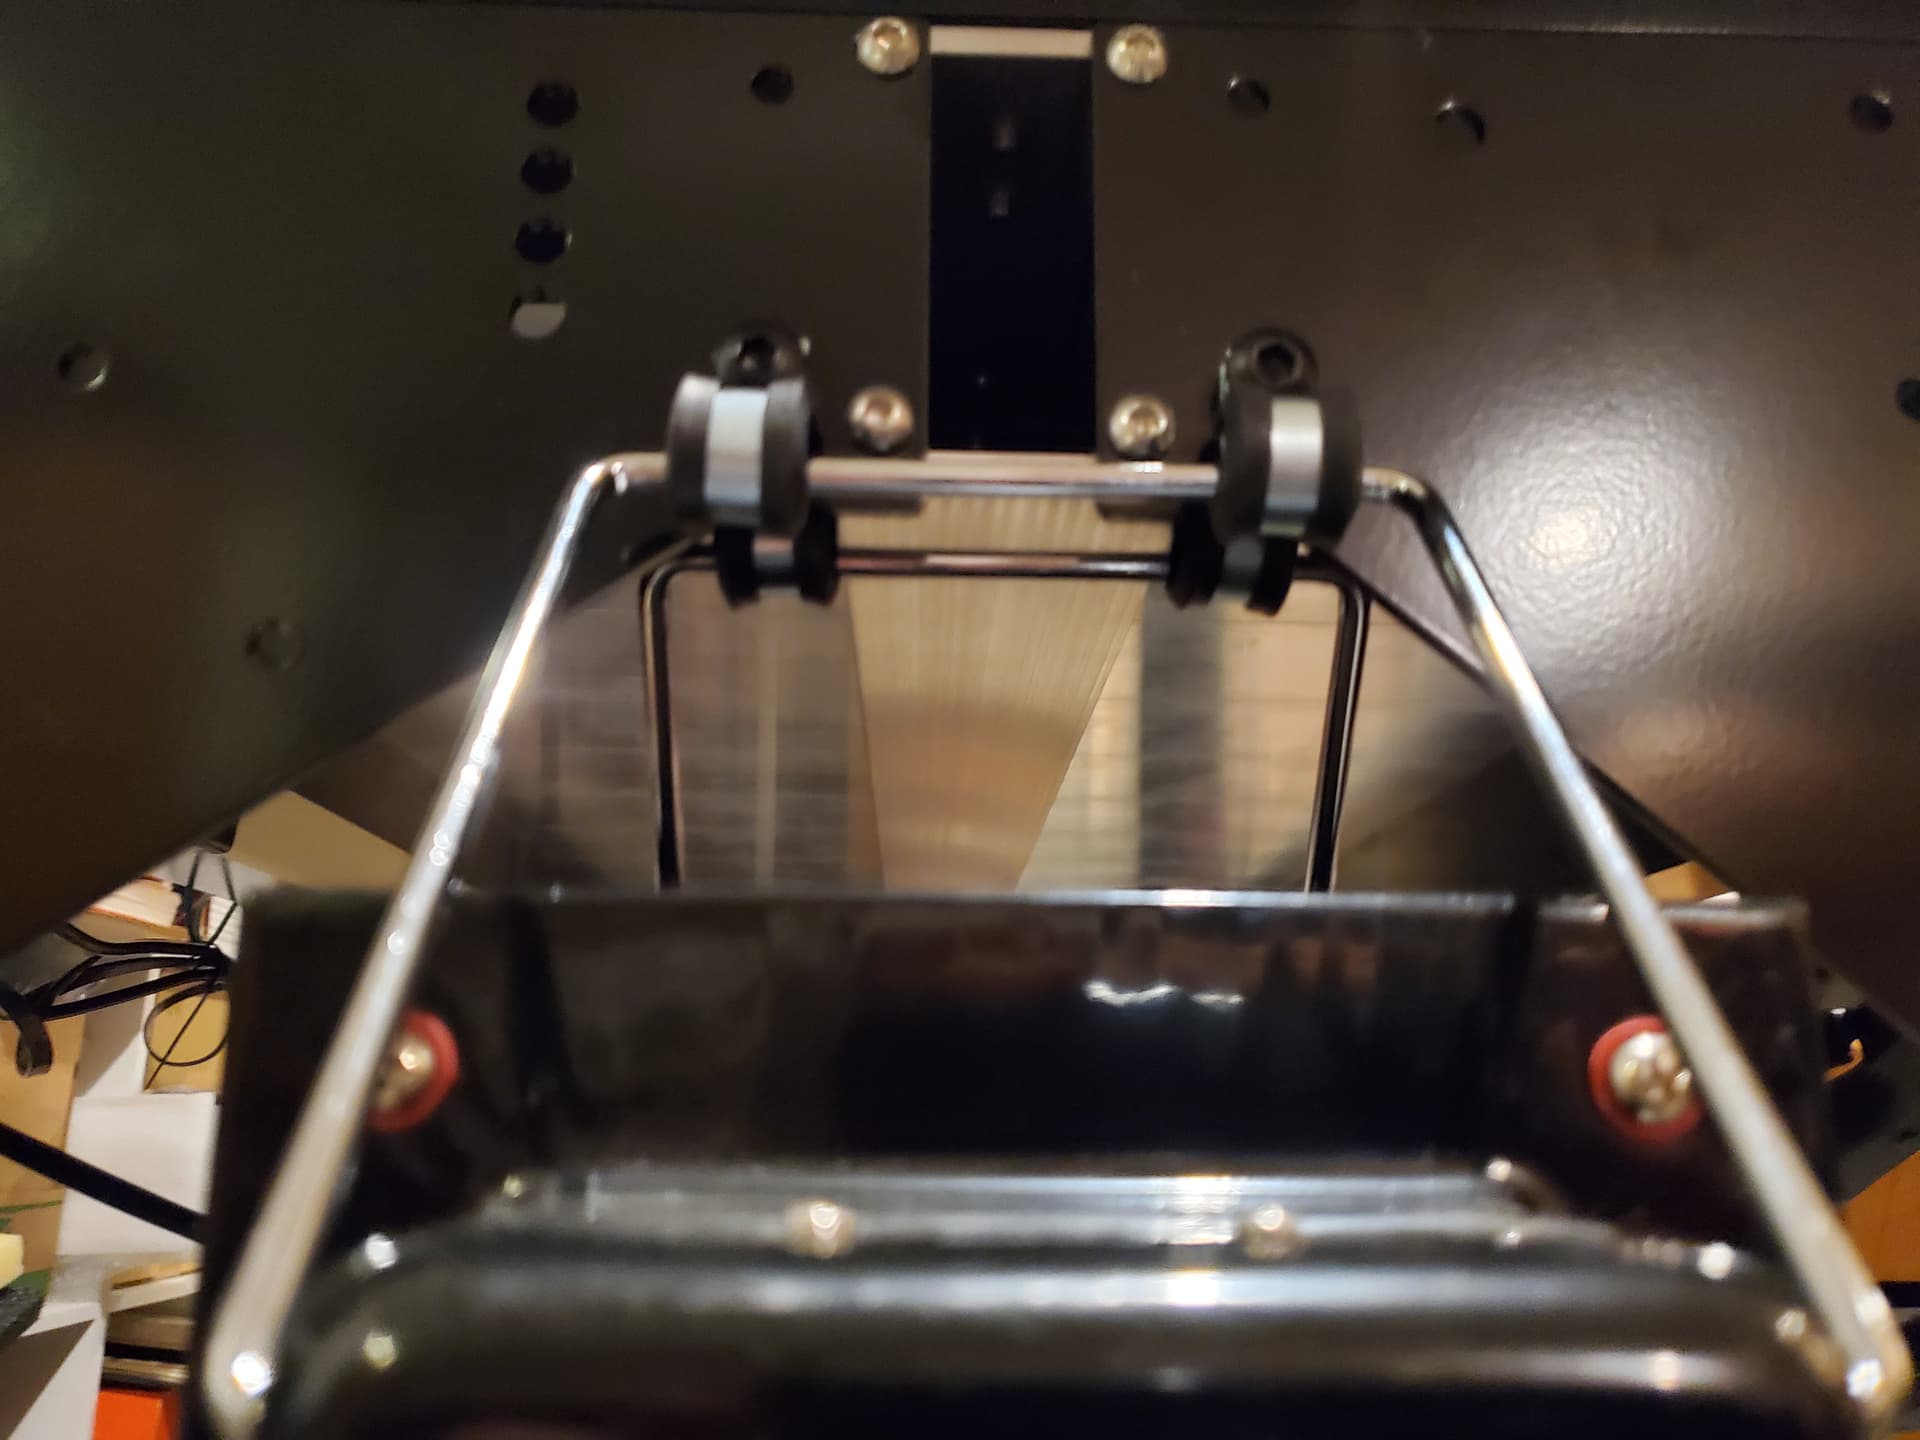
And after a bit of cleanup and opening up the holes, it fits:
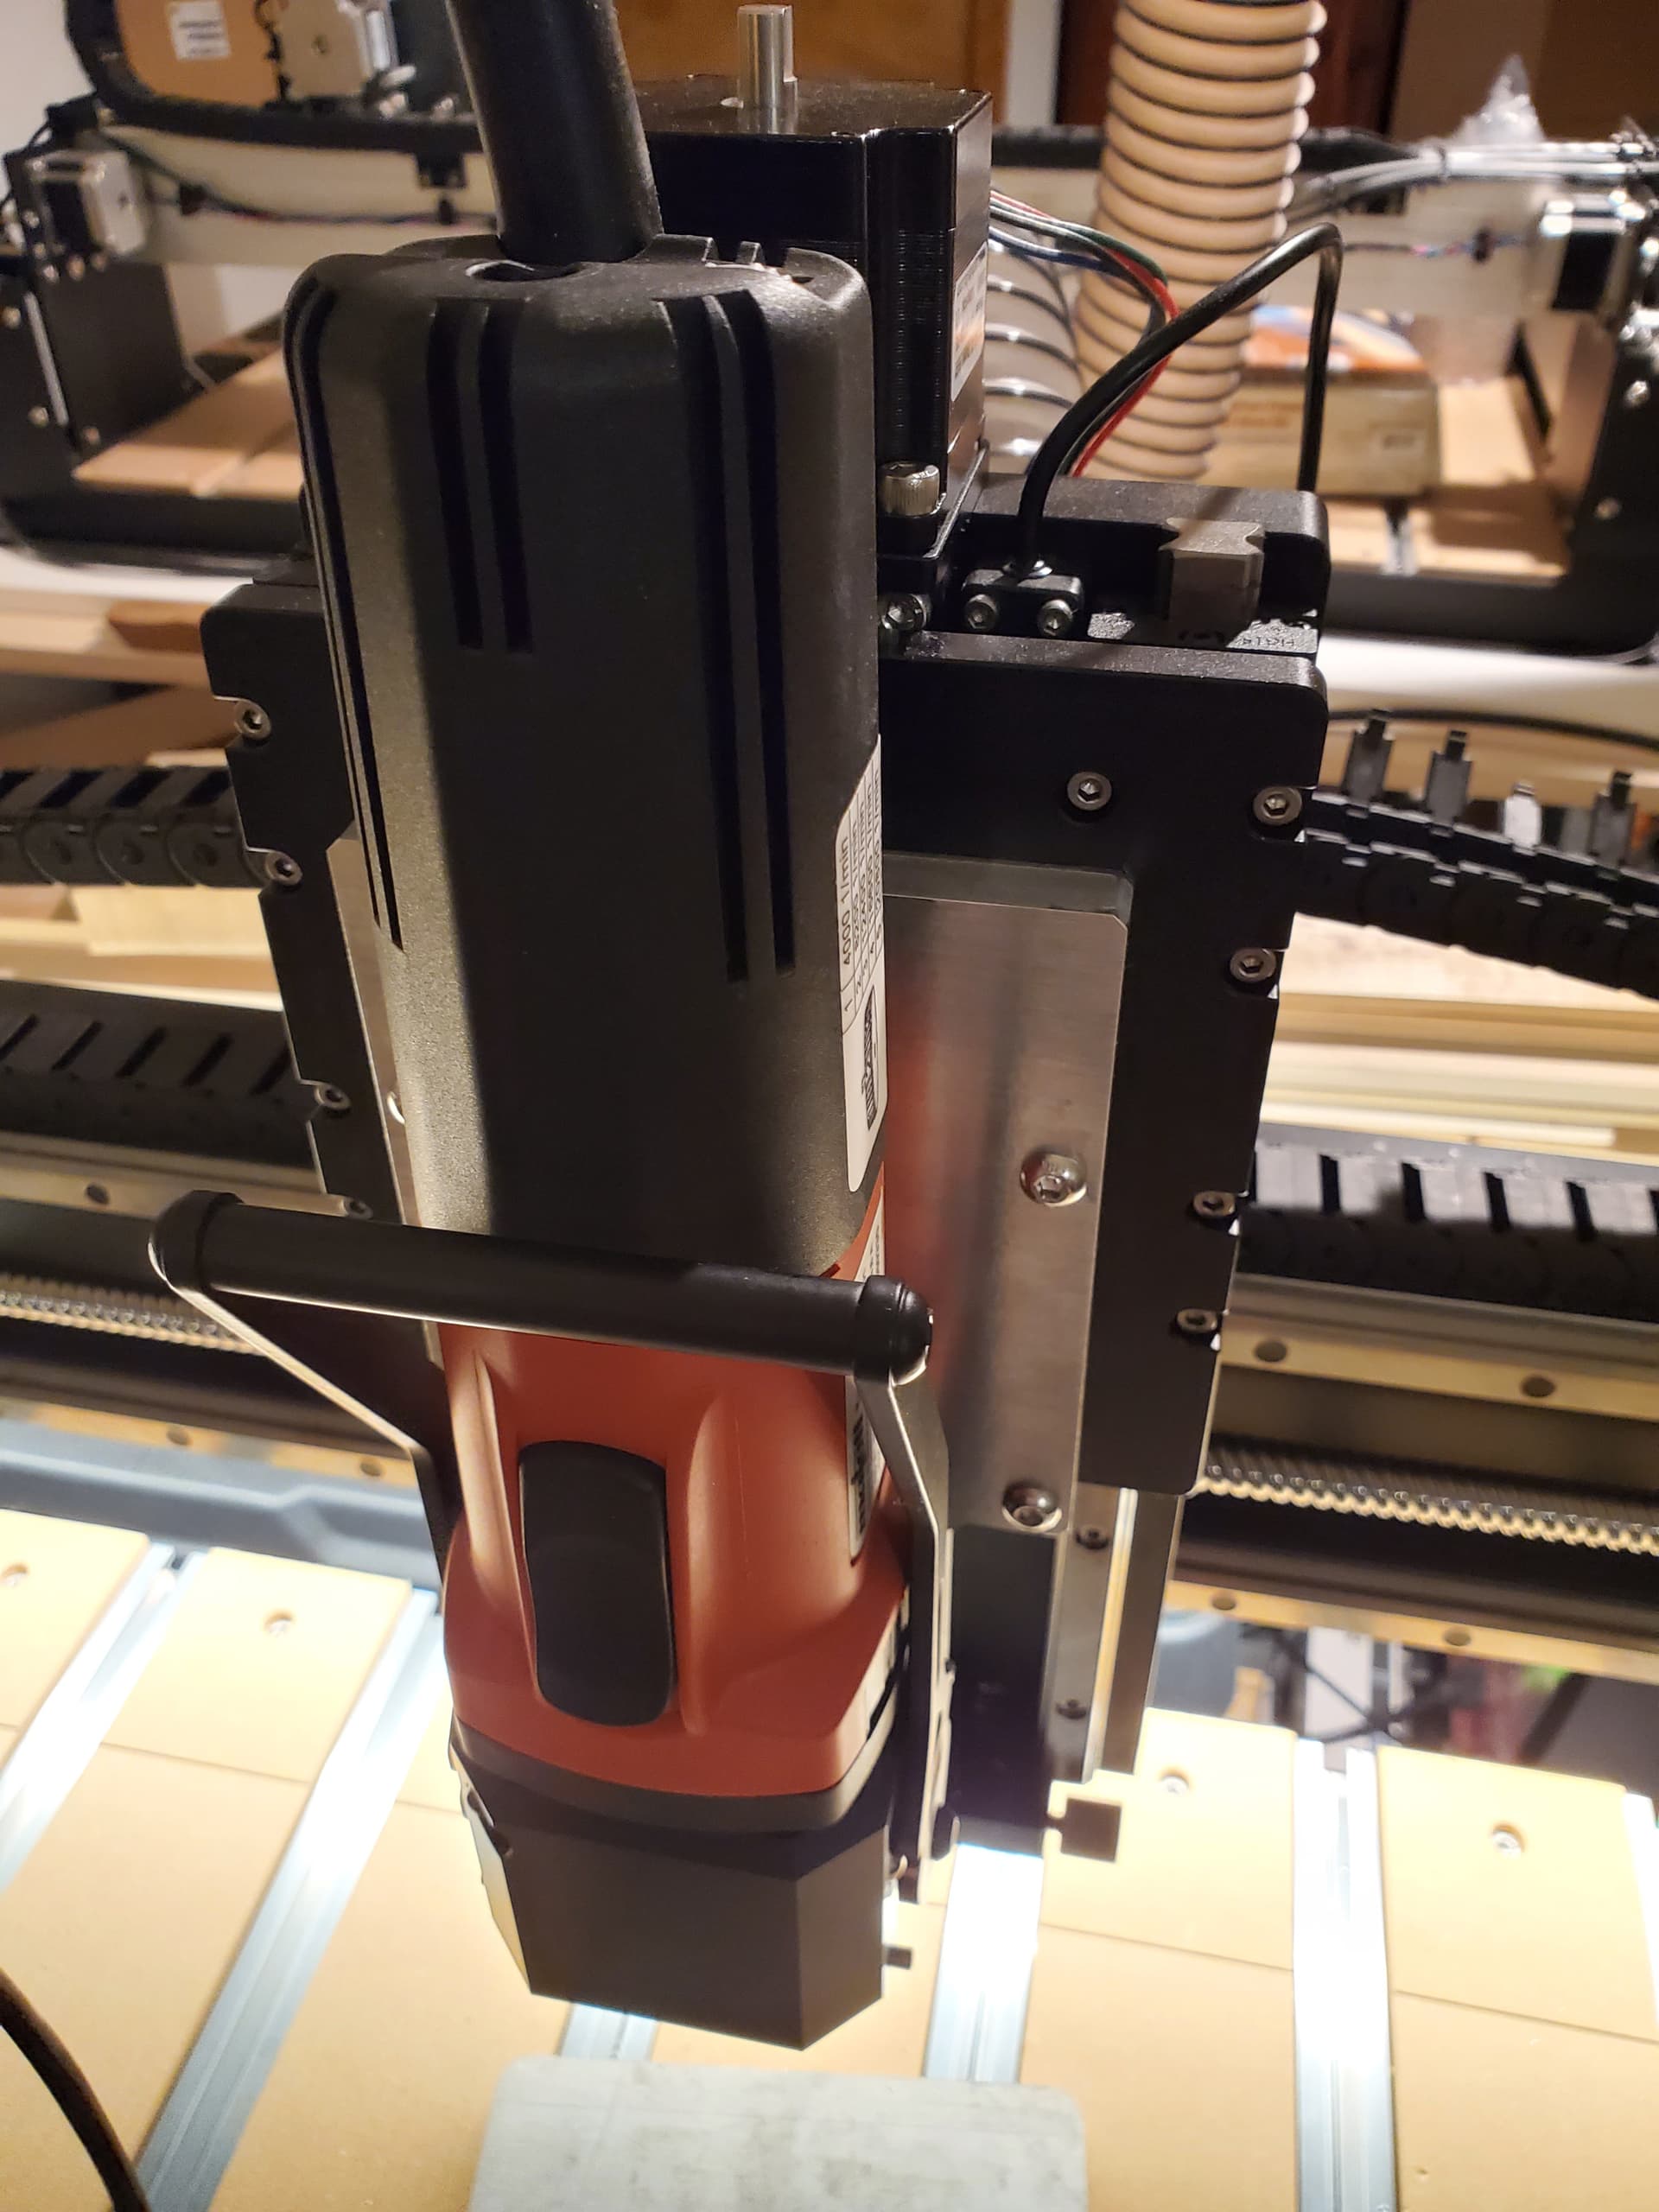
Next we resolve dust collection (hoping to be able to make use of the Sweepy Pro).
And after a bit of cleanup and opening up the holes, it fits:
Next we resolve dust collection (hoping to be able to make use of the Sweepy Pro).
The Sweepy Pro will require major modifications to work, but we’ll look into that when we get a chance.
Hey modifications is what we do. Everything is customizable and customized. Aluminum is just too messy for me to want to machine. Wood is bad enough. Glad you machined the alum so I dont have to.
Nice early Christmas present for yourself.
You have a lot of write ups for your Mafell Spindle. After all your work what do you think about it?
It’s annoying to have to make the adapter plates (and this time, I’ll need to get some Birchwood Casey Aluminum Black to finish it — if I bother to pull it and actually finish it).
The sound is rather different from the Carbide Compact Router or Makita — the pitch seems to either be something which falls in the range of my hearing loss (too many hours wearing headphones when I was in the Air Force) or which my hearing protection is esp. good at blocking out, so a bit more tolerable for long cuts
Further complicating the mounting is dust collection — I’m back to using a Sweepy v2 bottom and adapter plate, which while workable, doesn’t afford the wonderful adjustability which the Sweep offers — I’m probably going to take a hacksaw to my Sweepy Pro plate (or fabricate a replacement), we’ll see.
I think it has lower runout, at least than a Standard Carbide Compact Router, not sure if it’s the same or better than an ER-11 unit, and should have more torque, and it will run w/ torque at lower speeds — we’ll have to see if I do any projects where that comes into play.
It’s a bit of a workout to move the transformer around — it’s a quite dense and hefty 48 pounds, and the clicking from that being switched by the BitRunner relay is a bit worrisome.
It was quite expensive — rather an indulgence — the only way I could justify the expense is there were some days when I do so many test cuts for tech support purposes that it felt as if I was spending more time wrenching than the machine was cutting.
The quick tool change is of course the big win, but if one gets an ER-11/16/20 collet unit, that’s really not that bad — I’m not under a time crunch, and I’m not inclined to rush a tool change and risk cross-threading — if I weren’t doing so many test cuts, I probably wouldn’t’ve bothered. The lower runout and greater torque are nice, but I use the default feeds and speeds, so probably won’t take advantage of that aspect — unless of course @wmoy works up new feeds and speeds for spindle-equipped Shapeokos which coincidentally work with this unit.
One other thing is I pulled the mount and added countersinks to the lower mount holes for the unit on the back — hoping this will reduce the amount of cutting I need to do to my Sweepy Pro to make it work.
Back to working on this.
The flat-bottom adapters only work with longer tooling, and much of my work is with smaller, shorter tooling.
Hacking up my Sweepy Pro mostly worked — except for replacing the bottom and managing airflow around the oddly shaped lower portion of the unit (my effort at this is sufficiently ghastly that I won’t embarrass myself by showing a photo).
Which all goes to underscore how brilliant the Sweepy and Sweepy Pro are.
So, one wants a list of requirements for a dust shoe/boot:
and desirable aspects:
(which are pretty much just a description of the Sweepy…)
and one wants to work up something based on all the above, and the lessons learned from the various options already tried — which reaches all the way back for me, to the Shapeko 1 and the now defunct forums and wiki.
The first dust shoe design which I tried there was billed as the “99¢” dust shoe, since it was simply a piece of transparency film from an office supply store, printed w/ a pattern which allowed cutting and folding, held in place by the collet nut on a Dremel — while one doesn’t want something that austere, there was something to be said for the simplicity of it…
Came across:
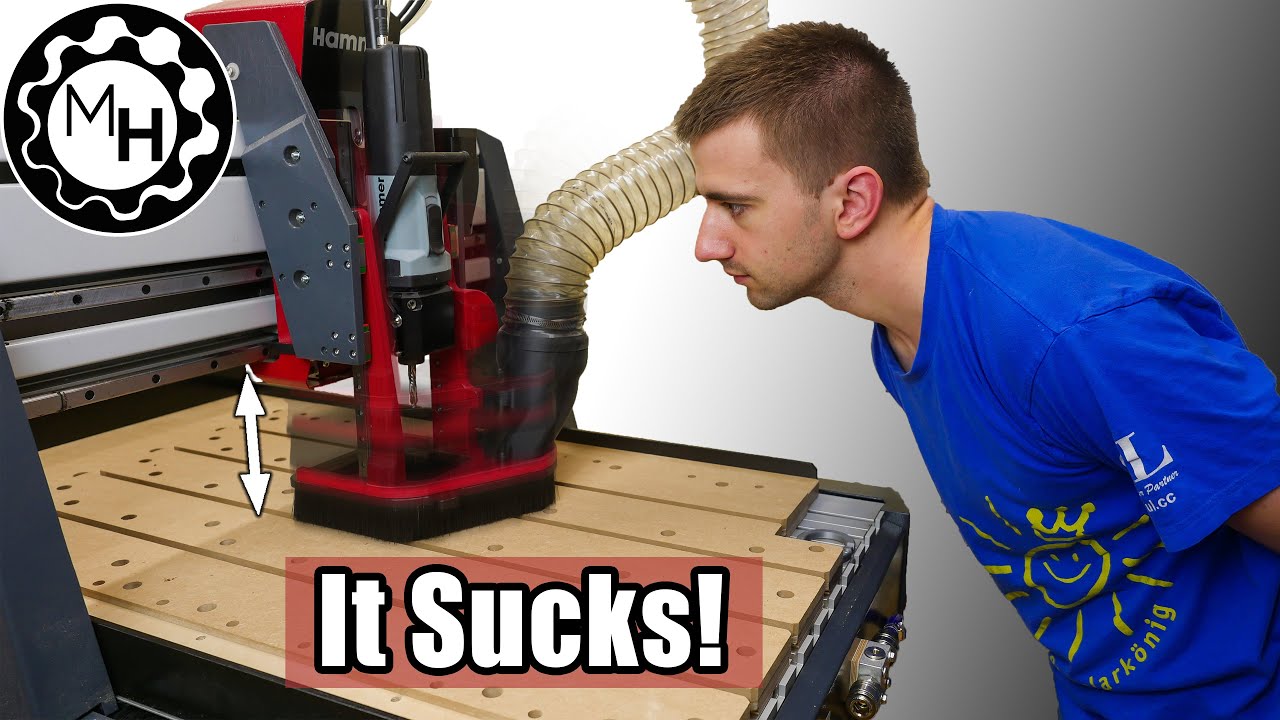
which is a hoot in a Rube Goldberg kind of way.
Yeah I have been watching him for years. His automatic tool change system is crazy.
Yeah, looked tricky to set up though, and requires a compressor which is a complication I have thus far avoided in my work setup — maybe one day when I have a dedicated shop and not just a bench at one end of the laundry room and random work surfaces scattered around a basement.
Revisiting this, I am trying to diagnose my BitRunner ceasing to work as expected…
Original order/arrangement was:
Mafell → transformer → BitRunner → current sensing plug on Festool CT Midi which is plugged into the wall
Contemplating instead doing:
Mafell → transformer → Festool CT Midi → BitRunner → plugged into wall
Thoughts on which would be preferable and why?
I’m going to get out a fan or something 110V to eliminate the transformer from the equation and do some testing, but it would be nice to at least have a theory on which ordering would be at least theoretically better…
The BitRunner v2 manual recommends against running your shop vac with the bitrunner.
So maybe that’s a -1 for the contemplated setup 
I like the idea of switching the least possible items with the bitrunner which seems to be your current setup. If we go in order of things most likely to have failed I’d guess it’s:
Transformer - these can burn up, especially if it’s a cheap one.
Bitrunner - no shade on C3D but their pcbs have had hiccups along the way (I’m assuming you’ve got a v1 BitRunner which further lowers my confidence)
Festool current circuit - I hope it’s not broken given the price 
Mafell - an expensive motor with relatively few hours compared to what it’s designed for, not much to break there.
A fan or light seems like it’ll tell you exactly what’s broken 
Yeah, I tried/tested/pushed my luck w/ the 20-amp circuit, maybe too far/hard.
Debating adding:
but it seems a bit silly given that the Festool has this feature and my understanding of the implementation is that there is a delay, so the full draw of both devices is not simultaneous (which is the reason for the official recommendation).
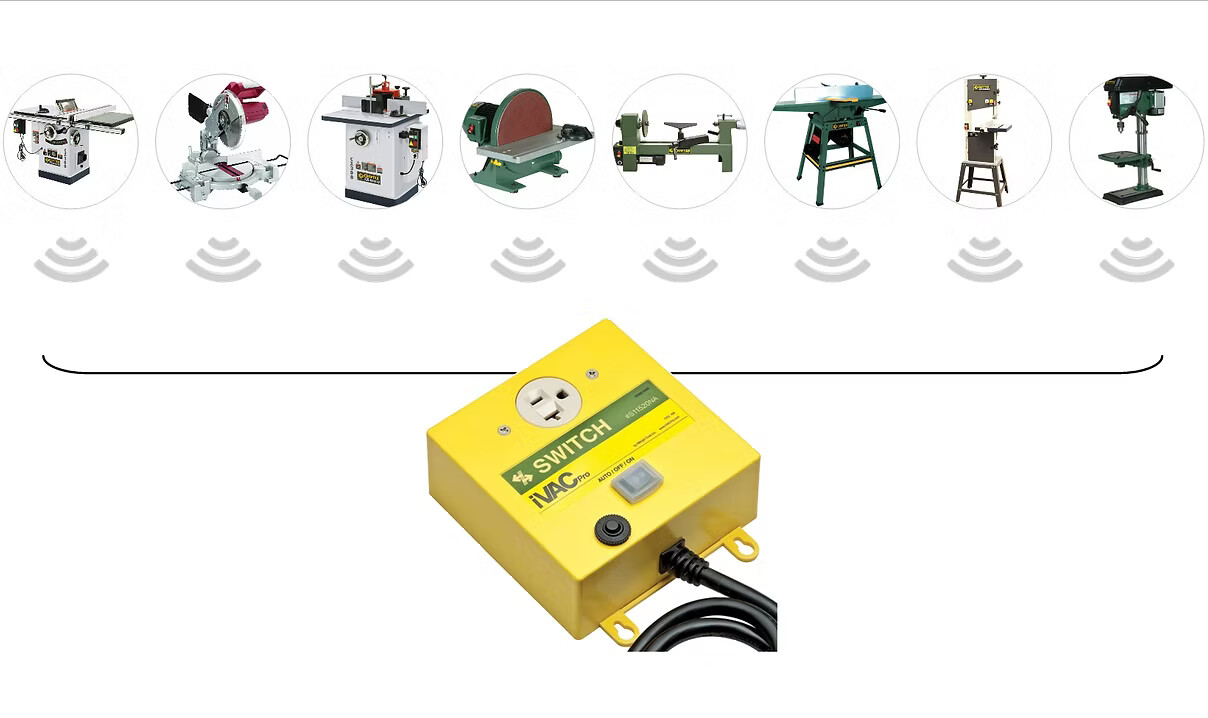
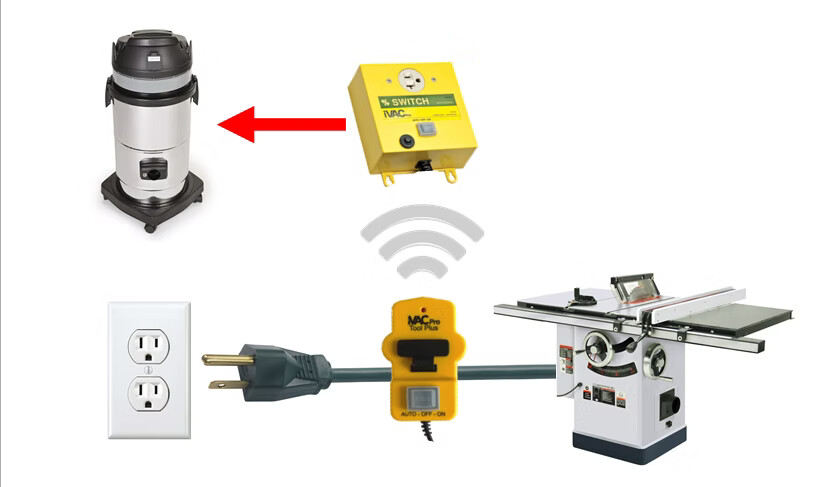
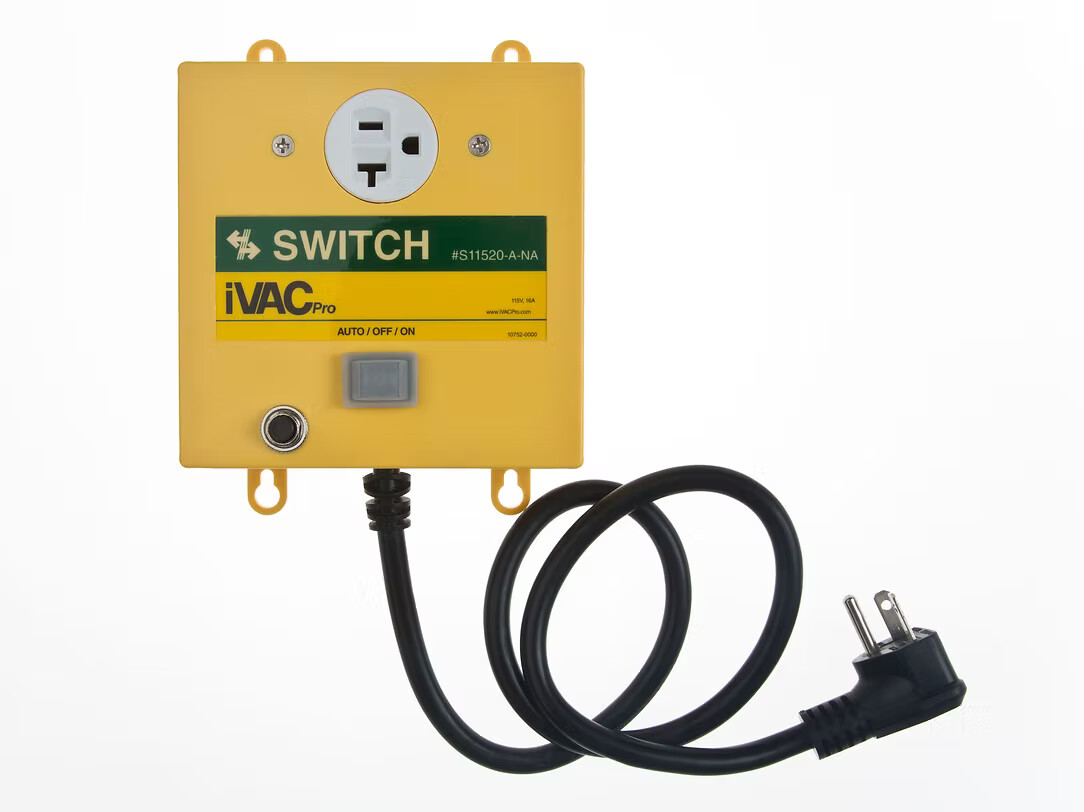
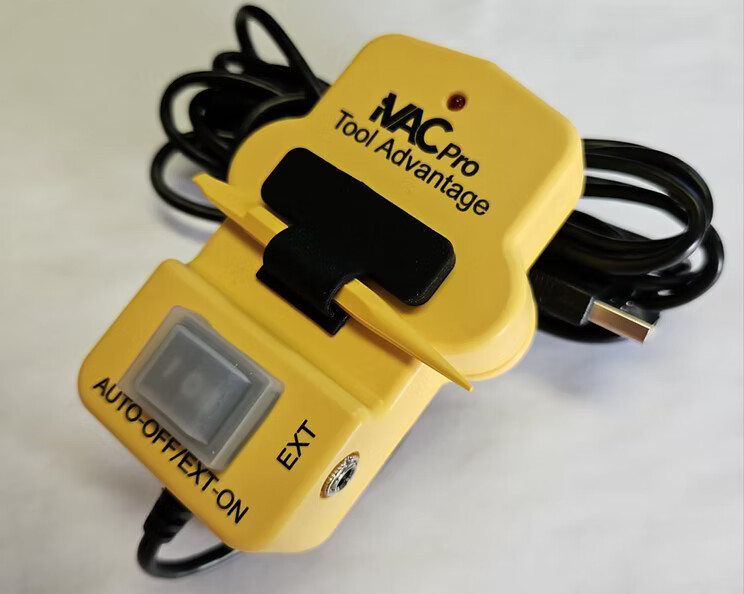
strongly recommend
https://www.ivacpro.com/ivac-products
I use
for the tool wire -in my case the power supply from the control unit to the spindle-
and this:
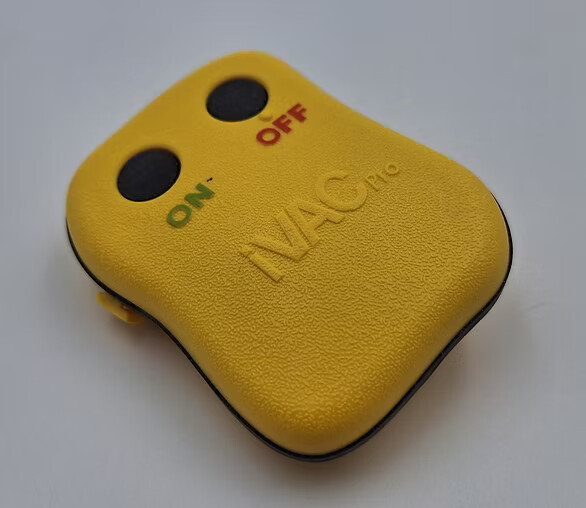
I also use the remote control
https://www.ivacpro.com/ivac-pro-remote
in case I need the vacuum separately, what I do very often.
I think this item
was developed after I installed my items.
For dust management I think it is absolutly worth to consider.
And separate circuits for every power tool that is supposed to work for hours on end prevent from frequent braker resets.
Yeah, the thing is, I have a Festool CT Midi which has this (auto on/off based on sensing a tool’s switch state), so it seems silly to buy a separate tool.
That said, I now have another problem/question: How to attach/hang the transformer from the machine structure?
My current thought is to use 4 (2 packs of 2):
https://www.lowes.com/pd/Gardner-Bender-1-2-in-Metal-Cable-Clips-Cable-Staple-2-Pack/5001840207
but the steel is only 0.75mm thick and the transformer weighs ~48 pounds…
You will need to use some type of backer material, like “back plating/through bolting” process used for example in boat manufacturing.
Since the holes are through the steel legs, I believe that they will be fine:
and I mostly have the cables and so forth run in a reasonable fashion, and best of all, managed to puzzle out the BitRunner issue — bad Spindle Pendant cable — next up is tidying up the balance of the basement and working out how to reposition machines for actual use.
(also putting tape along the seams of the underside of the hybrid T-track)
I didn’t realize it would be mounted to the frame. That would easily be hefty enough in that case.