See:
5 Likes
Ooooh that vice model is awesome. ill have to bookmark that for later. but that tiger claw autodesk link is indeed the one i recieved. its awesome to have that stuff provided by support.
As always @WillAdams, doing the lords work, haha.
Just to note — this is not an official support link — just one which we are providing in an attempt to be of assistance.
1 Like
it is still appreciated that you guys are actually able to find the community driven resources and reply in such a timely manner.
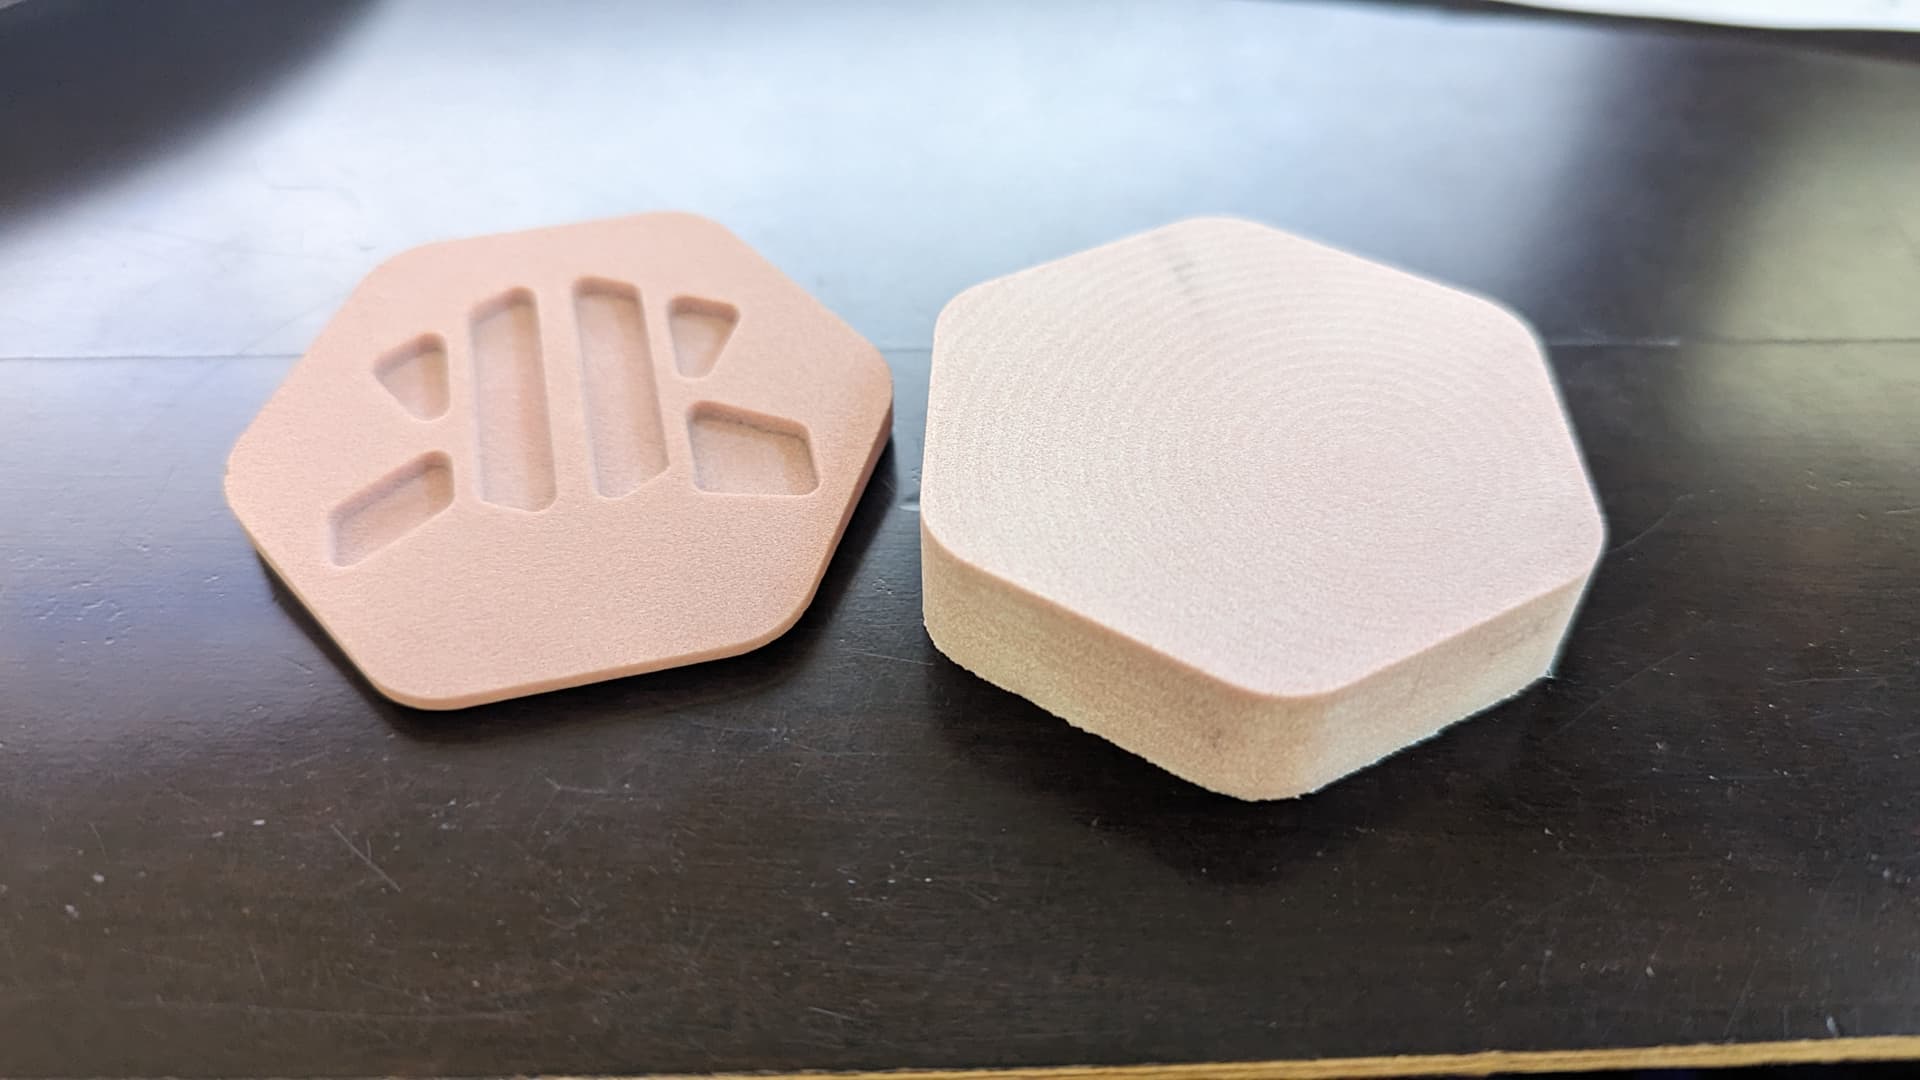
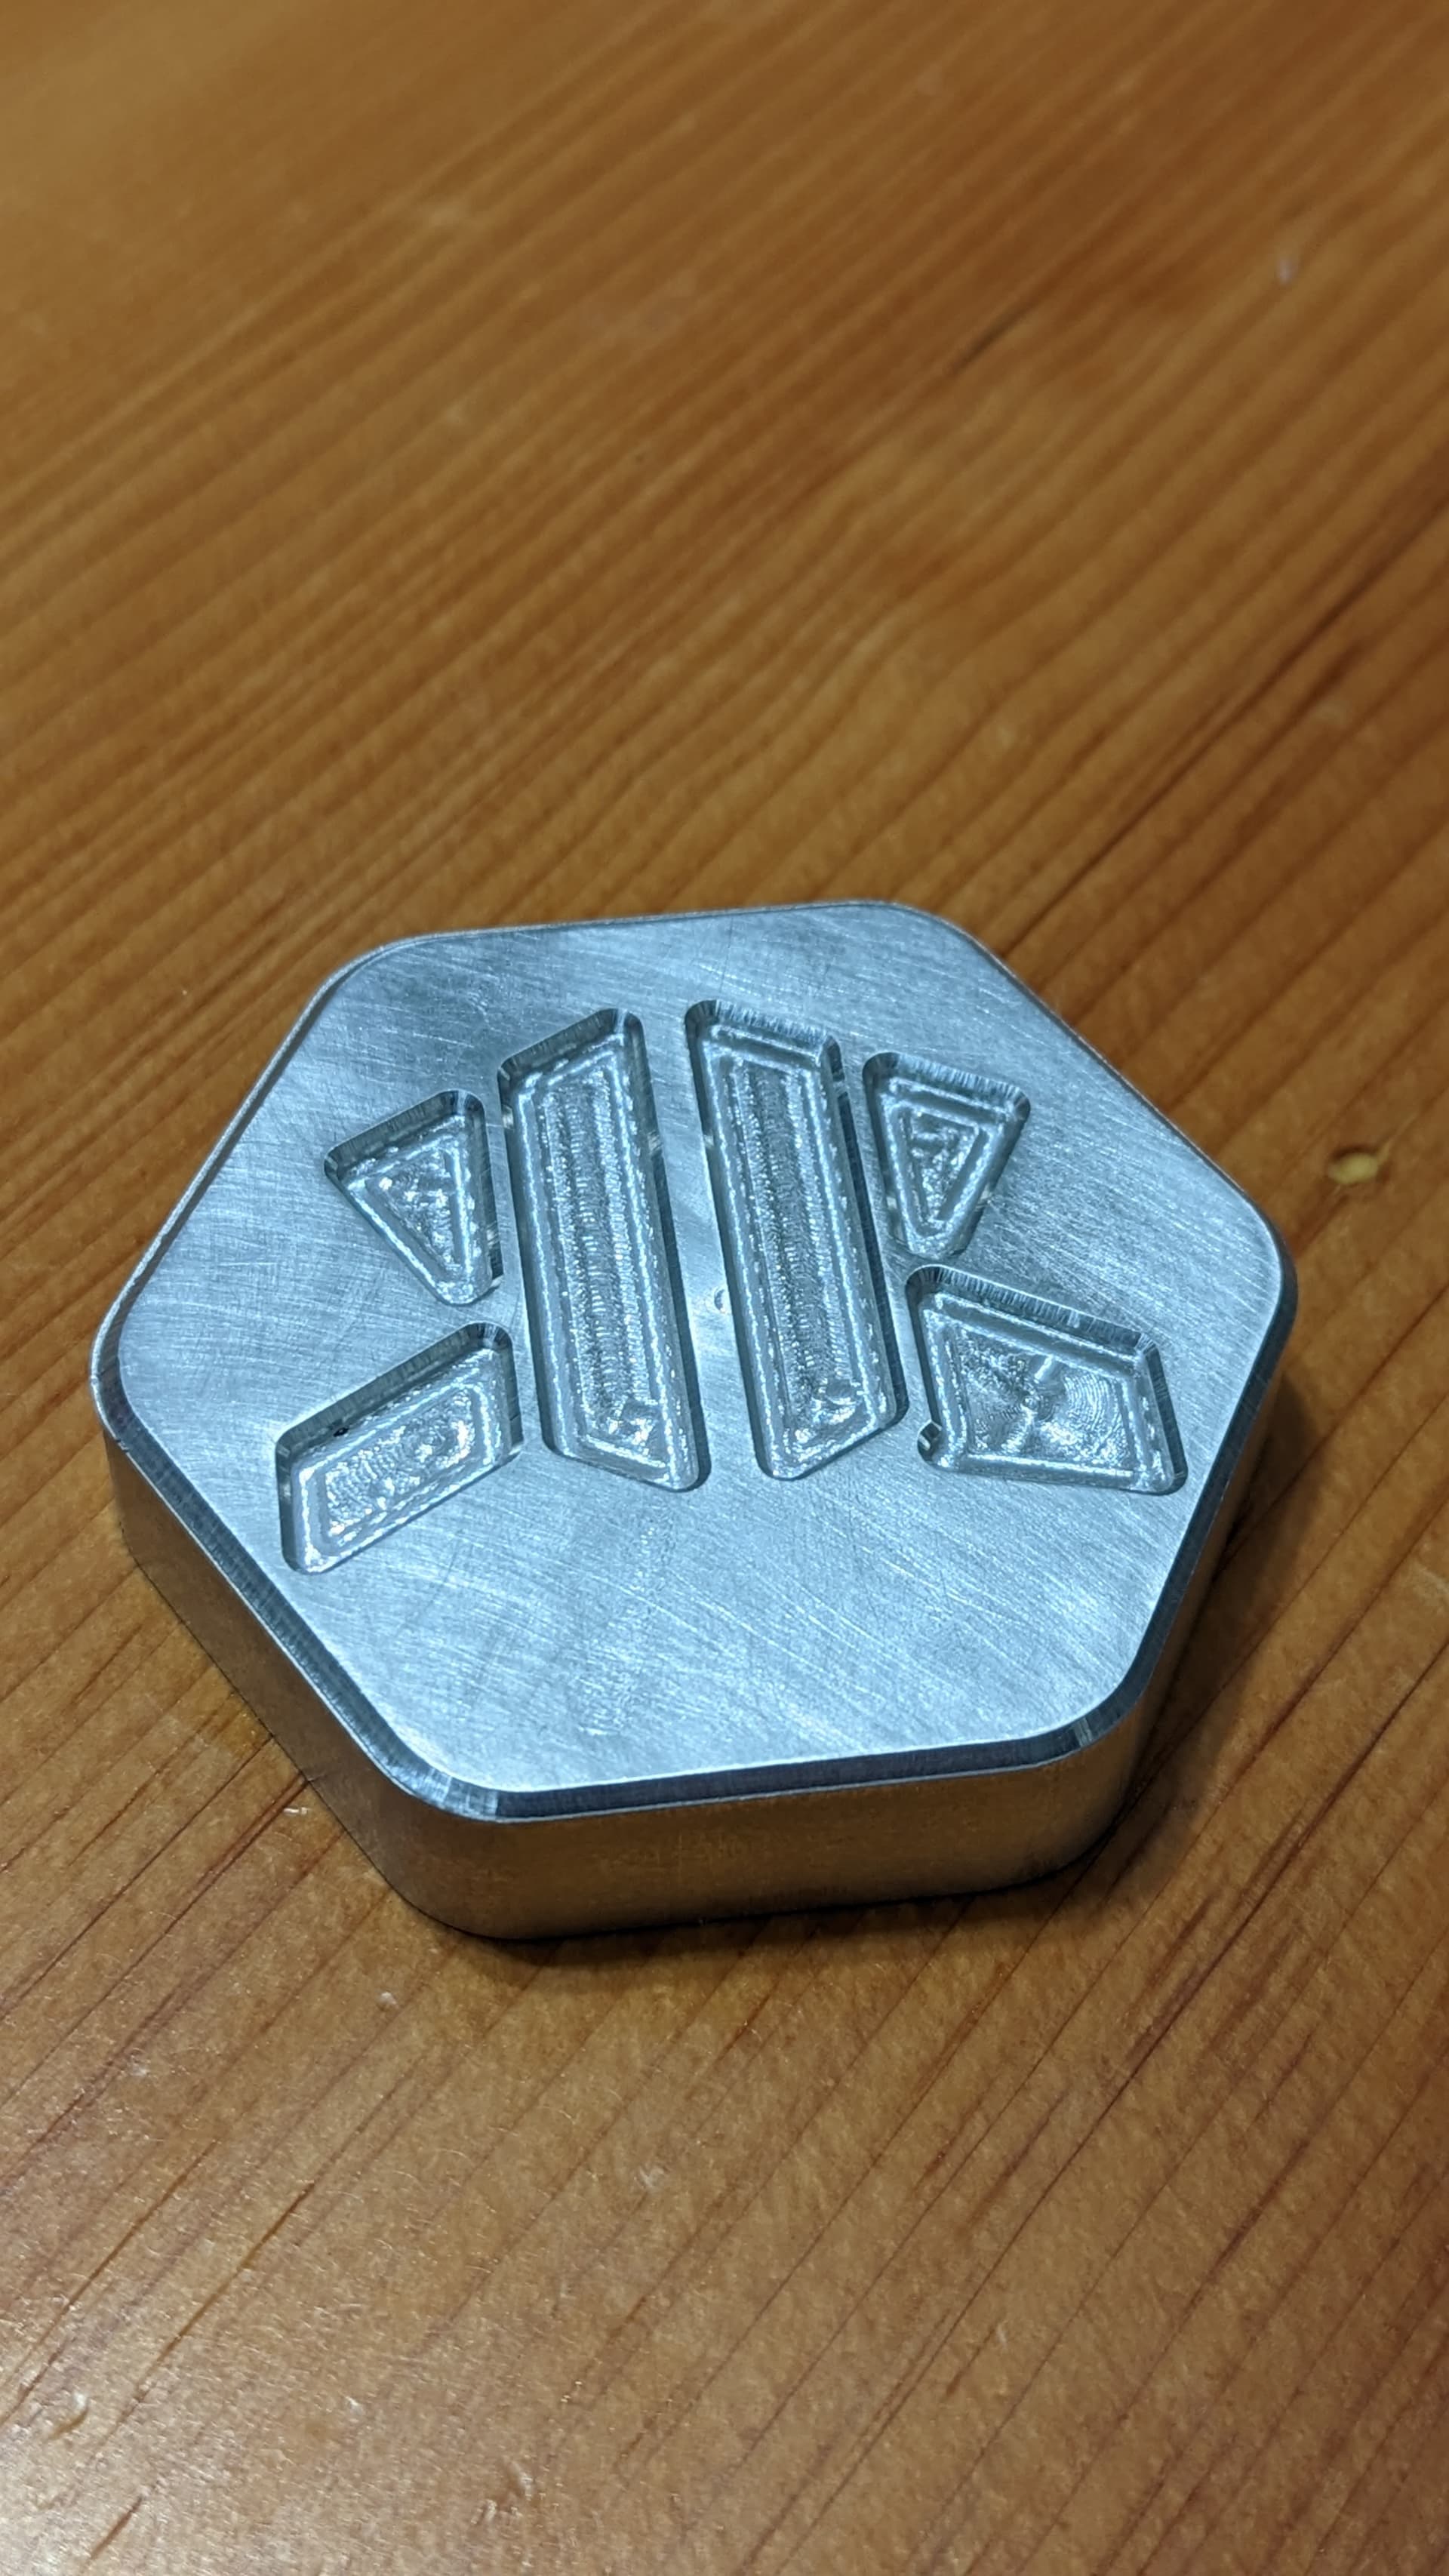
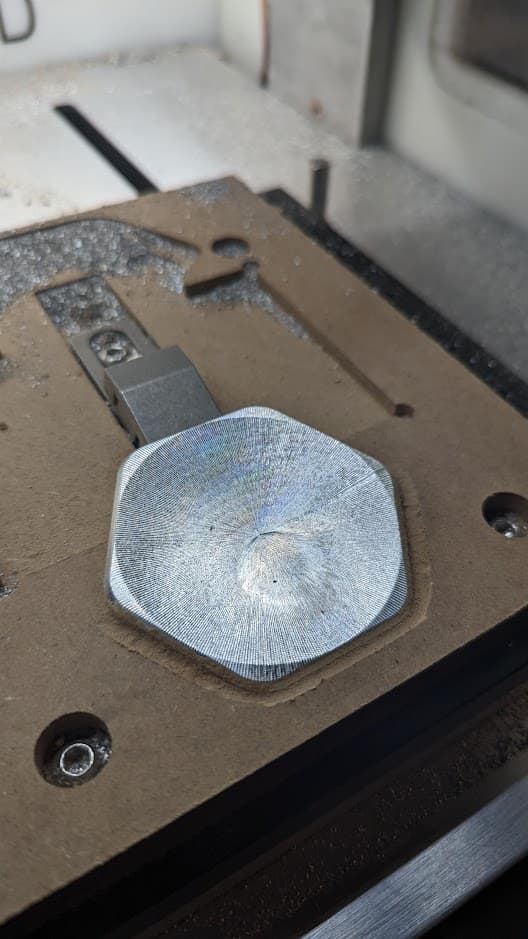
well I think I at least have an idea as to why my pockets were so loose, I just measured this puck I cut out to test against my fixture when I re-machine it, and it’s under sized by ~0.1 mm.

fixture v3 complete, and the fit is great. going to run another reshape coin, waiting on some 1/16" endmills to be able to get the logo to its finished dimension, so i wont be to get that done in the aluminum version until i get those in, but the renshape puck i made is essentially waste anyways.
2 Likes
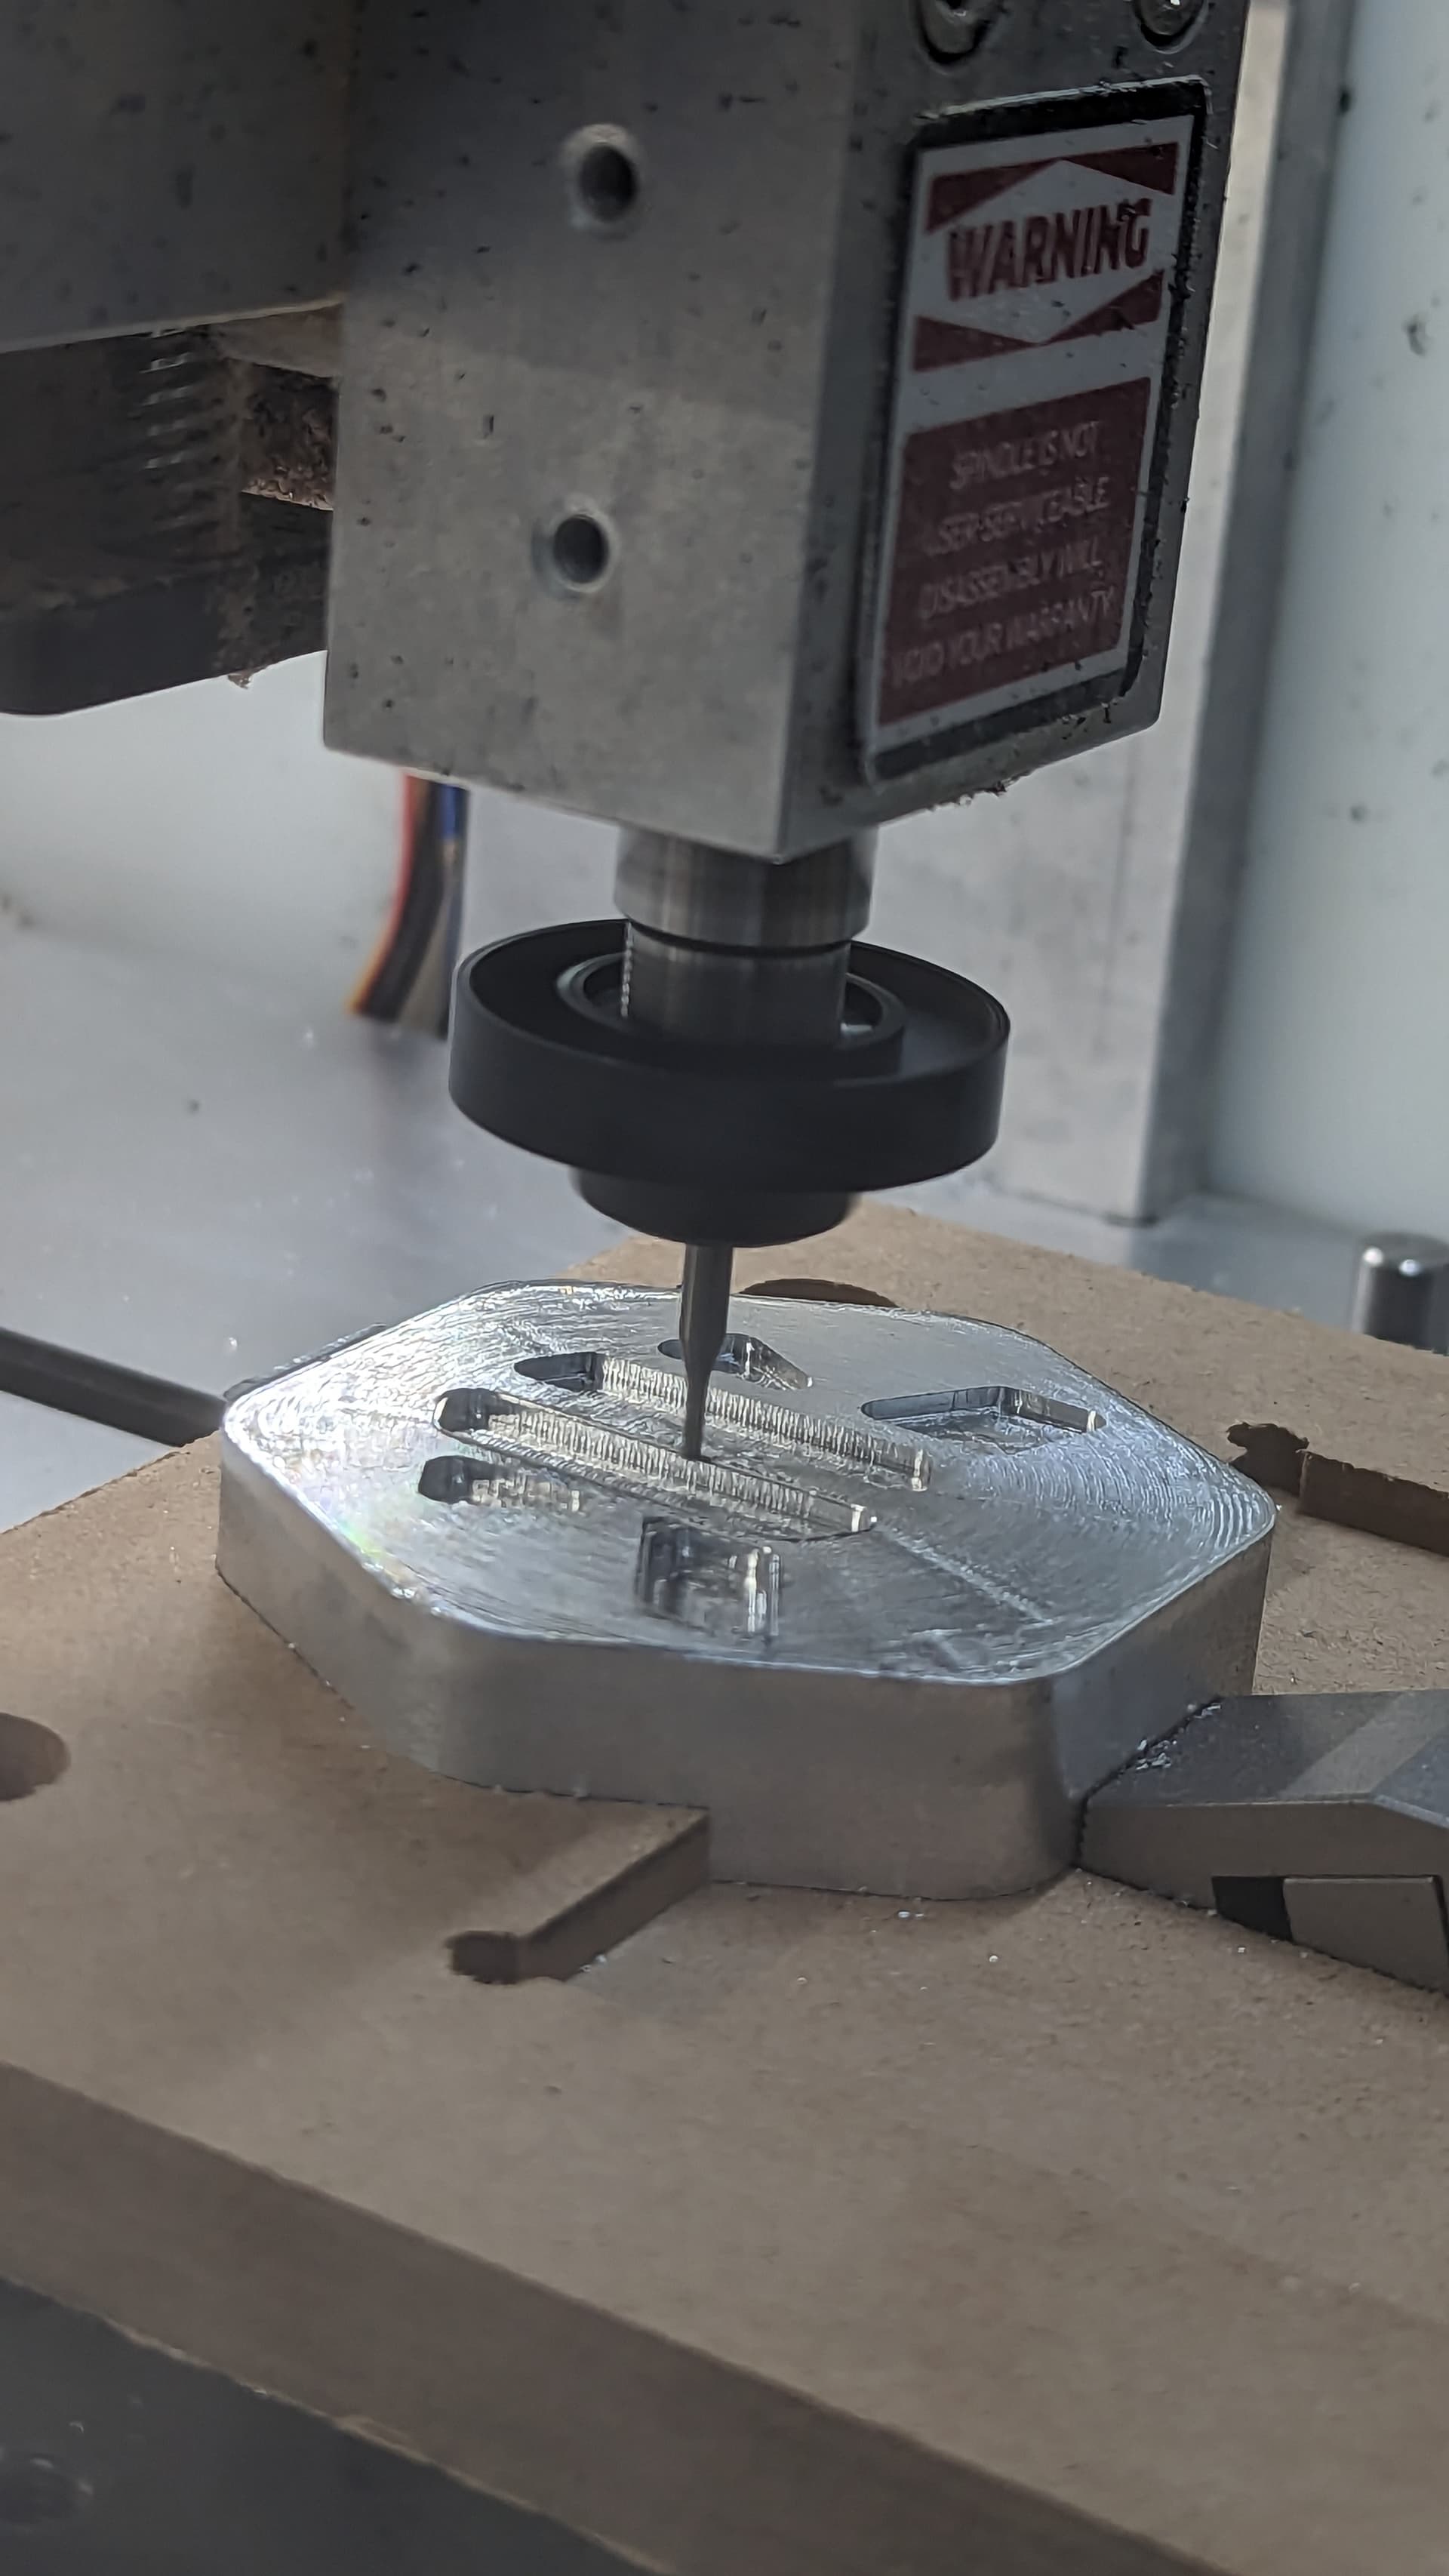
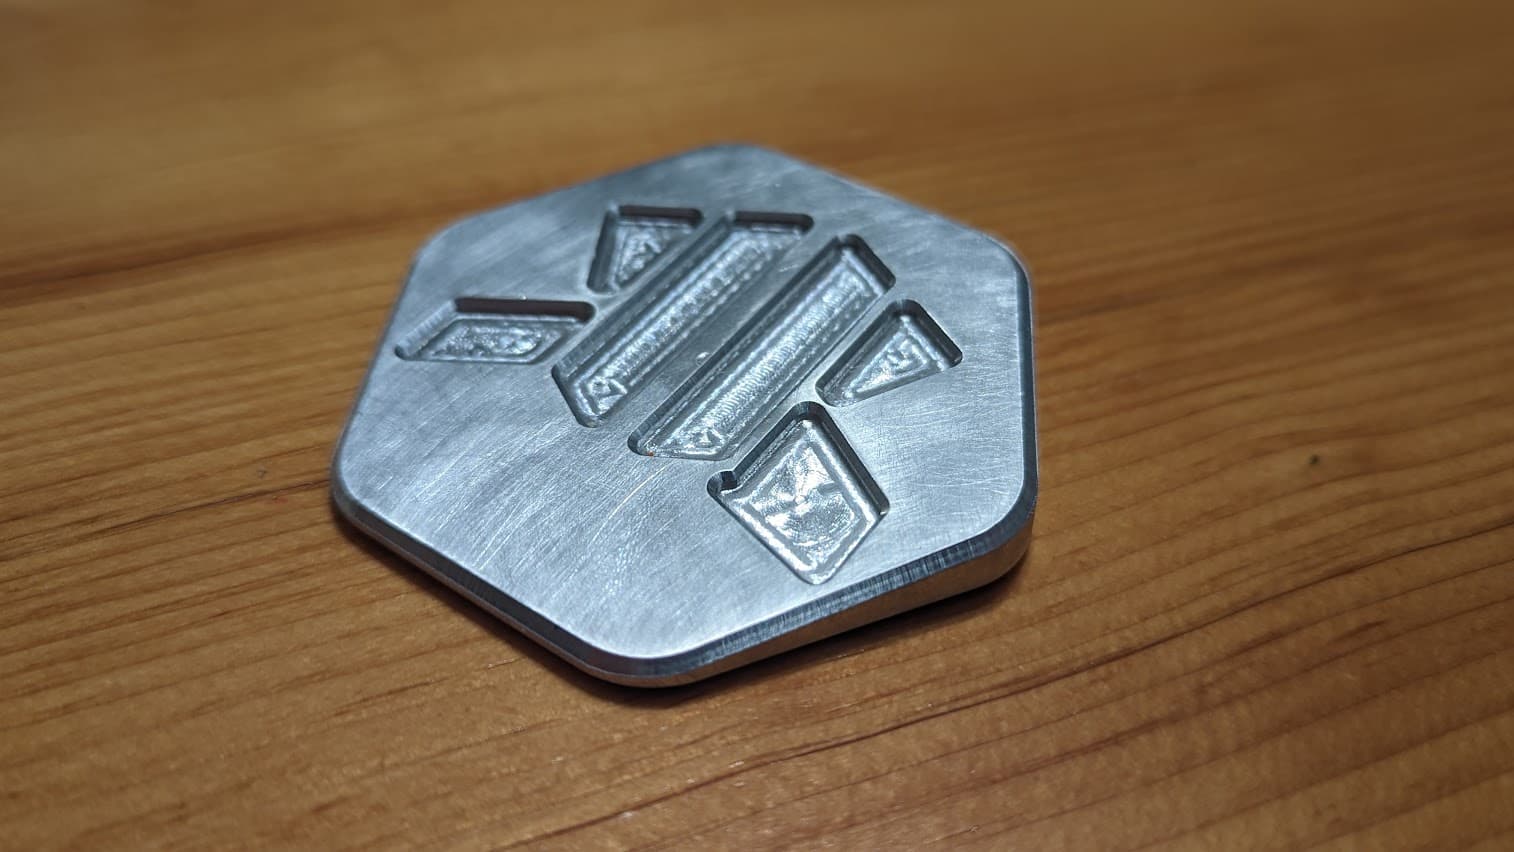
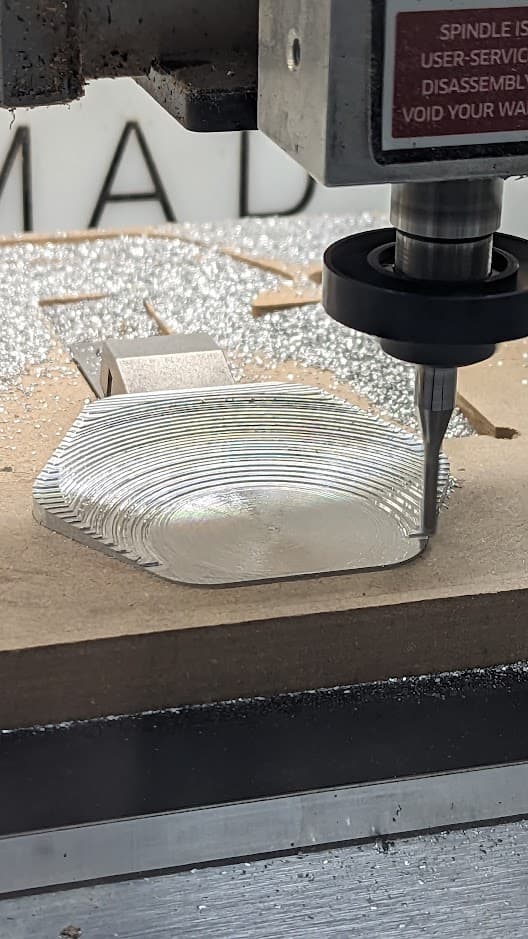
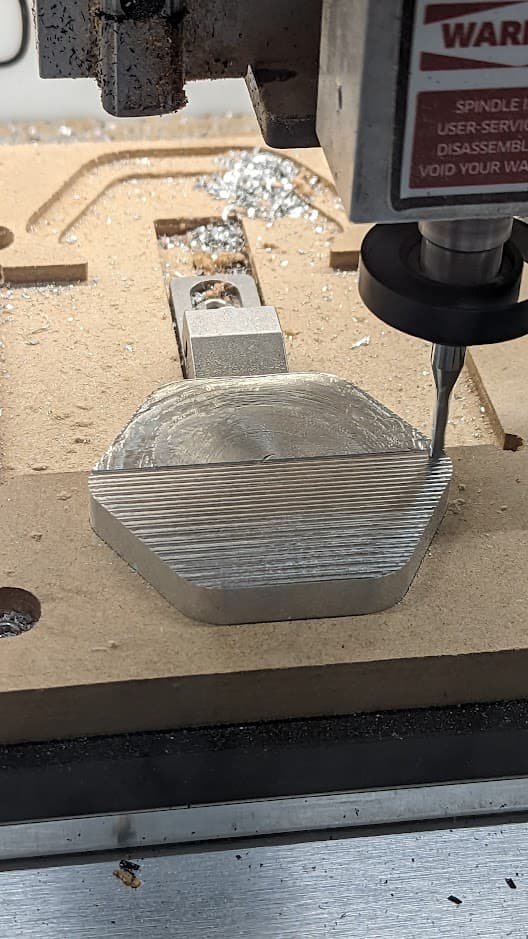
side 1 complete, but not amazing finish wise and the chamfer on the perimeter was WAY too much for the tiny .125" chamfer tool i bought. listening to that was painful. definitely need to get the one that Winston Moy uses for the future.
overall i can make this side presentable, but i want to make a different fixture if i do another round of these. ill definitely need to adjust my toolpaths too, if i decide to make another. finding a quicker way to cut out the hex blanks would be ideal, as doing that on the nomad with .125" cutters took forever but maybe thats just what cutting 20mm deep into a contour is in aluminum on this machine.

4 Likes

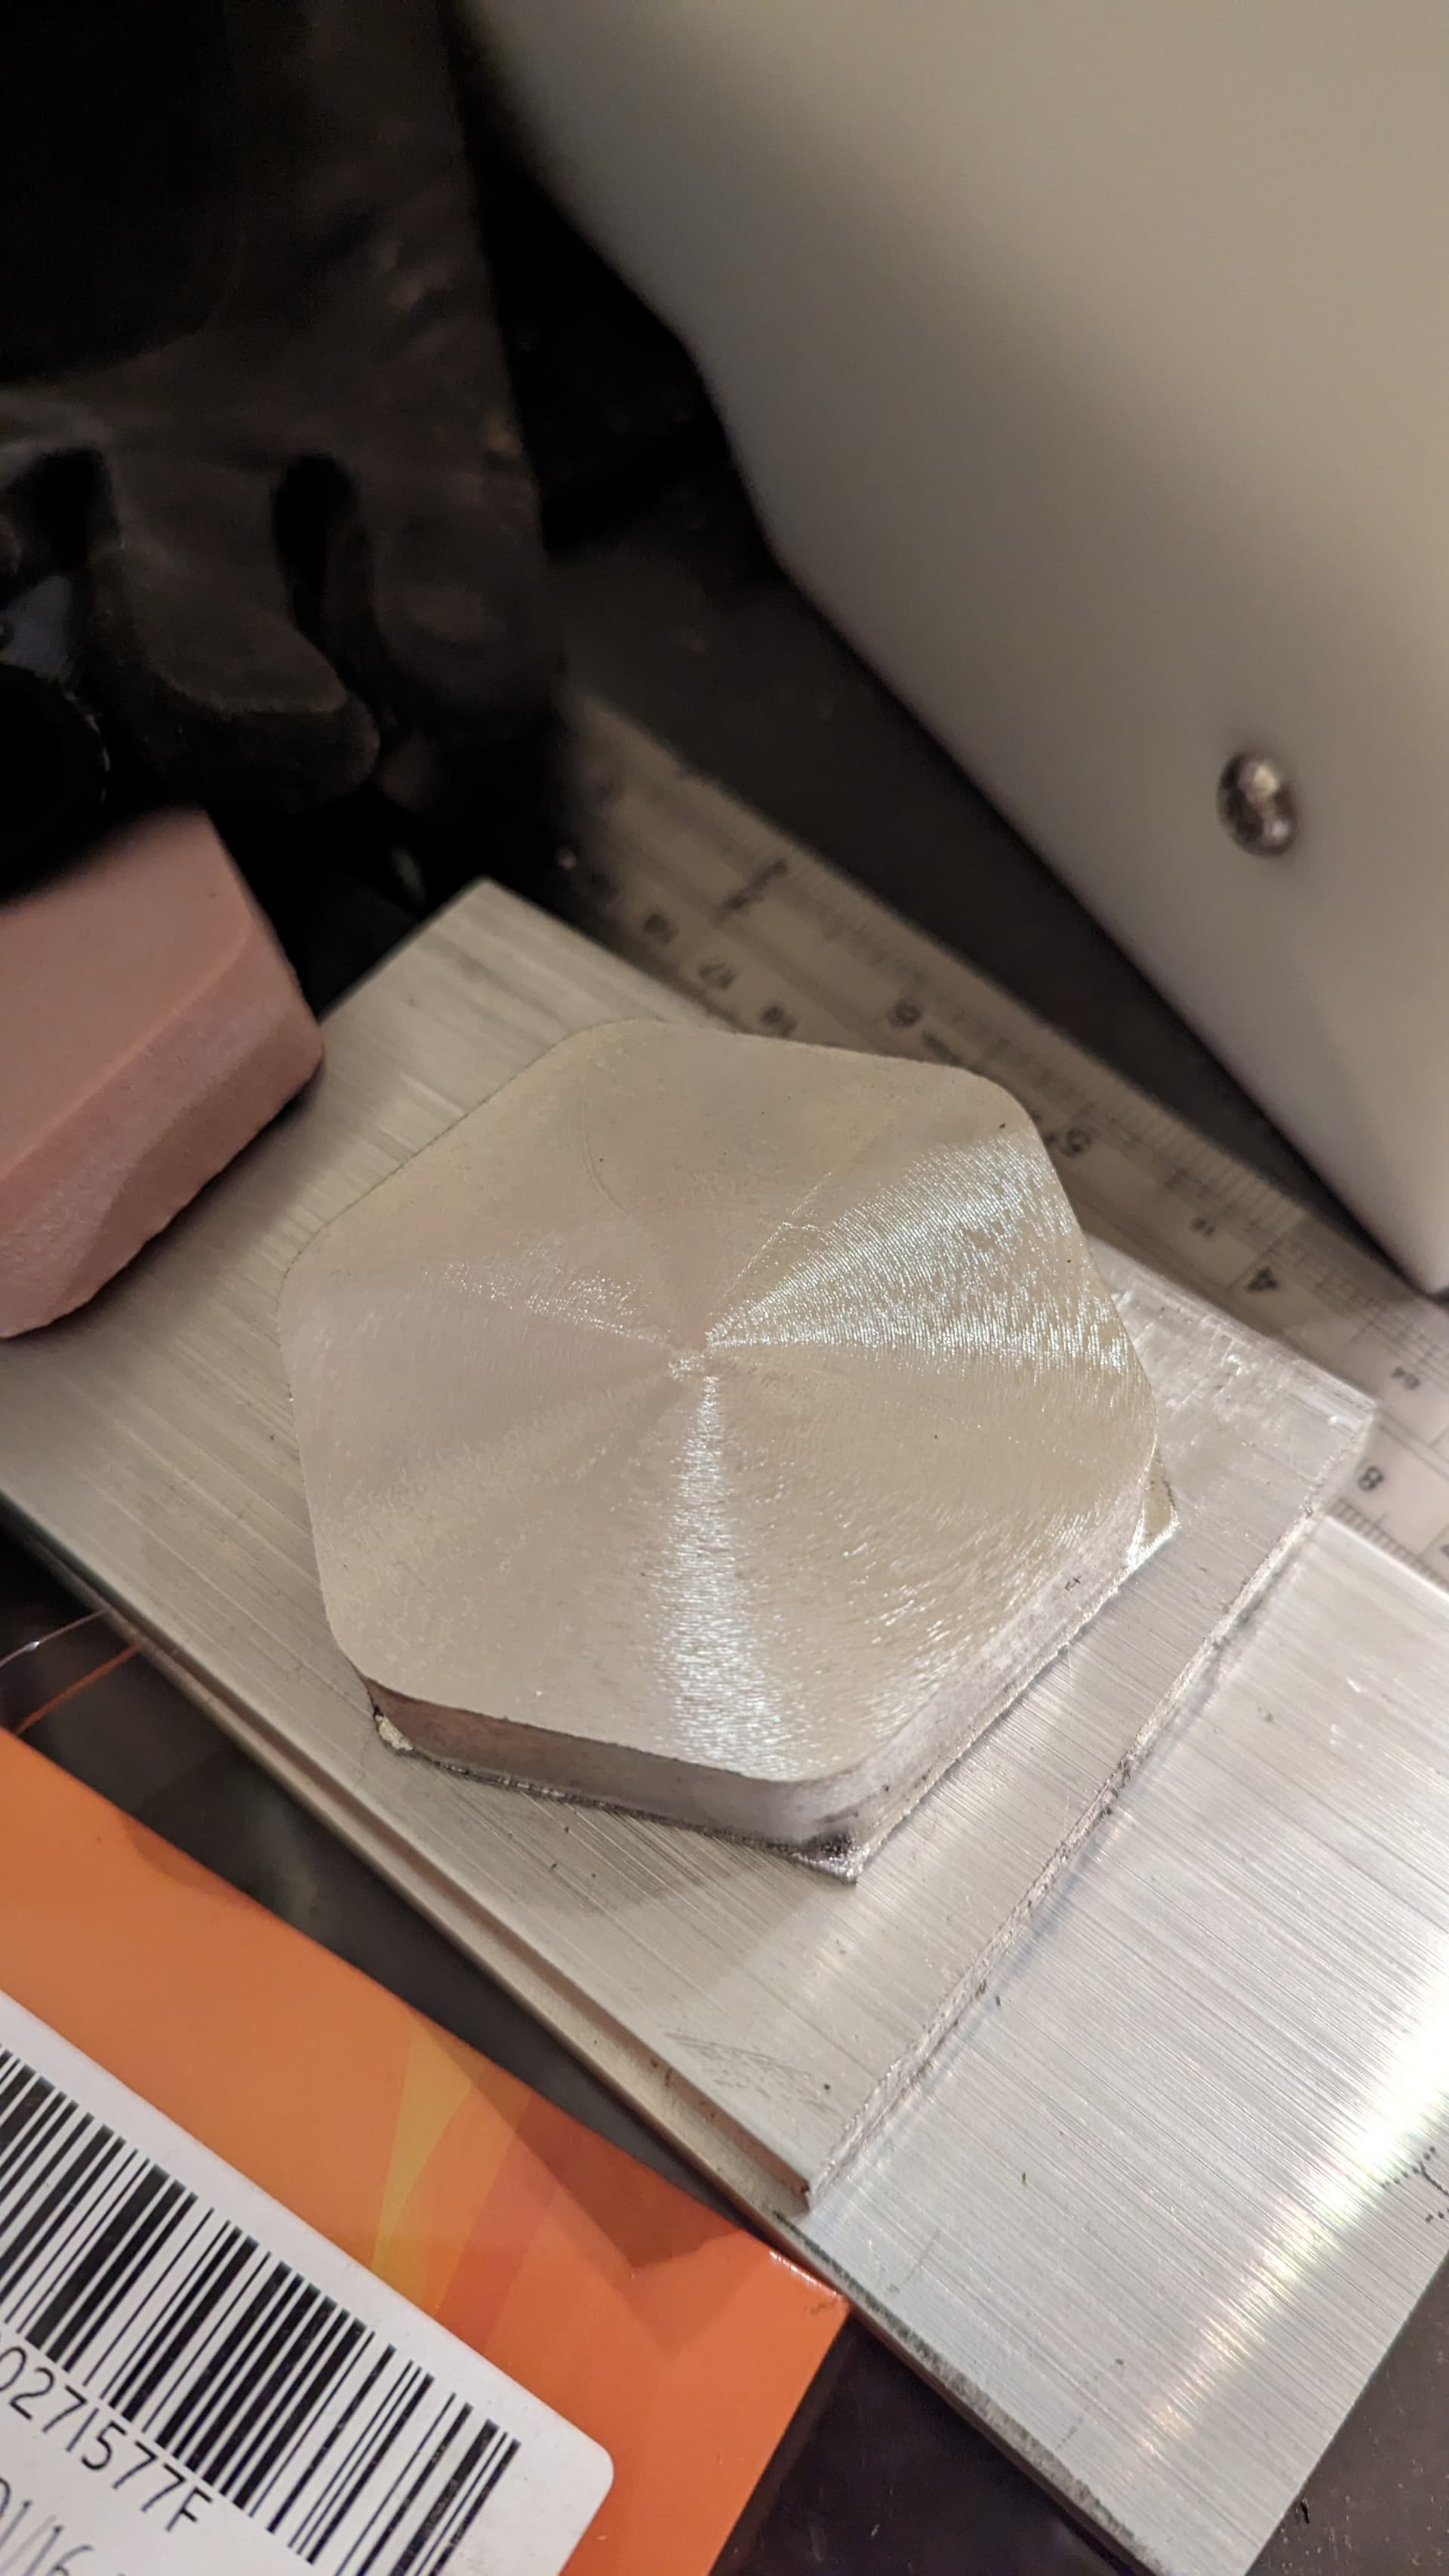
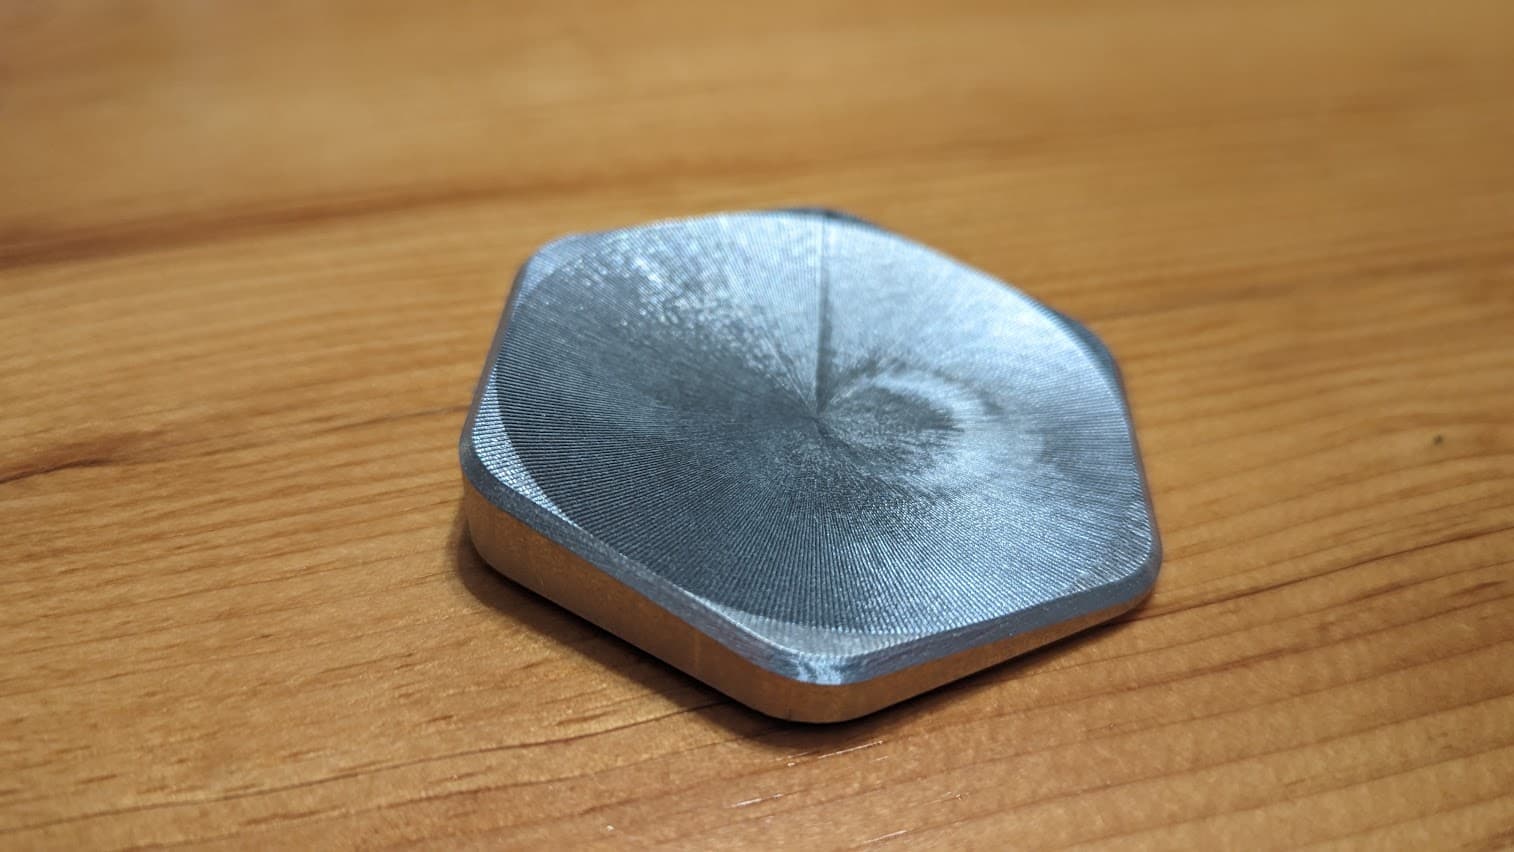
after a bit of cleanup it looks really cool in person, kinda meh still on camera. makes me excited to fix my toolpaths and do the backside
2 Likes
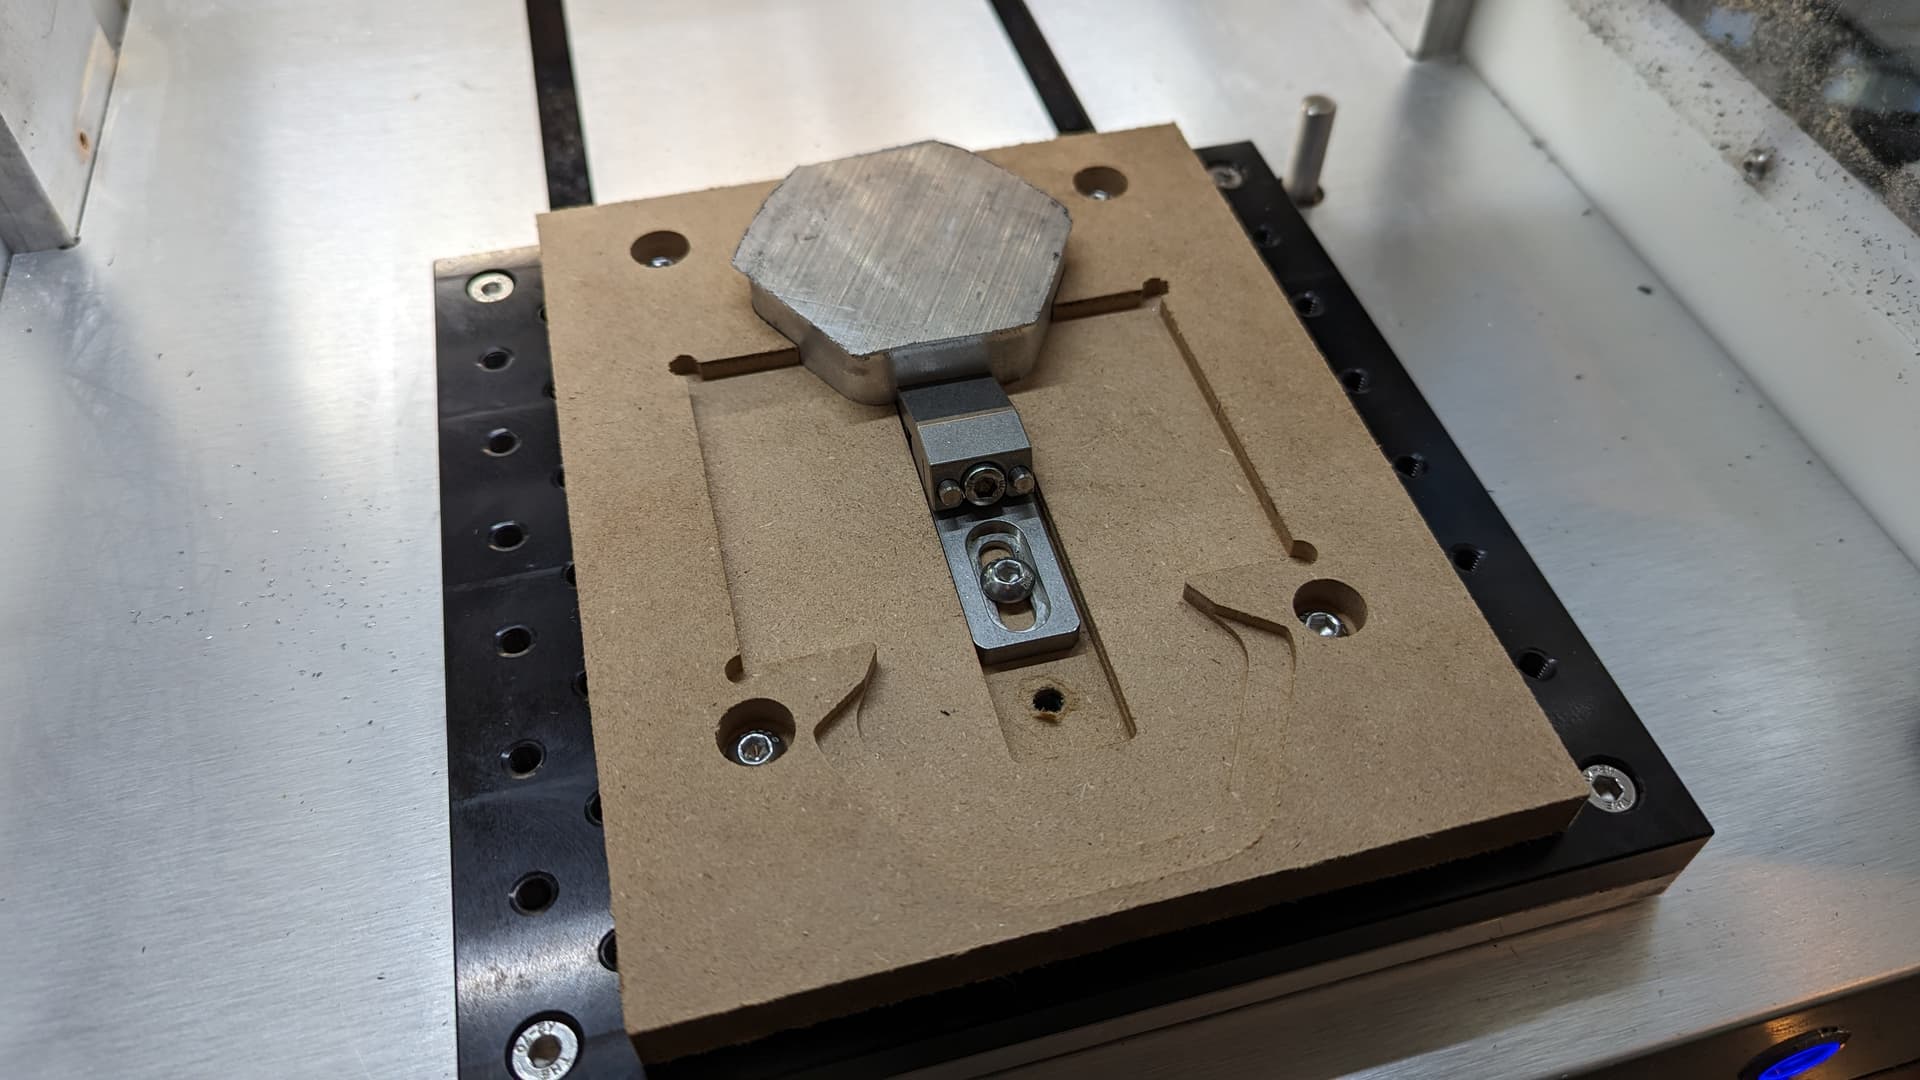
the second side op will be interesting, as my mdf fixture failed as i tried to clamp the puck in place. the mdf just sort of crumpled out of the way. ![]()
ill have to come up with another solution.
I make a ton of MDF fixtures like yours…one thing I do is after I machine the pockets of the fixture, I take some super thin (water thin) CA glue and soak any walls the part will come into contact with, then I run a very light final contour again around the MDF jig walls to clean up any cured CA glue. The CA will wick into the MDF and cure pretty quick, it also makes the MDF jig much stronger, and reusable longer.
6 Likes
interesting. ill have to remember that.
well i definitely learned a few things, and i already have some ideas floating around on how to workhold it better, if i decide to make another.
it took FOREVER to make this thing; in total, 16 hours of just the machine running, not including all the time spent designing it, the fixture, the toolpaths, and all the other miscellaneous things.
i like the finish okay as-is, but i would definitely like to see how it would look after tumbling it for a few hours. but now, i think ill switch gears back to the wheel table project.

5 Likes
This topic was automatically closed 30 days after the last reply. New replies are no longer allowed.