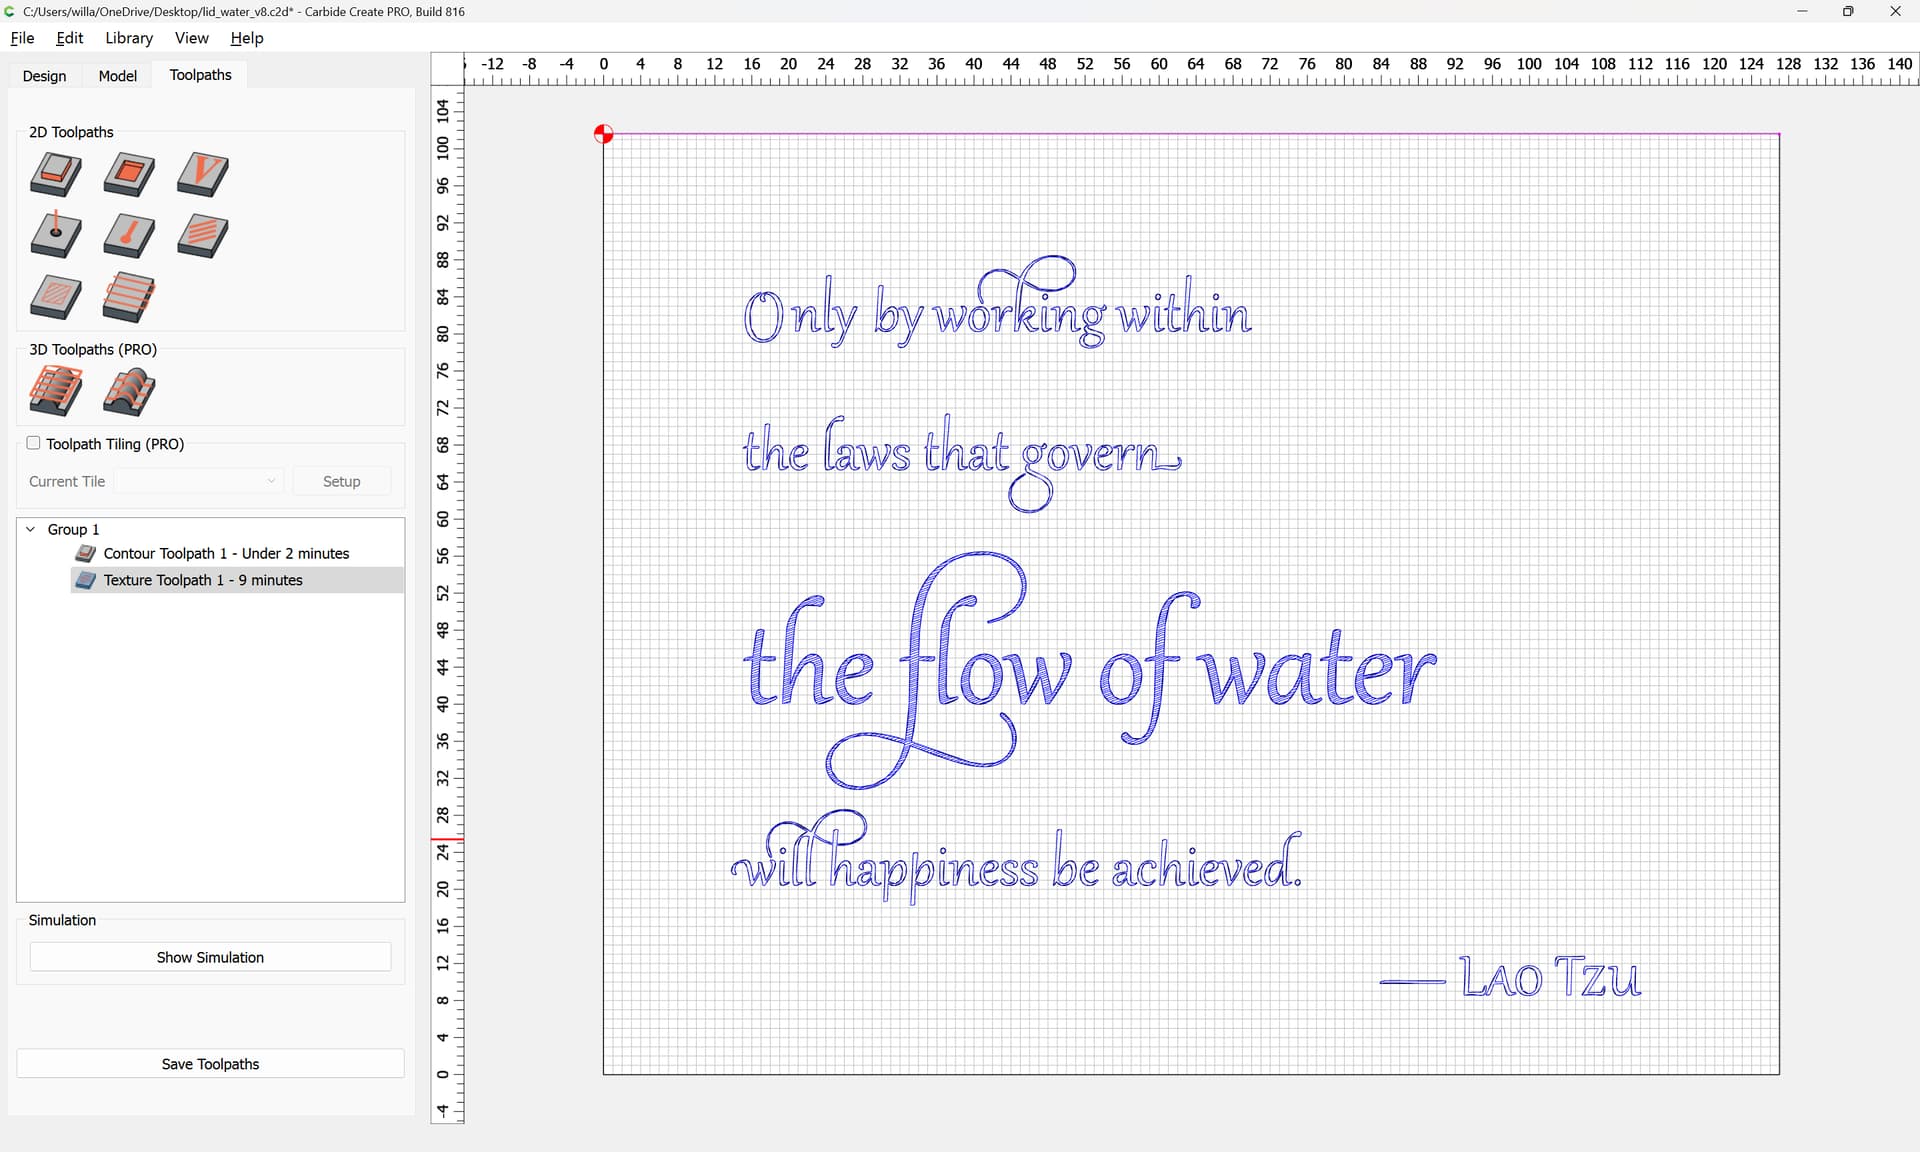
Ages ago, Carbide 3D used to sell 3mm thick acrylic in 5" x 4" sheets — a co-worker’s promotion has me wanting to make a gift, and this material seems a good fit for an engraved lid:
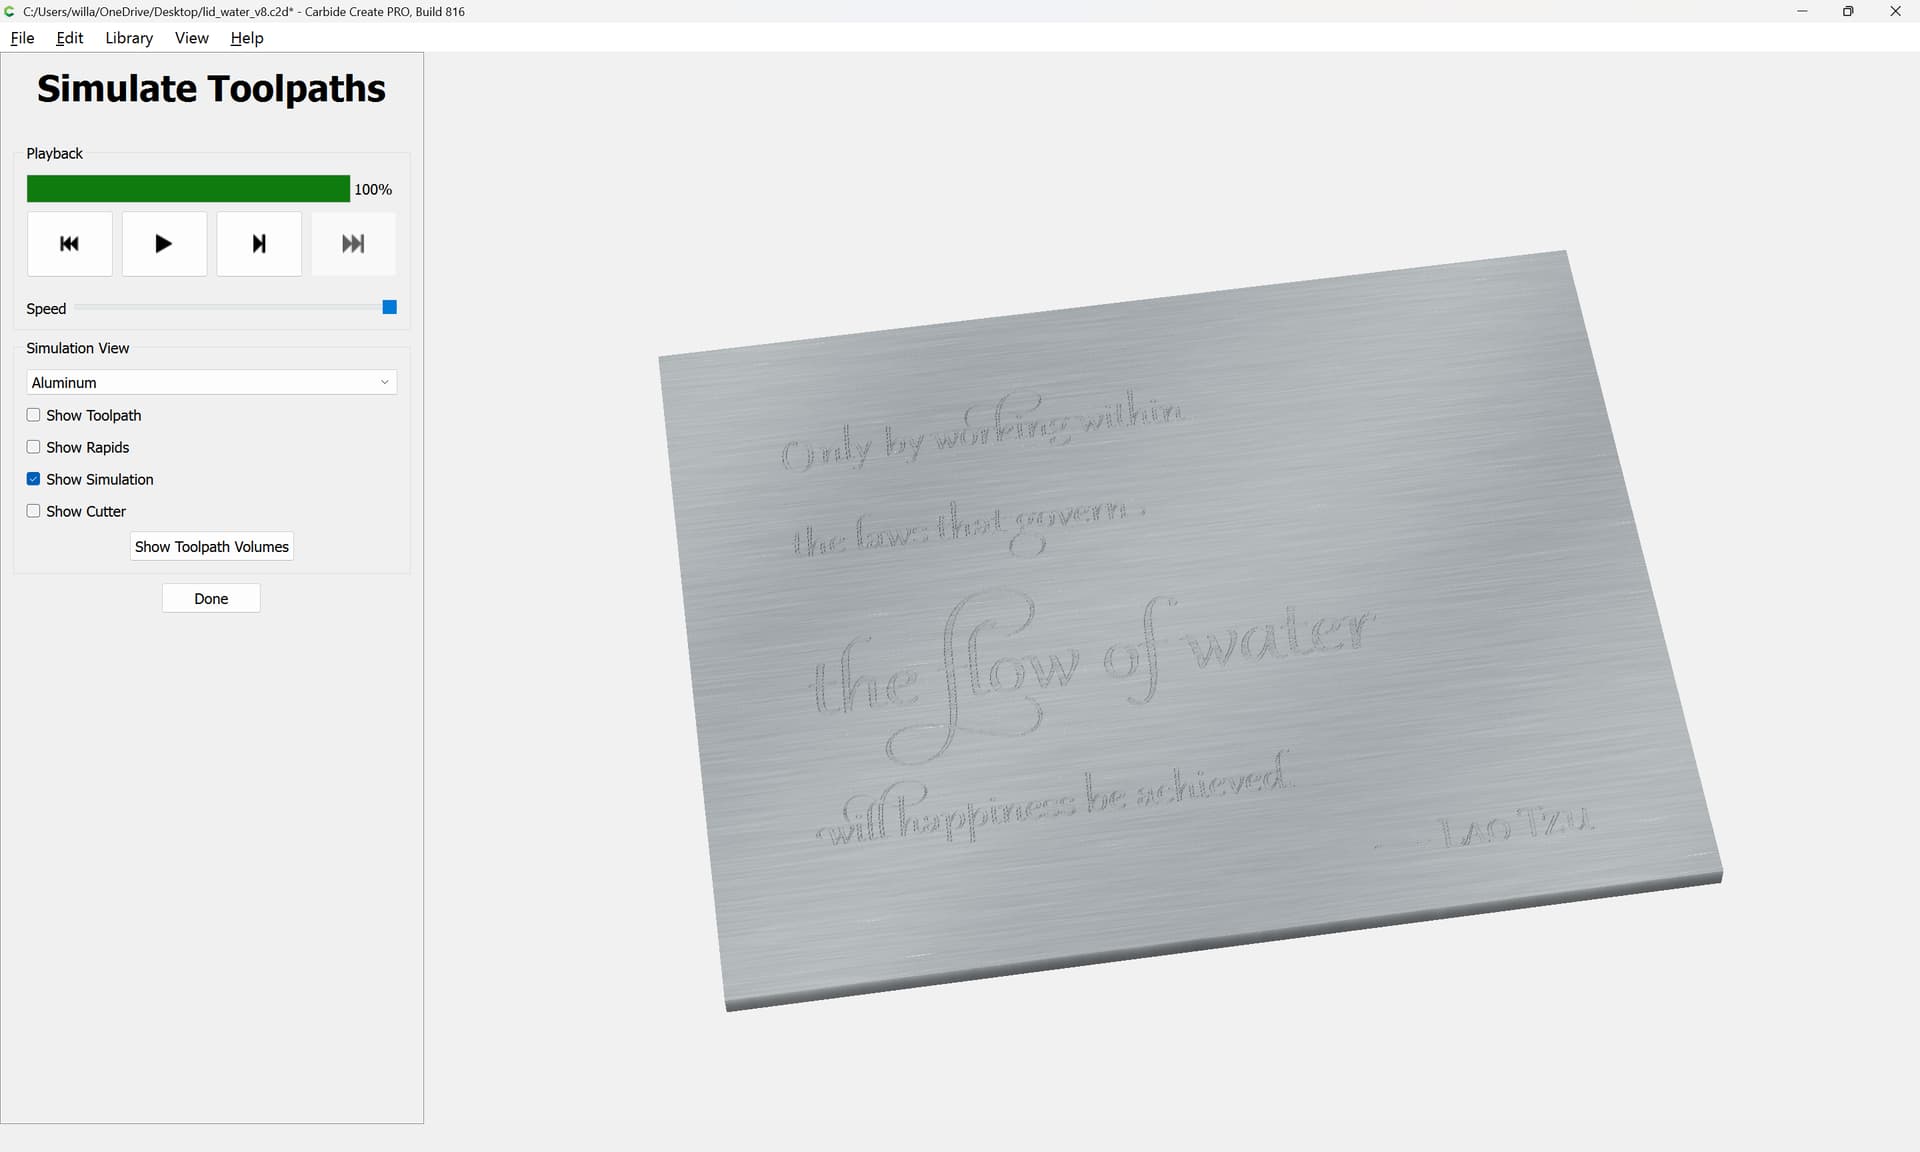
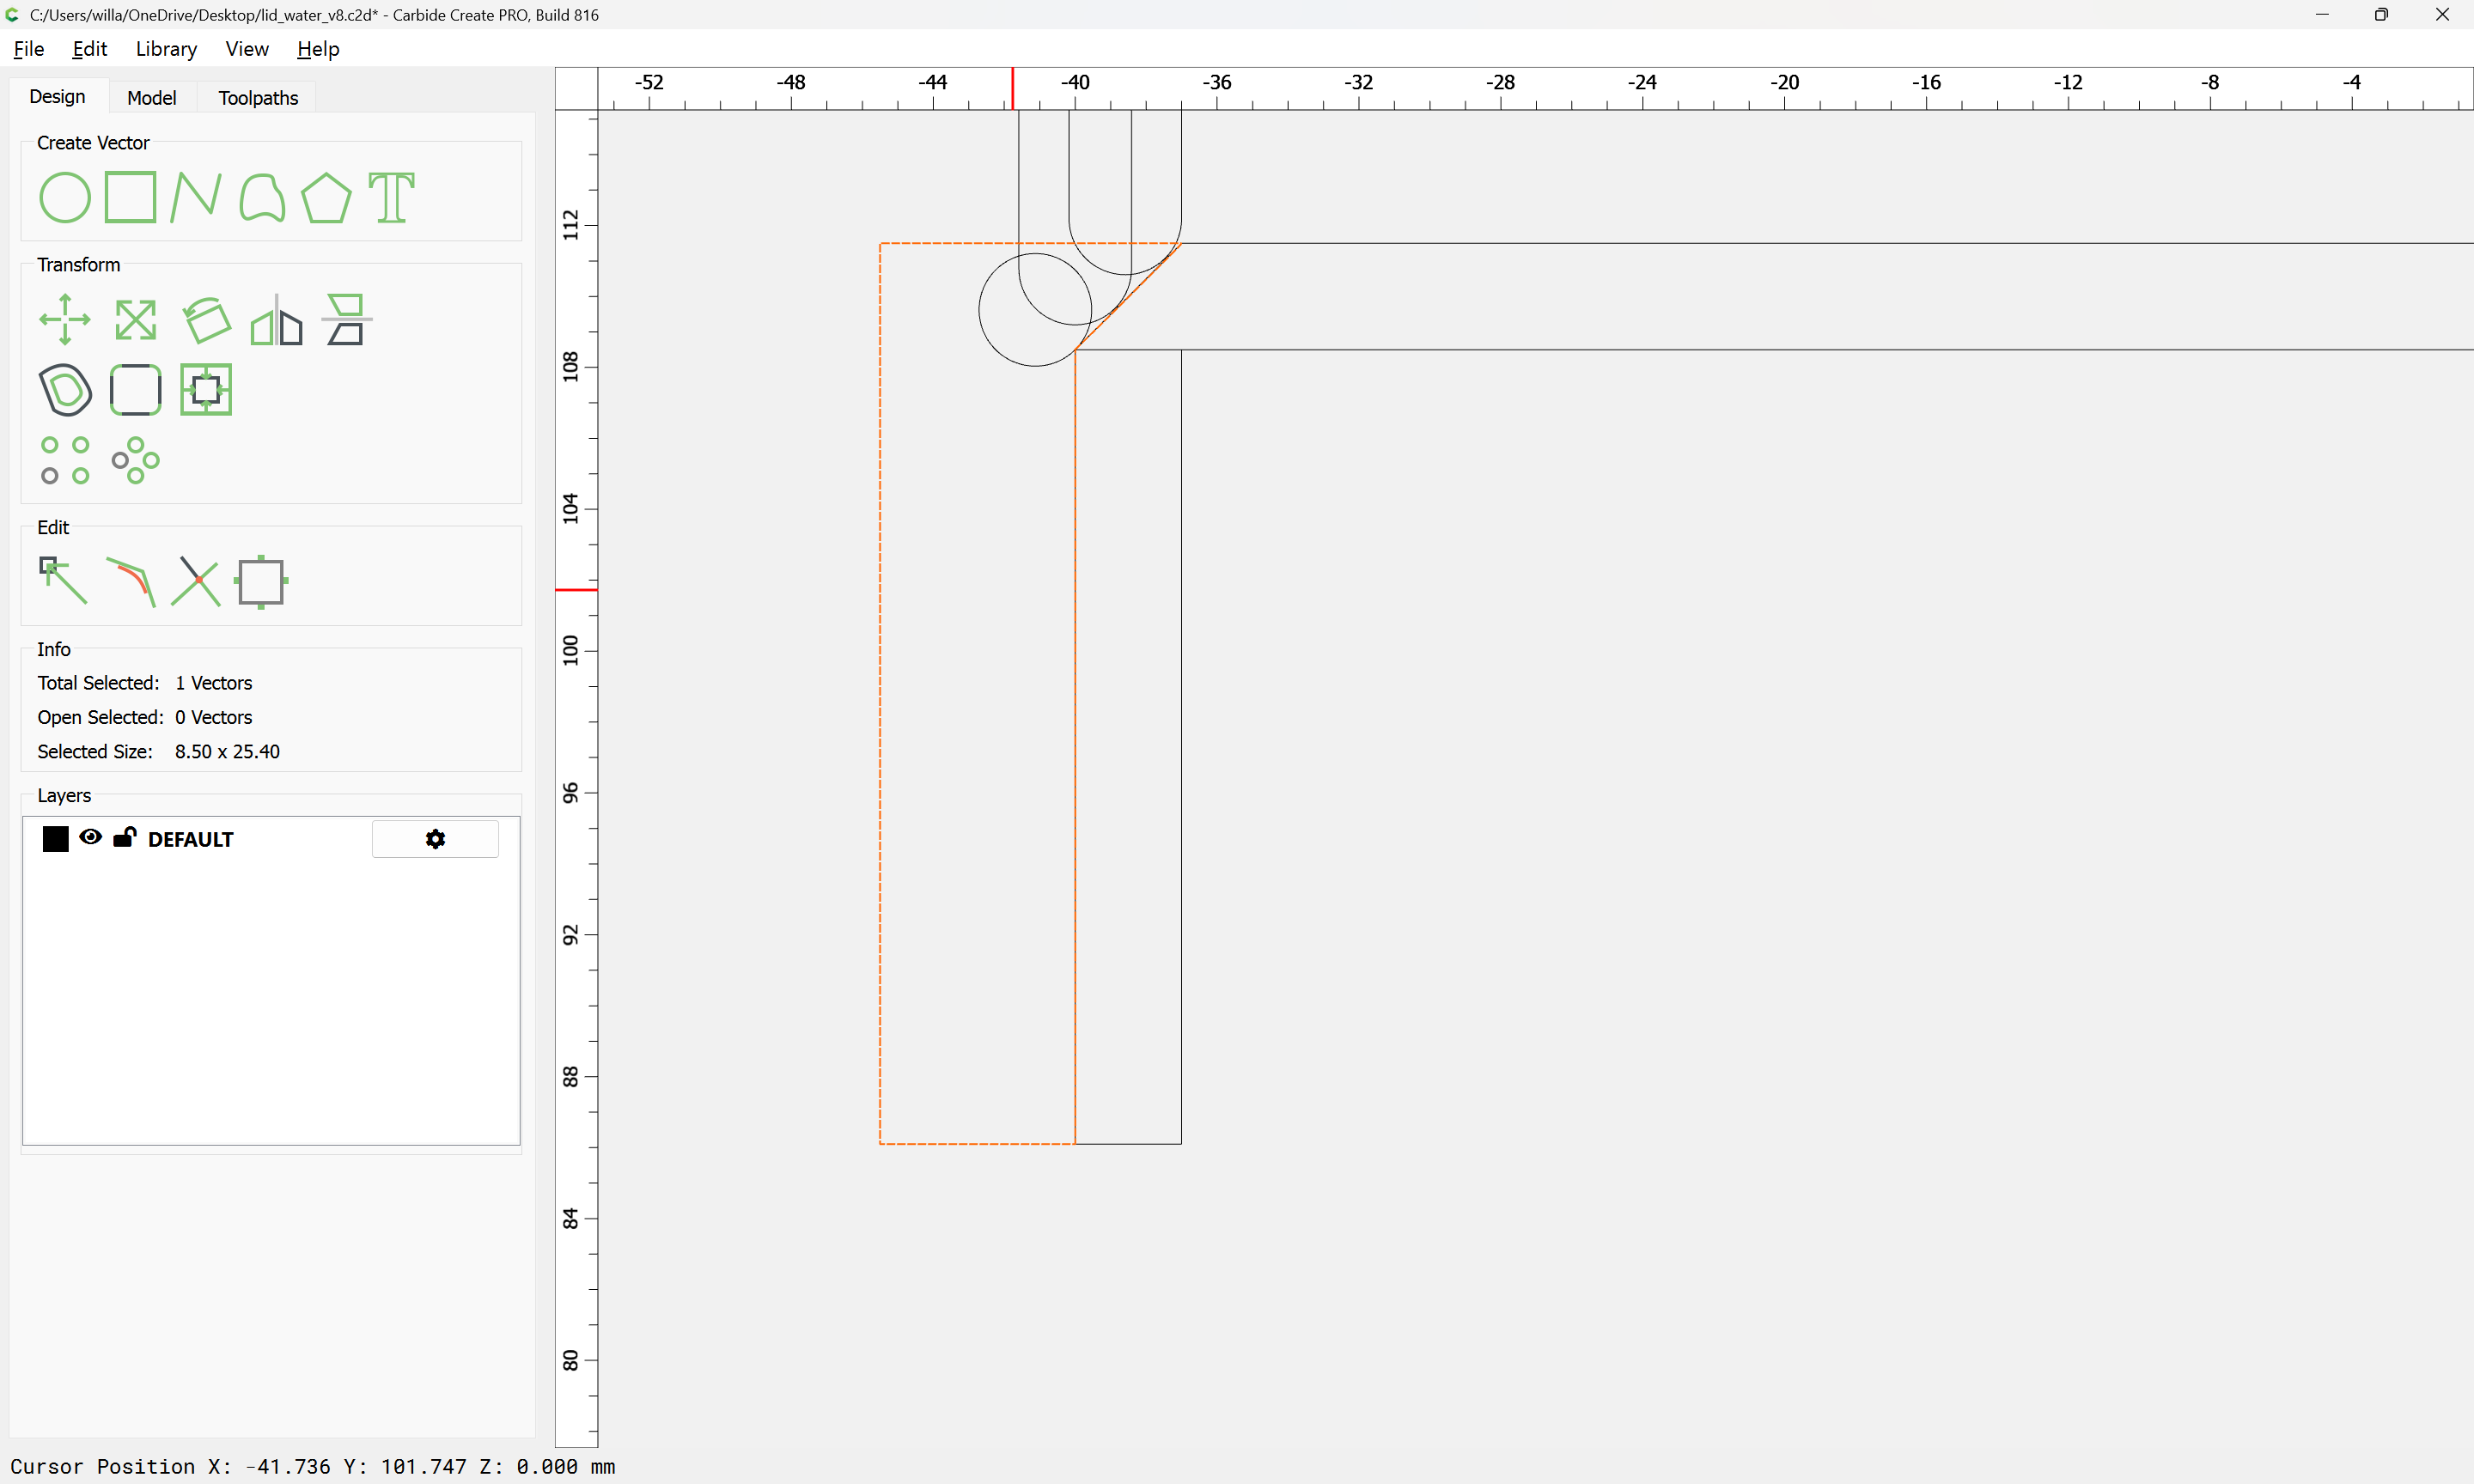
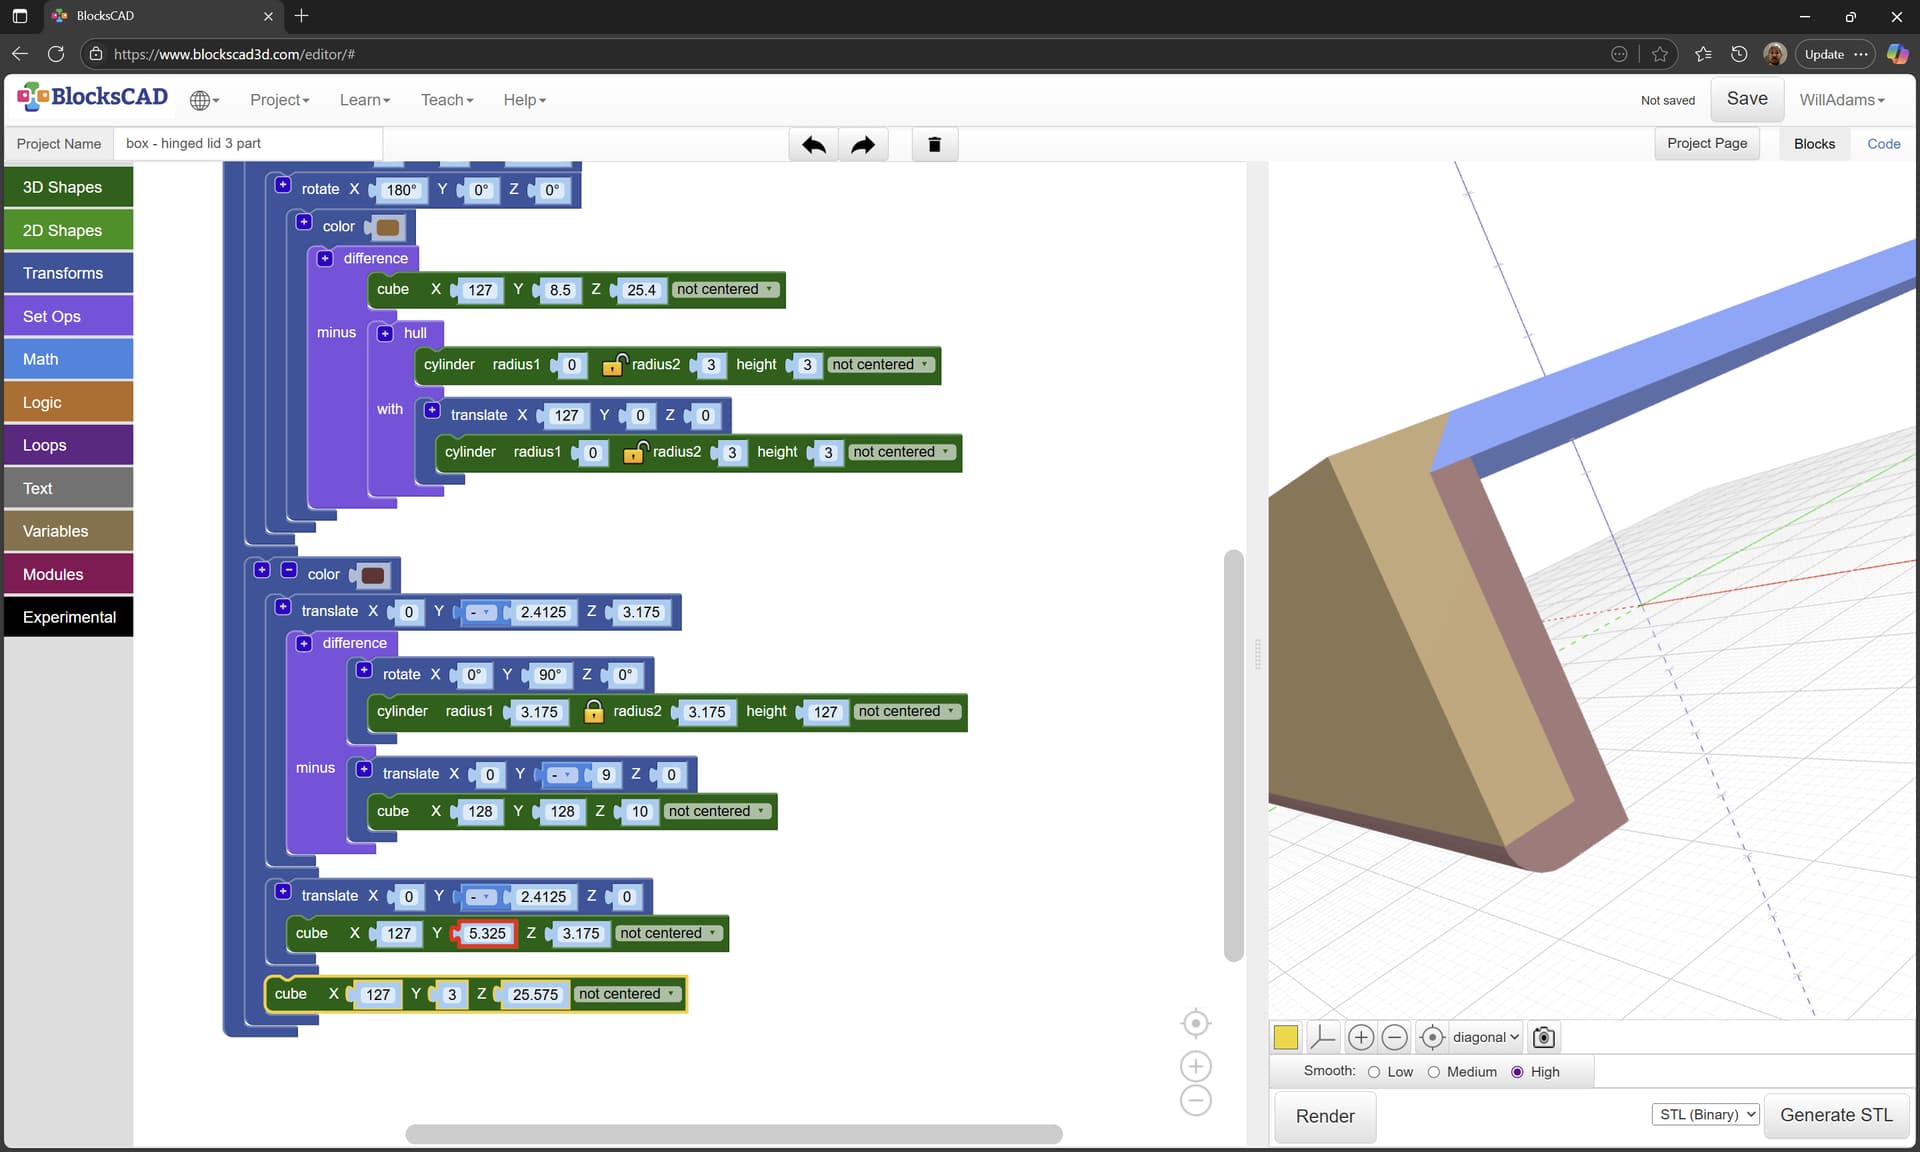
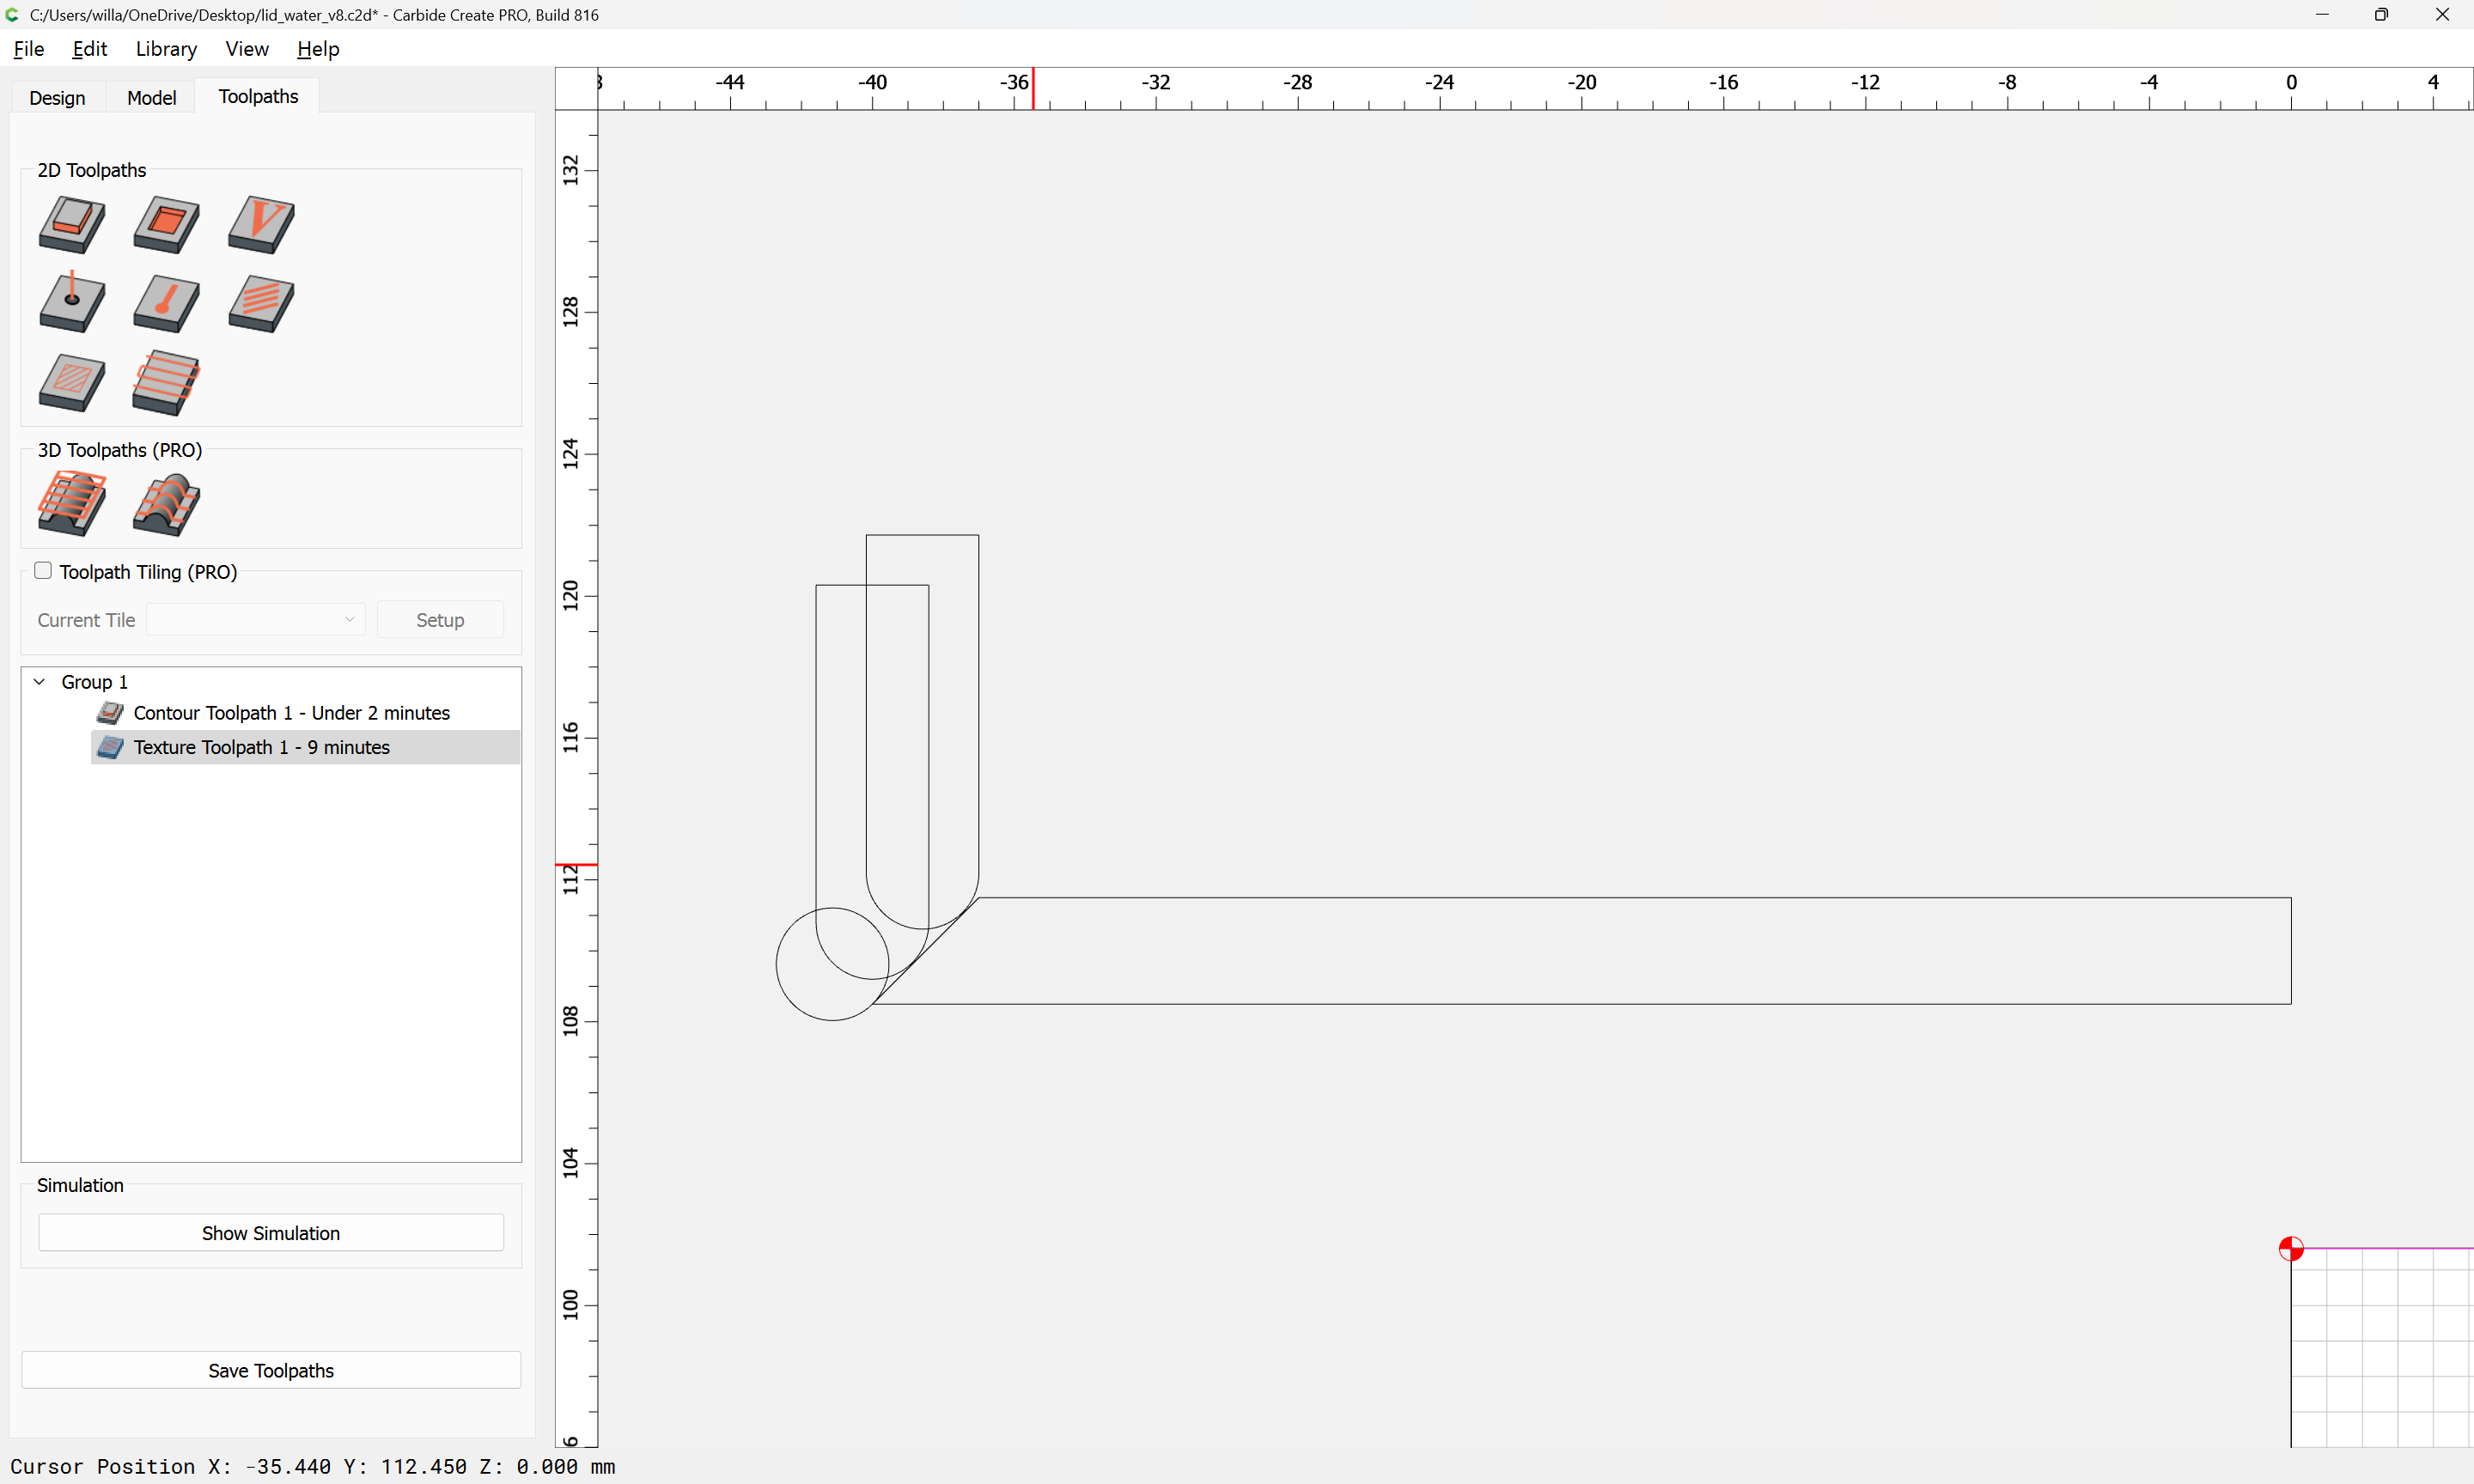
Fastening the lid and getting it hinged is something of a challenge, but an interesting possibility is to integrate the lid with the back of the box, using 3 parts so that each may be cut flat on the machine — we start with the lid itself which has an approximation of a 45 degree angle cut into it using a series of passes to appropriate depths at appropriate offsets:
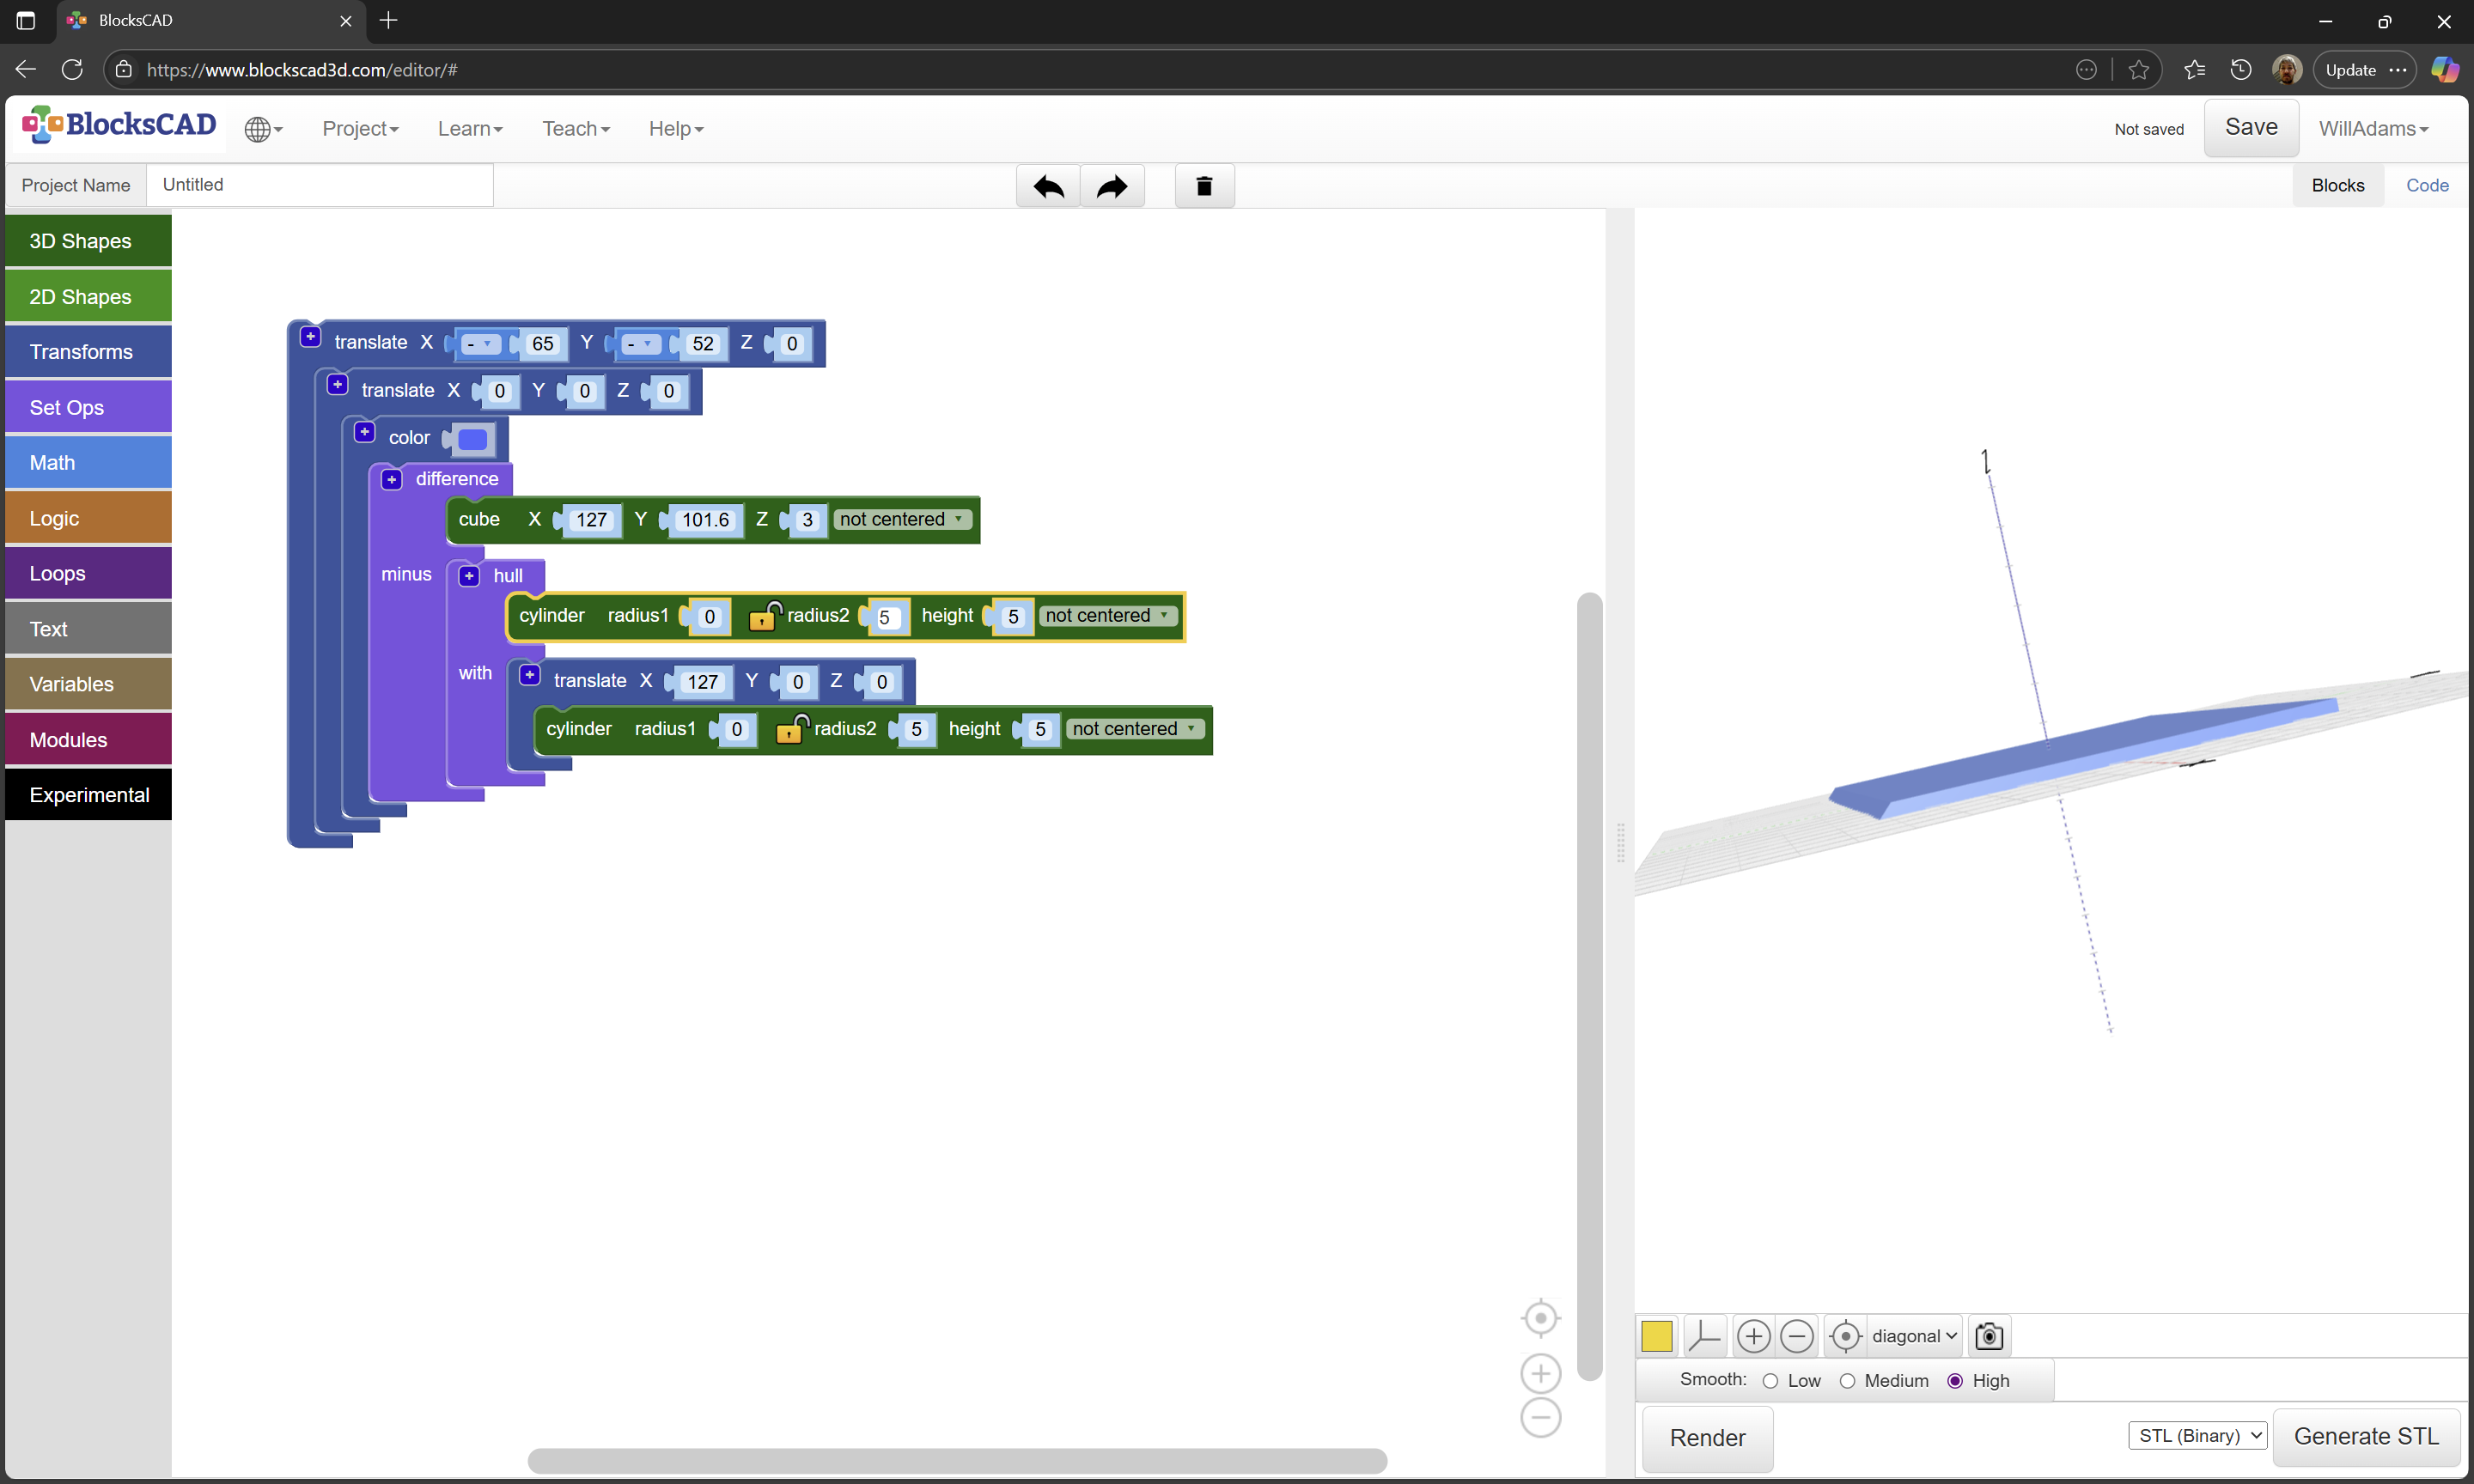
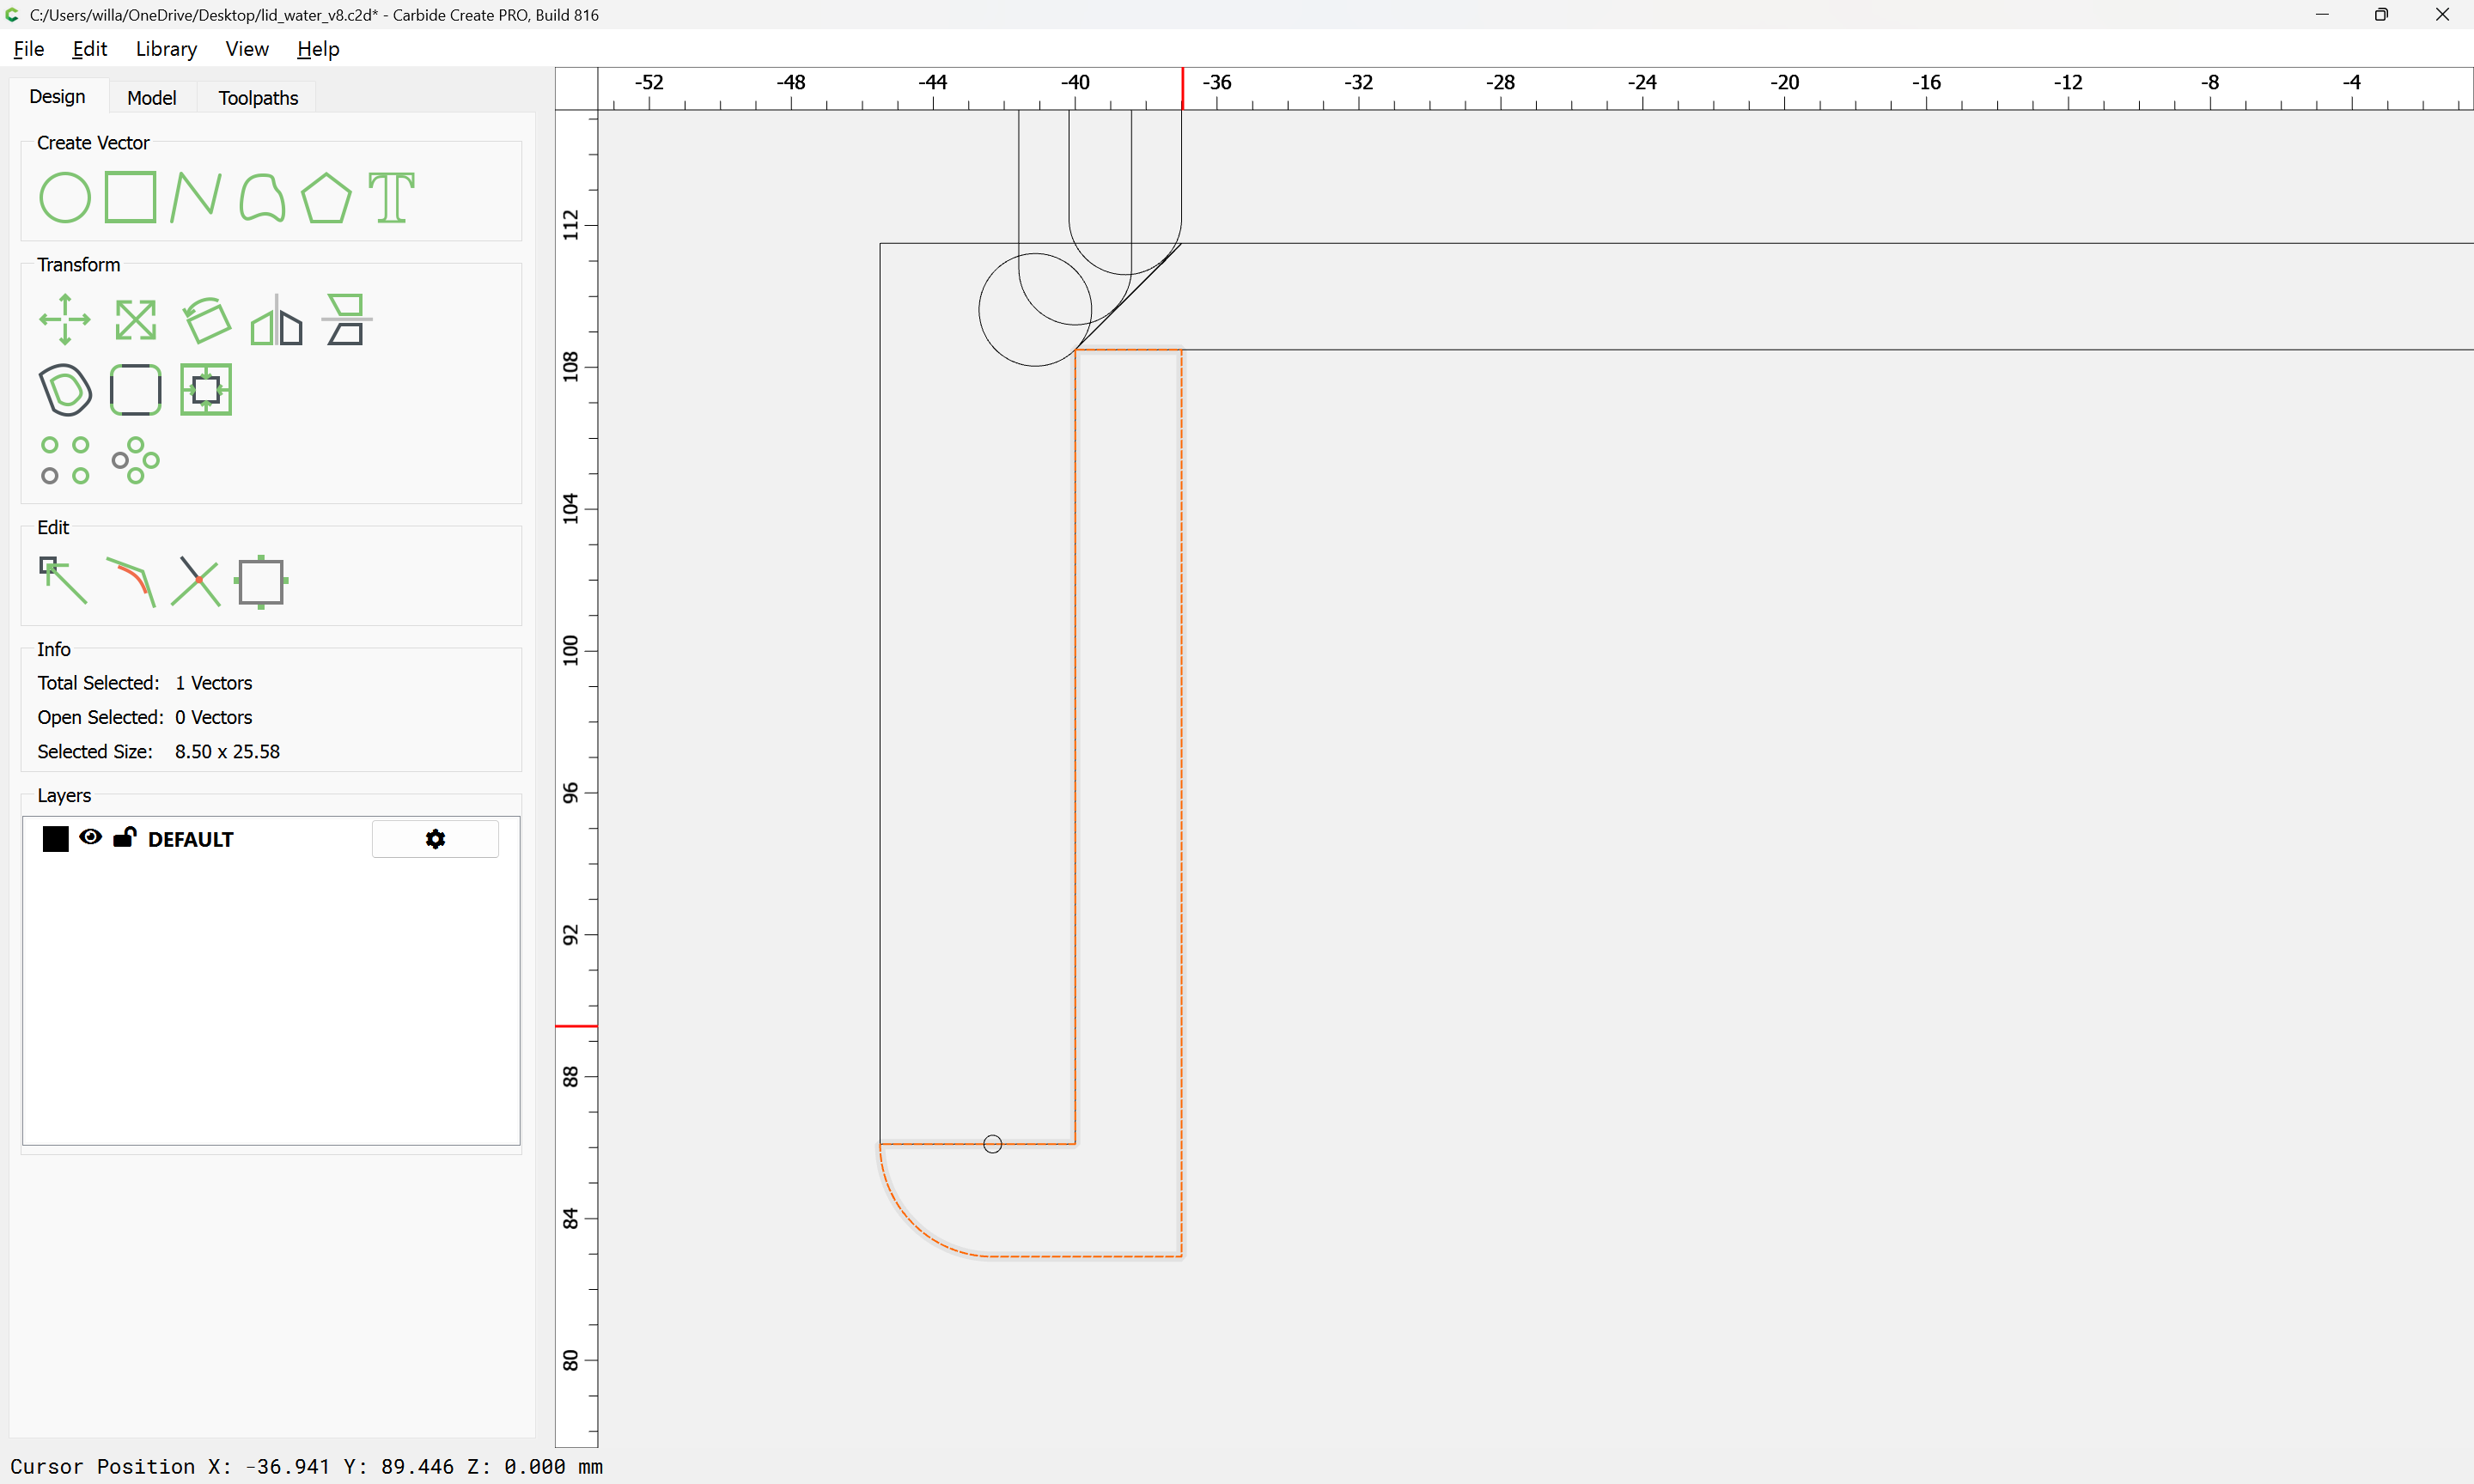
We then cut a back out of 8.5mm thick material which has a 3mm inset 3mm deep 90 degree pass cut from it with a 3mm pocket extending that bottom to remove the balance of the surface.
This in turn is matched up with an interior piece which has a similar 5.5mm deep pocket and at the distal edge, a radius cut using a suitable tool to allow the hinge to rotate (it will be necessary to fabricate a fixture to guide a drill bit to drill for the hinge).