rectangle box, with a lid that hangs over the top with no hinges but a fitted top
Padauk - 59" 1/2" Length 9" 1/2 Width x .904 to .902 depth
Russian Birch - 9 1/16" to 8 15/16" Width x 2’ 1/2" to 2’ length x .936 to .942 depth
Ideally, the stock would be re-sawn on a bandsaw and then planed to thickness — this is esp. important because the limiting factor is the dimension of the V tool used, and the larger tools get really expensive really quickly, esp. with larger diameter shanks.
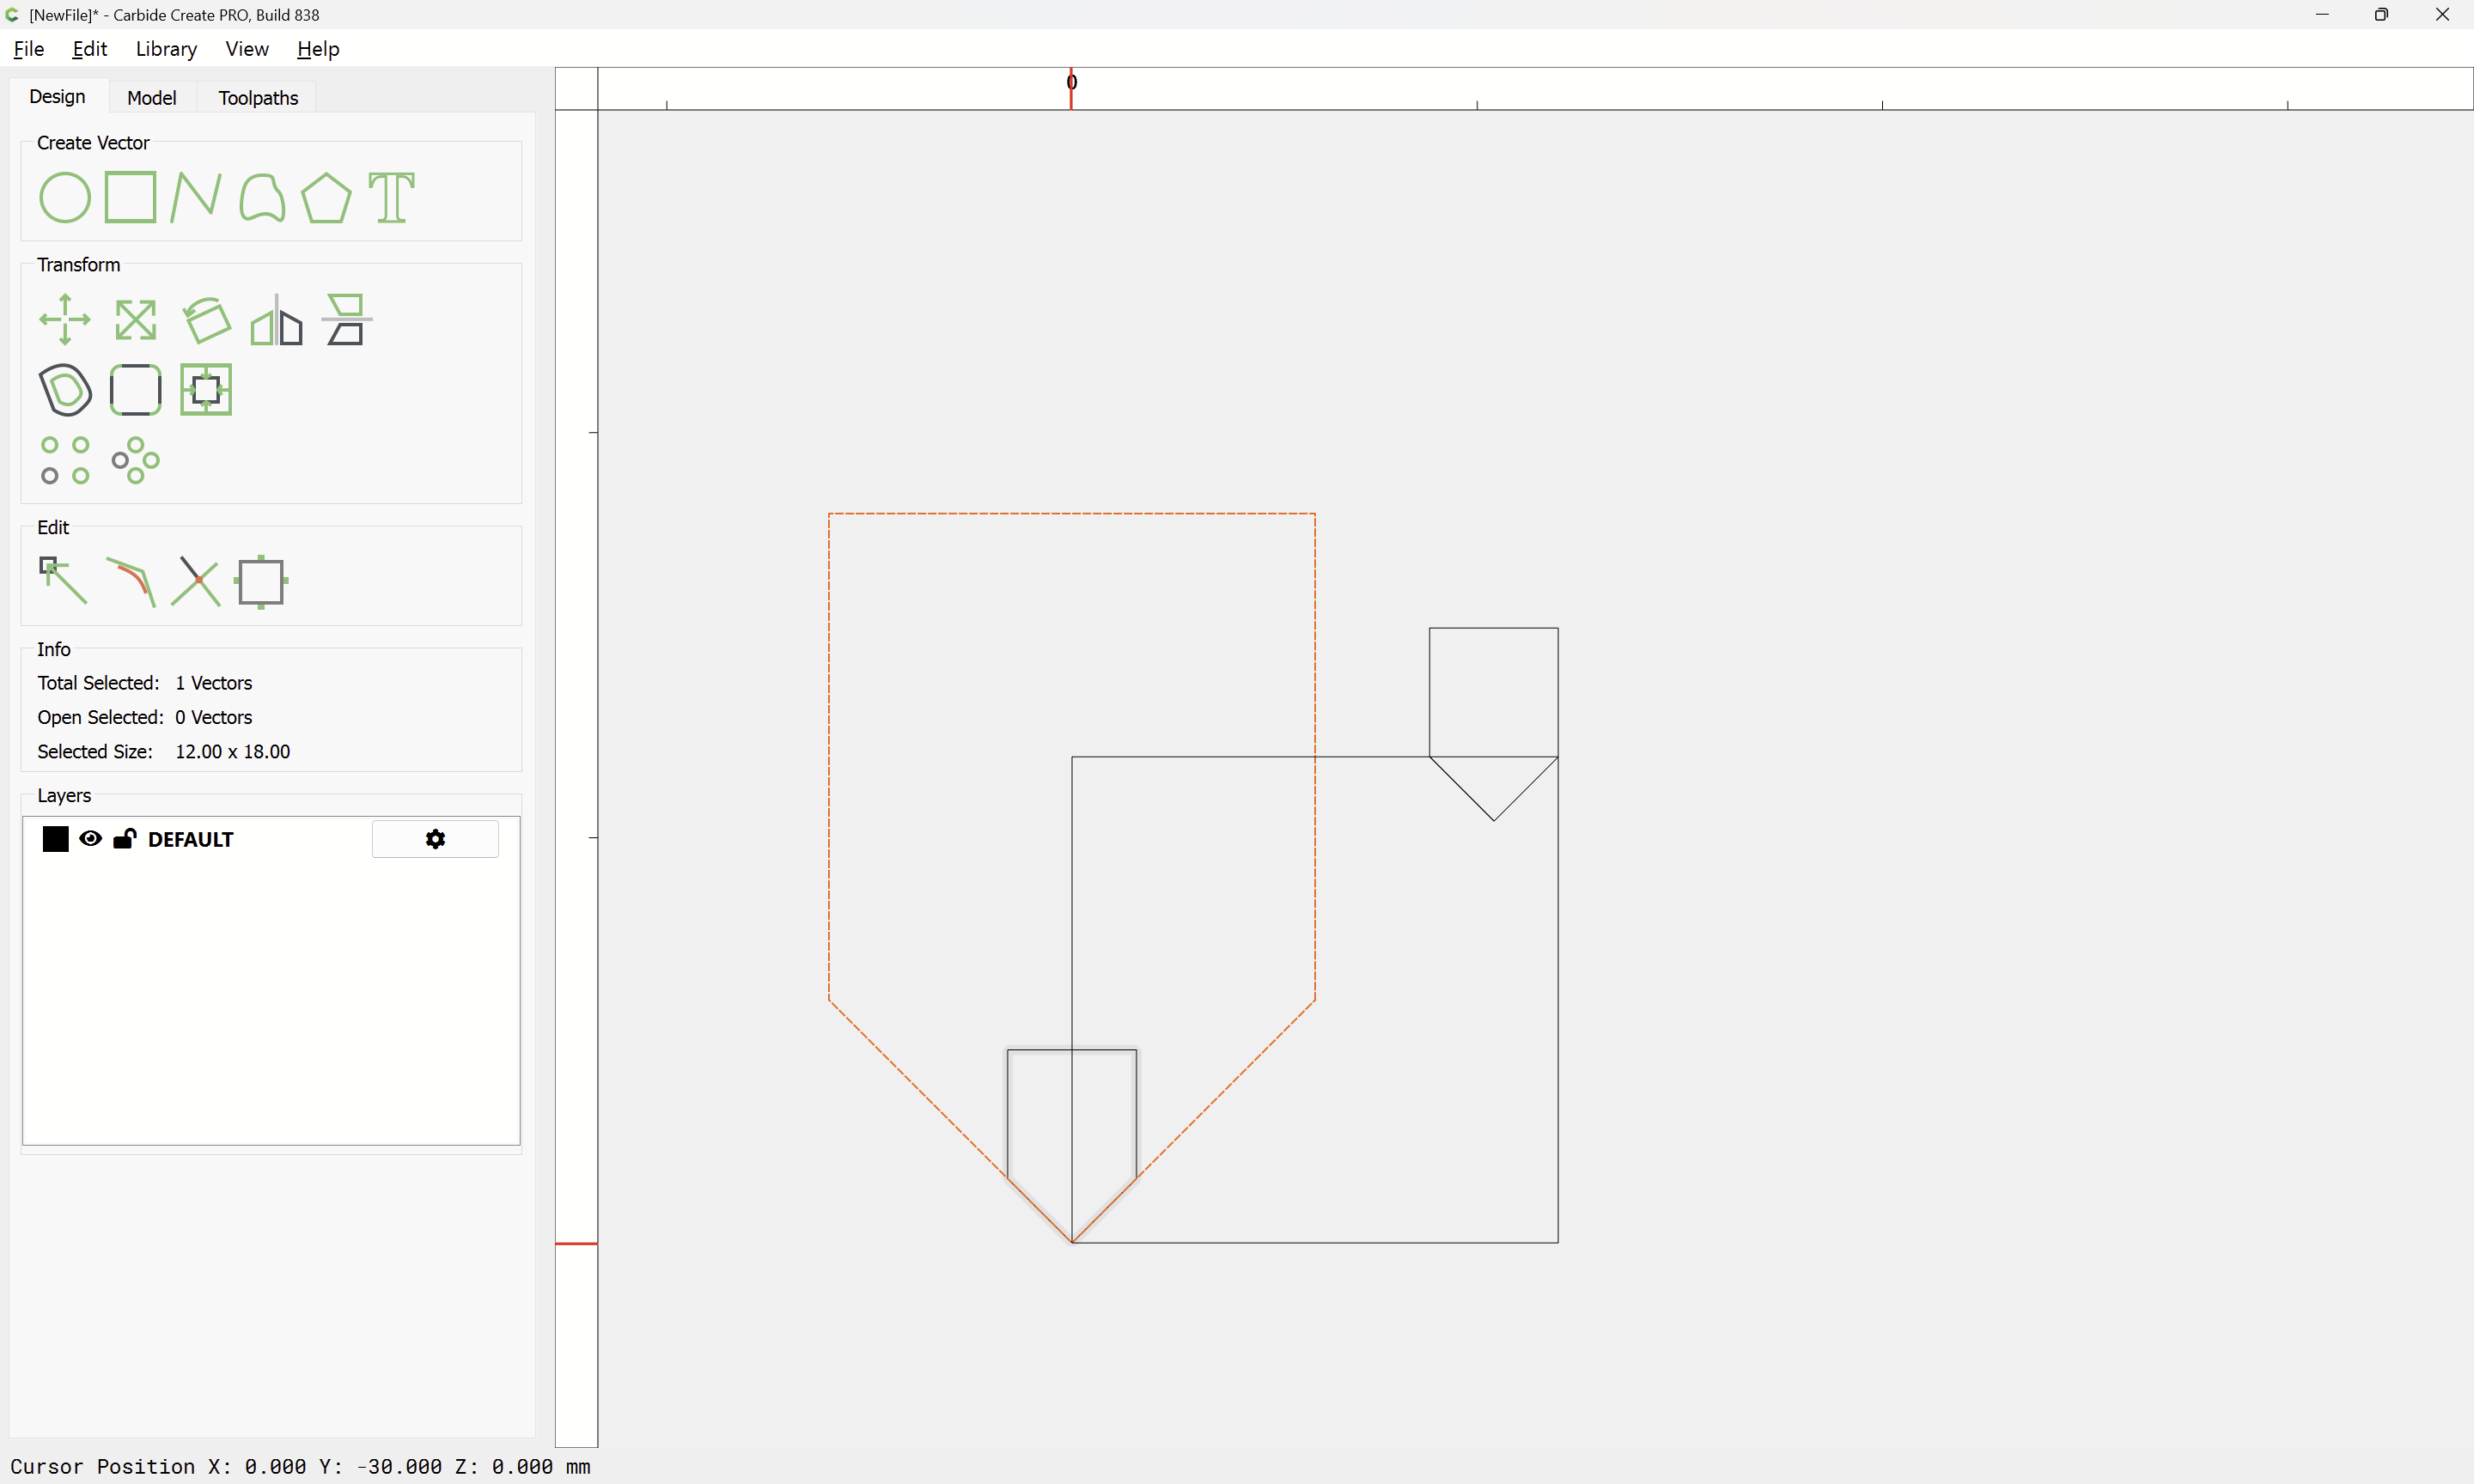
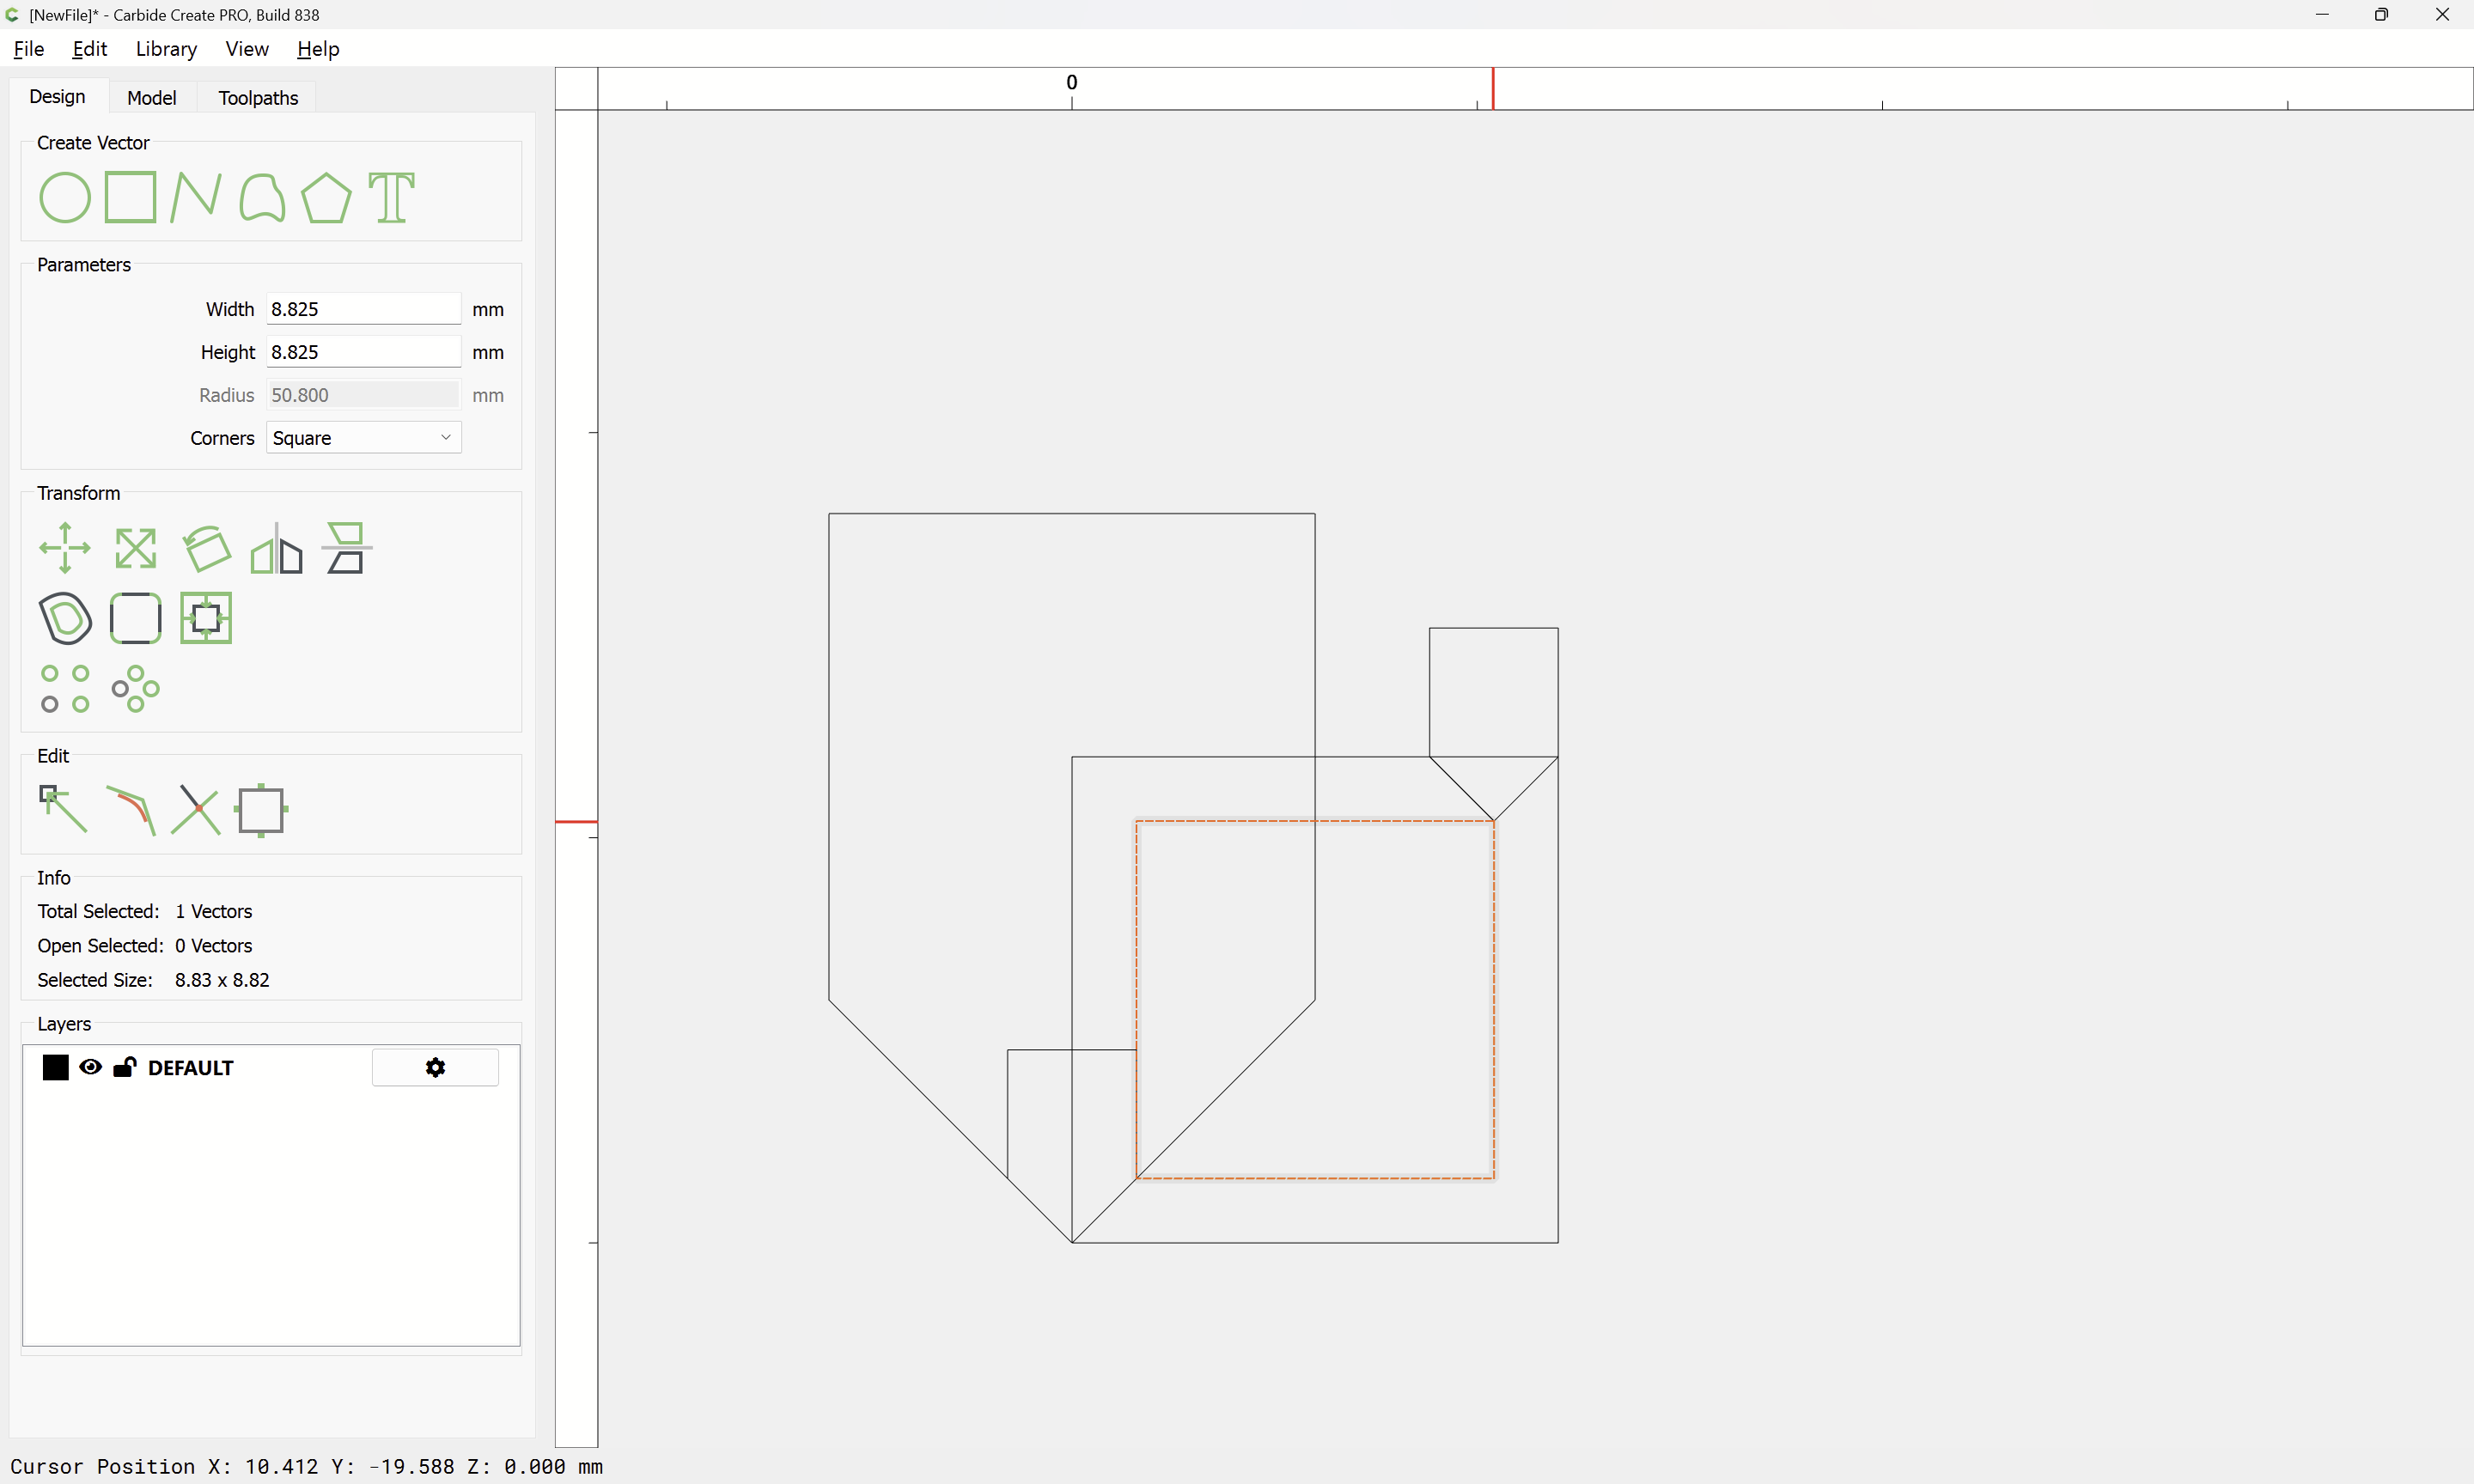
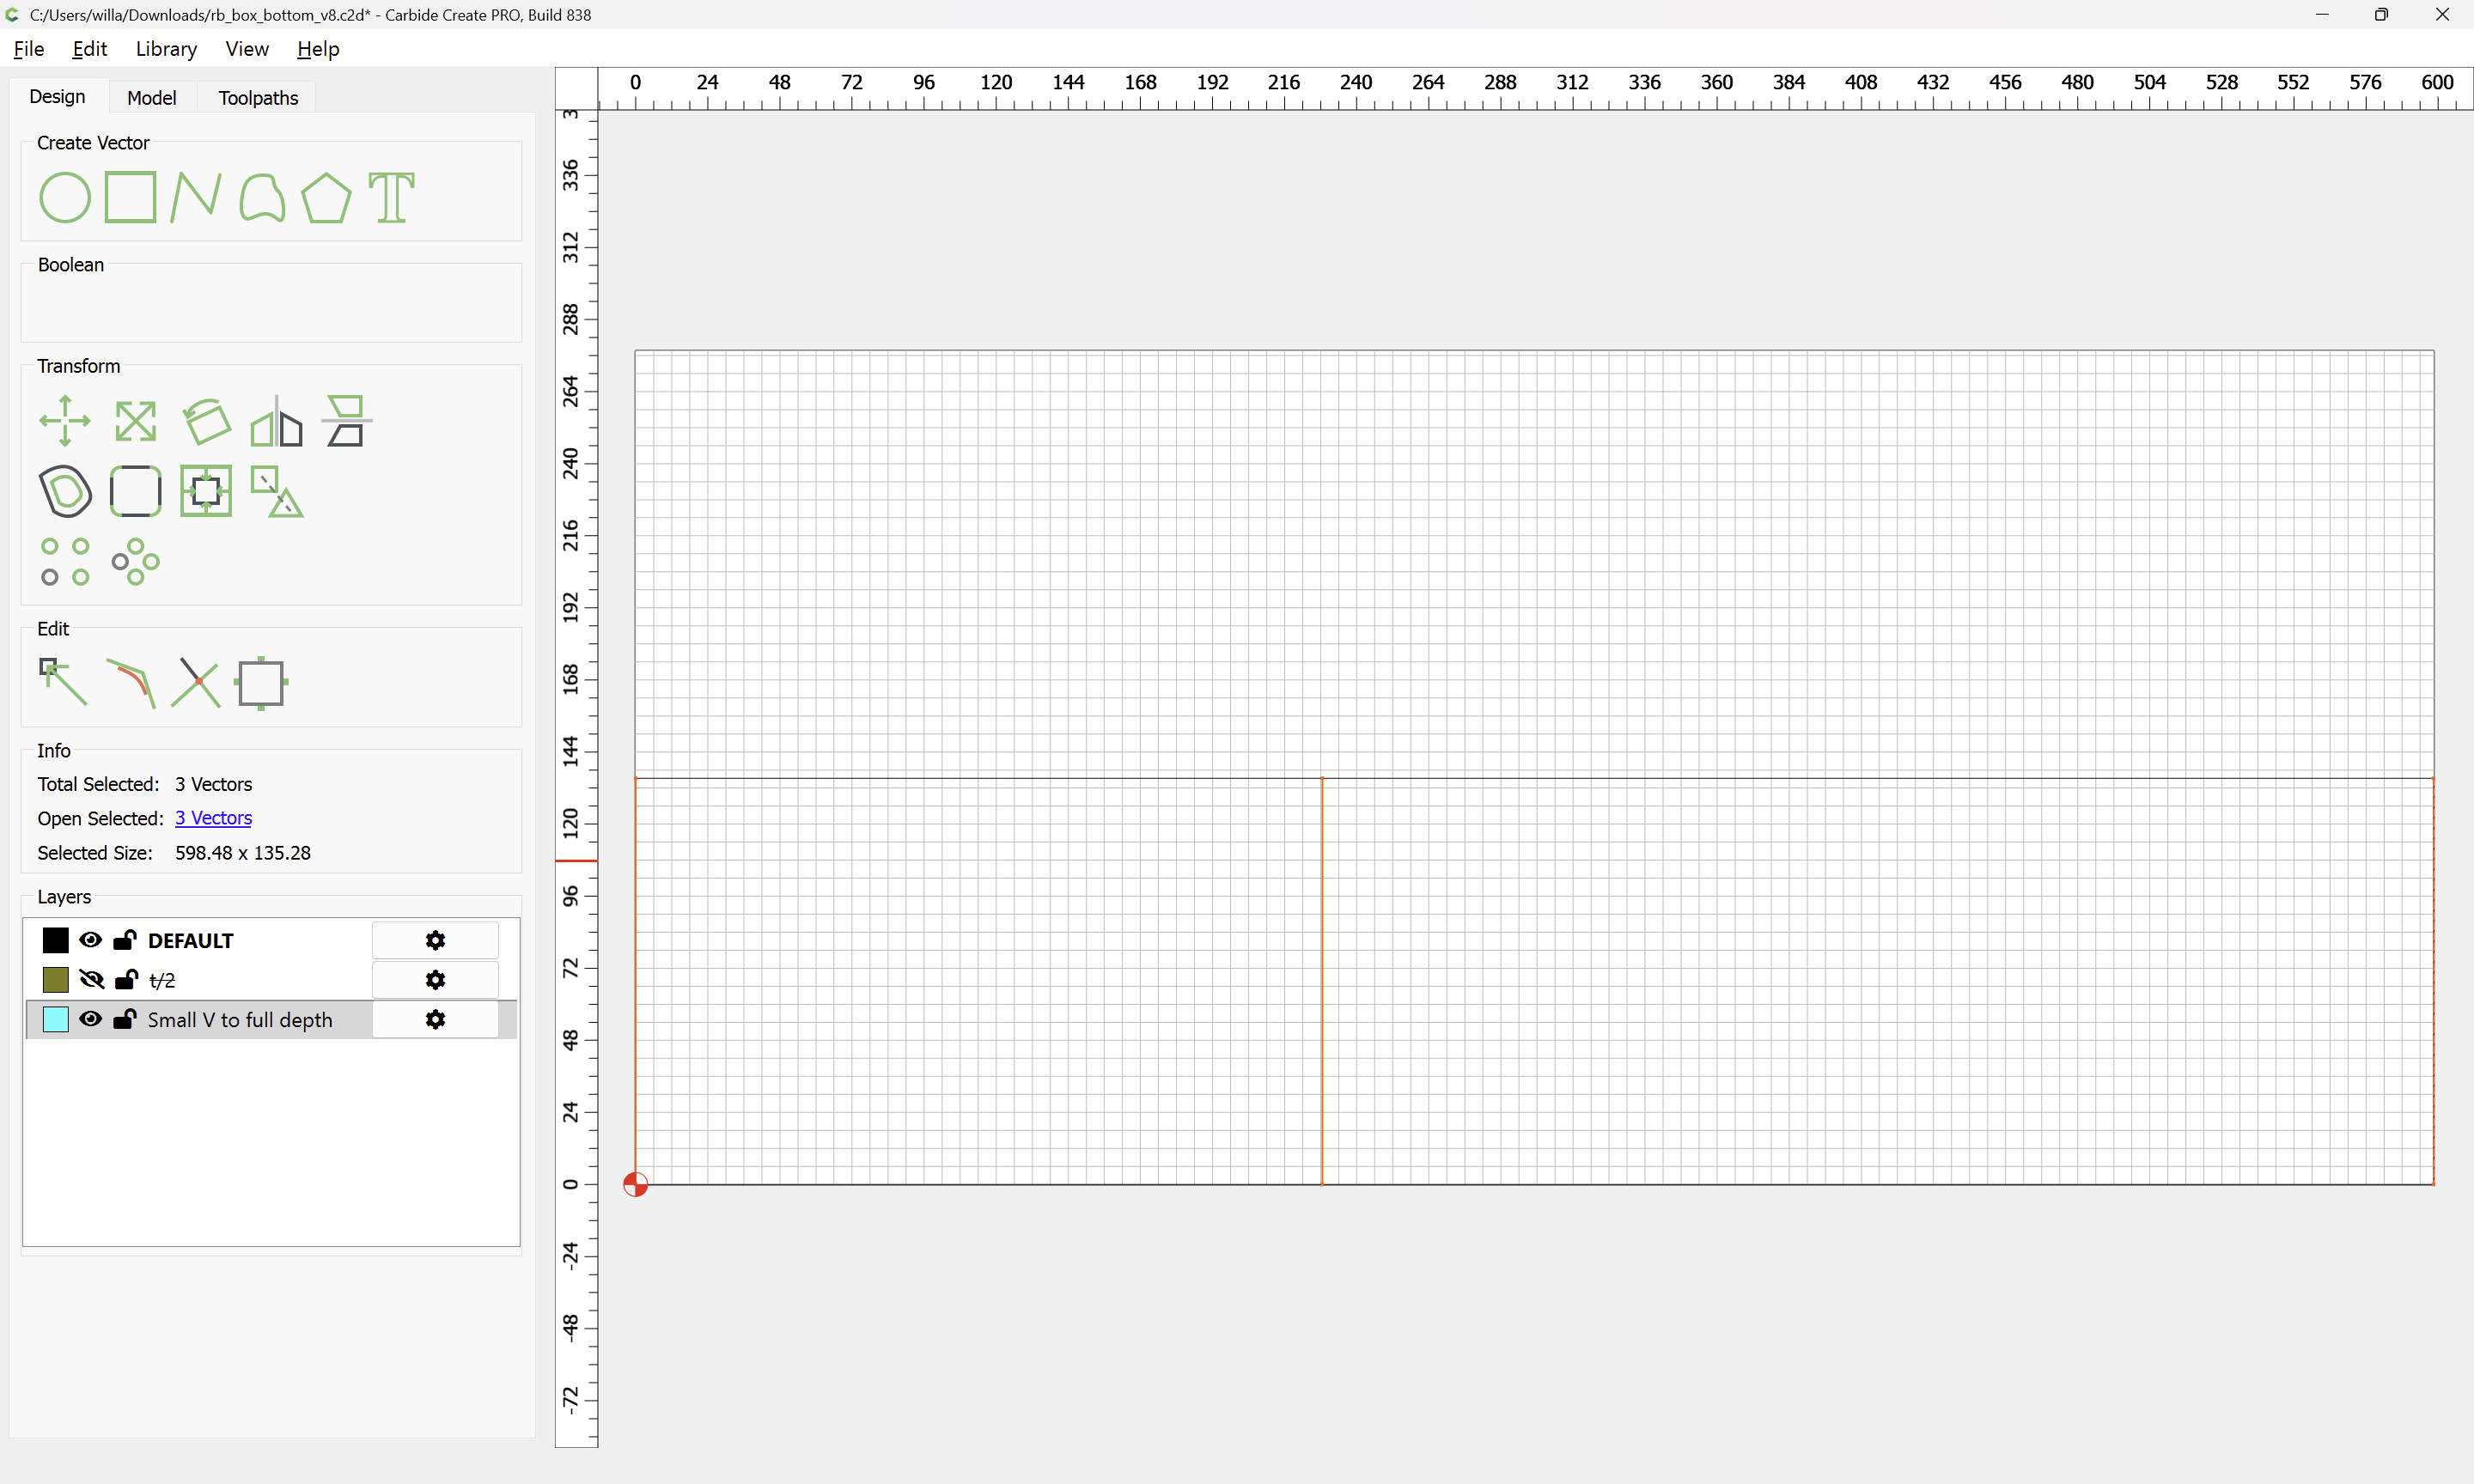
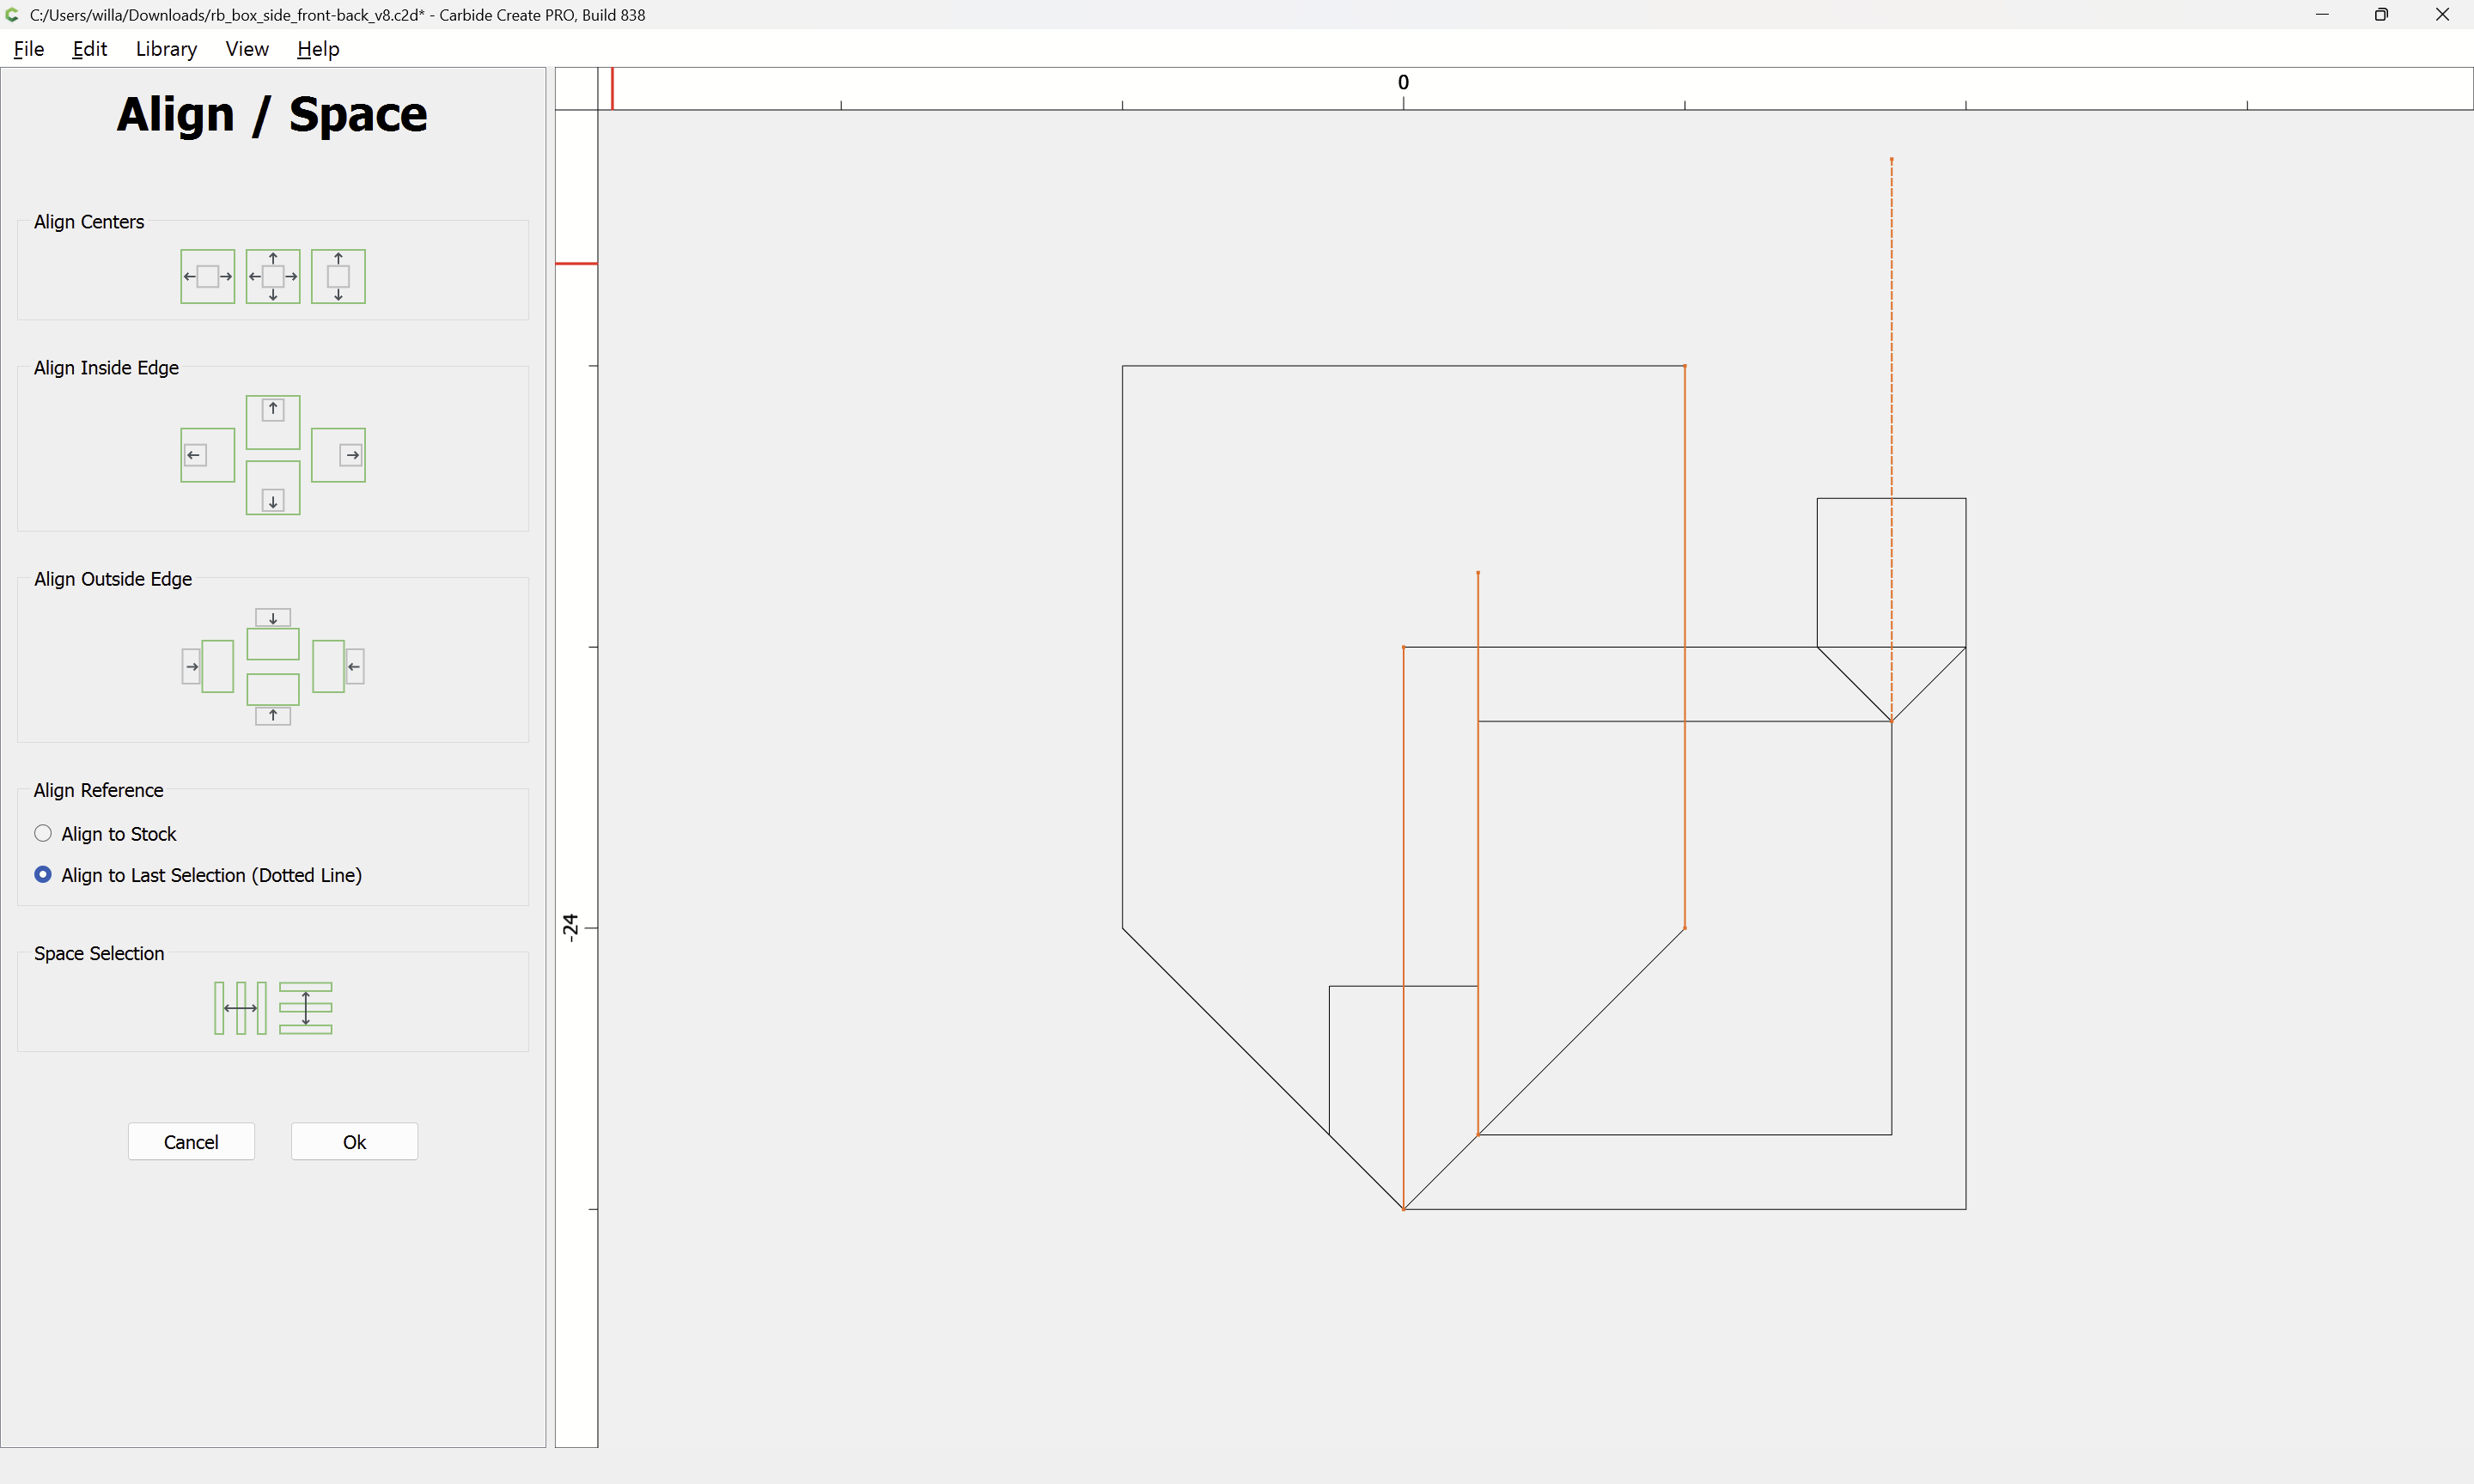
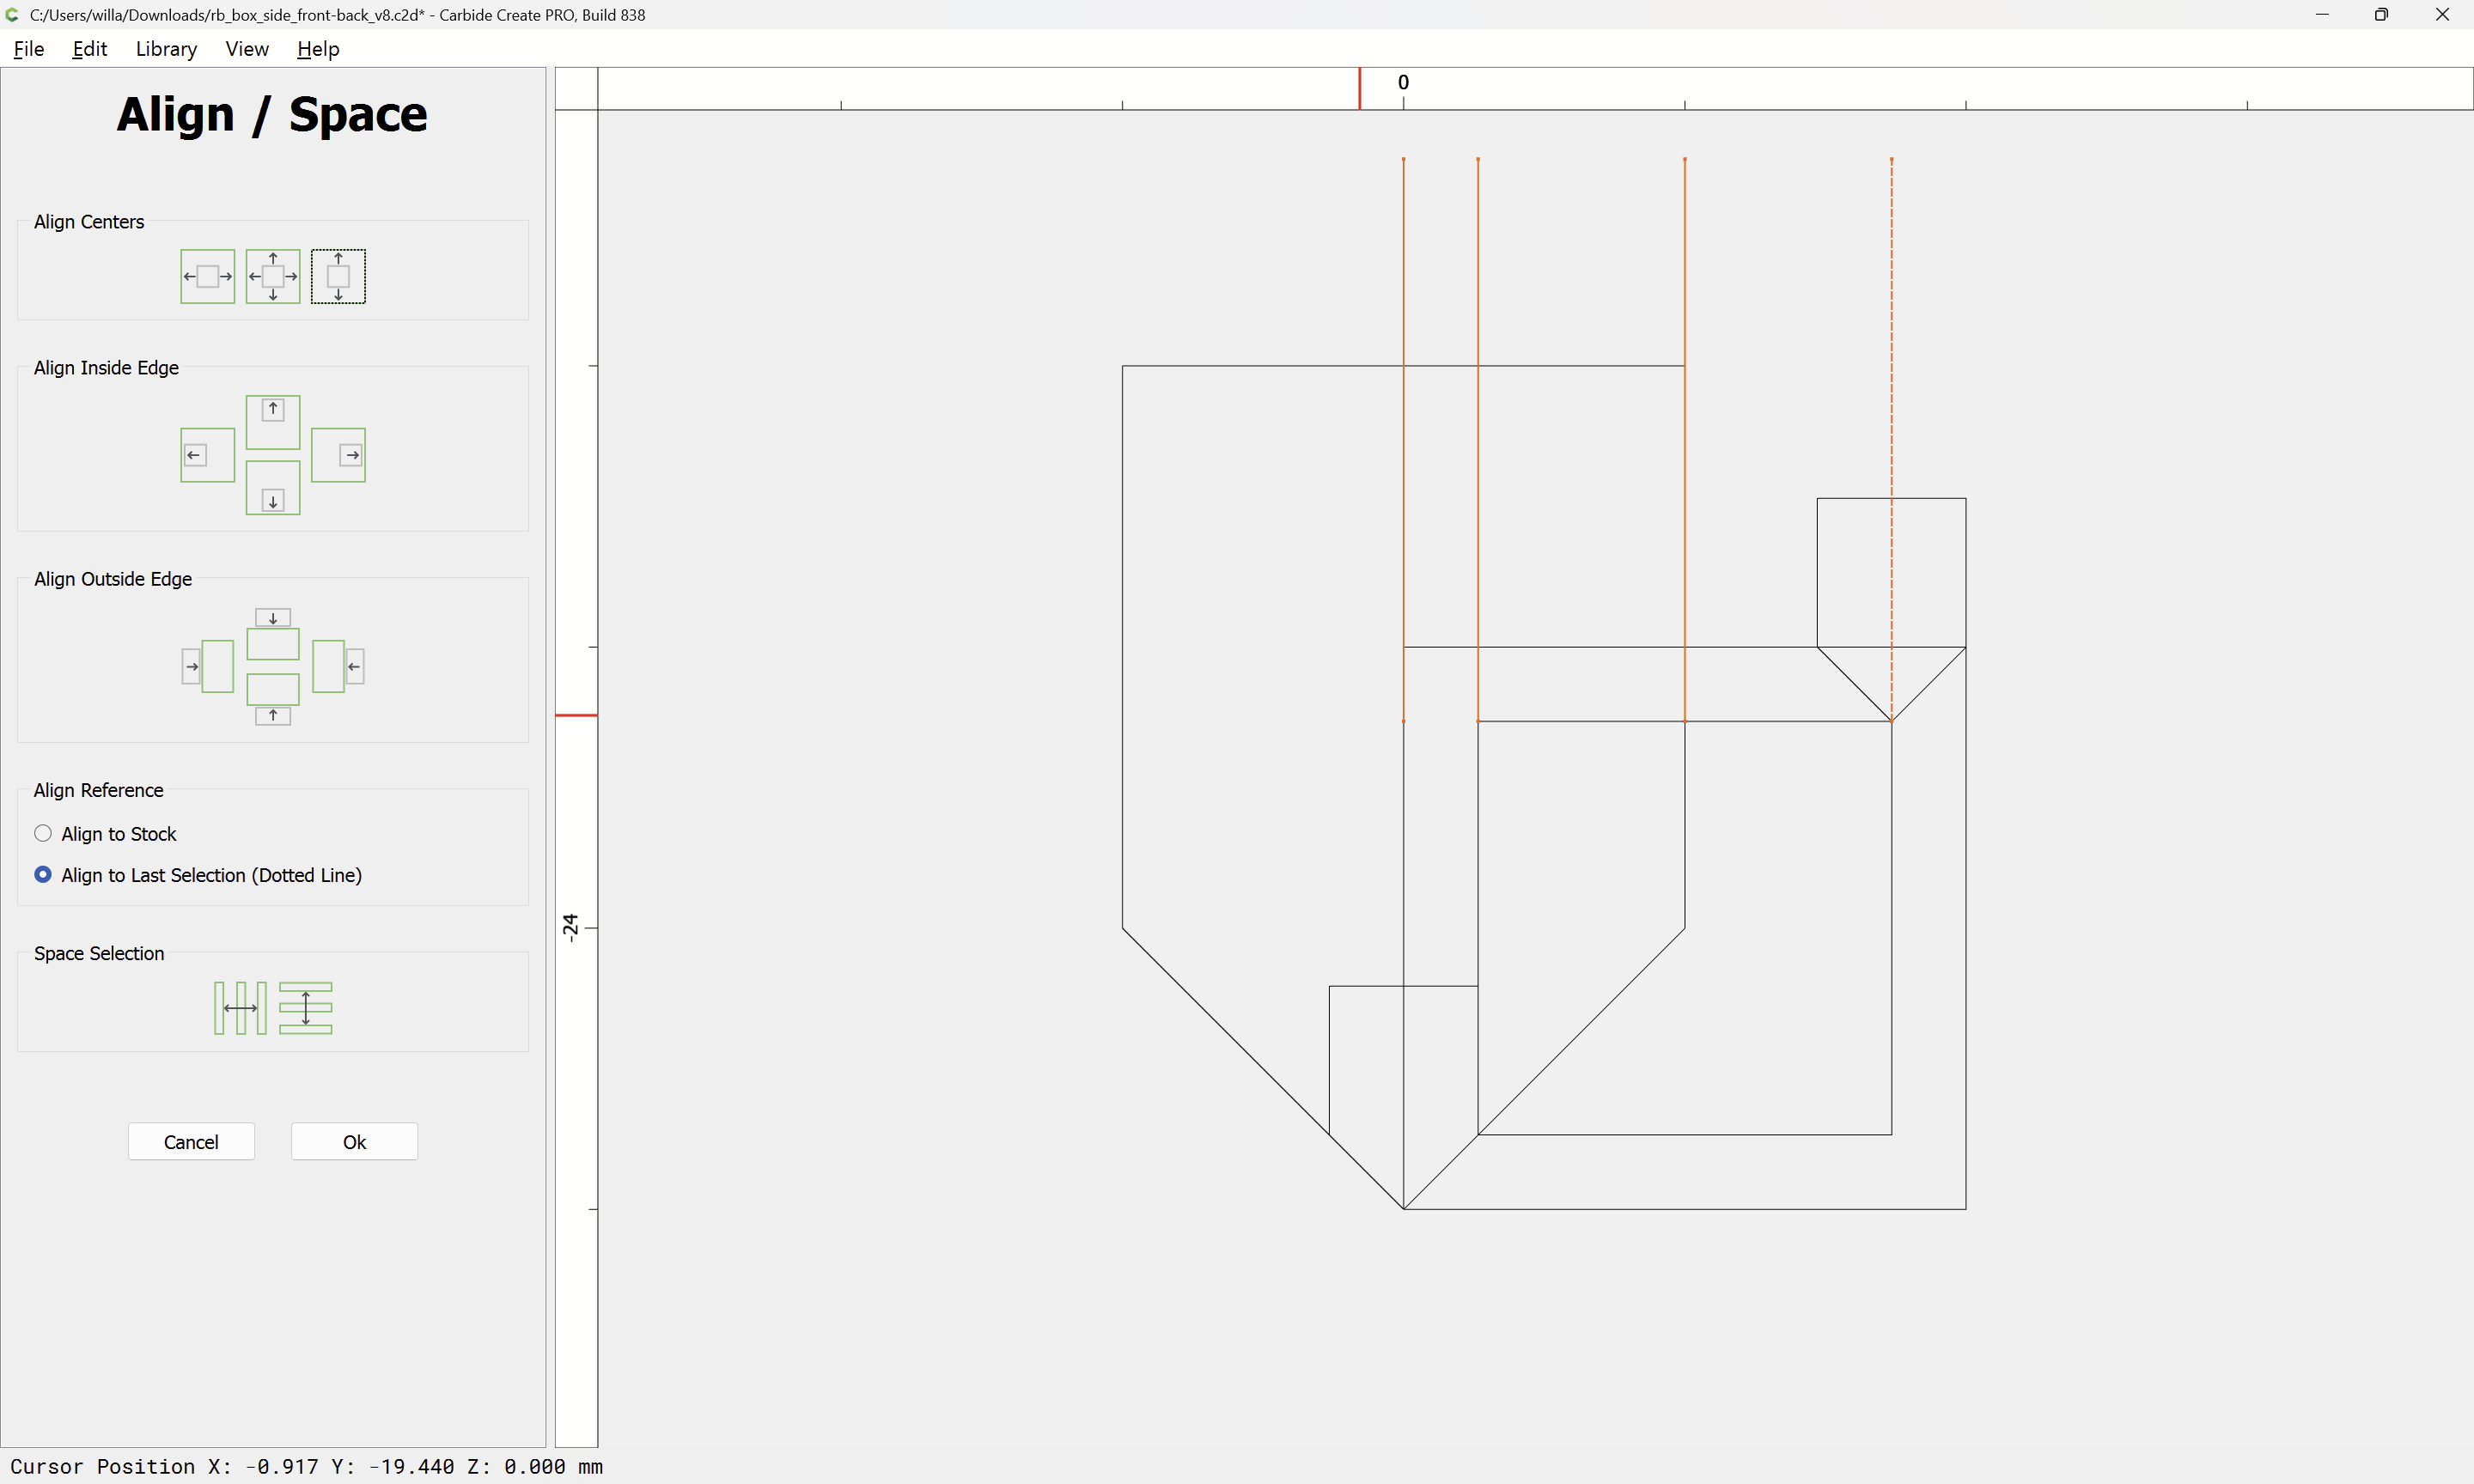
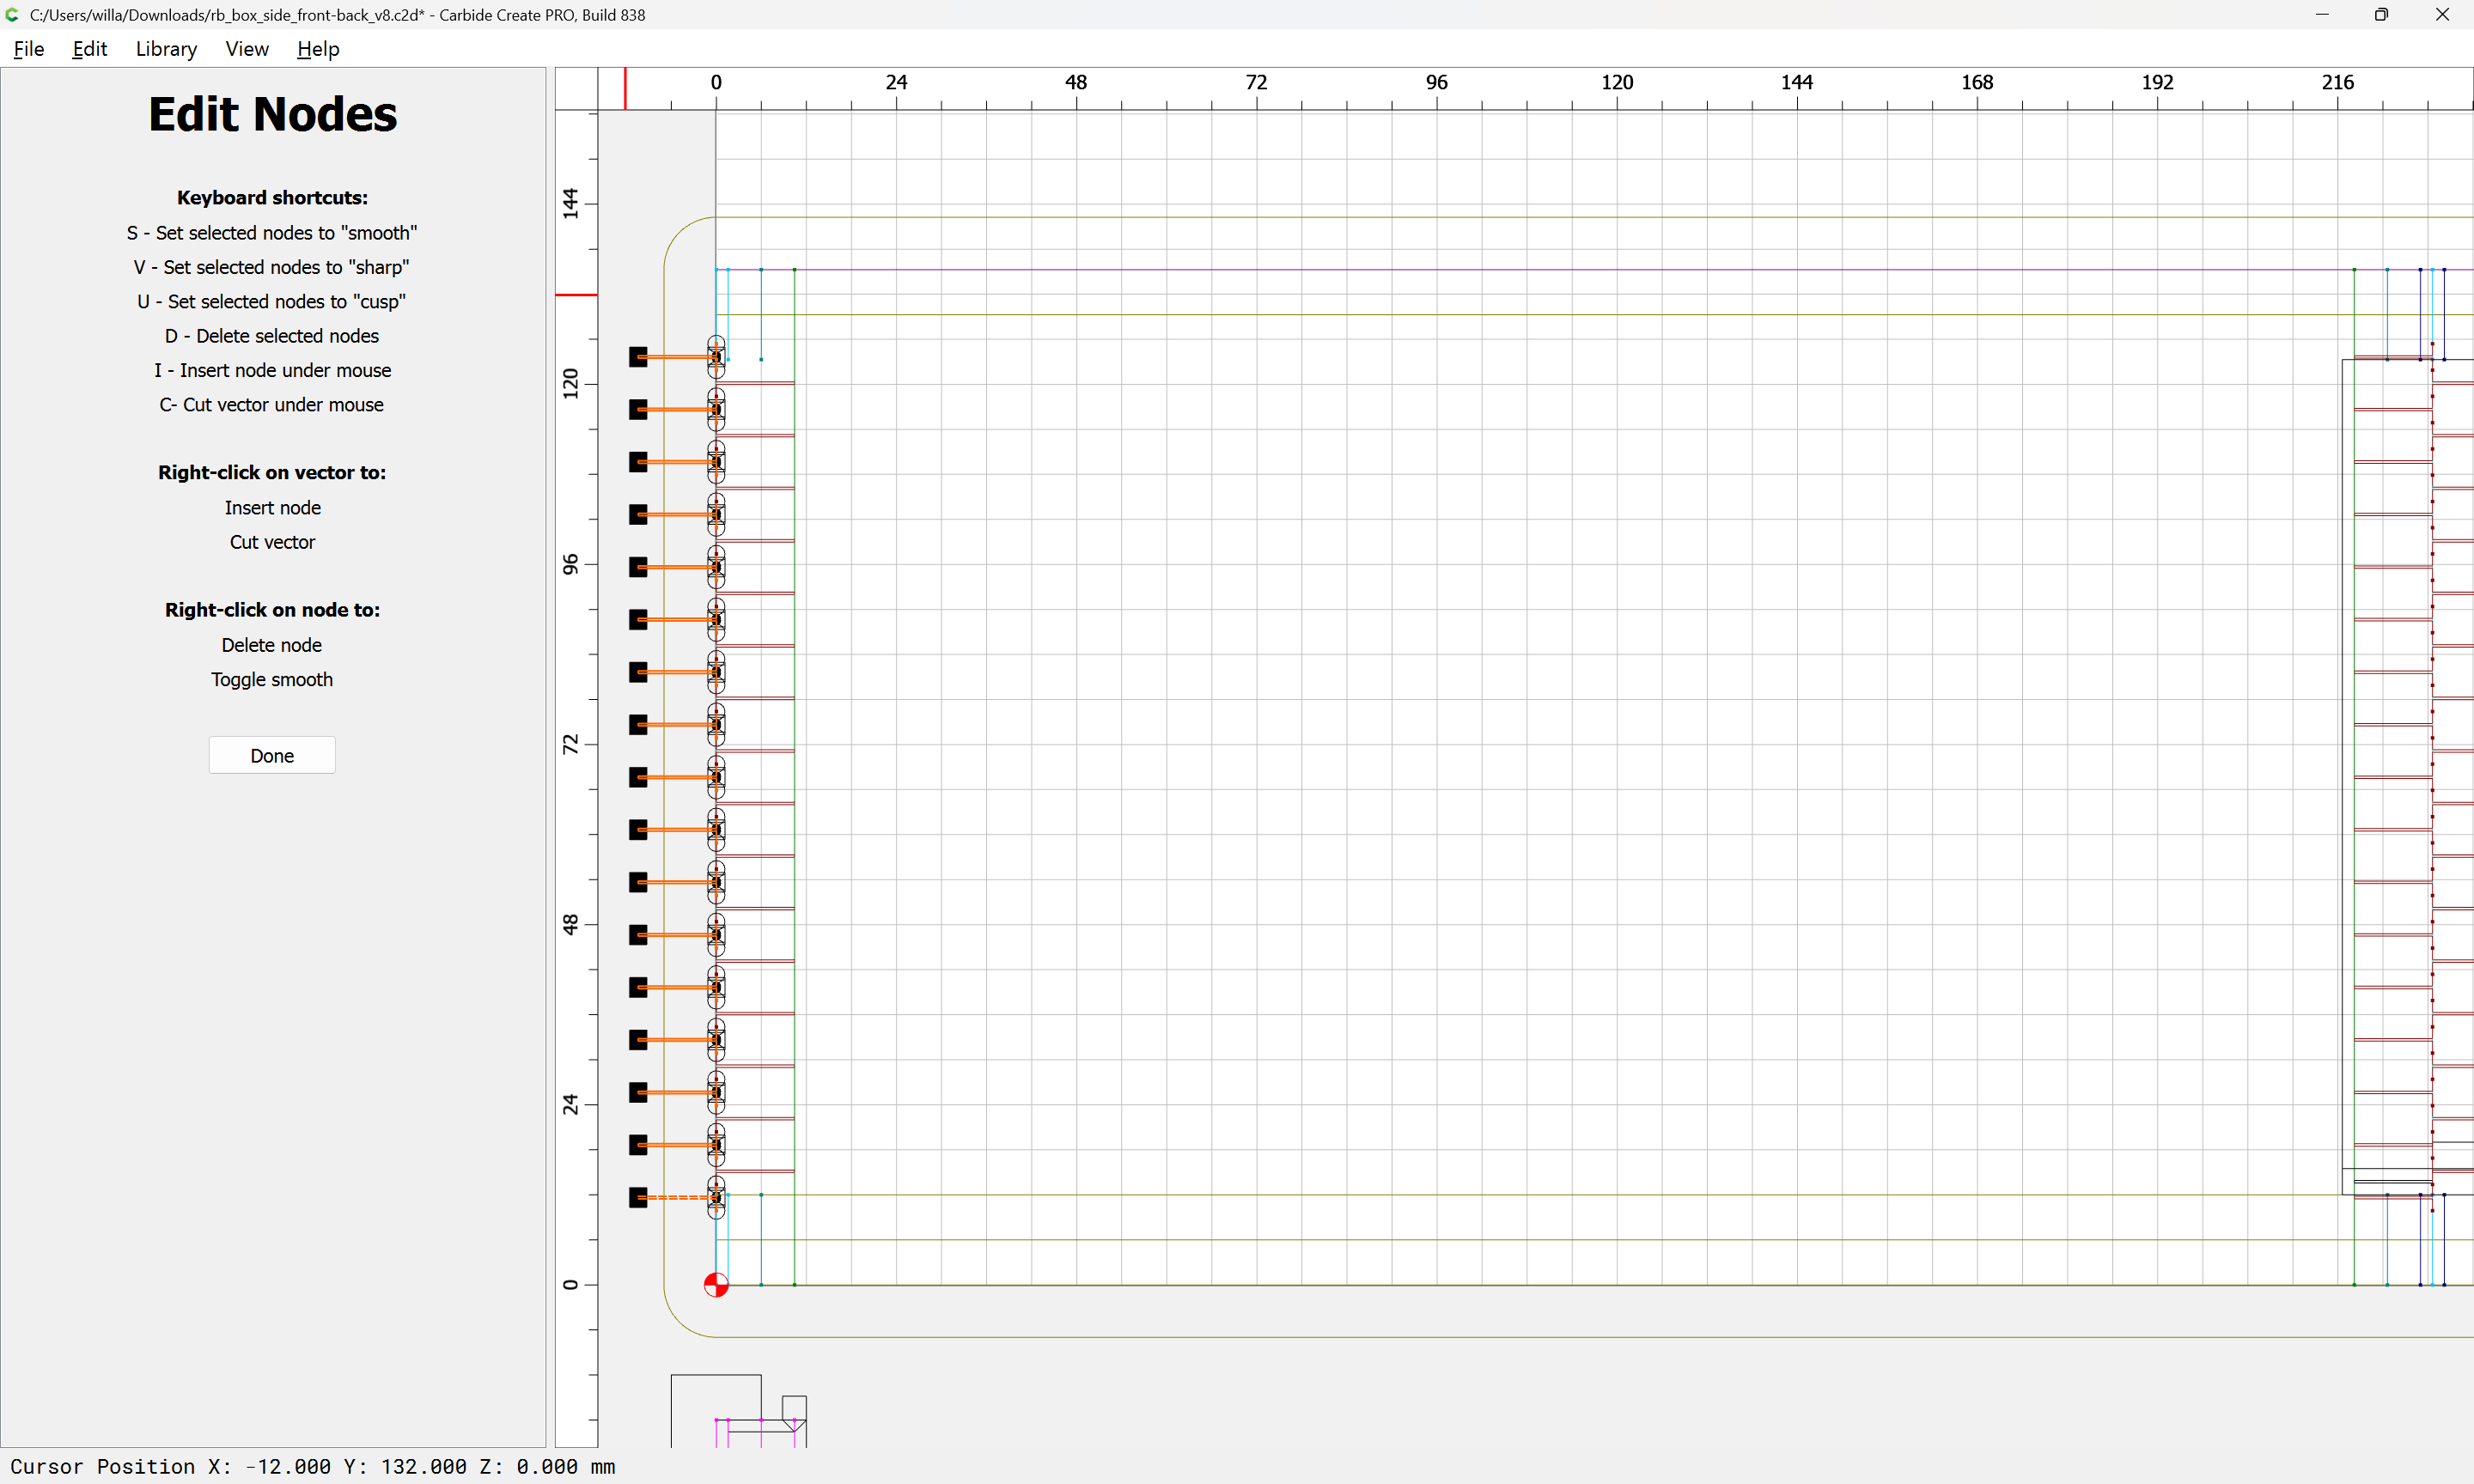
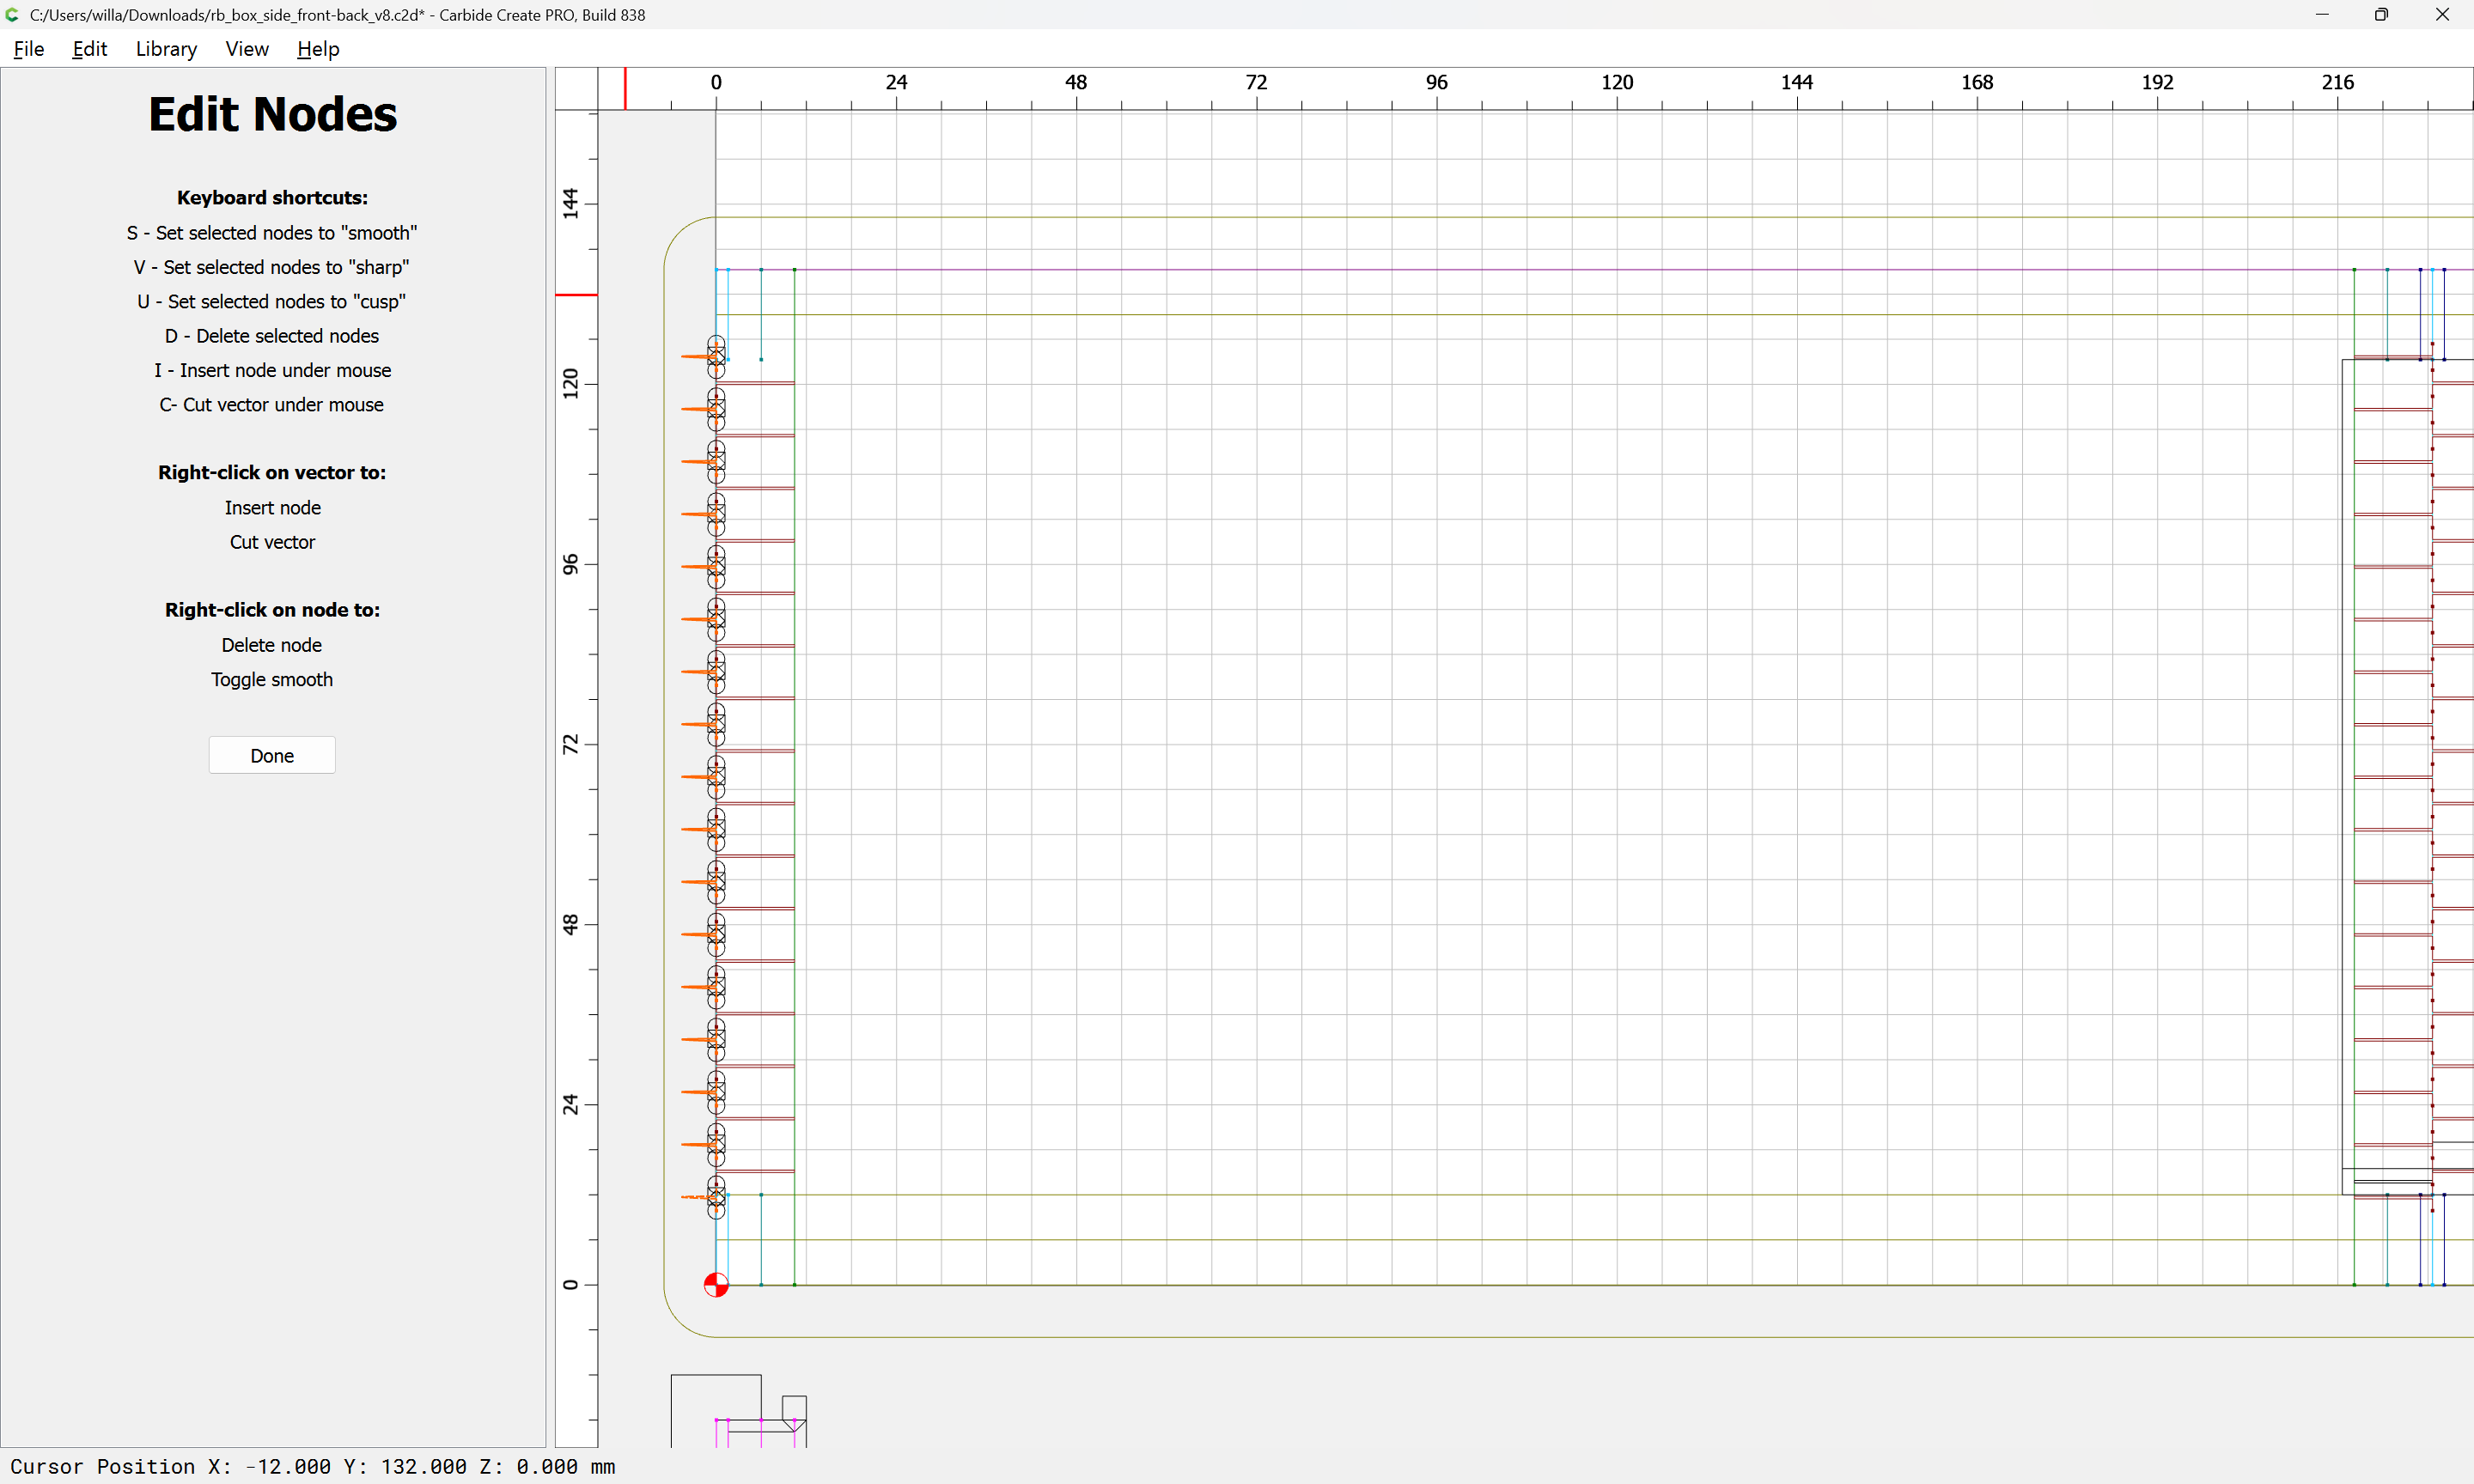
As per usual, we start by drawing the cut/tool in profile.
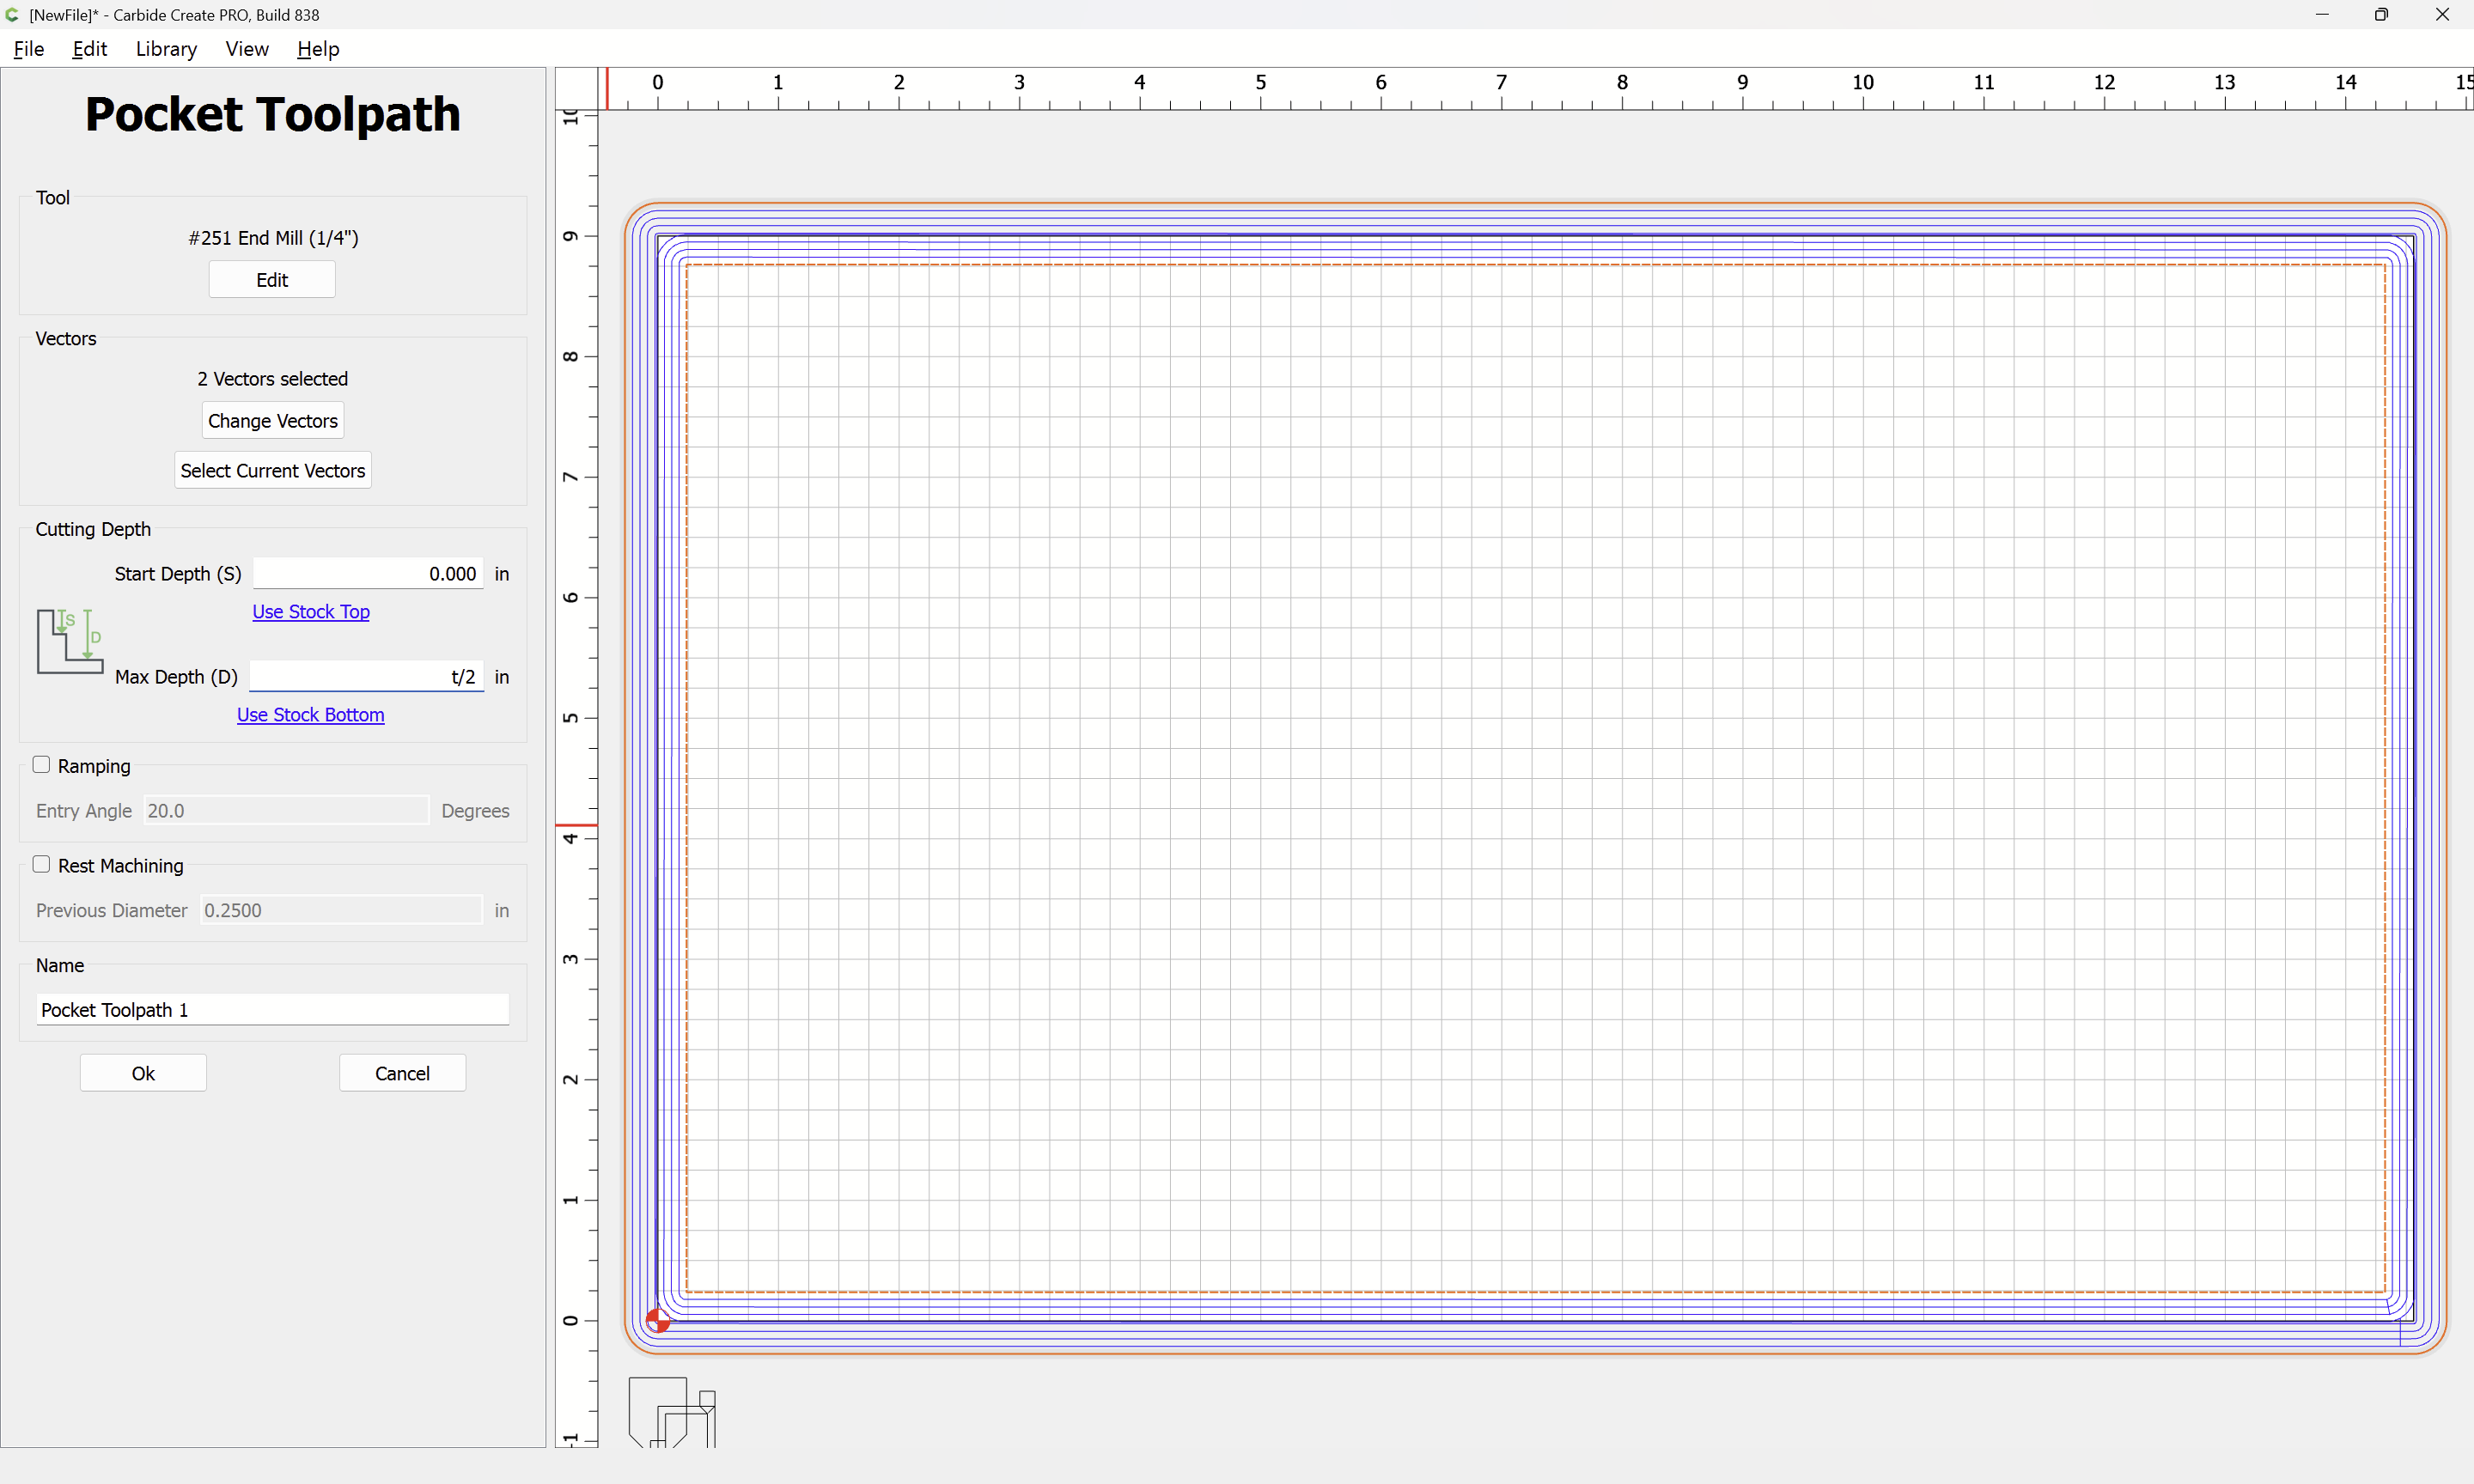
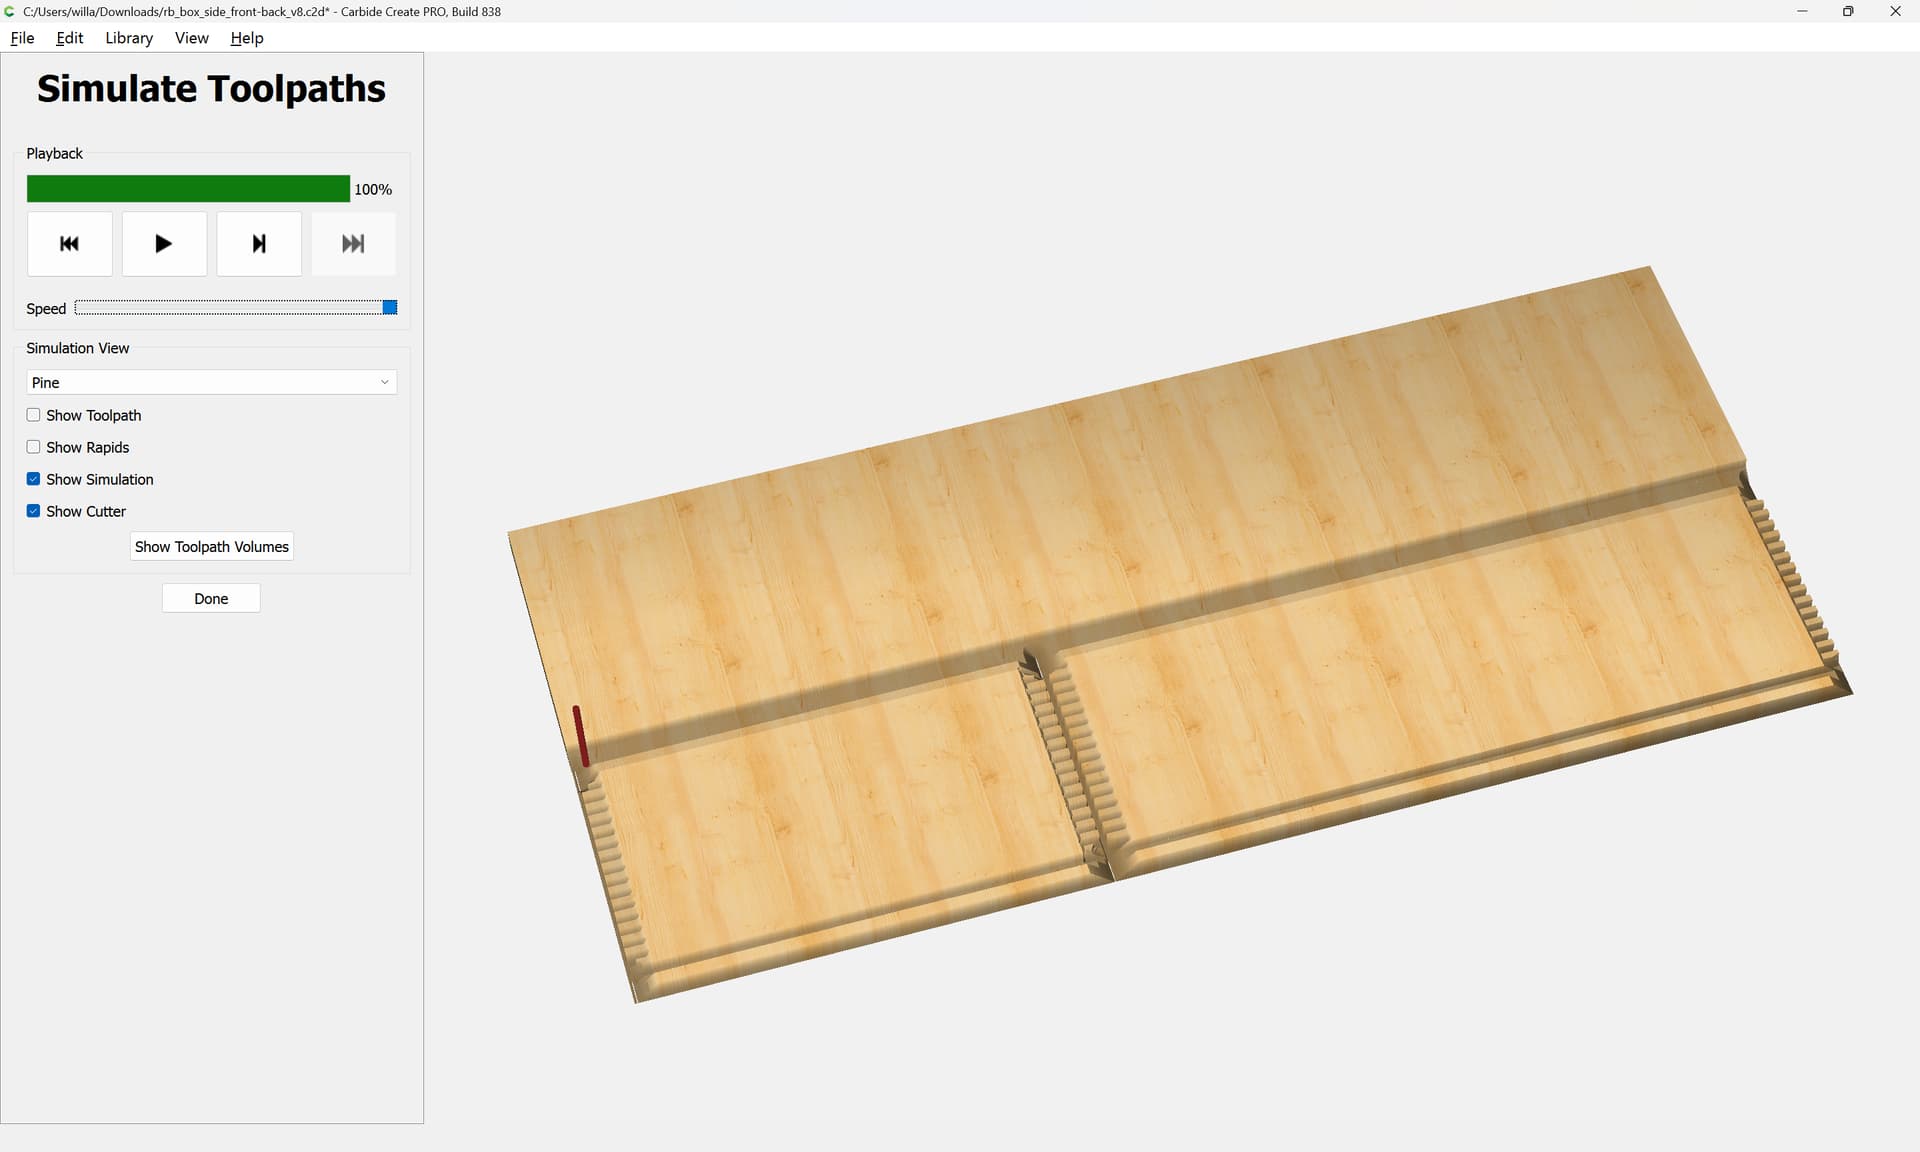
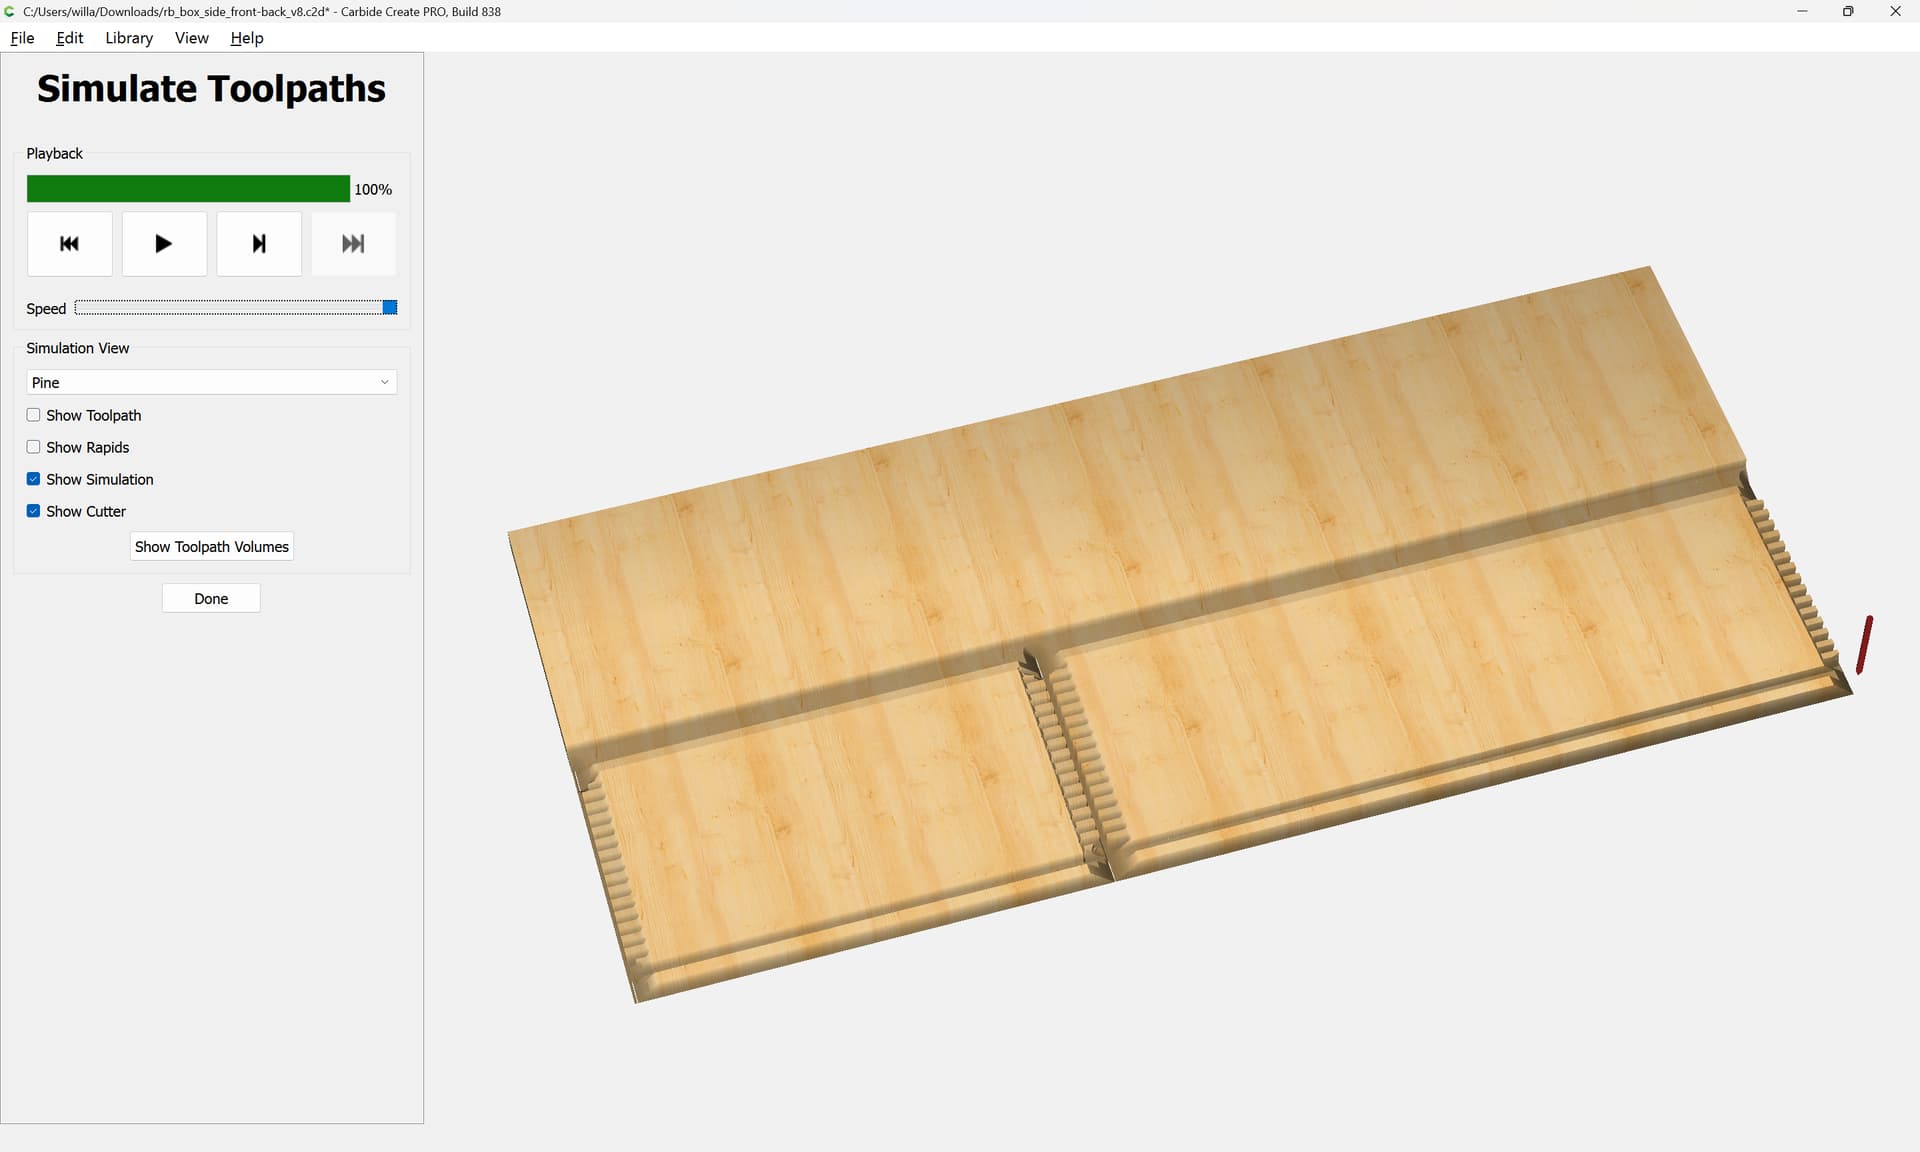
The joinery will be the full-blind box-joint style which folks have done various versions of for a while now.
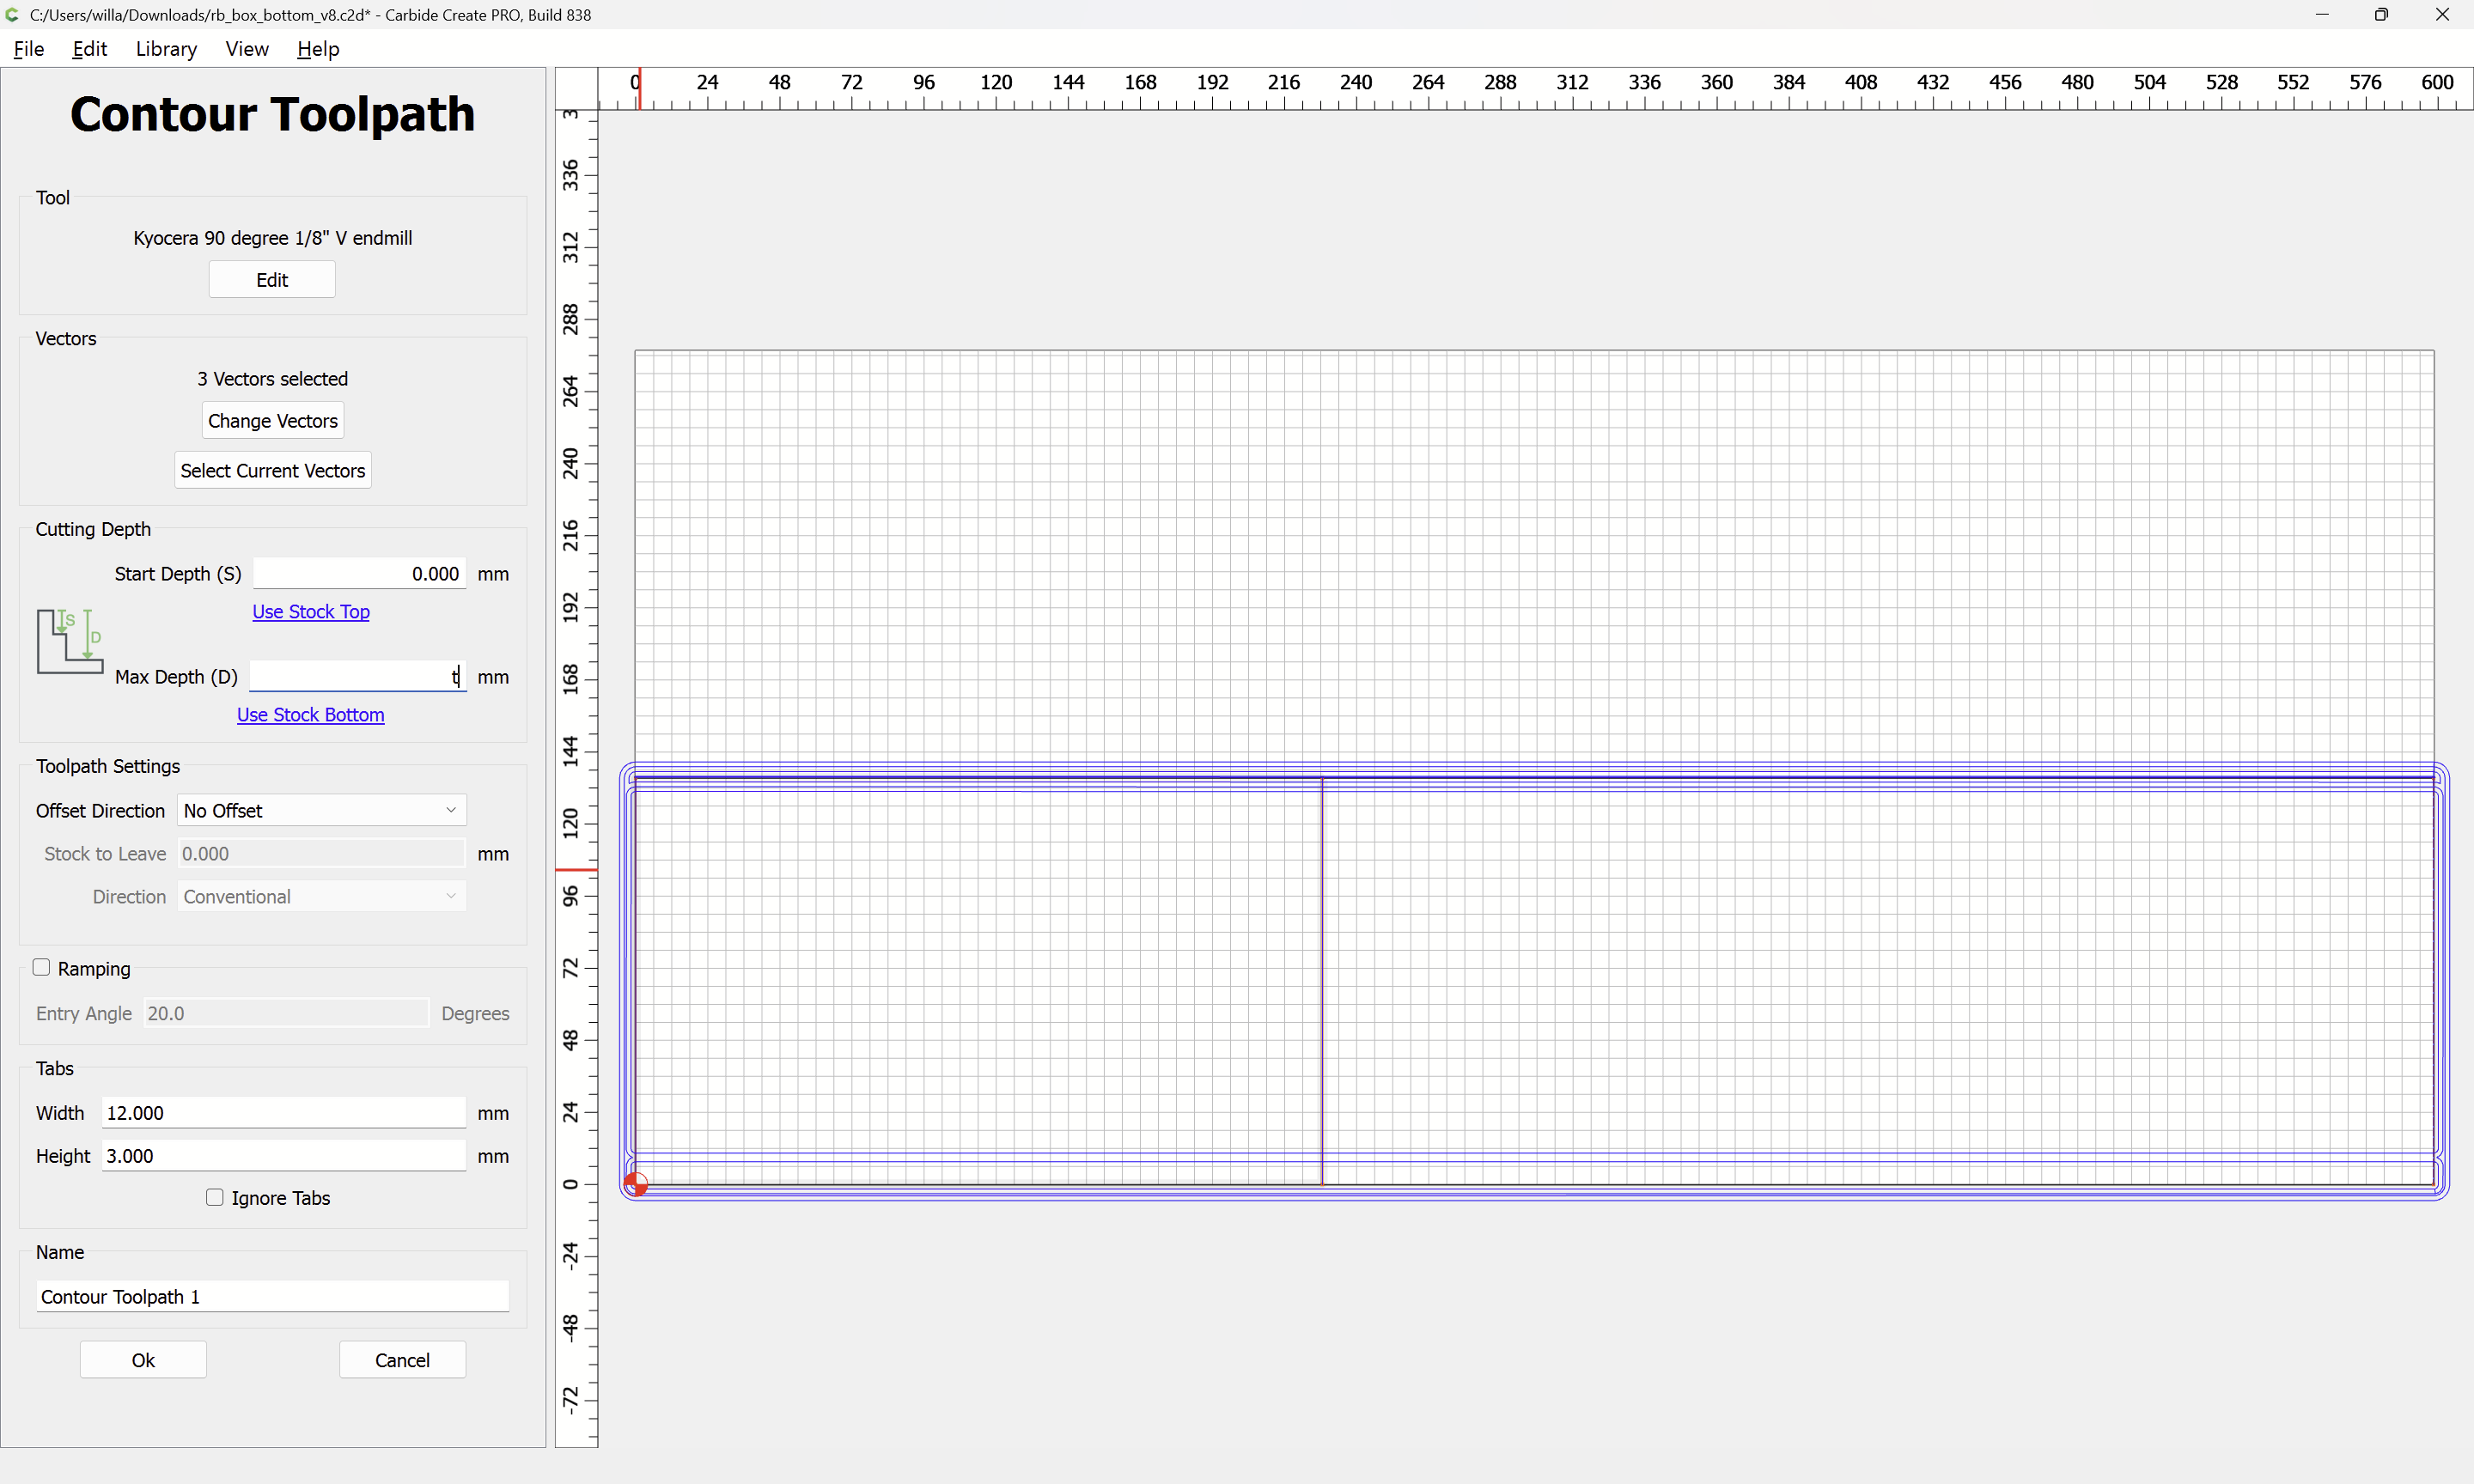
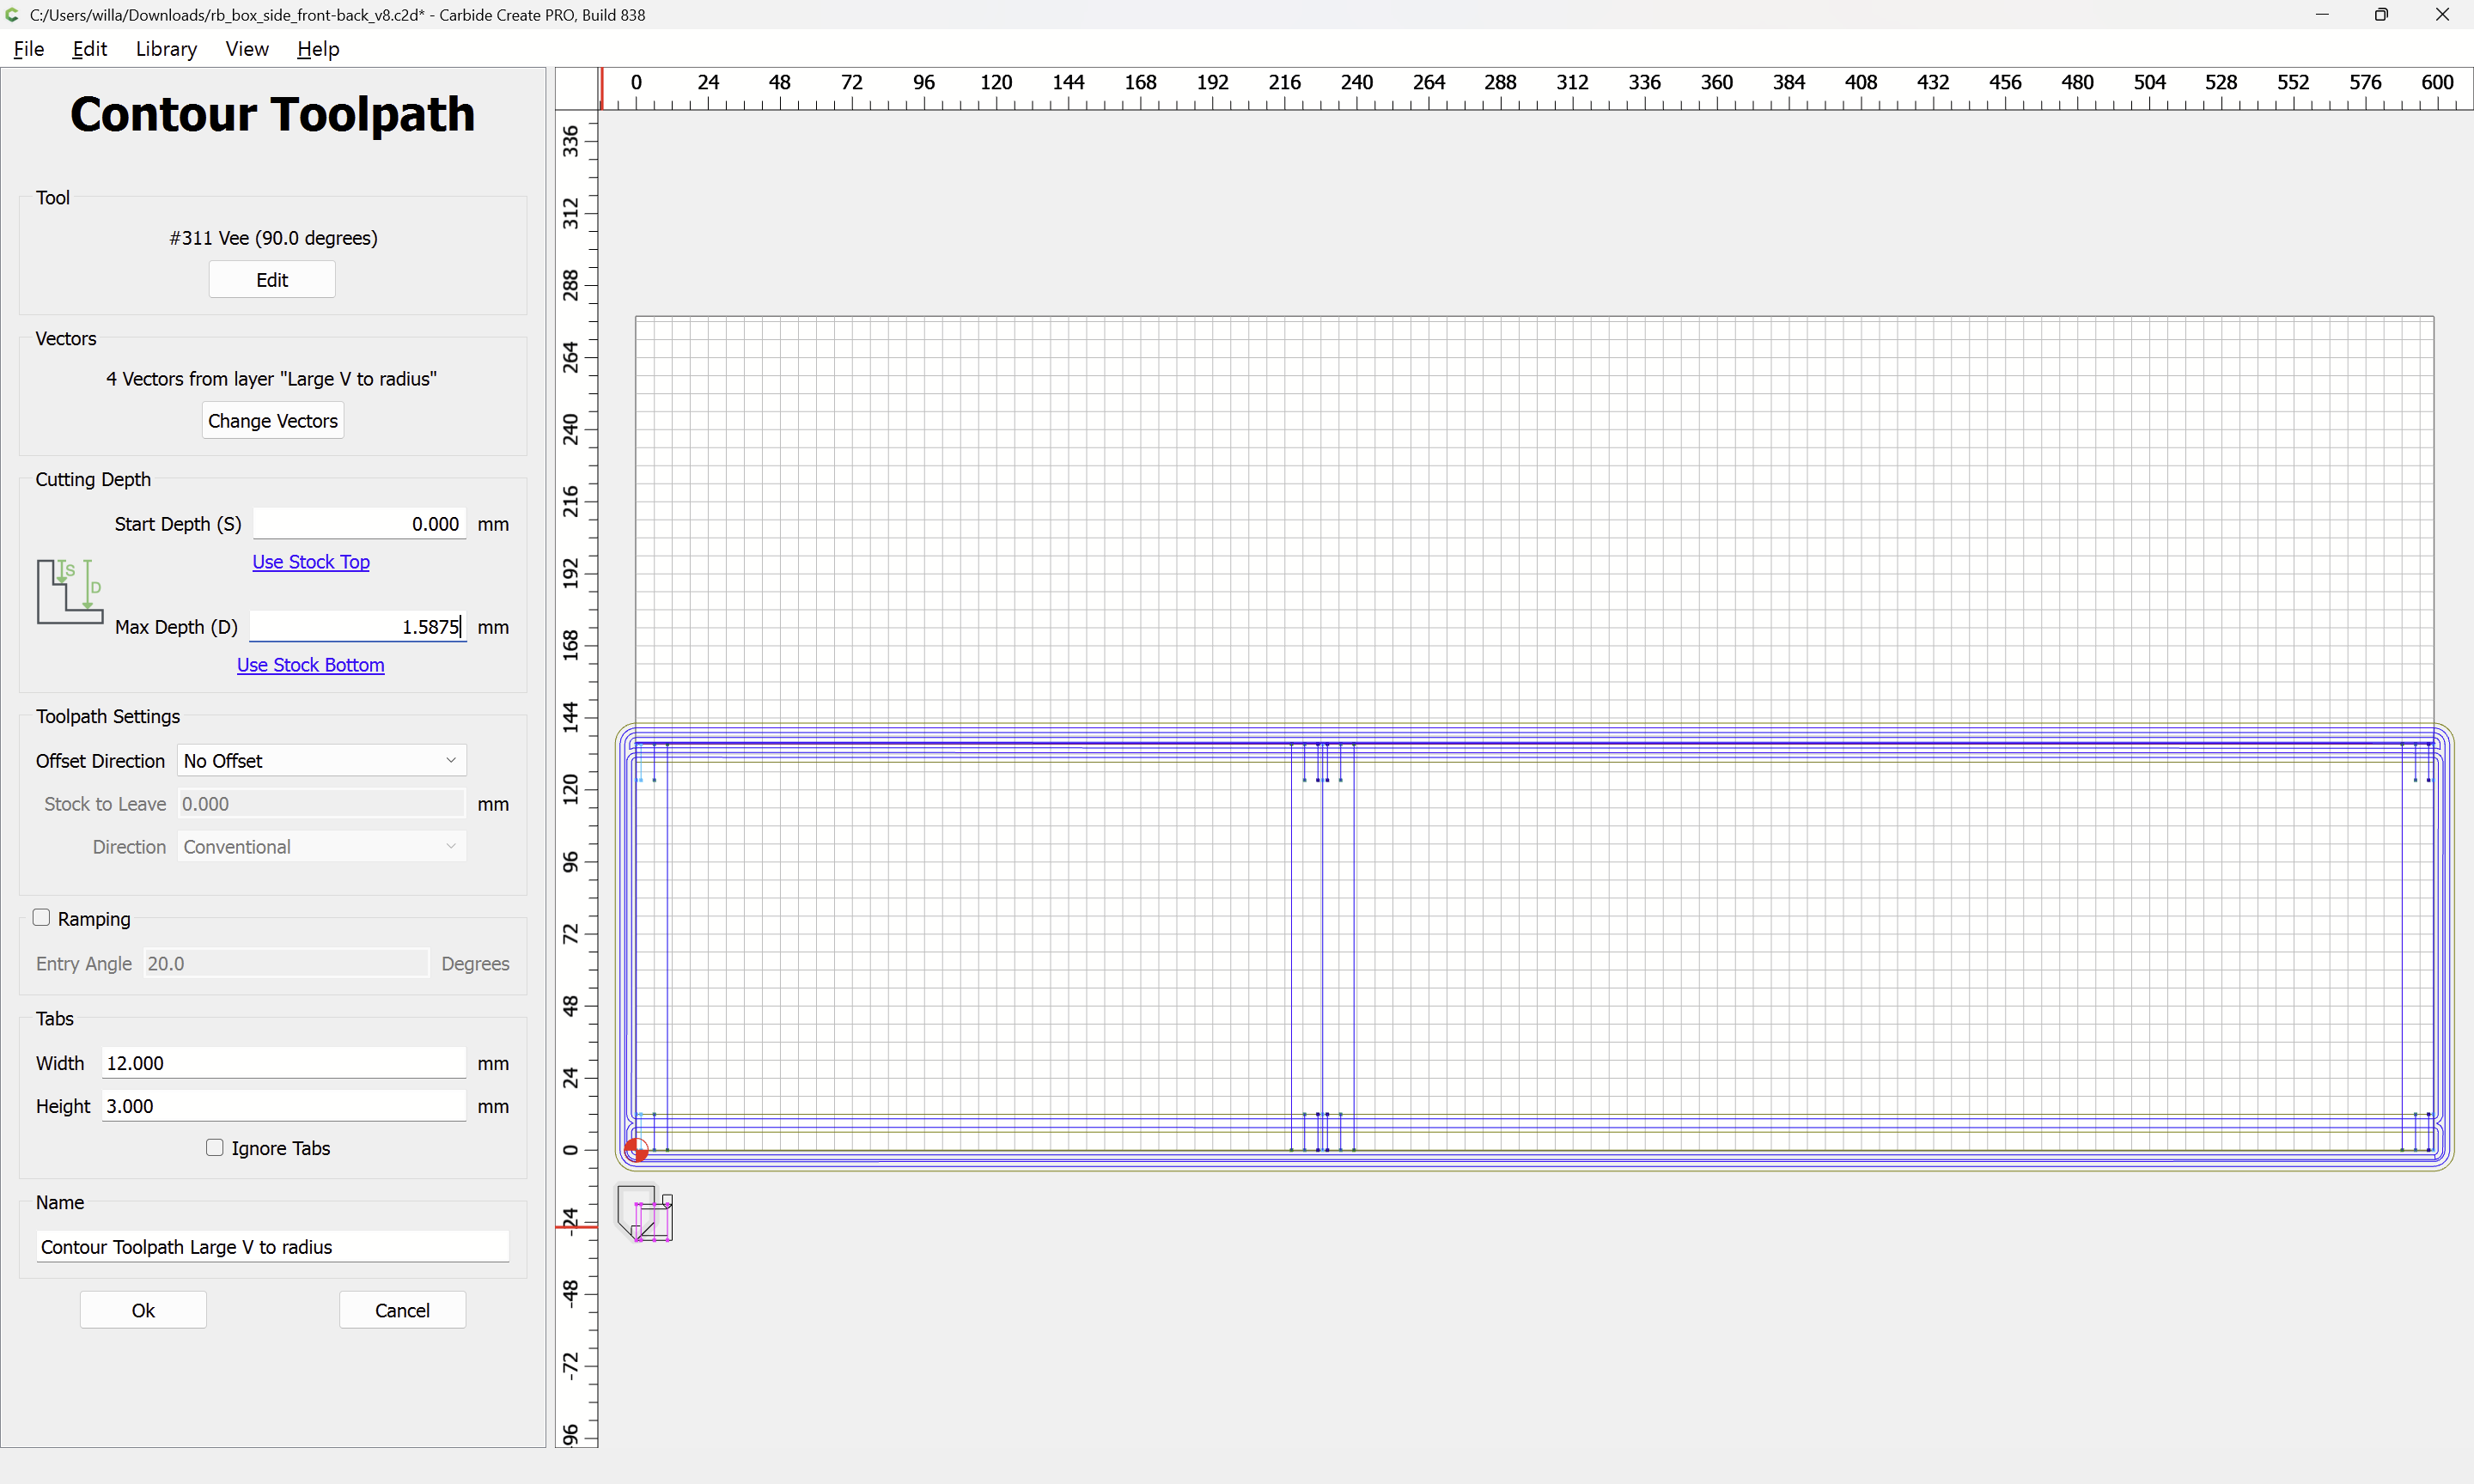
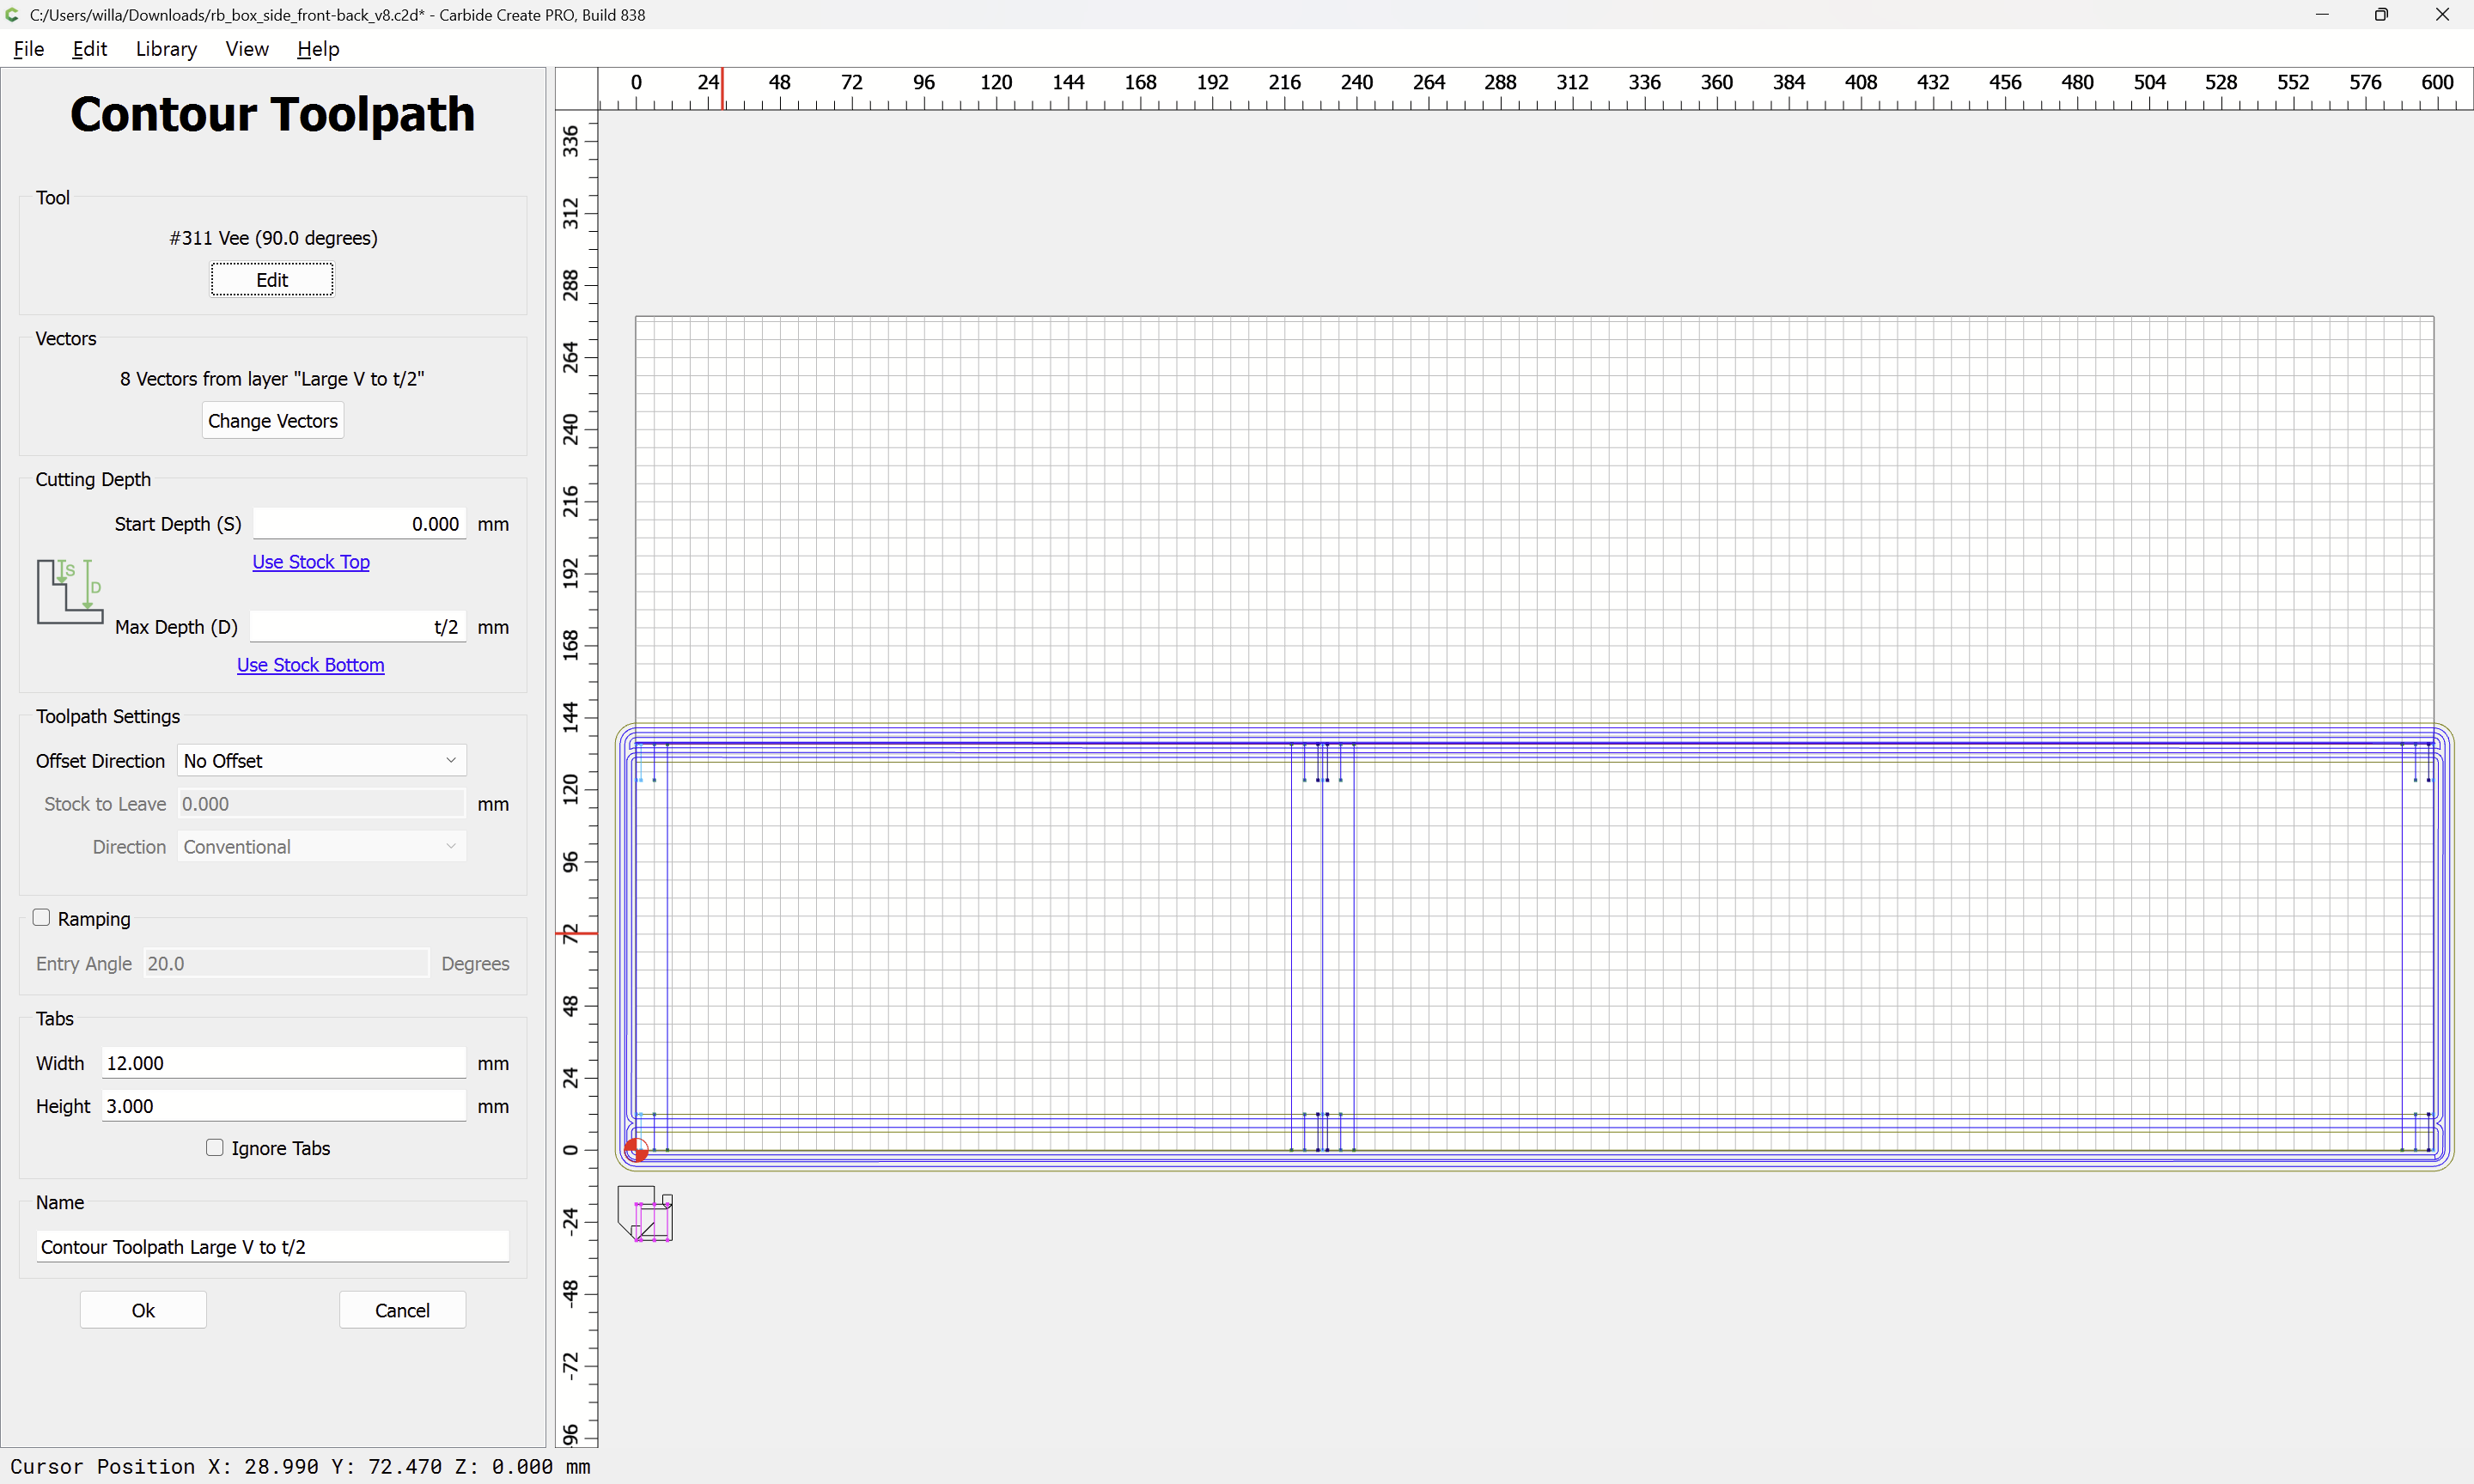
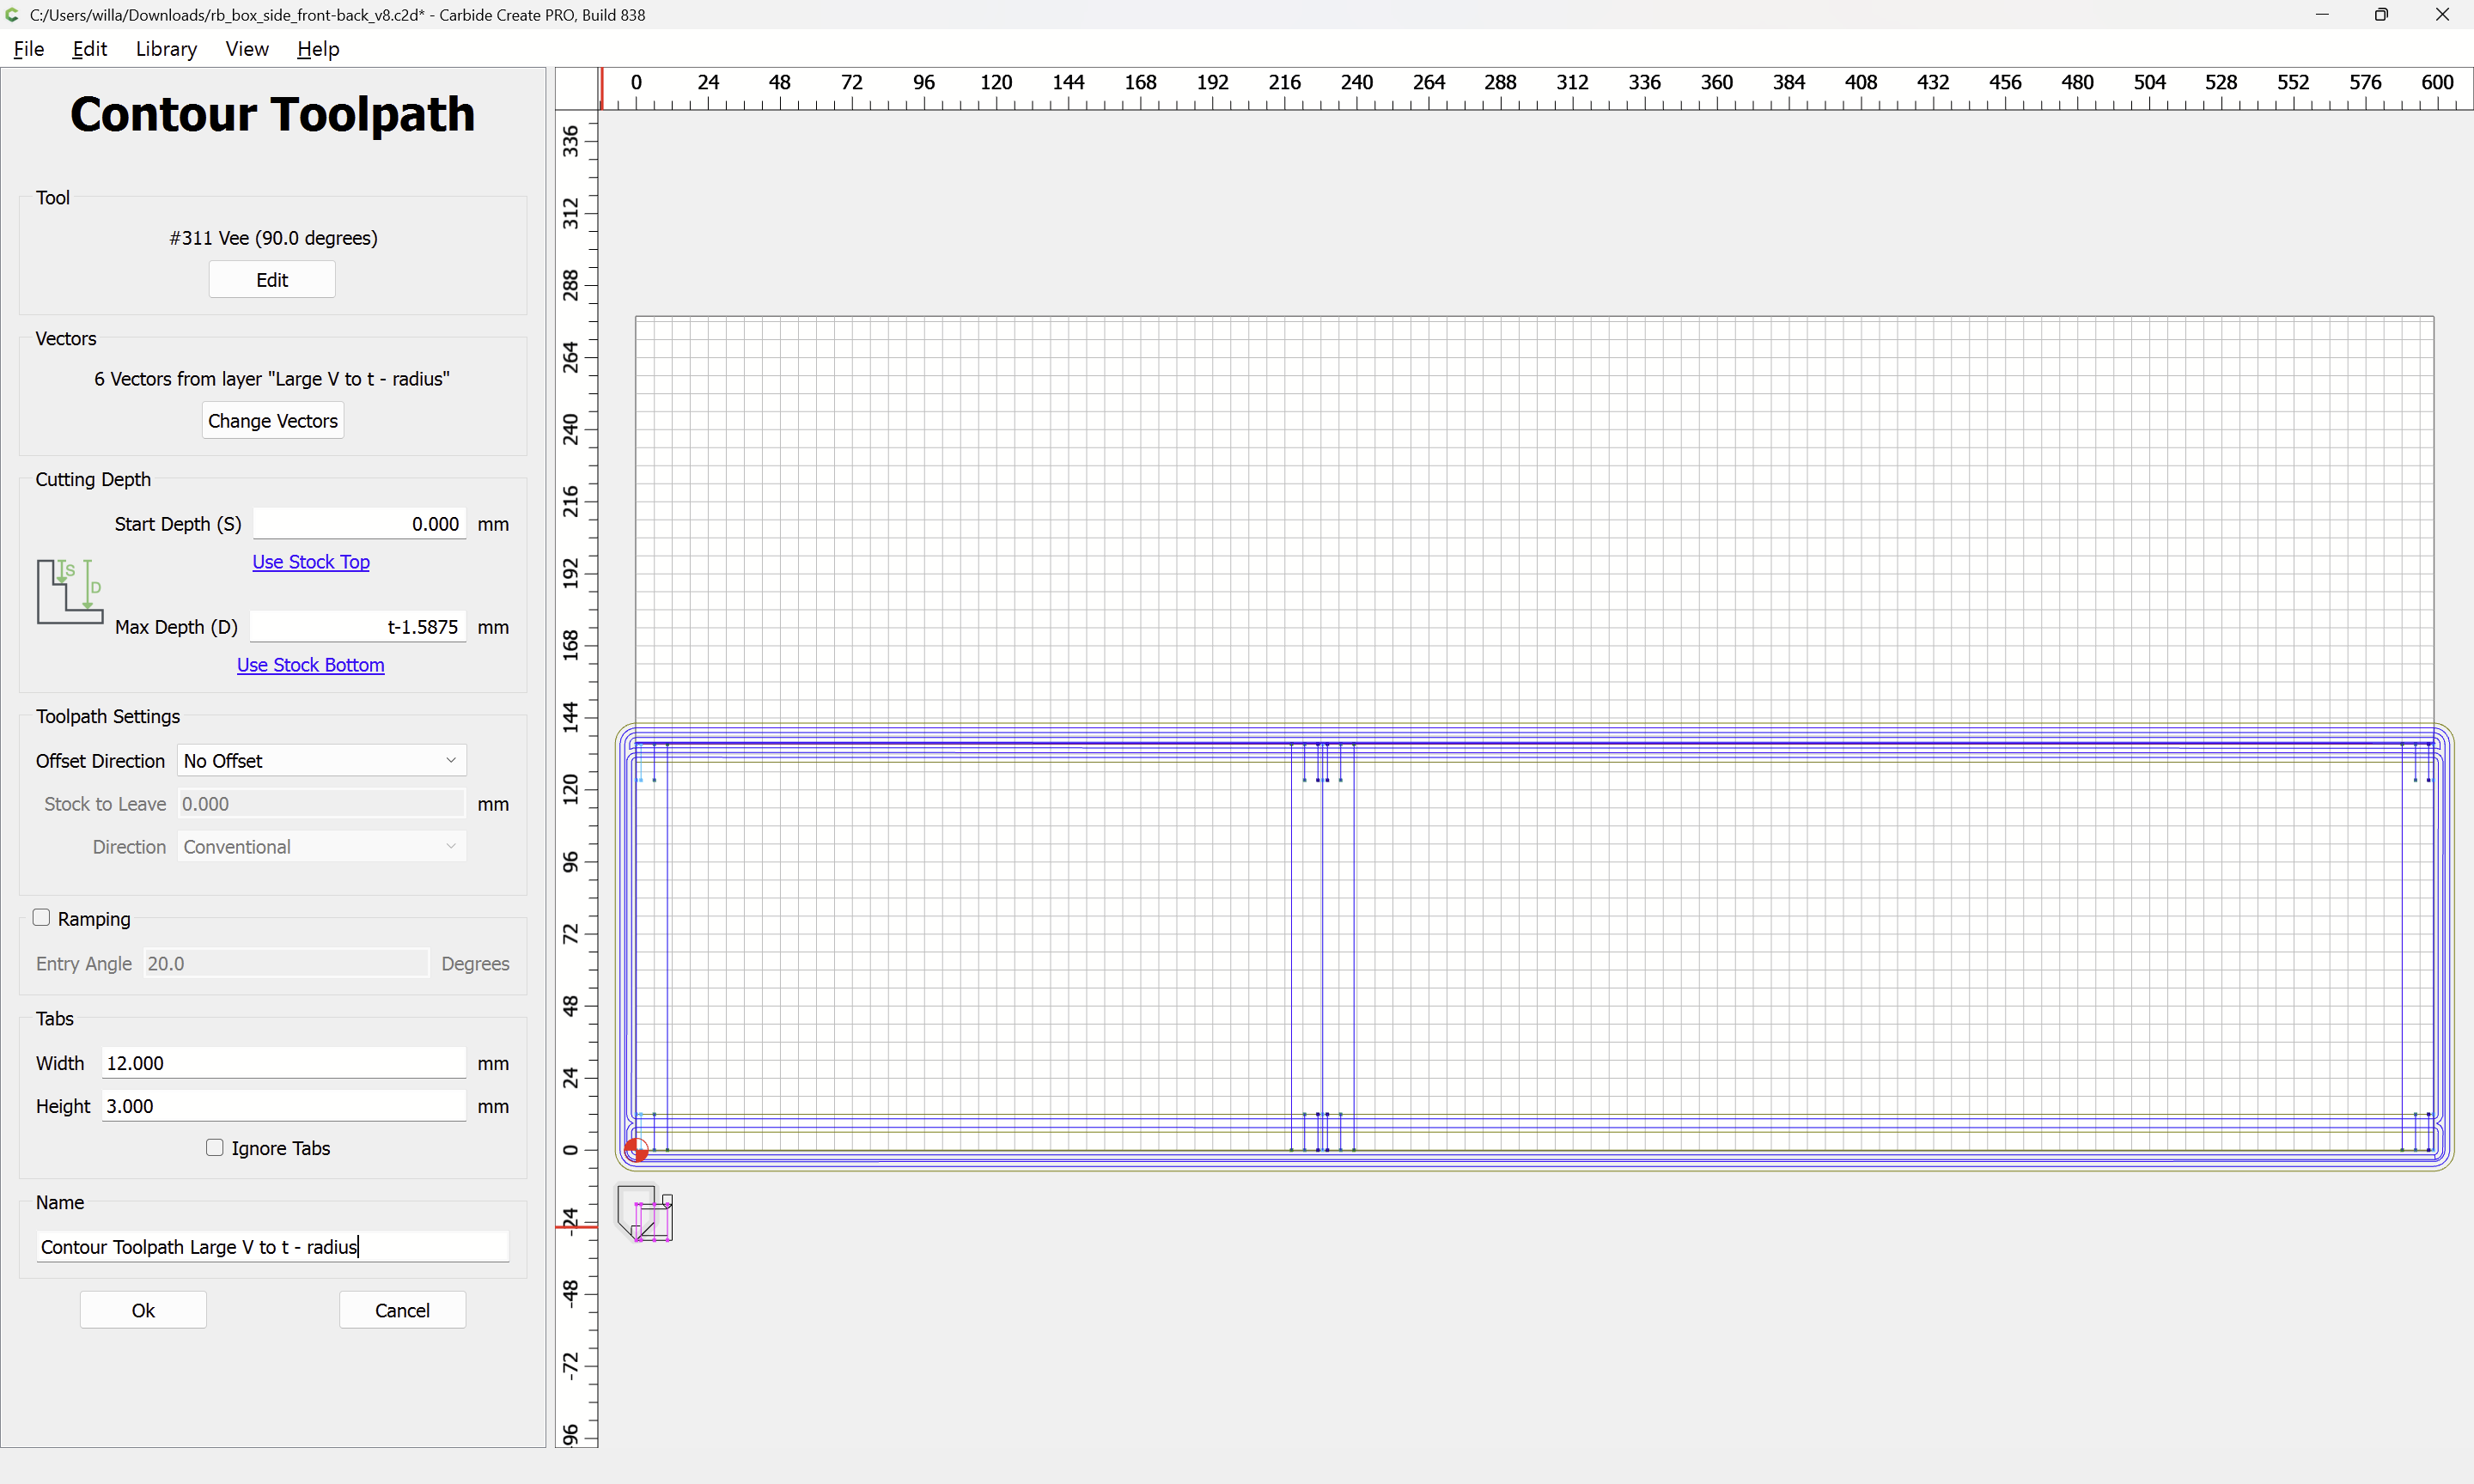
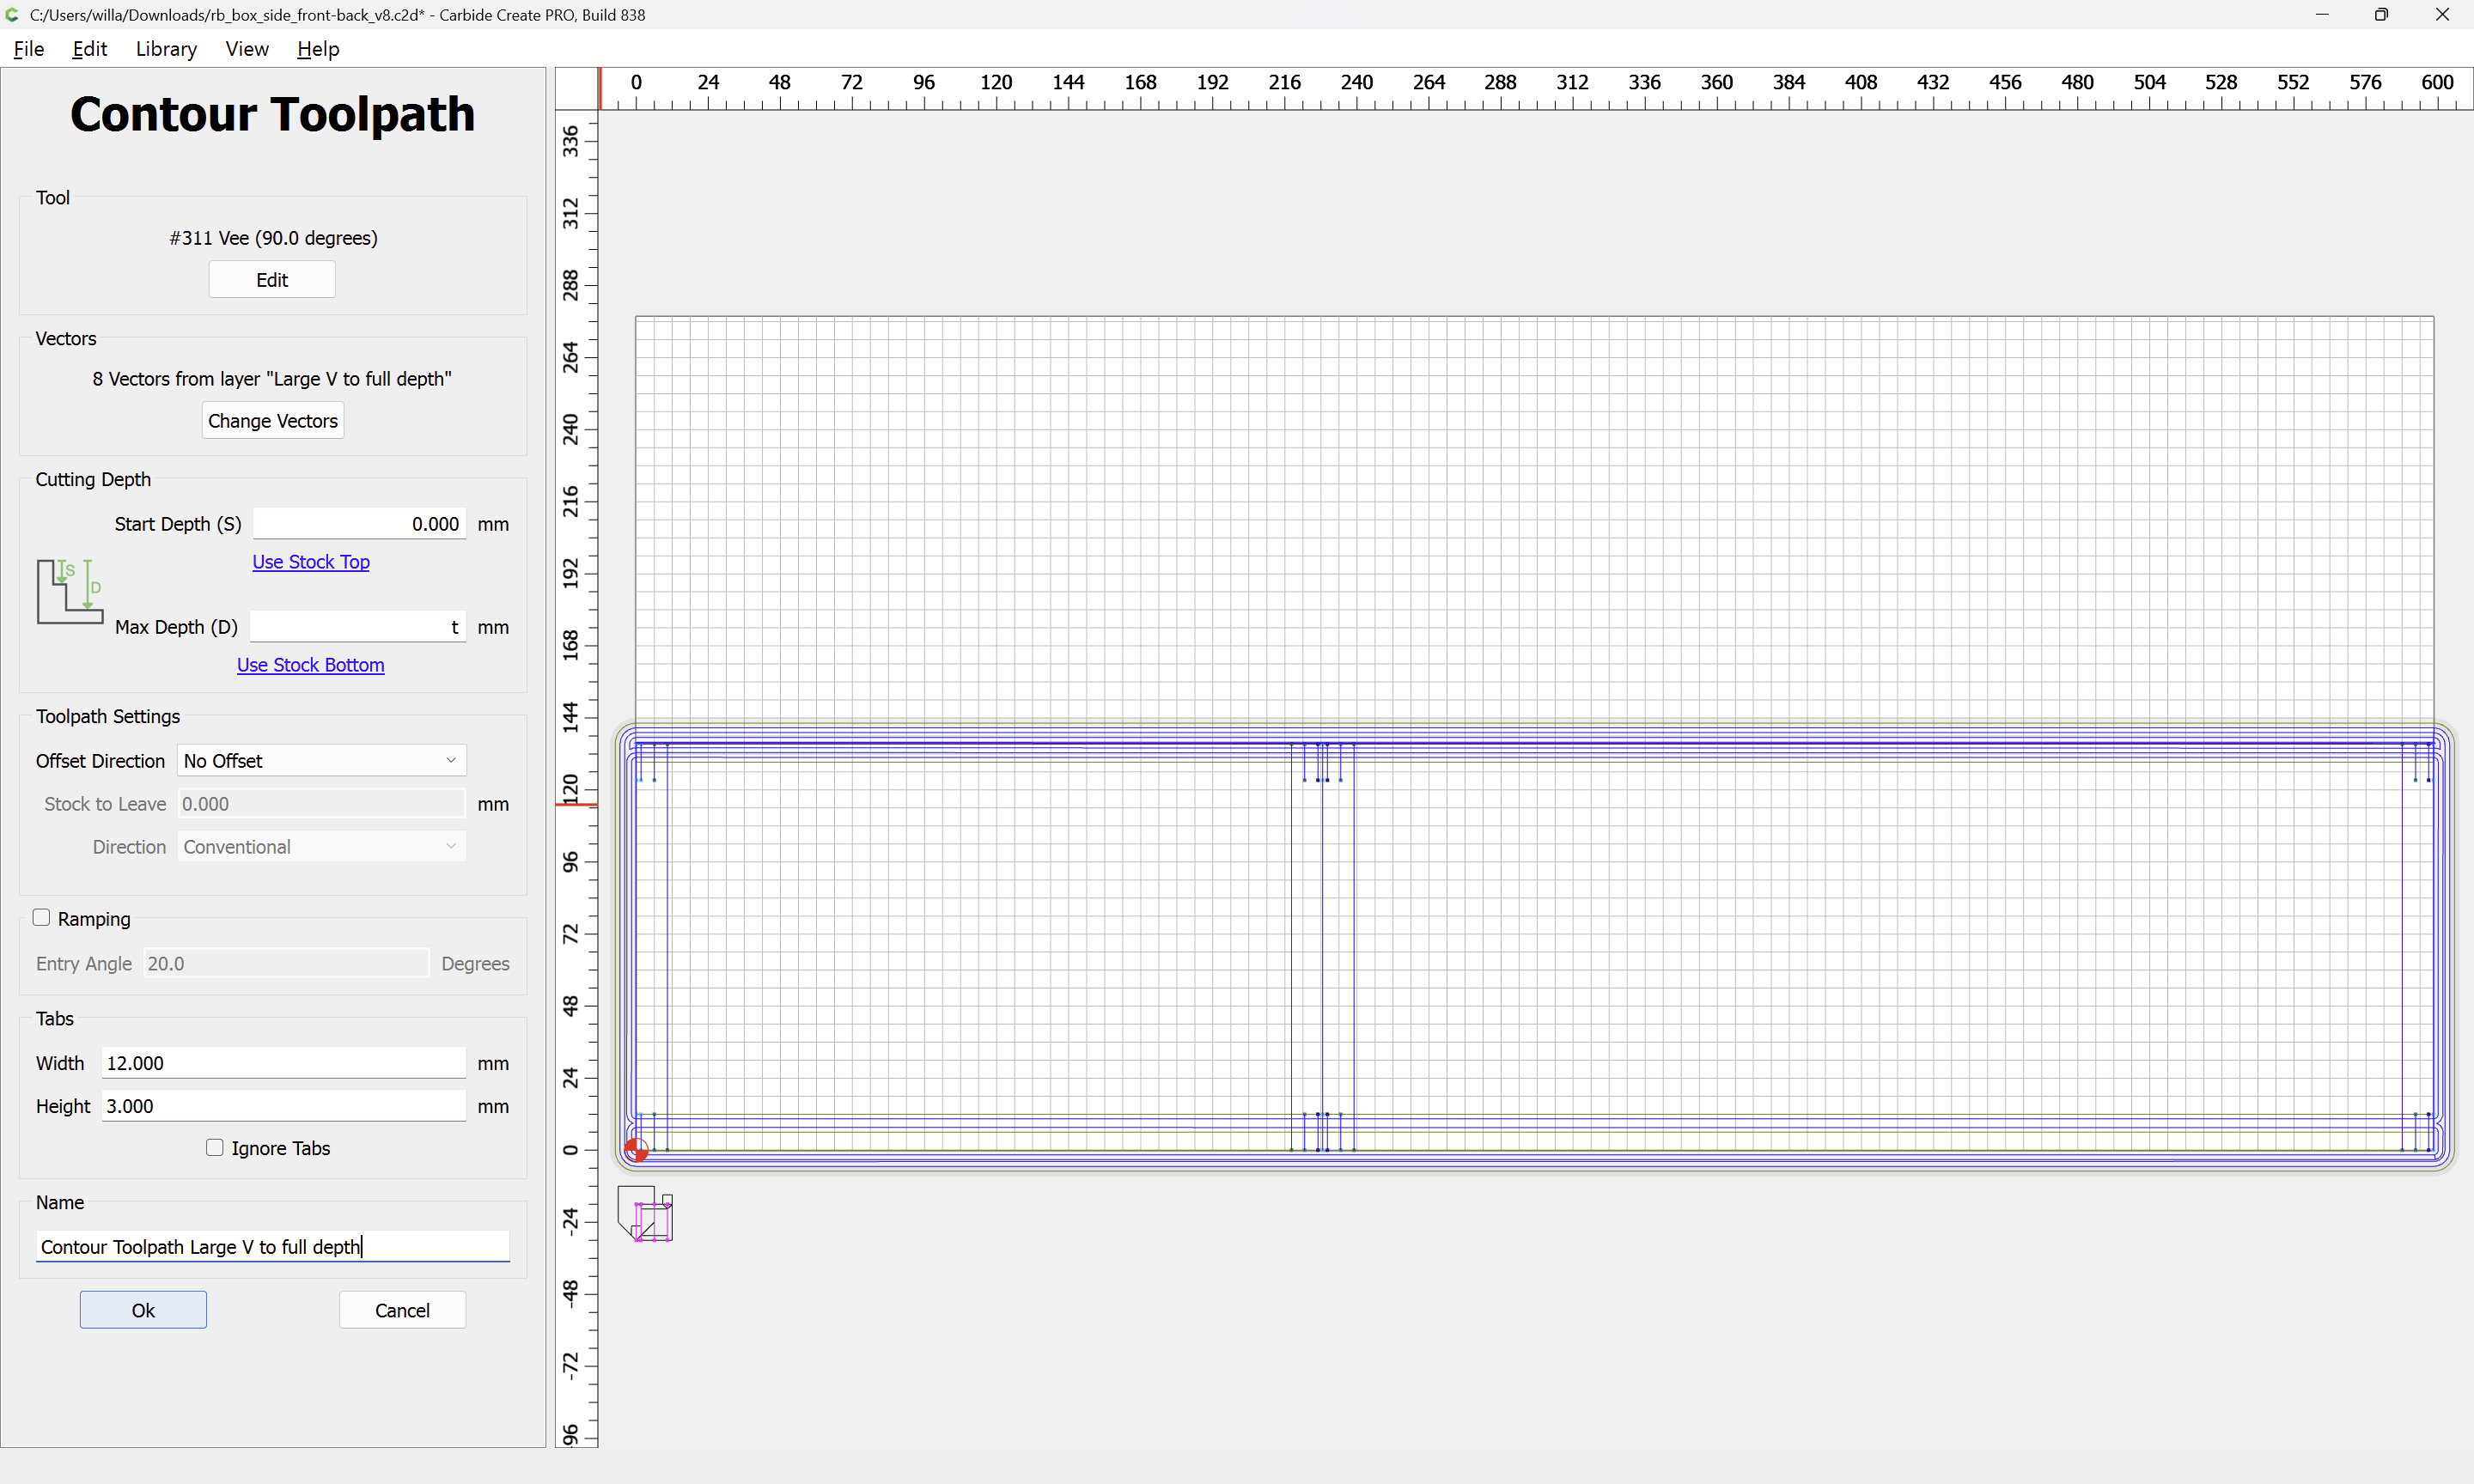
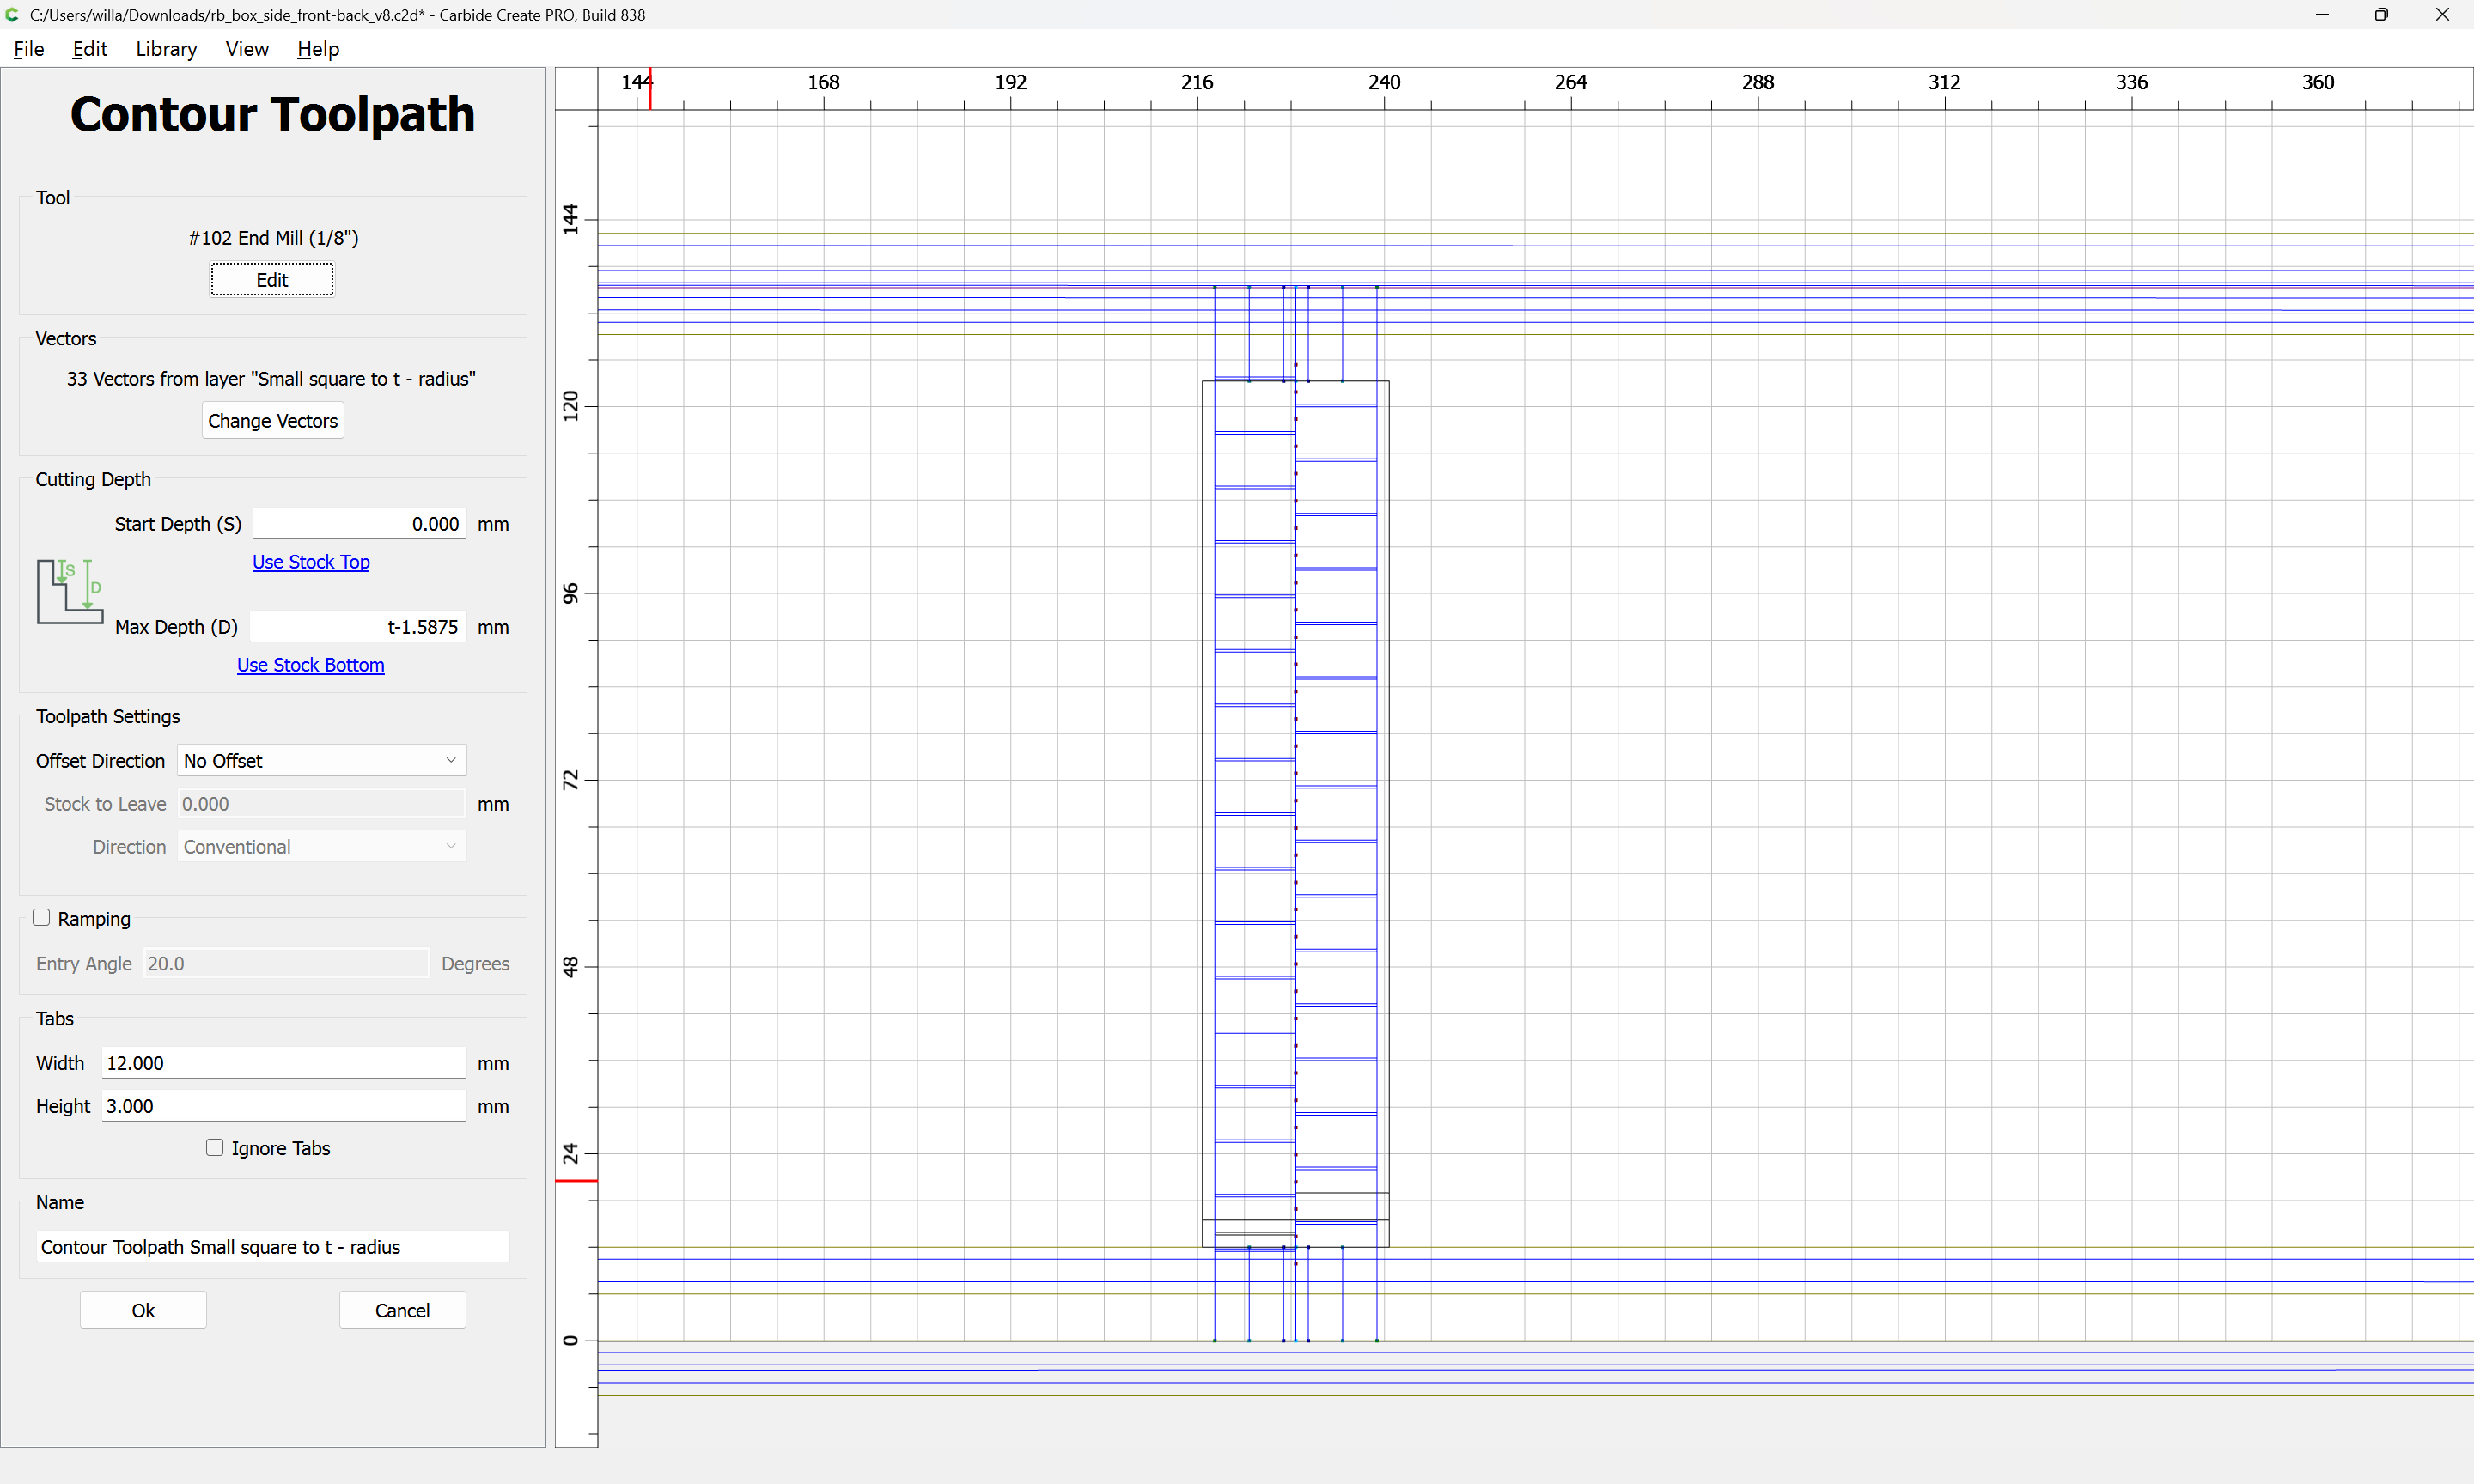
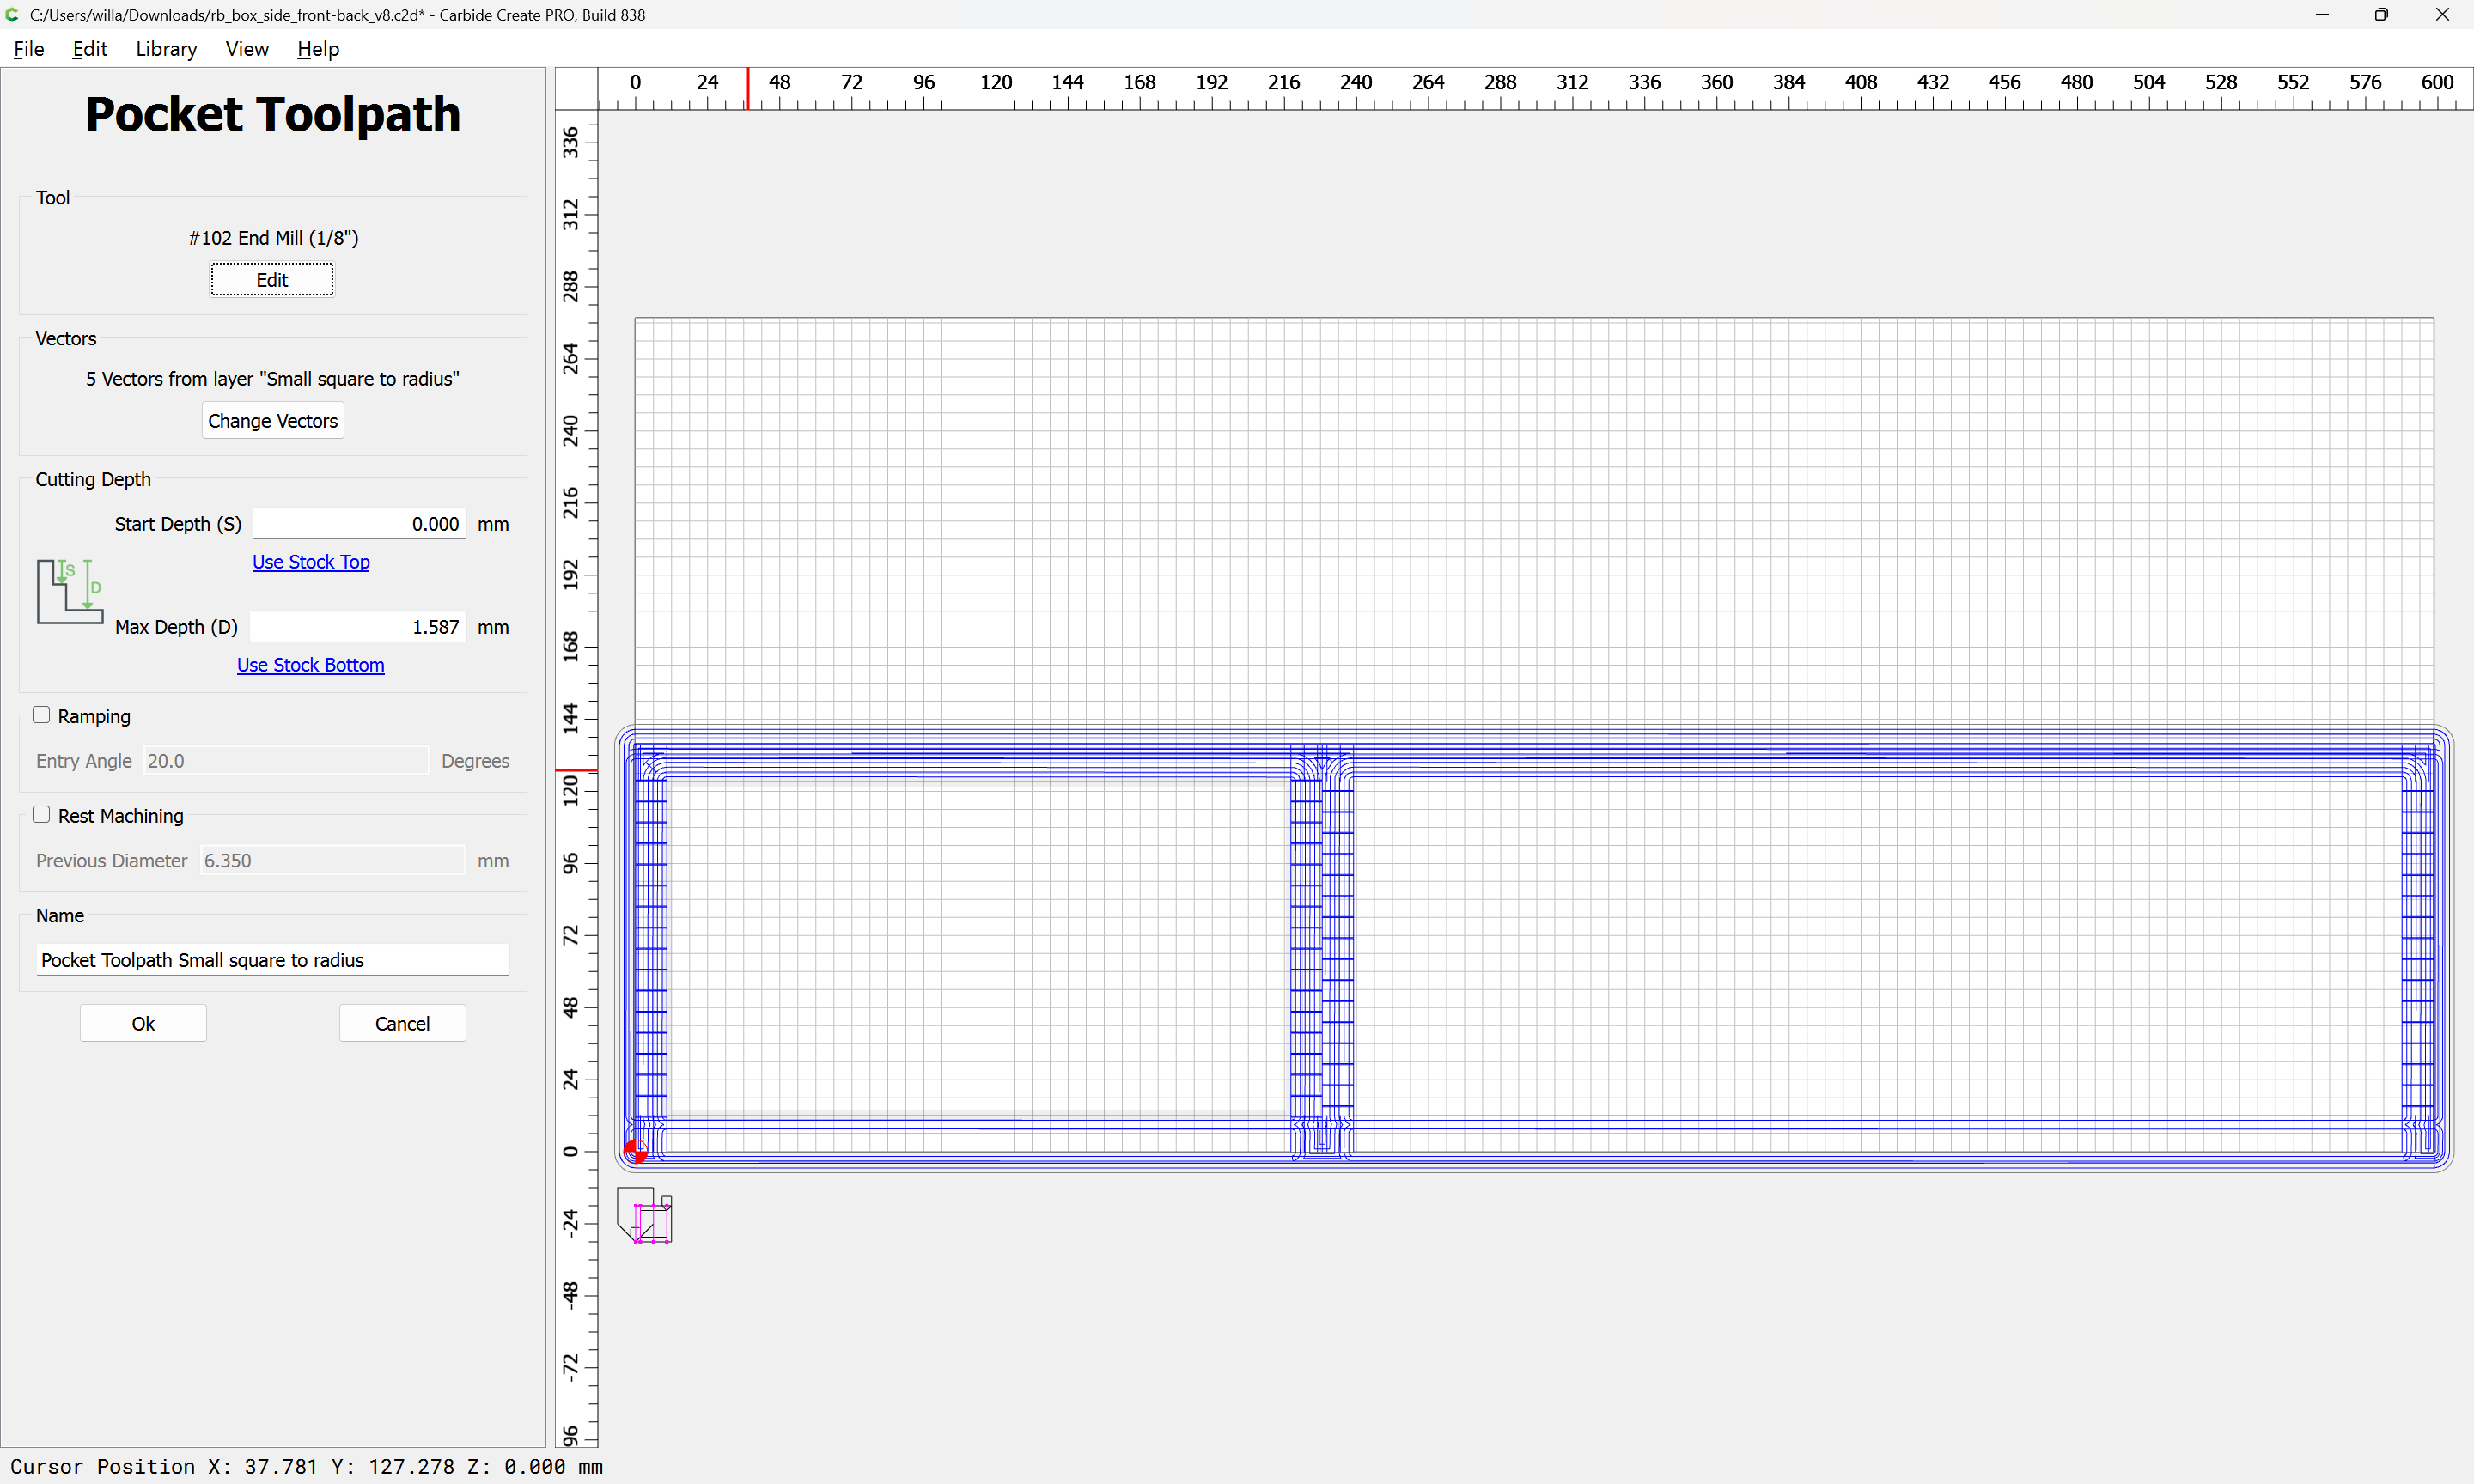
The tool is rather small relative to the (un-cut-in-half) stock, and making multiple passes with the V tool helps with the geometry. Doubling the 6mm cutting depth of the tool seems a reasonable compromise, and it should be easy for the reader to increase the number of passes if desired.
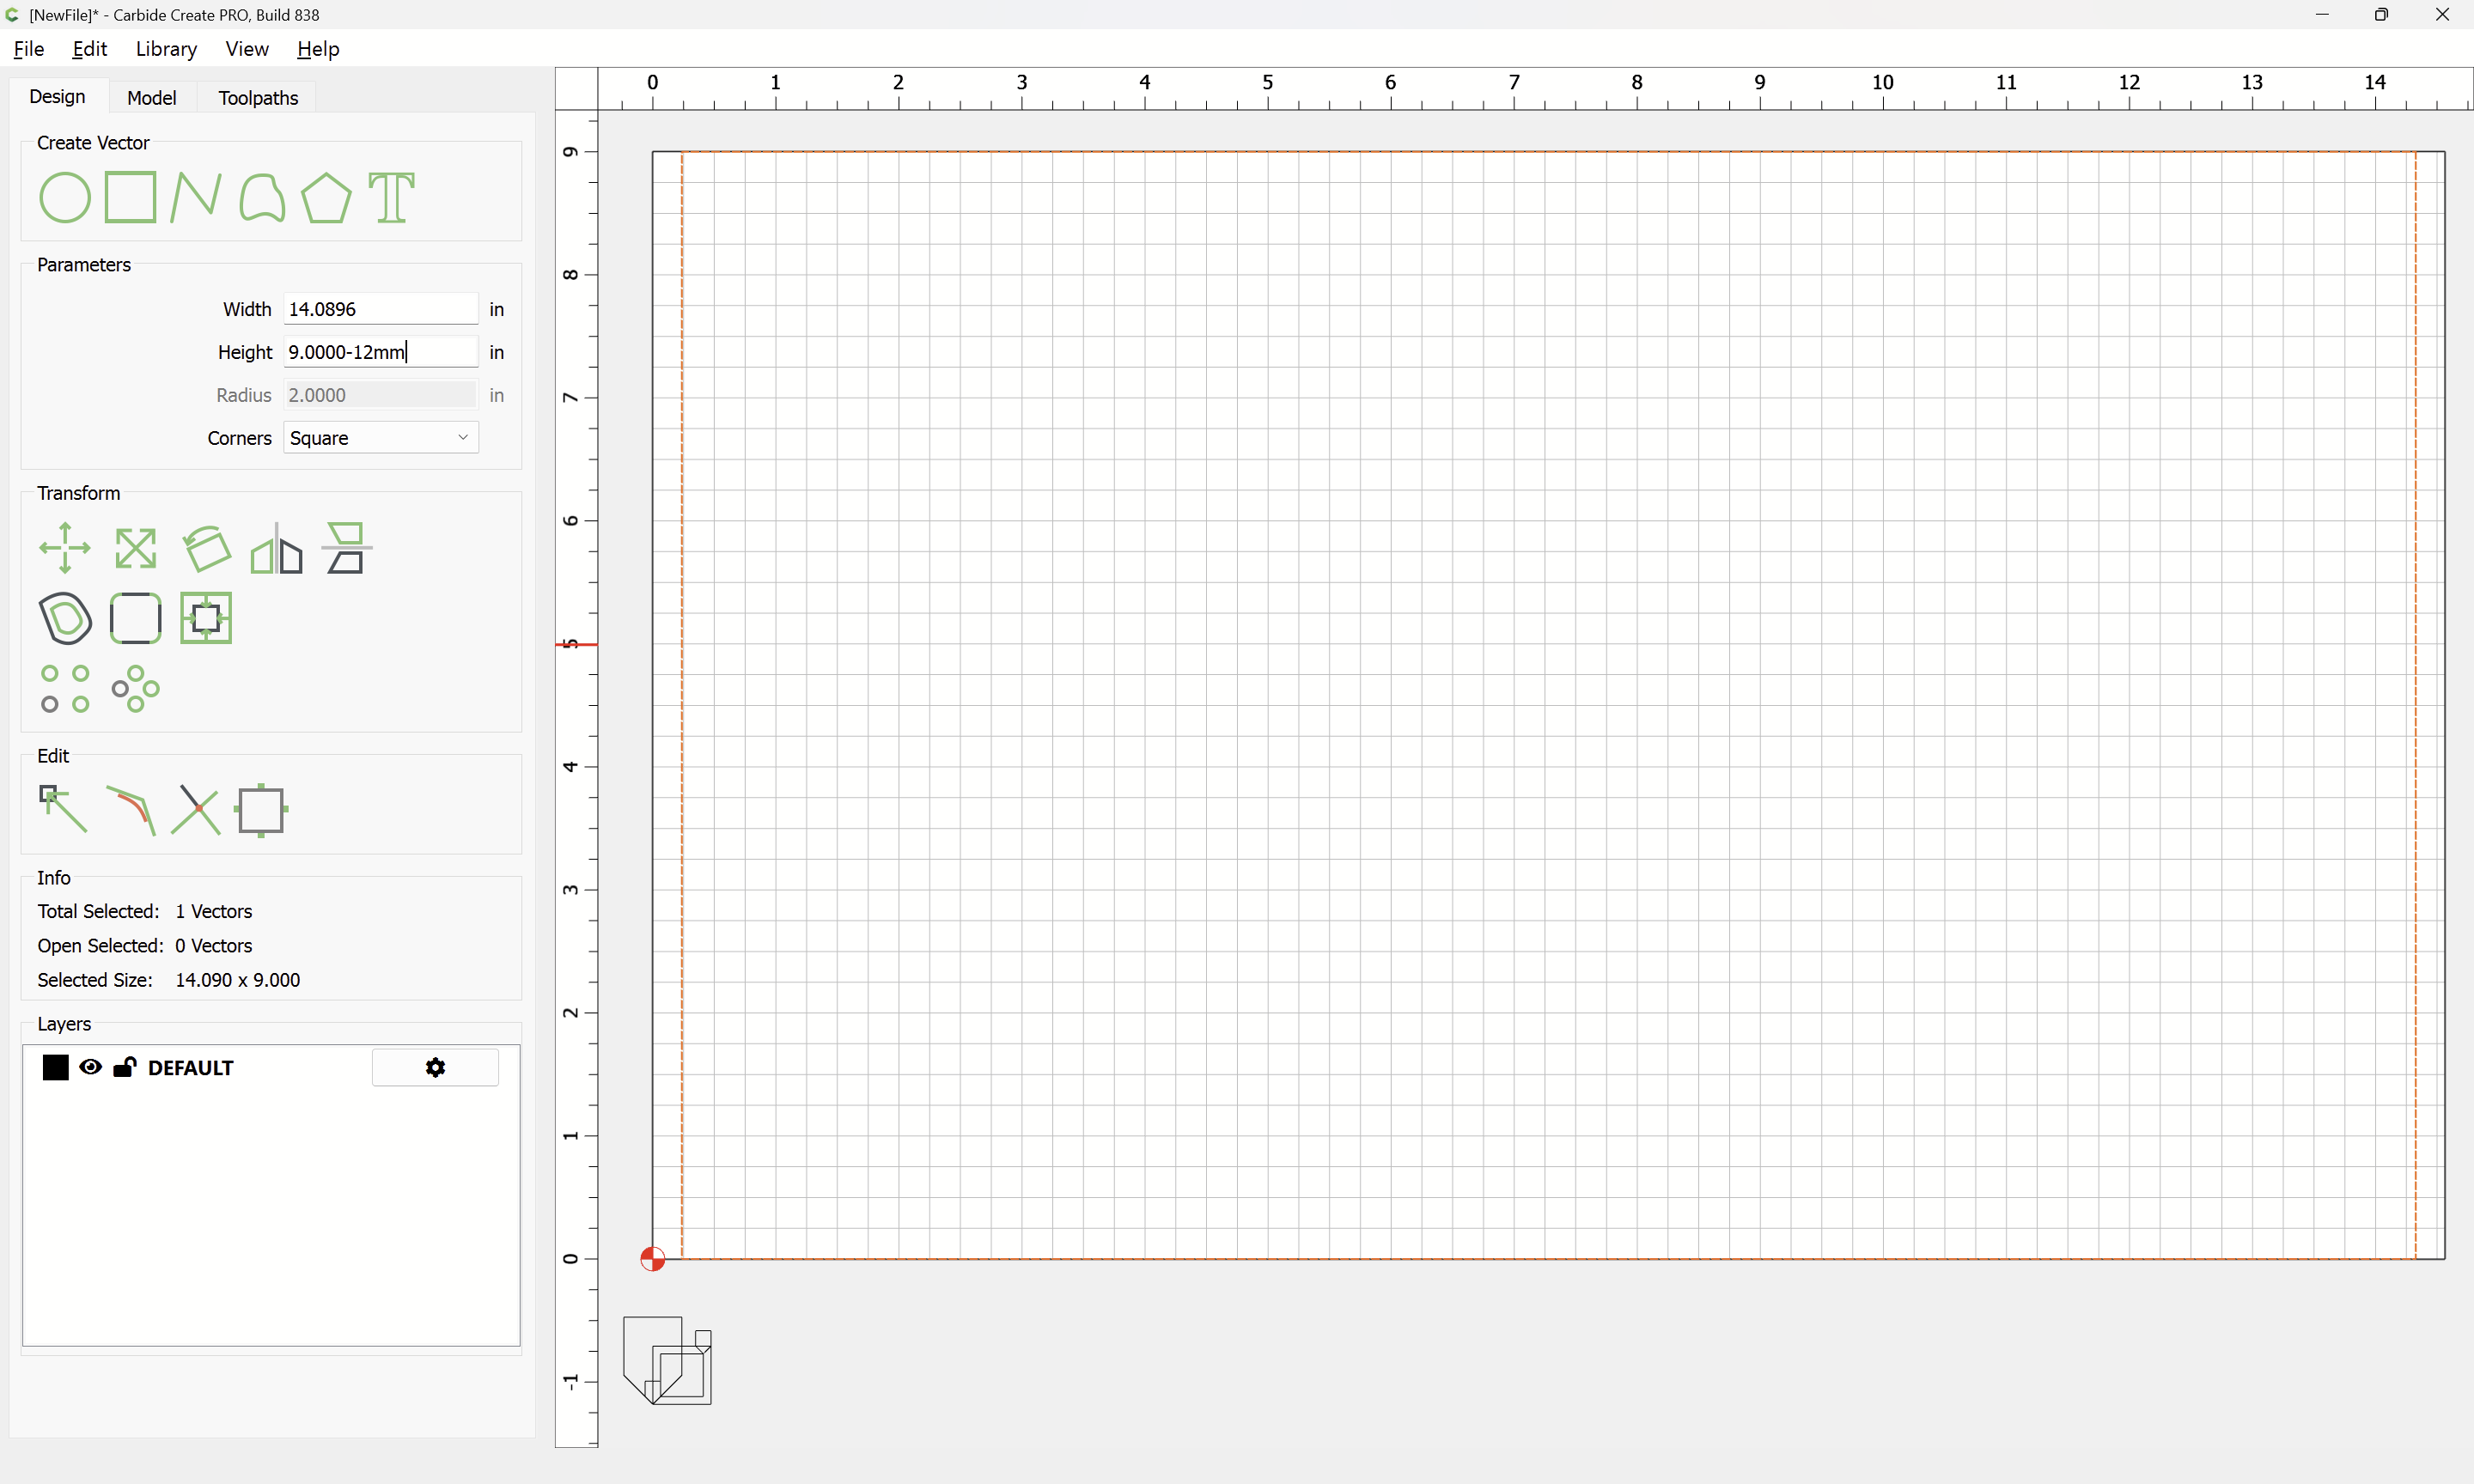
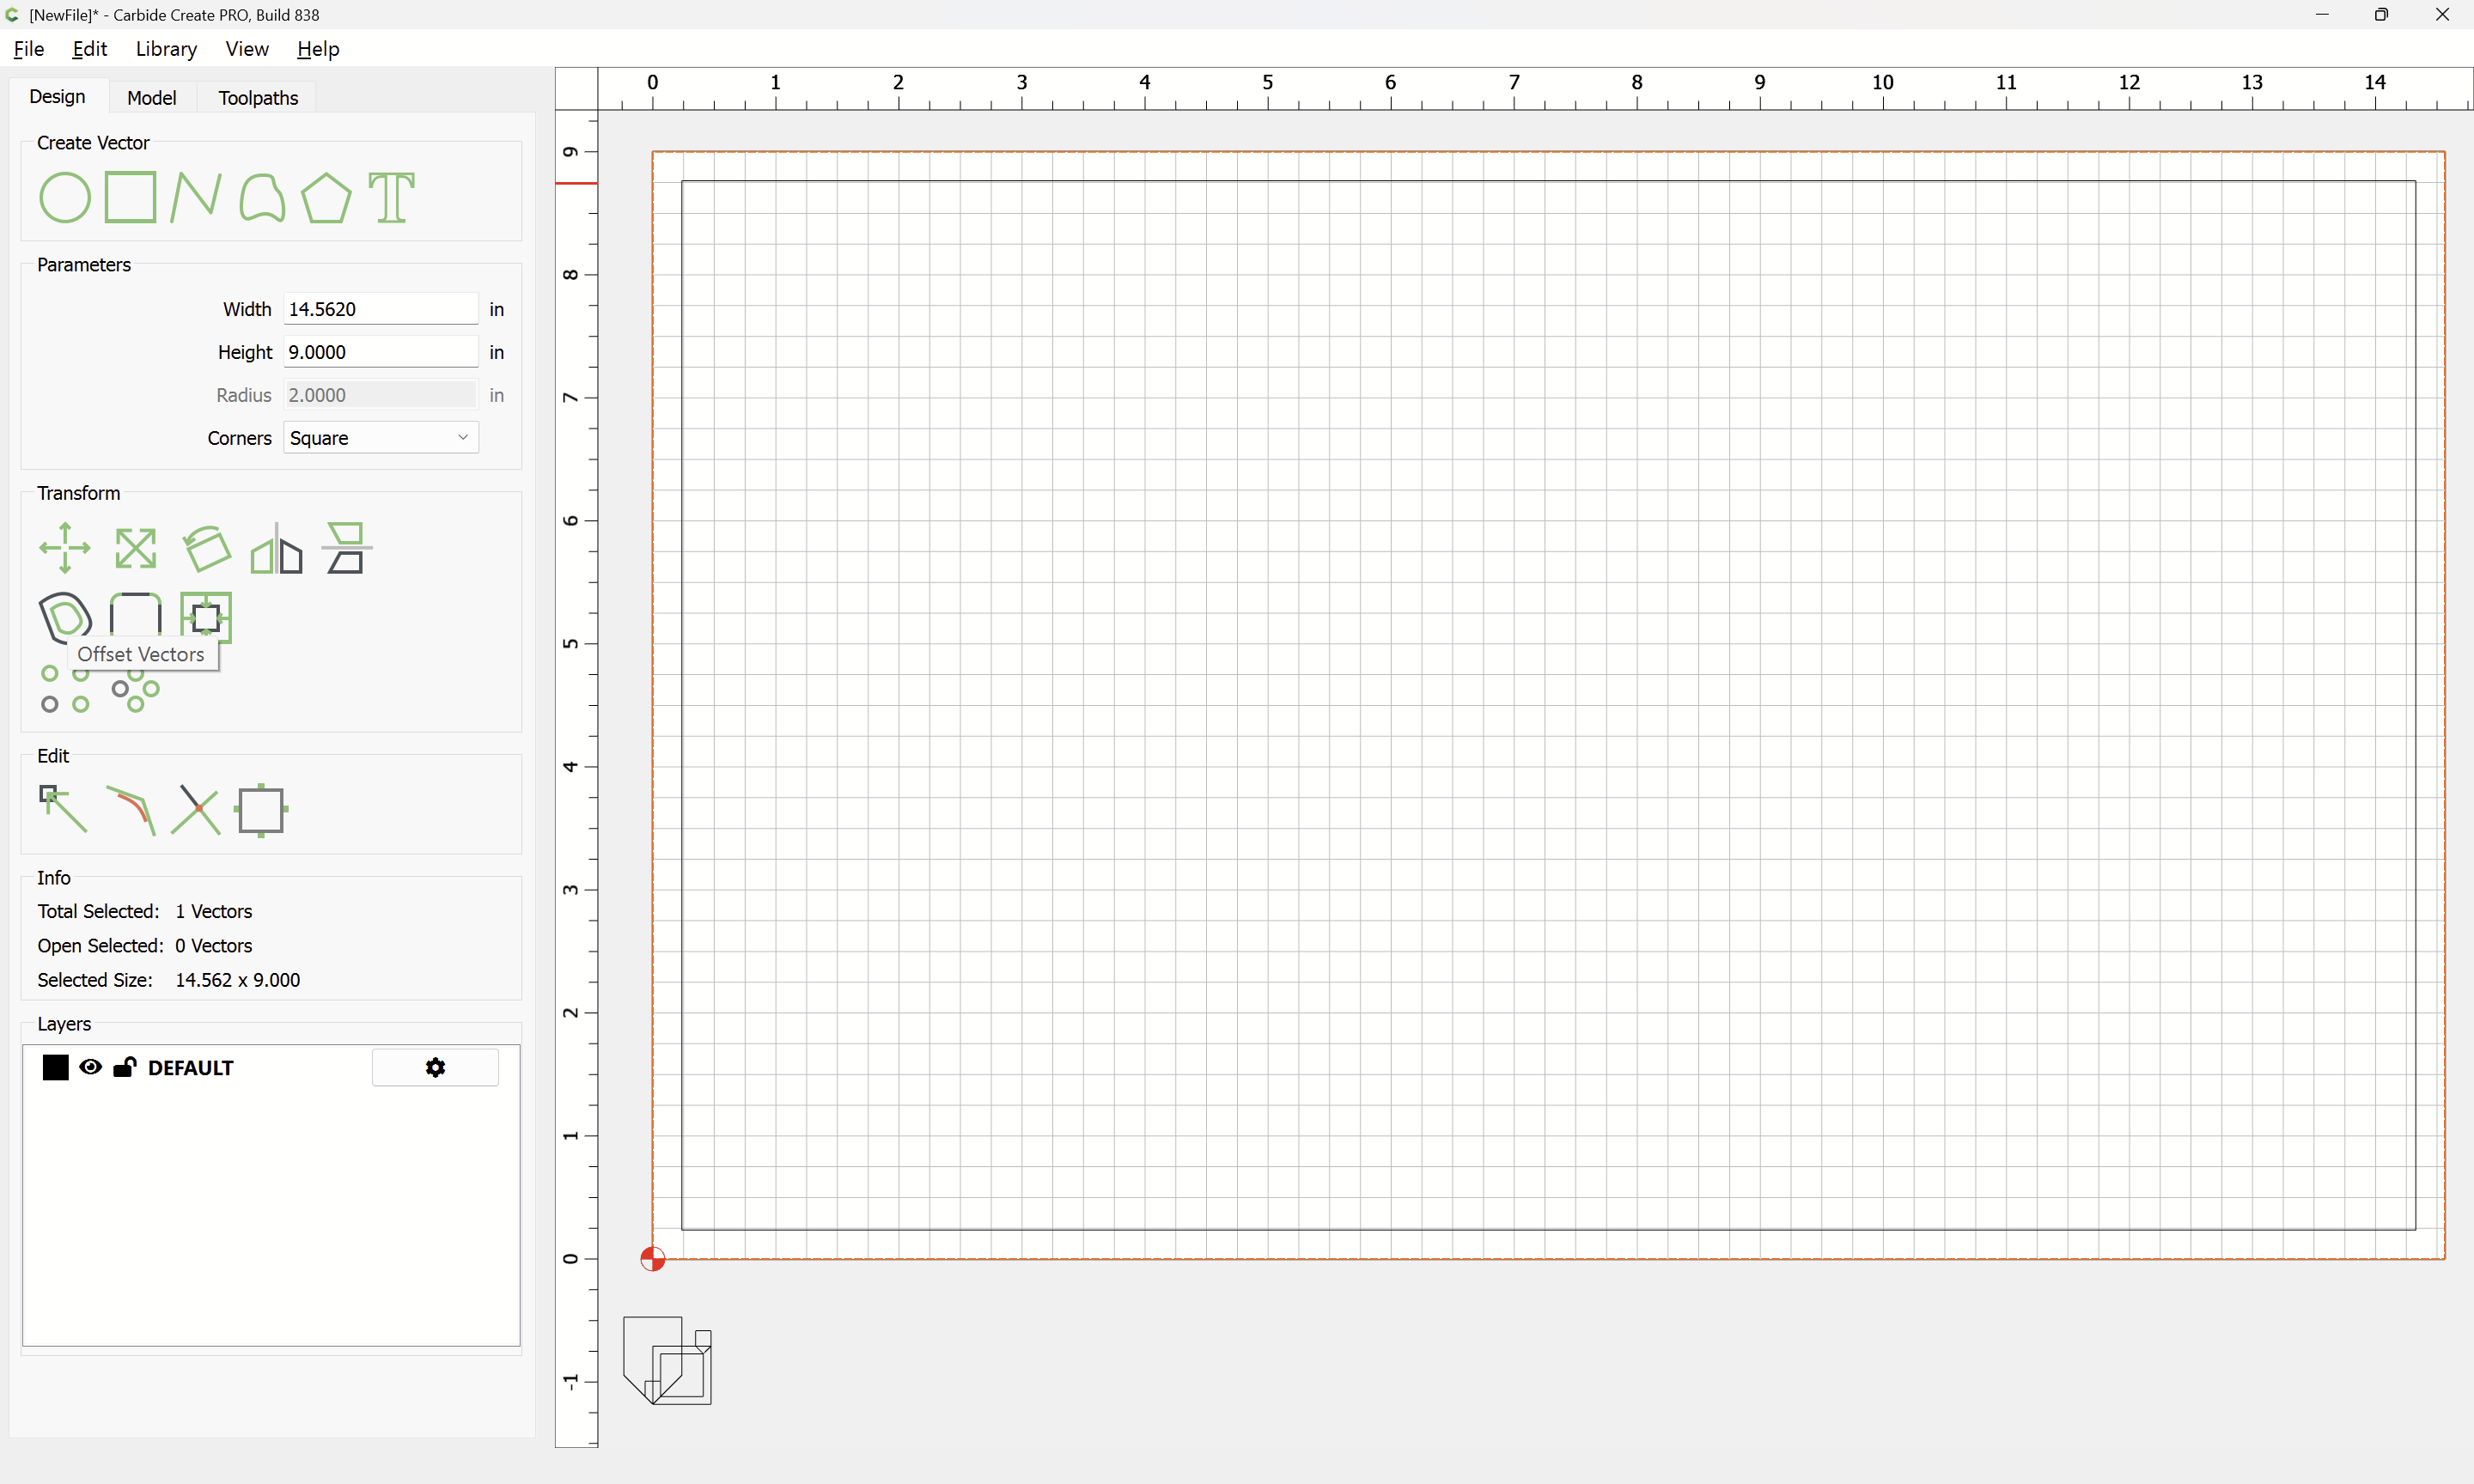
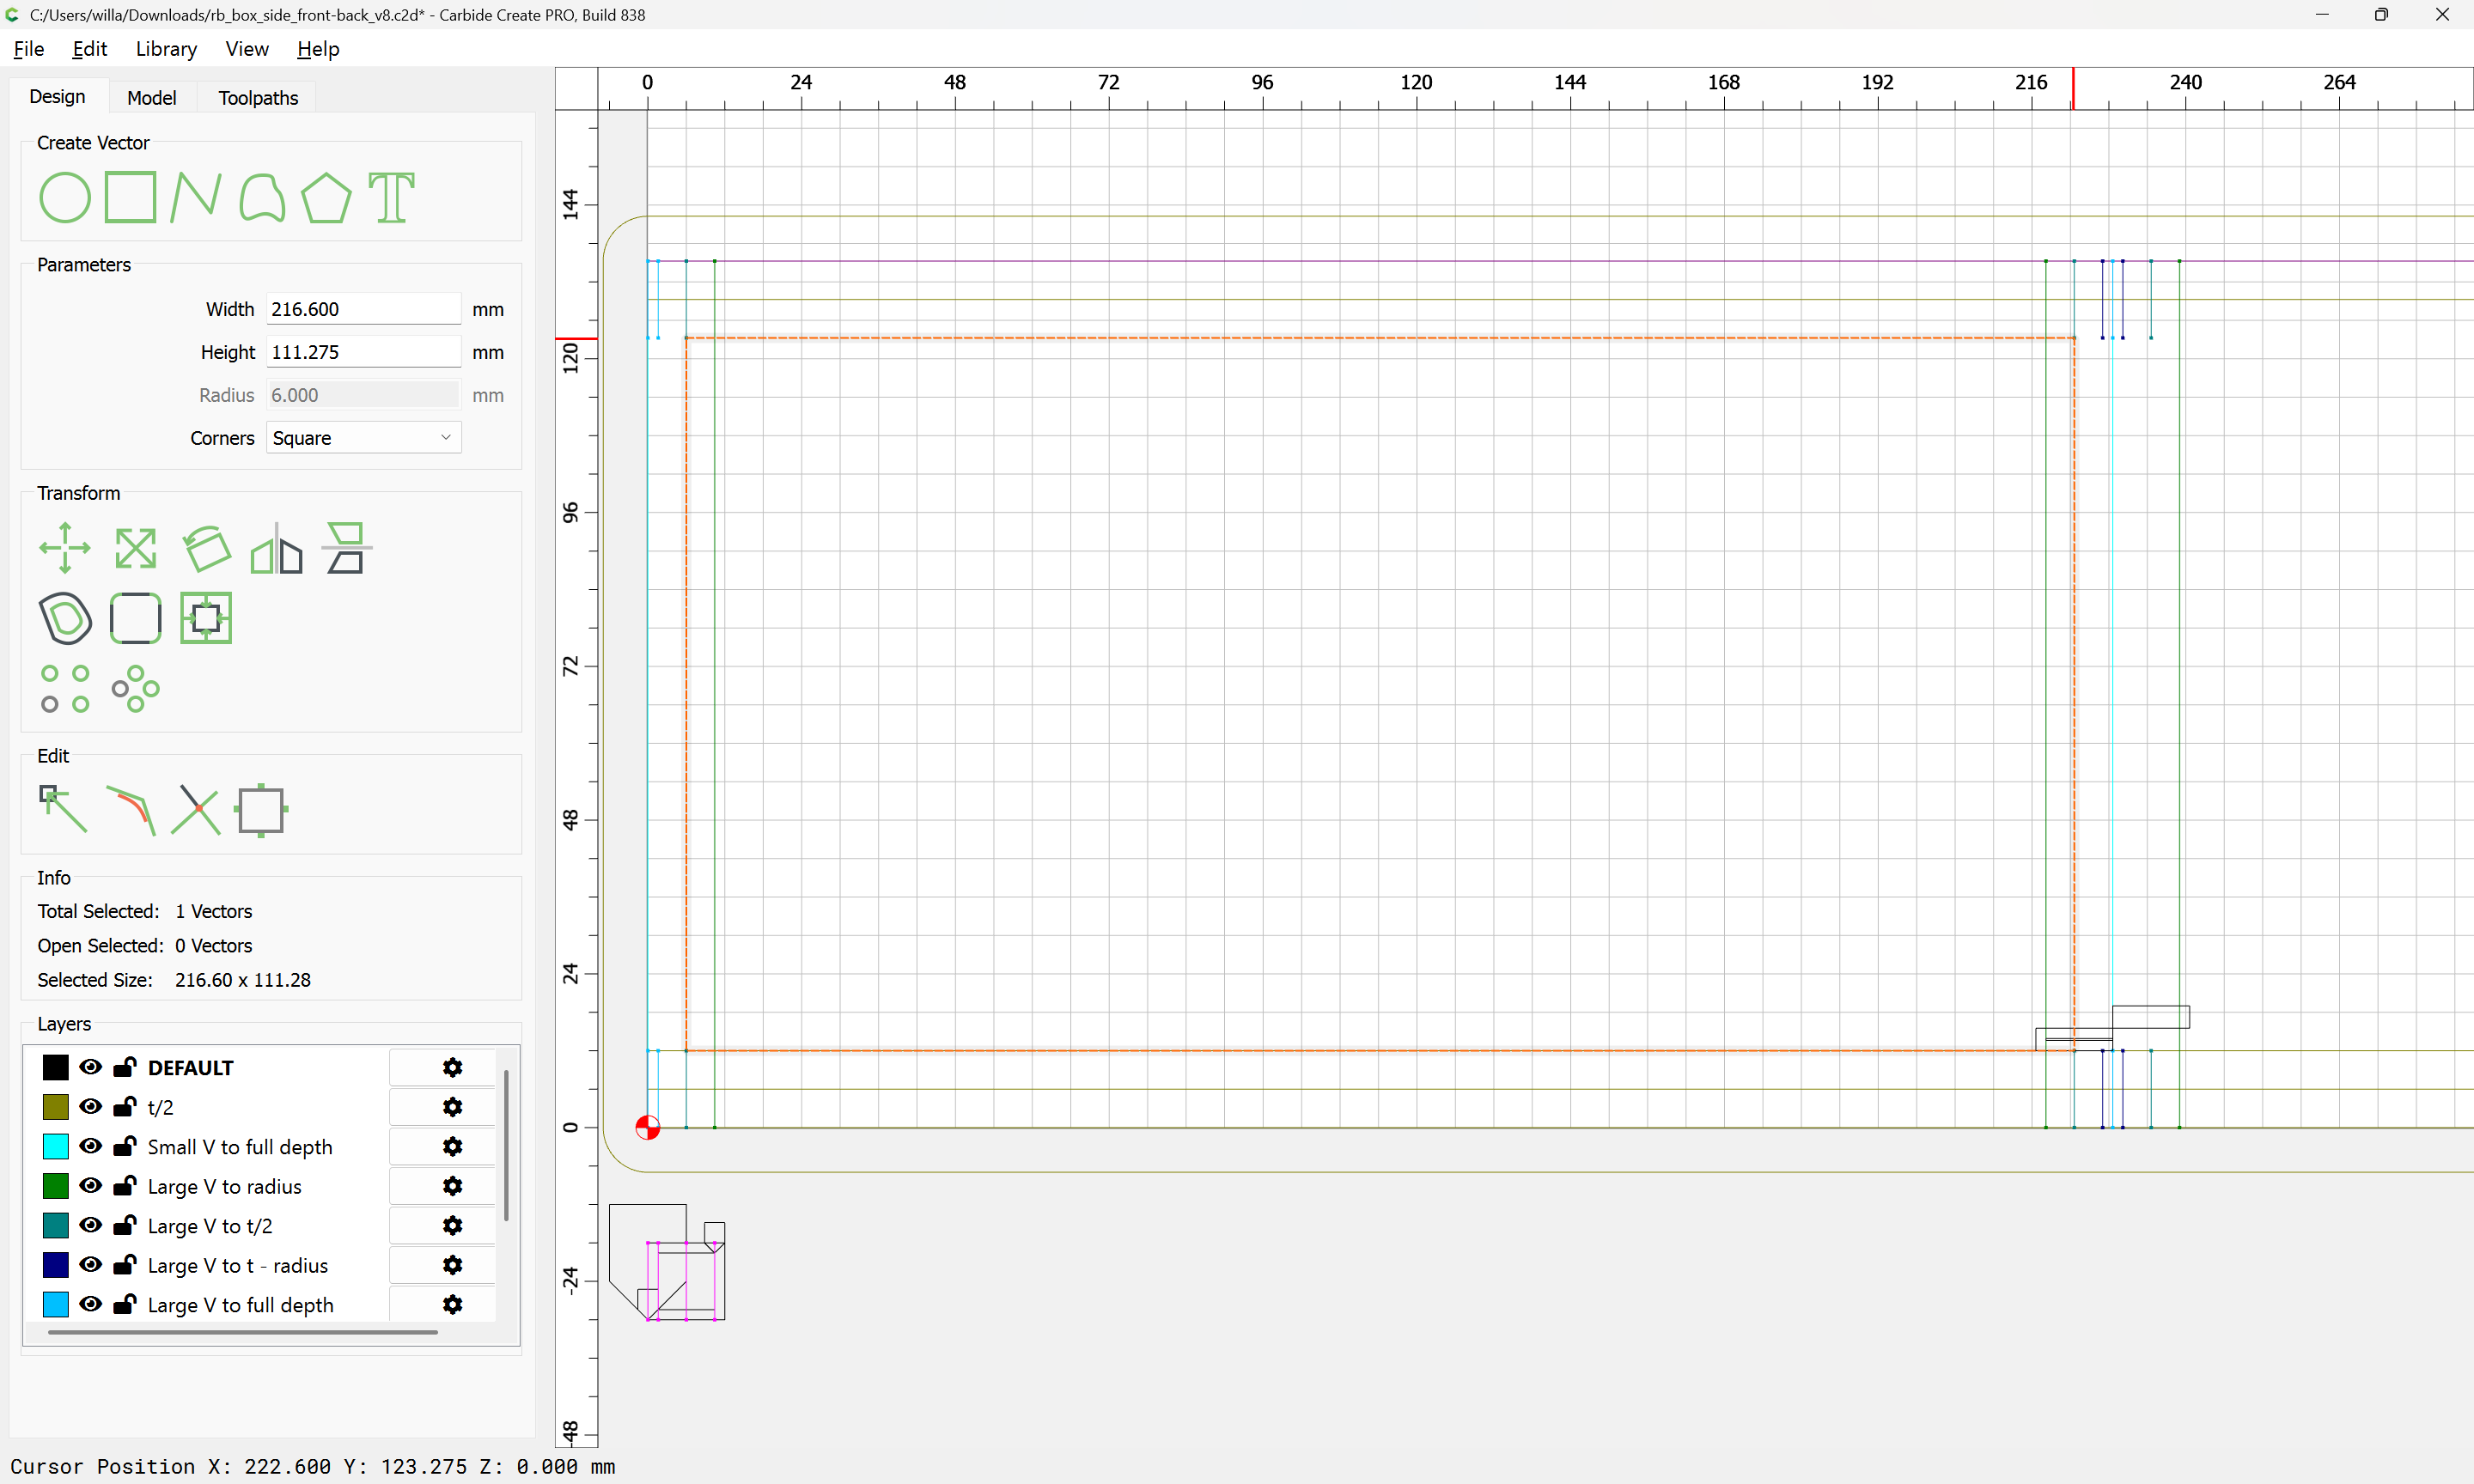
The next consideration are the overall box dimensions — the notable limit is the 9.5" of the stock to be used for the lid.
Setting a bit less than that (9") as the Y-depth dimension for the box, and using the golden ratio, we arrive at dimensions of:
Z (height): 5.562"
Y (depth): 9"
X (width): 14.562"
and as noted before the Stock Thickness is 12mm, a bit less than half an inch, which should yield a reasonable proportion and not too weighty object.
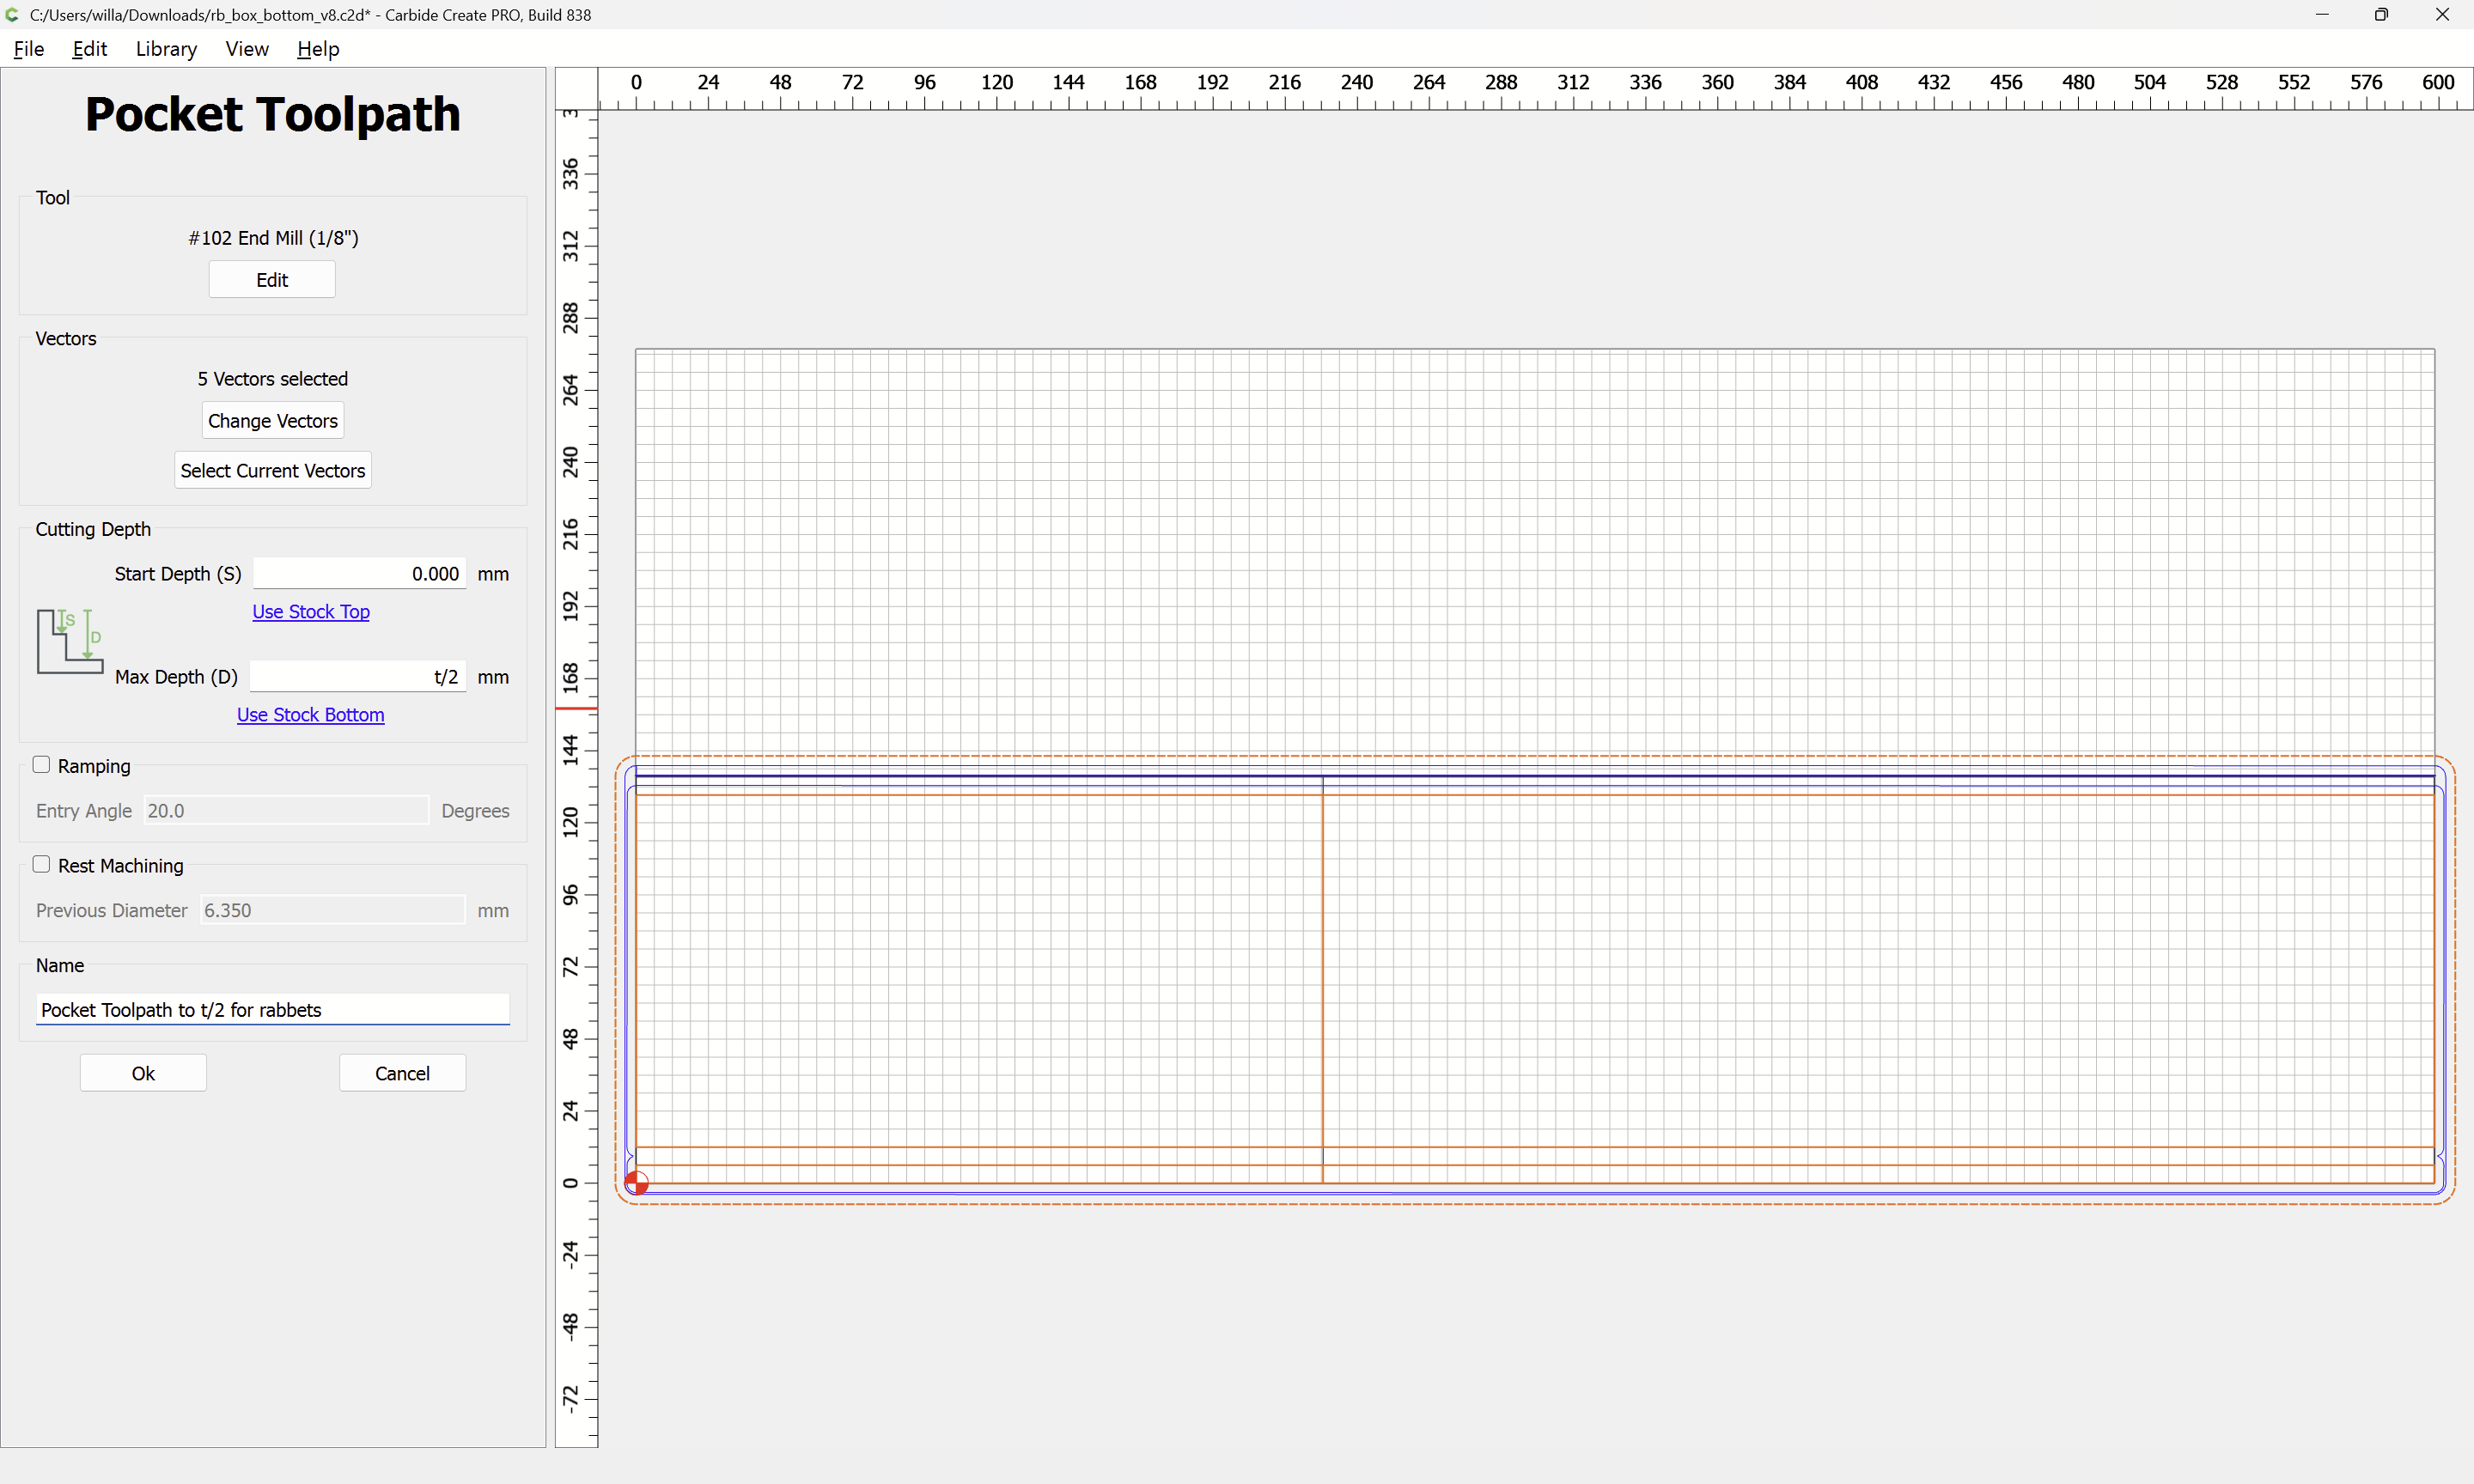
If the box has an inset/removable lid, then it will have 6mm showing, and a rebate/rabbet of 6mm, so the actual Z height is 5.562" - 6mm
The lid is the easiest part to draw up, but probably should be cut last, after the box is fully cut out and glued up and cured — that way, the rabbet for the lid can be cut, the box test fit against it, then the dimensions adjusted until the desired fit is arrived at, this process may then be repeated for the outside dimensions of the lid to ensure that they match the box well.
Naturally, it may be set up as a two-sided part and a decorative design for the lid cut on the opposite side, and as noted, the dimensions will need to be adjusted so that the initial cut ensures that the parts are slightly oversized so that fit may be adjusted.
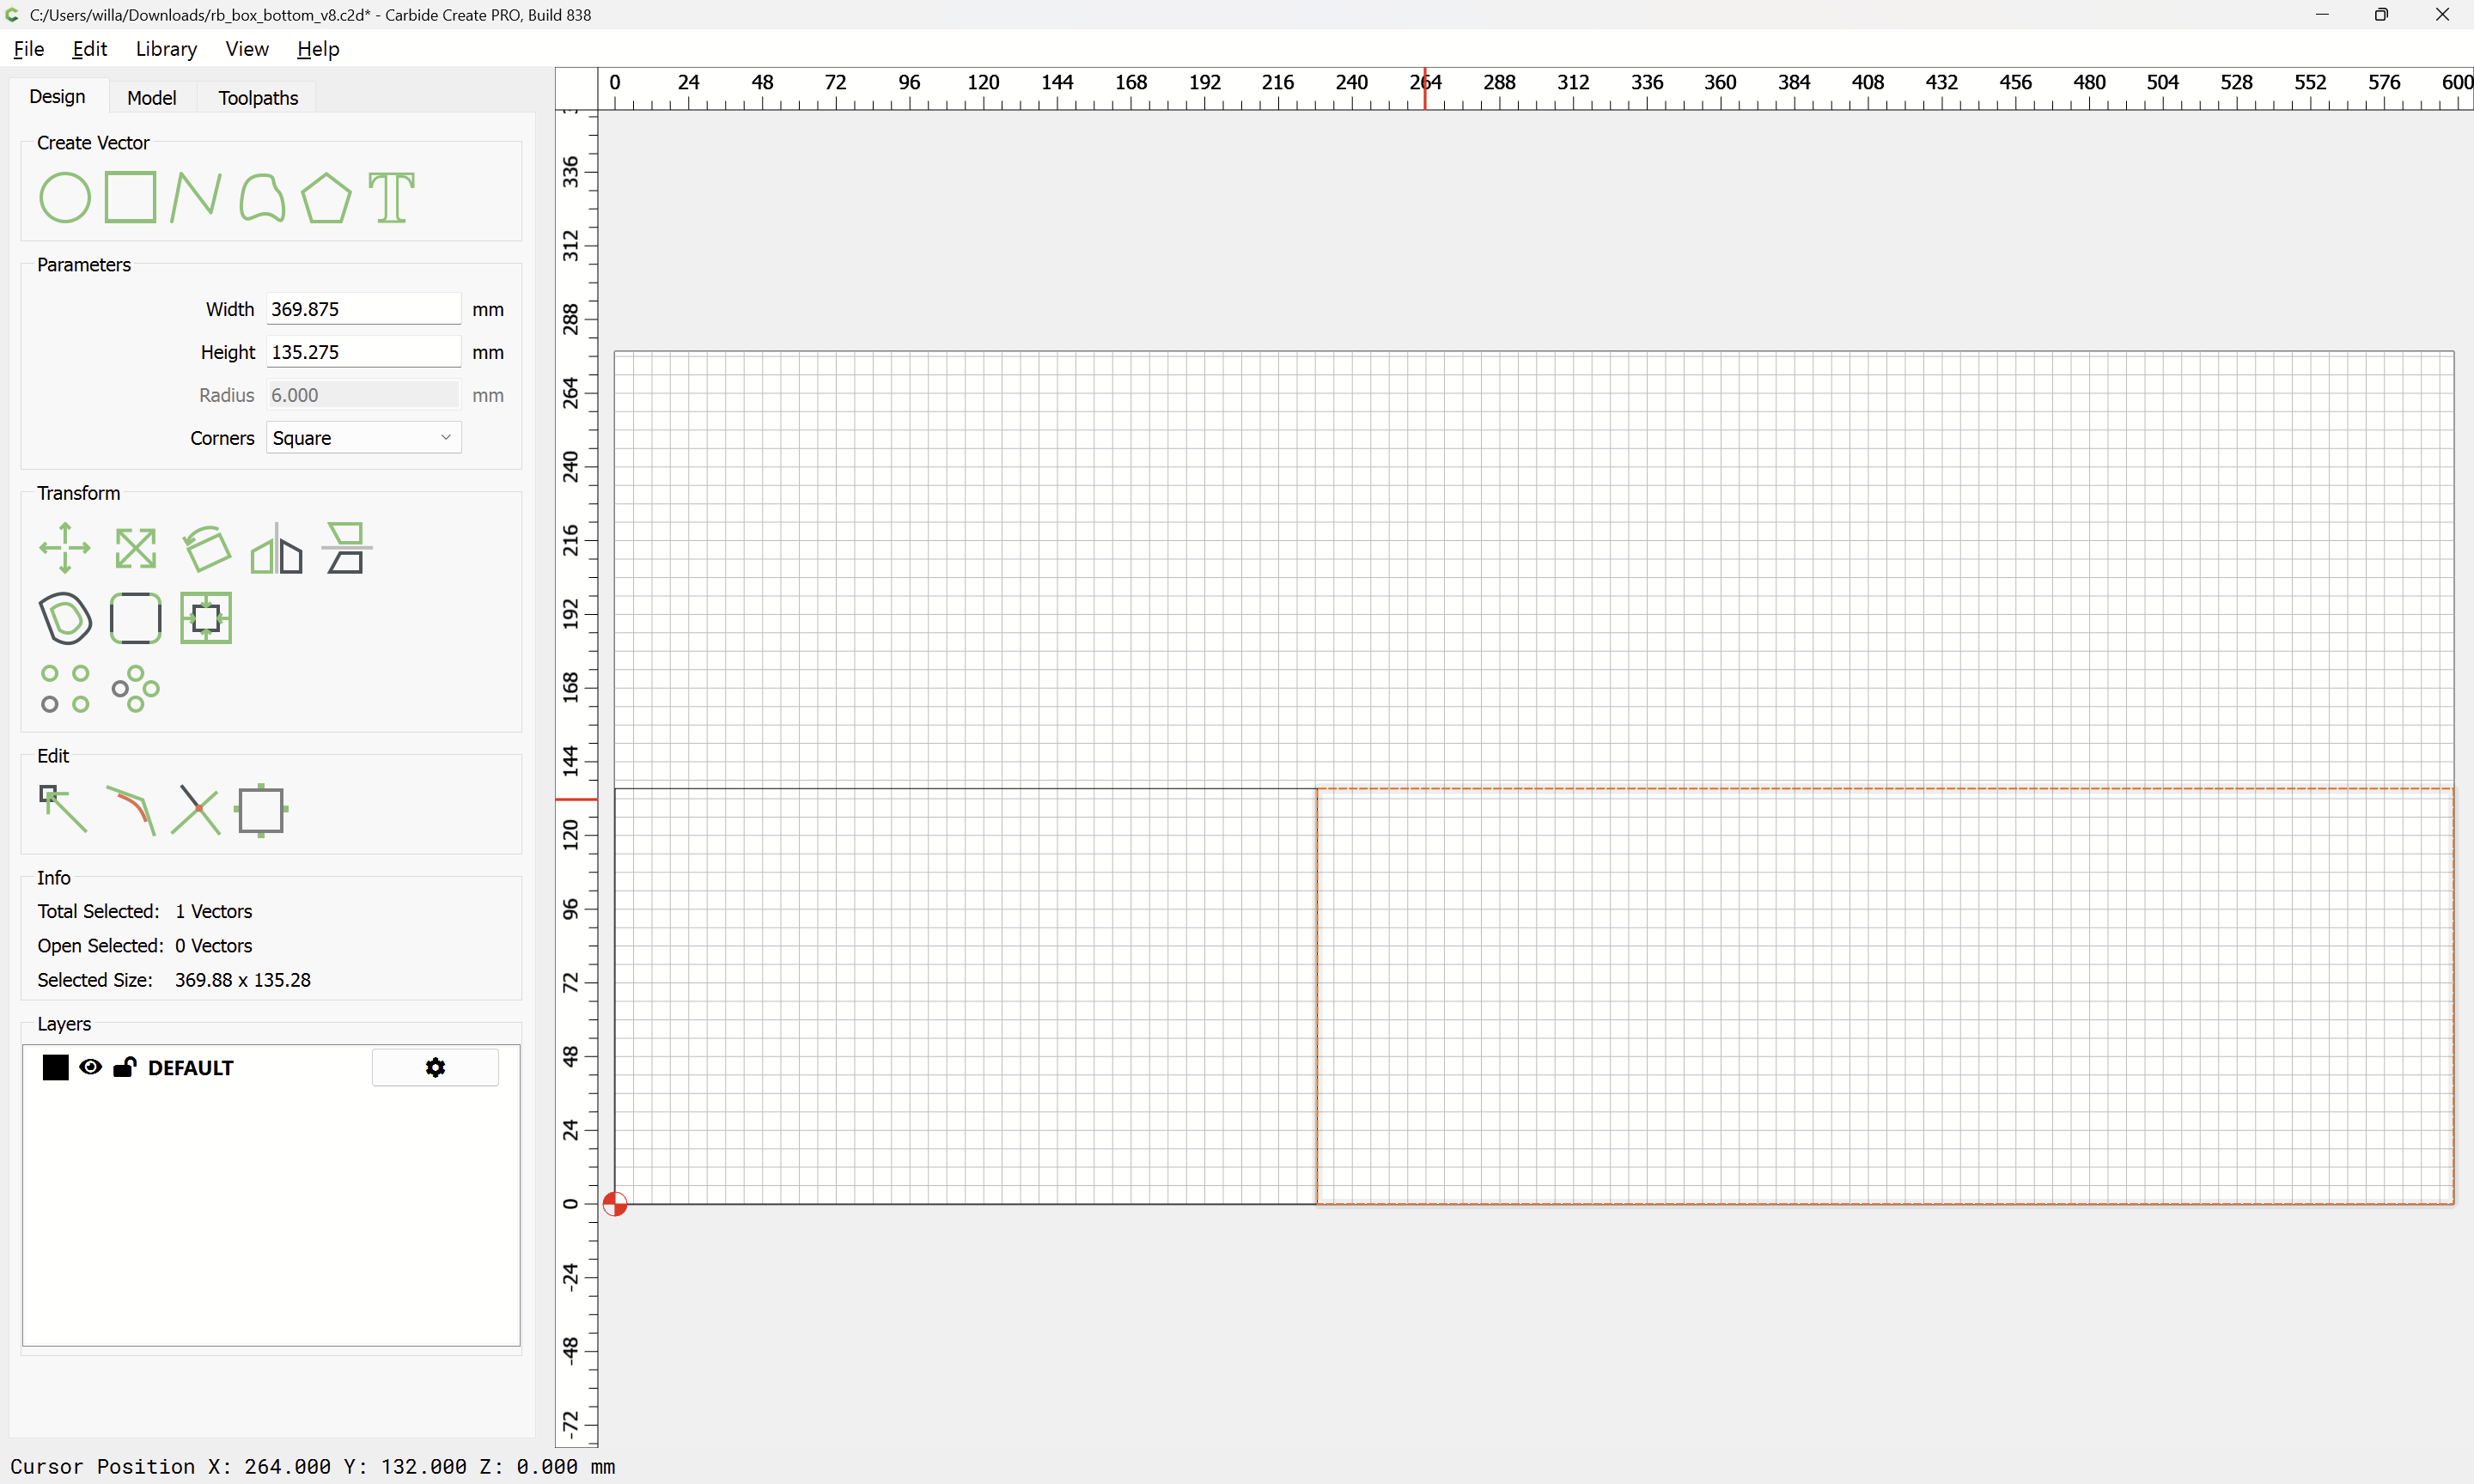
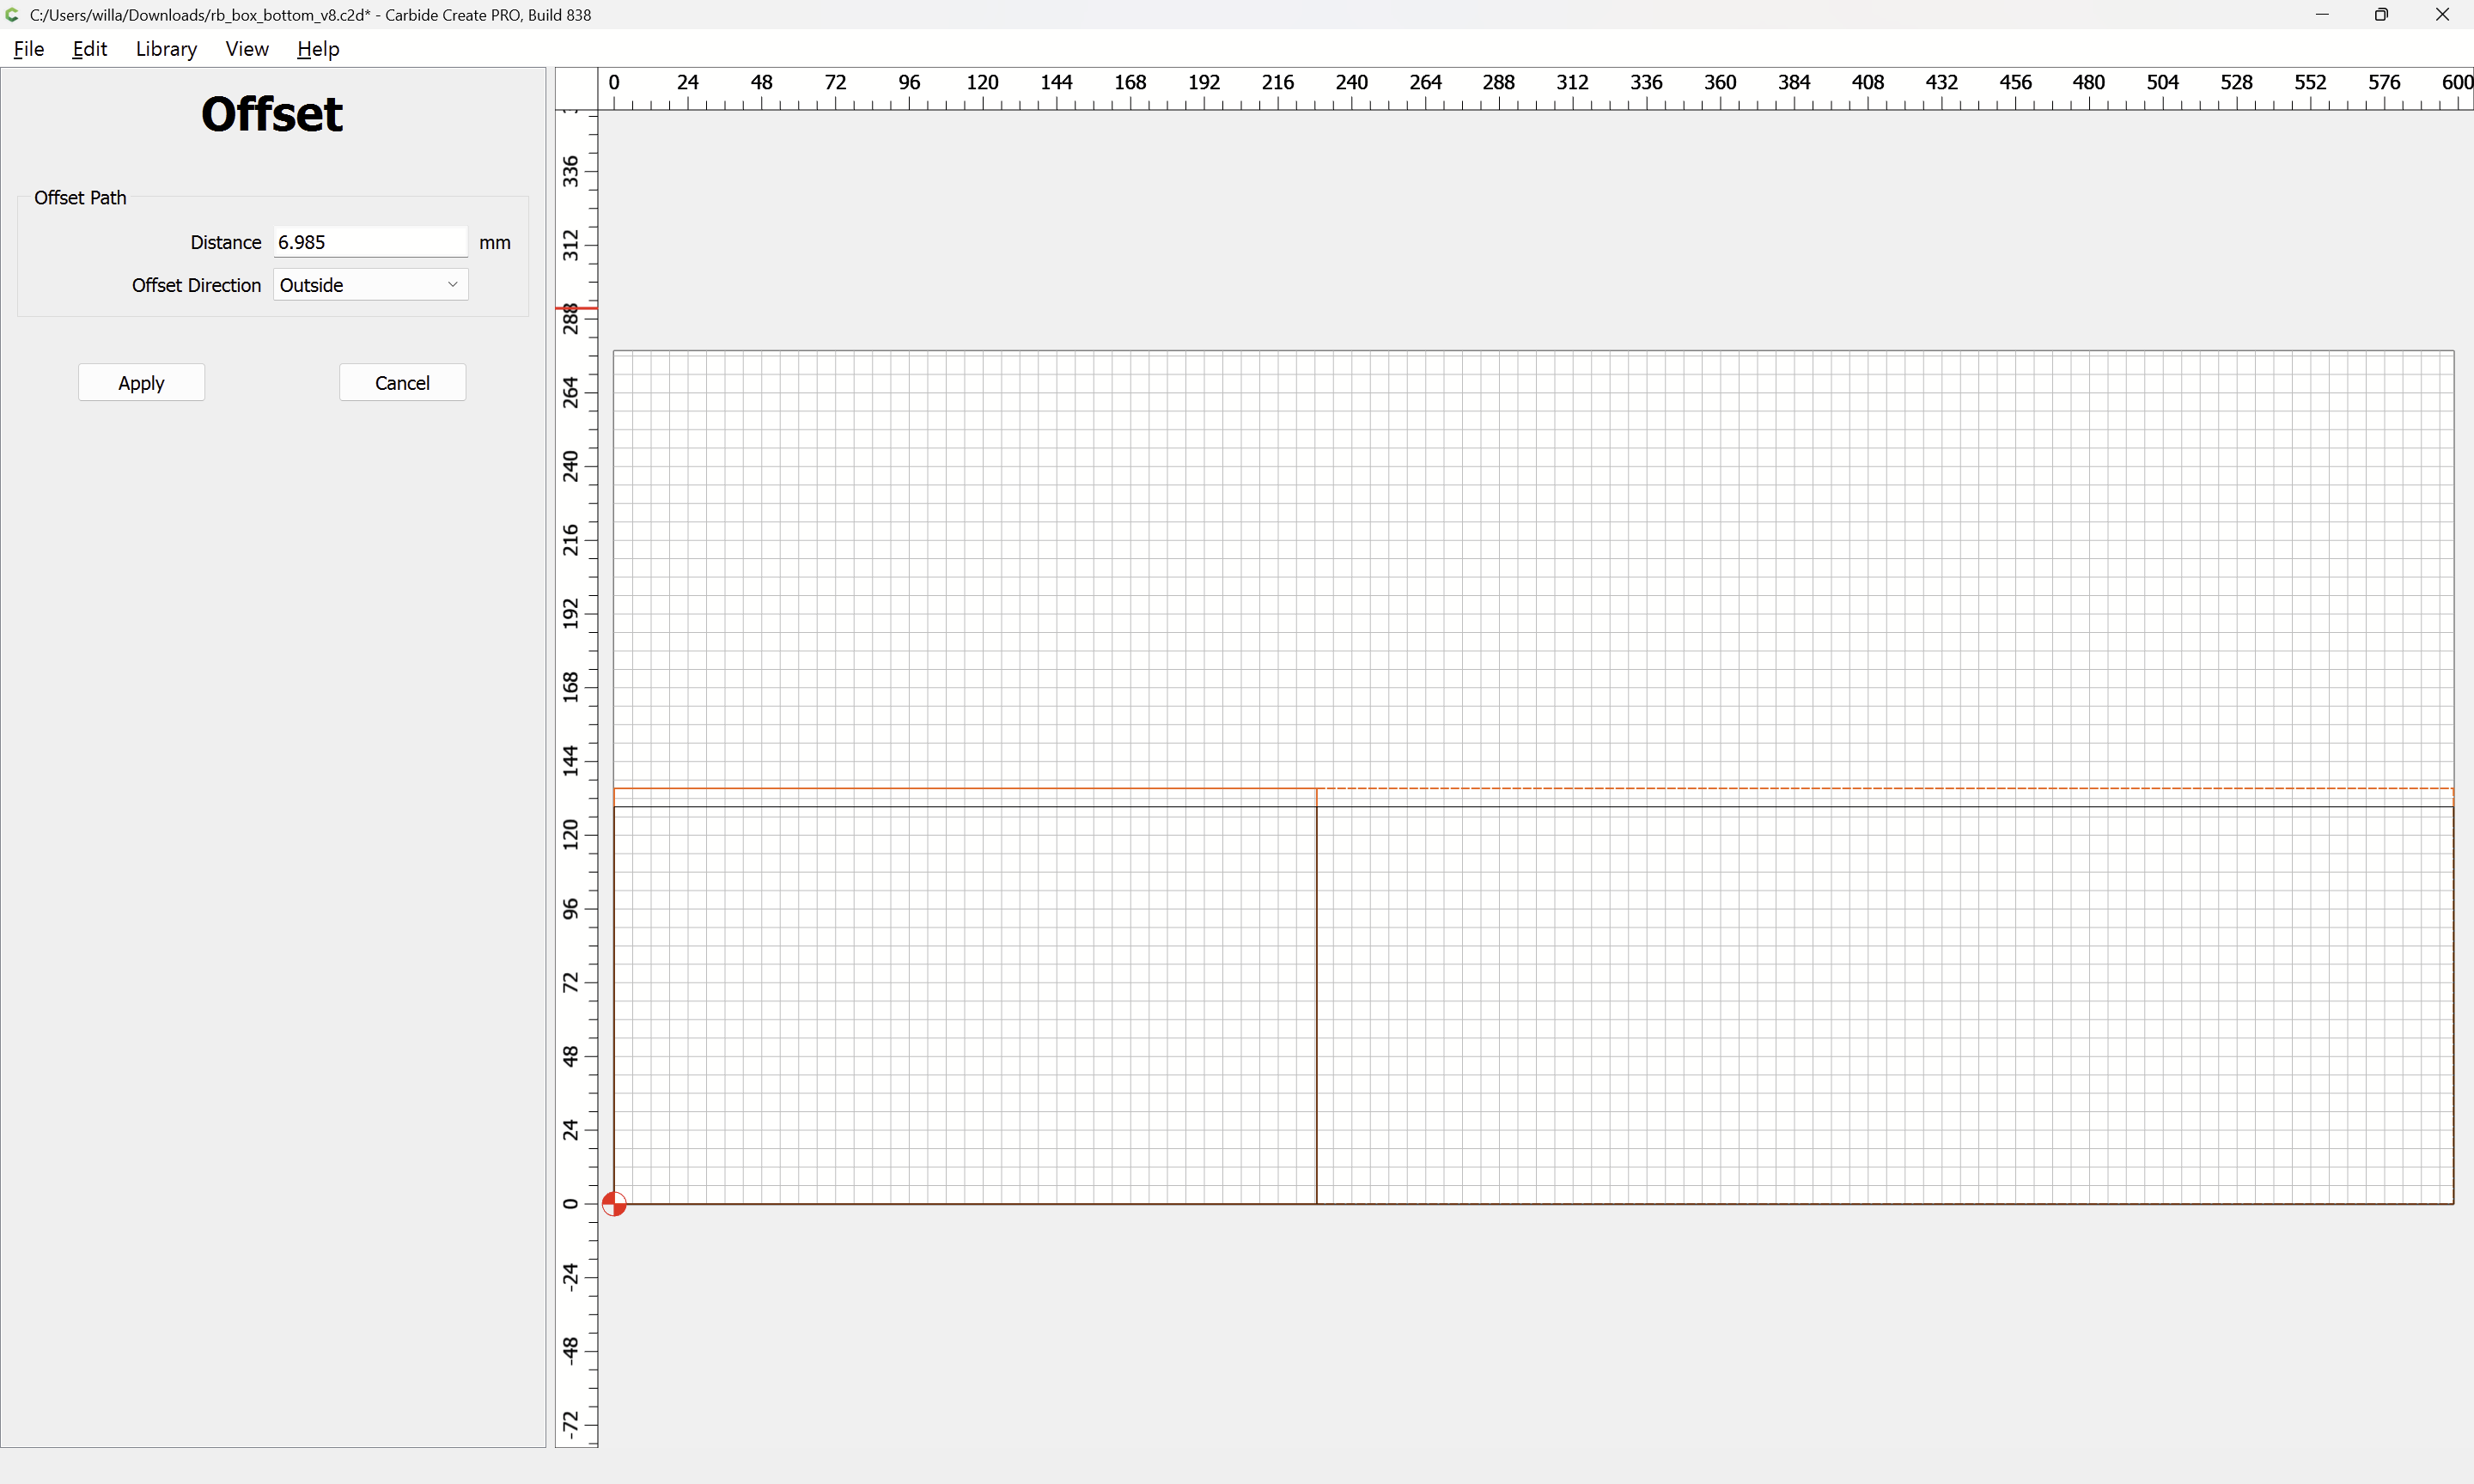
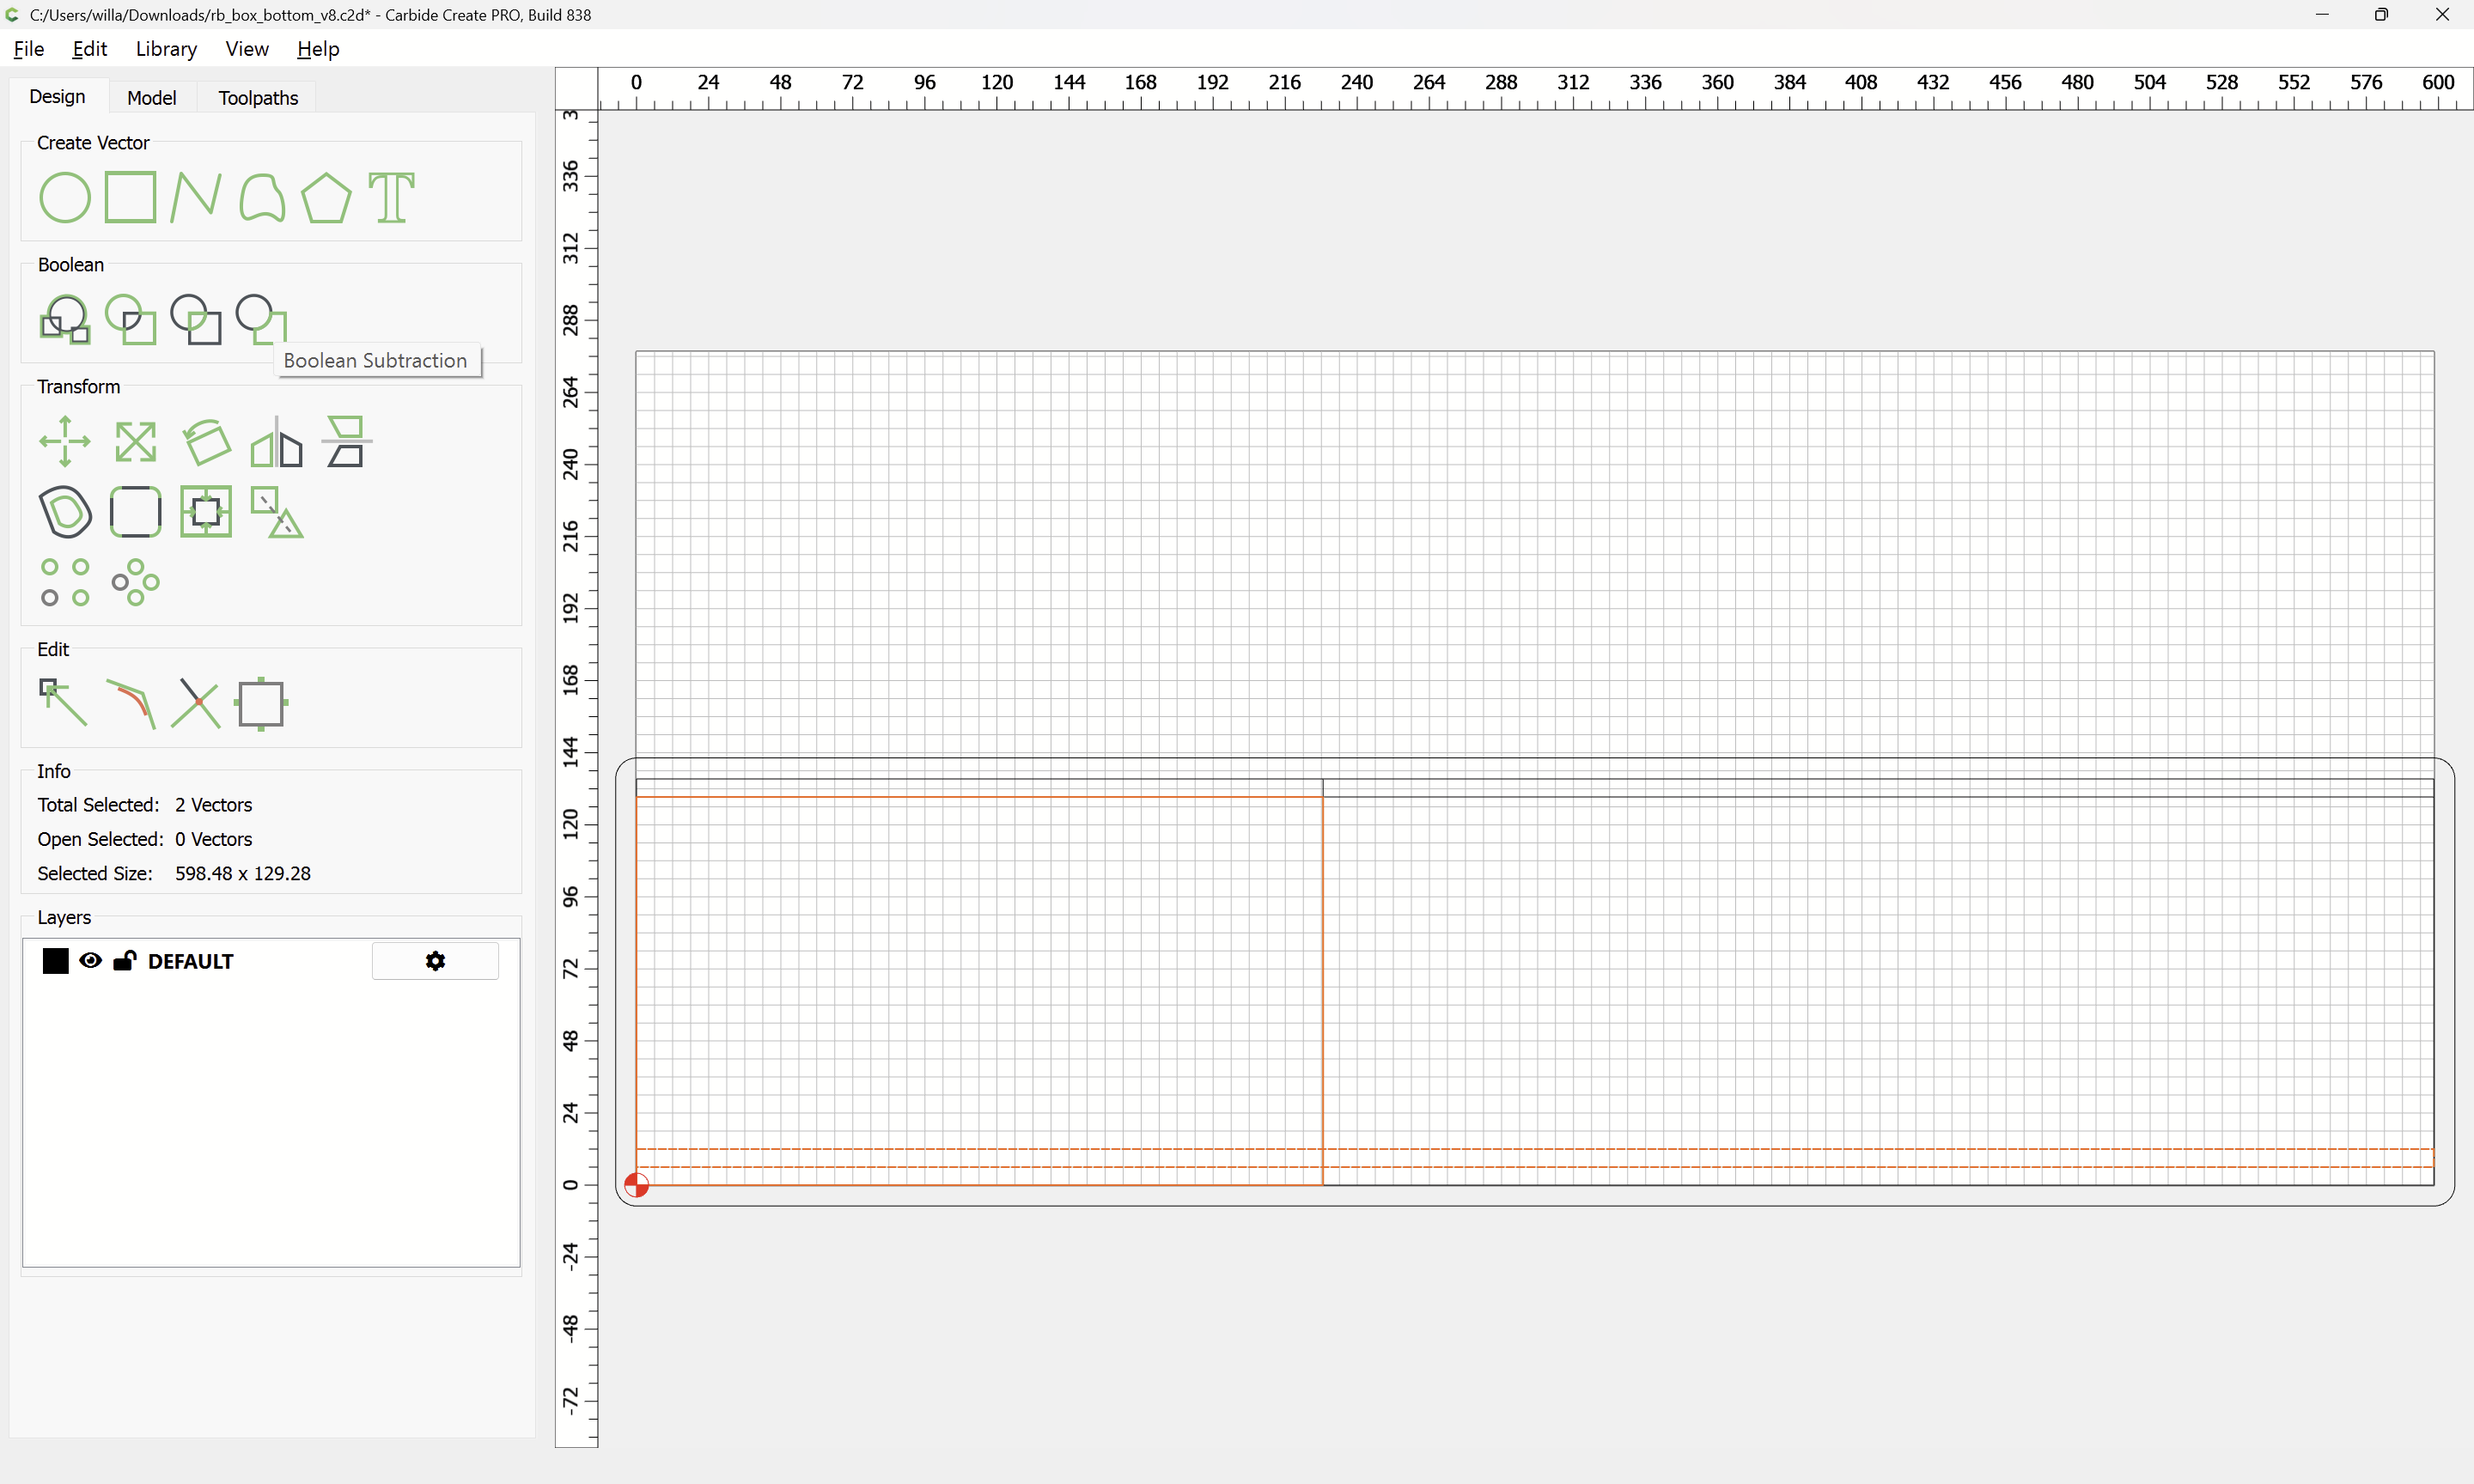
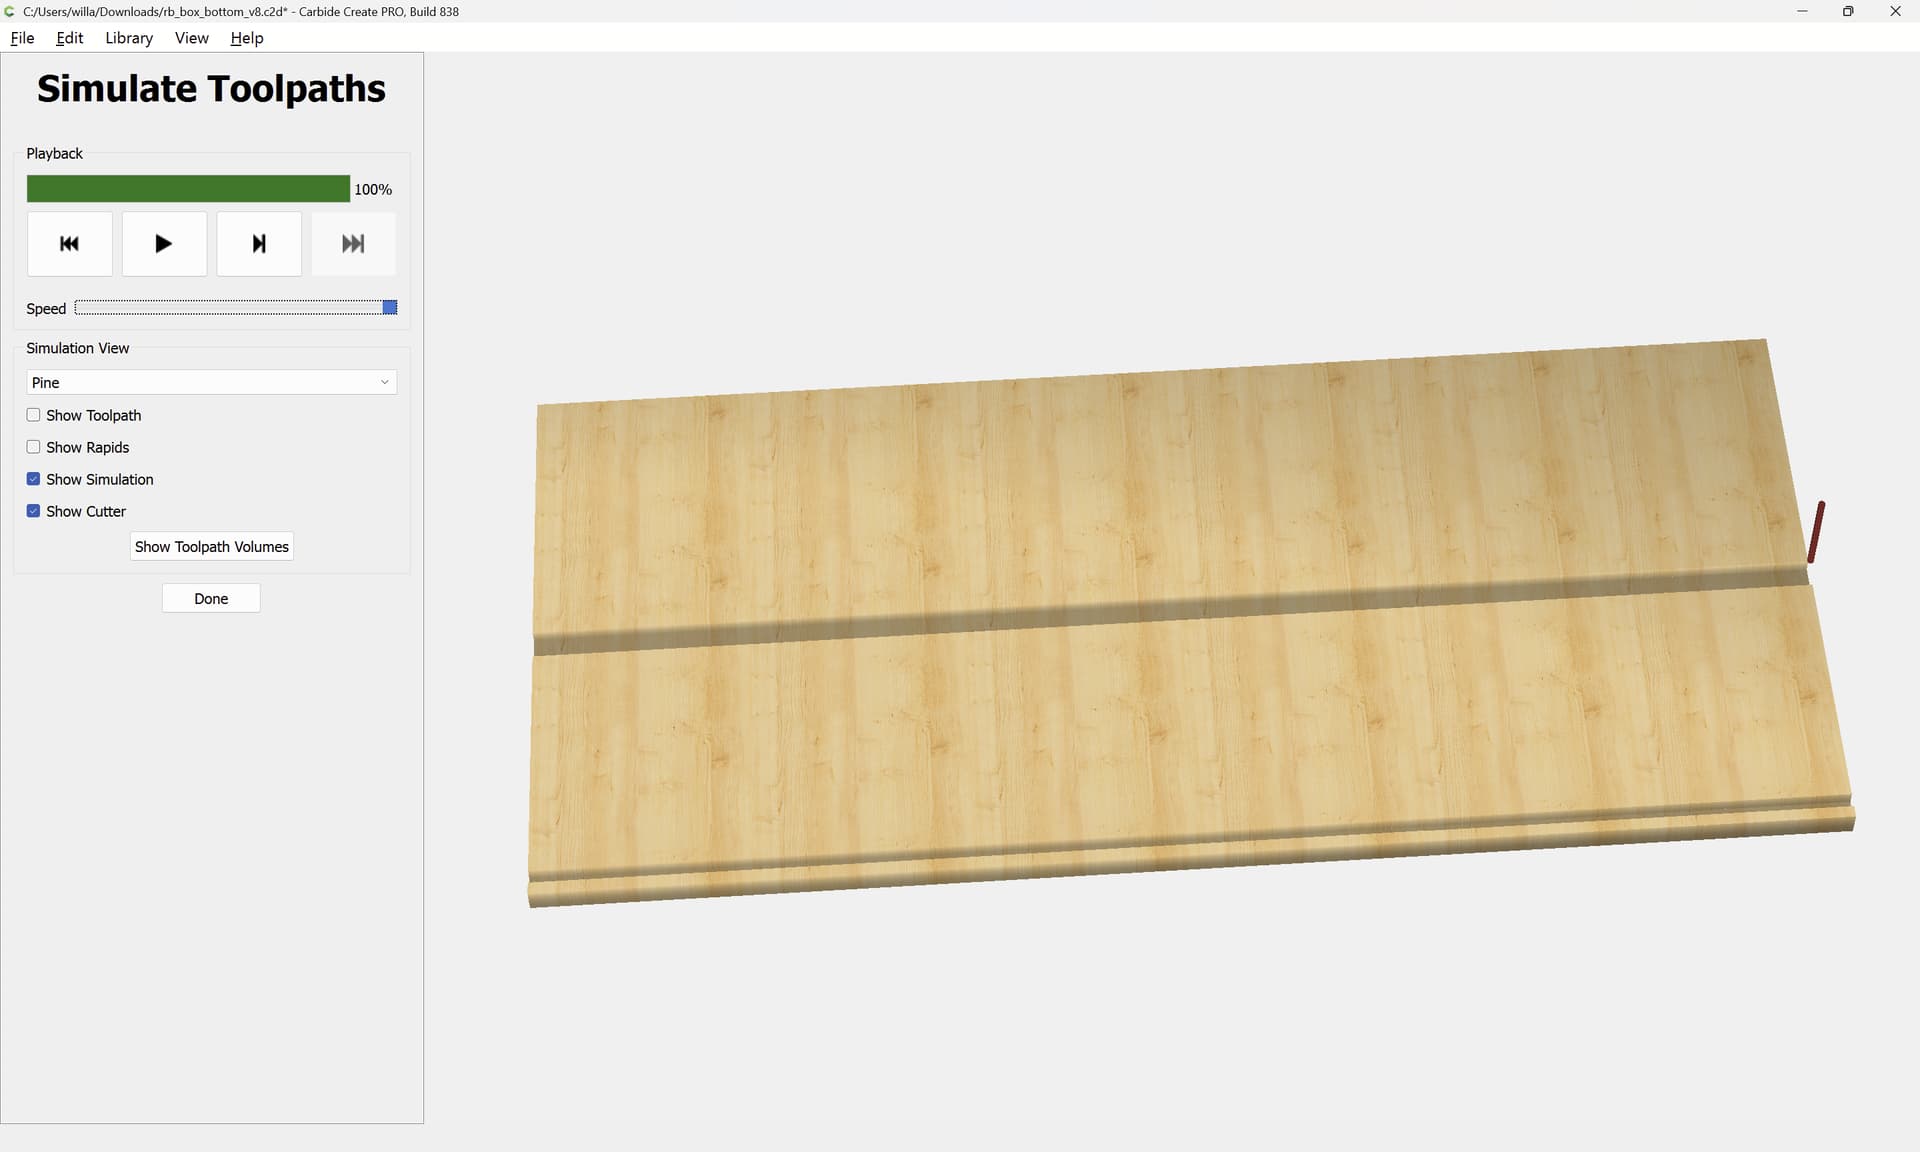
The lid may be used as the basis for the bottom which can be a similar panel inset into grooves of a depth of half the stock thickness. Rather than worrying about the corners, it is most expedient to radius them (if desired, the corners may be filled w/ “Space Balls”, small compressible rubber balls to prevent rattling).
It will be necessary to cut the bottom and fit it into the sides — since it is straight rebates all around, a rabbeting plane would allow quick and easy size adjustment.
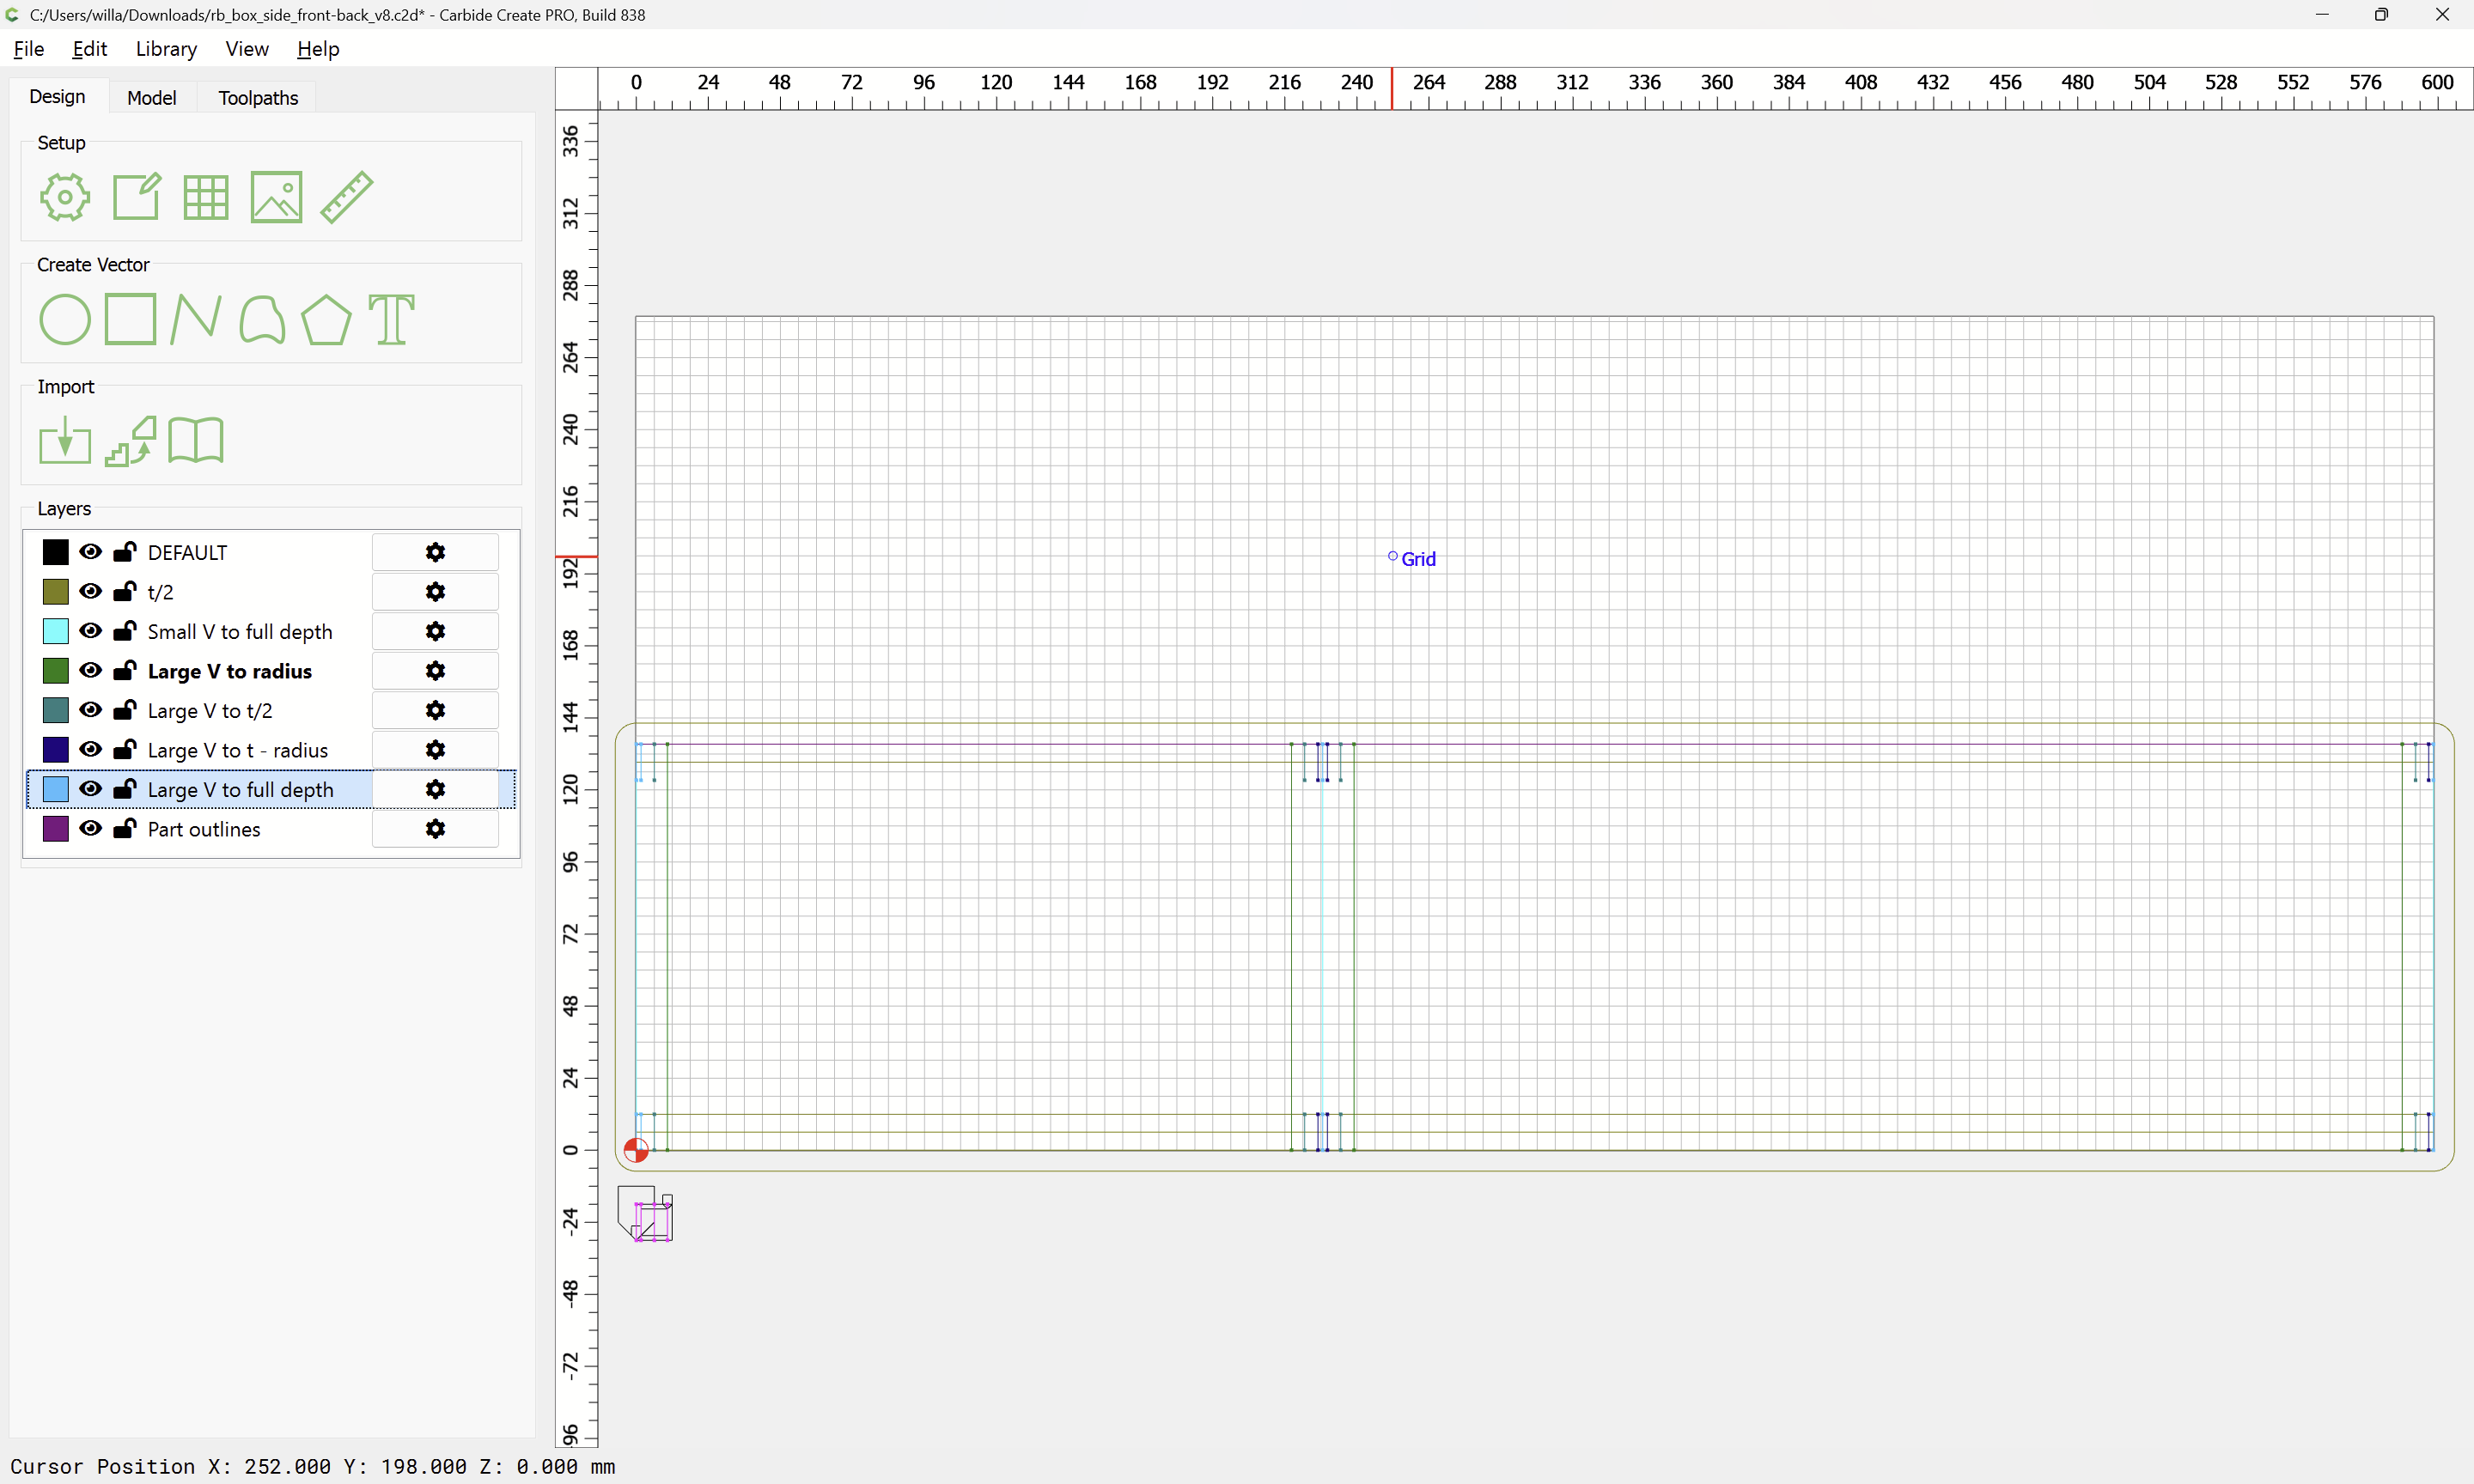
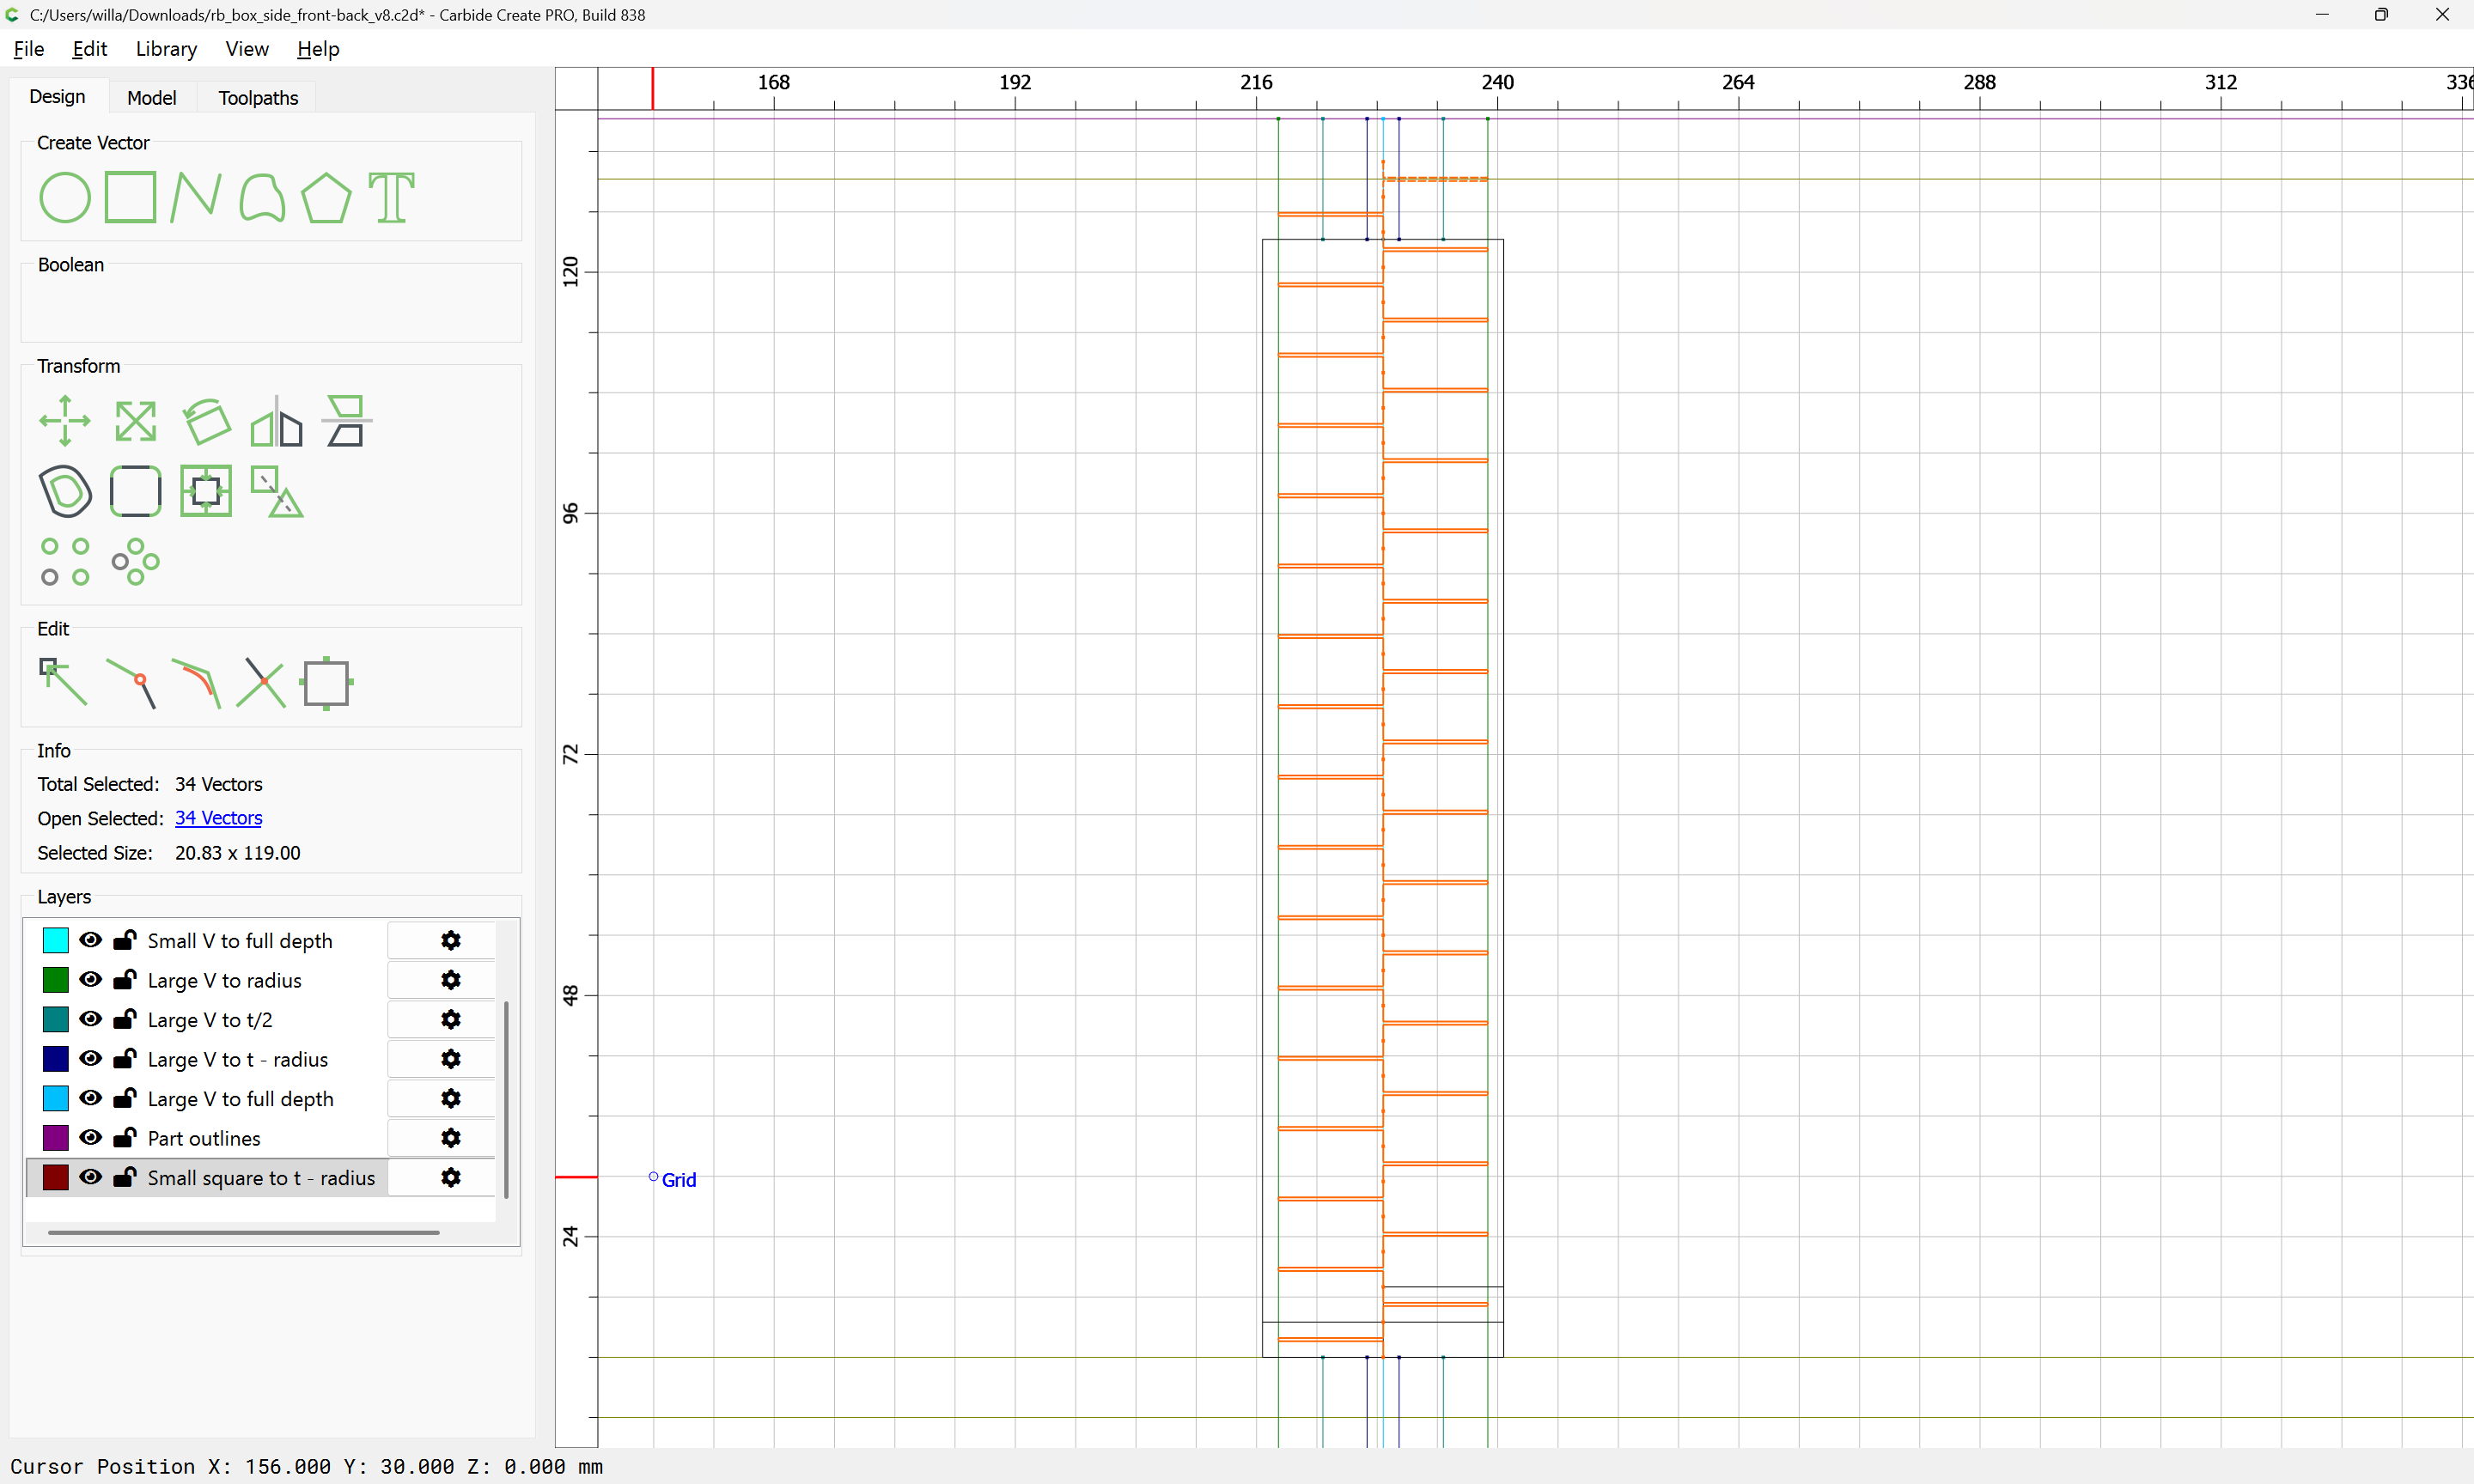
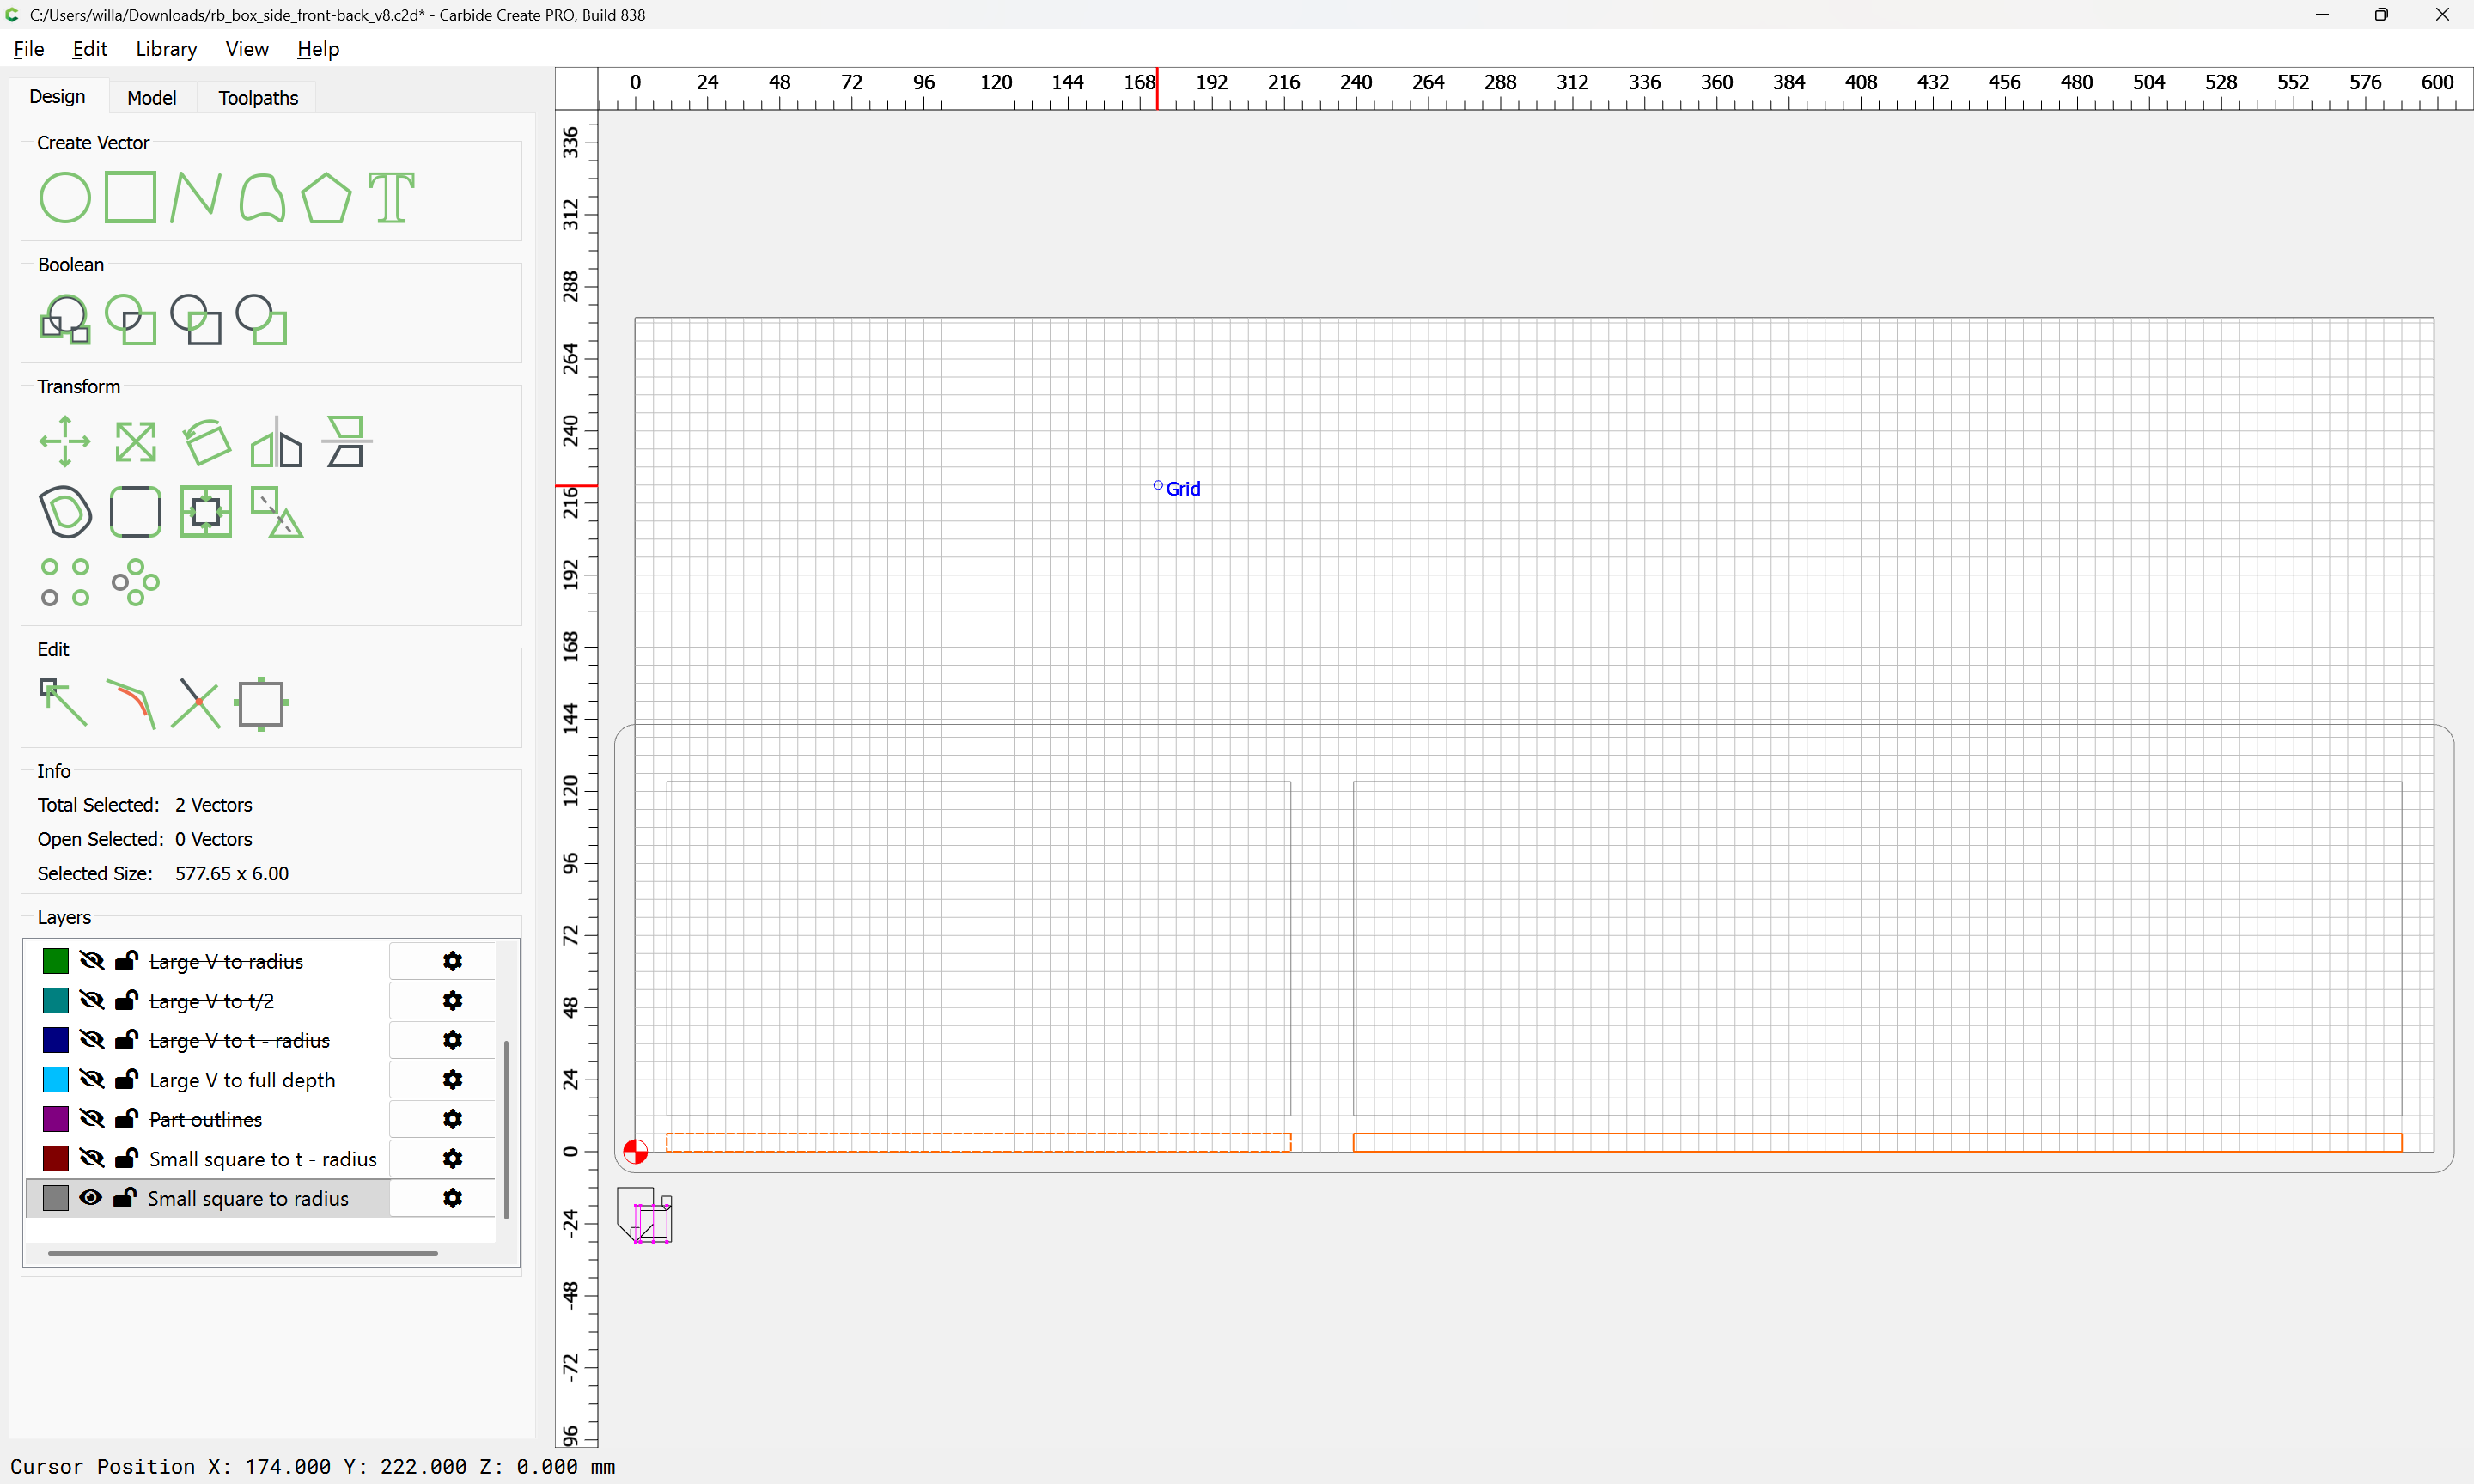
The front/back and the left/right sides are two pairs of parts which could be drawn up as a single pair, but since the stock is so large relative to the height of the box, duplicating the pair and cutting all 4 parts at once will be most efficient.
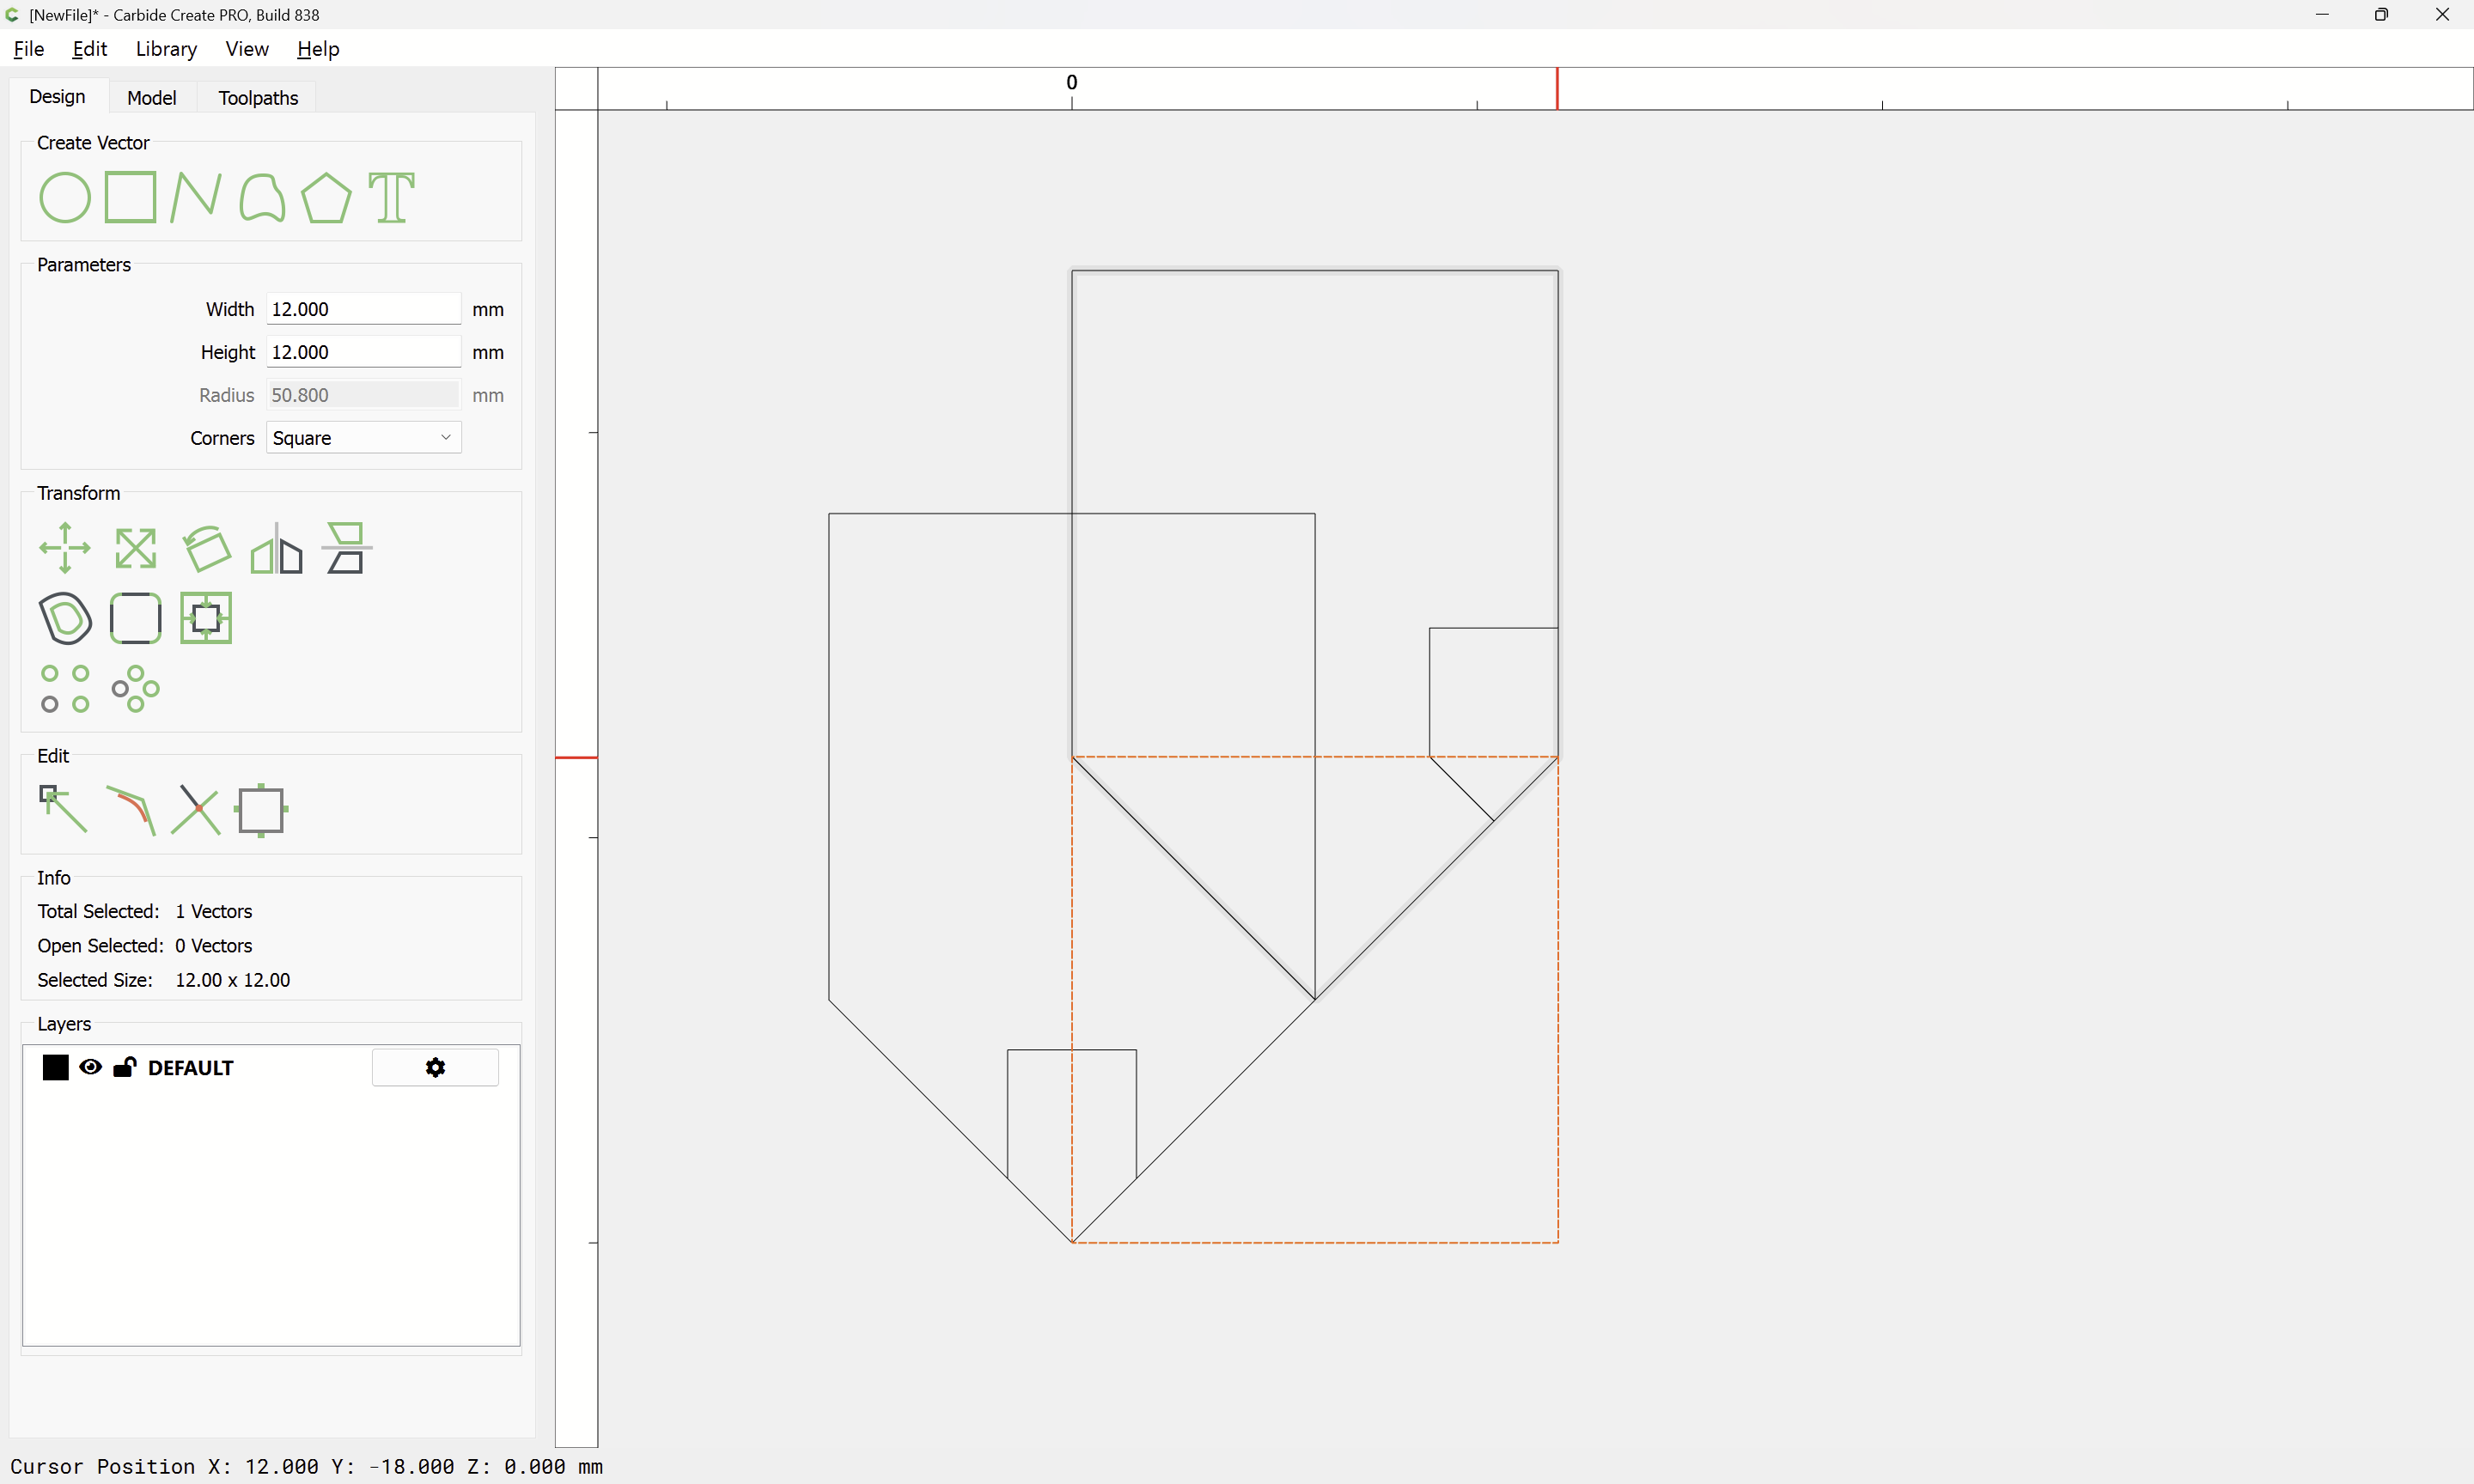
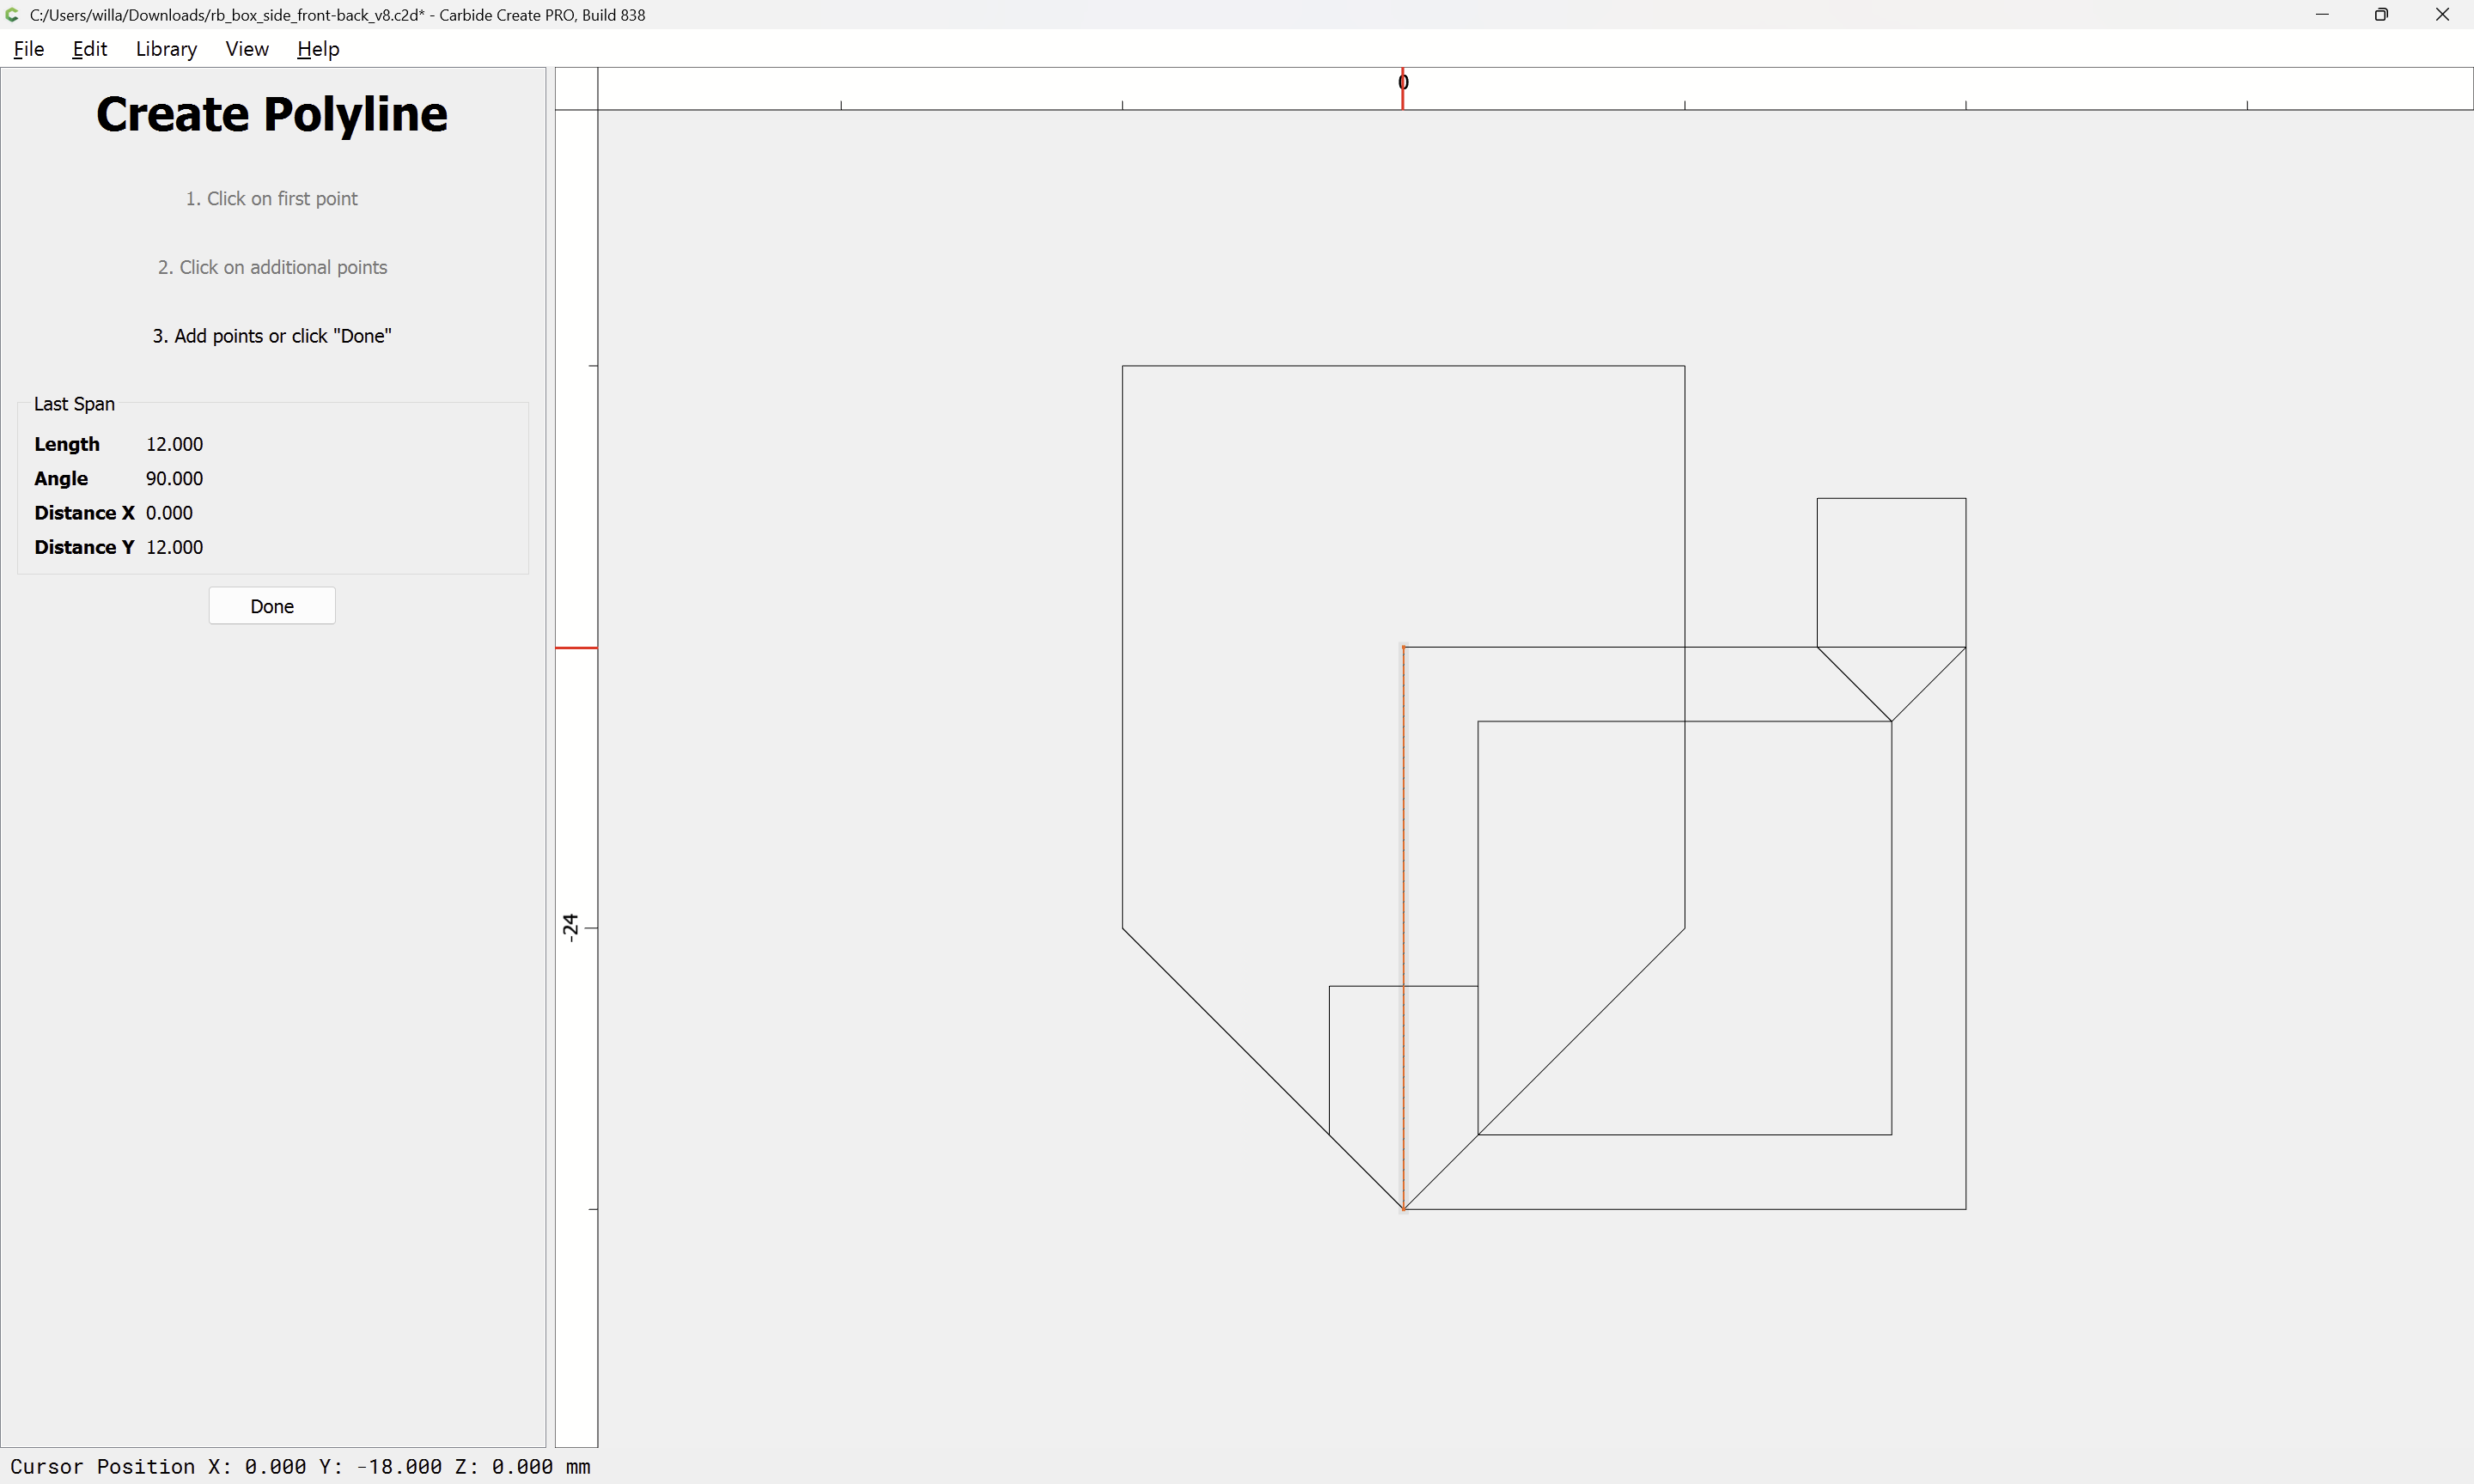
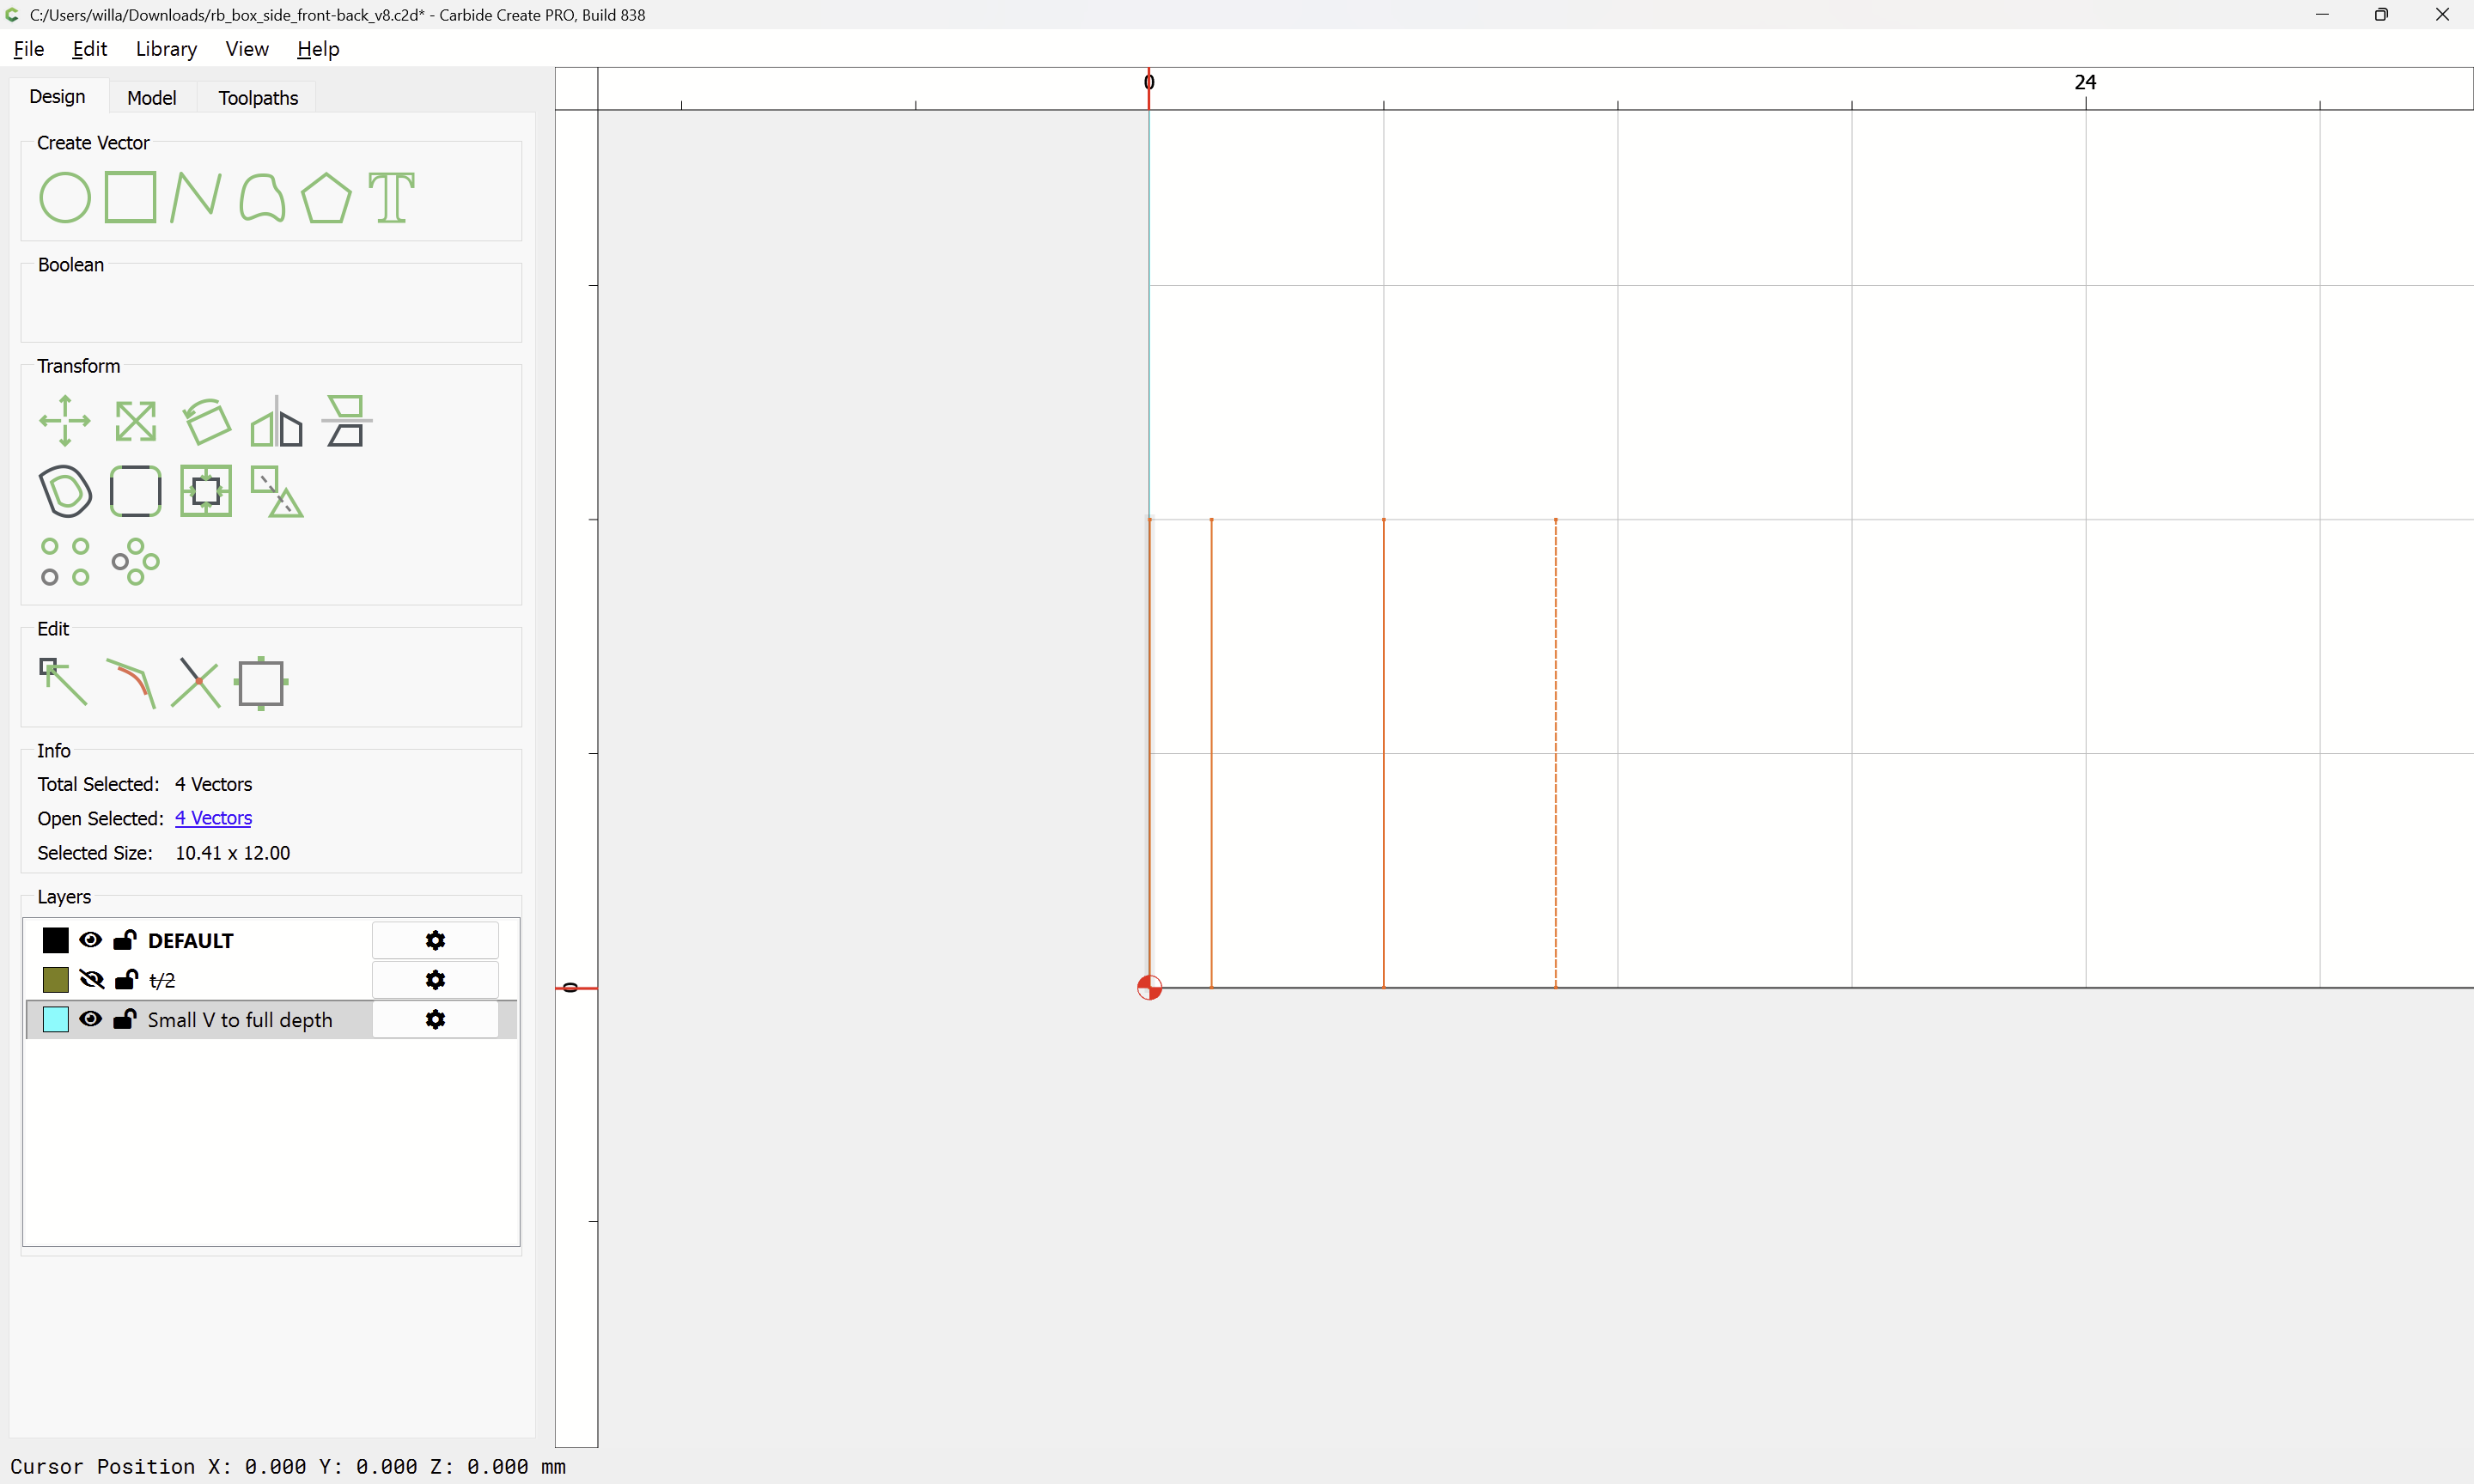
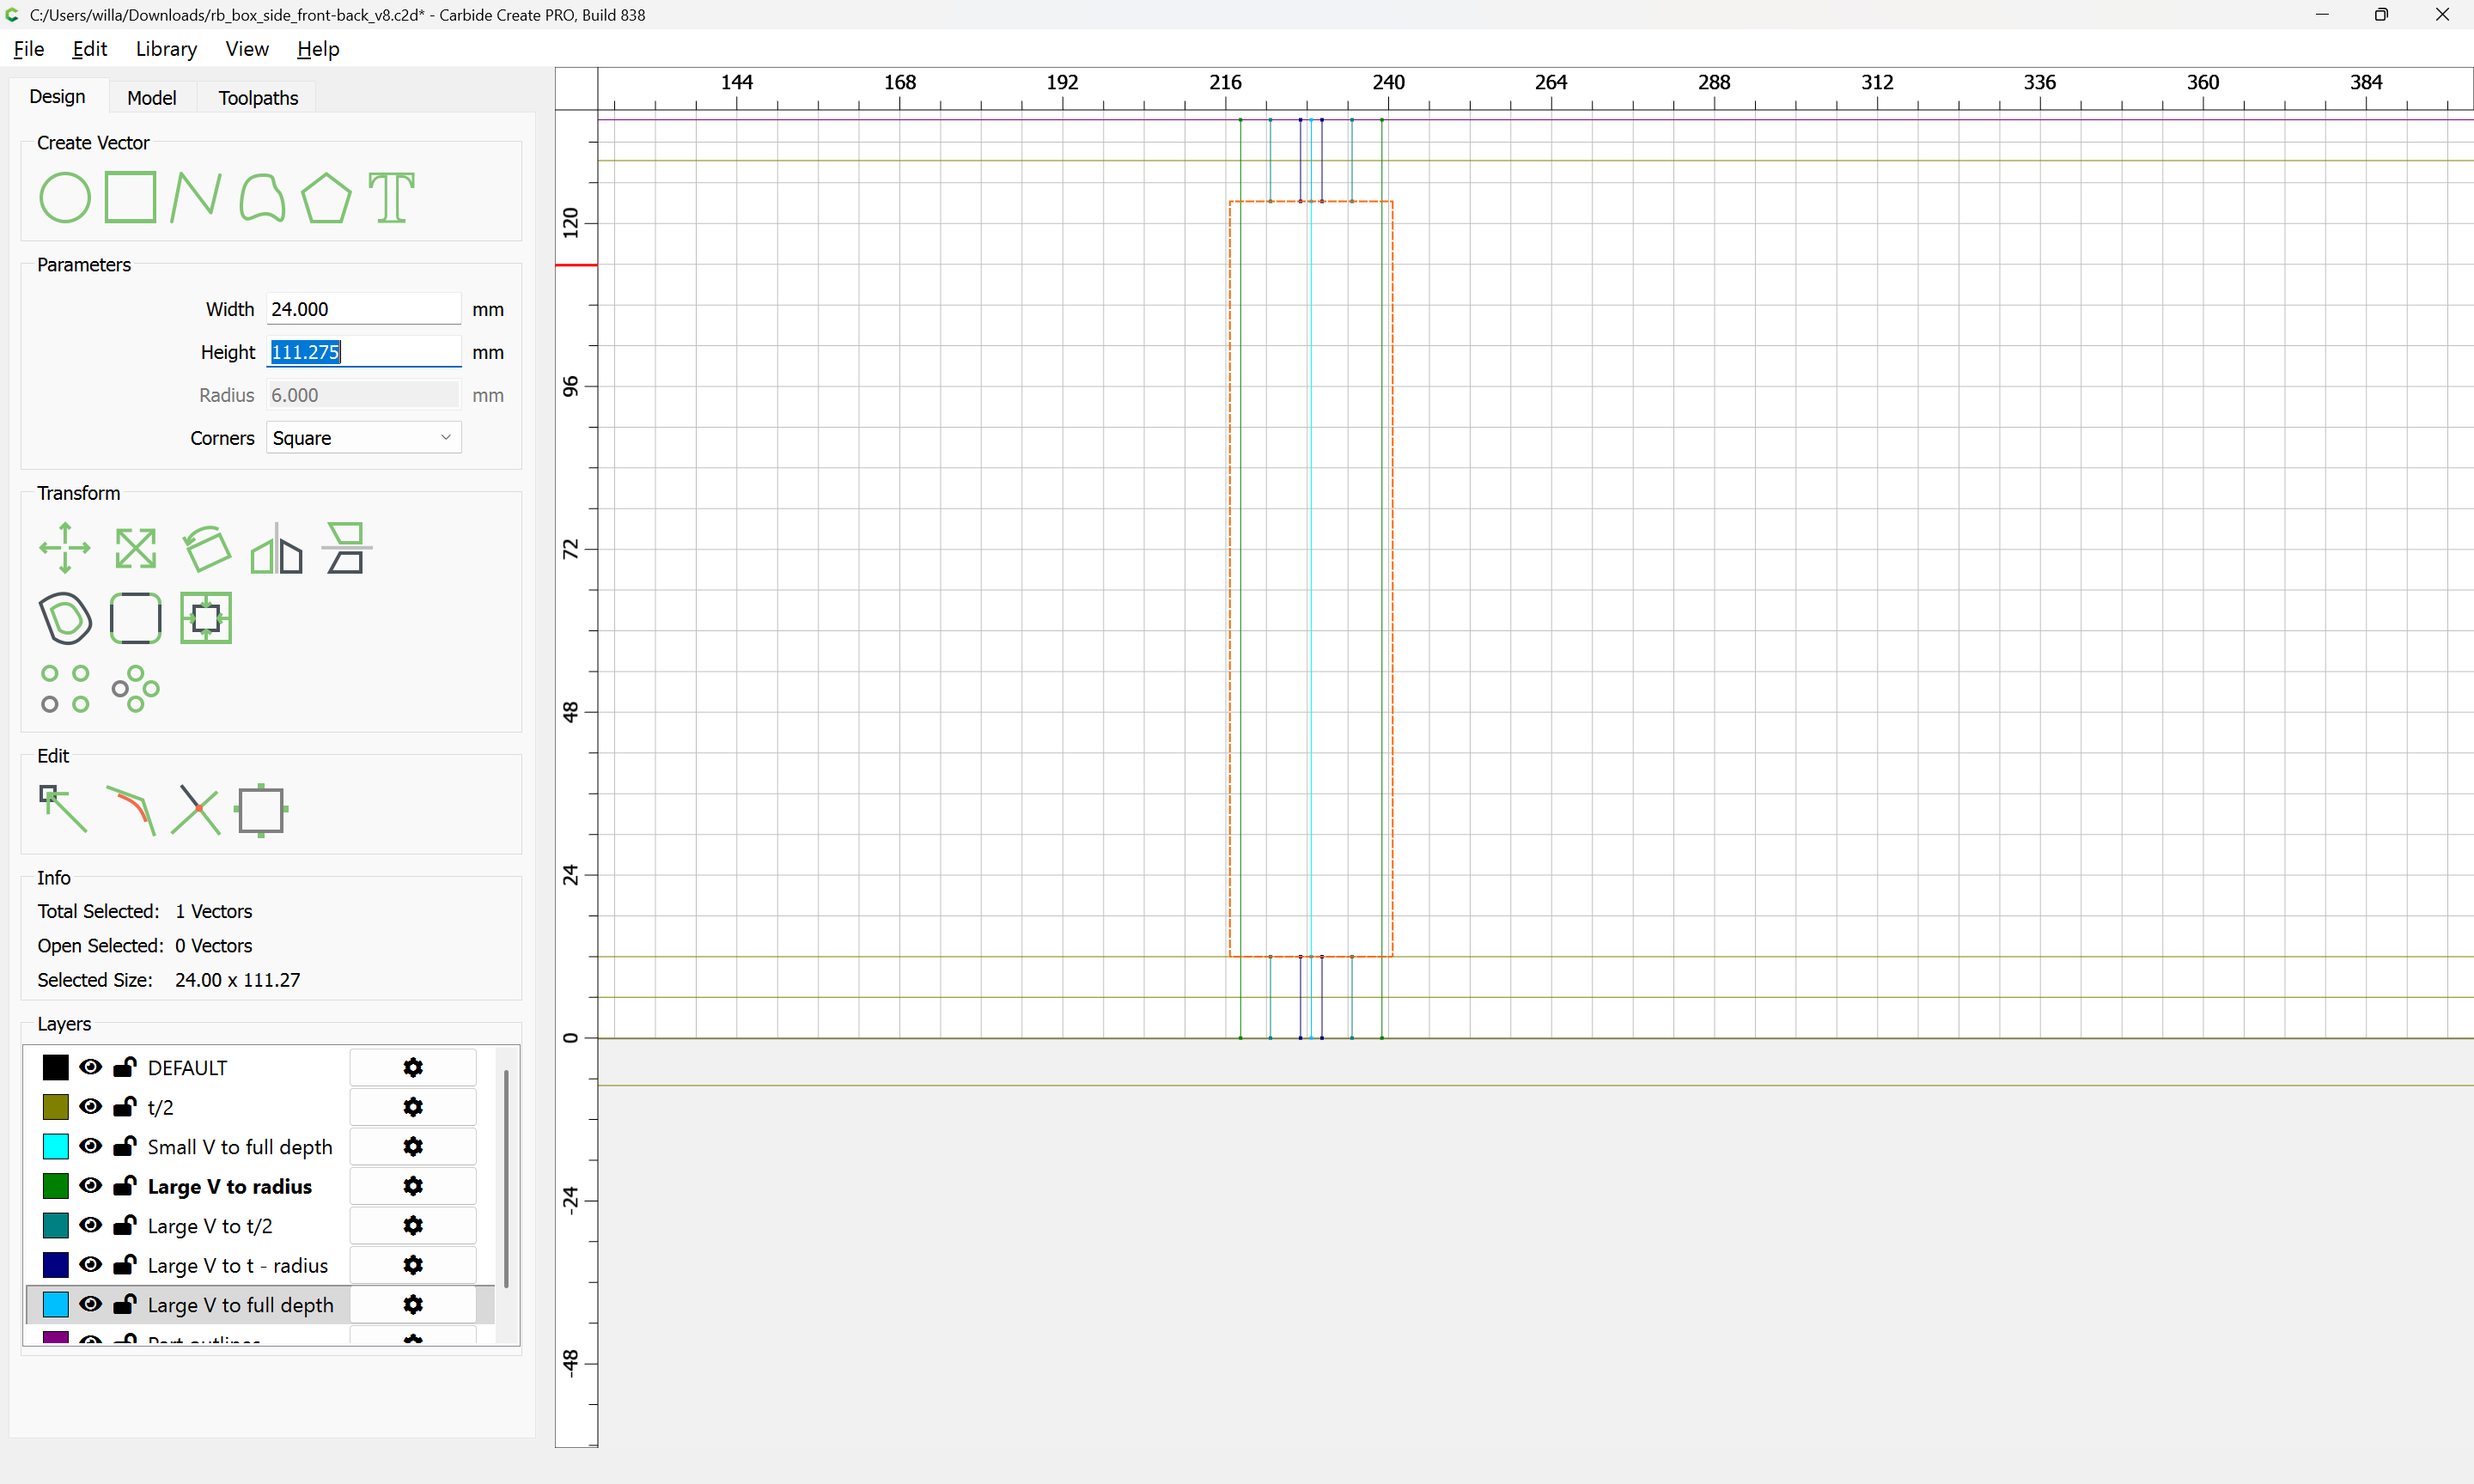
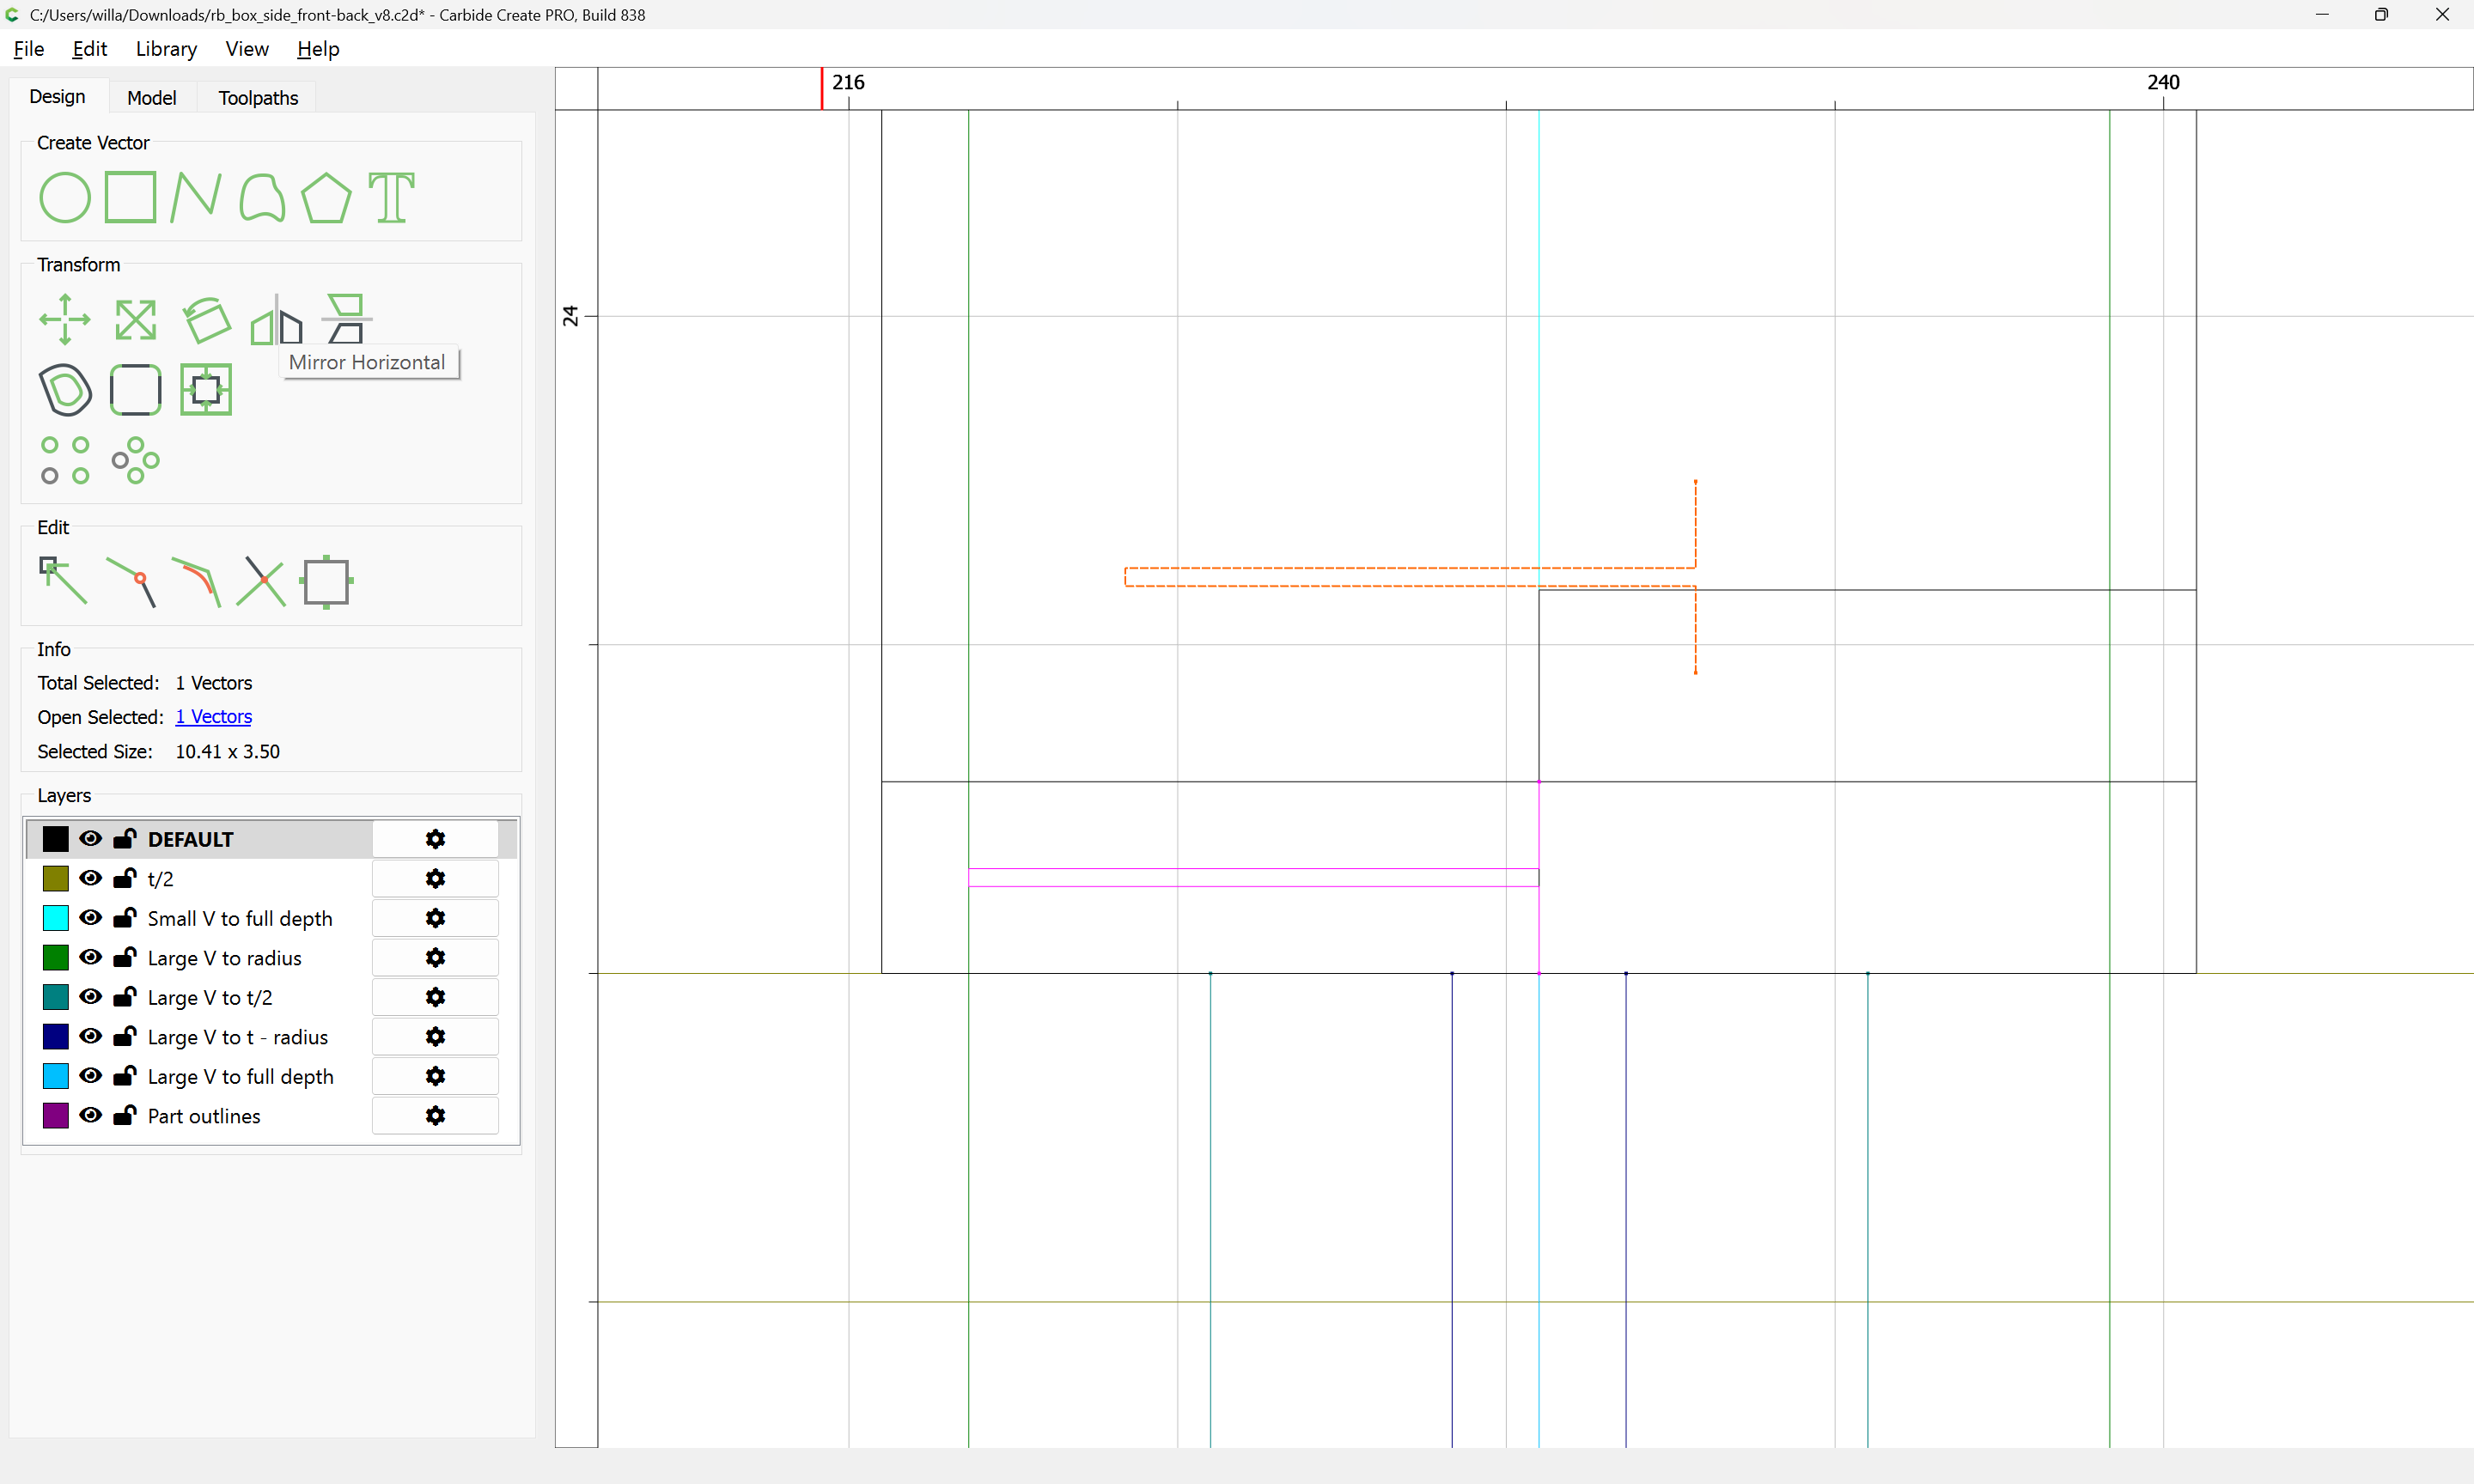
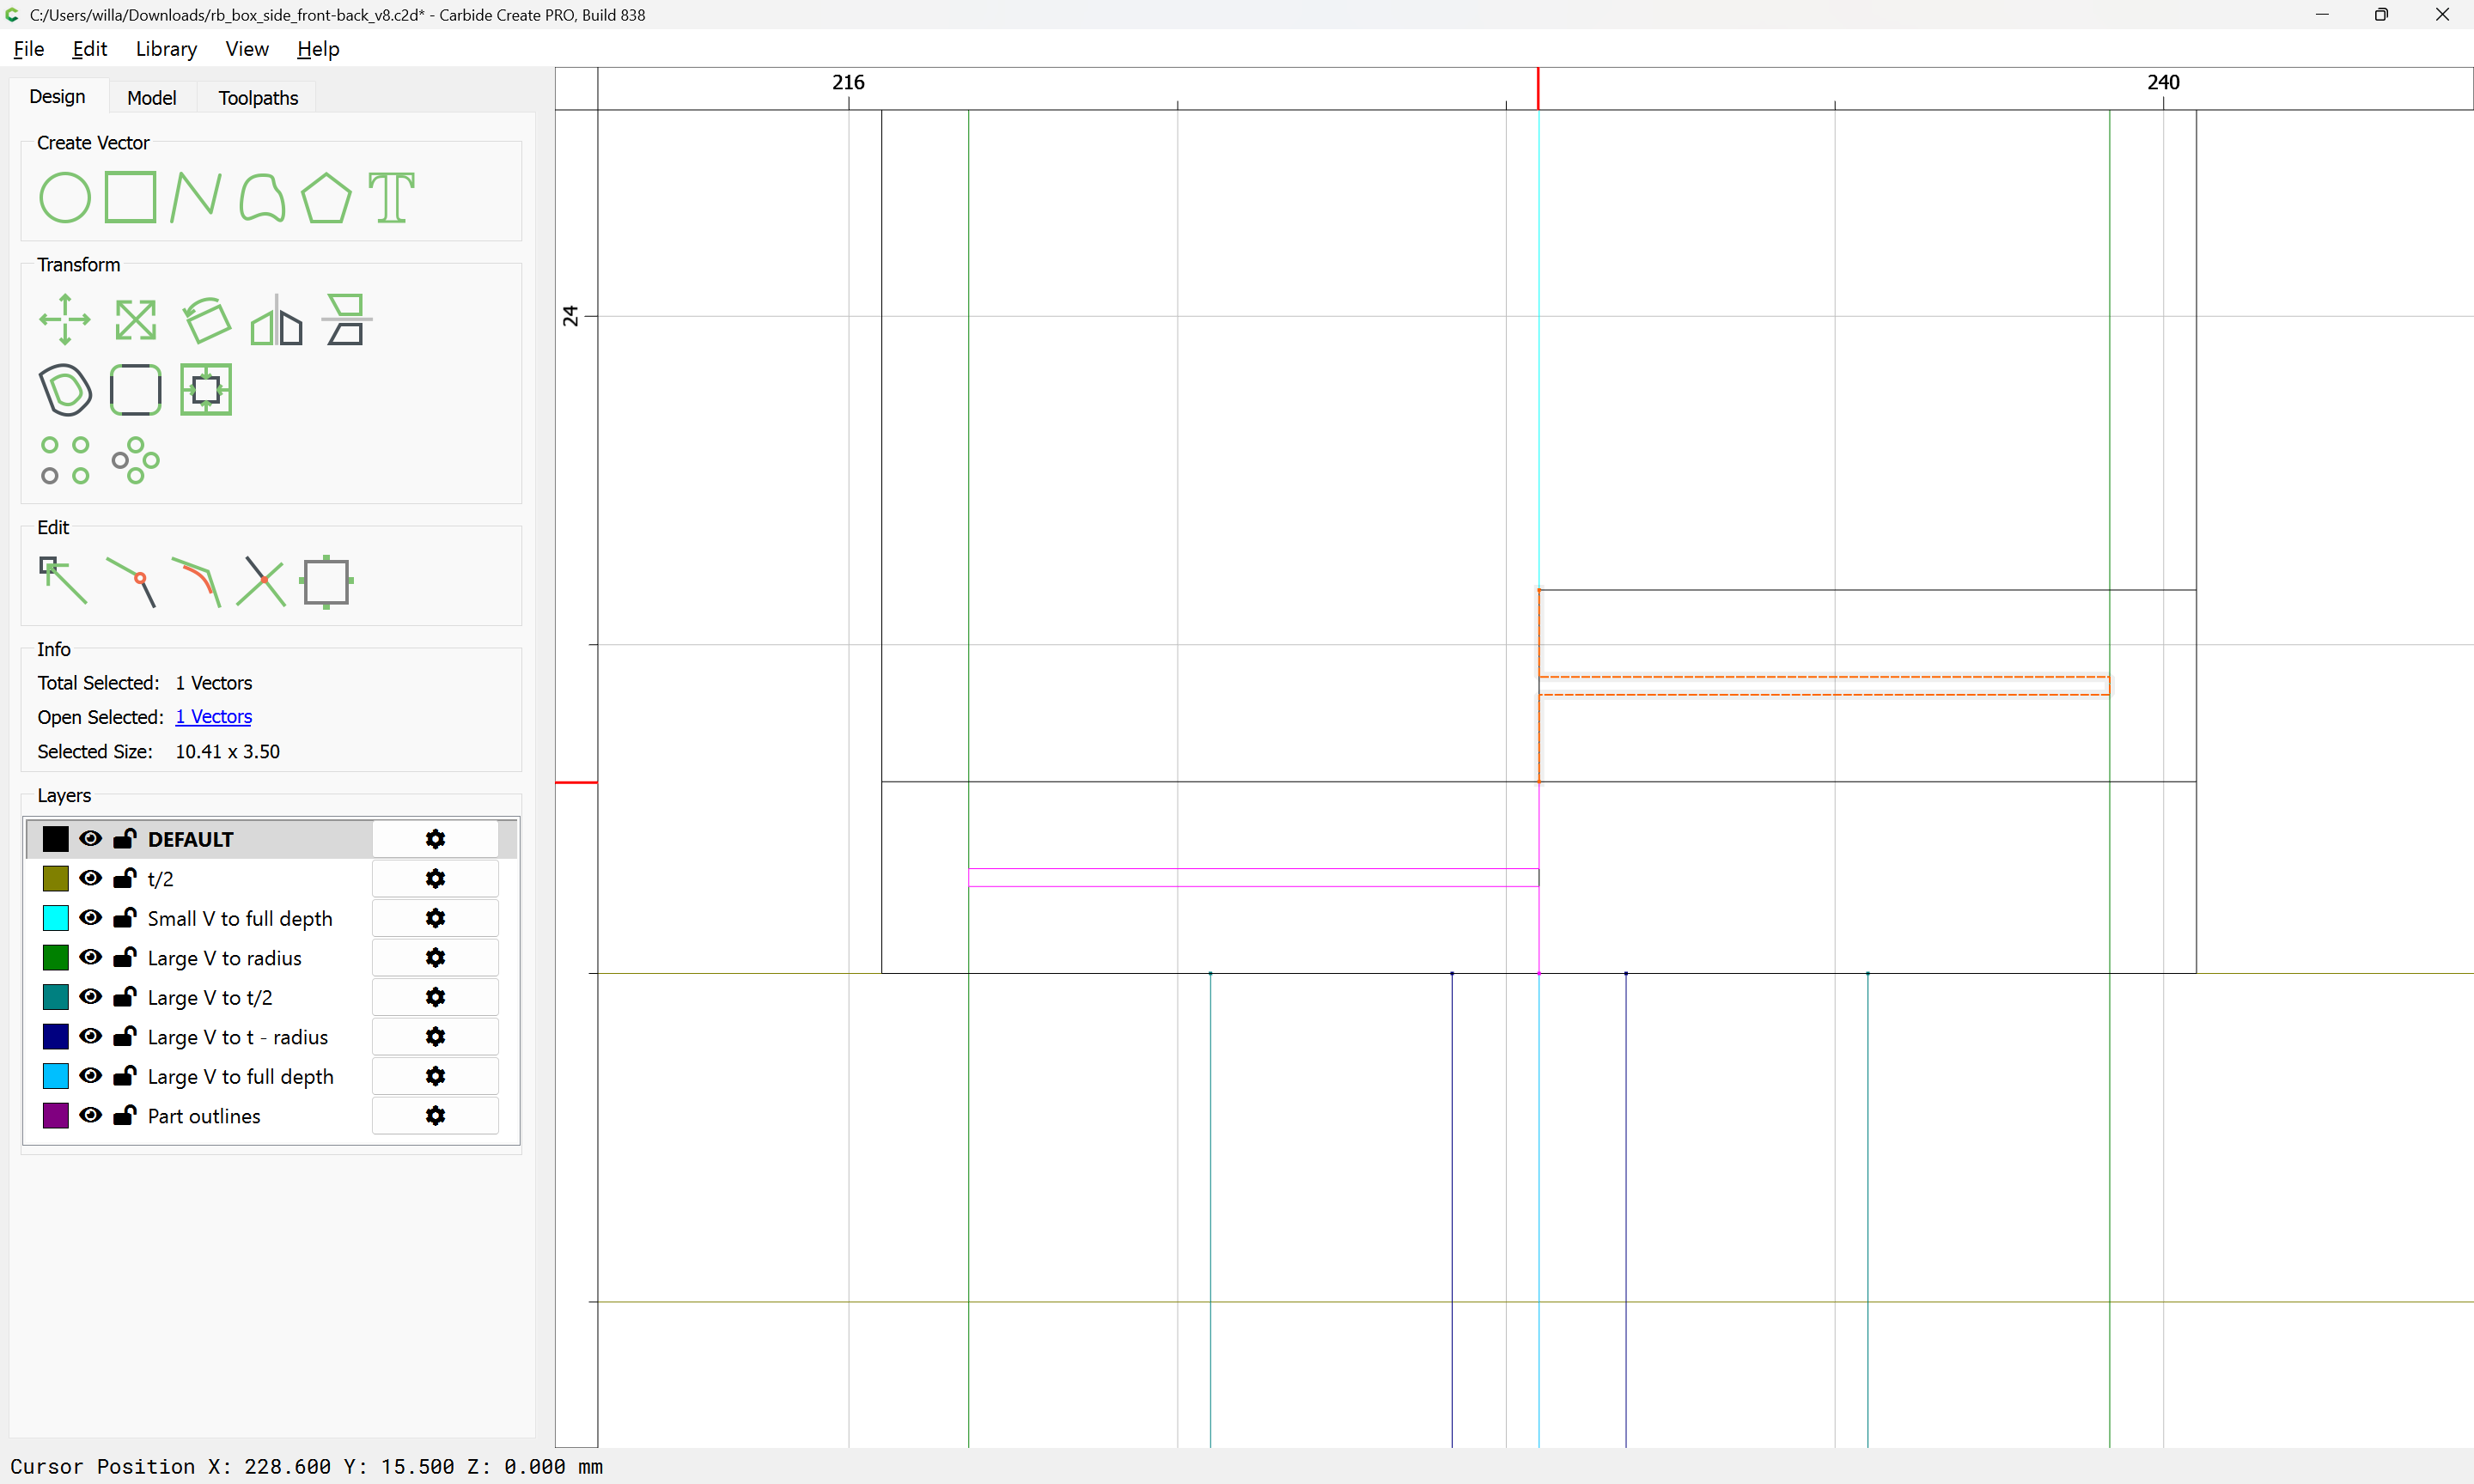
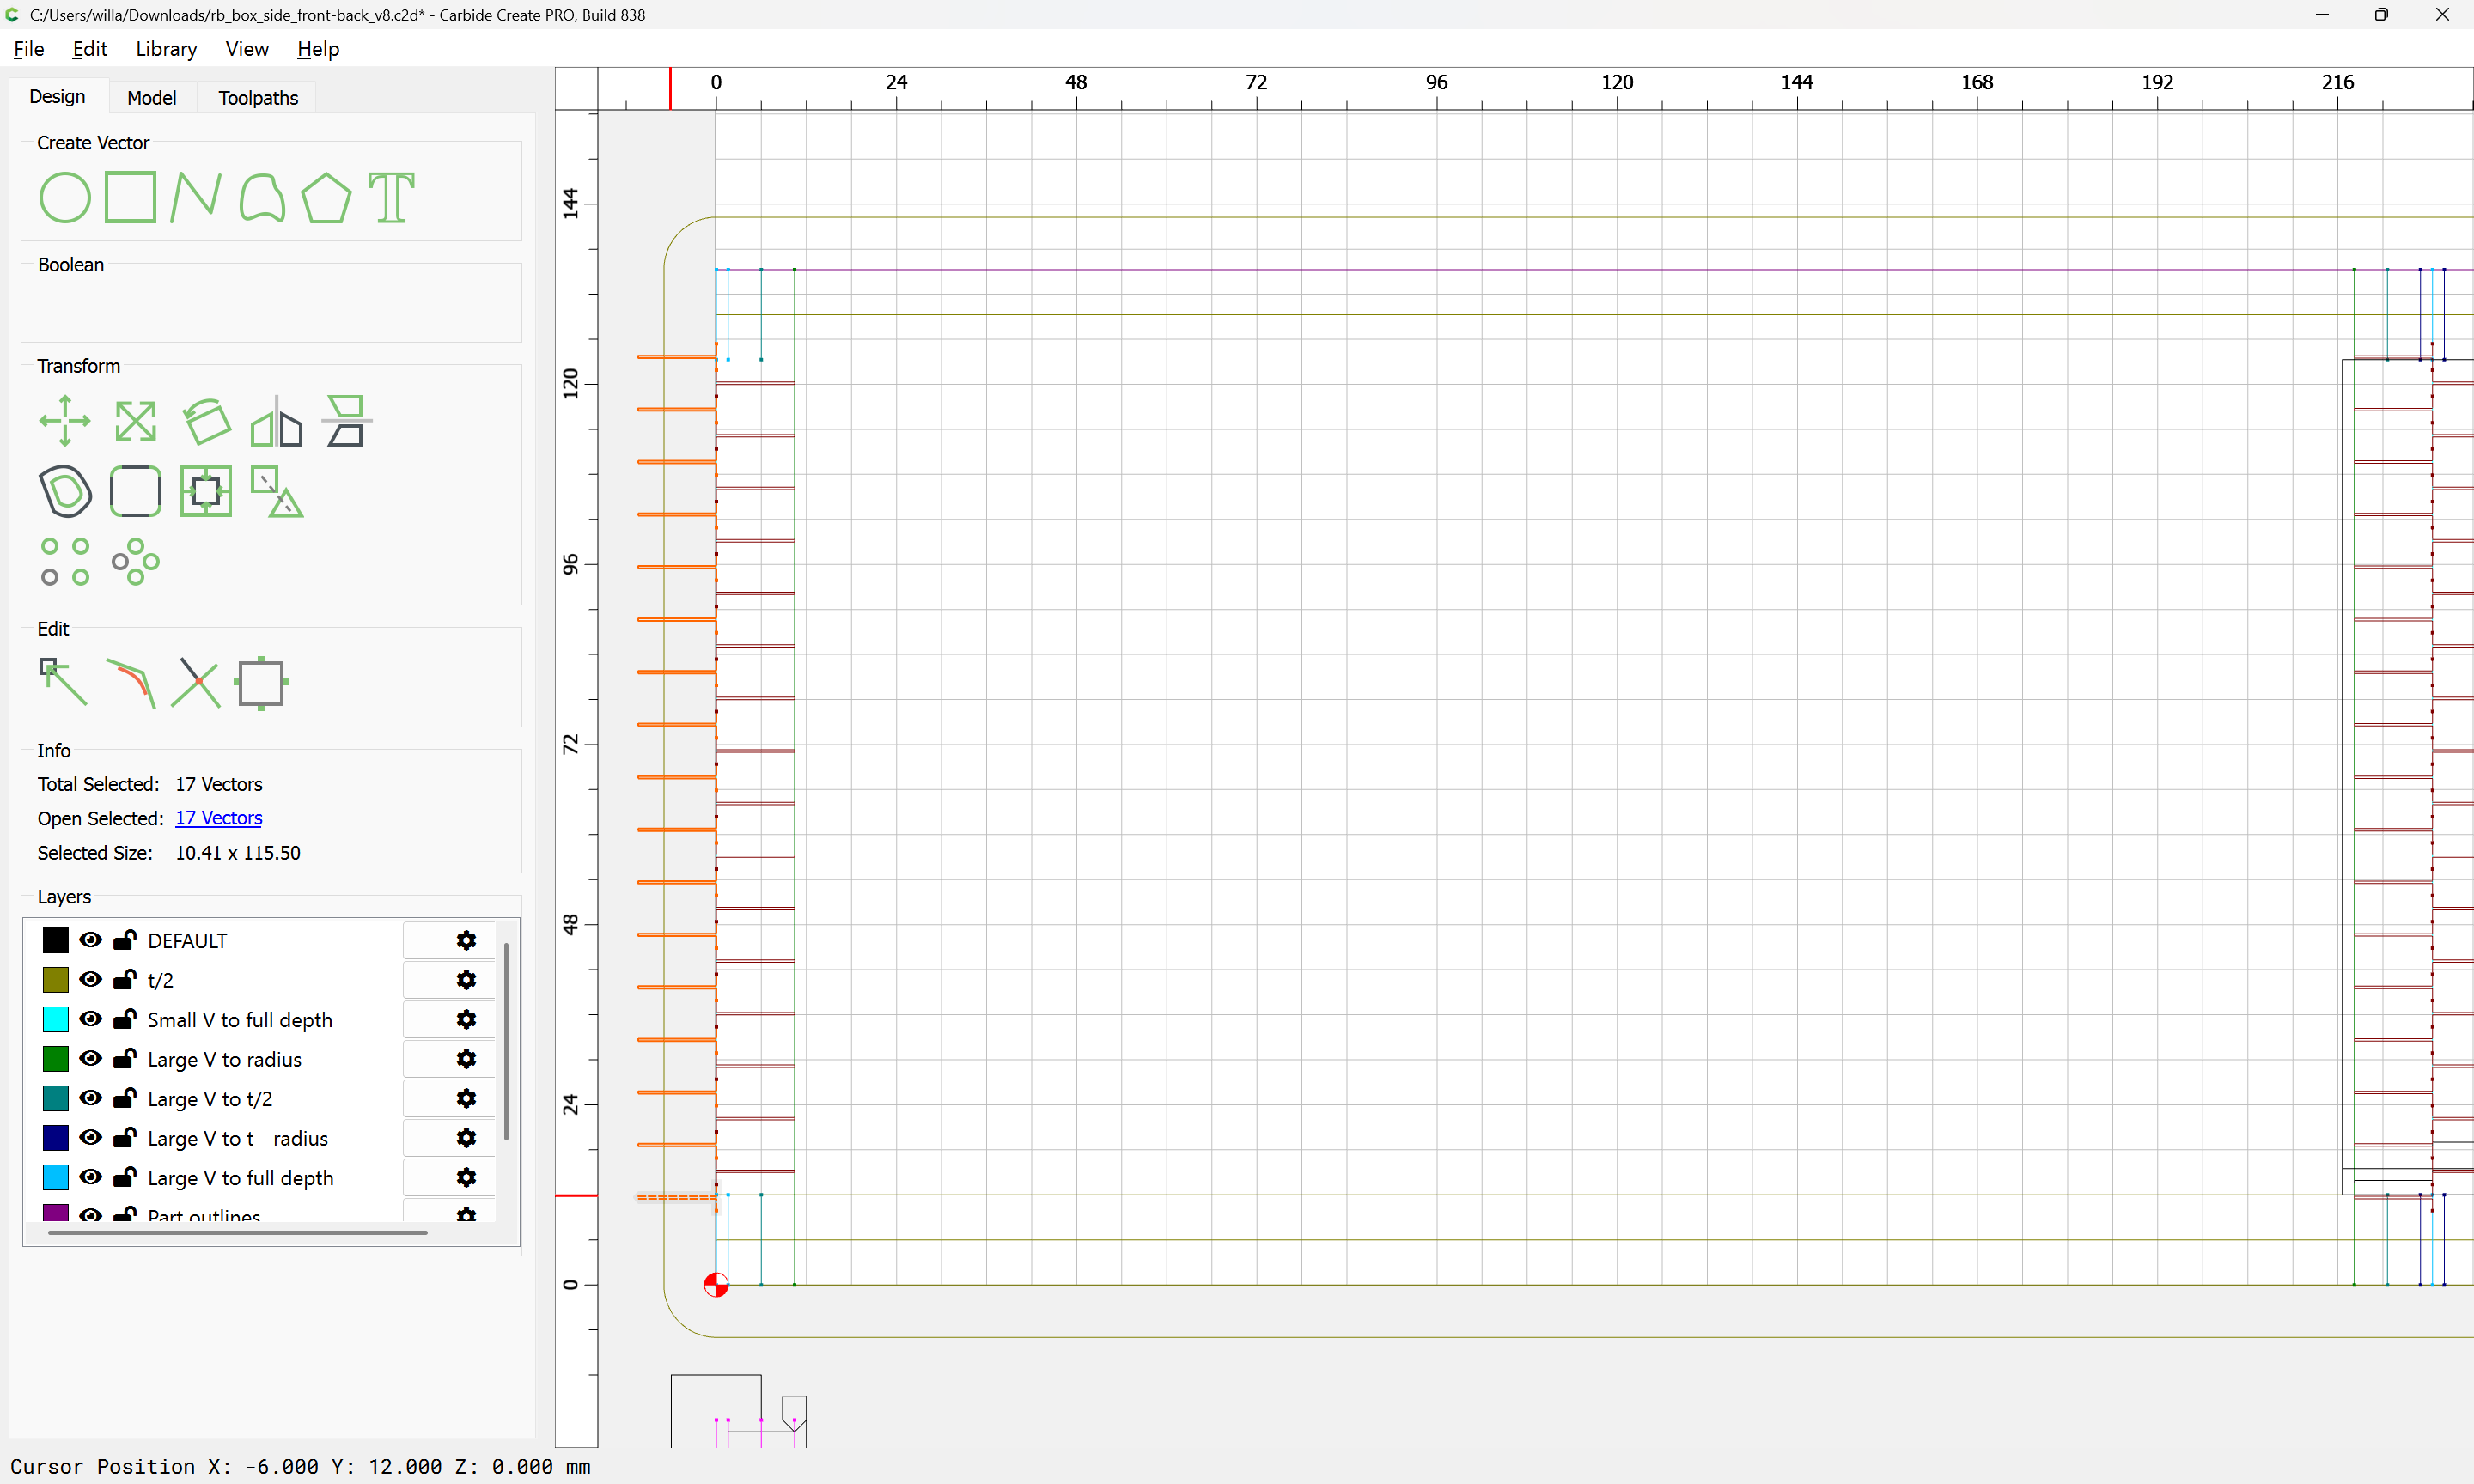
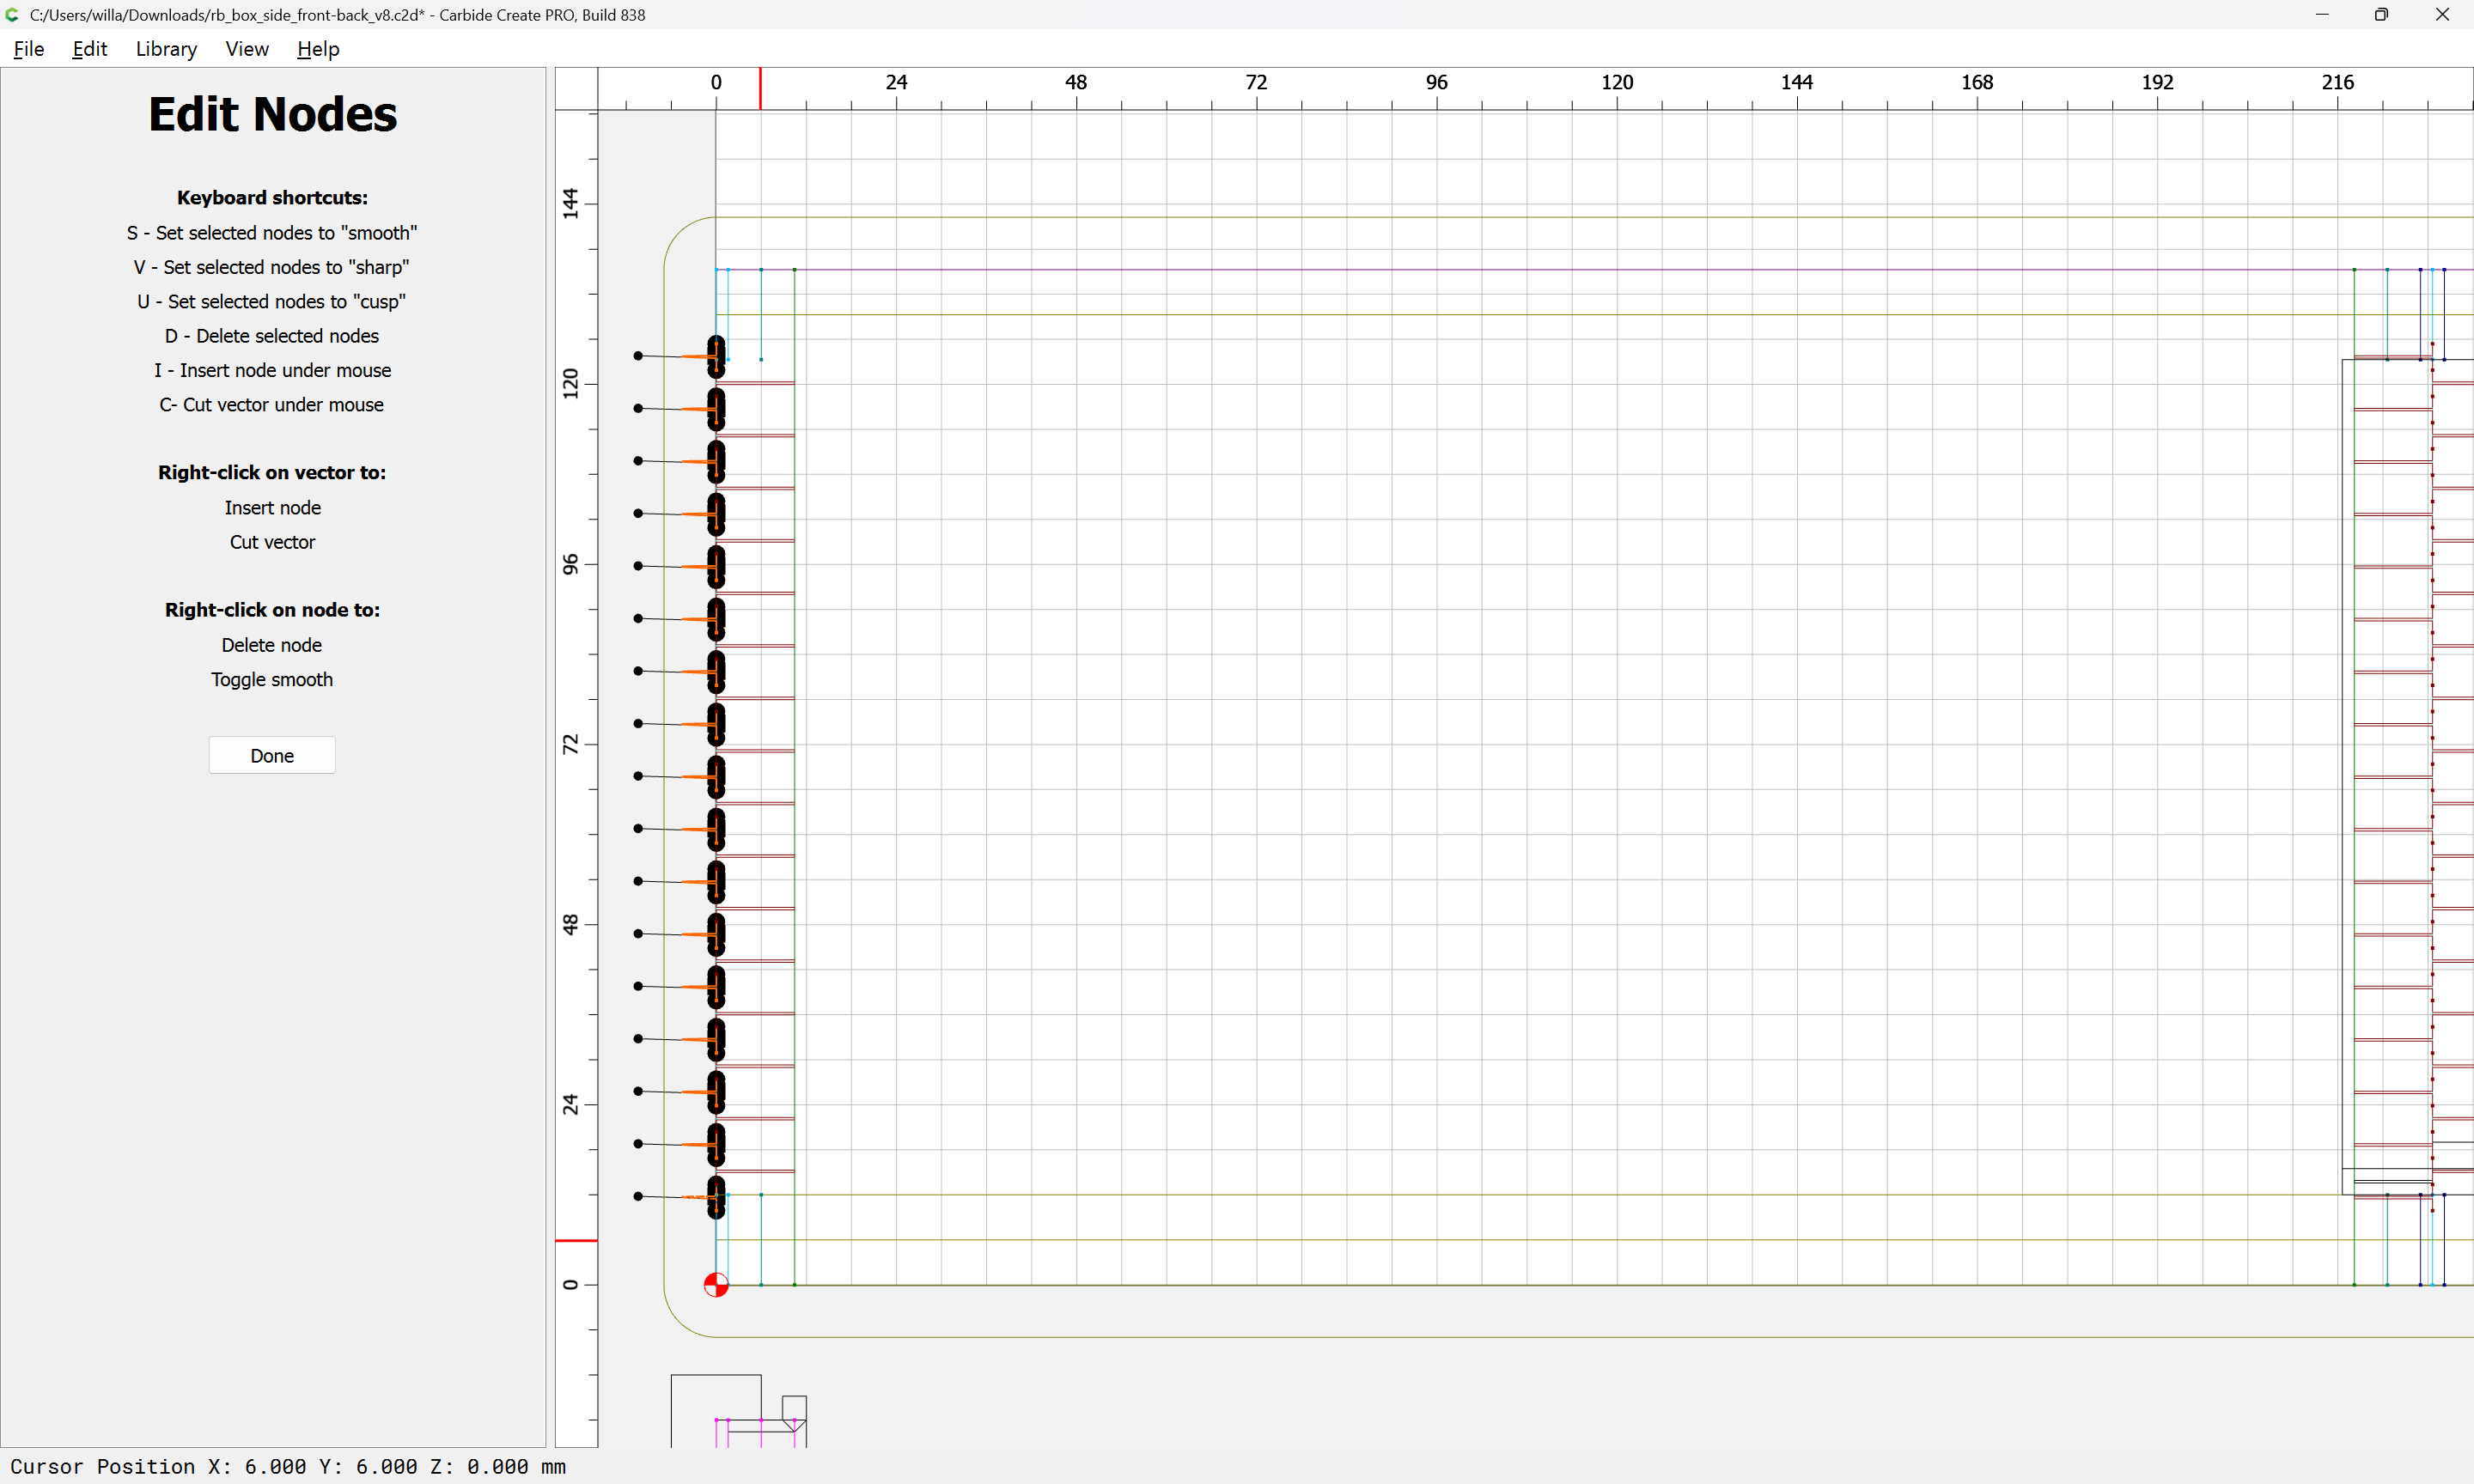
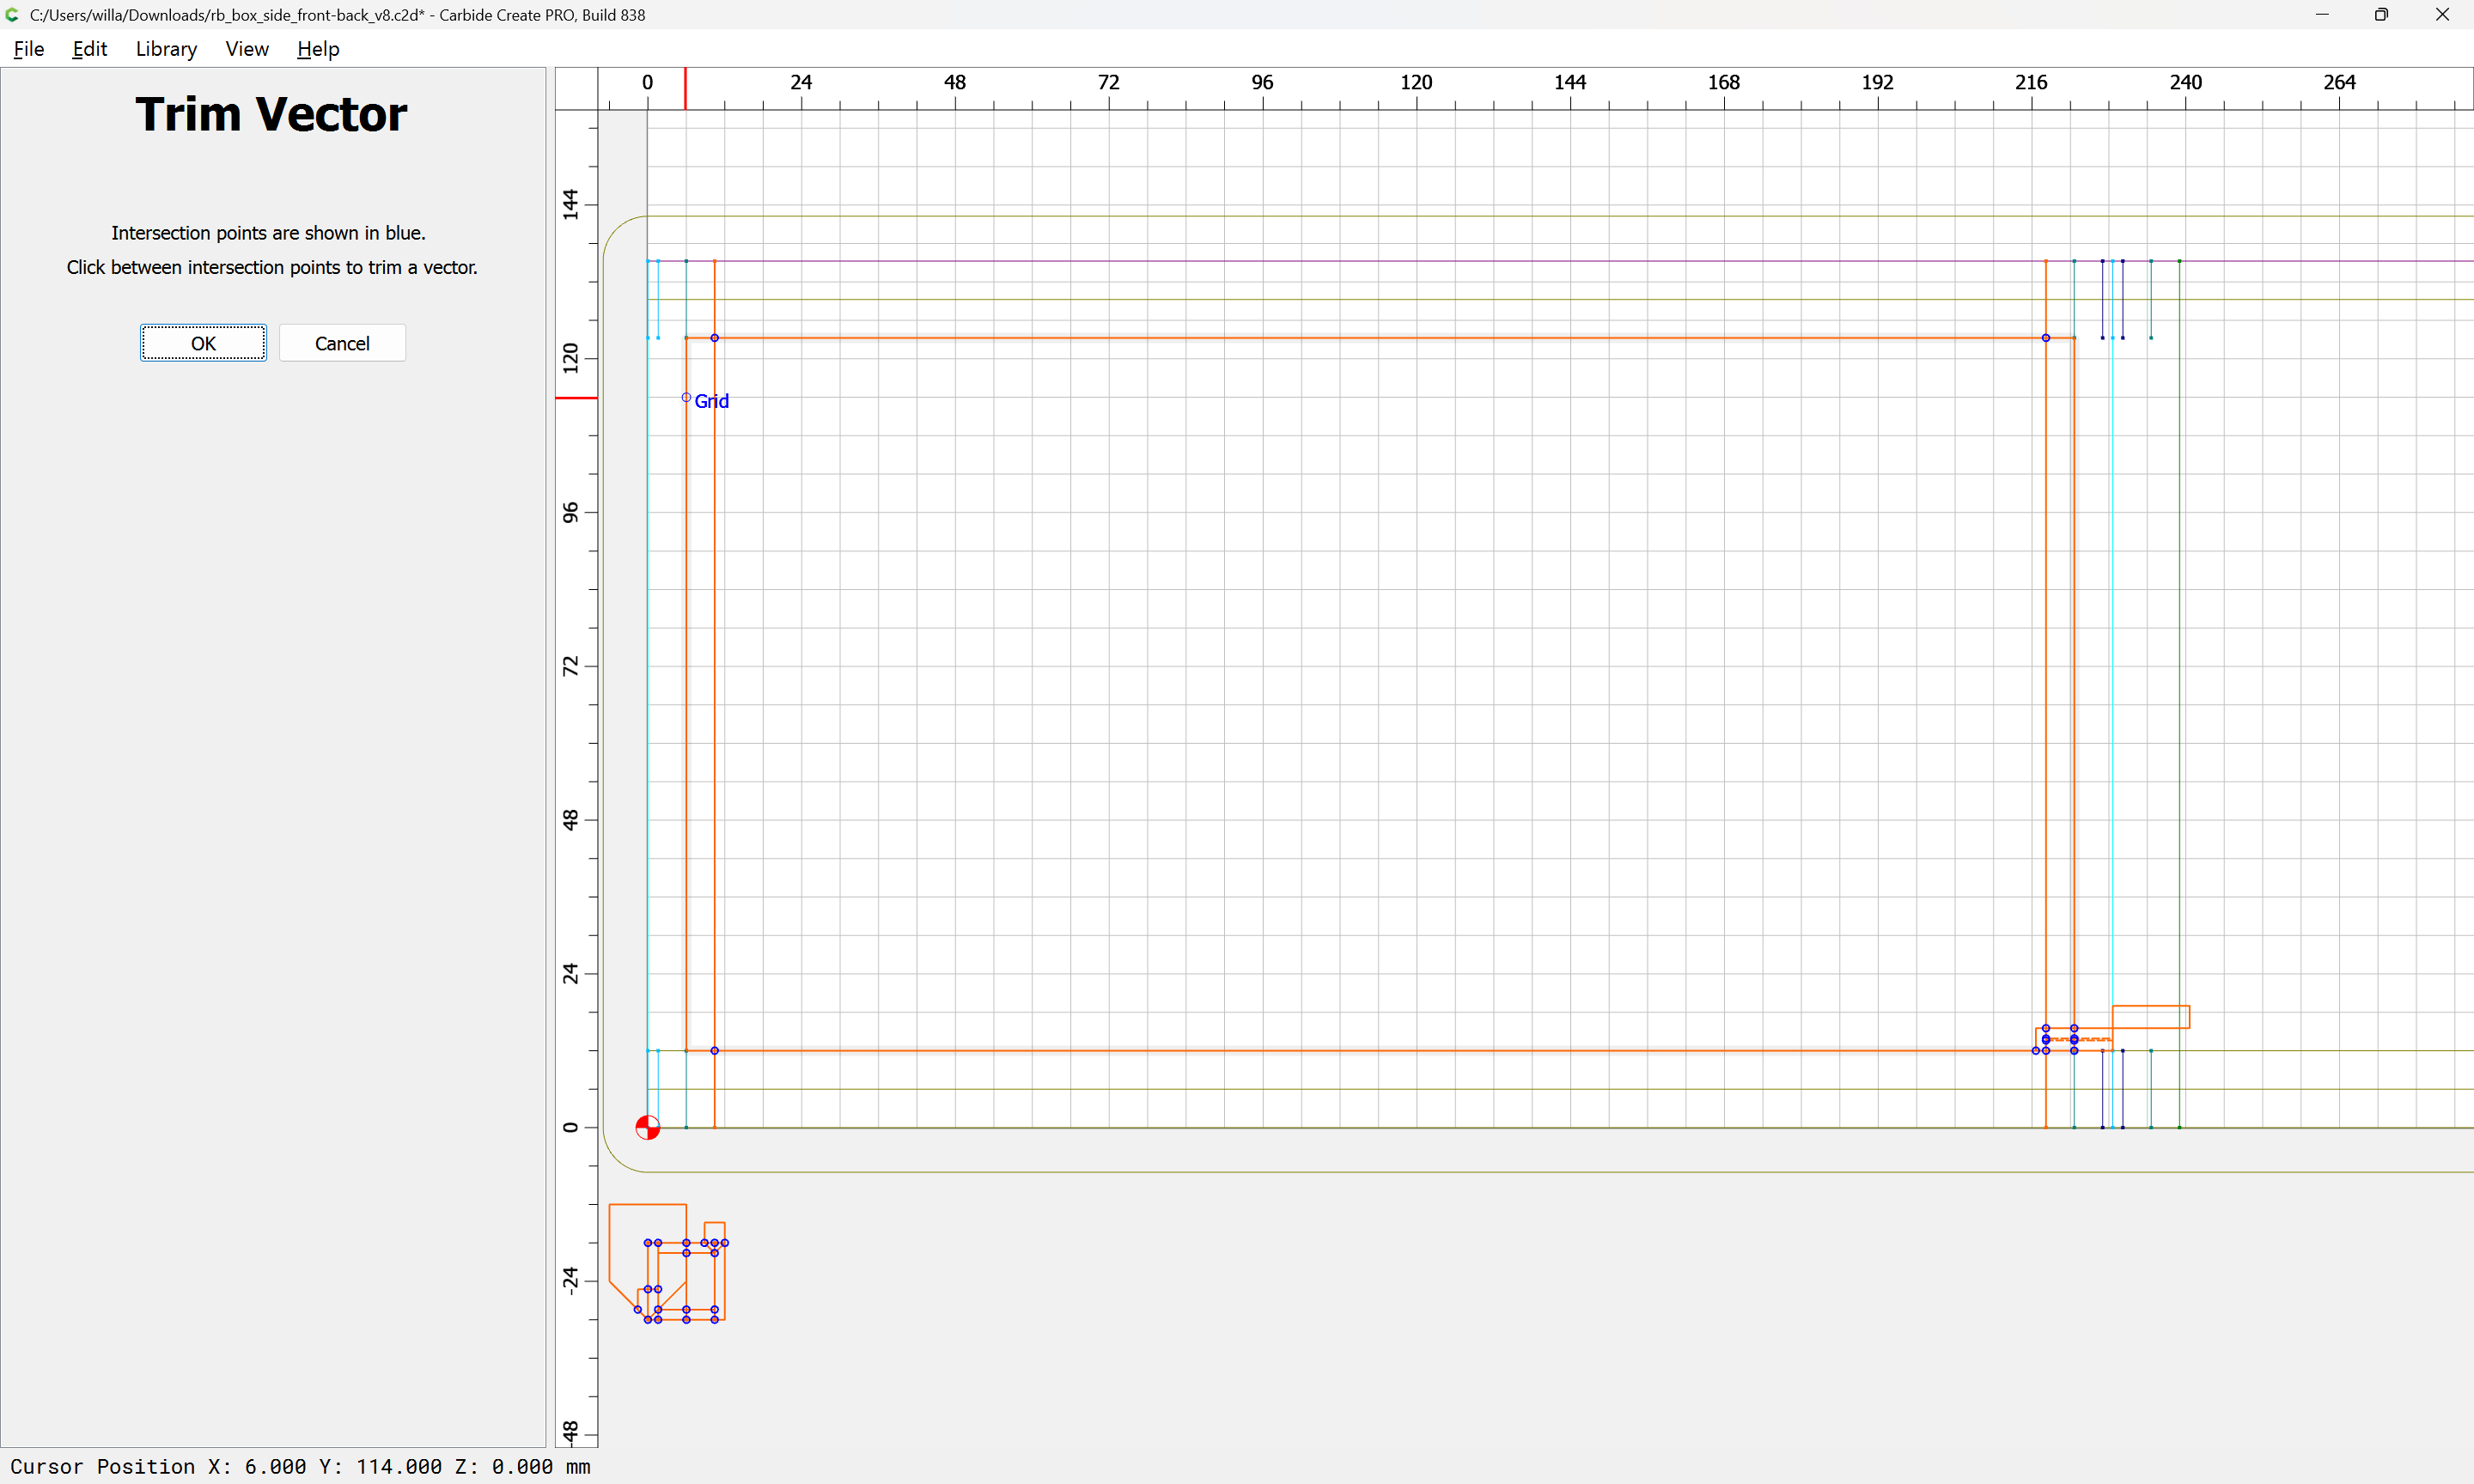
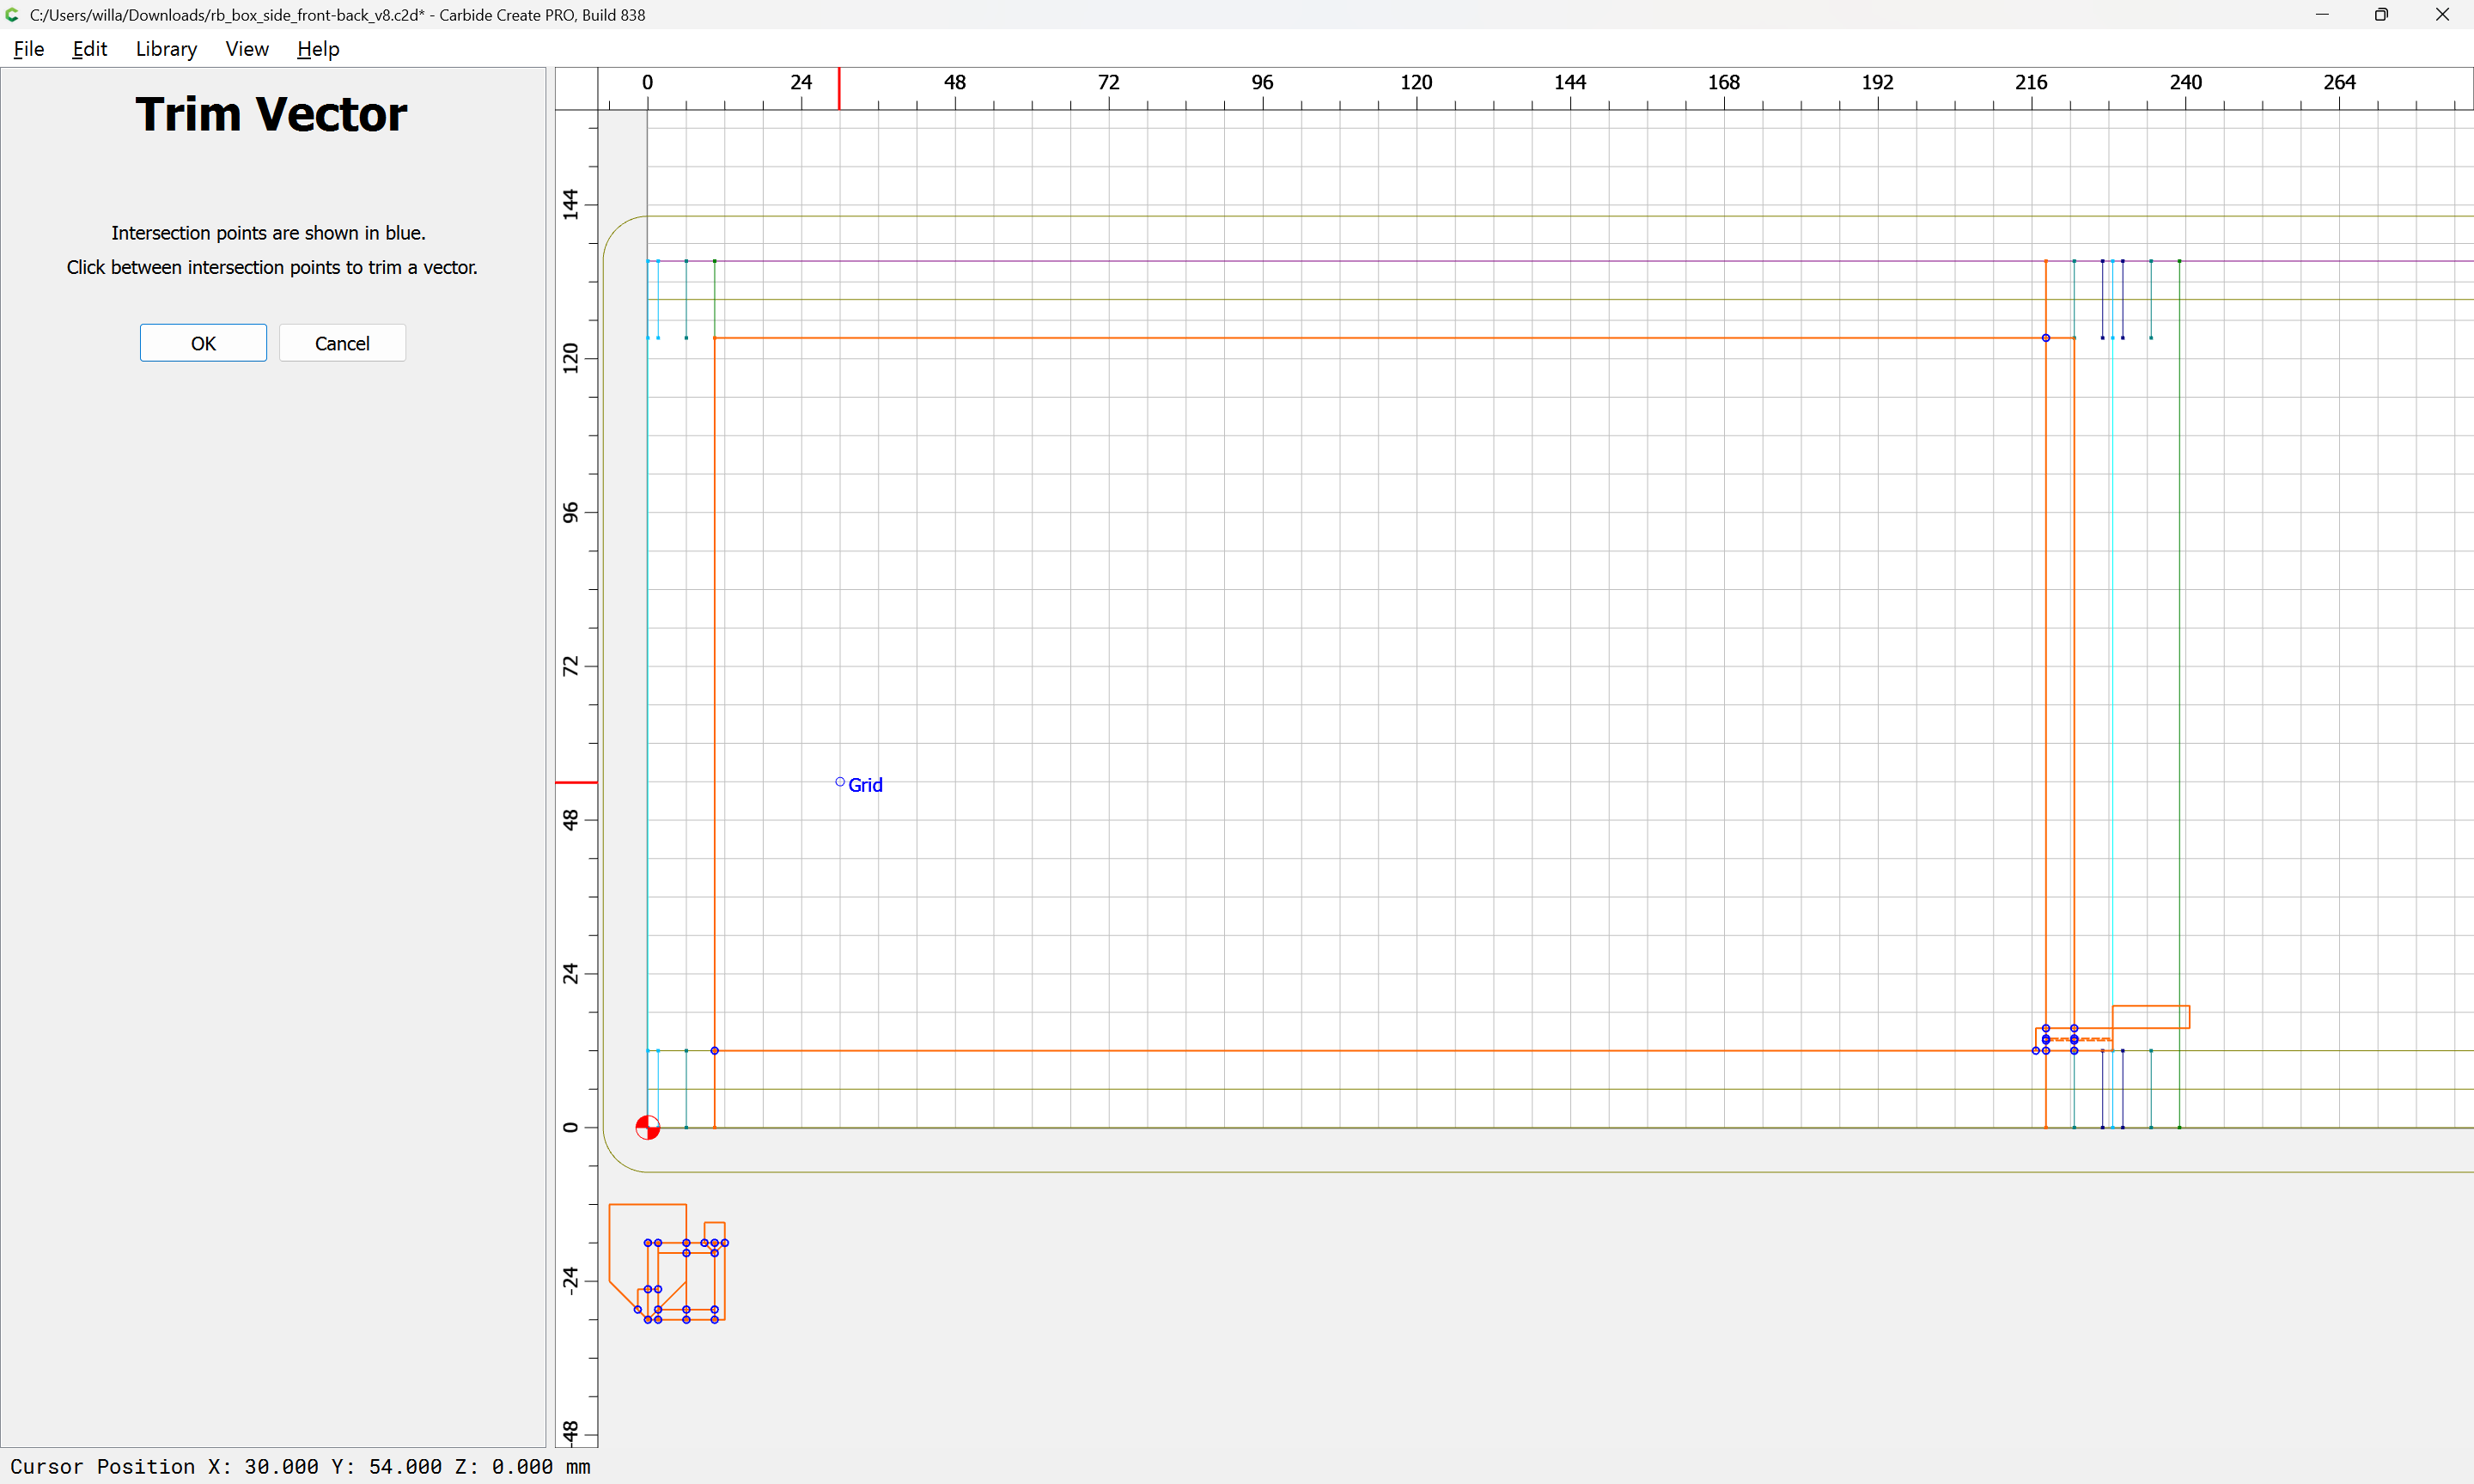
For the joinery, it will be easiest to draw the two sides along the middle and the duplicate. The box-joints will need to fill an area a bit larger than:
with an odd number of cuts on one side and an even number on the other.
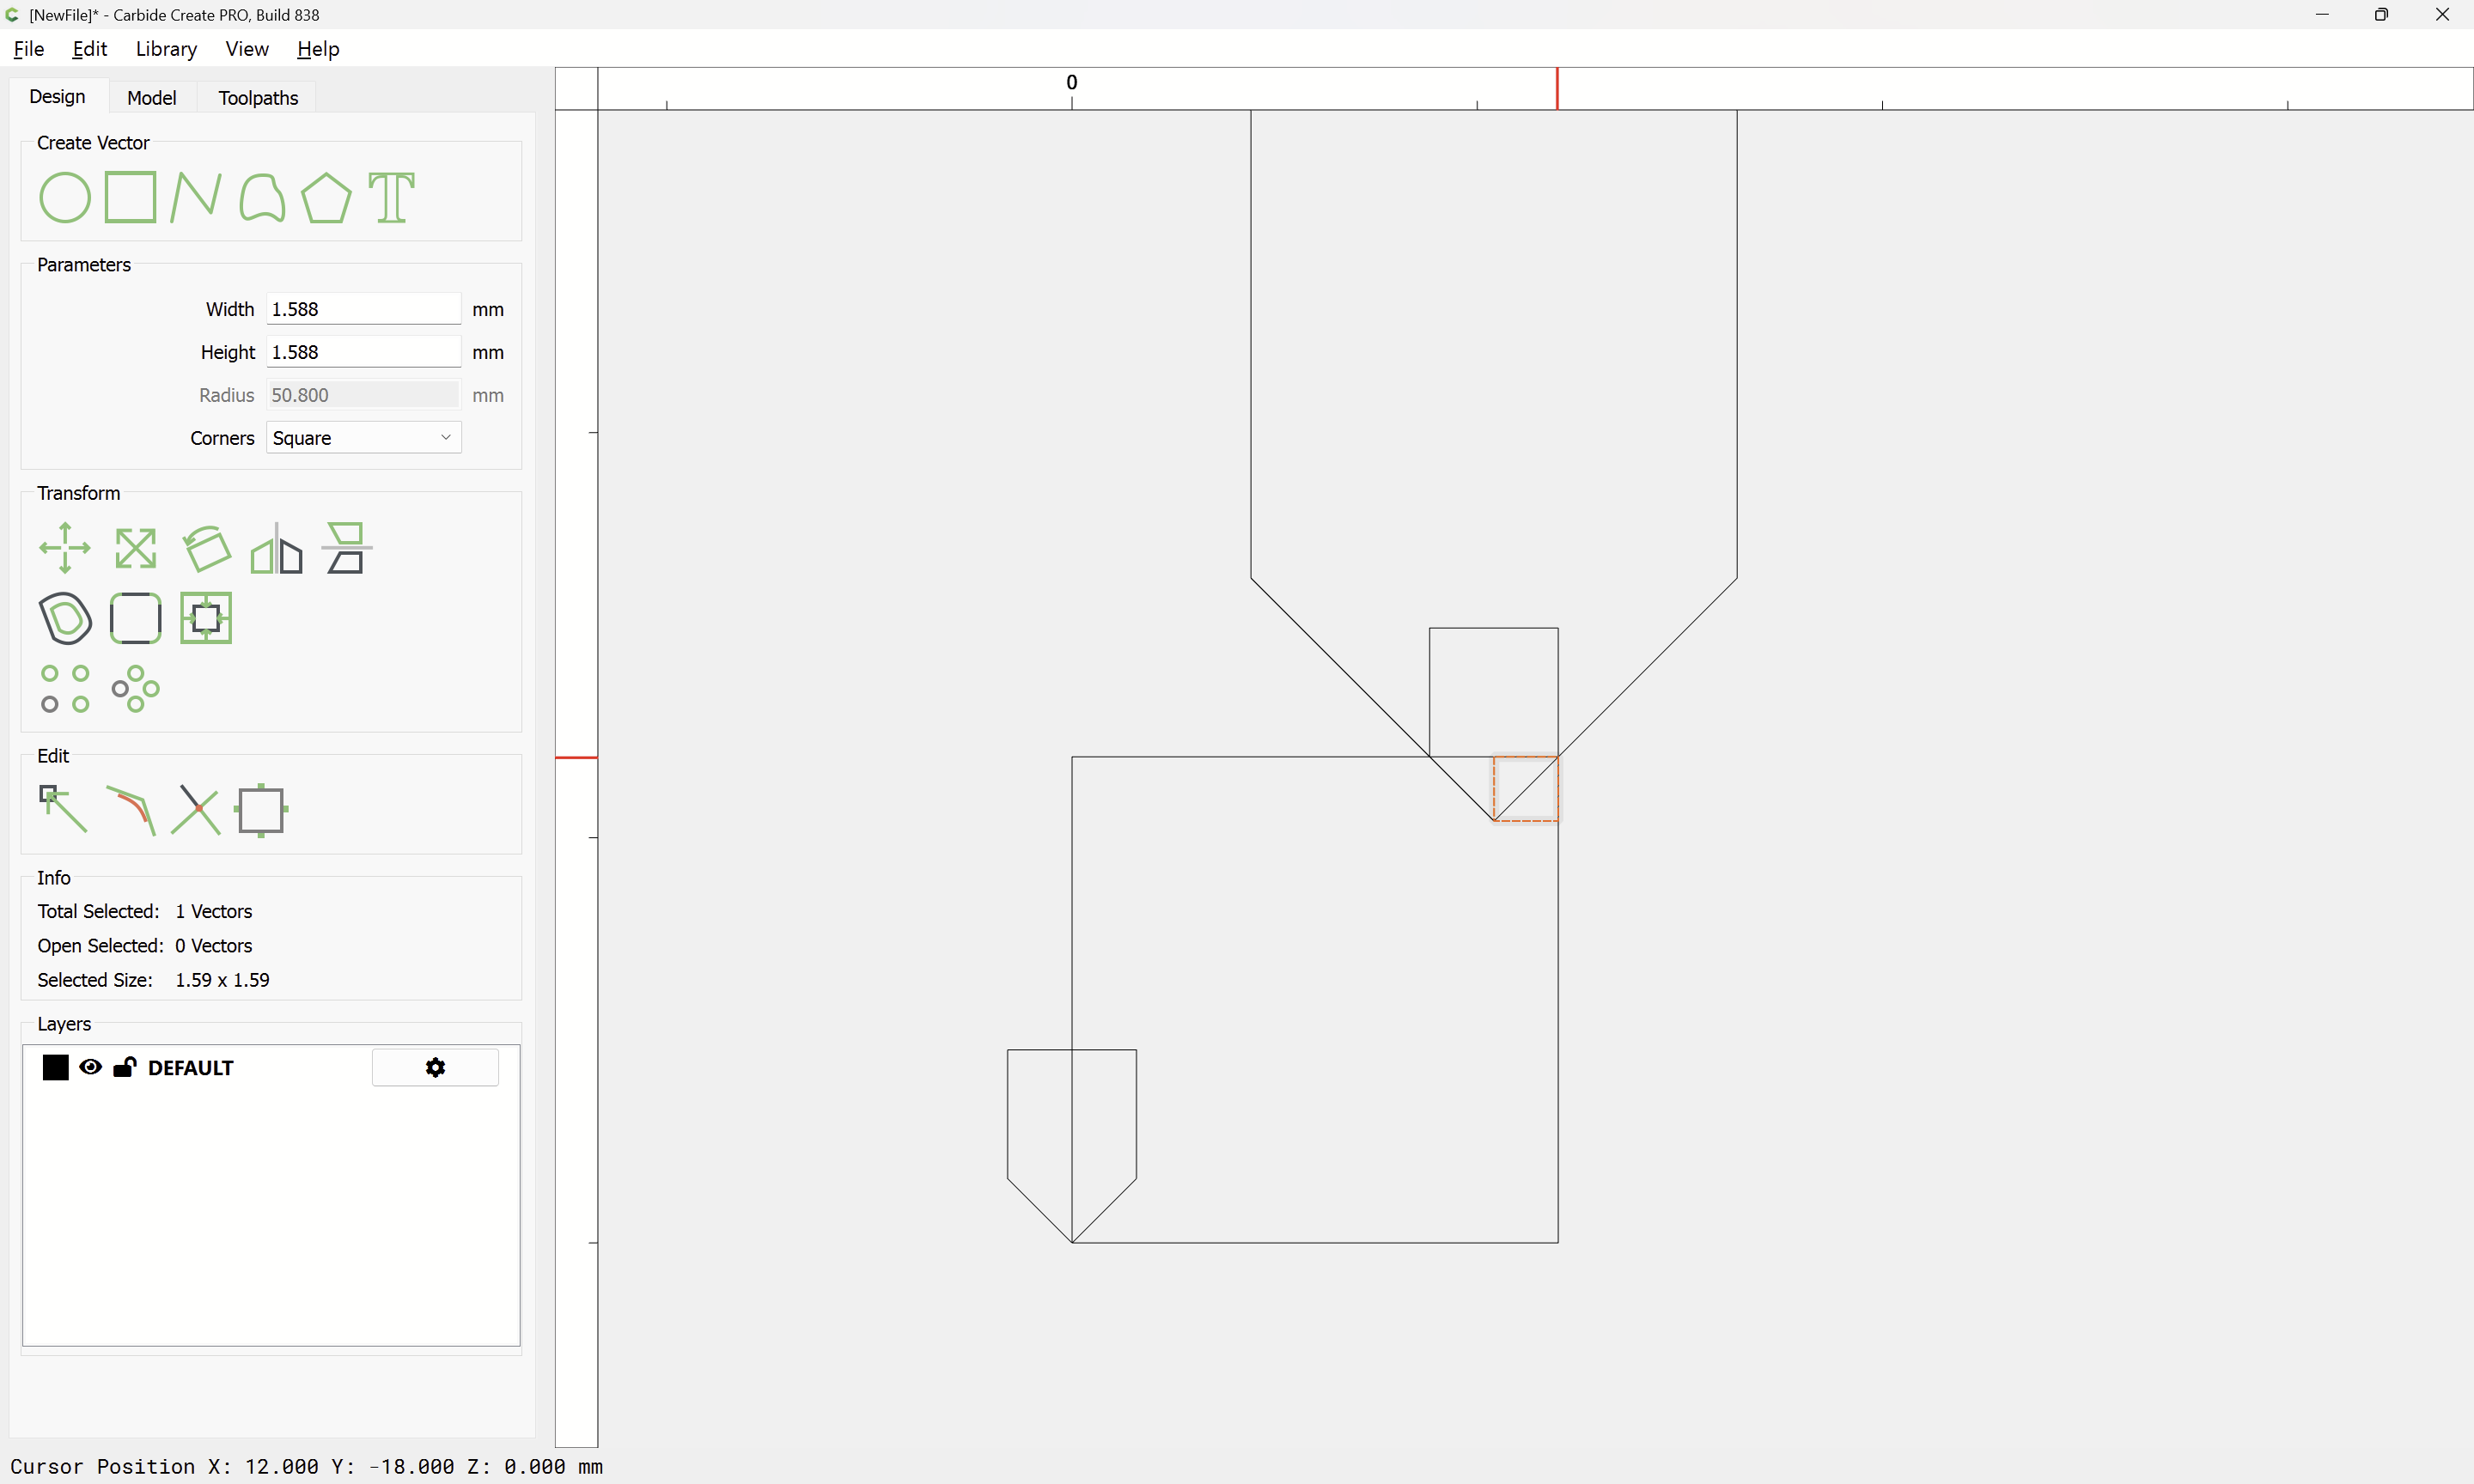
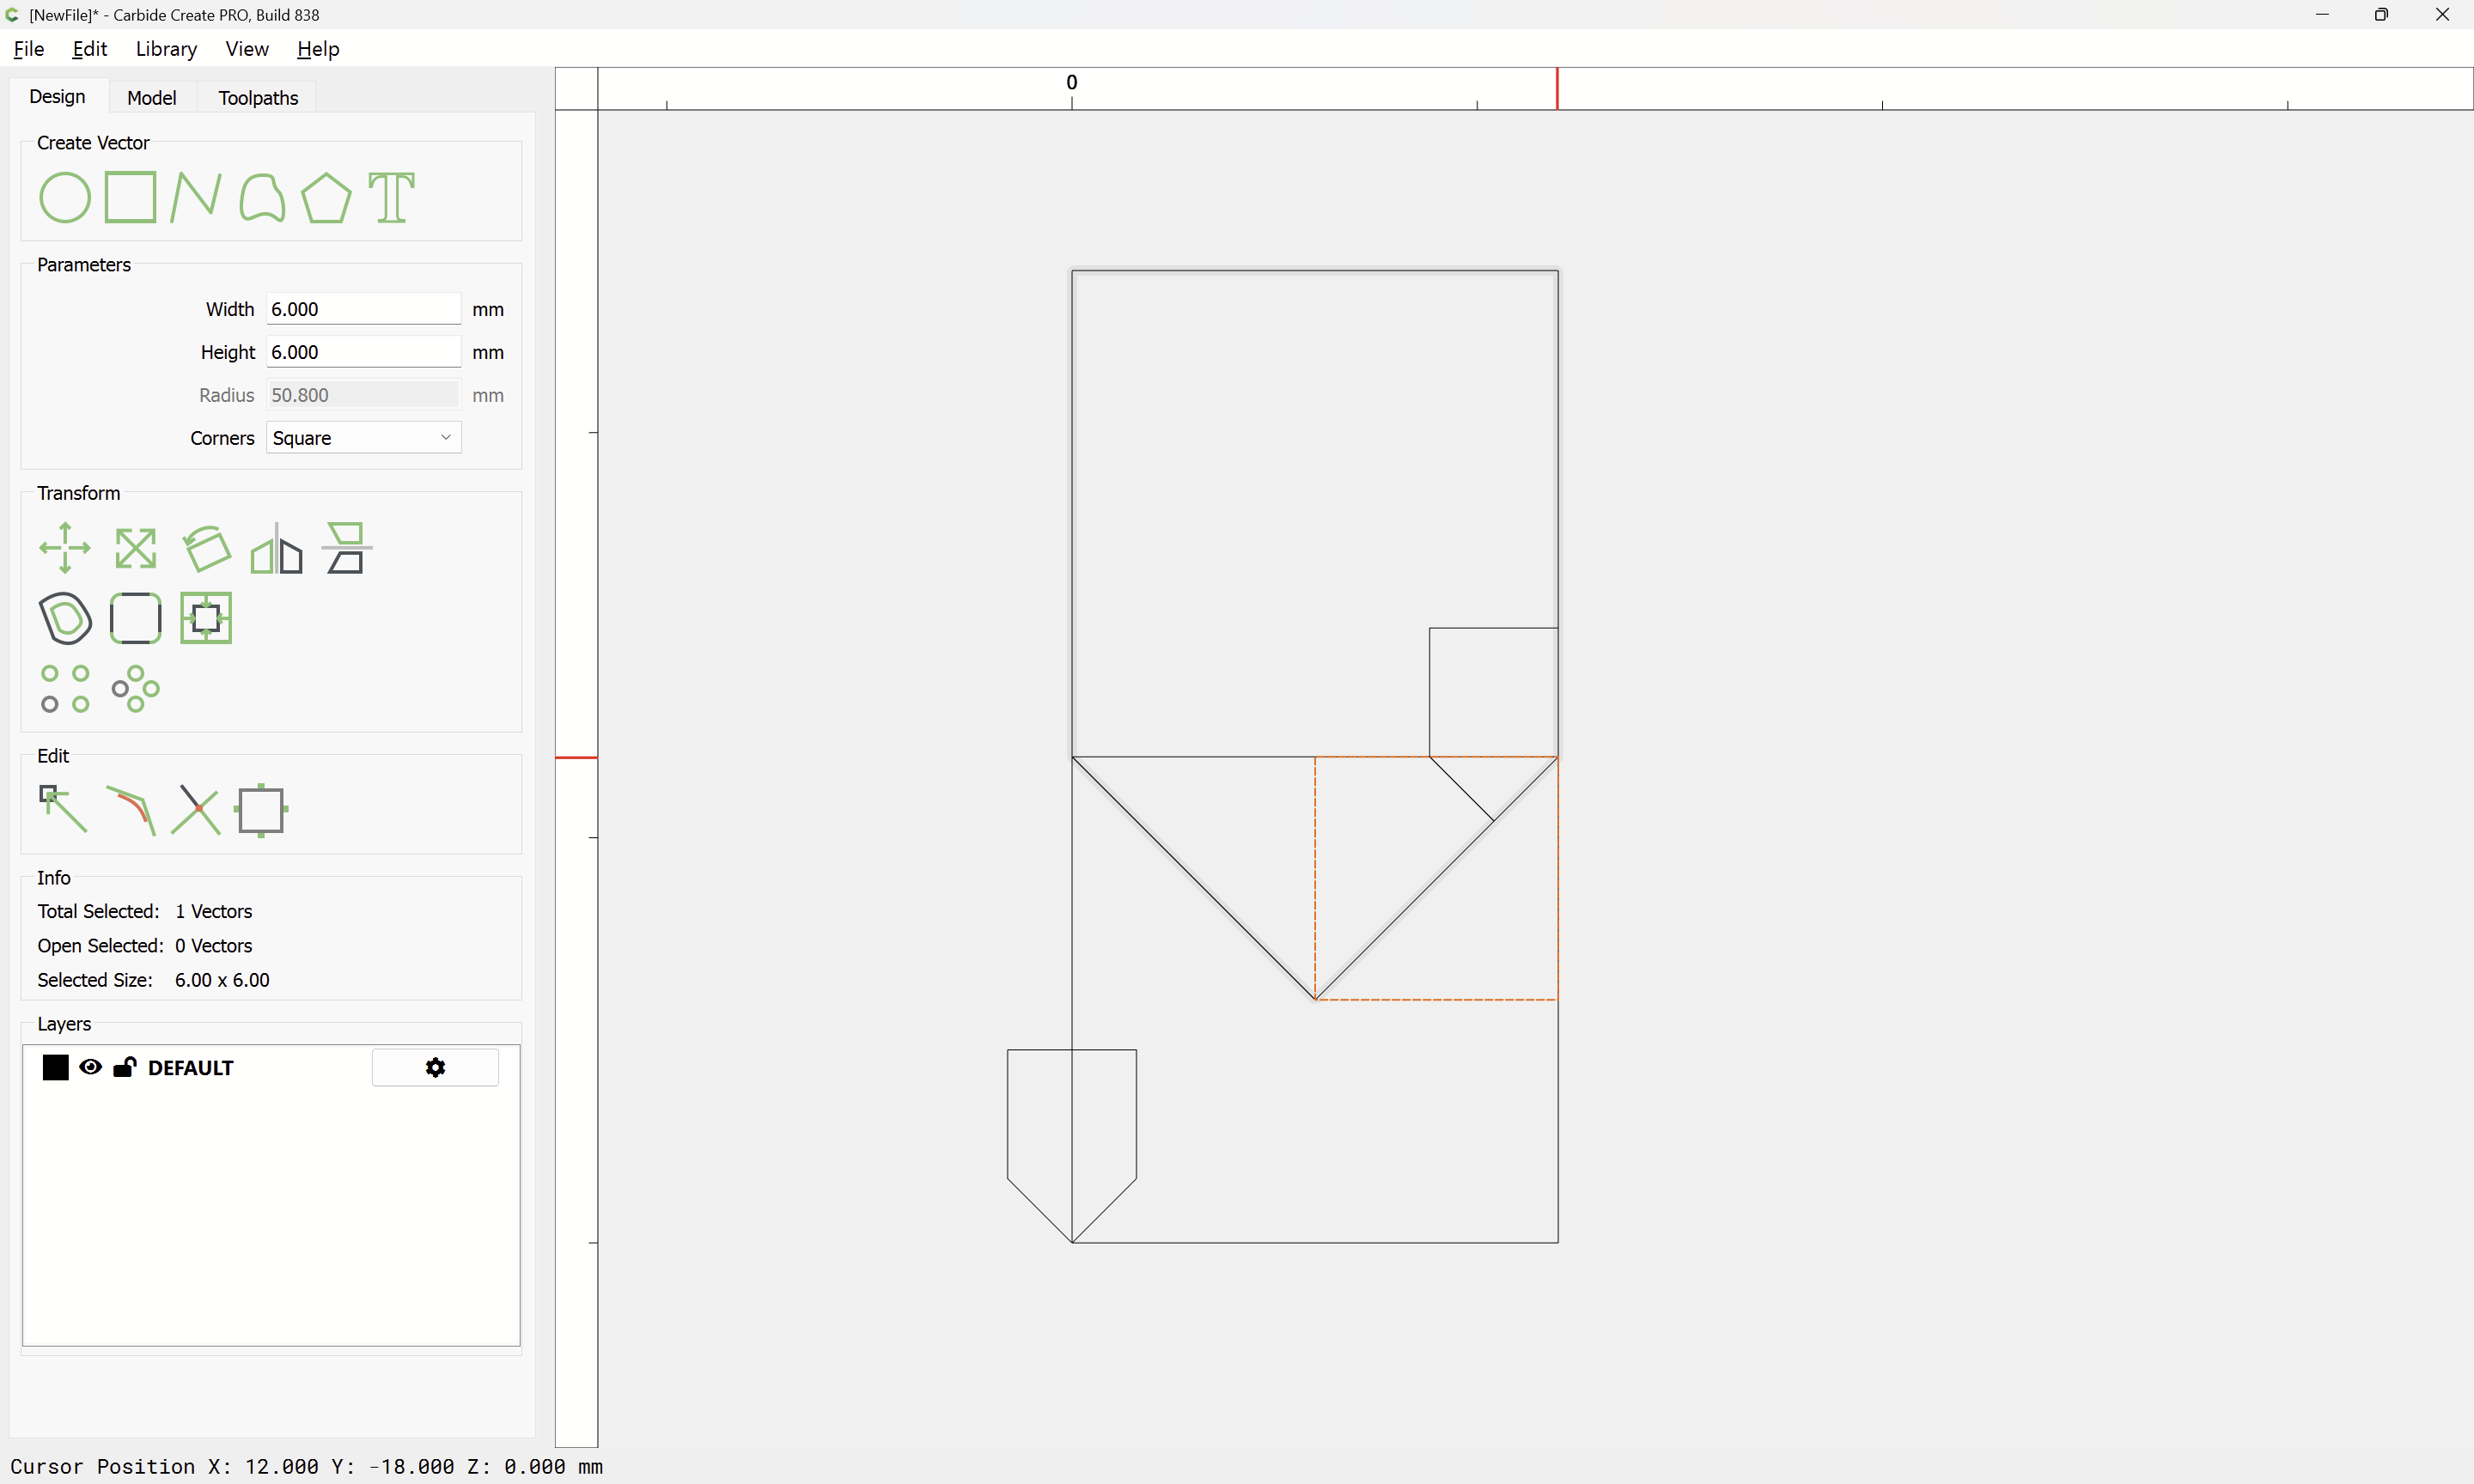
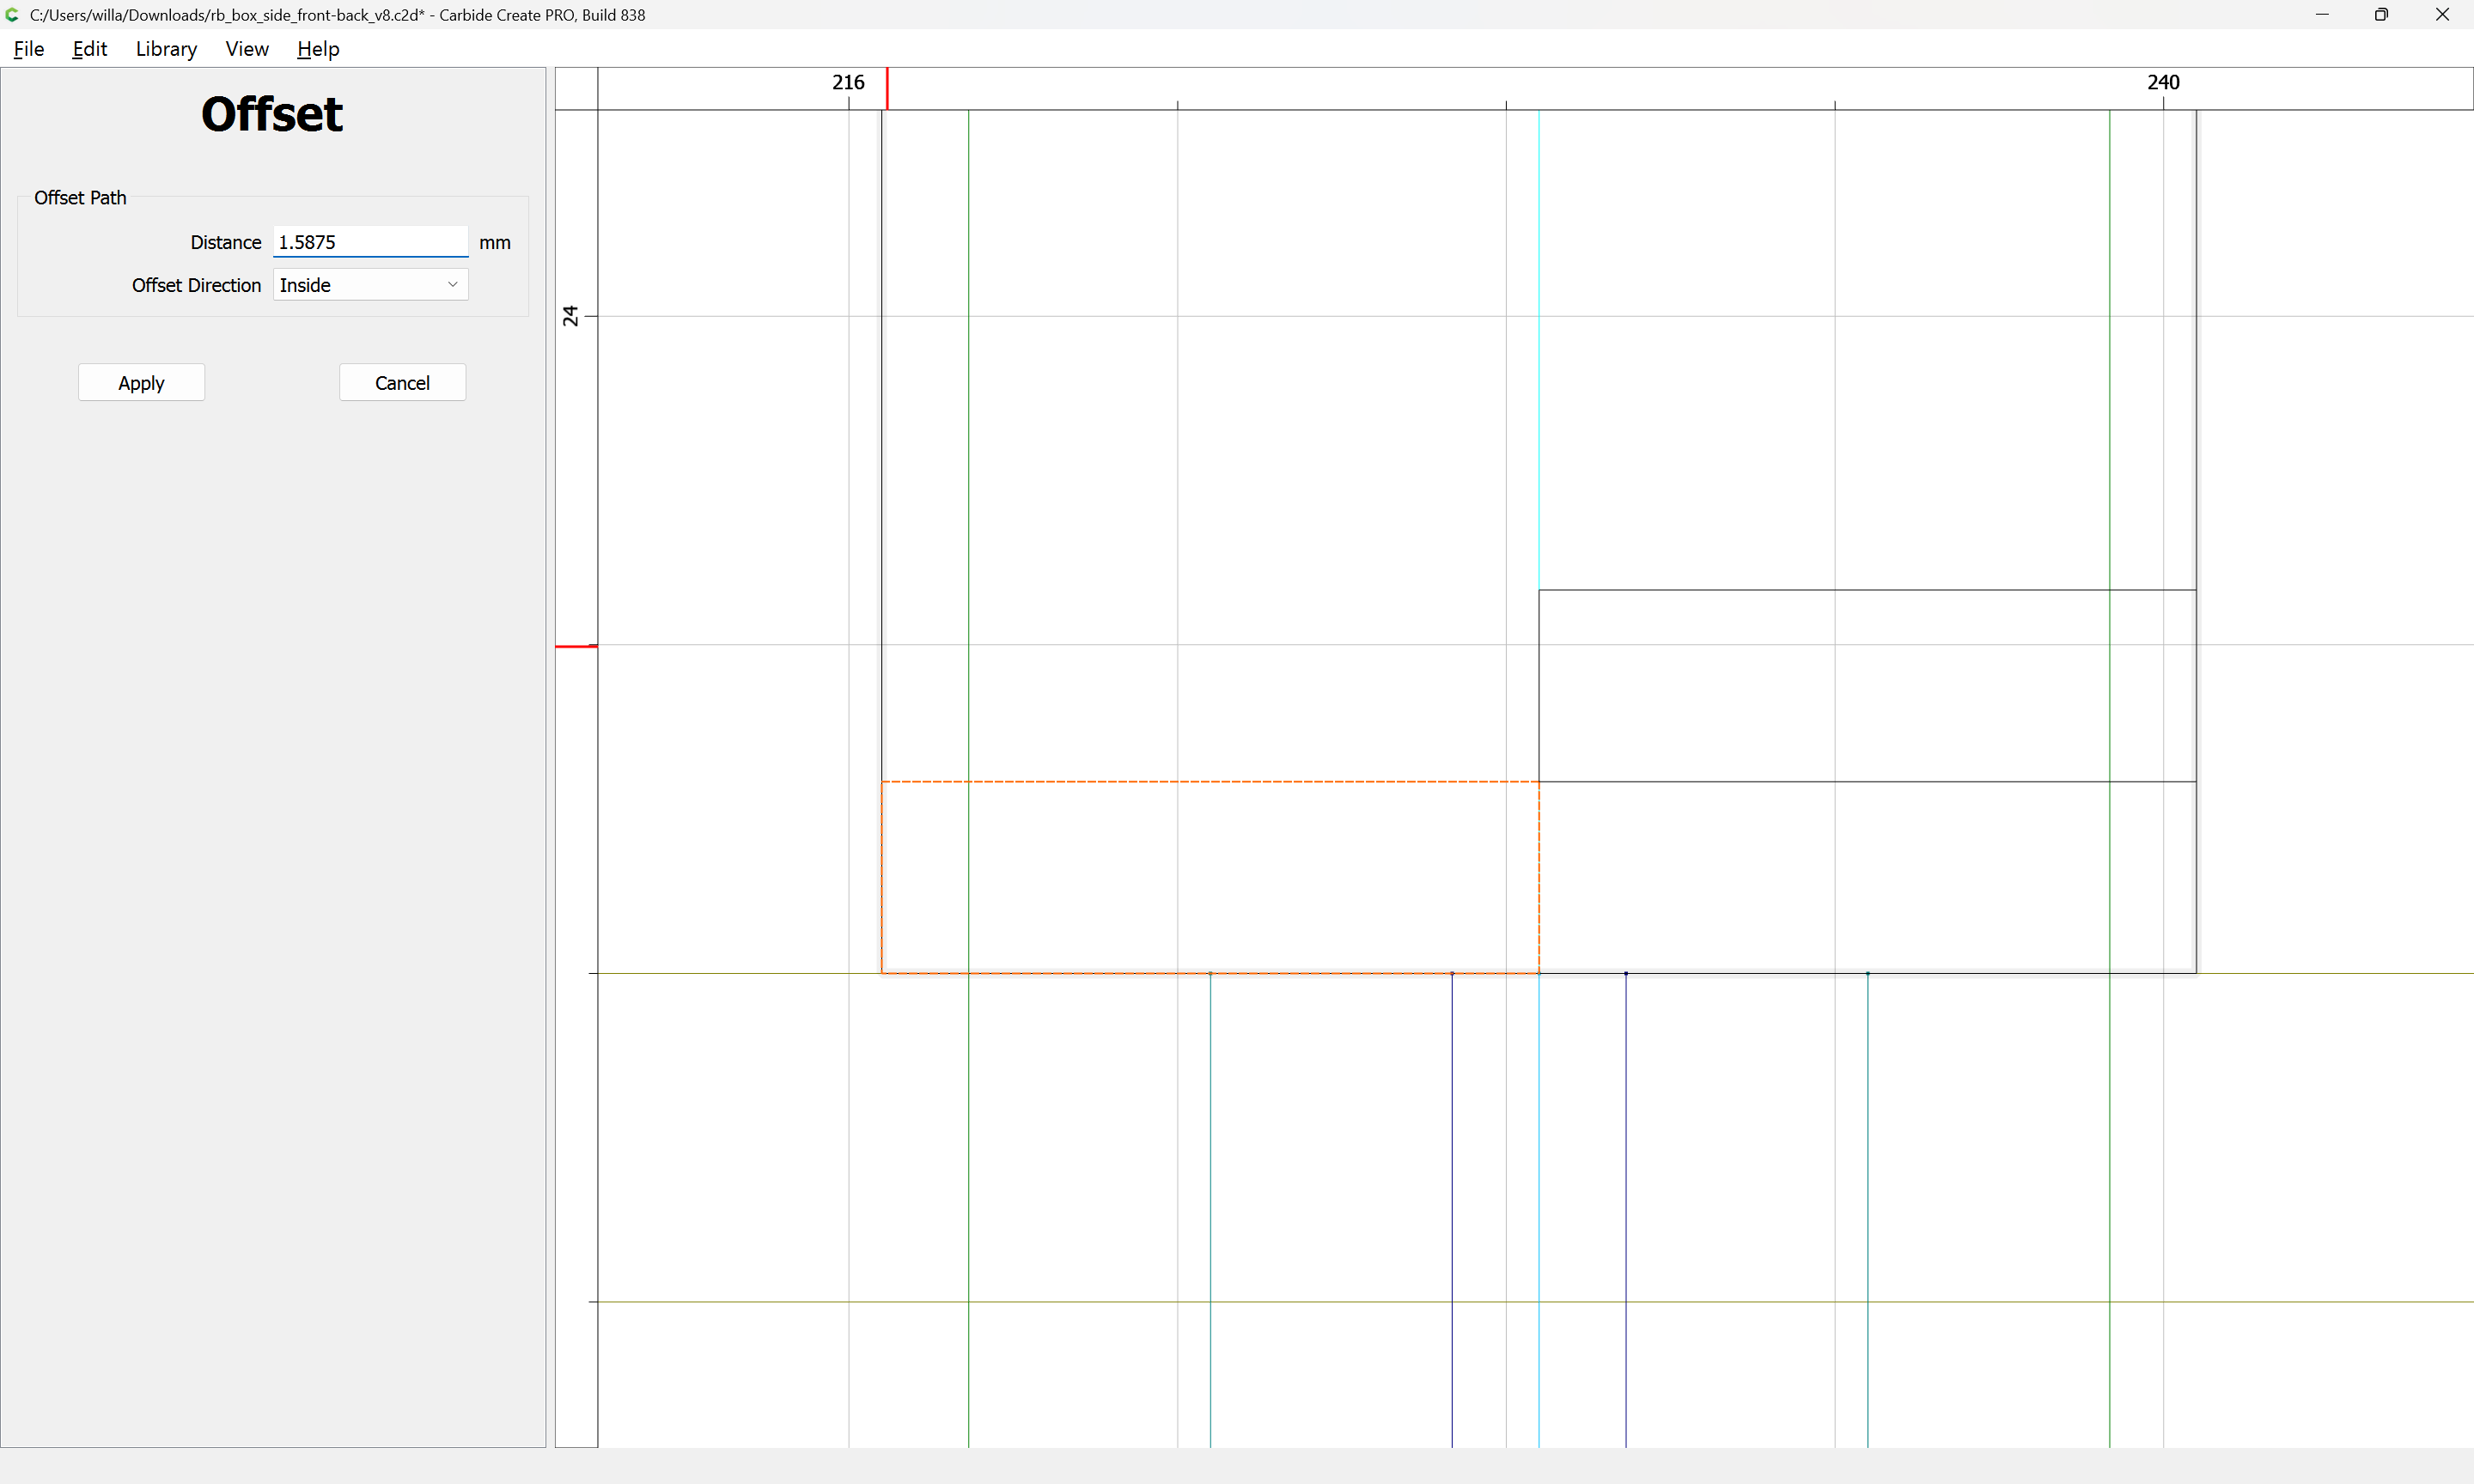
The cuts are most easily realized as filling a rectangle which is Stock Thickness wide for each side, and a bit more than Small V tool diameter tall, since that is 3.175mm, rounding up to 3.5mm is workable and results in a great deal of glue surface area.
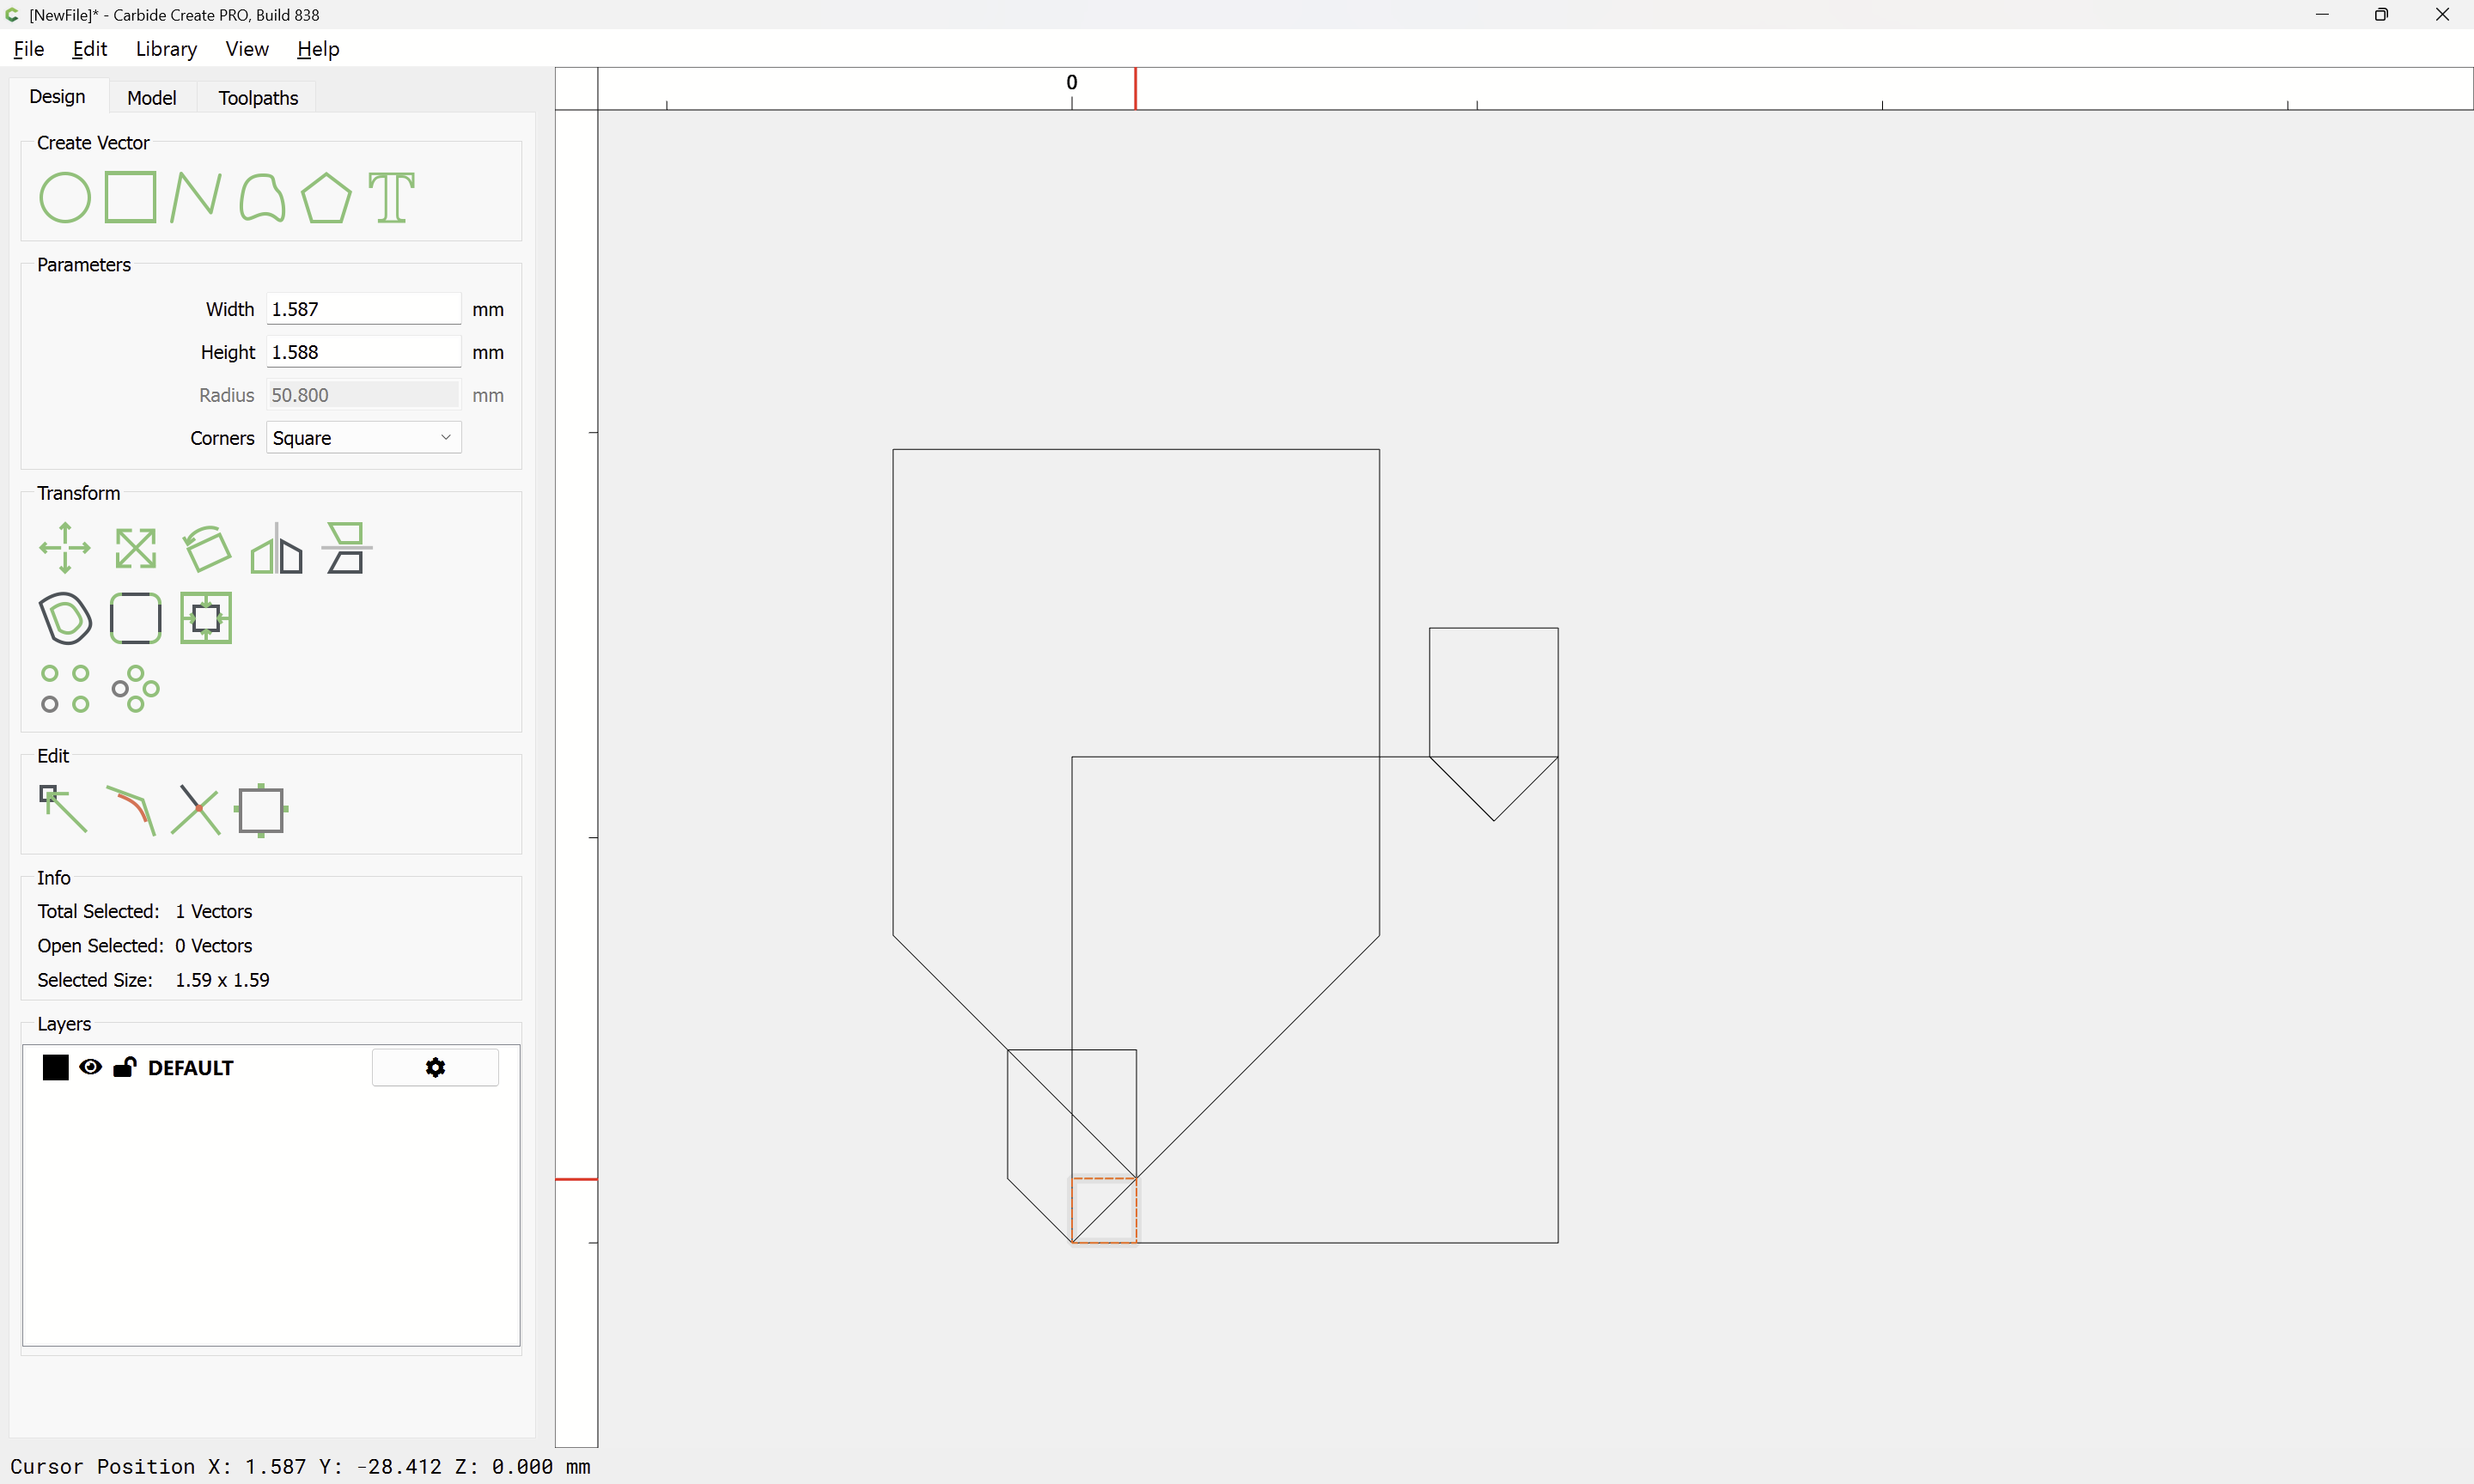
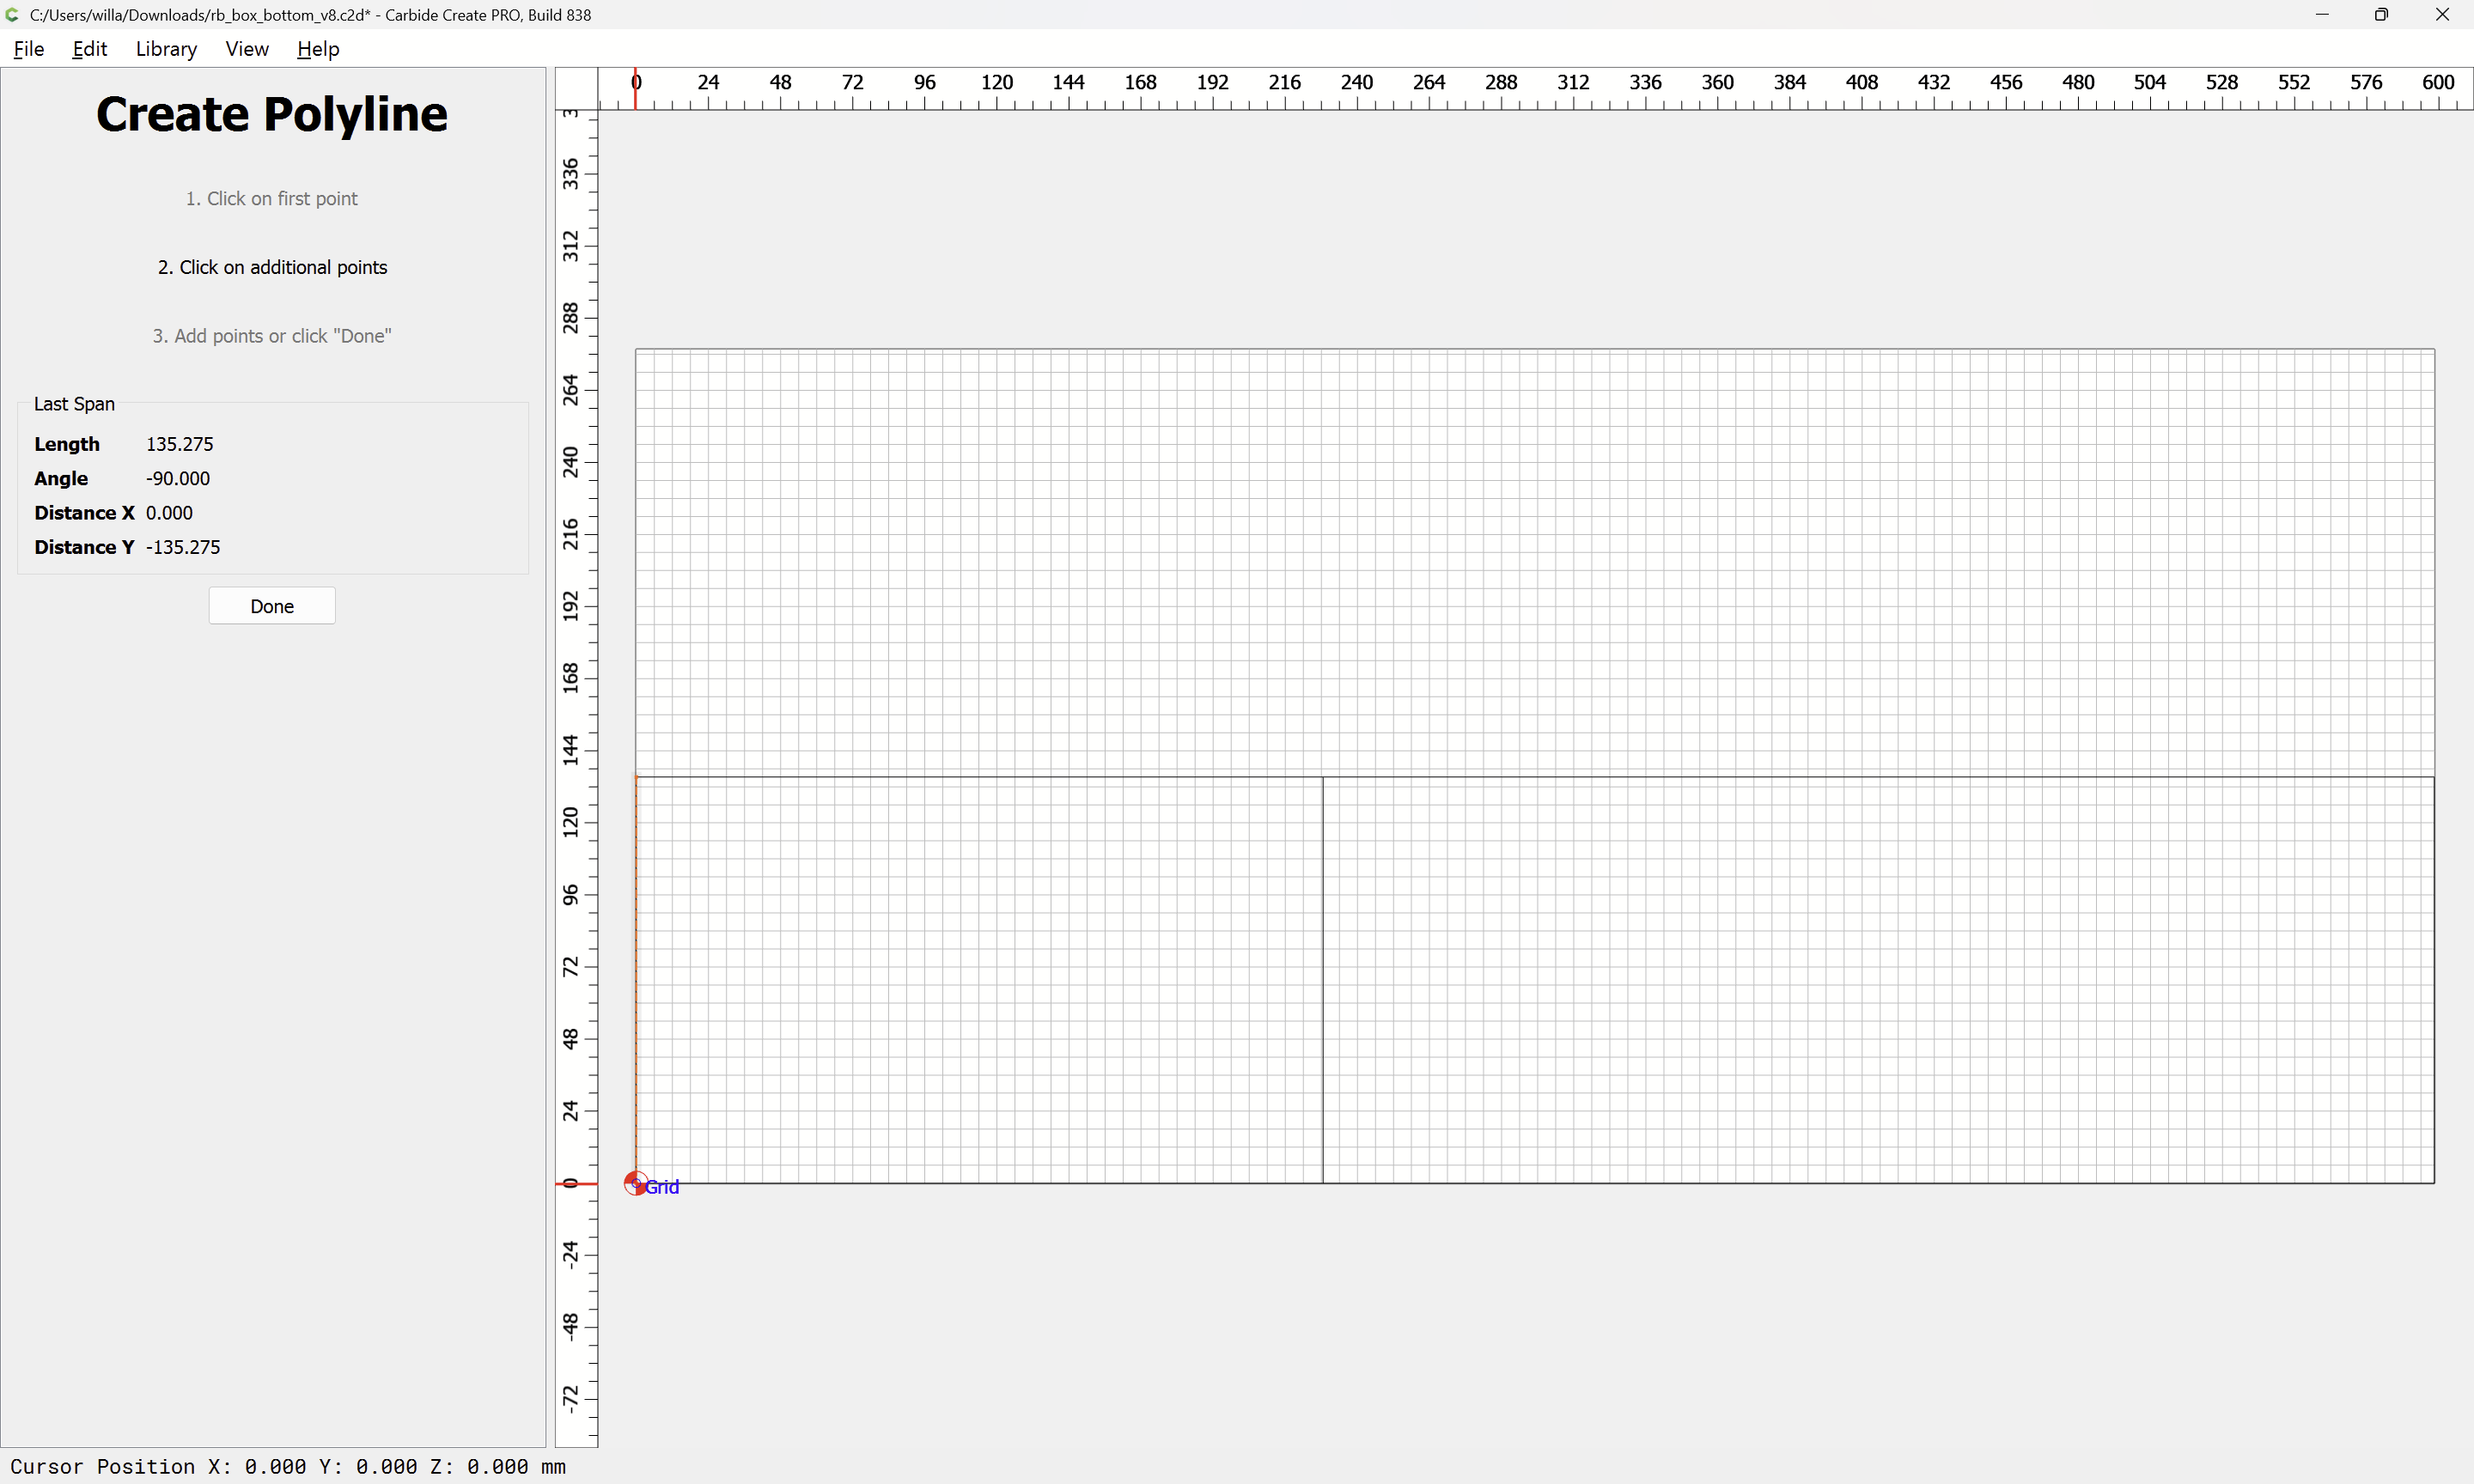
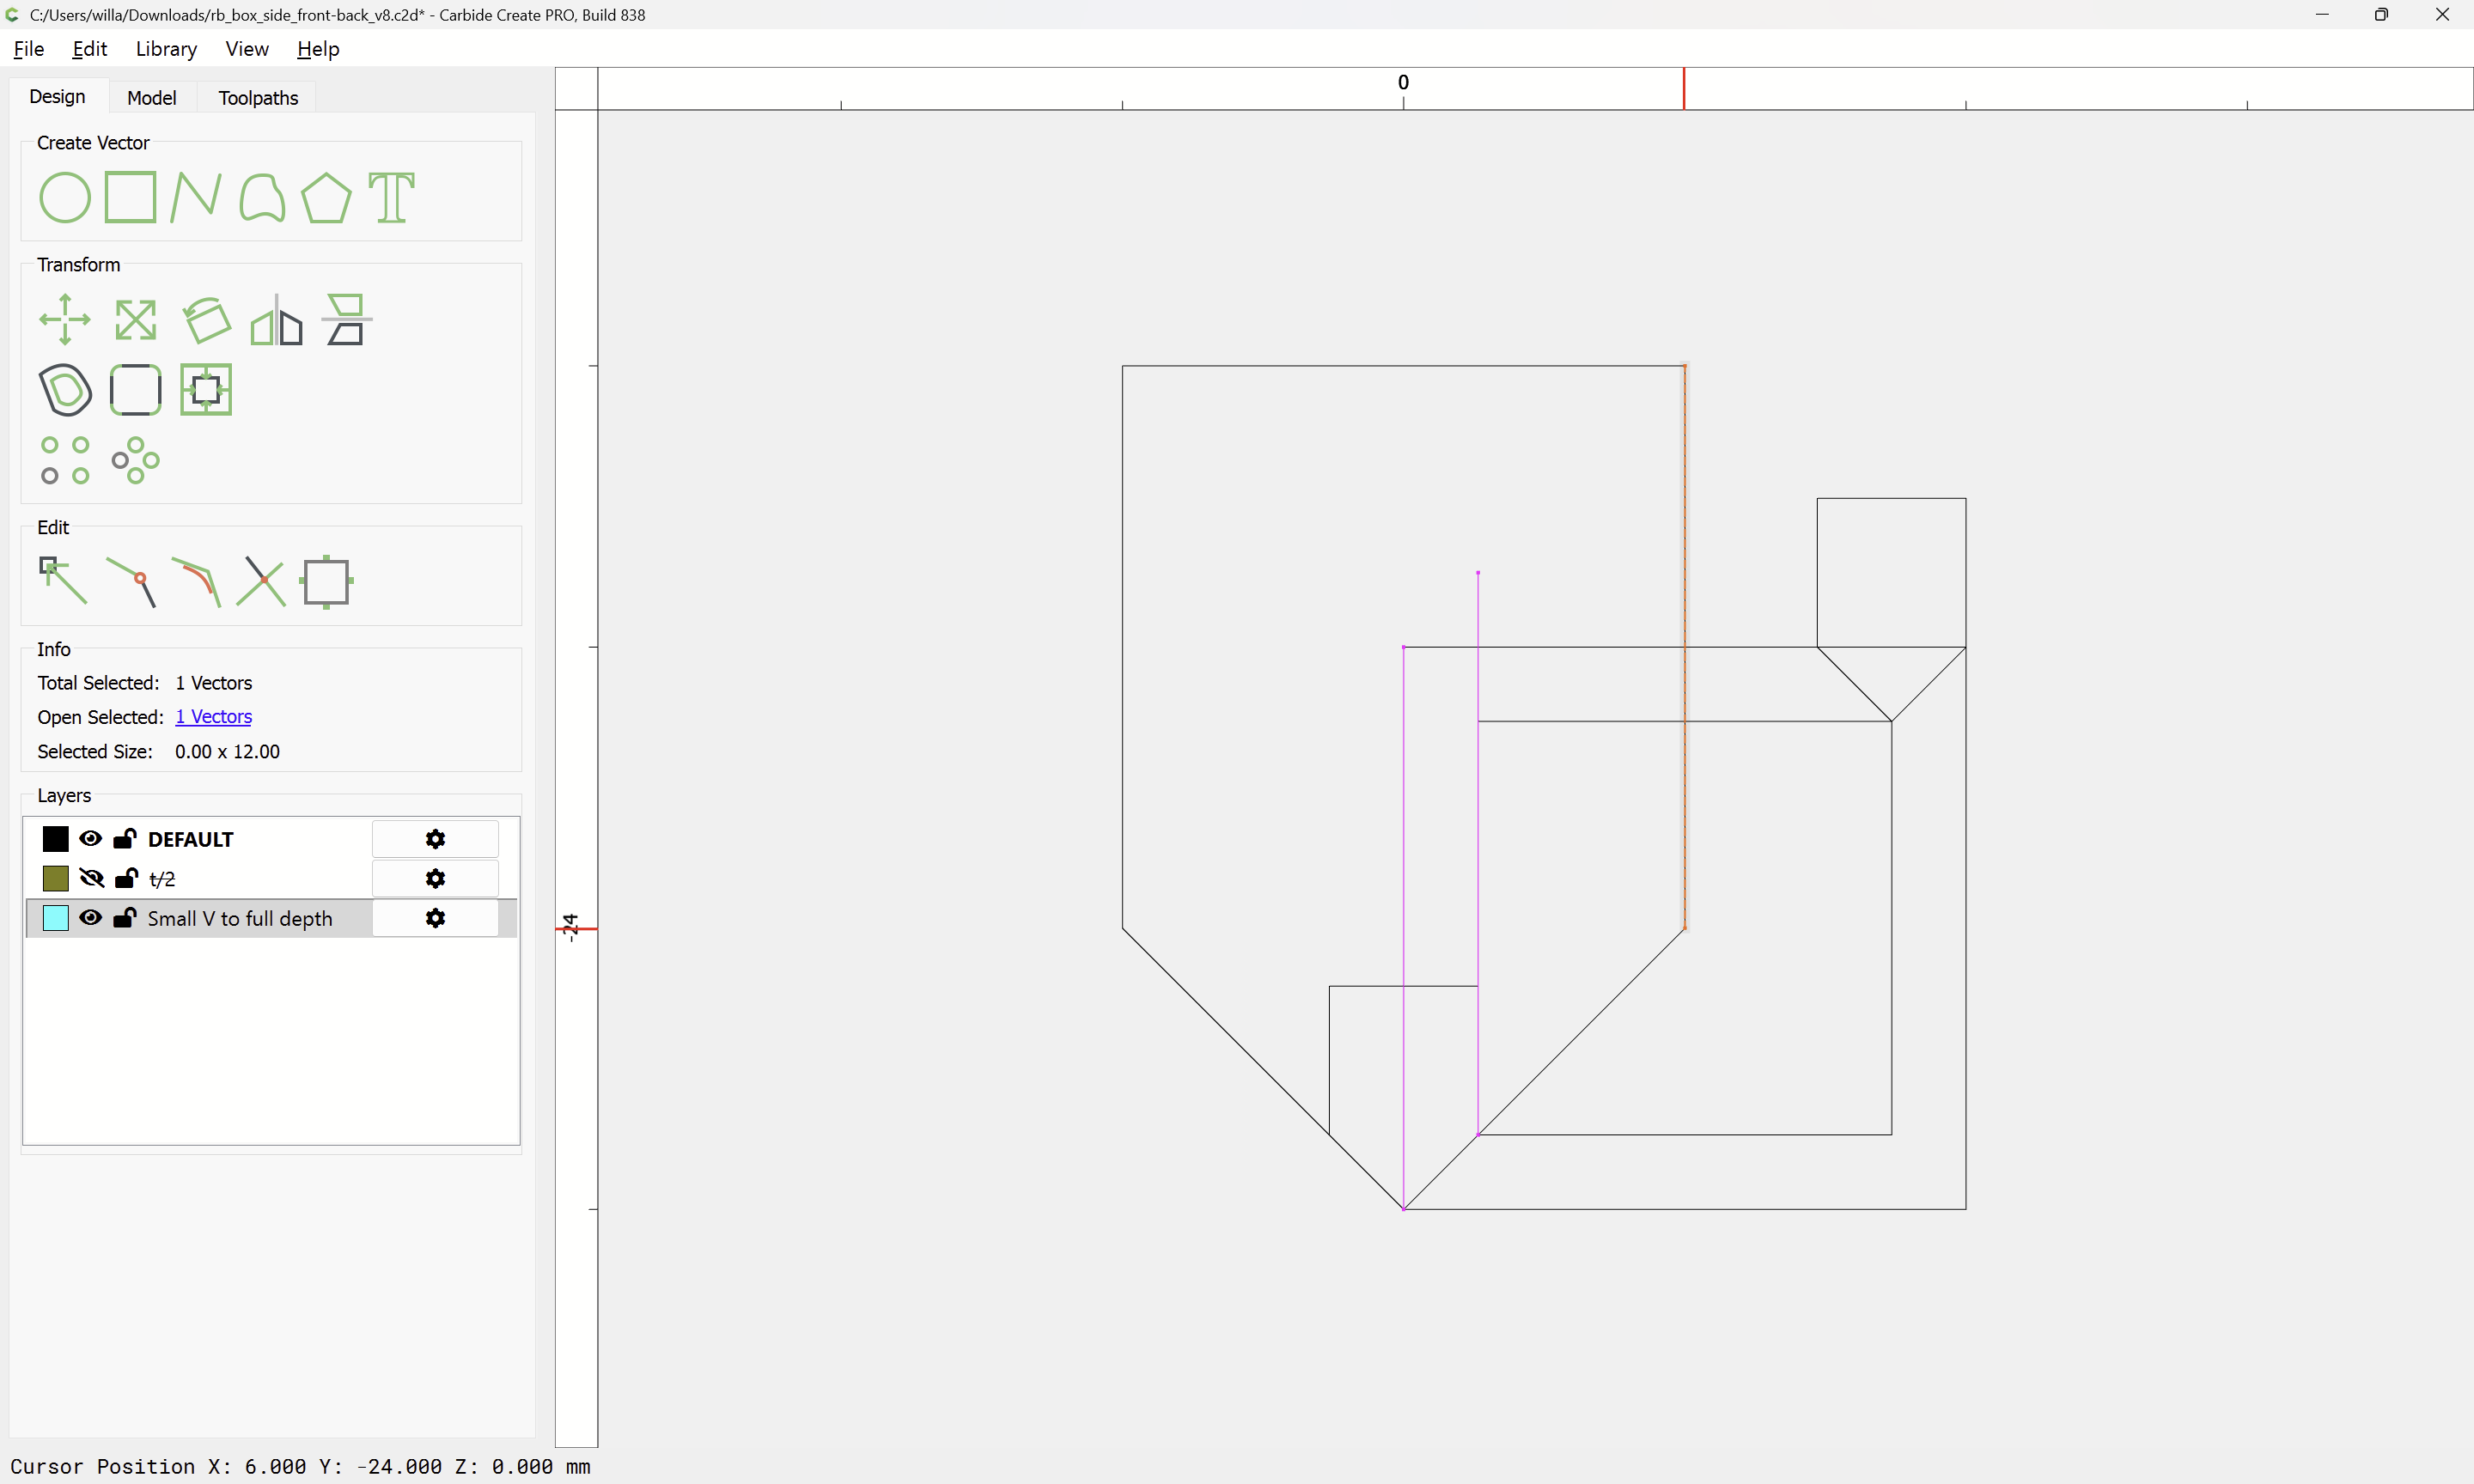
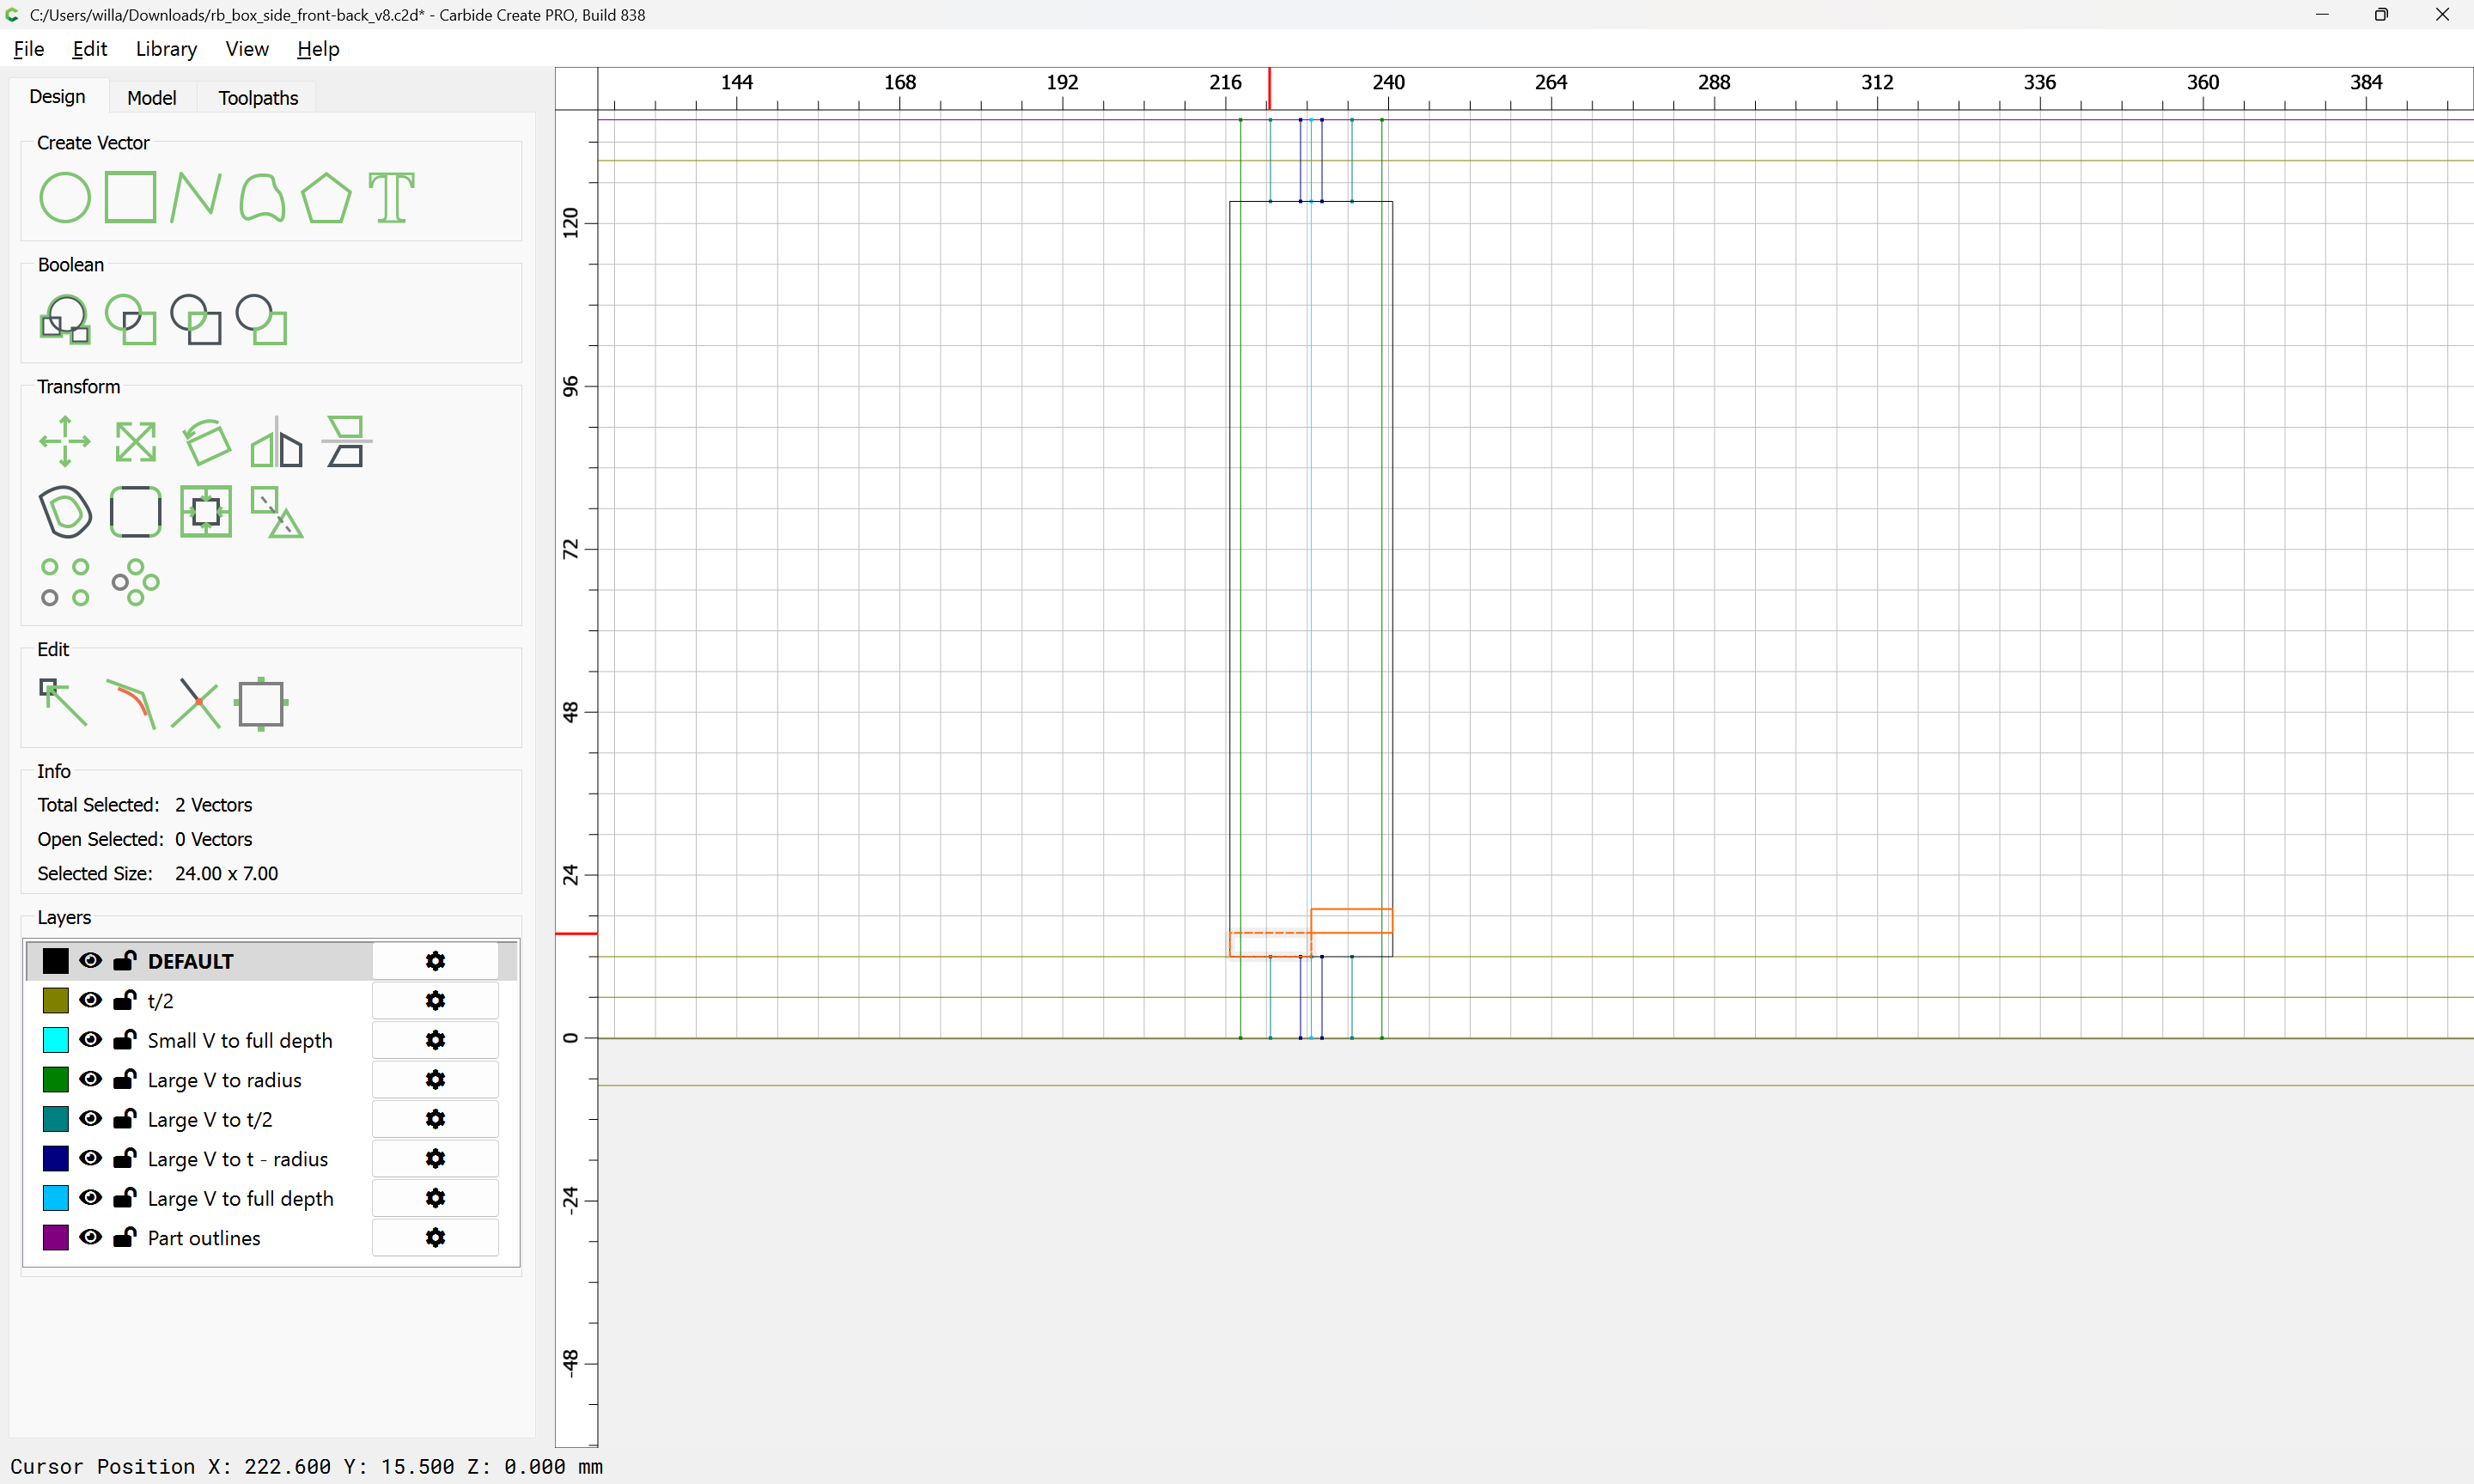
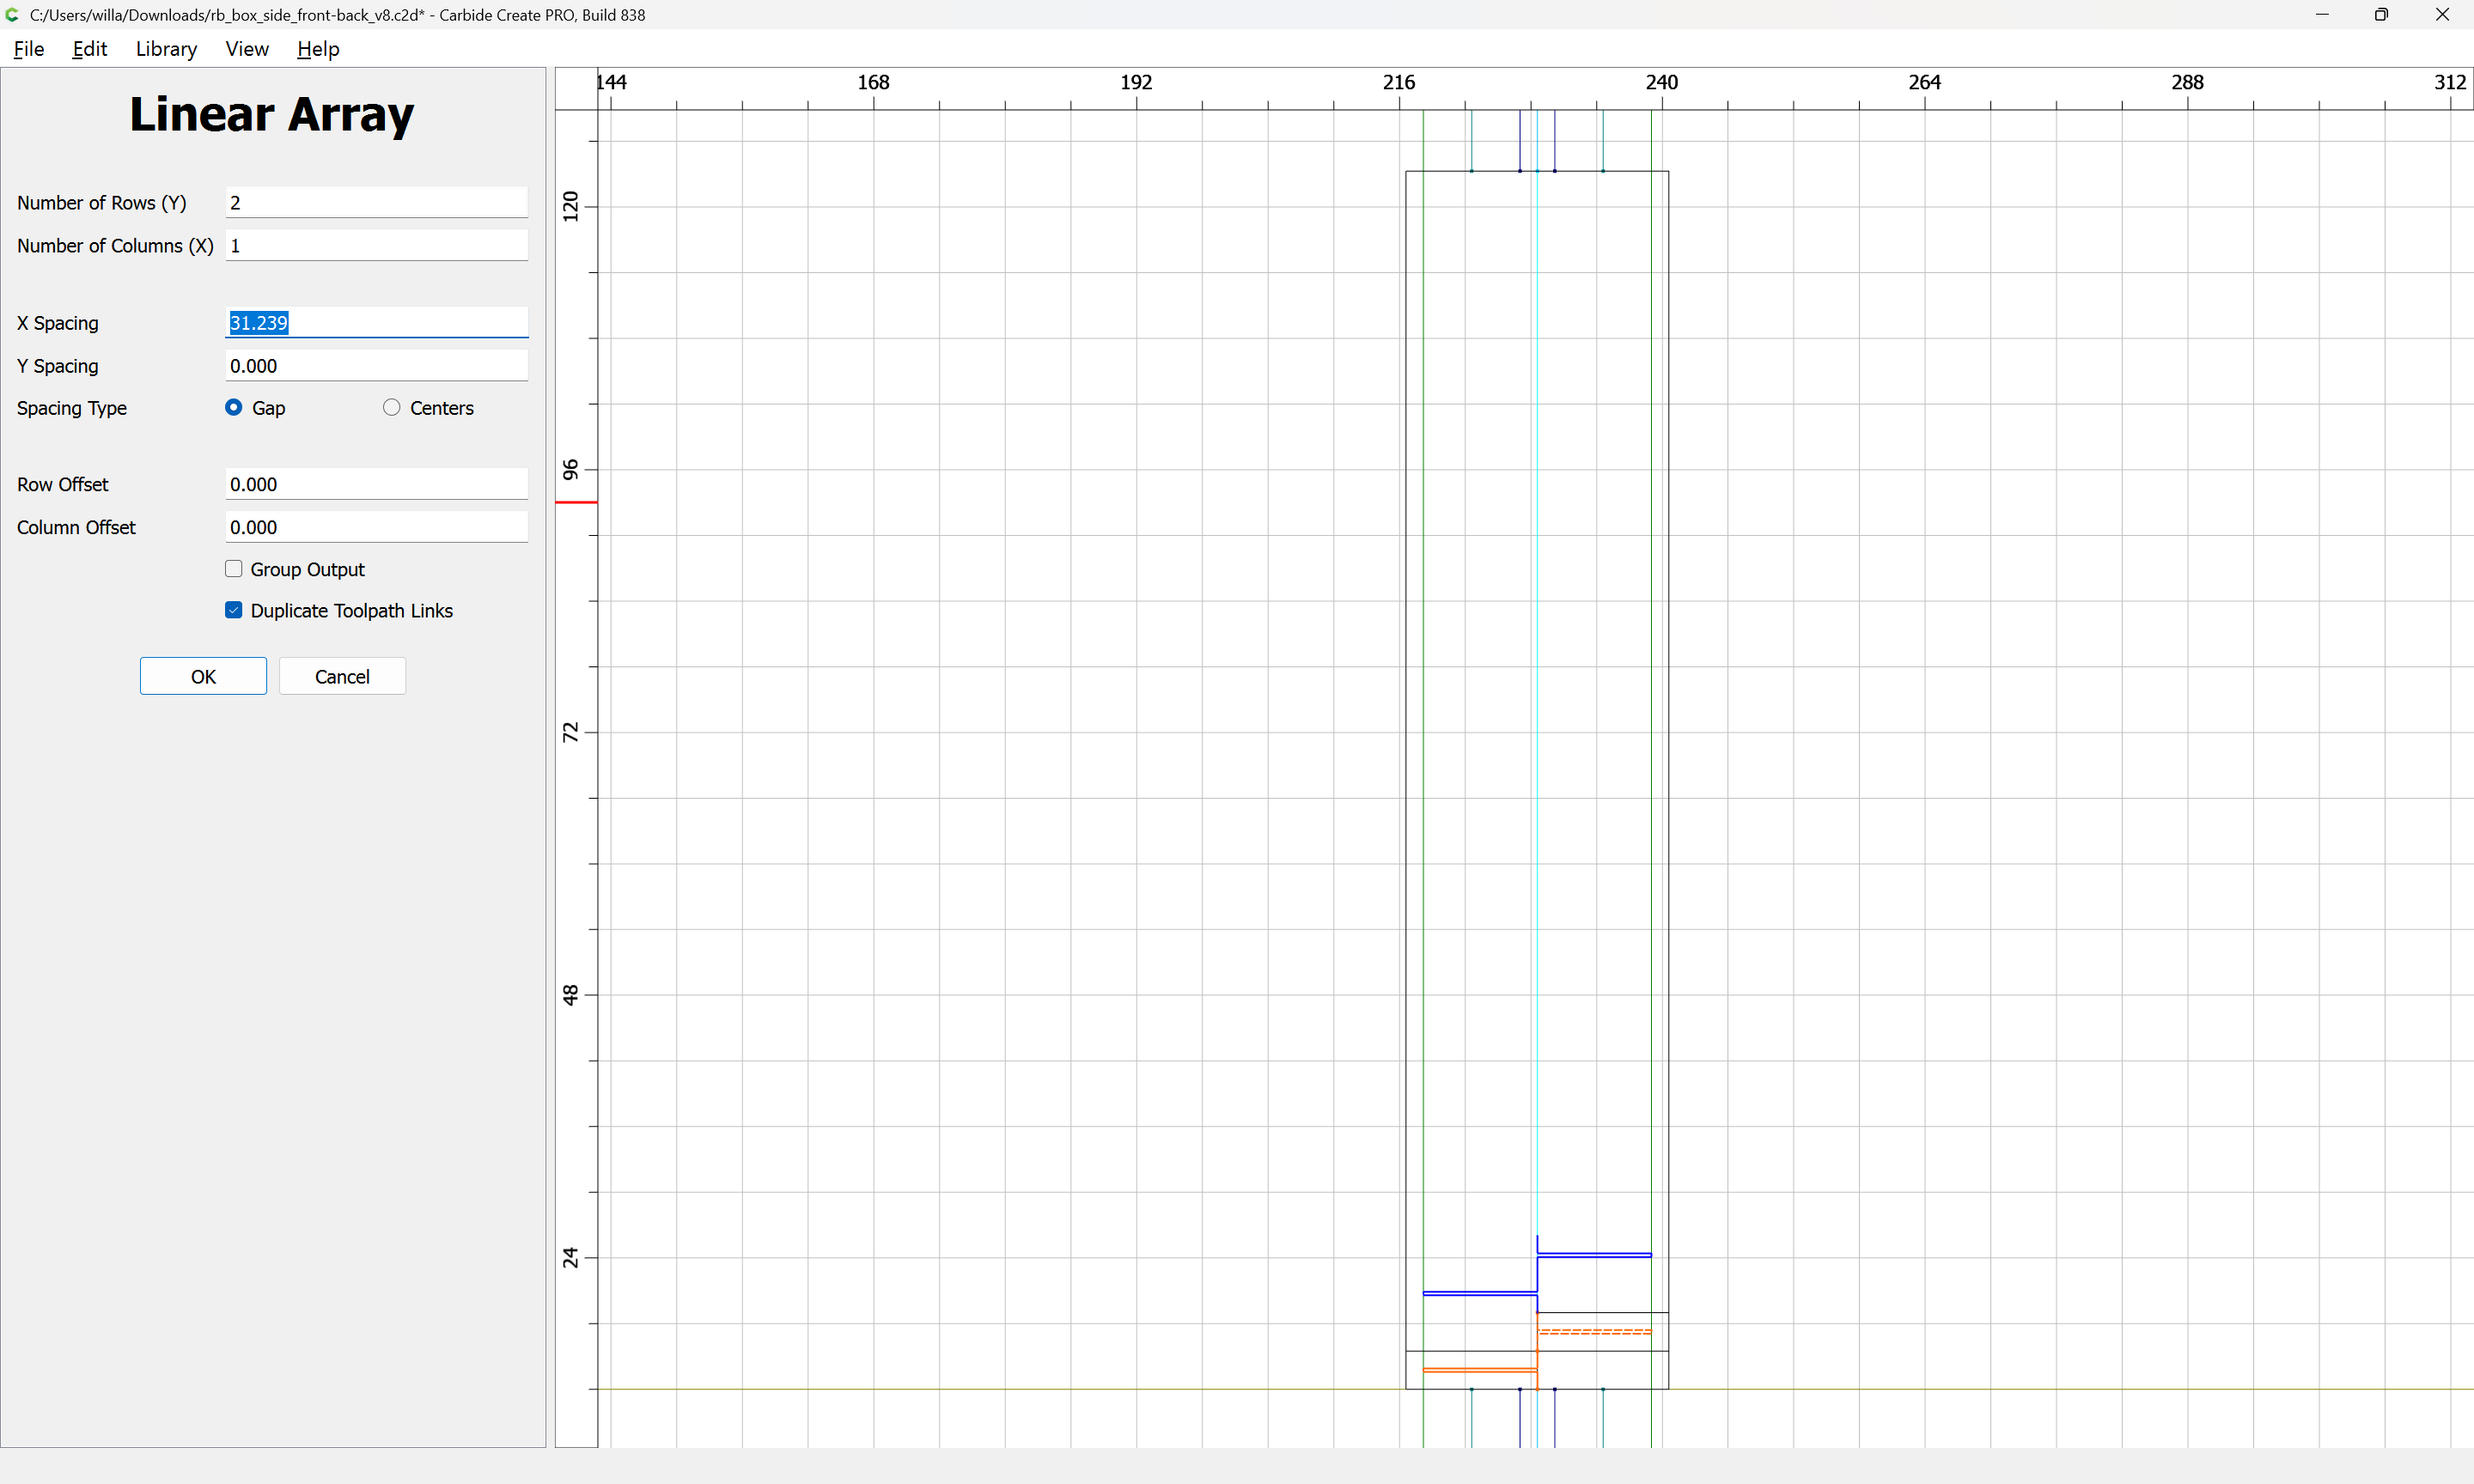
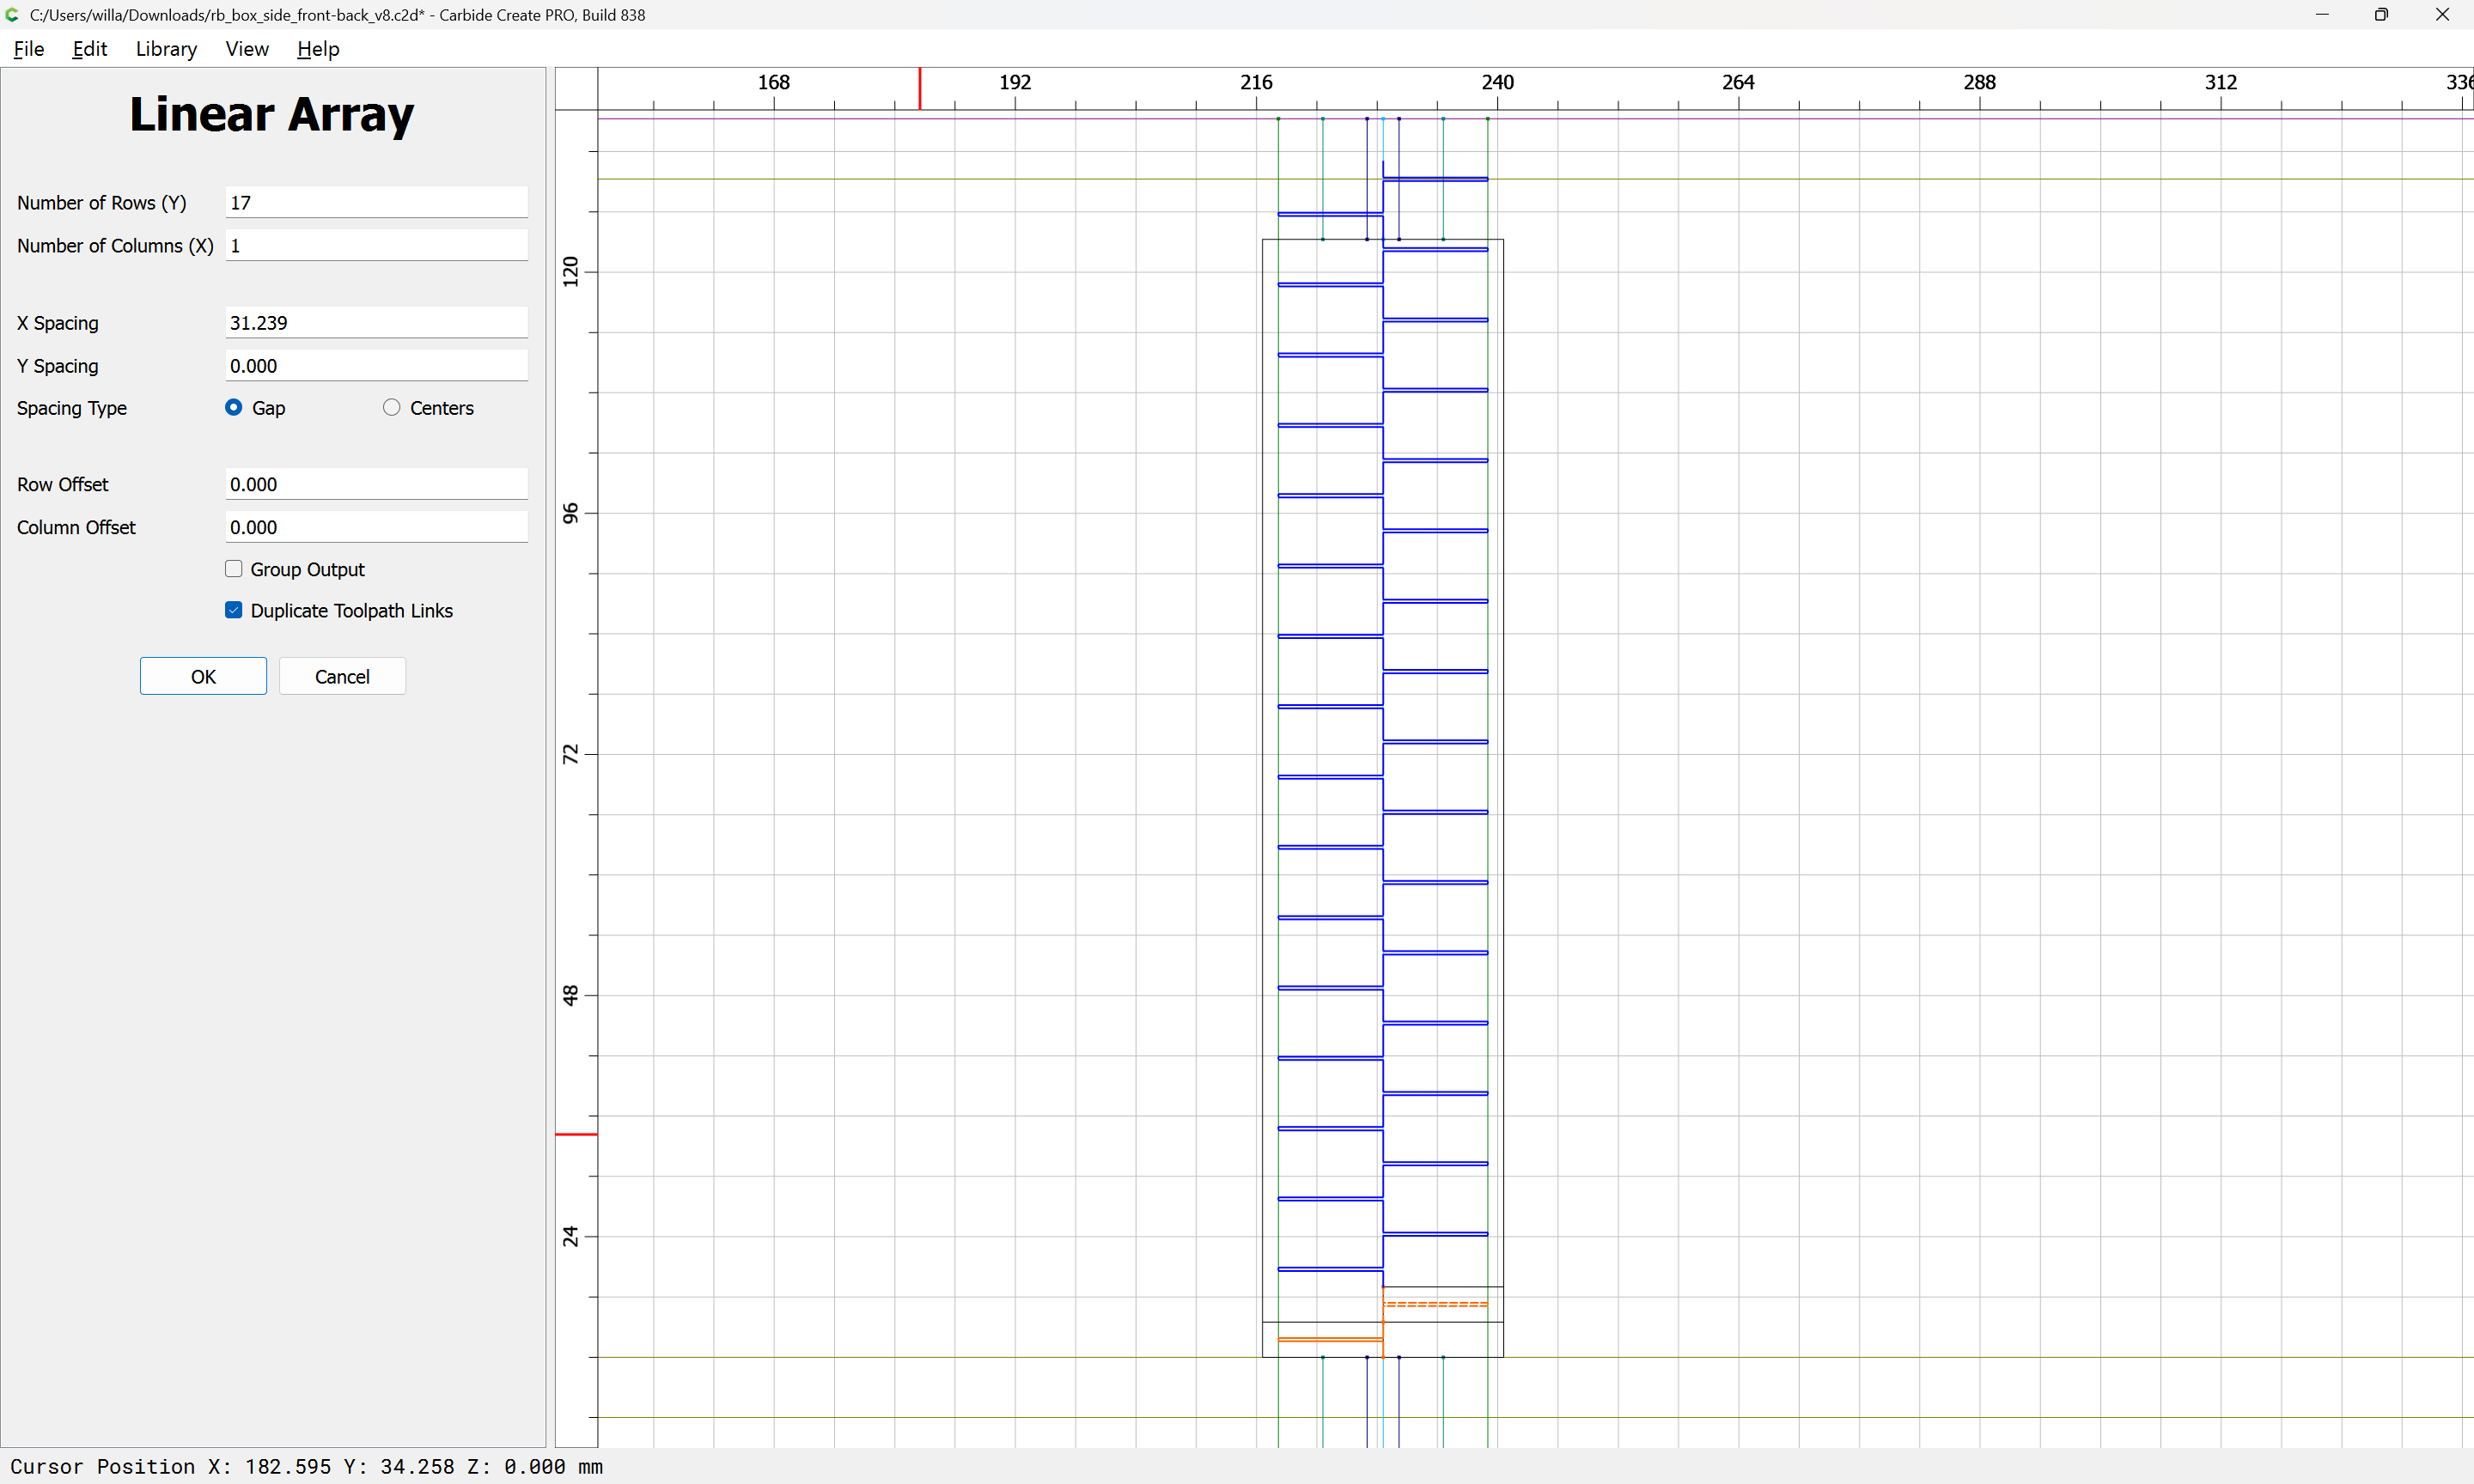
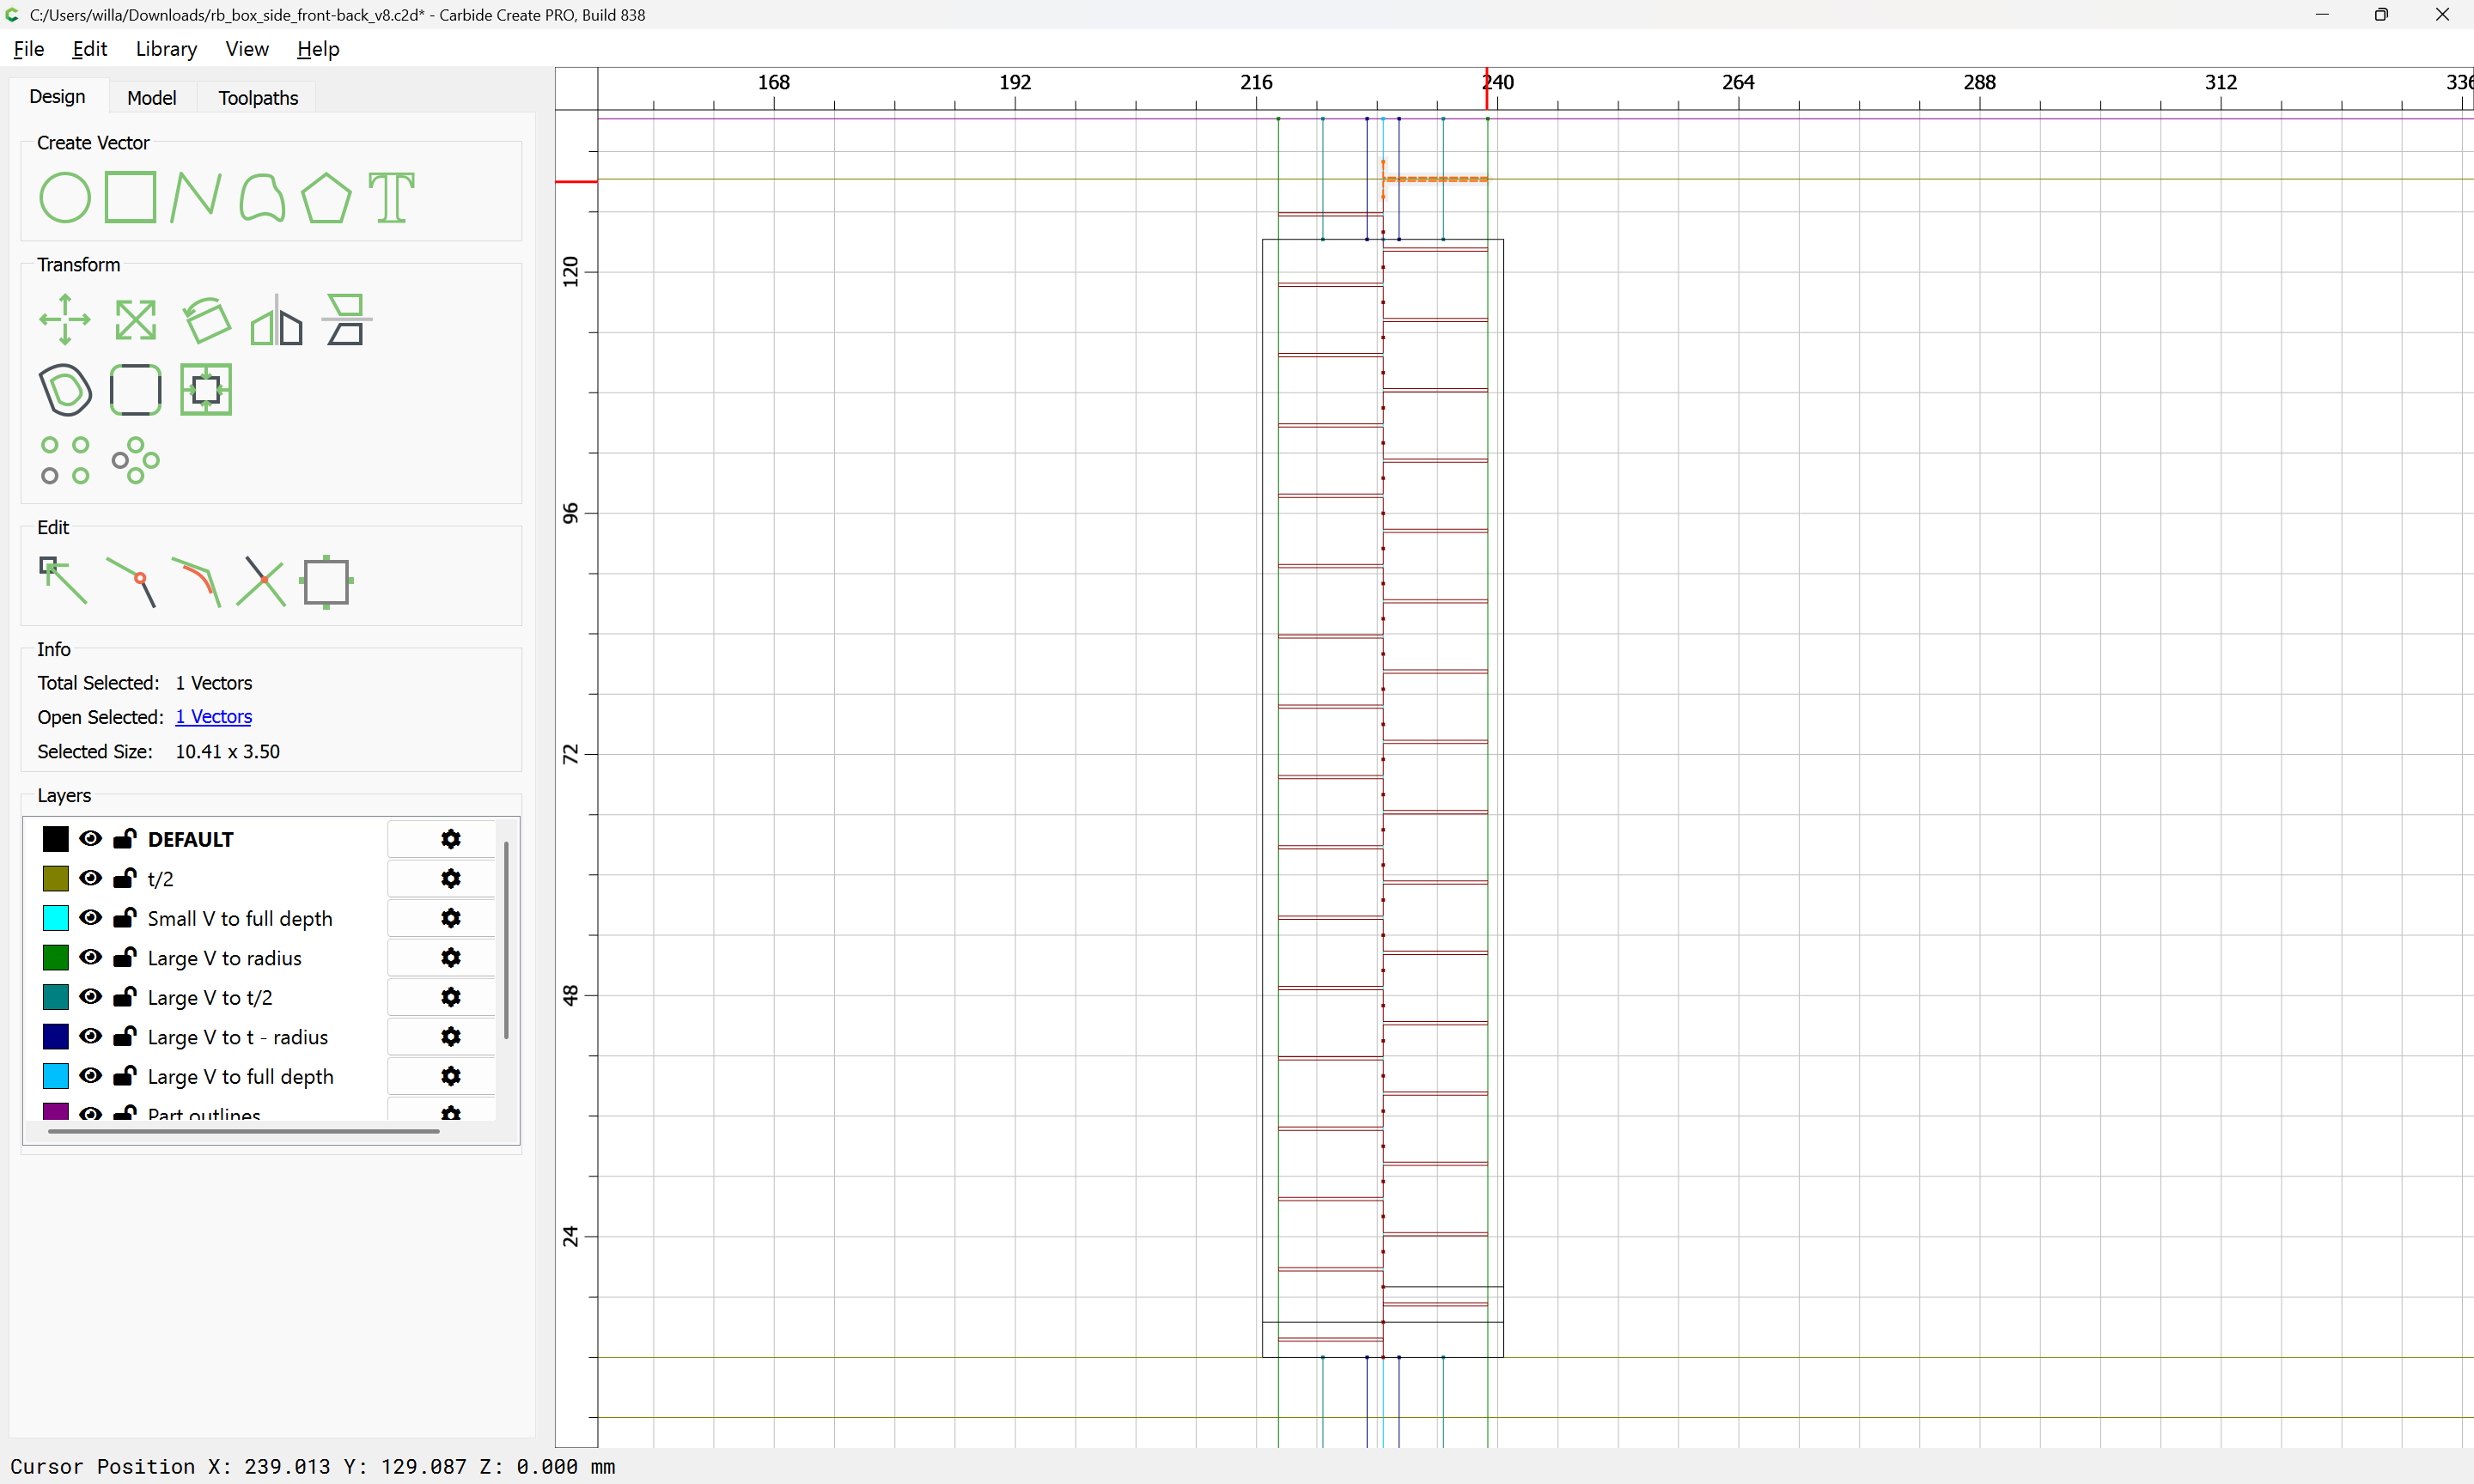
One way to arrive at this is to draw the rectangles:
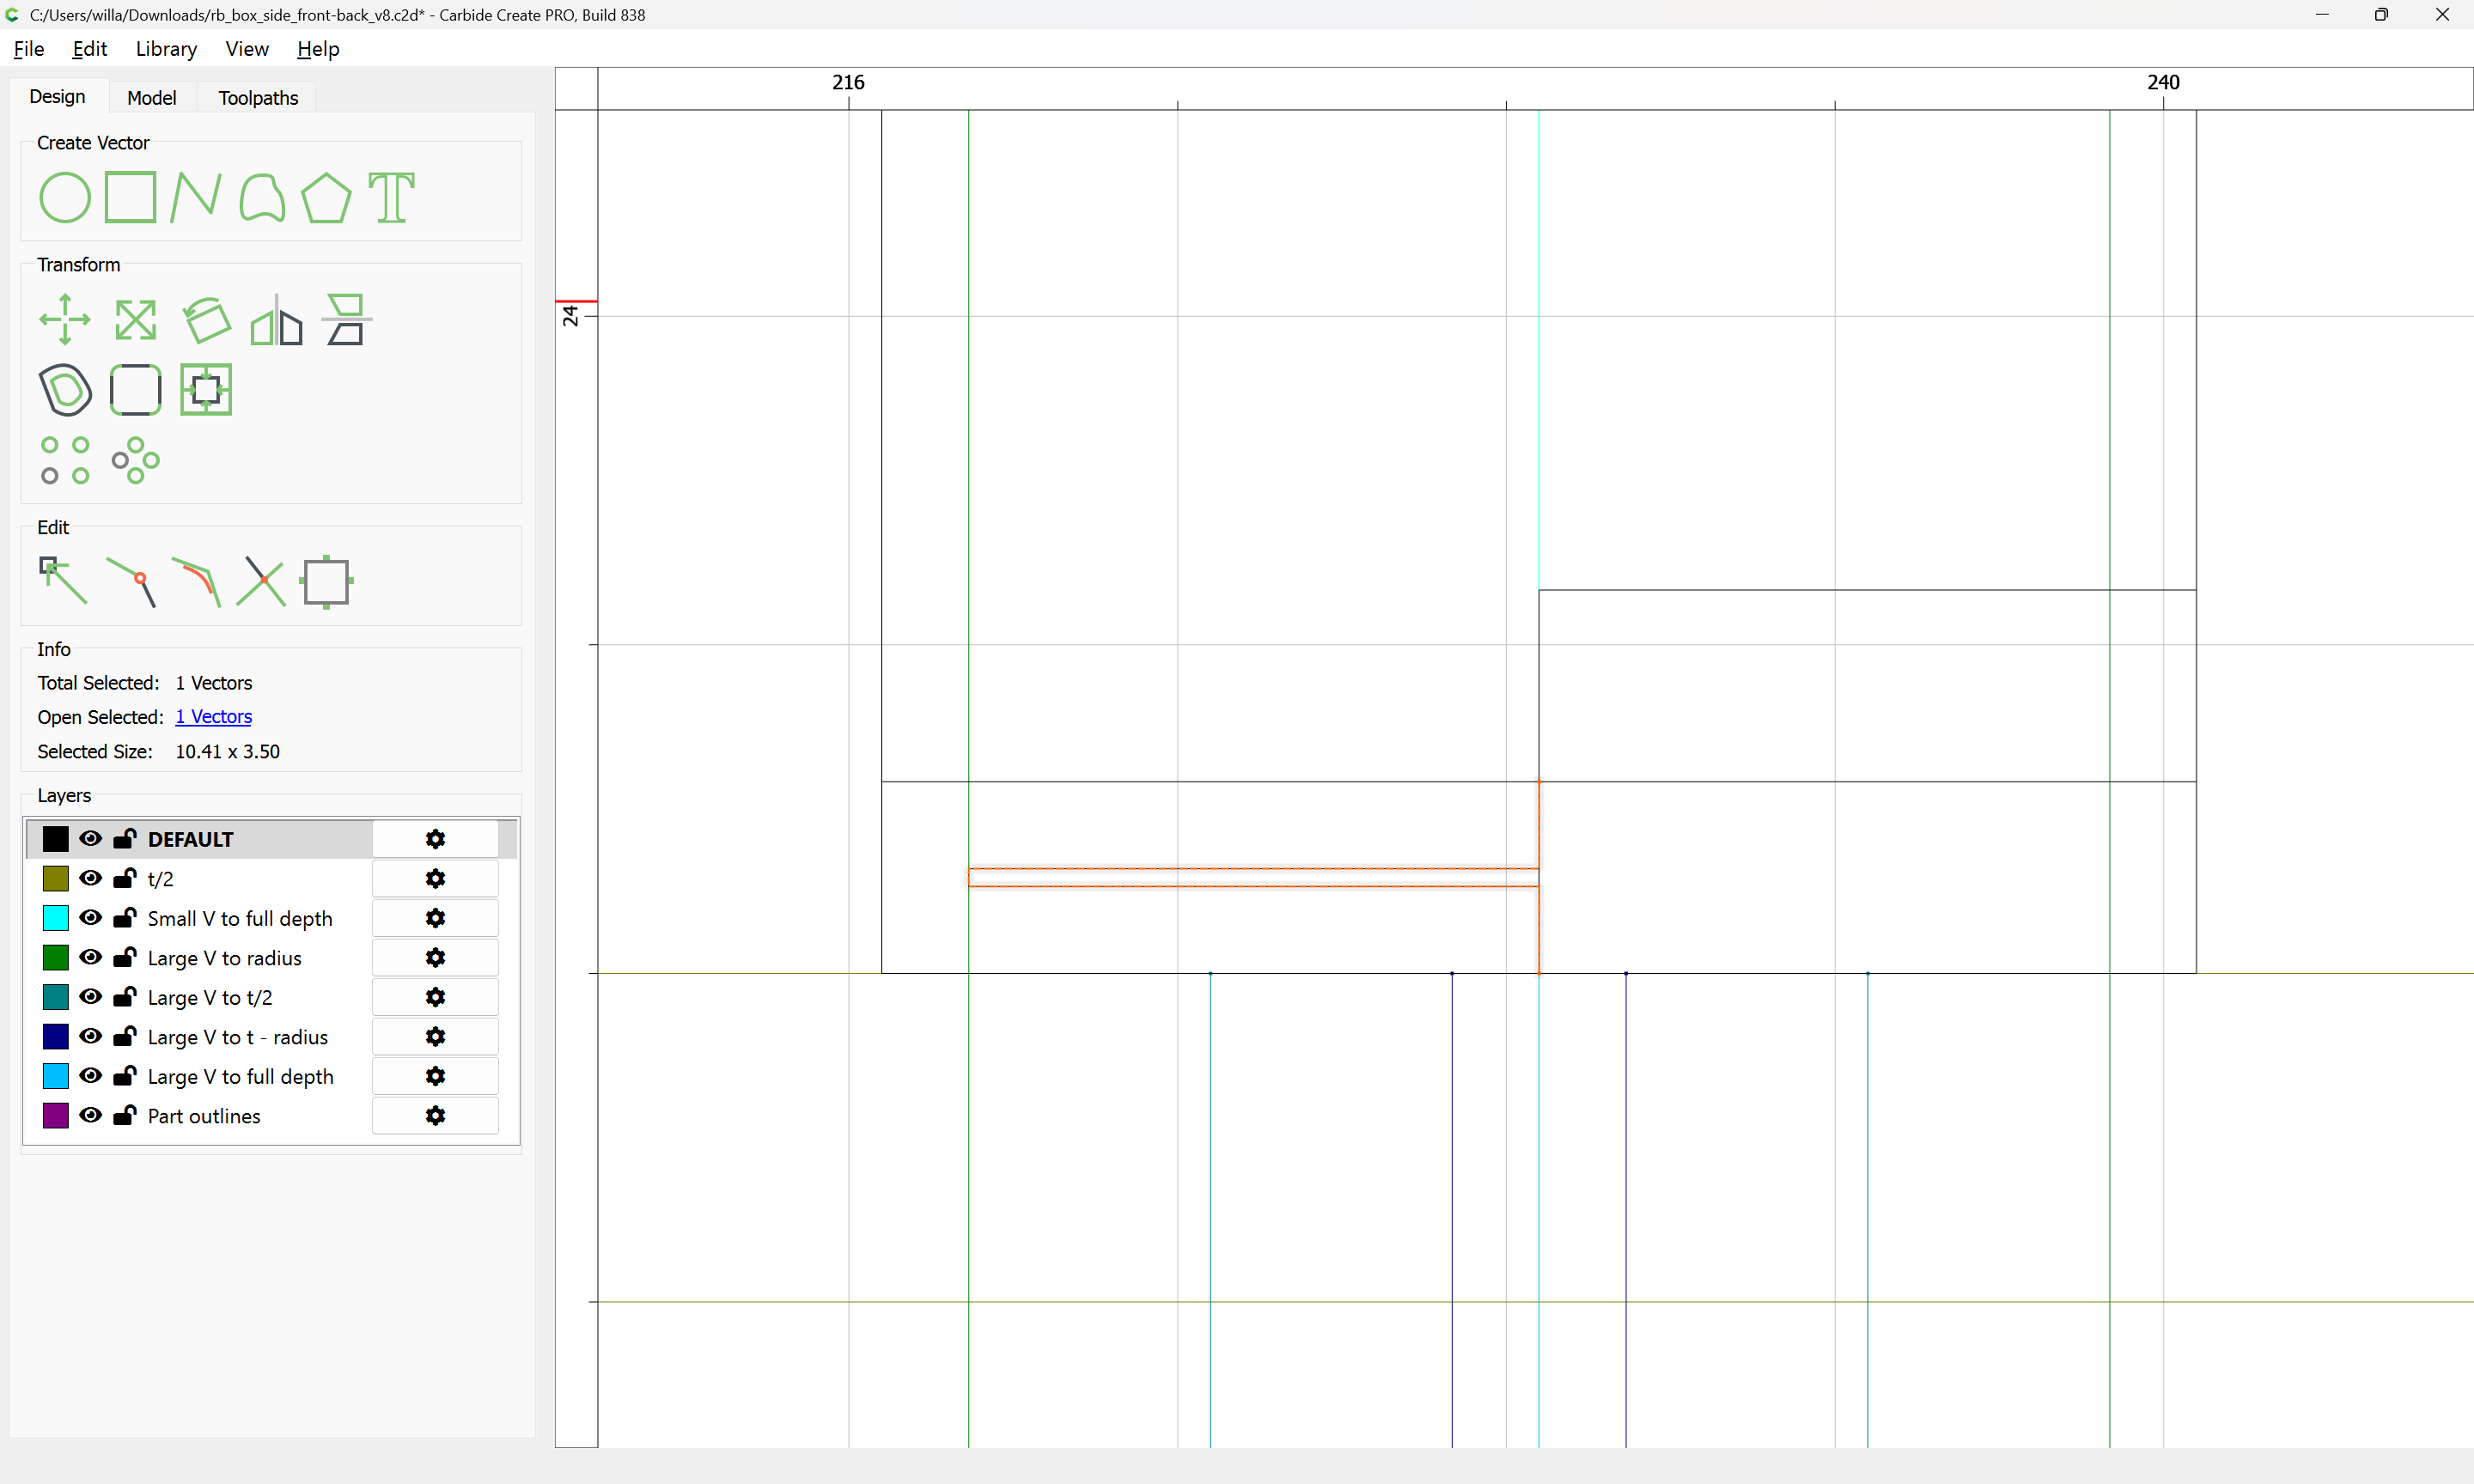
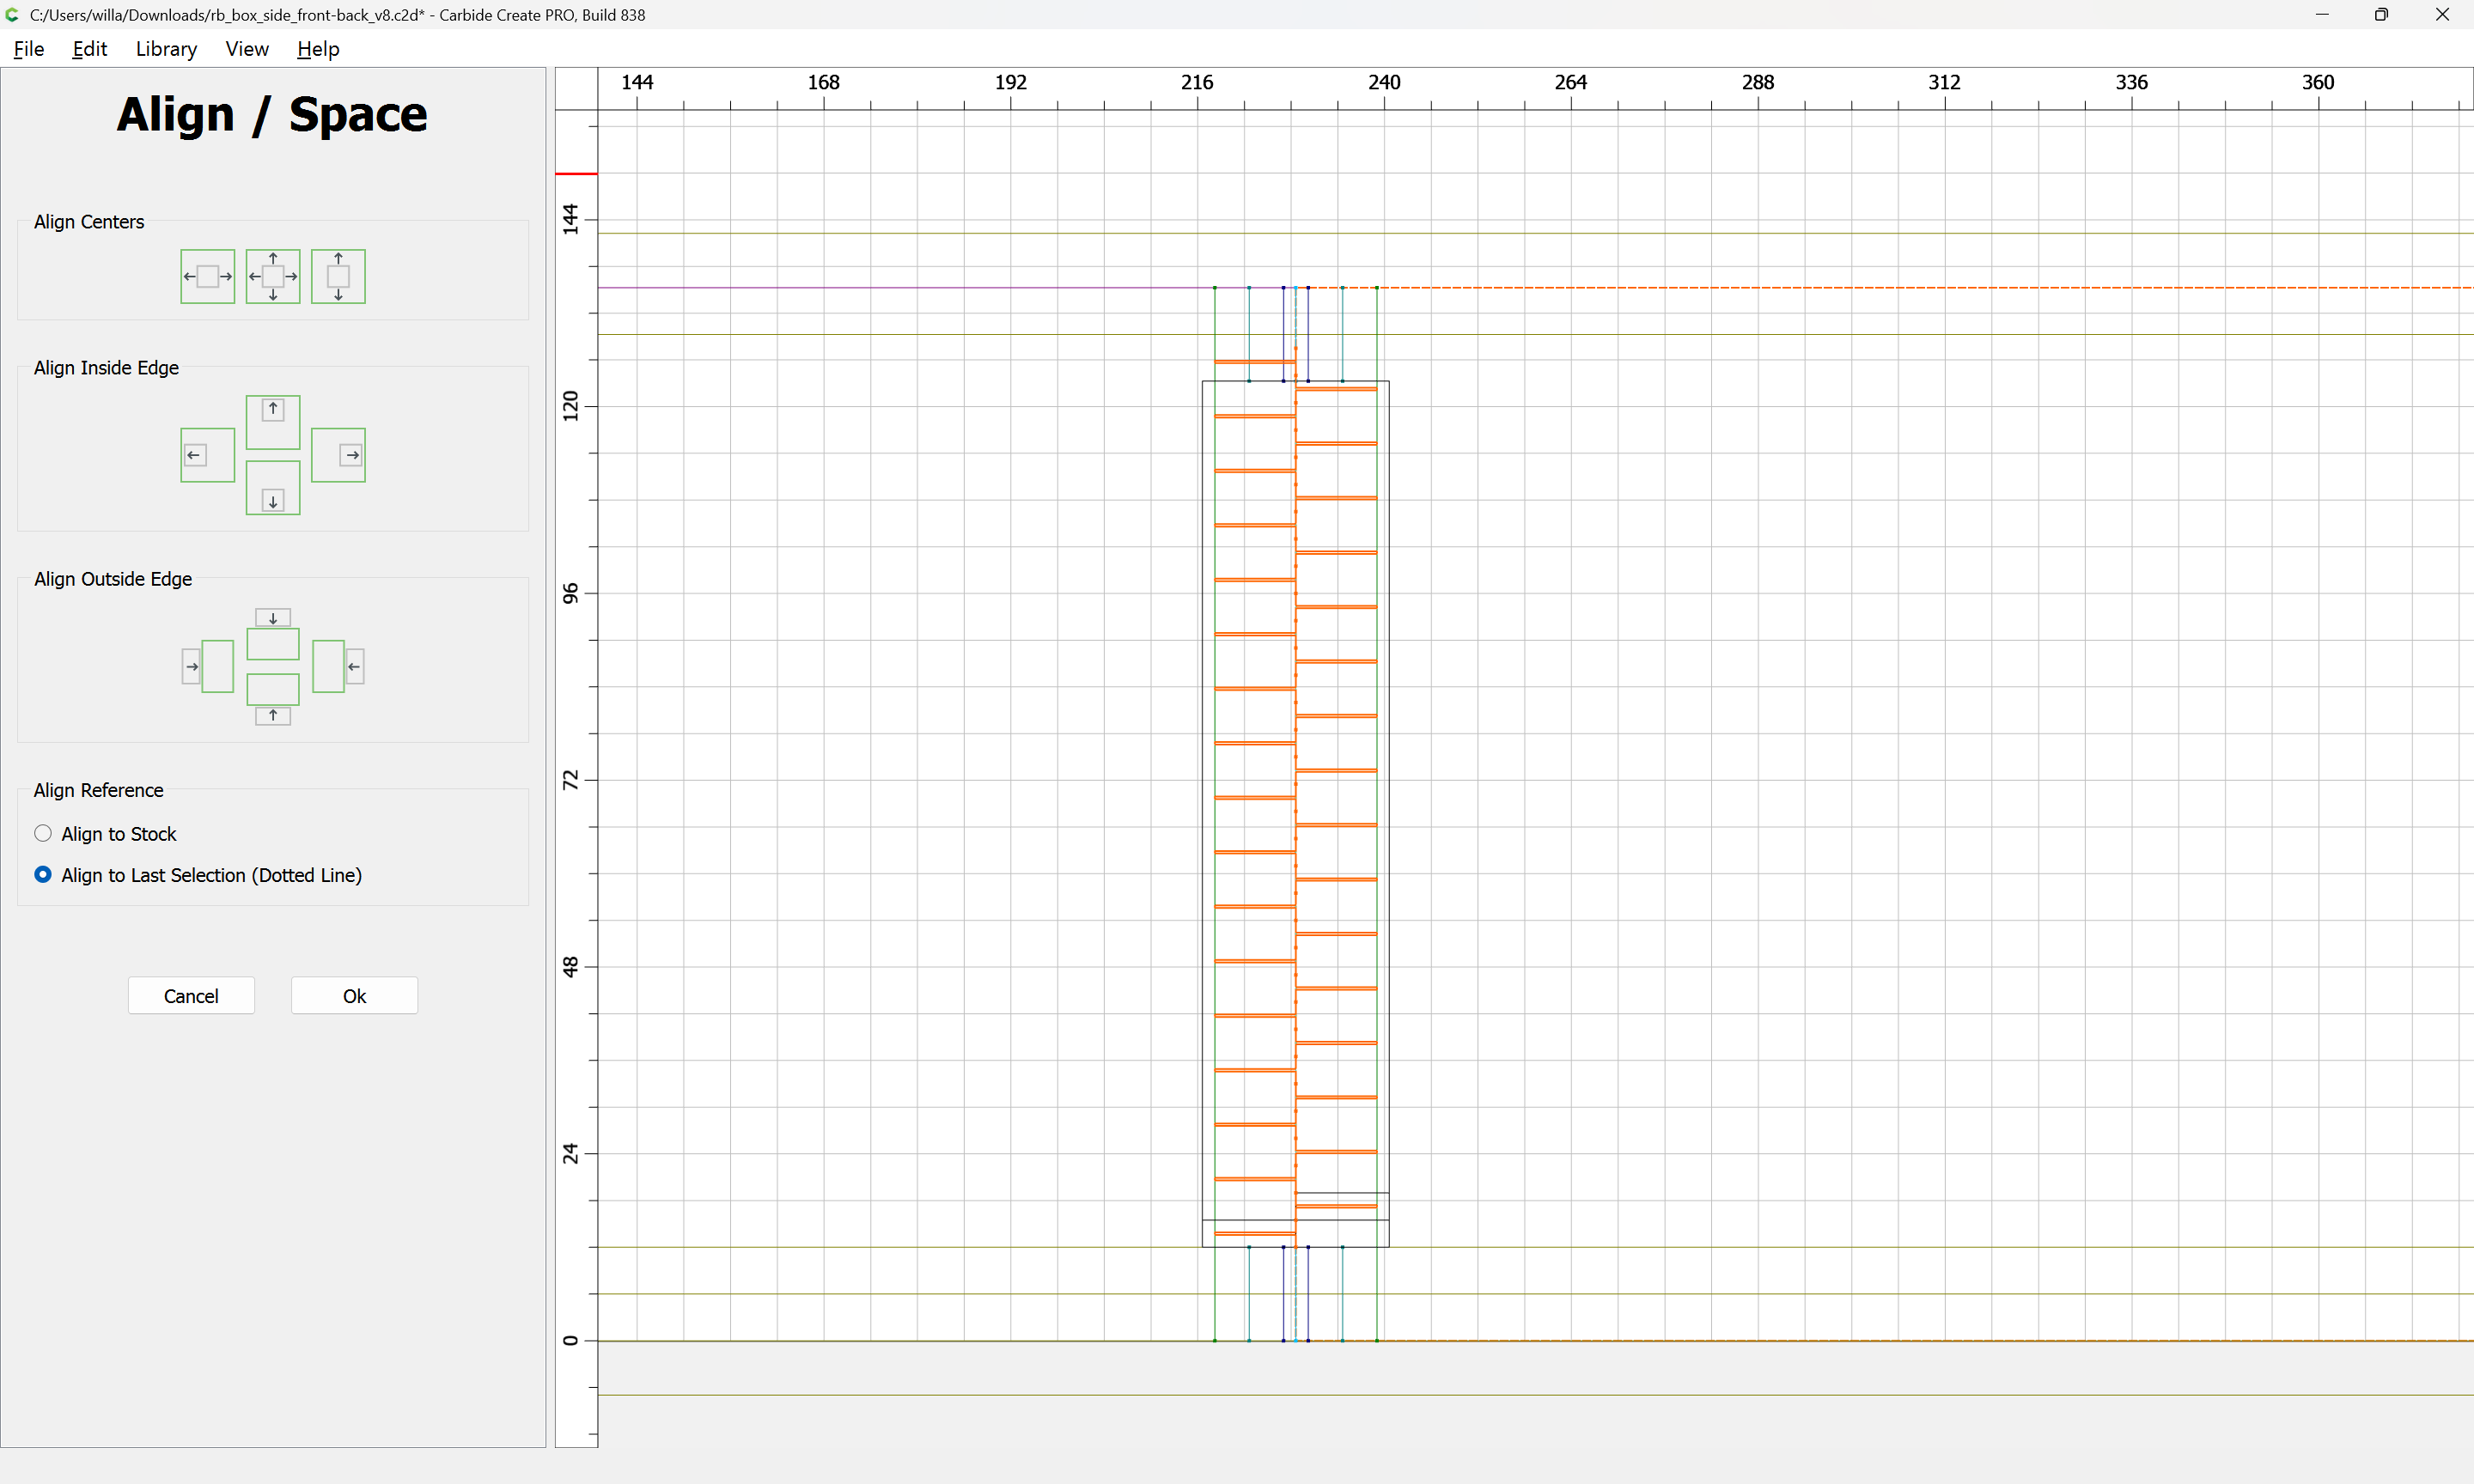
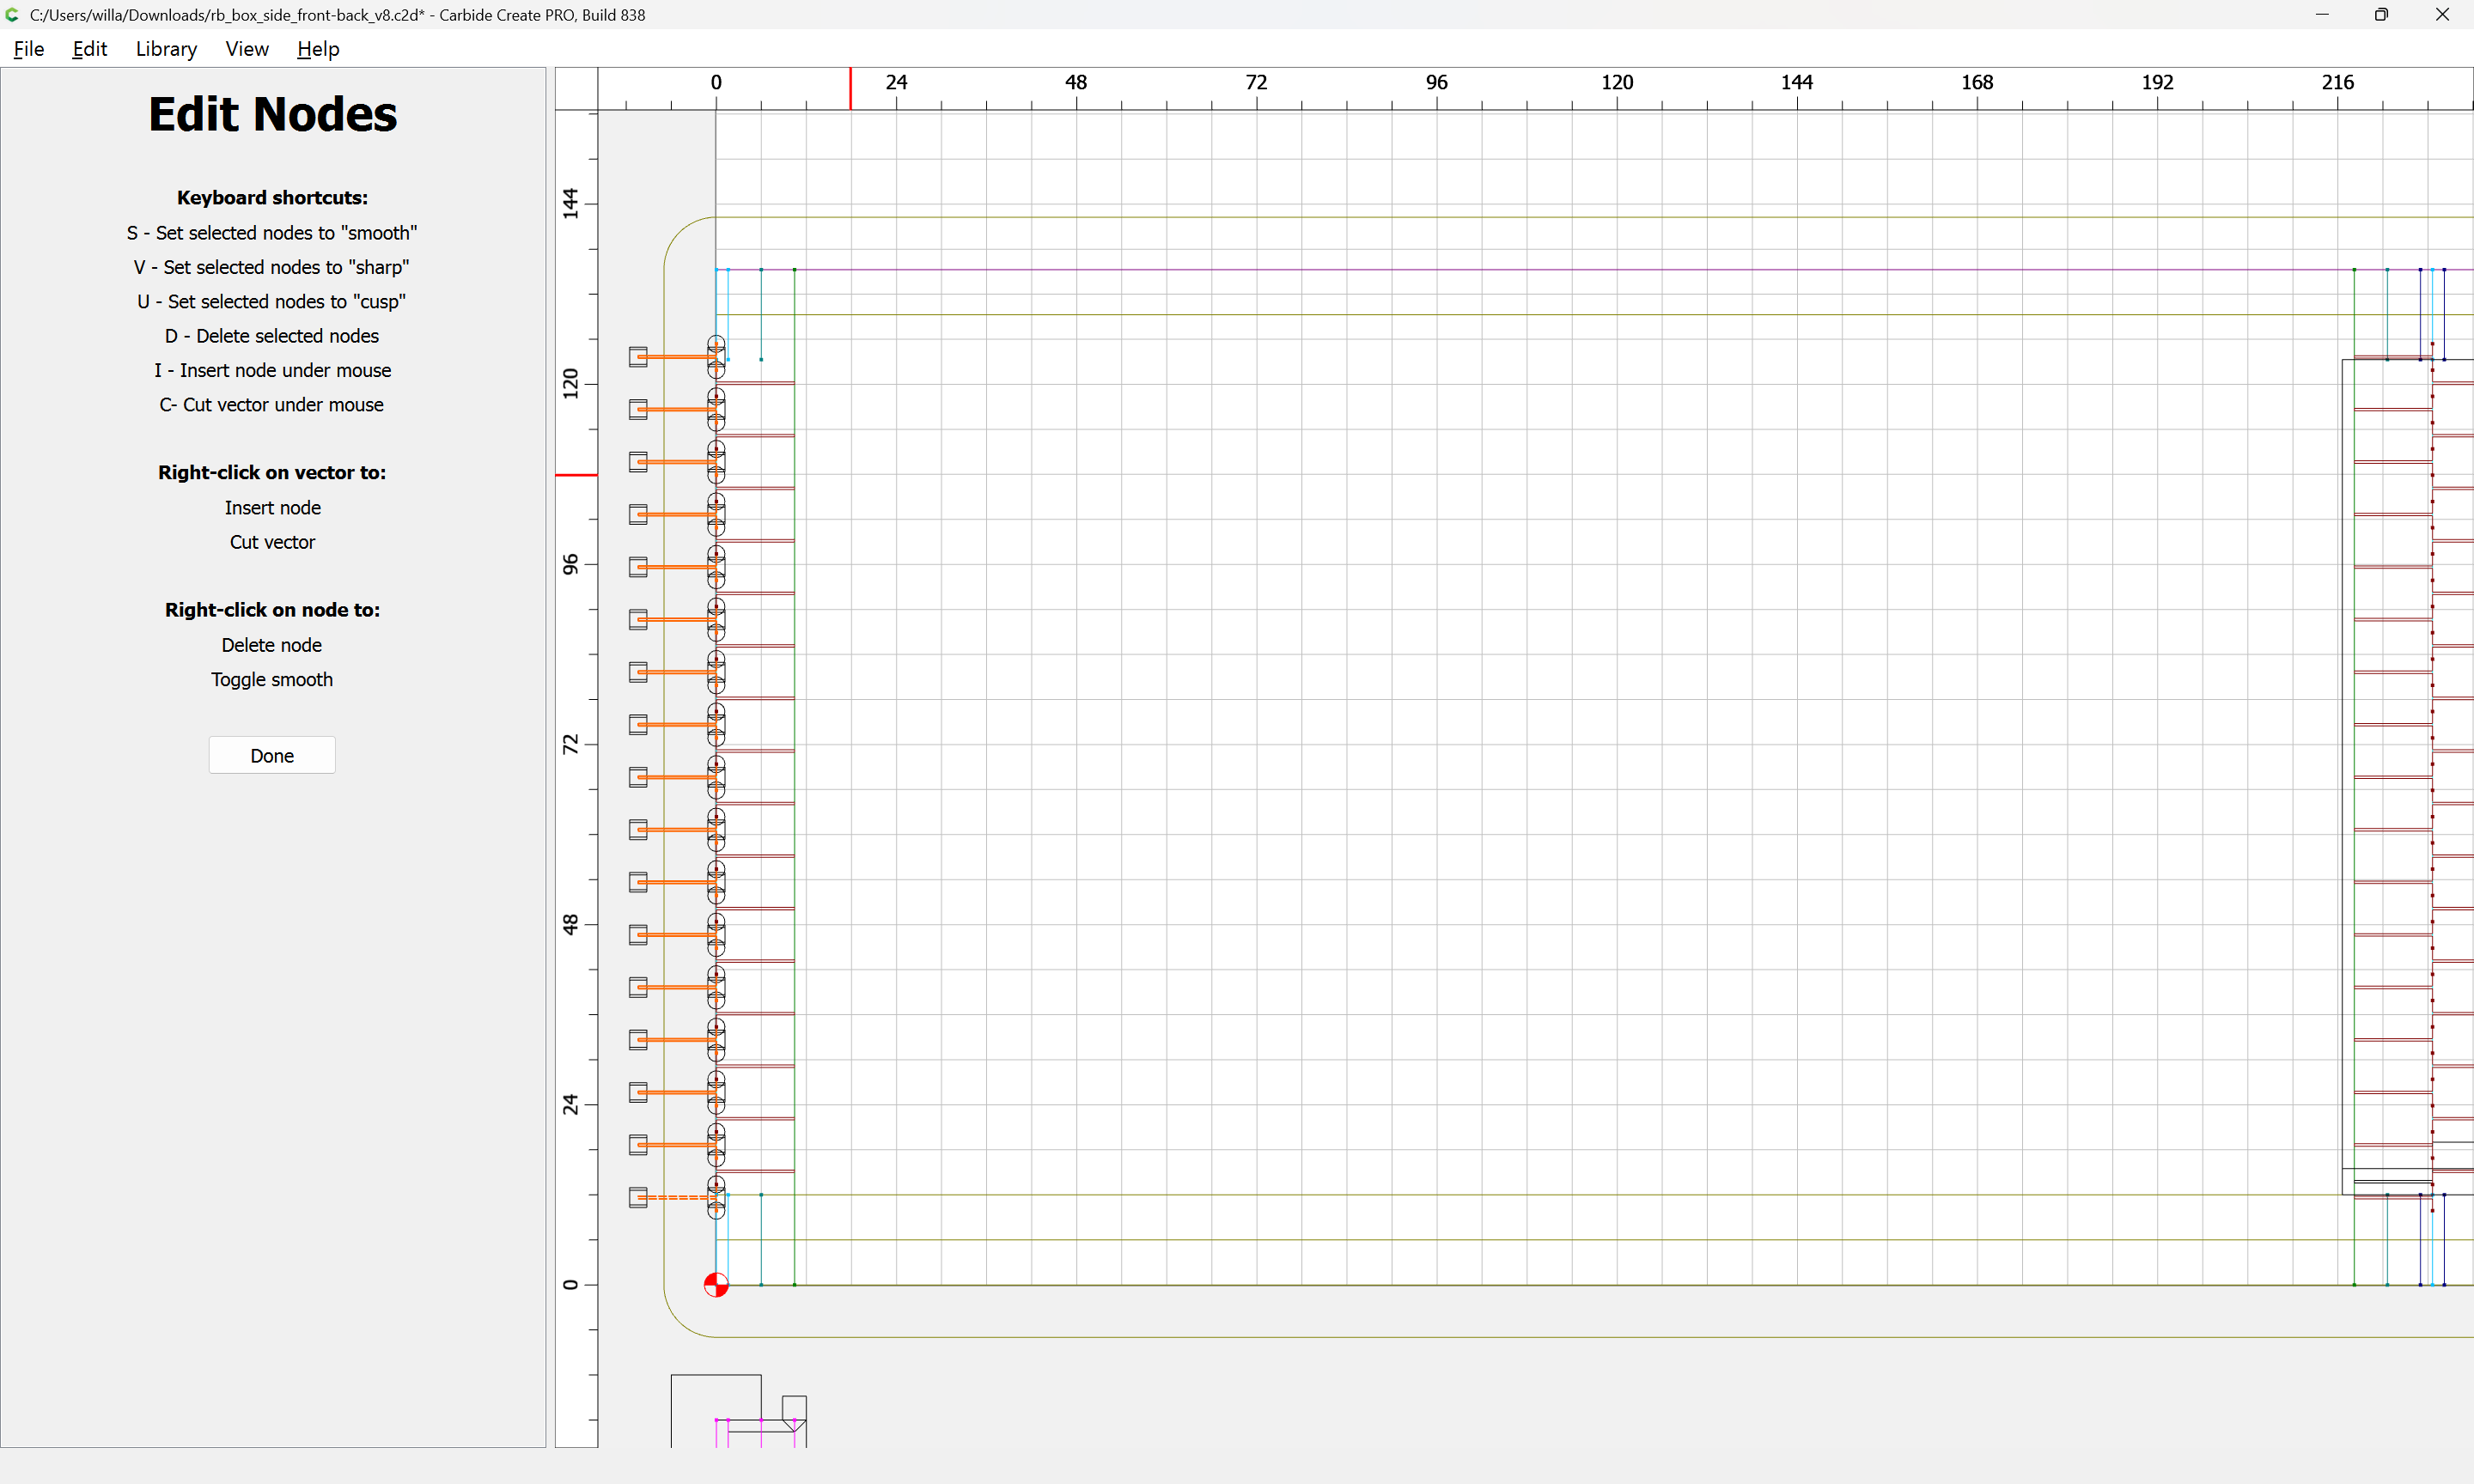
Next would be duplicating these toolpaths to the other end of each part, cutting away the tops of the box joints, arranging the toolpaths in optimal order, and duplicating everything to cut two pairs of parts.